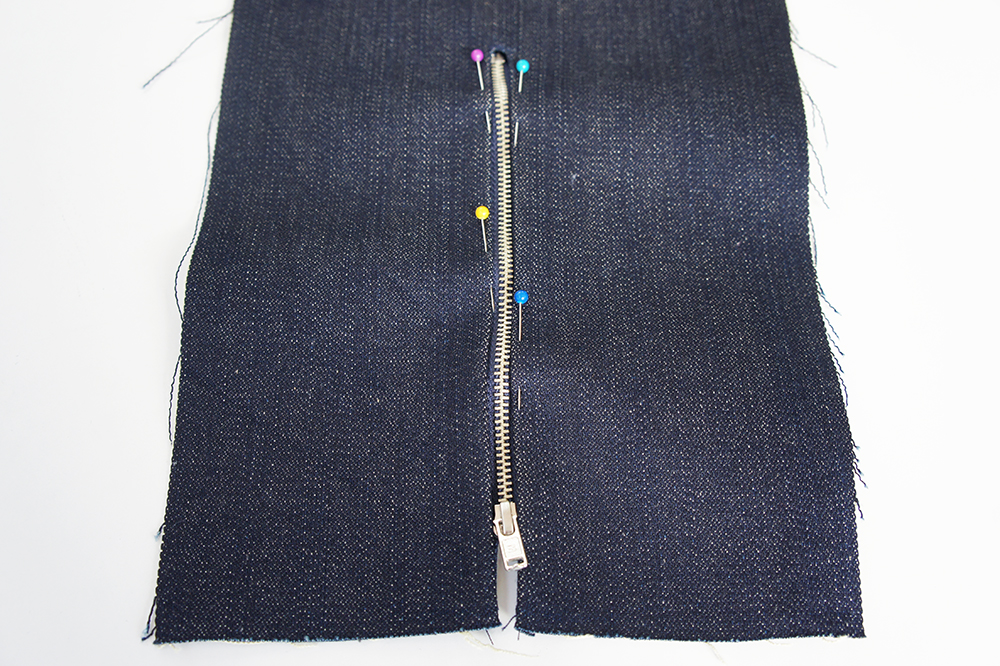
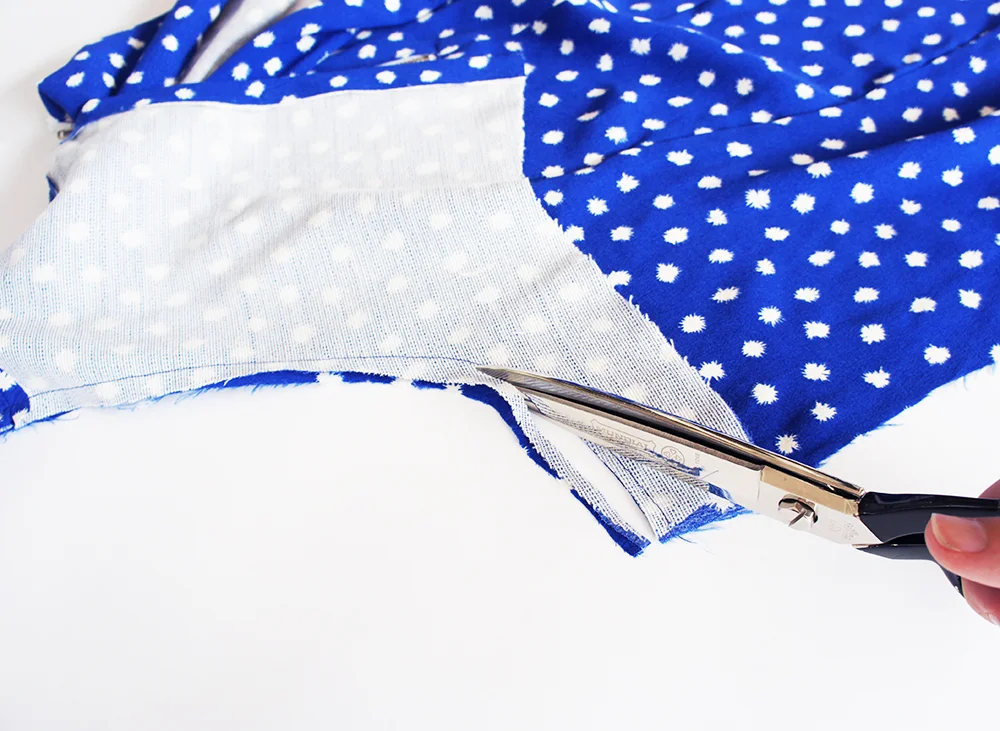
Invisible Zipper

InvisZip1.jpg

STEP 1

Place the right side of the open zipper onto the right side of the garment. Make sure the zipper teeth are at least 1cm from the top edge. The zipper teeth should be sitting along the stitch line with the tape toward the seam allowance. Pin in place.
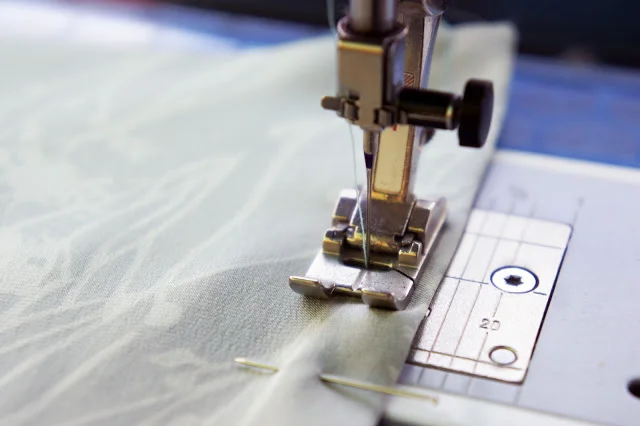
InvisZip2.jpg

STEP 2

Using your invisible zipper foot, stitch down as close as you can go to the zipper teeth as far down as you can go.
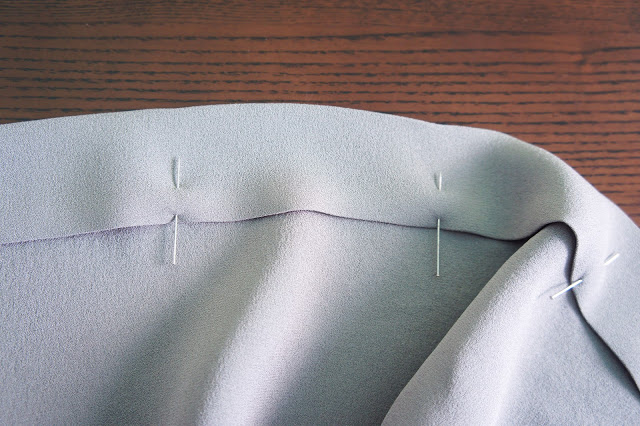
InvisZip3.jpg

STEP 3

Pin other side of zipper to the other side of opening.

InvisZip4.jpg

STEP 4

Stitch right down on other side. Trim off all hanging threads and close zipper.
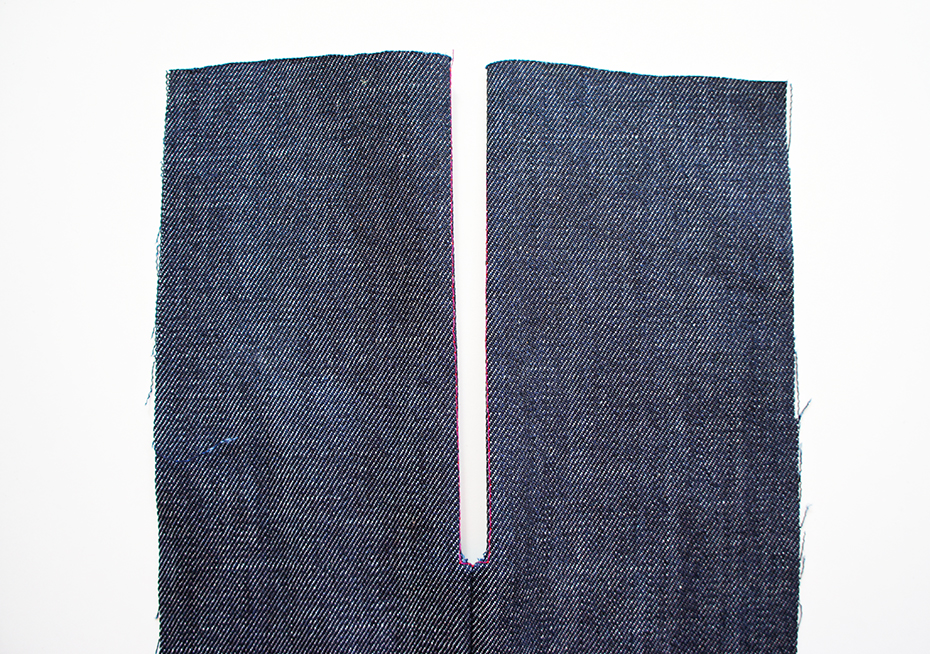
InvisZip5.jpg

STEP 5

Change the foot on your machine to your regular zipper foot. Pin the remaining seam below the zipper together. Starting just above where the stitching ends for your zipper, stitch down to the bottom.
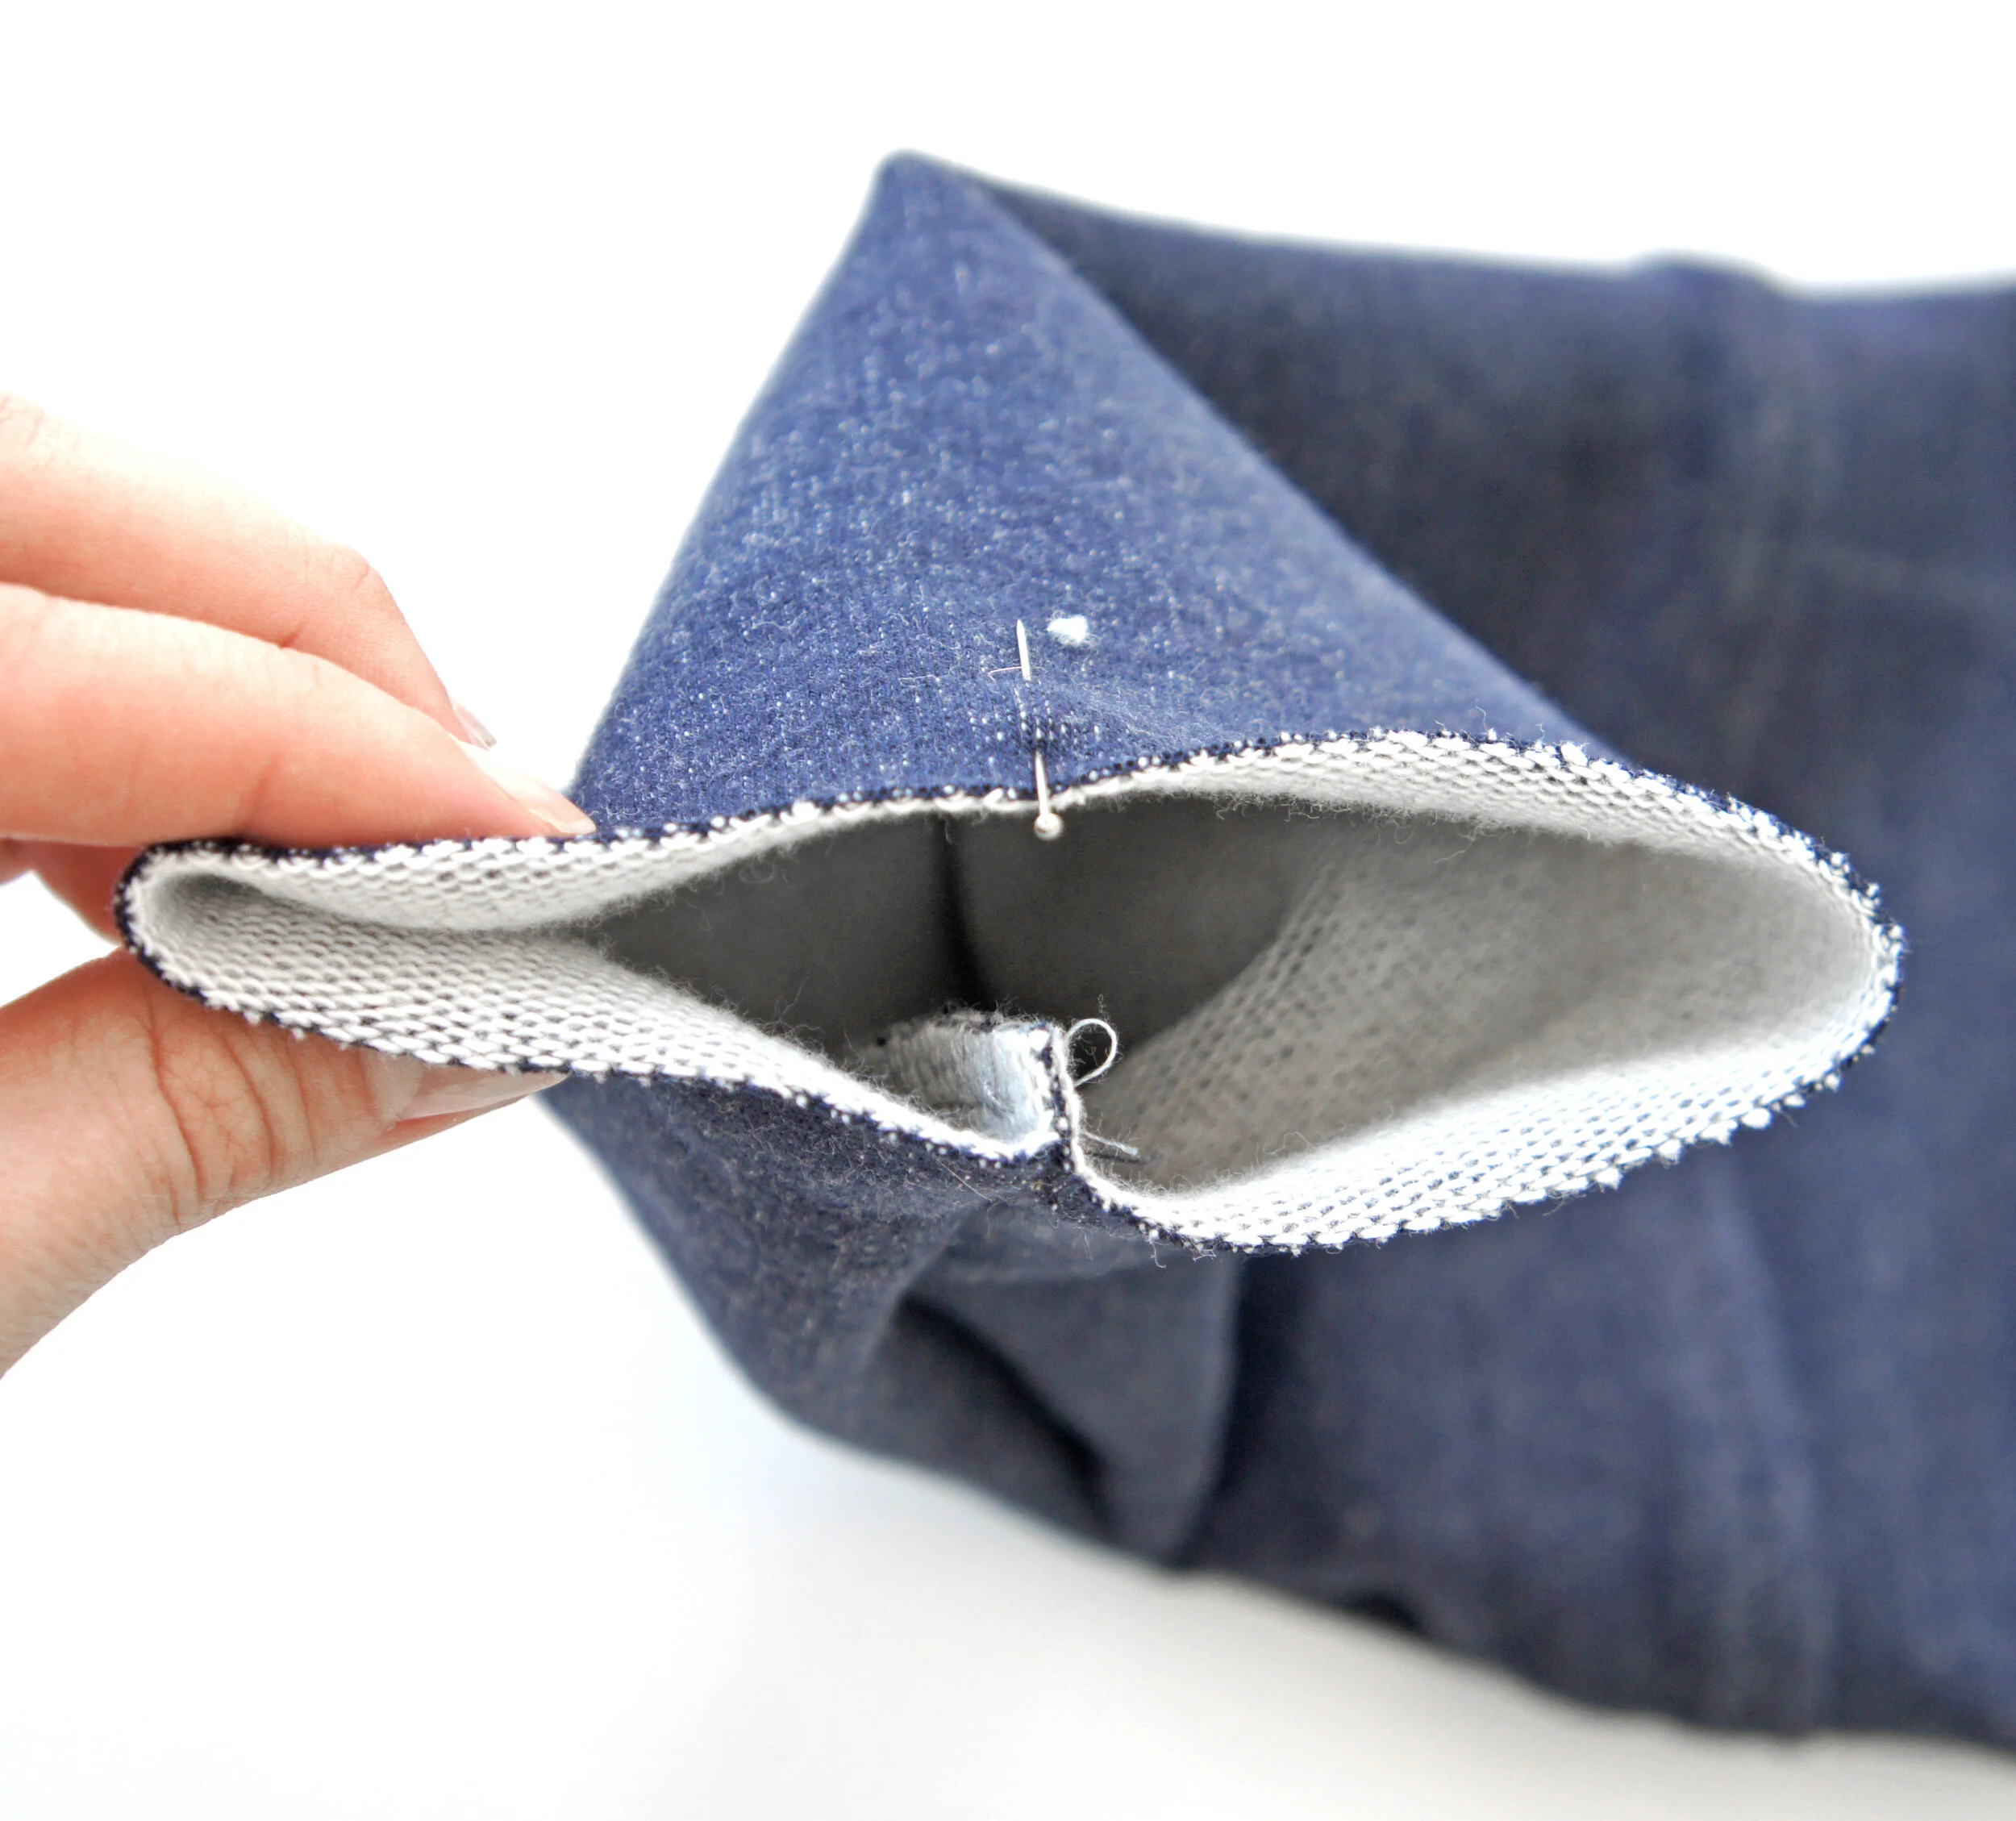
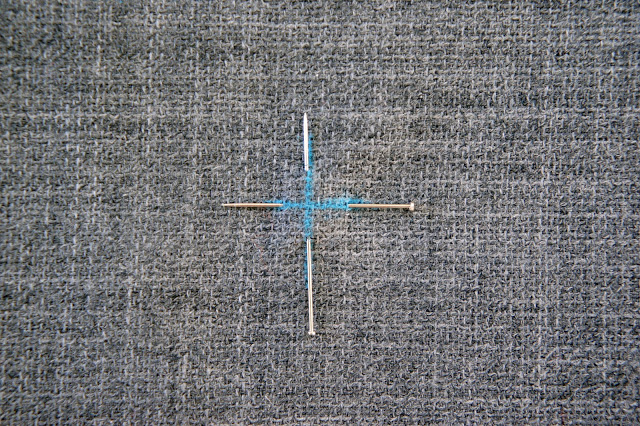
InvisZip6.jpg

STEP 6

Secure the bottom of the zipper tape to the seam allowance with a few stitches to hold in place. Turn to the right side and press flat. Voila!

voila!

Source: https://www.papercutjournal.com/techniques-1/invisible-zipper

Darts

dart1 copy.jpg

STEP 1

Pin dart in place, right sides together and matching notches.

dart2.jpg

STEP 2

Stitch dart together so that the stitch line ends smoothly and gradually at the marked point. You can use pins as a guideline if you have trouble.

STEP 3

With the needle down, pivot foot around so that you’re facing back in the direction of the raw edge.

dart4.jpg

STEP 4

Stitch back down the folded edge a few centimetres and back tack. This eliminates unnecessary bulk at the dart point and makes for a neater finish.

dart5.jpg

STEP 5

Press dart.

darts.jpg

Voila!

Neck Band - for knit fabric

STEP 1

Fold your binding strip in half lengthwise with right sides together. Pin together the short ends.

STEP 2

Stitch together.

NB3.jpg

STEP 3

Press seam allowance open.

NB4.jpg

STEP 4

Fold the neck band in half, wrong sides together, matching seam lines.

NB5.jpg

STEP 5

Fold the binding in half, wrong sides together, matching seam lines.

NB6.jpg

STEP 6

Holding the neck band folded at the seam line, find the other end of binding and place a pin at that point.

NB7.jpg

STEP 7

Fold your binding in half the other way, lining up the seam line with the pin you placed in the previous step.

NB8.jpg

STEP 8

Place a pin at each end, this gives you your quarter points.

NB9.jpg

STEP 9

Now you need to find the same points on your neckline. Start by placing a pin at both centre front and centre back of your neckline.

NB10.jpg

STEP 10

Fold in half the other way, lining up your centre front and centre back pins together.

STEP 11

Place a pin at each end. Now you have your neckline quarter points.

NB12.jpg

STEP 12

Now place your neck binding around neckline, with right sides facing and raw edges together, matching up the quarter points of neckline and neck band. Make sure that the seam line of the neck band is either at the centre back or side point of neckline. Pin together at the four points.

NB13.jpg

STEP 13

Stretch the binding out to fit neckline and place an additional pin between each point you’ve pinned.

NB14.jpg

STEP 14

Stitch together, then neaten seam edge.

NB16.jpg

STEP 15

Press seam allowance down toward top. You may want to topstitch in place depending on your fabric. Voila!

Source: https://www.papercutjournal.com/techniques-1/neck-band-for-knit-fabric

Sleeve or Ankle Cuff - Knit Fabric

SC1.jpg

STEP 1

Fold cuff in half with right sides together. Pin together.

SC2.jpg

STEP 2

Stitch together along edge. Press seam allowance open.

SC3.jpg

STEP 3

Fold the bottom edge of seam allowance up to meet the top edge, with wrong sides facing. Holding the two ends of seam allowance together, fold the top layer over to the bottom so that the seams are on the inside.

STEP 4

You should end up with a tube, with the wrong side of your fabric hidden.

SC5.jpg

STEP 5

Find your quarter points of sleeve or leg opening by folding in half with seam at one end, placing a pin at opposite end.

SC6.jpg

STEP 6

Then fold in half the other way so that the seam lines up with pin and place a pin at each end. Repeat the same process with cuff.

STEP 7

With right sides together pull the cuff around the circumference of the sleeve/leg opening with raw edges together. Line up the seam of cuff with seam of sleeve/leg and match up quarter points. Pin at each point.

SC8.jpg

STEP 8

Stitch together stretching cuff between pins to fit opening as you sew.

SC9.jpg

STEP 9

Neaten seam edge.

SC10.jpg

STEP 10

Fold cuff down and press seam allowance toward sleeve/leg. You may want to topstitch in place. Voila!

Universal Hemming Stitch

There are many different hemming techniques which are used in different scenarios.  This hem is a good all rounder which can be used on most fabric weights and can be stitched on a raw edge (if your fabric doesn’t fray too much) on an overlocked or zigzagged edge, or as illustrated here, a turned edge.

1. Start by turning up the very edge of your hem, about 3 - 5mm and press.  If you are using an overlocked edge, just overlock the edge and go on to step 2.  If you want to use the raw edge of your fabric you can skip this step entirely.

2. Fold up your desired hem depth and pin in place.

3. Fasten the thread to the hem allowance, this can be done with a knot or by making a few small stitches. Always work from left to right with your needle pointed towards the left.  Insert the needle from right to left, taking up a few threads of the material.  The finer your stitch the less you will see on the right side.  Pull the thread through taking care not to pull it too tight as you want to allow for a little bit of movement.

4. Insert the needle from right to left, taking up a few threads of the material, in your hem allowance this time, and pull through.  

5. Keep going along like this, from garment to hem until you finish.  

6. Tie off your thread using a few small stitches.  Trim thread.

7. Press your hem with a press cloth.  Your hem should be virtually invisible from the right side.  Because of the way it zig zags it allows a bit of movement making it an ideal hem for knit fabrics.

How to sew a French Seam

A French seam is a seam which is both neat on the outside and inside.  It is often used in delicate fabrics and can be a beautiful way to finish a special garment.

It is an especially strong seam as it is actually two seams in one.  One sewn in the seam allowance, the other on the stitchline.

It is best suited to straight seams that won’t need much alteration.

1. With right sides on the outside, pin your fabric together right along seam line.

2. Stitch down with a 5mm seam allowance.

3. Press seam open with right sides up pressing seam allowance to one side.

4. Fold fabric along your new seam with the wrong sides of the fabric out.  Press nice and flat.

5. Pin seam securely together so that you catch both front and back.

6. Stitch seam with a 6mm seam allowance this time all the way down.

7. Press open.  Your seam should be flat from the right side with a nice enclosed allowance on the inside.

How to stitch on a button

Knowing how to sew on a button is really useful. Whether you are putting the finishing touches to something you have made yourself or replacing the button that just popped off your shirt – here’s how to sew on a button that will stay put. 

1. Start by doubling your thread and tying both ends together in a knot.

2. Mark where your button is going to go.  Do this by lapping your garment, so that it looks buttoned.  Mark where the button will sit through your buttonholes.

3. Place pins through your markings.  By having pins between your fabric and button while stitching it will create a bit of room for your shank.

4. Lock your thread by doing a few backstitches at the back of your fabric. Place your button on top of your markings.   Pull your needle through the first hole.

5. Push the needle through the second hole and through the fabric. Pull thread through.  Repeat three times through the first two holes ending at the back of the fabric.

6. Pull your needle through the third hole.

7. Push back through the fourth hole taking the needle through the fabric to the back of the garment.  Repeat three times ending with your needle at the back of the fabric.

8. Pull your needle through the fabric under the button, starting from the back of the fabric.  Pull thread right though.

9. Wrap your thread tightly around your stitching between the fabric and the button two or three times then push your needle back through to the back of your fabric.

10. Take a few backstitches at the back of your fabric to fasten your stitching and trim off remaining thread.

11. Your button will now be securely stitched on and should look like this.

Using Bias Binding as a facing

Bias Facings are are great way to edge sleeveless garments, curved hemlines and necklines.  The bias moulds to the curve nicely and takes the hassle out of sewing full facings.

The bias strip should be twice the desired finished width plus 1cm.

1. Start by pressing the short edge of your binding back about 5mm.

2. Fold your bias strip in half lengthwise and press.

3. On the right side of your garment, line your pressed edge up with a discreet seamline (in this case it is the underarm seam of a armhole).

4. Pin facing right around edge that you want to face using the stretch of the bias to fit the curve.  Cut facing so that it overlaps the folded edge by about 5mm.

Pin end securely in place.

5. Edgestitch in place all the way around.

6. Understitch facing.

Understitching is where you press your seam allowance toward your facing and from the right side of your garment, stitch through the facing and the seam allowance about 3mm from your seam.

This prevents your facing from rolling to the outside of your garment.

7. Your understitched facing should now look like this.

8. Turn facing over to the inside of the garment so that your seam is right on the edge and pin securely in place.

9. Working from the inside of your garment, topstitch your facing down about 3mm from the edge.

10. Your finished seam should look like this with just a stitchline on the outside and a nice neat facing on the inside.

Stitching Bias Binding

This method for sewing on bias binding starts from the inside of the garment, finishing on the right side.

It gives you a neat secure finish and also works really well when working with knit fabrics.

1. Start by pressing one of the short edges back toward the inside of the binding about 5mm. Line this folded edge up with a discreet seamline (in this case it is the underarm seam of a armhole).  Pin binding right around edge that you want to bind from the inside of the garment using the stretch of the bias to fit the curve and cut binding so that it overlaps the folded edge by about 5mm.

Pin end securely in place.

2. Edgestitch in place all the way around.

3. Press the other long edge of the binding back ¼ of the width.

4. Press seam allowance toward binding.

5. Fold binding in half with the edge slightly overlapping stitchline. Pin securely in place.

6. Topstitch down on the very edge of binding on the right side of garment. Press.

7. Your binding should look nice and neat on both sides and be held securely in place.

How to make Bias Binding

Bias binding is such handy stuff!  If you’re patient enough to make it, it can have so many uses.  You can edge necklines, armholes, neaten up seams and even use as a hemming tape around shaped hemlines.

Because it’s cut on the bias, you have the maximum give and flexibility of the fabric making it easy to work around curves.

Making your own gives you the creative freedom to use all sorts of different textures and prints or to match the fabric of your garment.

1. Cut a rectangle of fabric.  I usually cut about half a metre x the width of the fabric.

2. Fold the short edge of the rectangle down to meet the long edge creating a triangle and press.  Open back out again.  The line you have created is the bias.  Now you have a guide to cut your strips from.

3. The easiest way to get nice even strips is to make a cardboard template for your binding.  It needs to be four times the width of what you want the finished binding to be.  ( if you want your binding to be 1.5cm finished width your template needs to be 6cm wide. )  Lay your cardboard template with the long edge against the crease line you have created and draw a line with a tailors chalk or a washable fabric marking pen.  Continue across your fabric until you reach the opposite corner.

4. Cut off unmarked corner pieces and discard then cut your strips.

4. Cut off unmarked corner pieces and discard then cut your strips.

6. Press seams open and trim off any points that stick out beyond the binding.

7. Press binding in half ready to apply to your desired garment.