
Knowing how to sew on a button is really useful. Whether you are putting the finishing touches to something you have made yourself or replacing the button that just popped off your shirt – here’s how to sew on a button that will stay put.

1. Start by doubling your thread and tying both ends together in a knot.

2. Mark where your button is going to go. Do this by lapping your garment, so that it looks buttoned. Mark where the button will sit through your buttonholes.
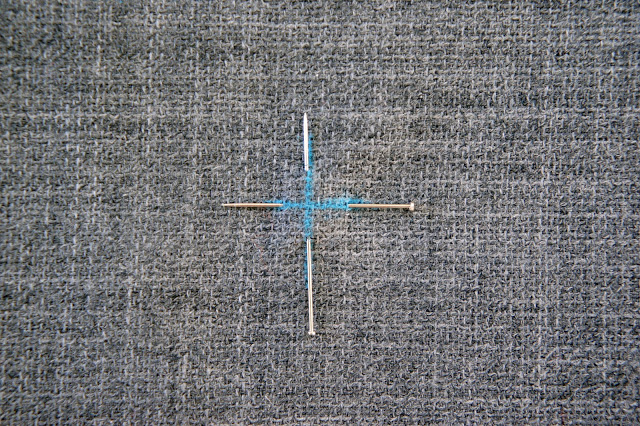
3. Place pins through your markings. By having pins between your fabric and button while stitching it will create a bit of room for your shank.

4. Lock your thread by doing a few backstitches at the back of your fabric. Place your button on top of your markings. Pull your needle through the first hole.
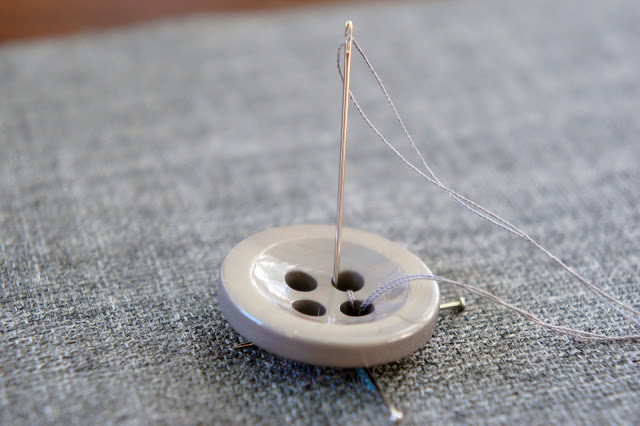
5. Push the needle through the second hole and through the fabric. Pull thread through. Repeat three times through the first two holes ending at the back of the fabric.
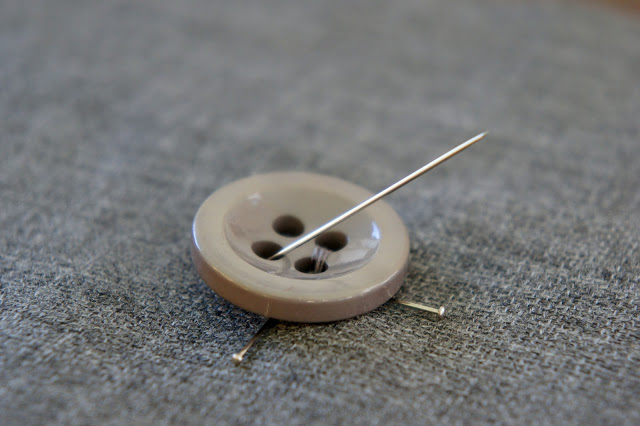
6. Pull your needle through the third hole.

7. Push back through the fourth hole taking the needle through the fabric to the back of the garment. Repeat three times ending with your needle at the back of the fabric.

8. Pull your needle through the fabric under the button, starting from the back of the fabric. Pull thread right though.

9. Wrap your thread tightly around your stitching between the fabric and the button two or three times then push your needle back through to the back of your fabric.

10. Take a few backstitches at the back of your fabric to fasten your stitching and trim off remaining thread.

11. Your button will now be securely stitched on and should look like this.