
Bias Facings are are great way to edge sleeveless garments, curved hemlines and necklines. The bias moulds to the curve nicely and takes the hassle out of sewing full facings.
The bias strip should be twice the desired finished width plus 1cm.

1. Start by pressing the short edge of your binding back about 5mm.

2. Fold your bias strip in half lengthwise and press.

3. On the right side of your garment, line your pressed edge up with a discreet seamline (in this case it is the underarm seam of a armhole).

4. Pin facing right around edge that you want to face using the stretch of the bias to fit the curve. Cut facing so that it overlaps the folded edge by about 5mm.
Pin end securely in place.

5. Edgestitch in place all the way around.

6. Understitch facing.
Understitching is where you press your seam allowance toward your facing and from the right side of your garment, stitch through the facing and the seam allowance about 3mm from your seam.
This prevents your facing from rolling to the outside of your garment.

7. Your understitched facing should now look like this.

8. Turn facing over to the inside of the garment so that your seam is right on the edge and pin securely in place.

9. Working from the inside of your garment, topstitch your facing down about 3mm from the edge.
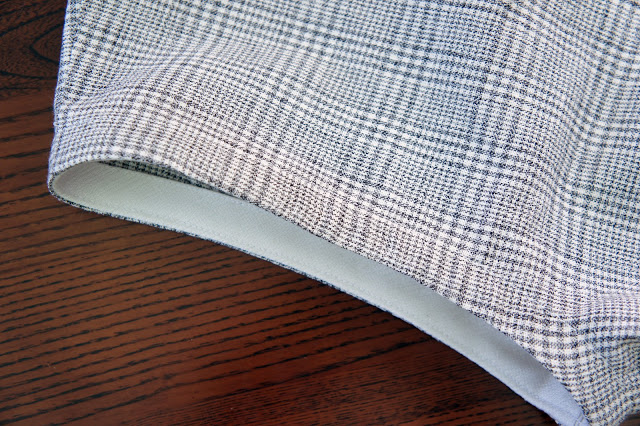
10. Your finished seam should look like this with just a stitchline on the outside and a nice neat facing on the inside.