
There are many different hemming techniques which are used in different scenarios. This hem is a good all rounder which can be used on most fabric weights and can be stitched on a raw edge (if your fabric doesn’t fray too much) on an overlocked or zigzagged edge, or as illustrated here, a turned edge.

1. Start by turning up the very edge of your hem, about 3 - 5mm and press. If you are using an overlocked edge, just overlock the edge and go on to step 2. If you want to use the raw edge of your fabric you can skip this step entirely.
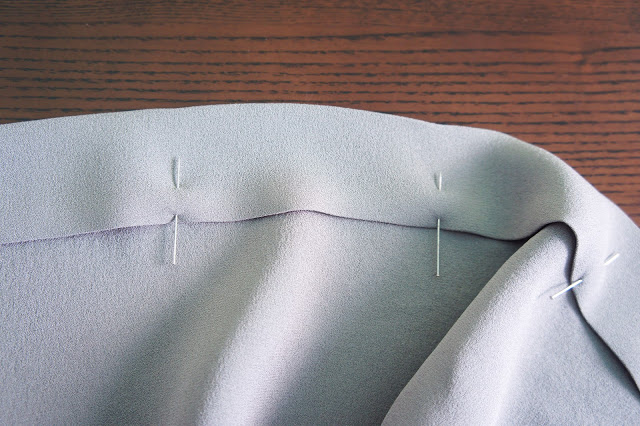
2. Fold up your desired hem depth and pin in place.

3. Fasten the thread to the hem allowance, this can be done with a knot or by making a few small stitches. Always work from left to right with your needle pointed towards the left. Insert the needle from right to left, taking up a few threads of the material. The finer your stitch the less you will see on the right side. Pull the thread through taking care not to pull it too tight as you want to allow for a little bit of movement.

4. Insert the needle from right to left, taking up a few threads of the material, in your hem allowance this time, and pull through.

5. Keep going along like this, from garment to hem until you finish.

6. Tie off your thread using a few small stitches. Trim thread.

7. Press your hem with a press cloth. Your hem should be virtually invisible from the right side. Because of the way it zig zags it allows a bit of movement making it an ideal hem for knit fabrics.