
Bias binding is such handy stuff! If you’re patient enough to make it, it can have so many uses. You can edge necklines, armholes, neaten up seams and even use as a hemming tape around shaped hemlines.
Because it’s cut on the bias, you have the maximum give and flexibility of the fabric making it easy to work around curves.
Making your own gives you the creative freedom to use all sorts of different textures and prints or to match the fabric of your garment.

1. Cut a rectangle of fabric. I usually cut about half a metre x the width of the fabric.

2. Fold the short edge of the rectangle down to meet the long edge creating a triangle and press. Open back out again. The line you have created is the bias. Now you have a guide to cut your strips from.
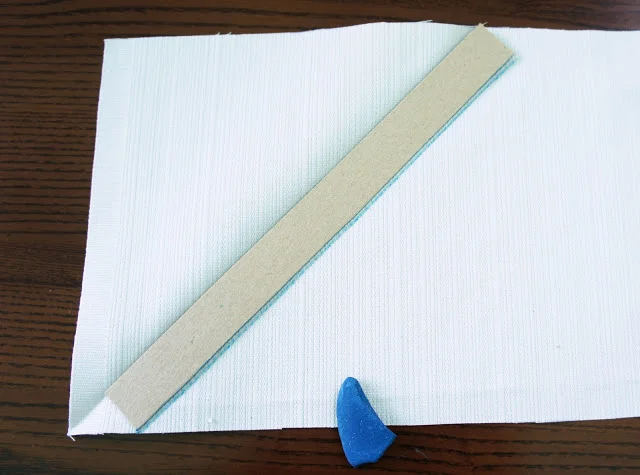
3. The easiest way to get nice even strips is to make a cardboard template for your binding. It needs to be four times the width of what you want the finished binding to be. ( if you want your binding to be 1.5cm finished width your template needs to be 6cm wide. ) Lay your cardboard template with the long edge against the crease line you have created and draw a line with a tailors chalk or a washable fabric marking pen. Continue across your fabric until you reach the opposite corner.

4. Cut off unmarked corner pieces and discard then cut your strips.

4. Cut off unmarked corner pieces and discard then cut your strips.

6. Press seams open and trim off any points that stick out beyond the binding.

7. Press binding in half ready to apply to your desired garment.