Fusing
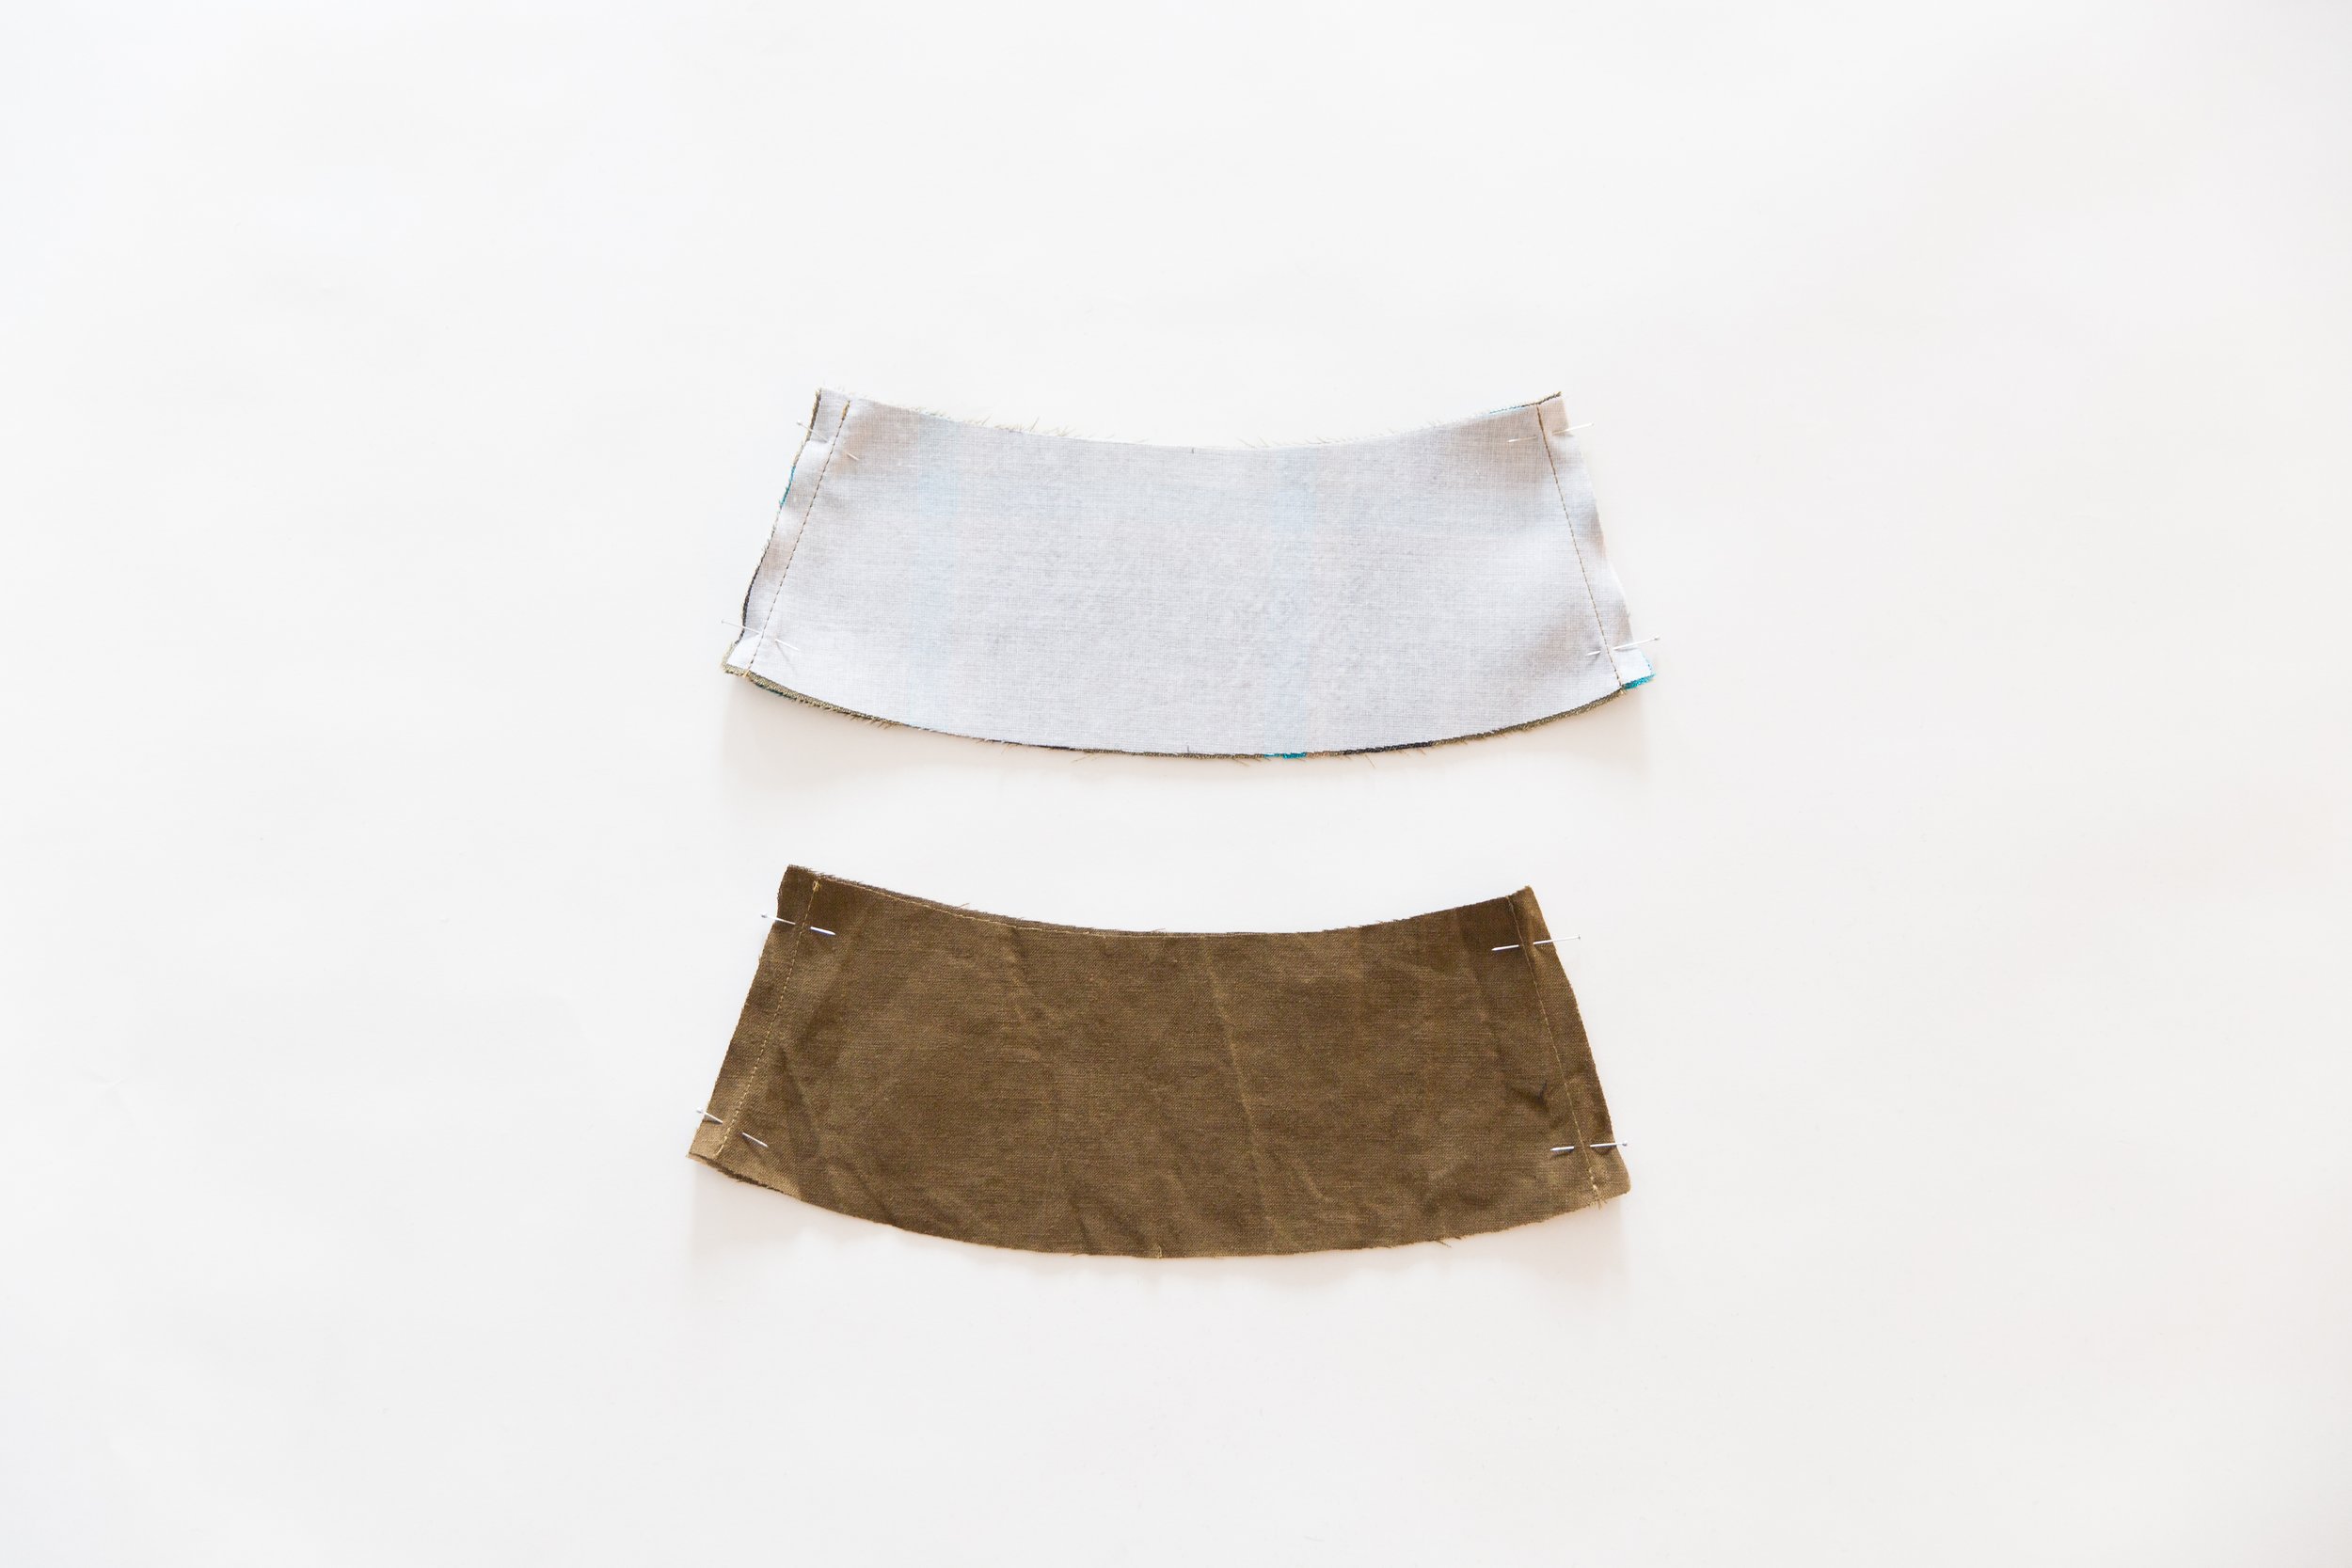
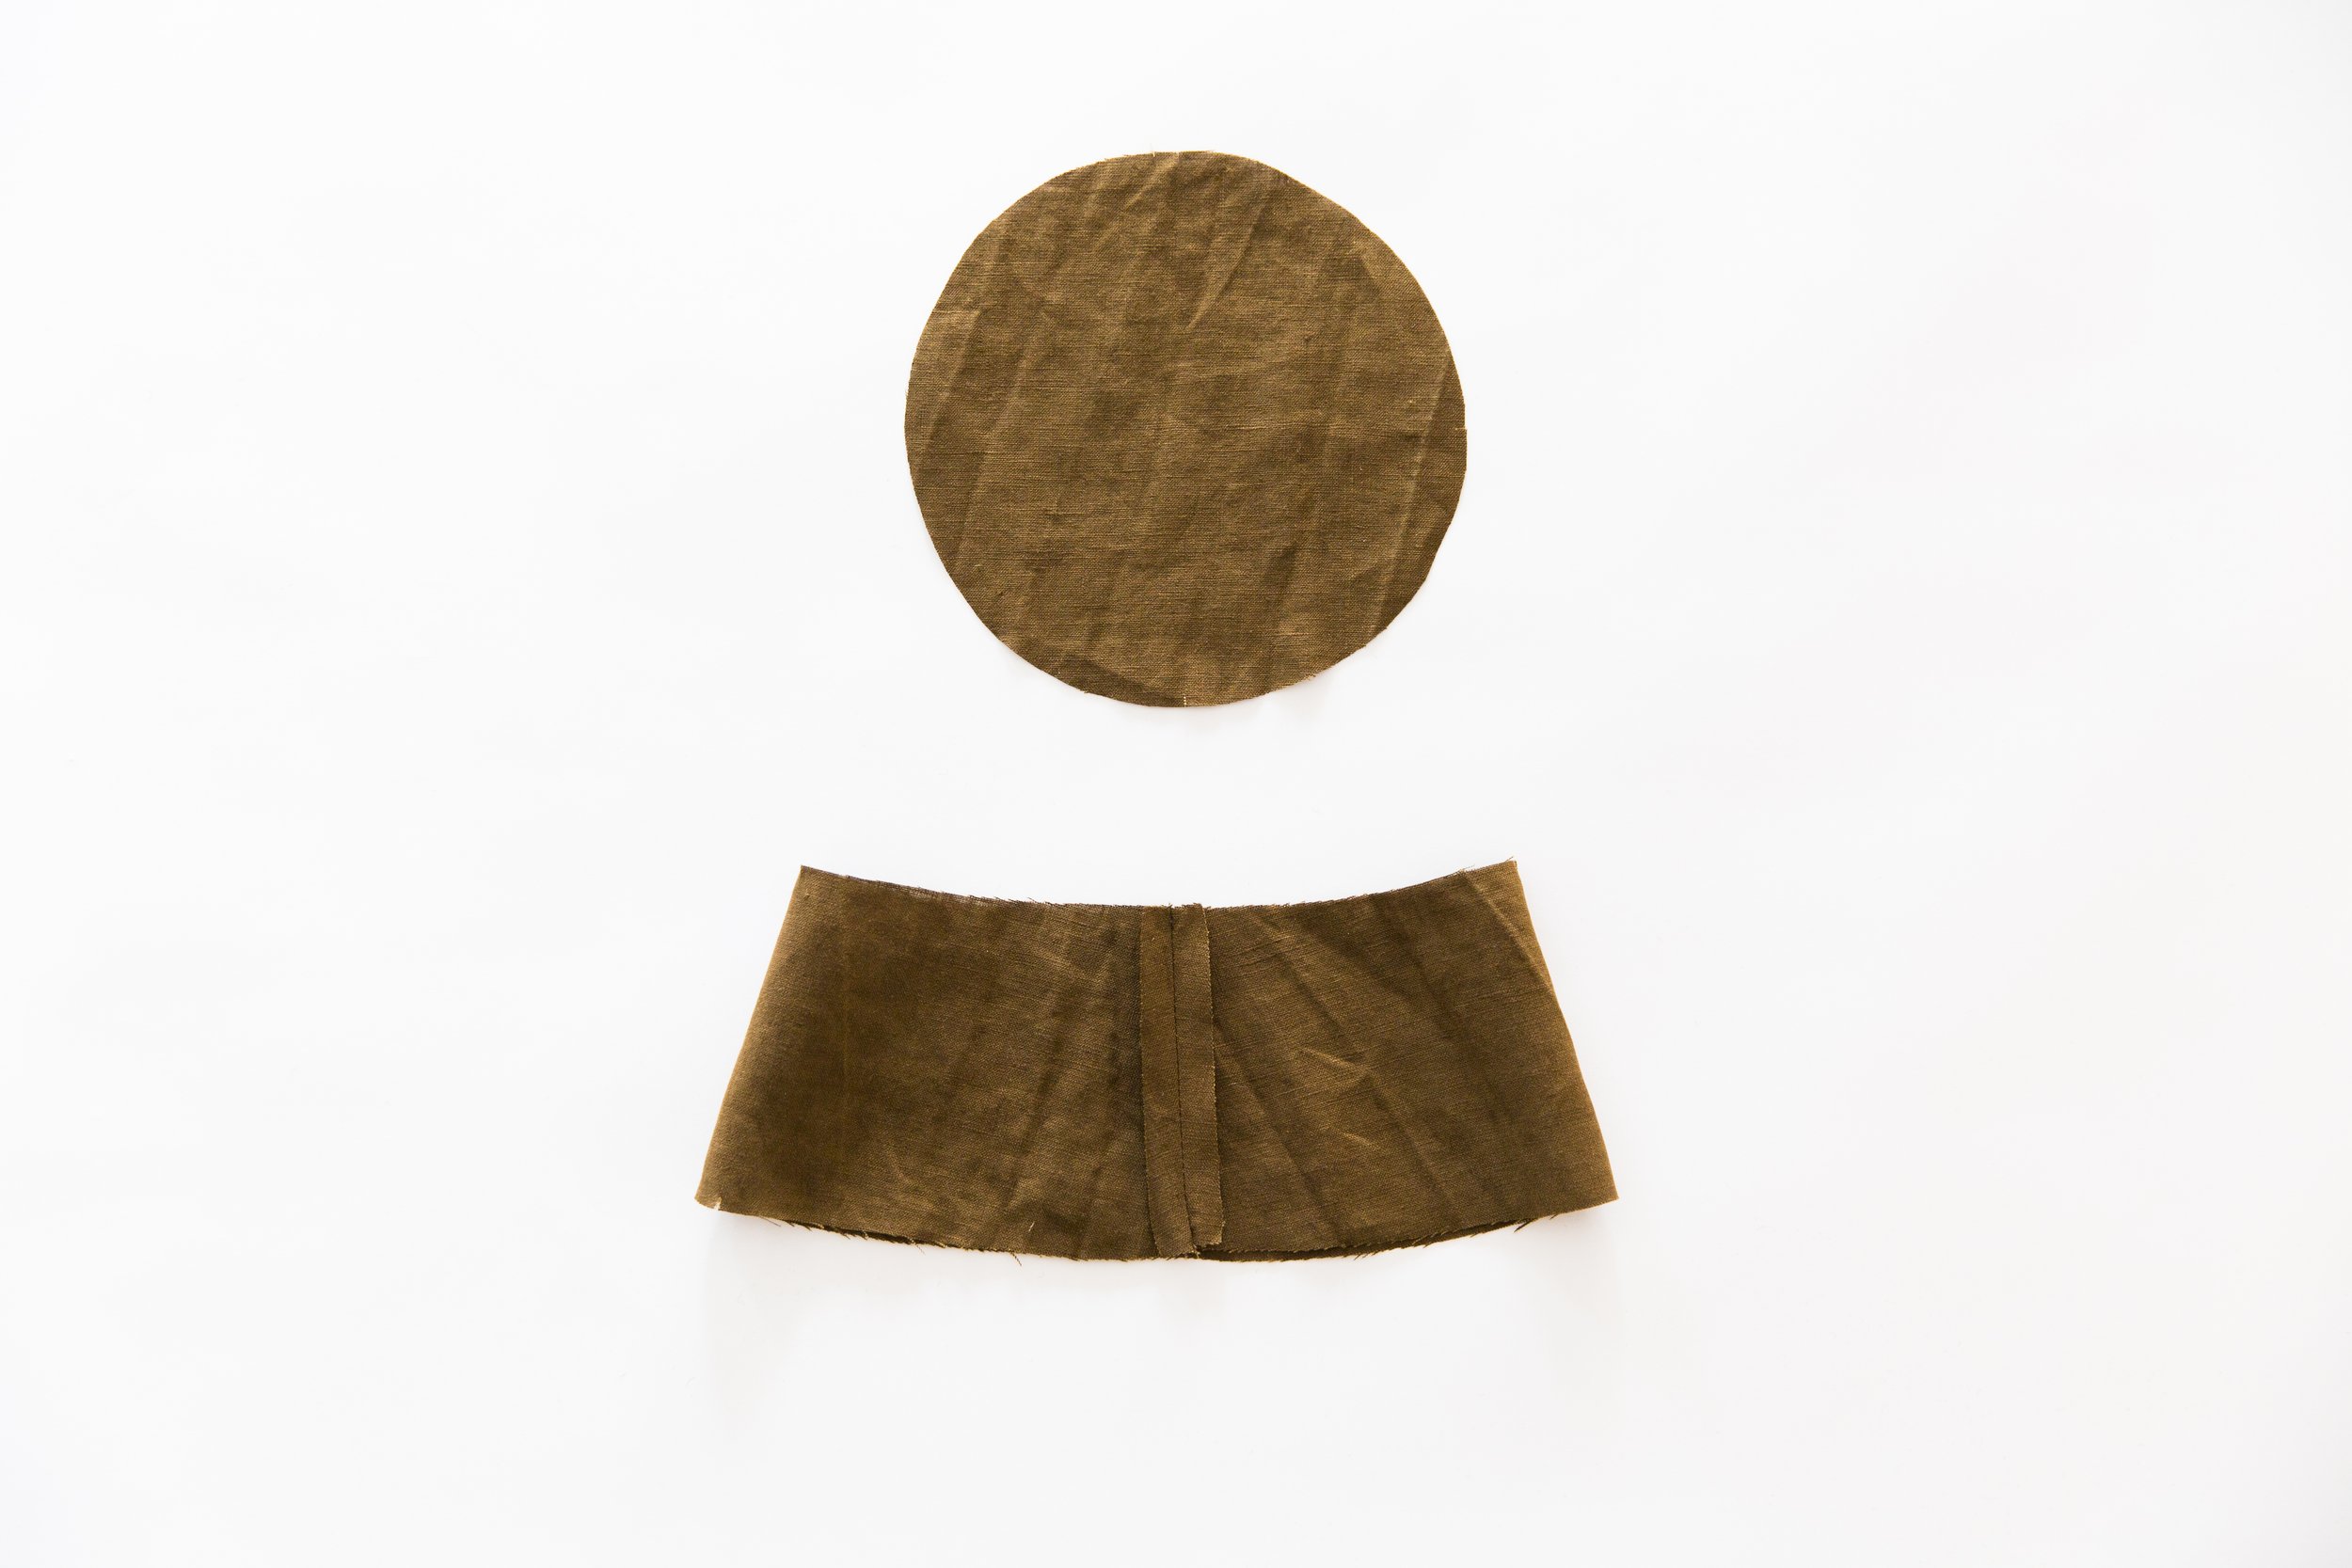
On the wrong side of fabric, fuse your outer top circle piece, your outer head band pieces and all four brim pieces.
Step 1
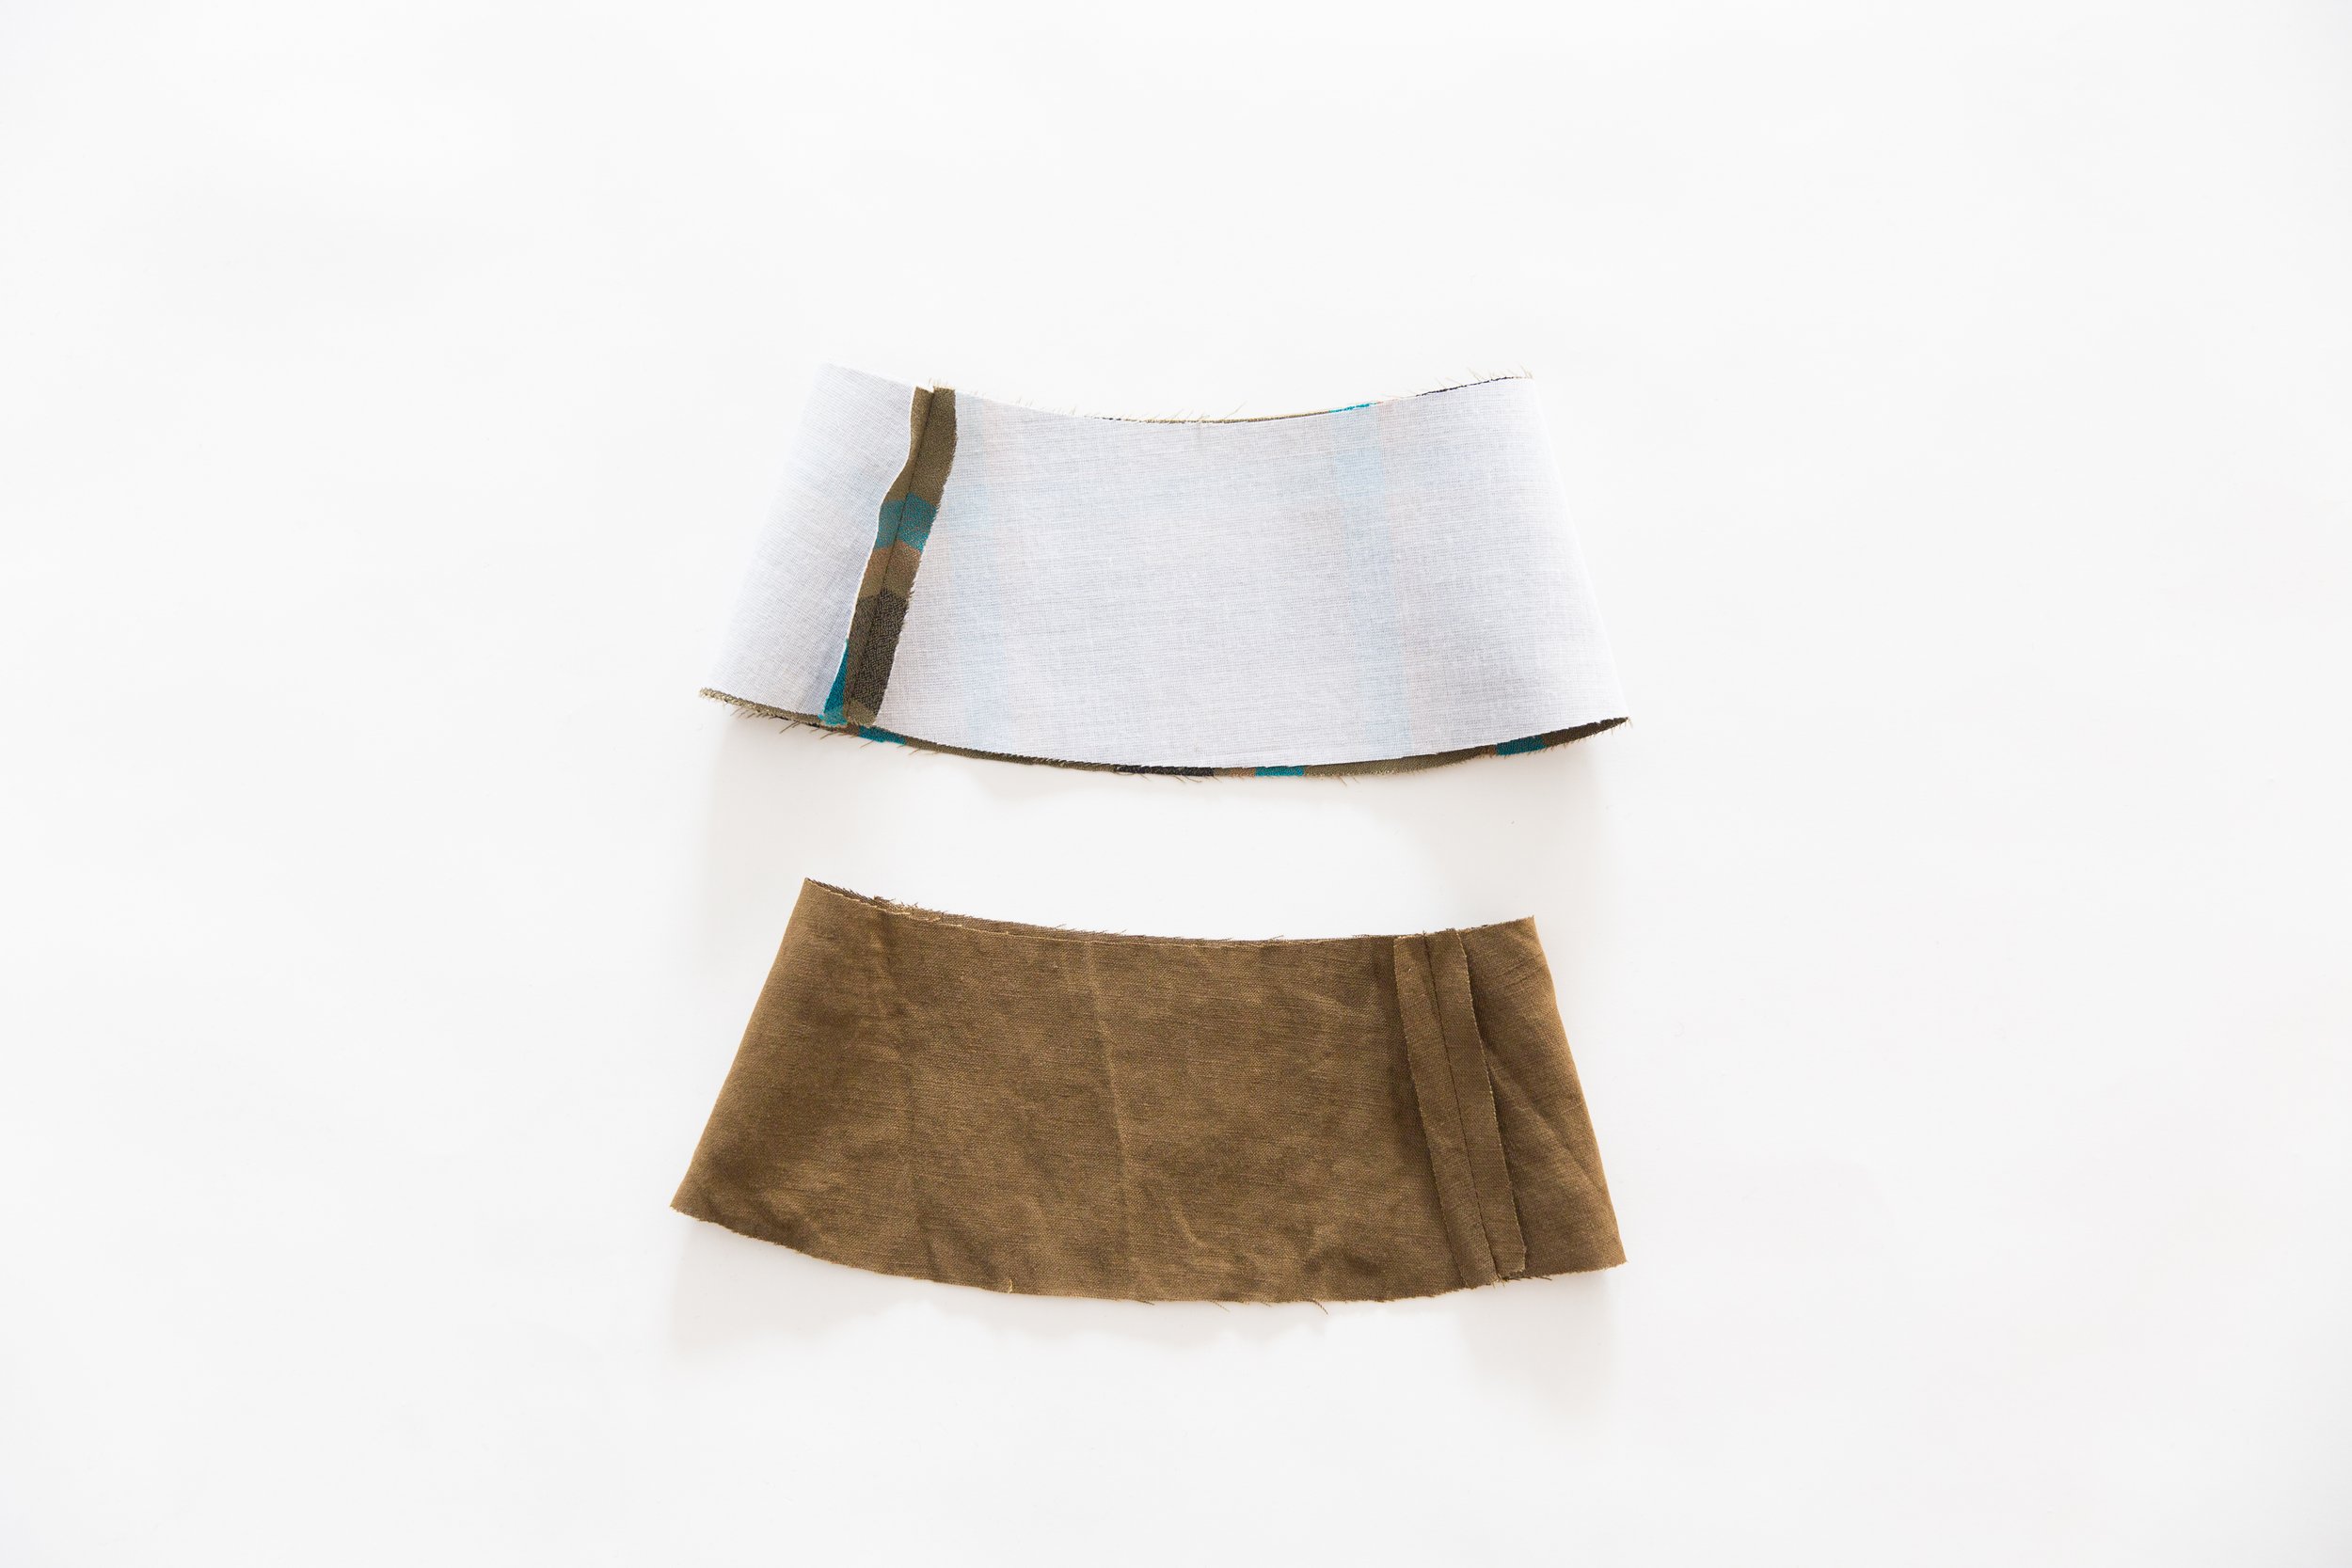
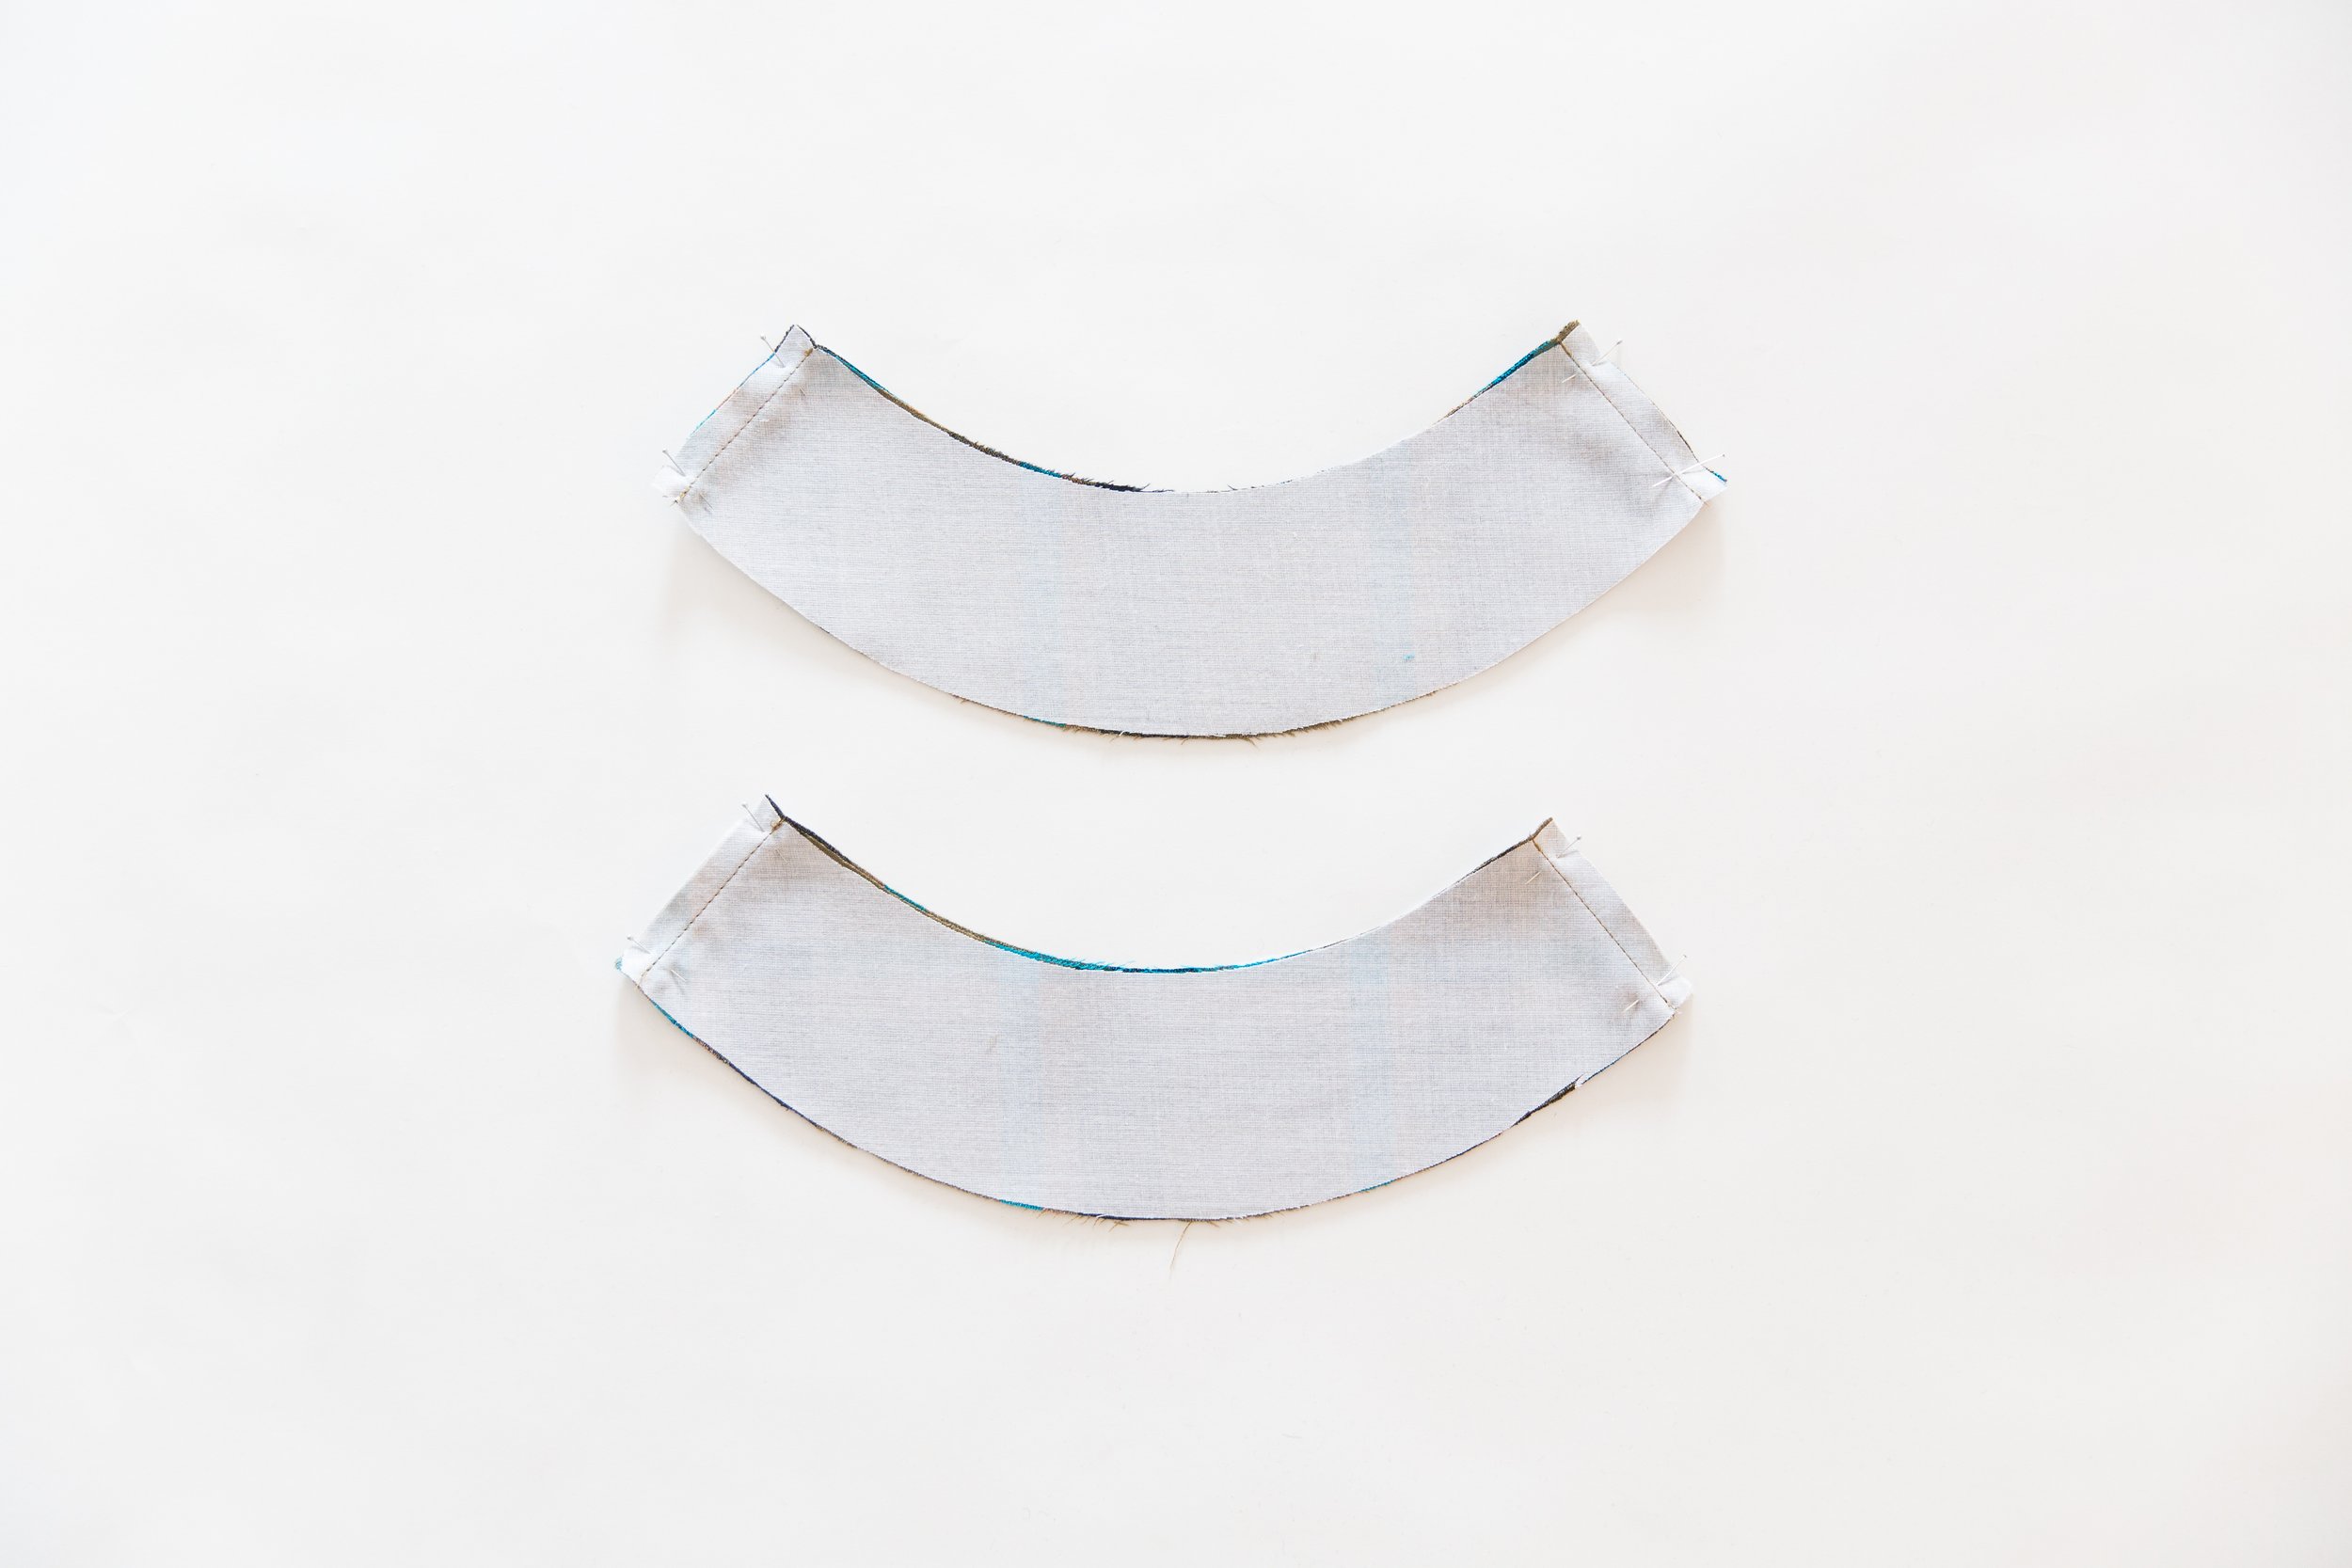
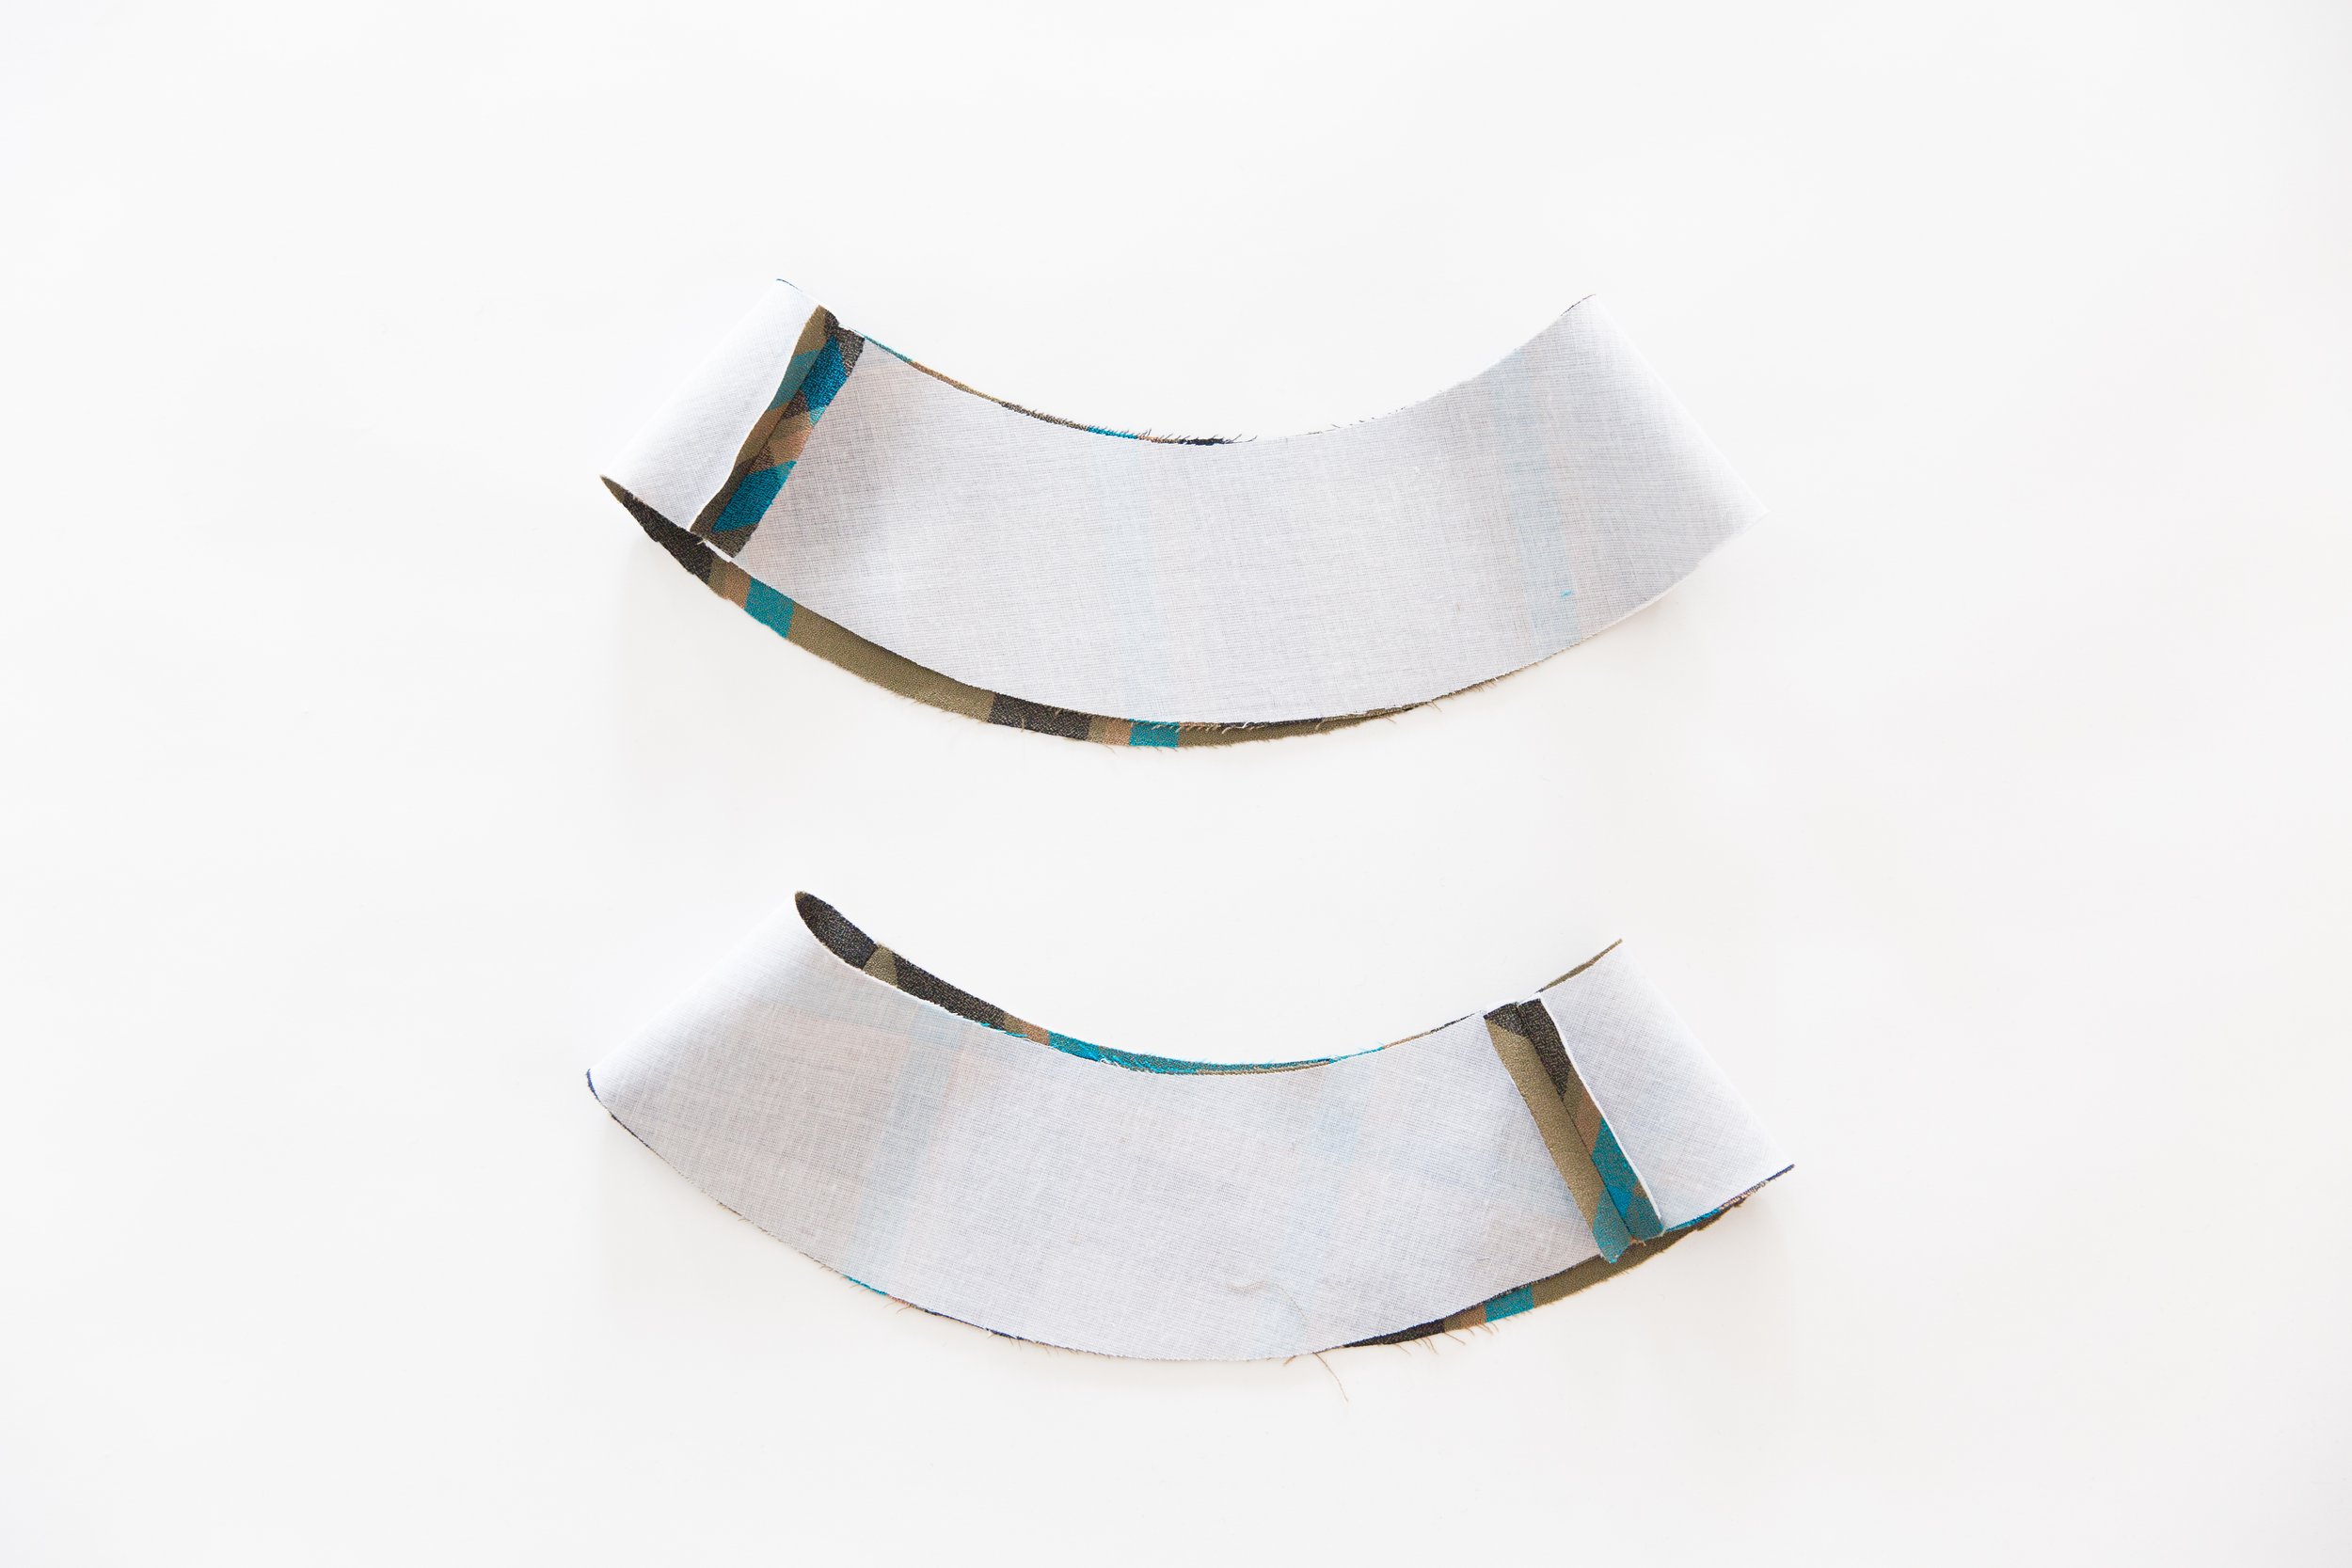
Place your outer head band pieces together and your lining head pieces together with right sides facing. Stitch together at side seams. Press seam allowances open.
Step 2
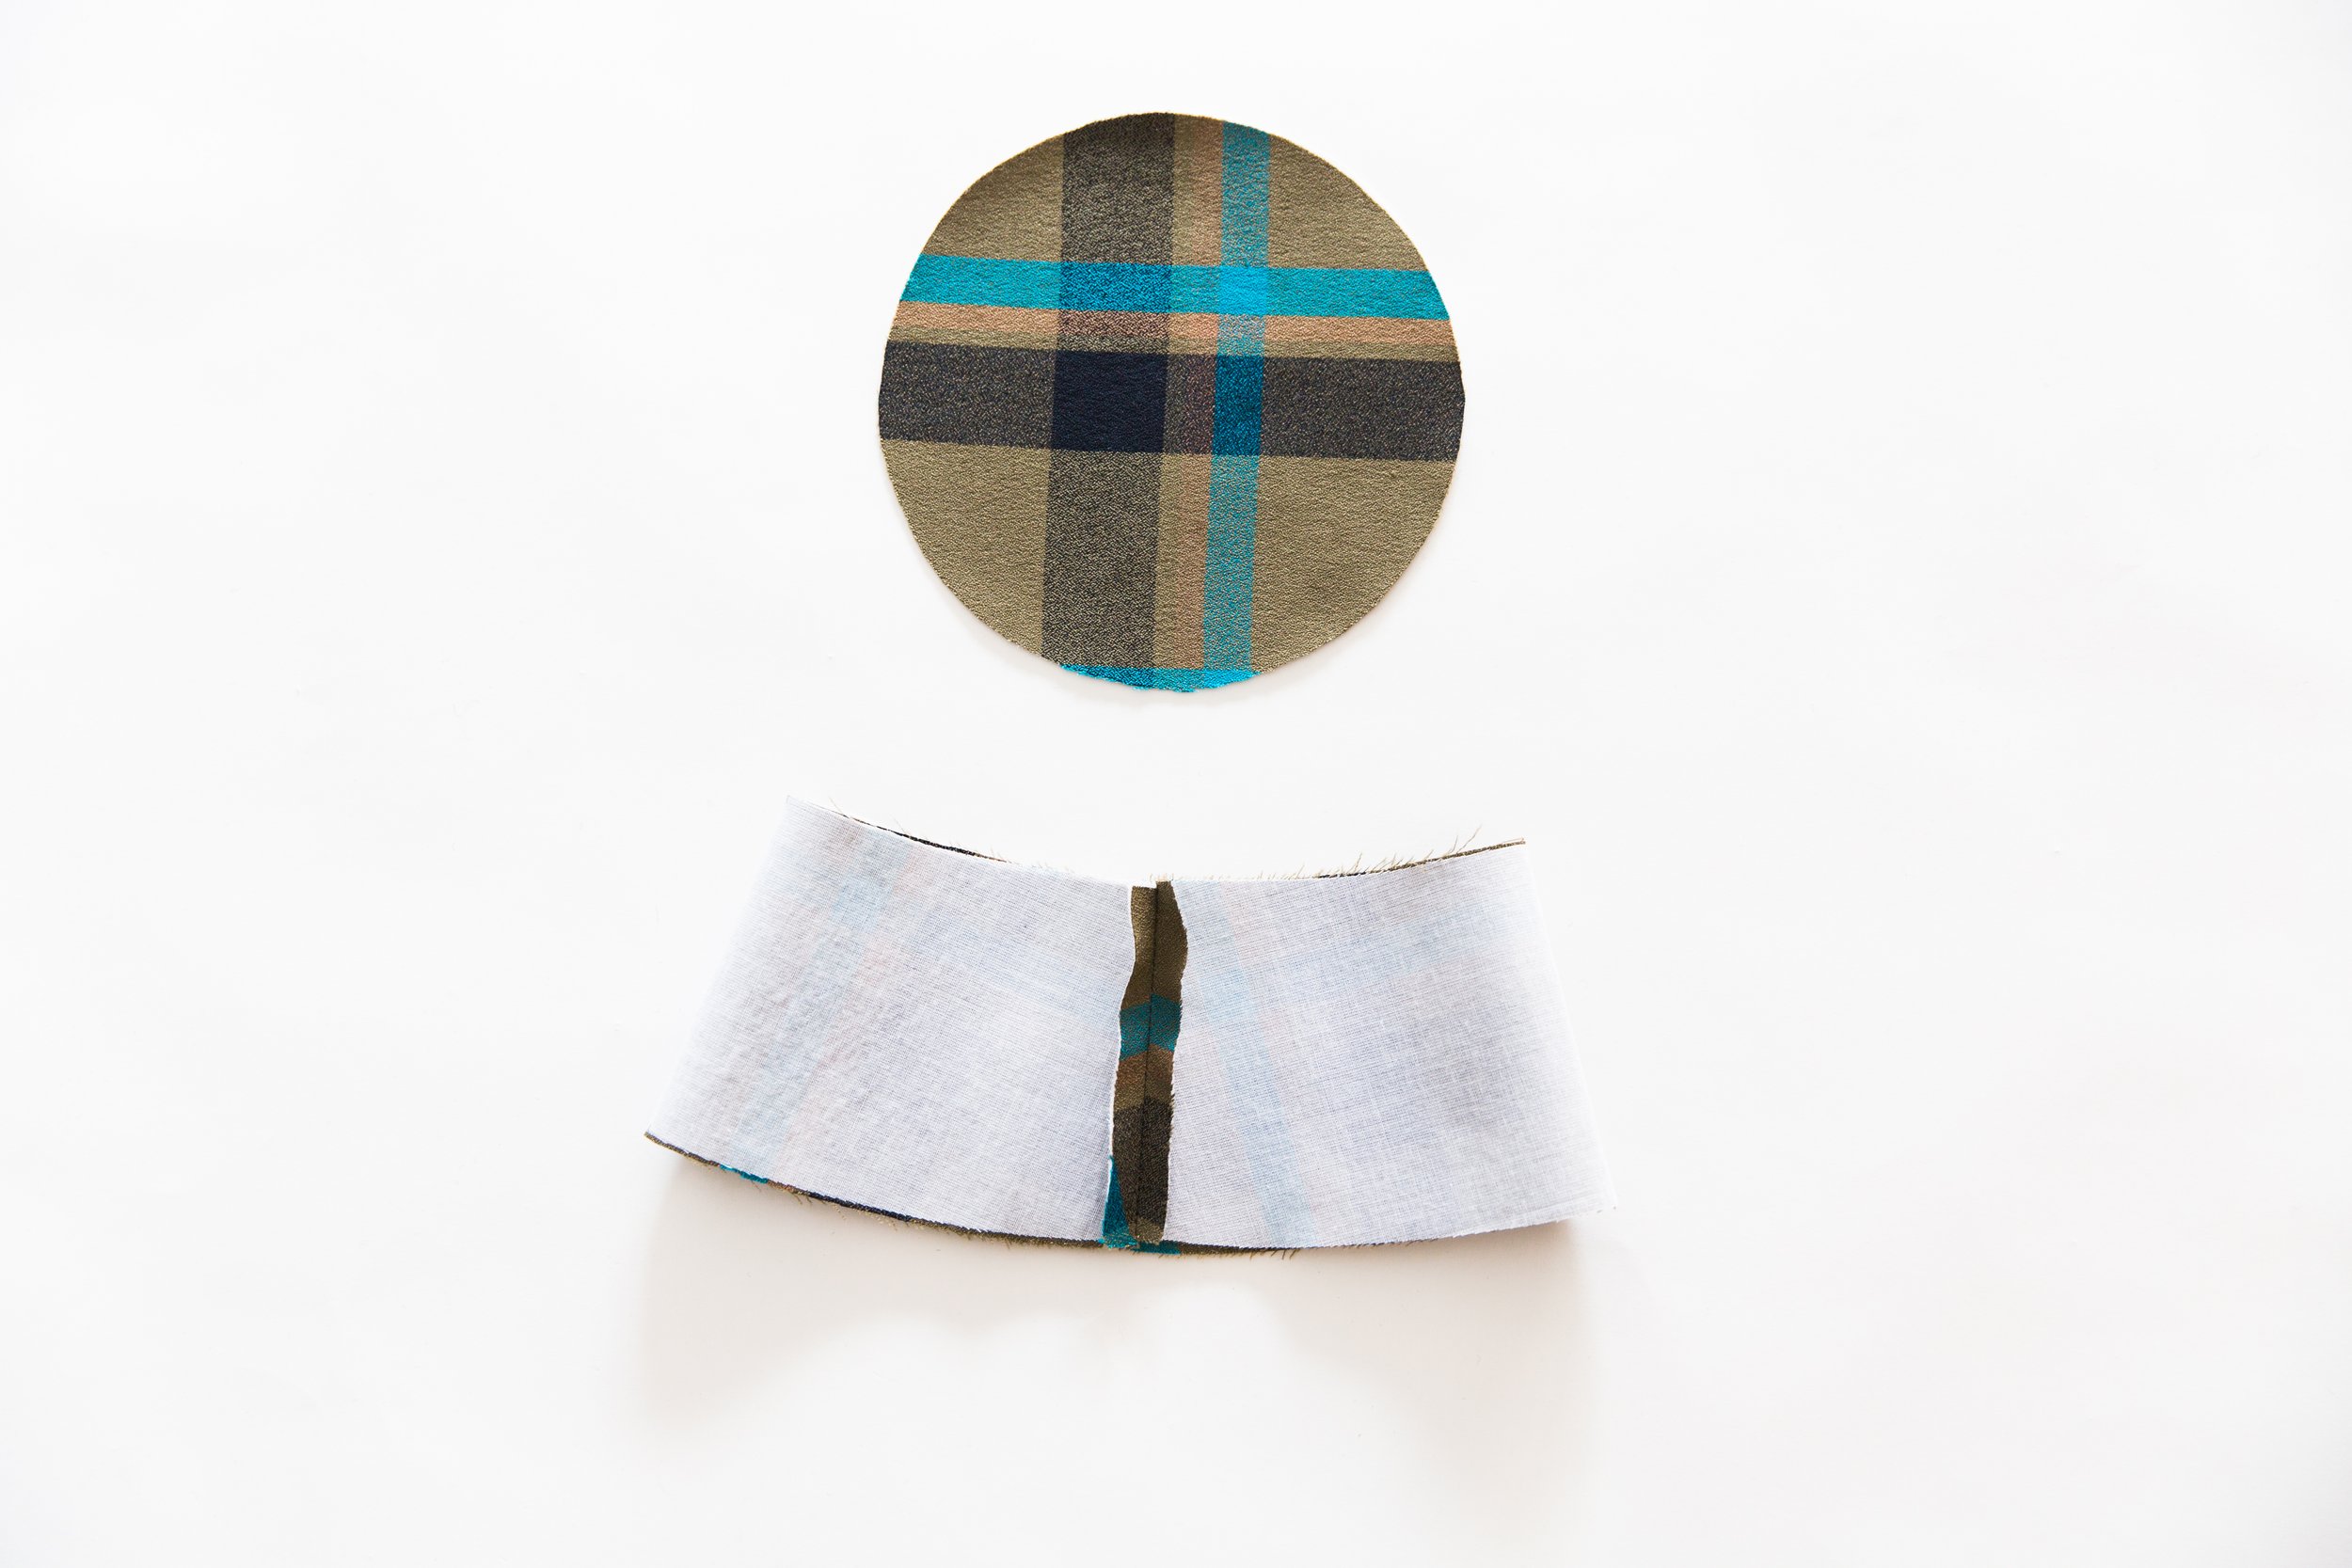
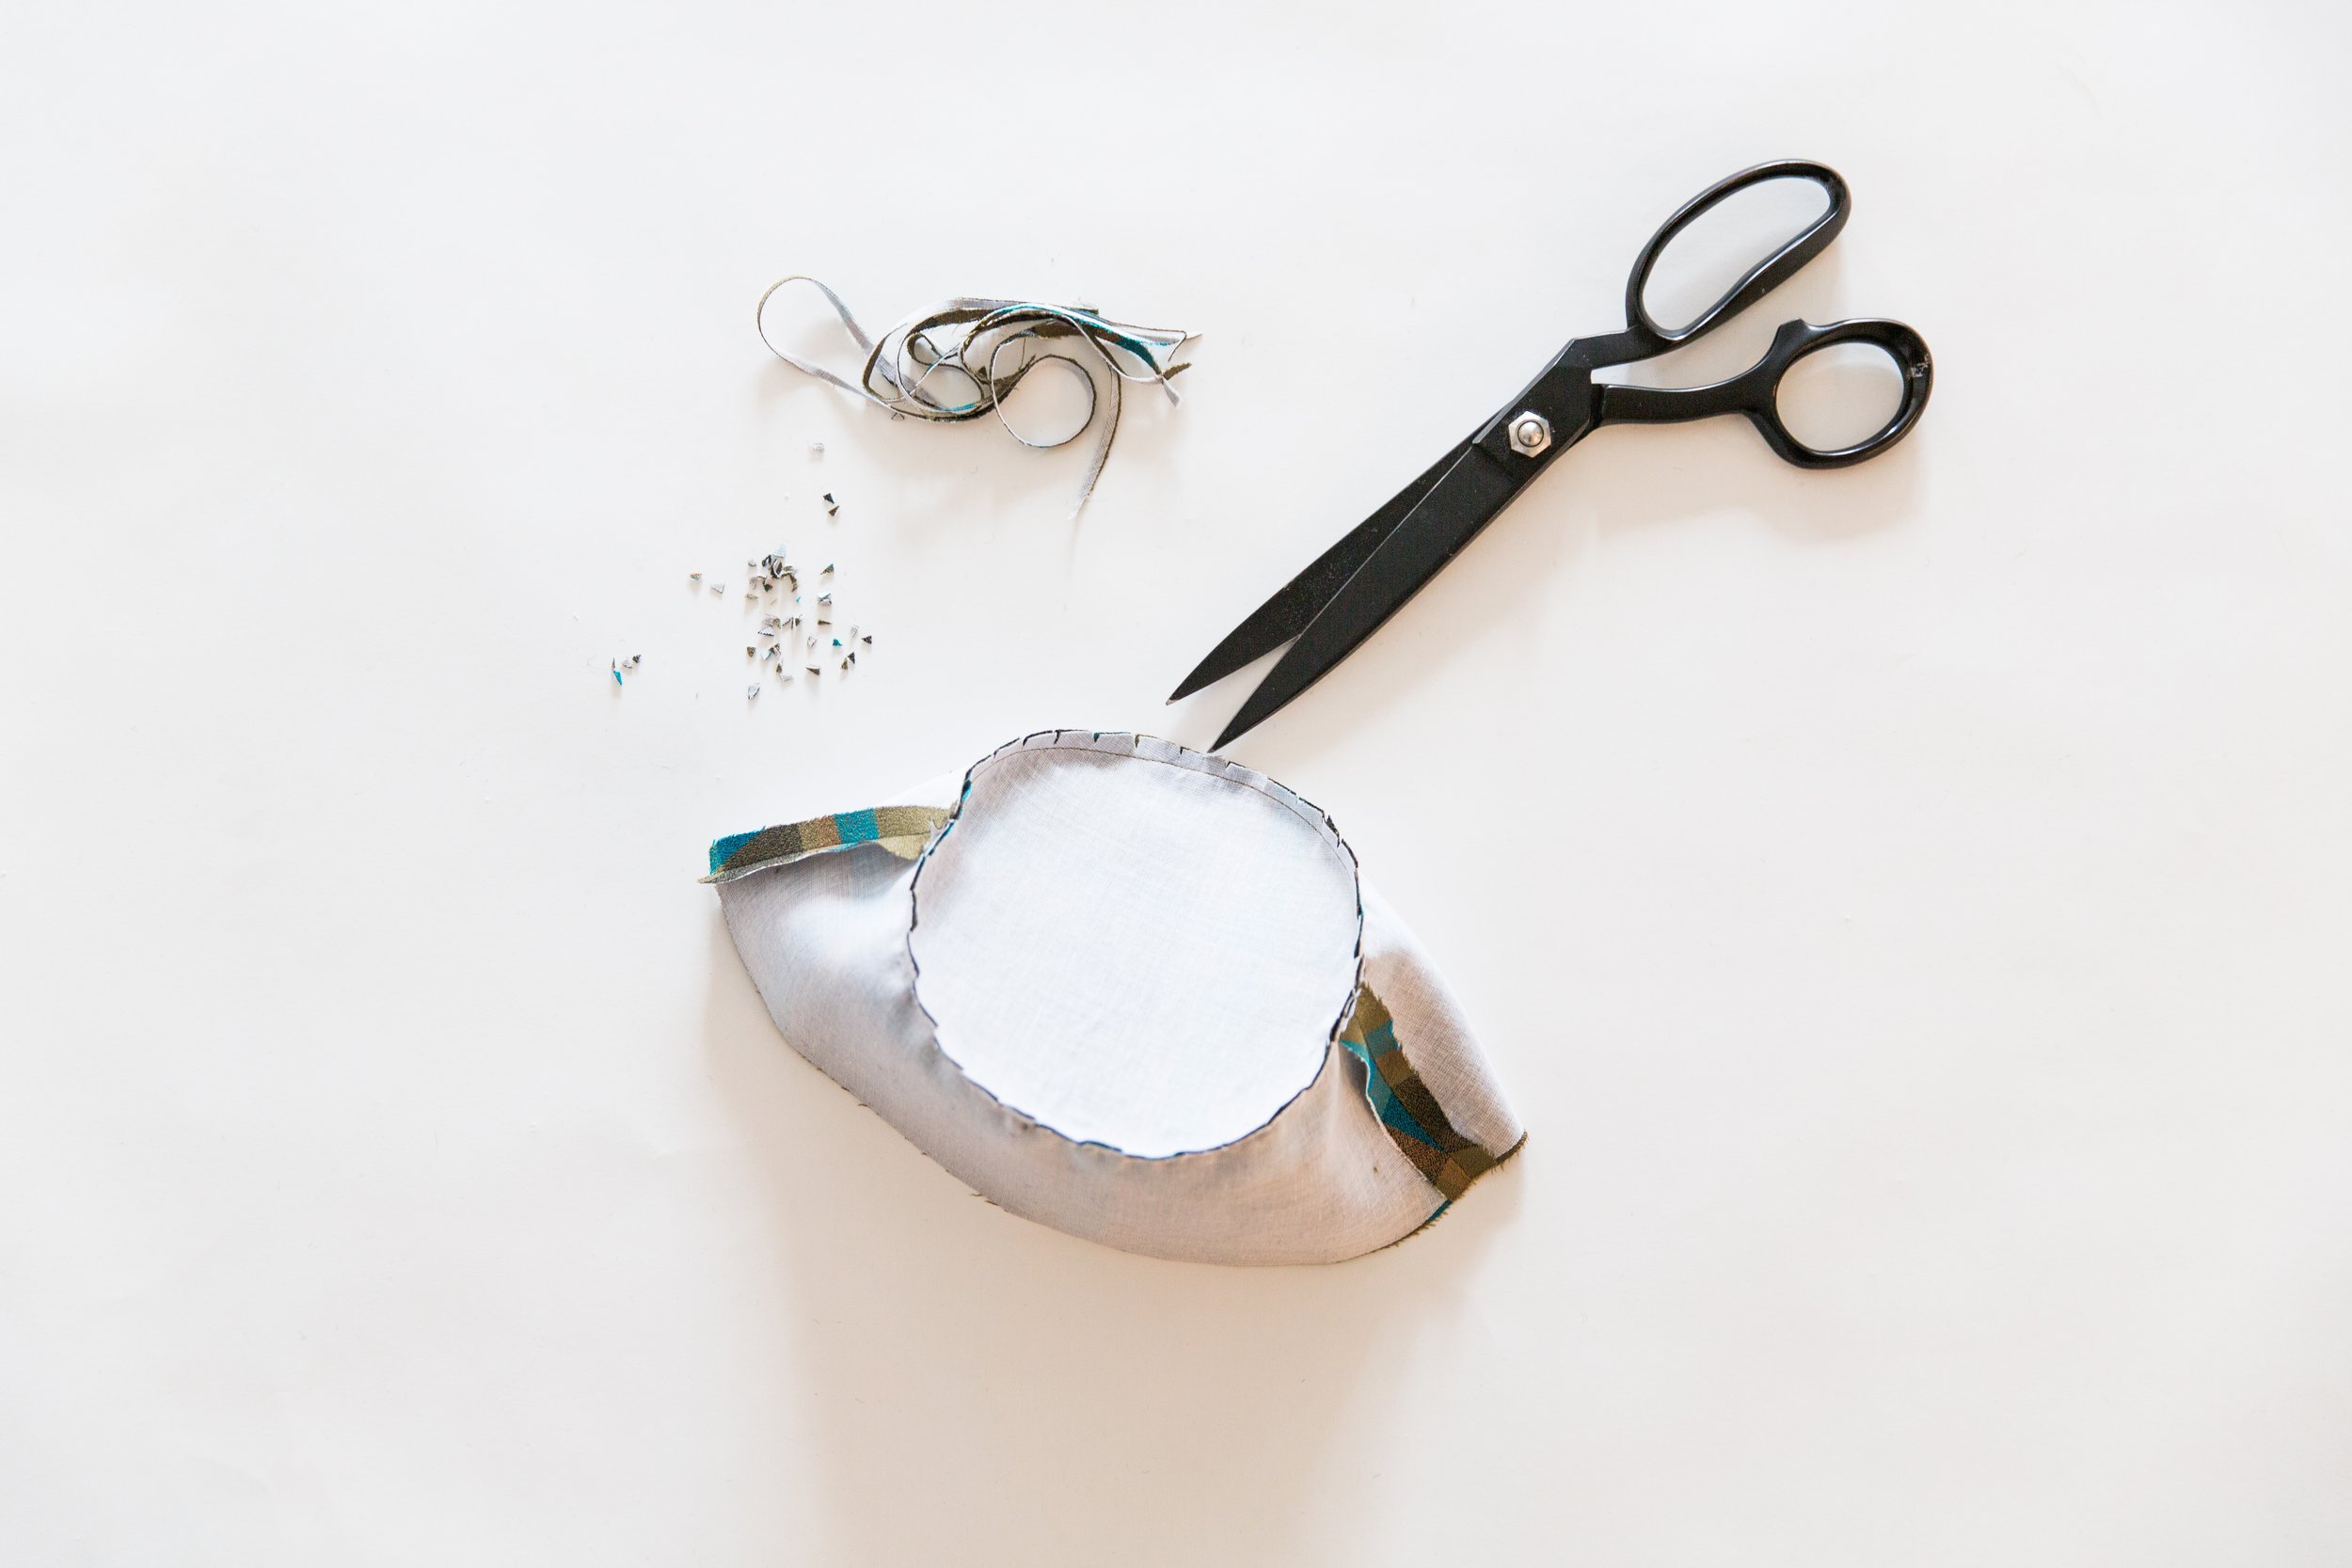
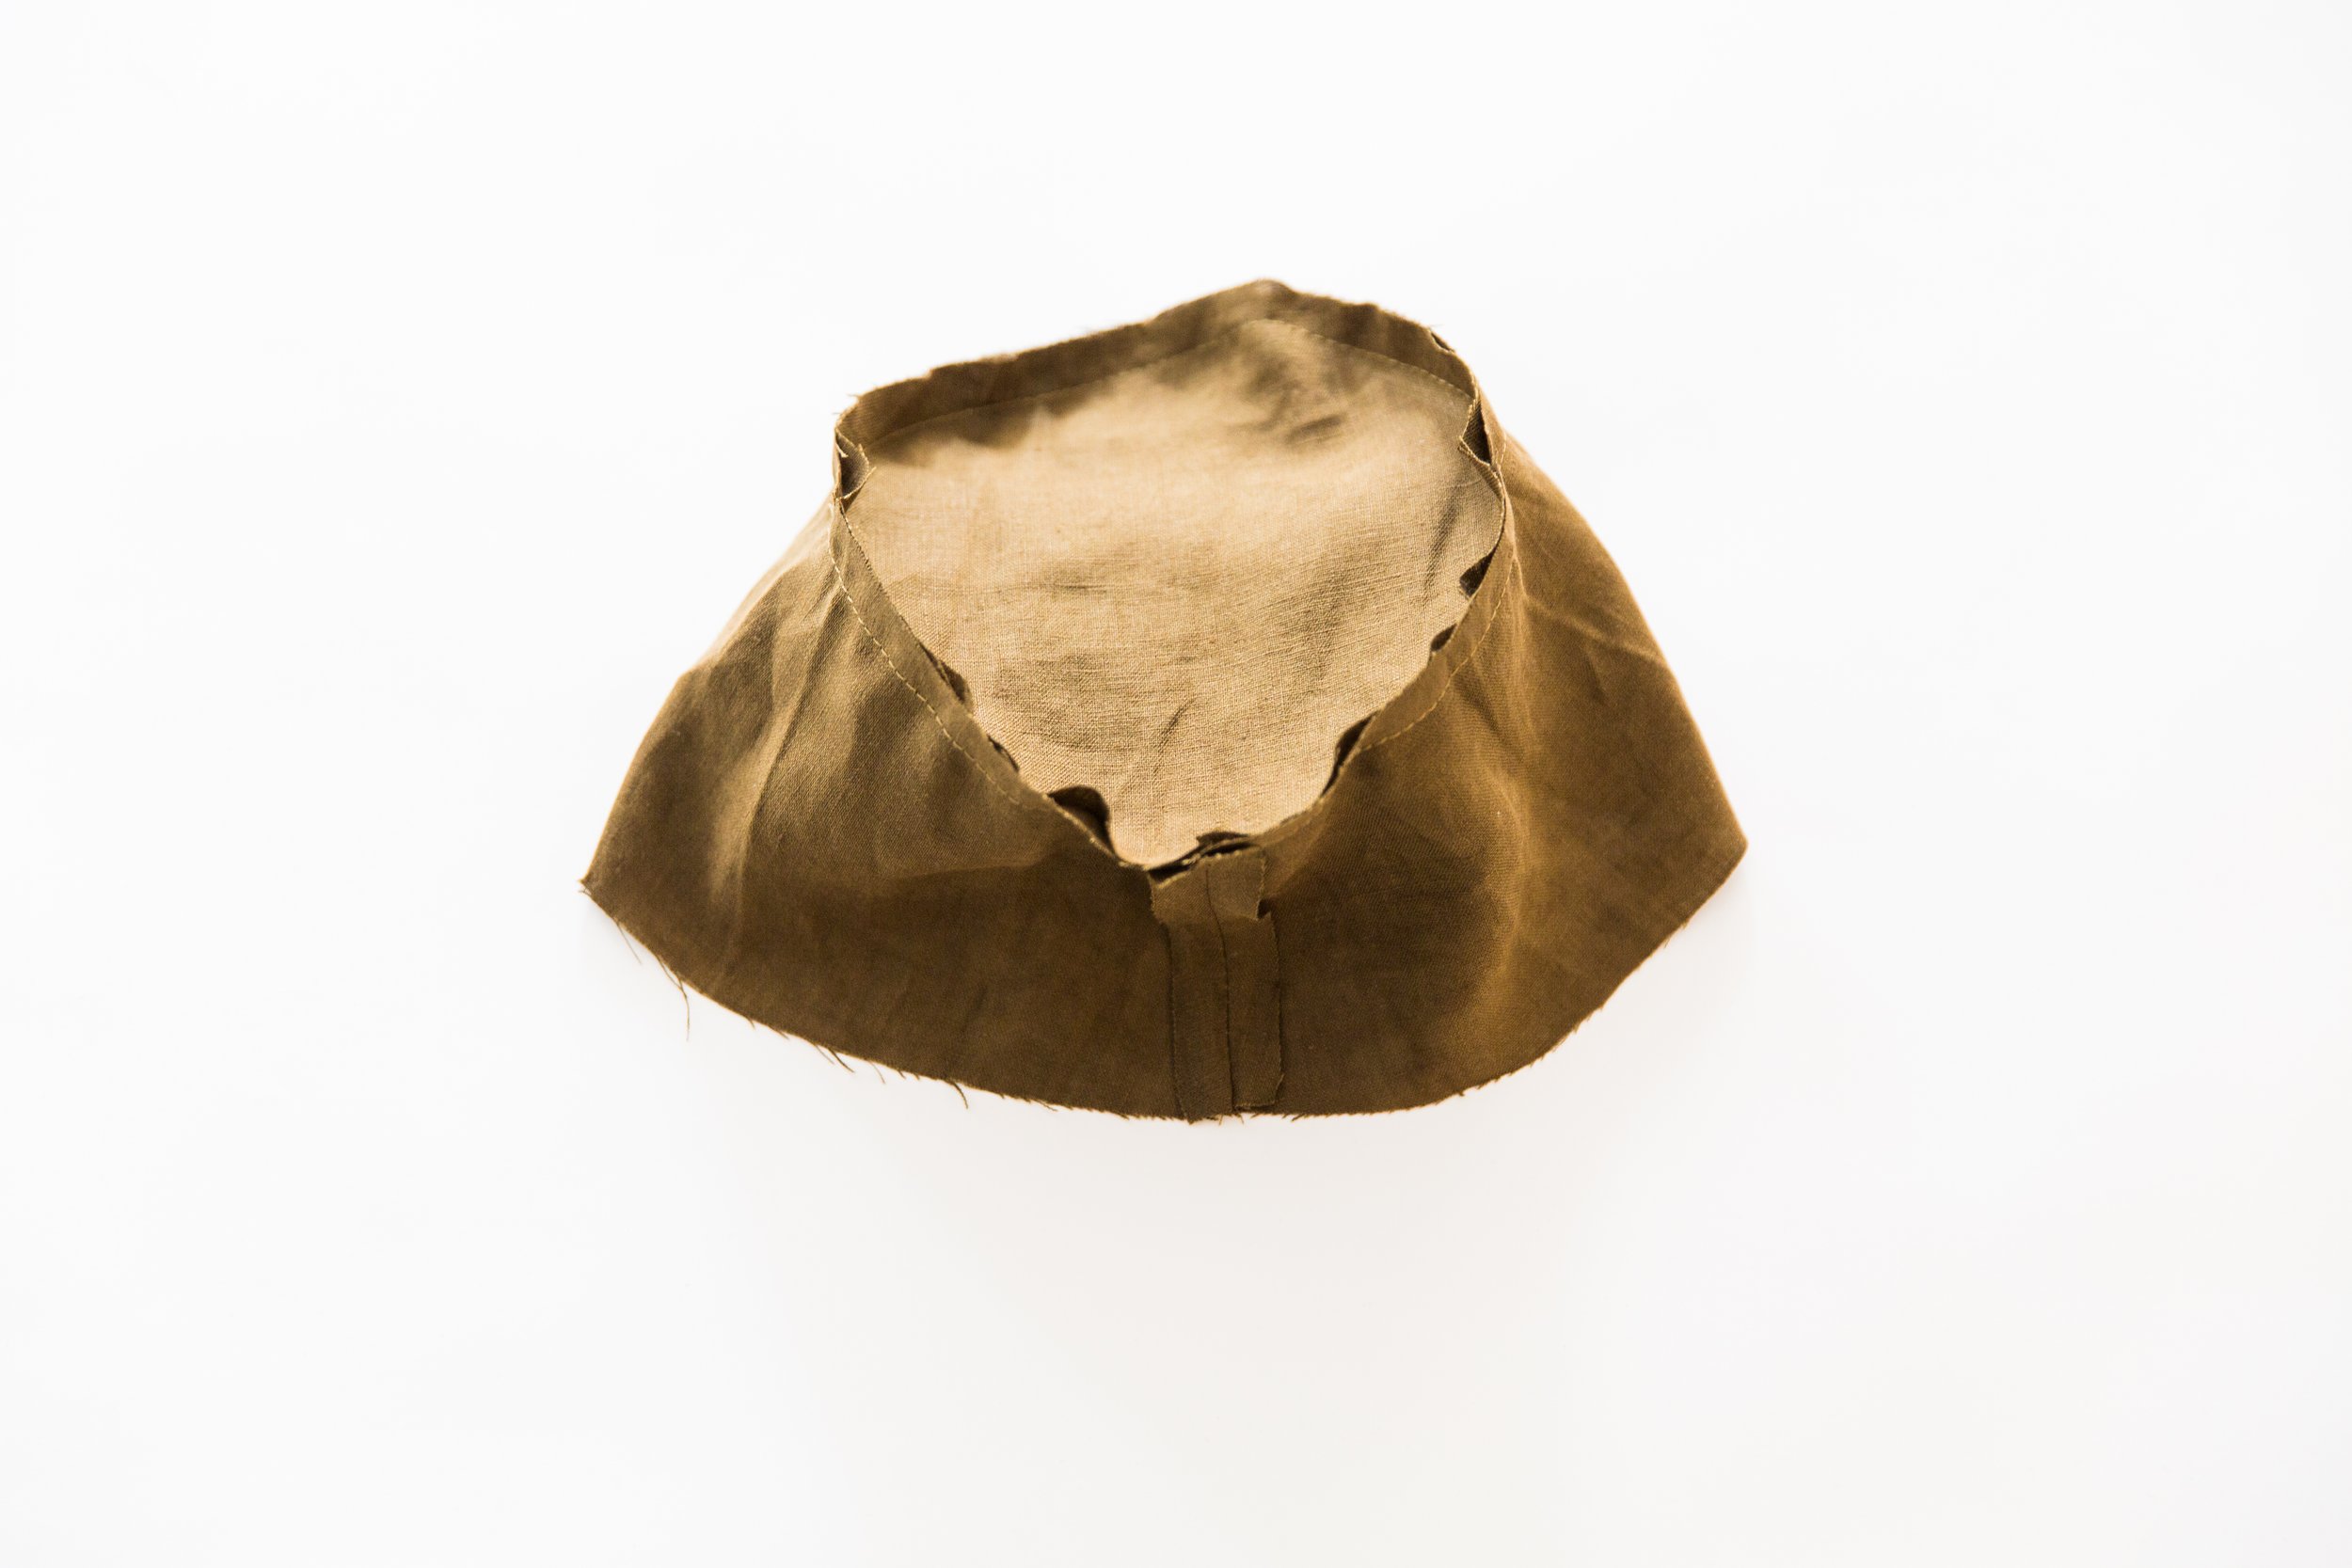
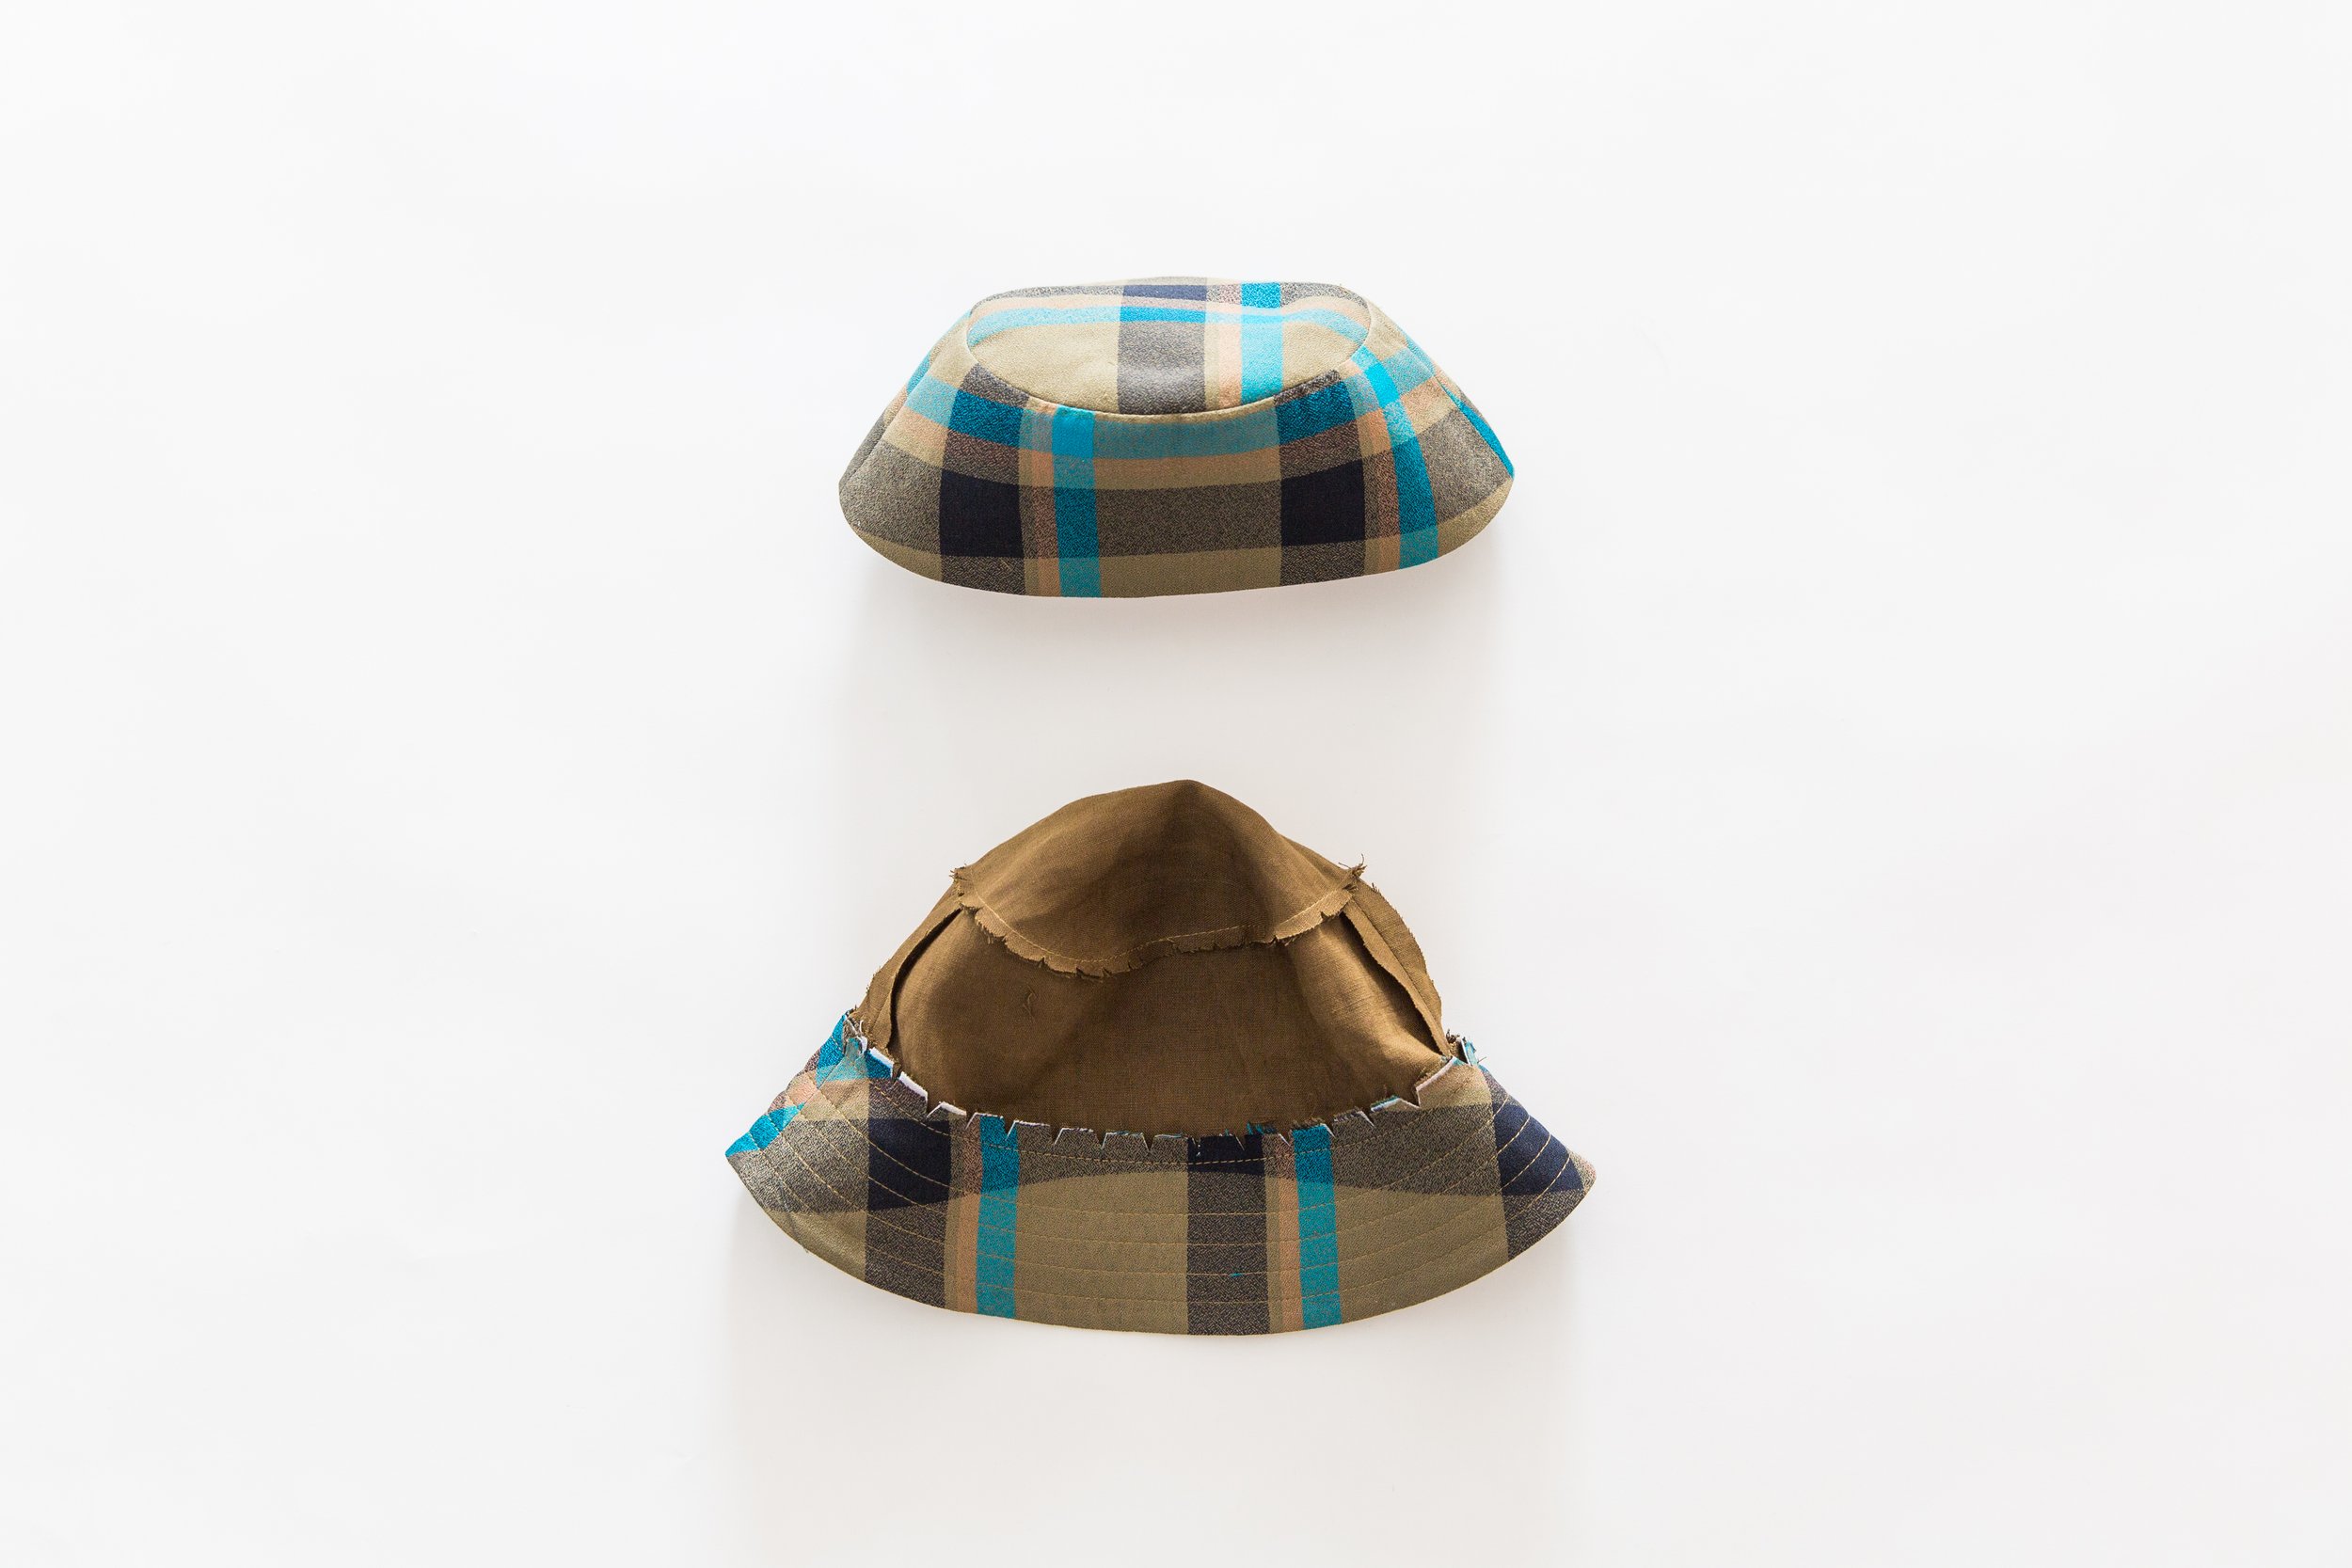
Working with your outer pieces, place the top circle piece into the top edges of head band pieces, lining up notches and seam allowances. Stitch together. Trip seam allowance and clip around curve. Press seam allowance down toward head band pieces.
Press the bottom seam allowance of head band up toward the wrong side, making sure it’s accurately 1cm all the way around. Set aside for now.
Step 3
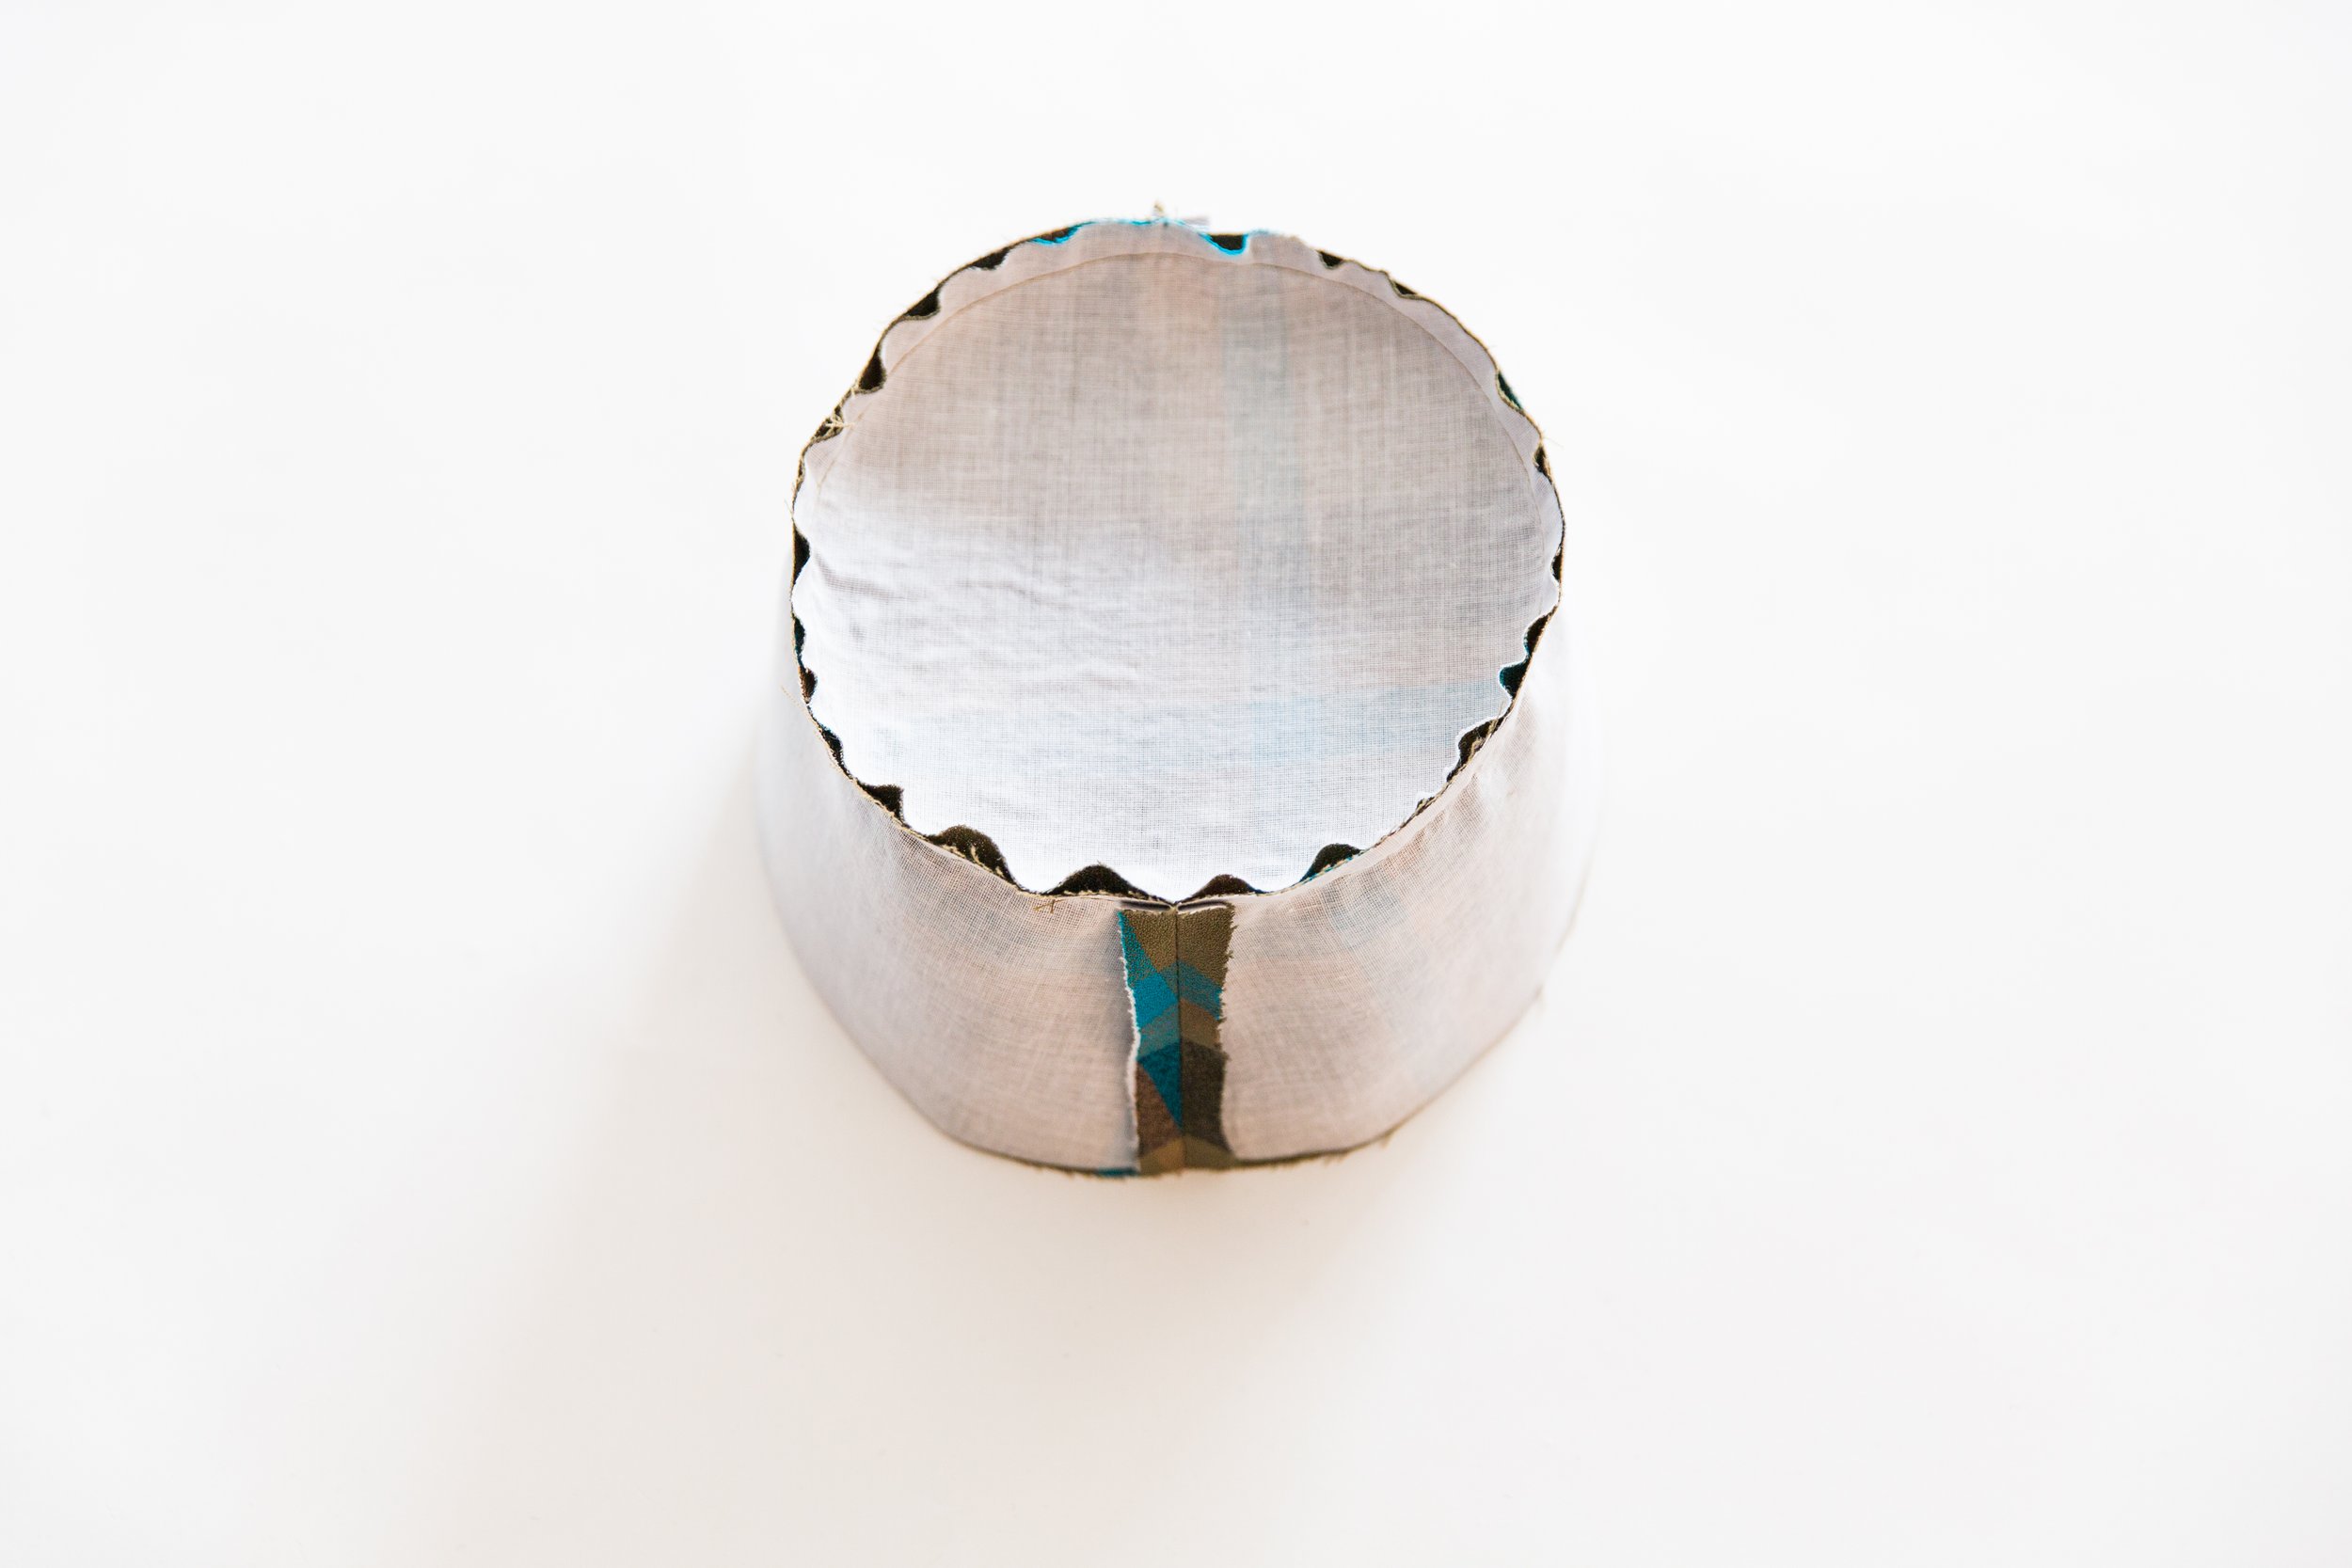
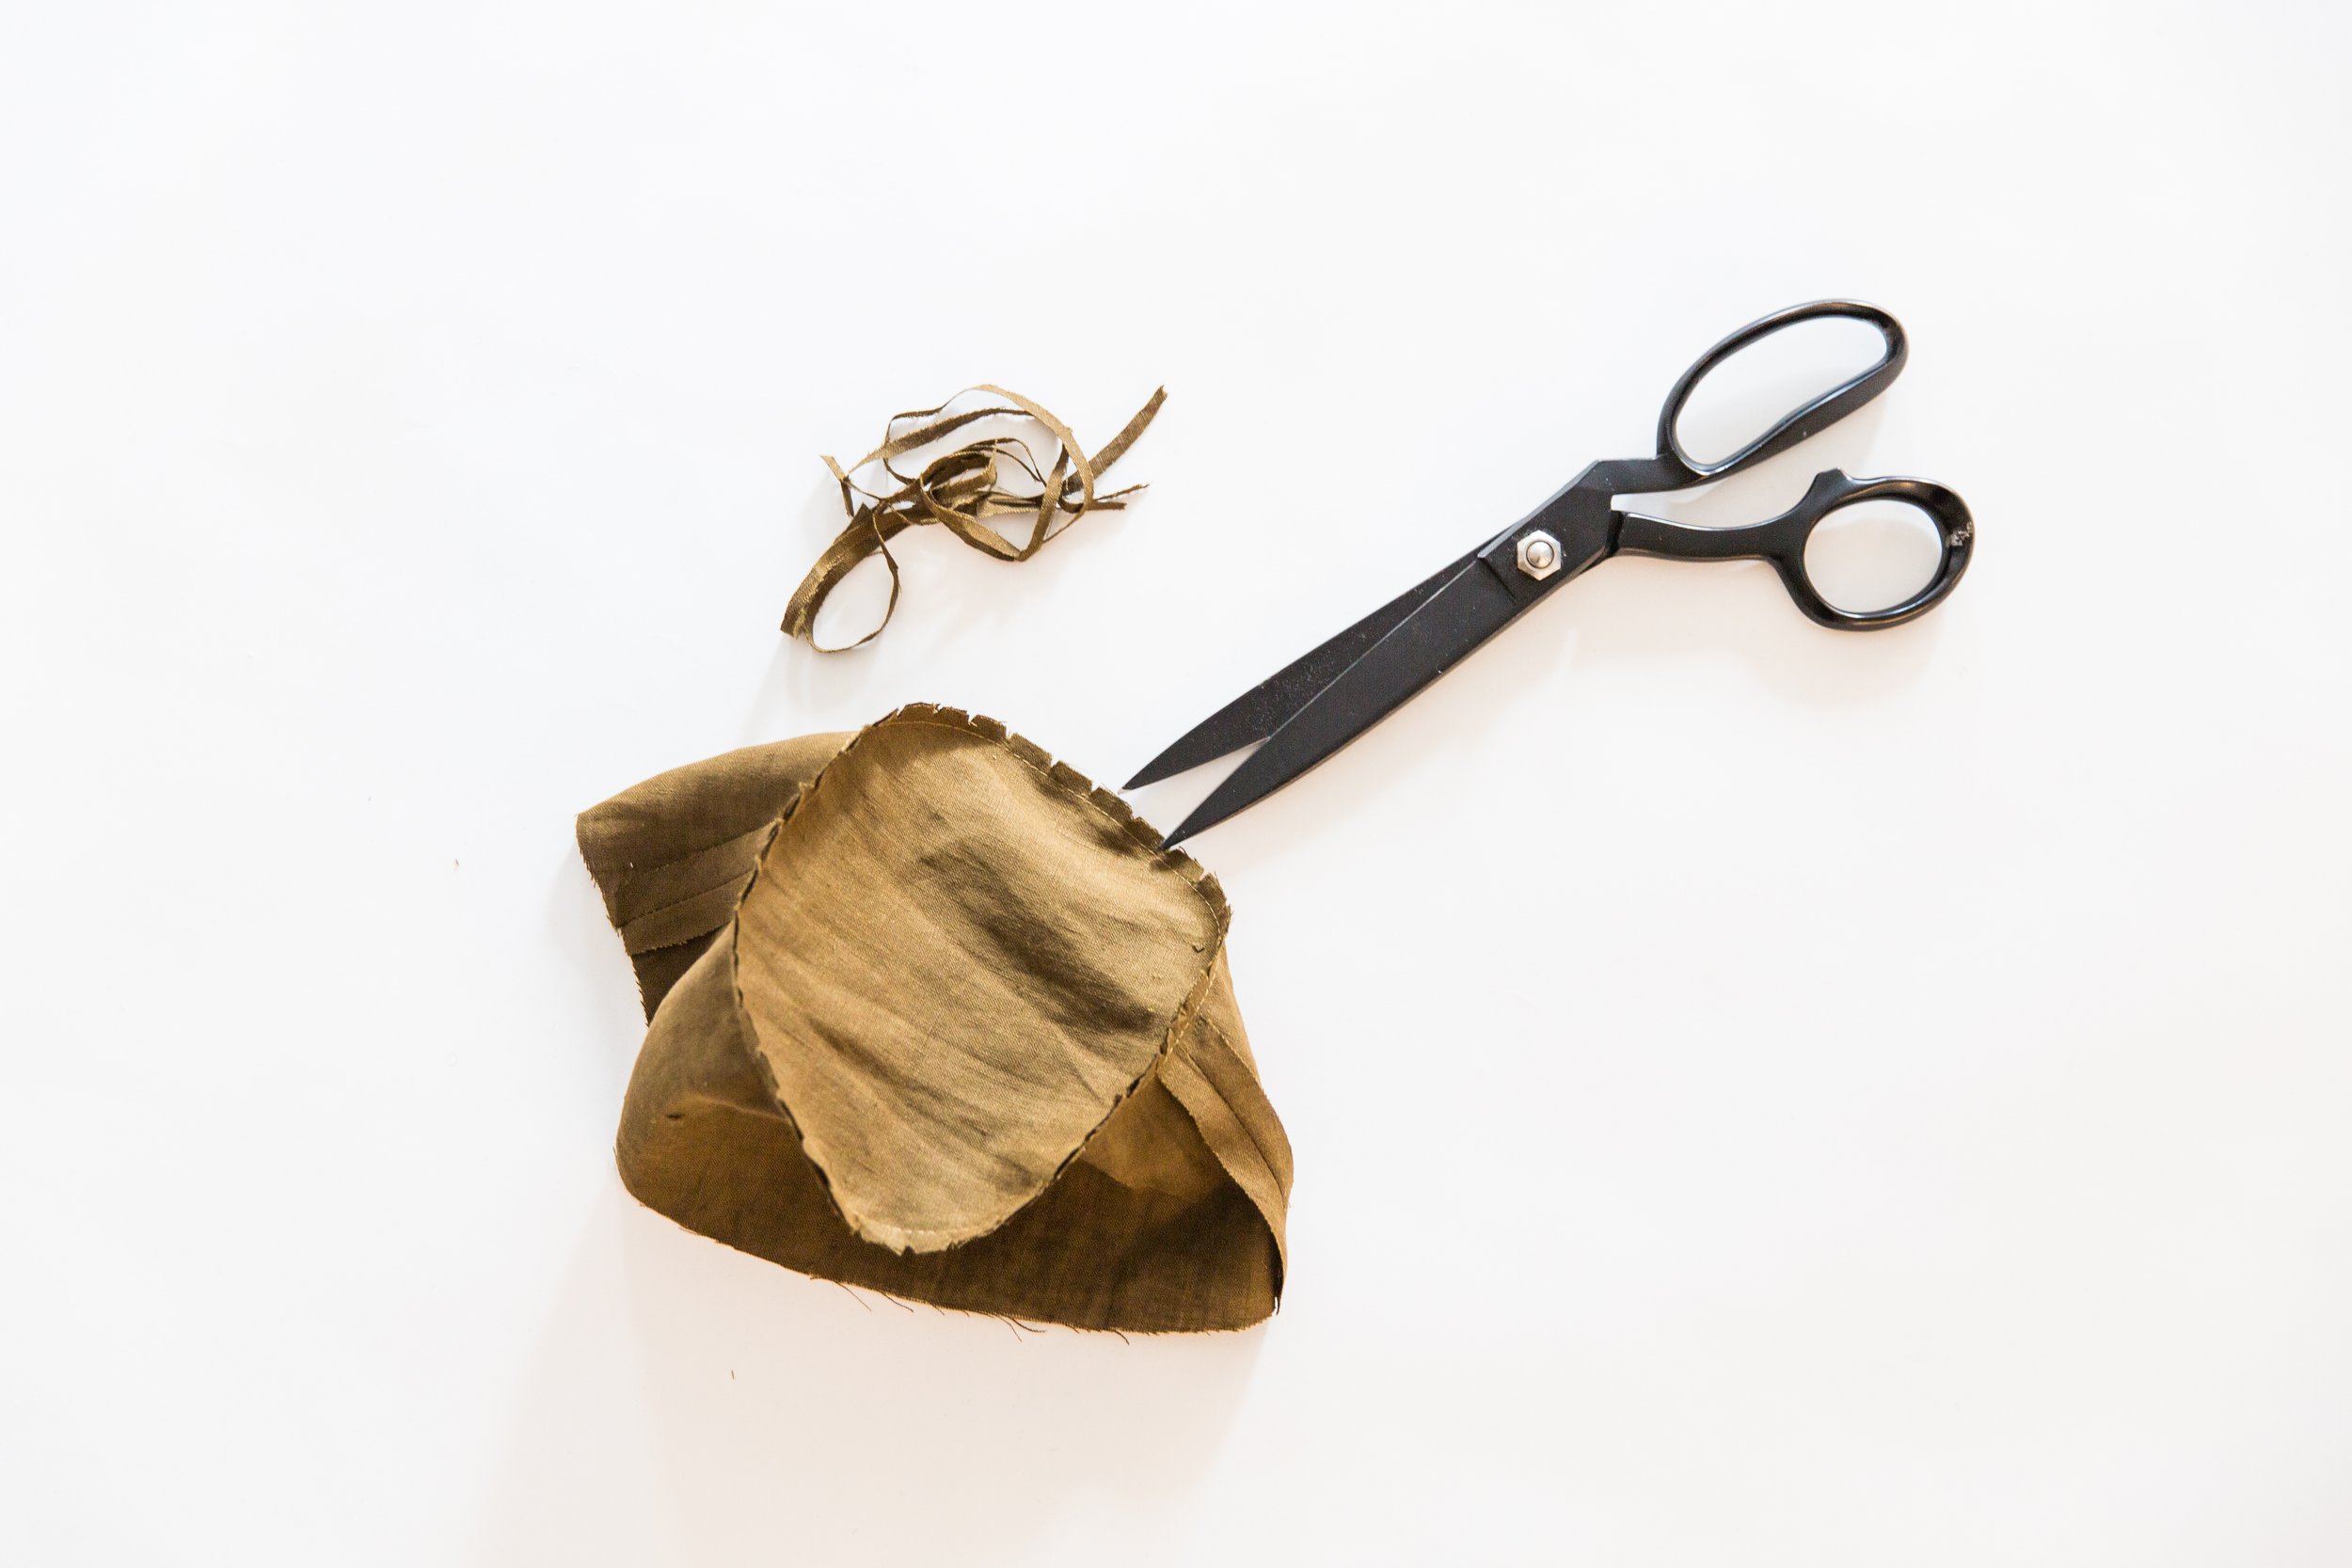
Working with your lining pieces, place the top circle piece into the top edges of head band pieces, lining up notches and seam allowances. Stitch together. Trim seam allowance and clip around curve. Press seam allowance down toward head band pieces.
Step 4
Place your brim pieces together right sides facing. Stitch together at side seams. Press seam allowances open.
Step 5
Place the brim pieces together with right sides facing. Pin together along bottom edge. Stitch together.
Step 6
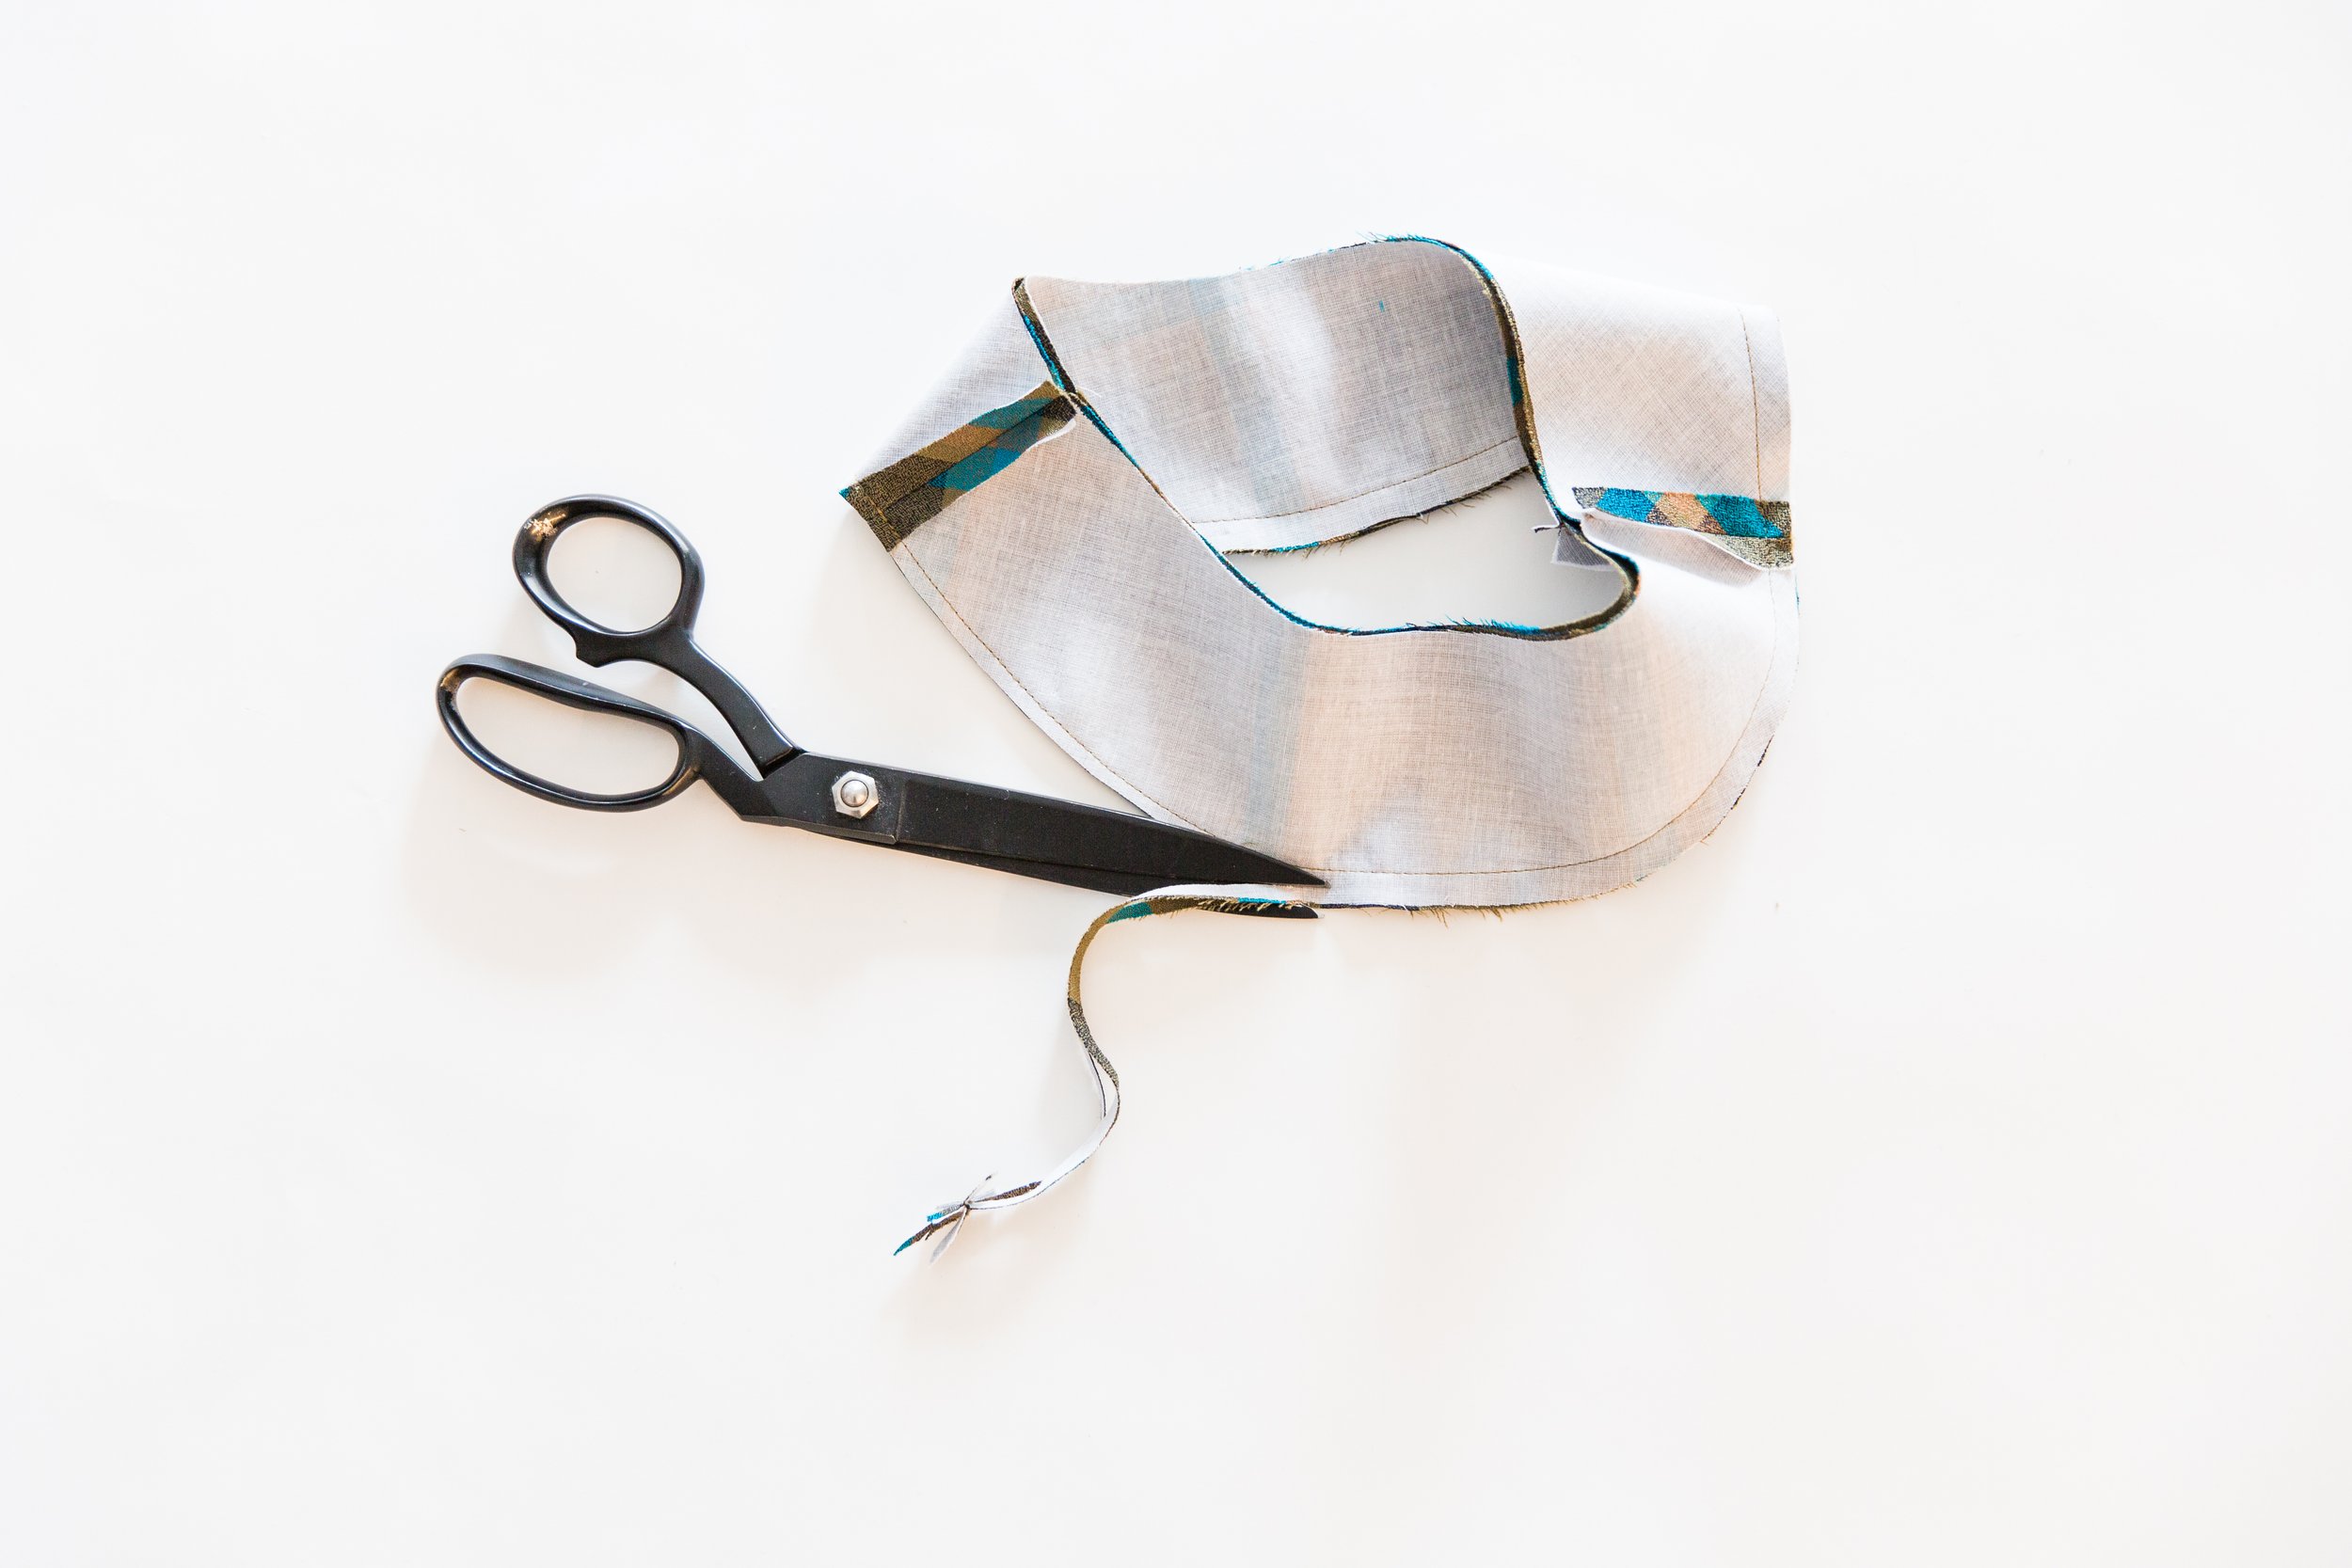
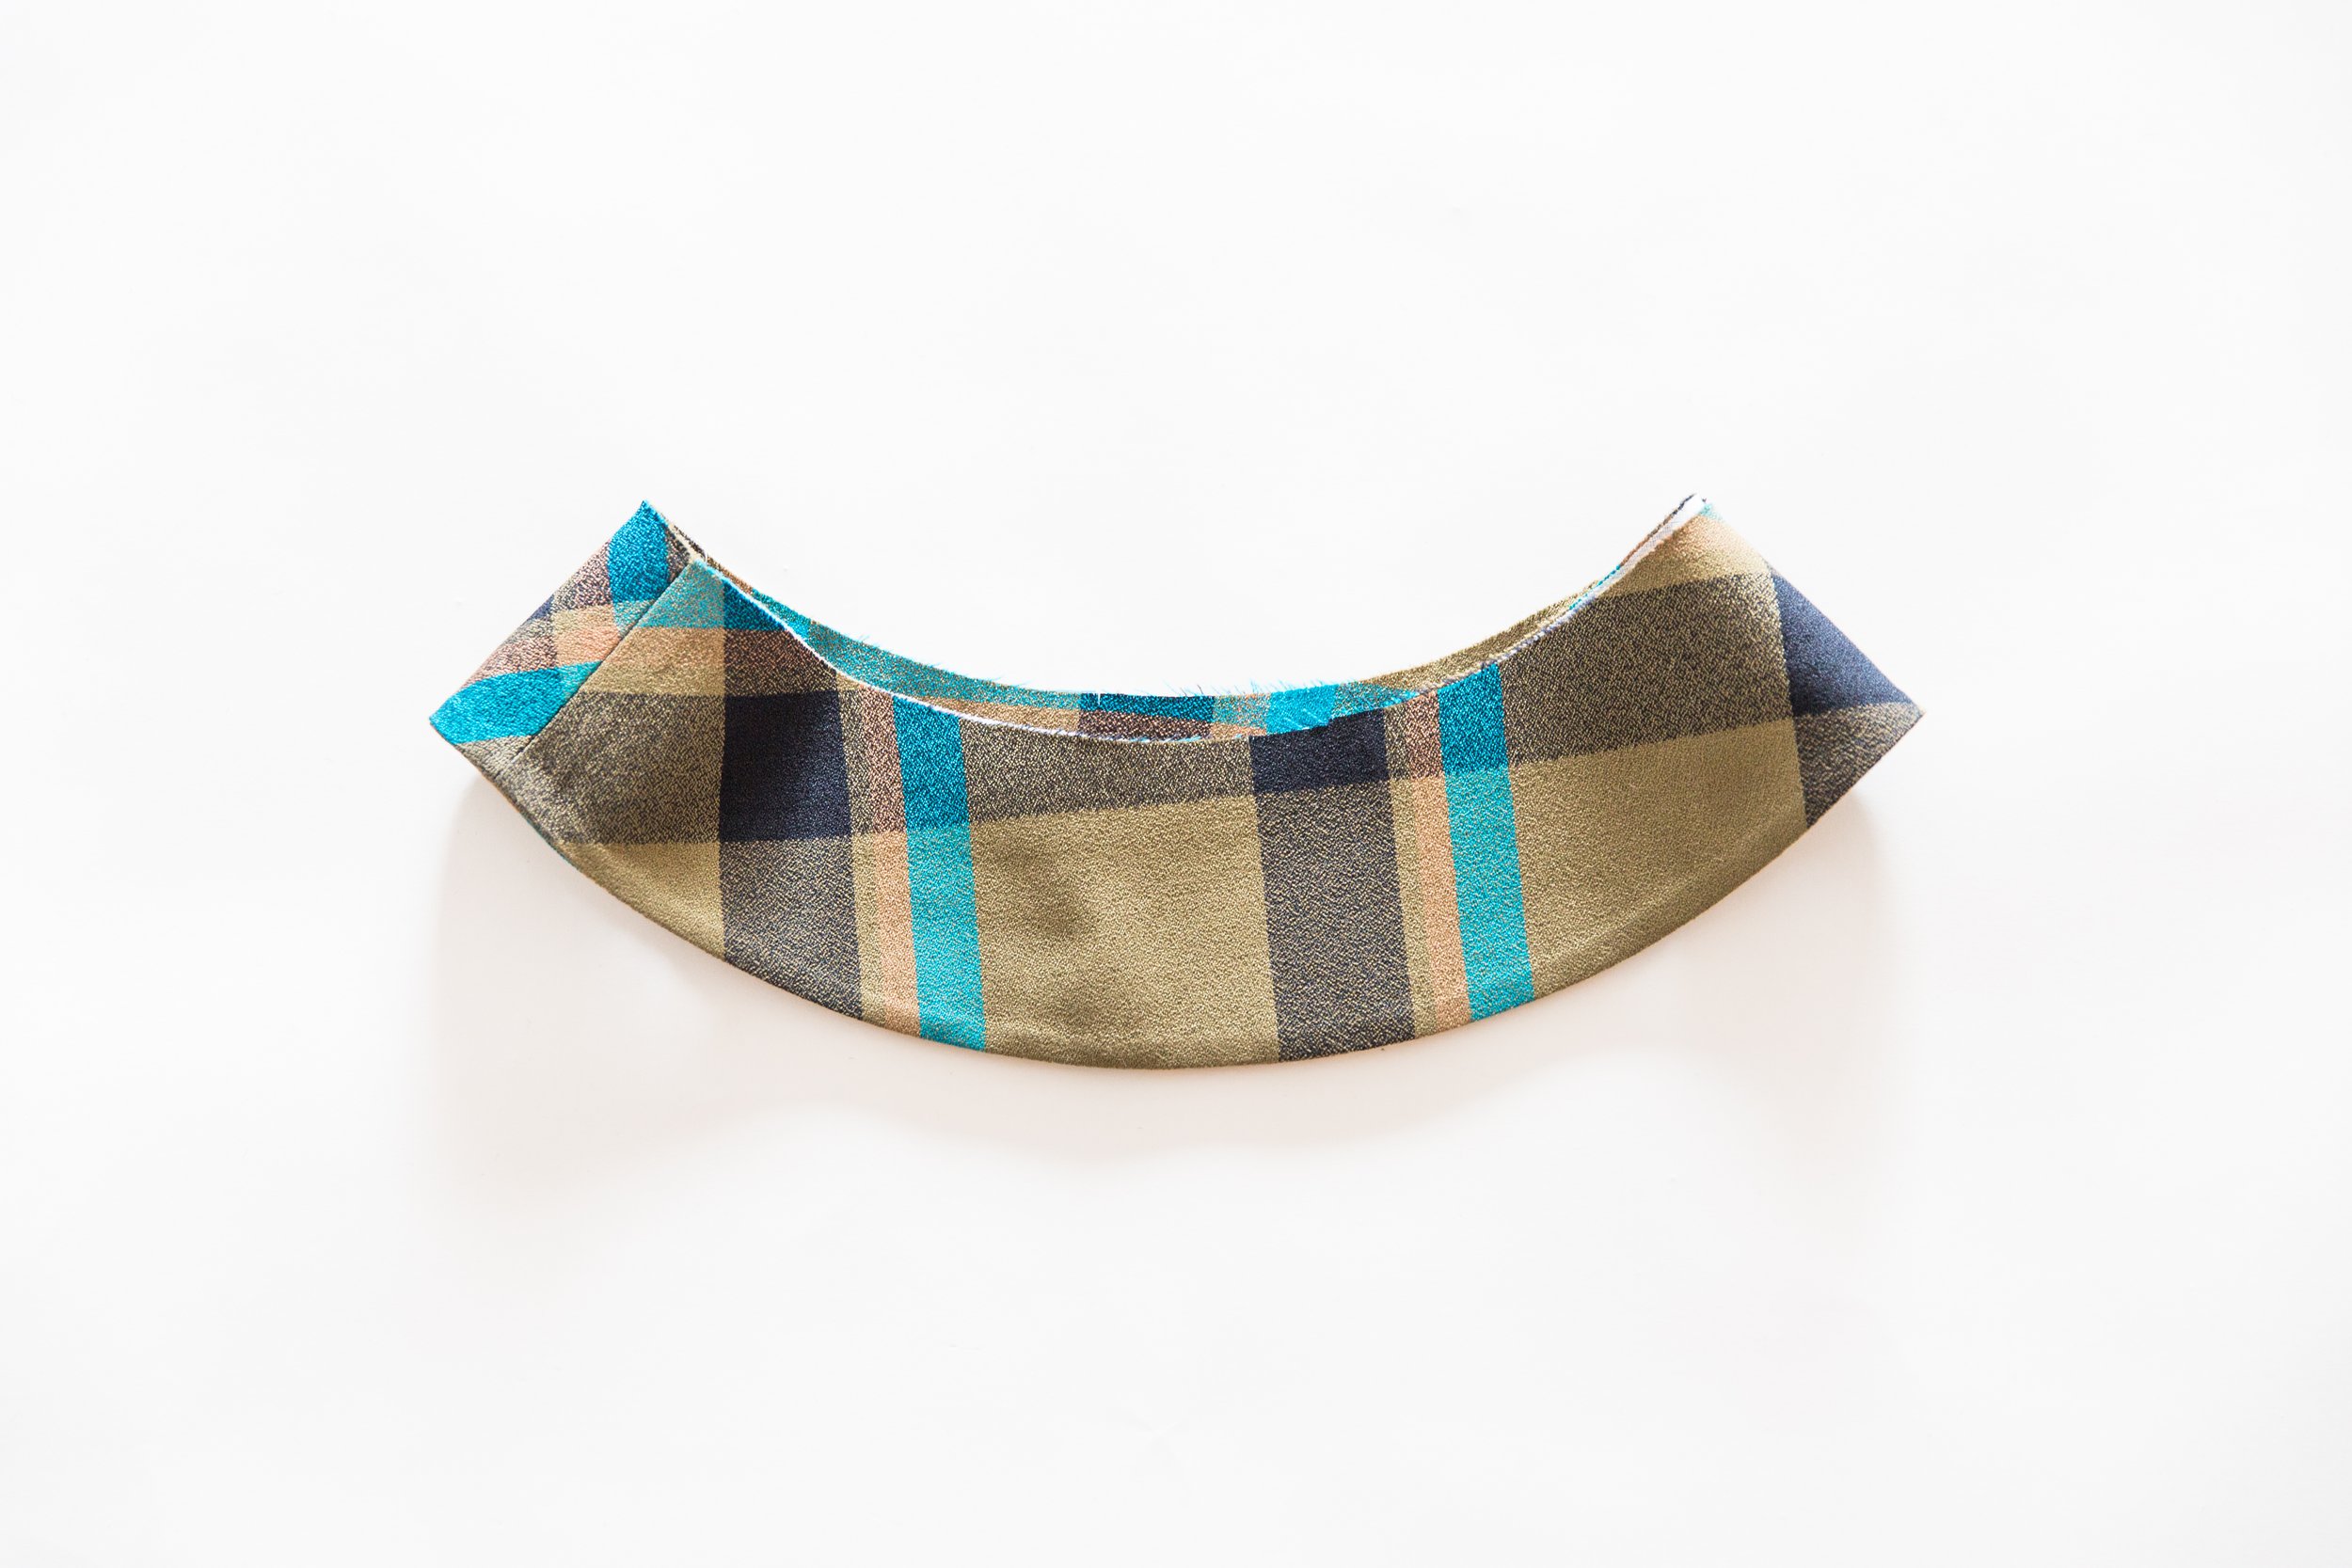
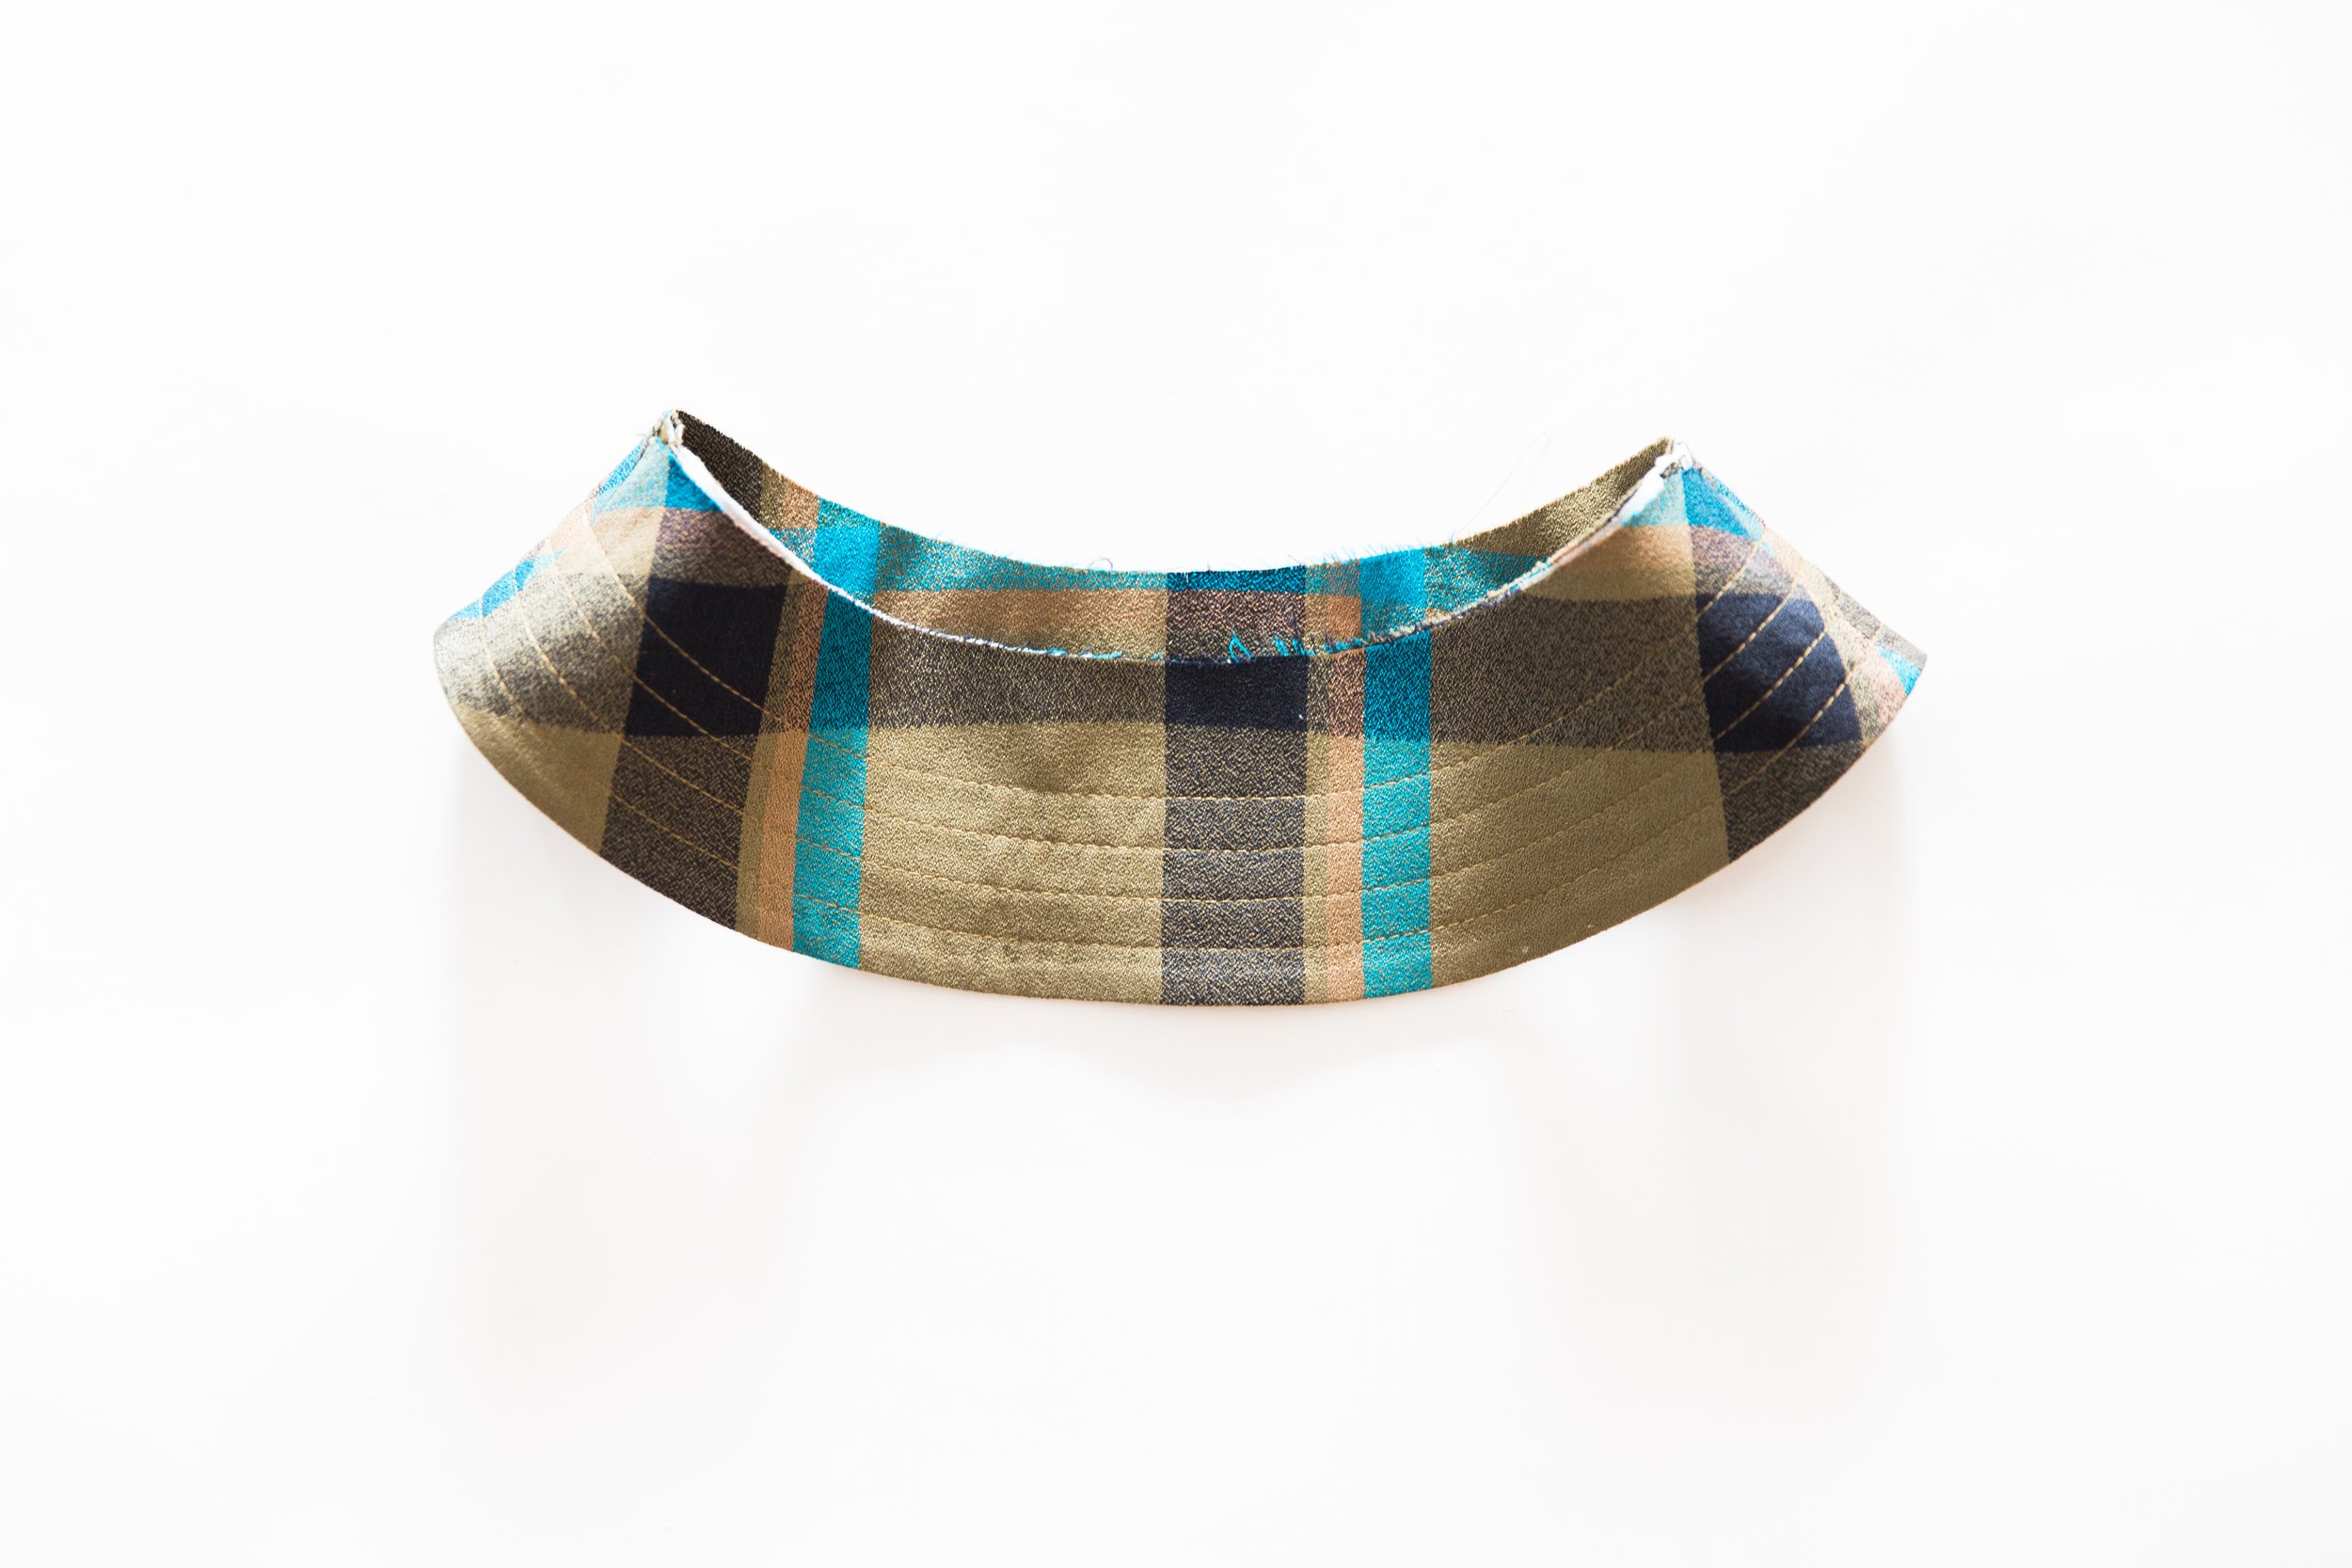
Trim seam allowance and clip around curve. Turn through to the right side and press really well getting the edge nice and crisp.
Step 7
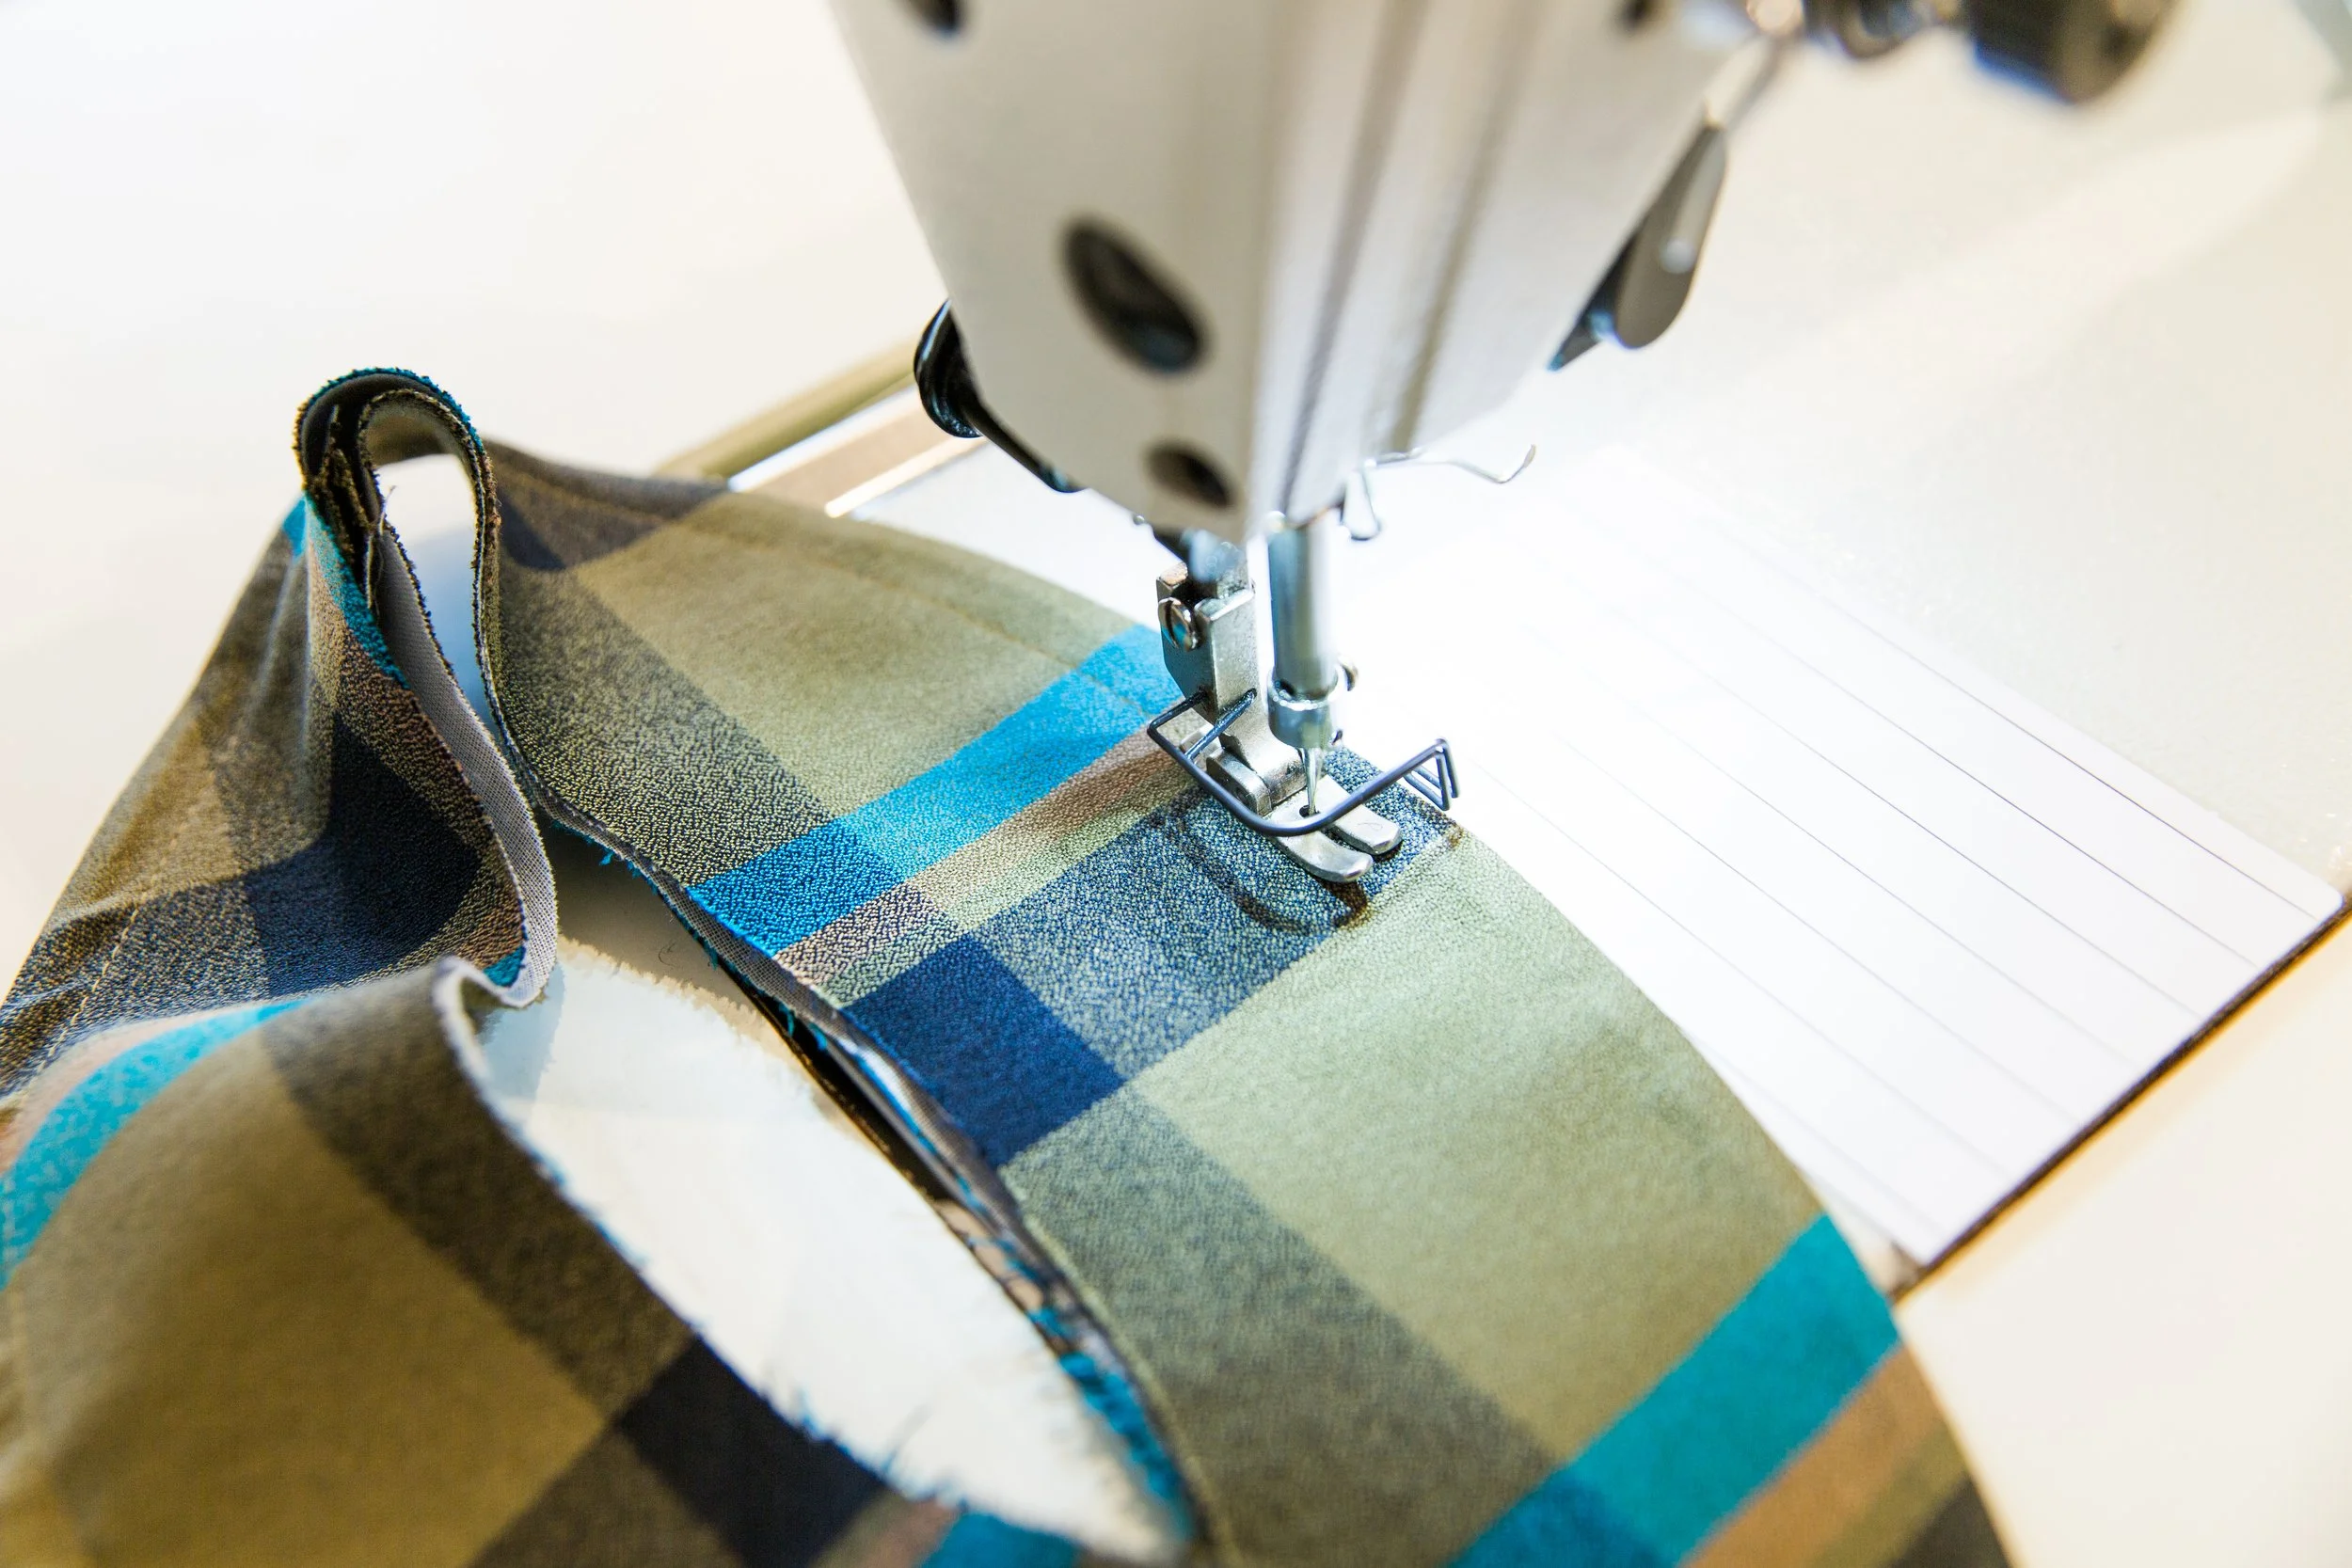
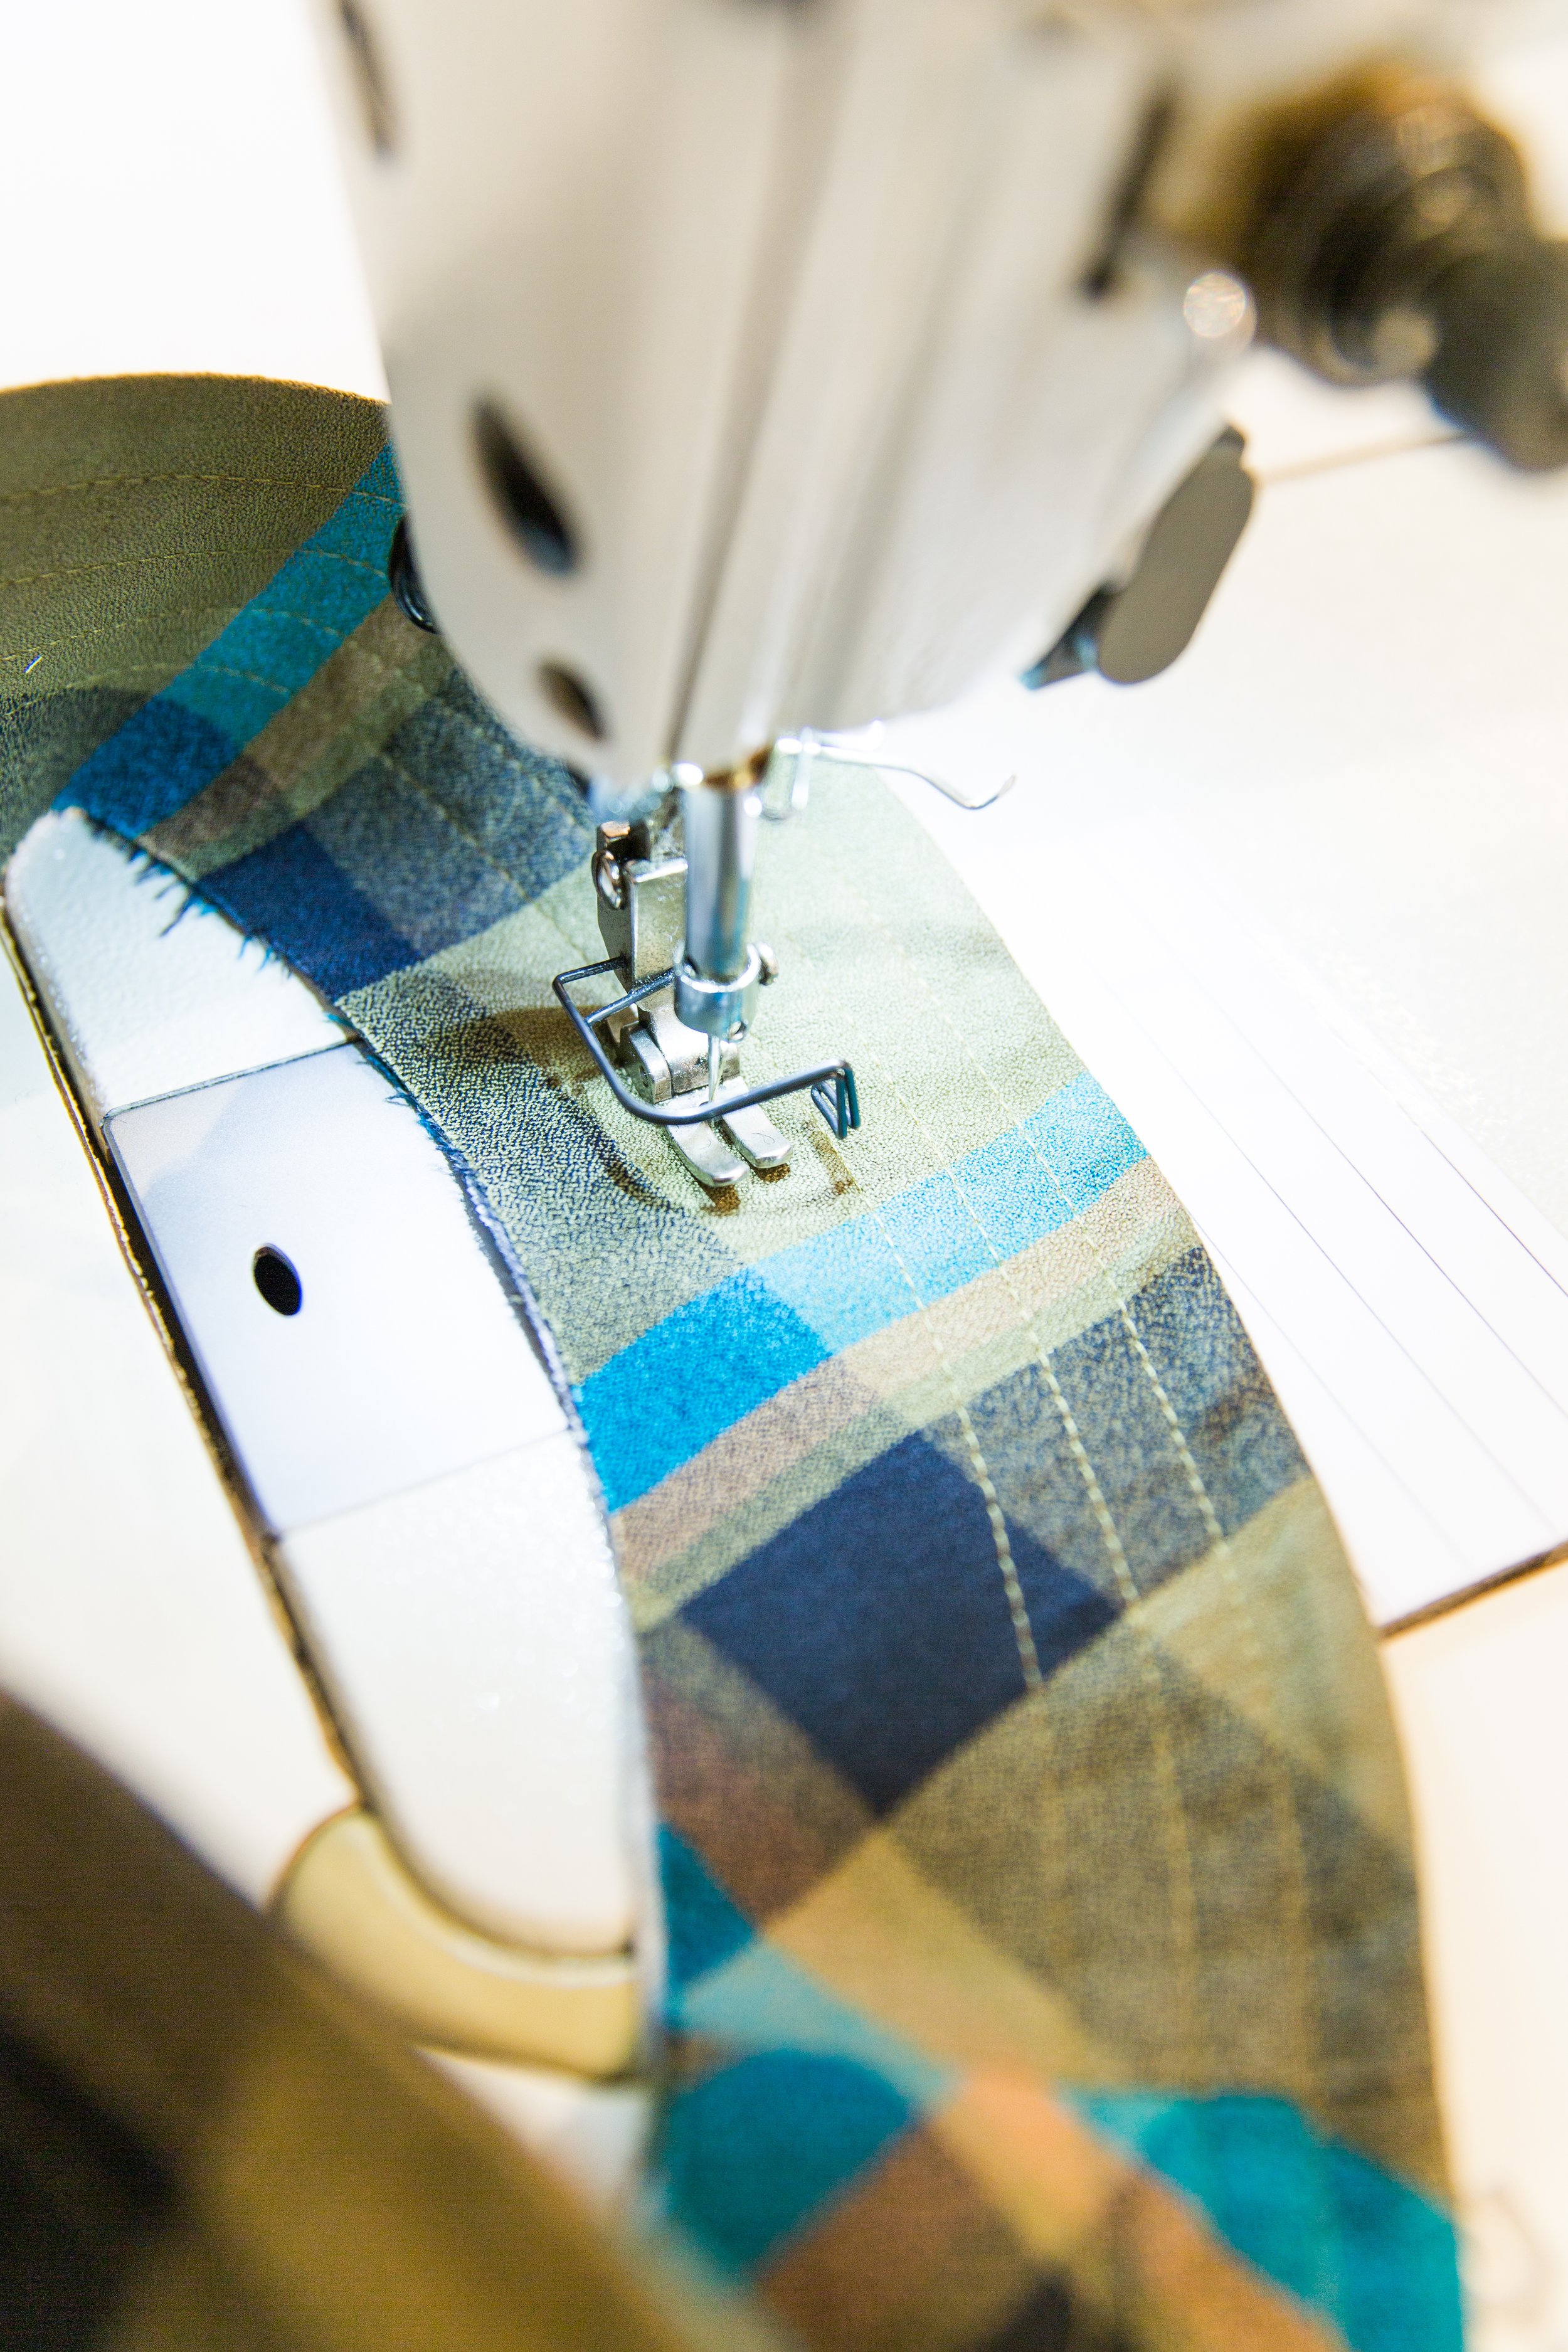
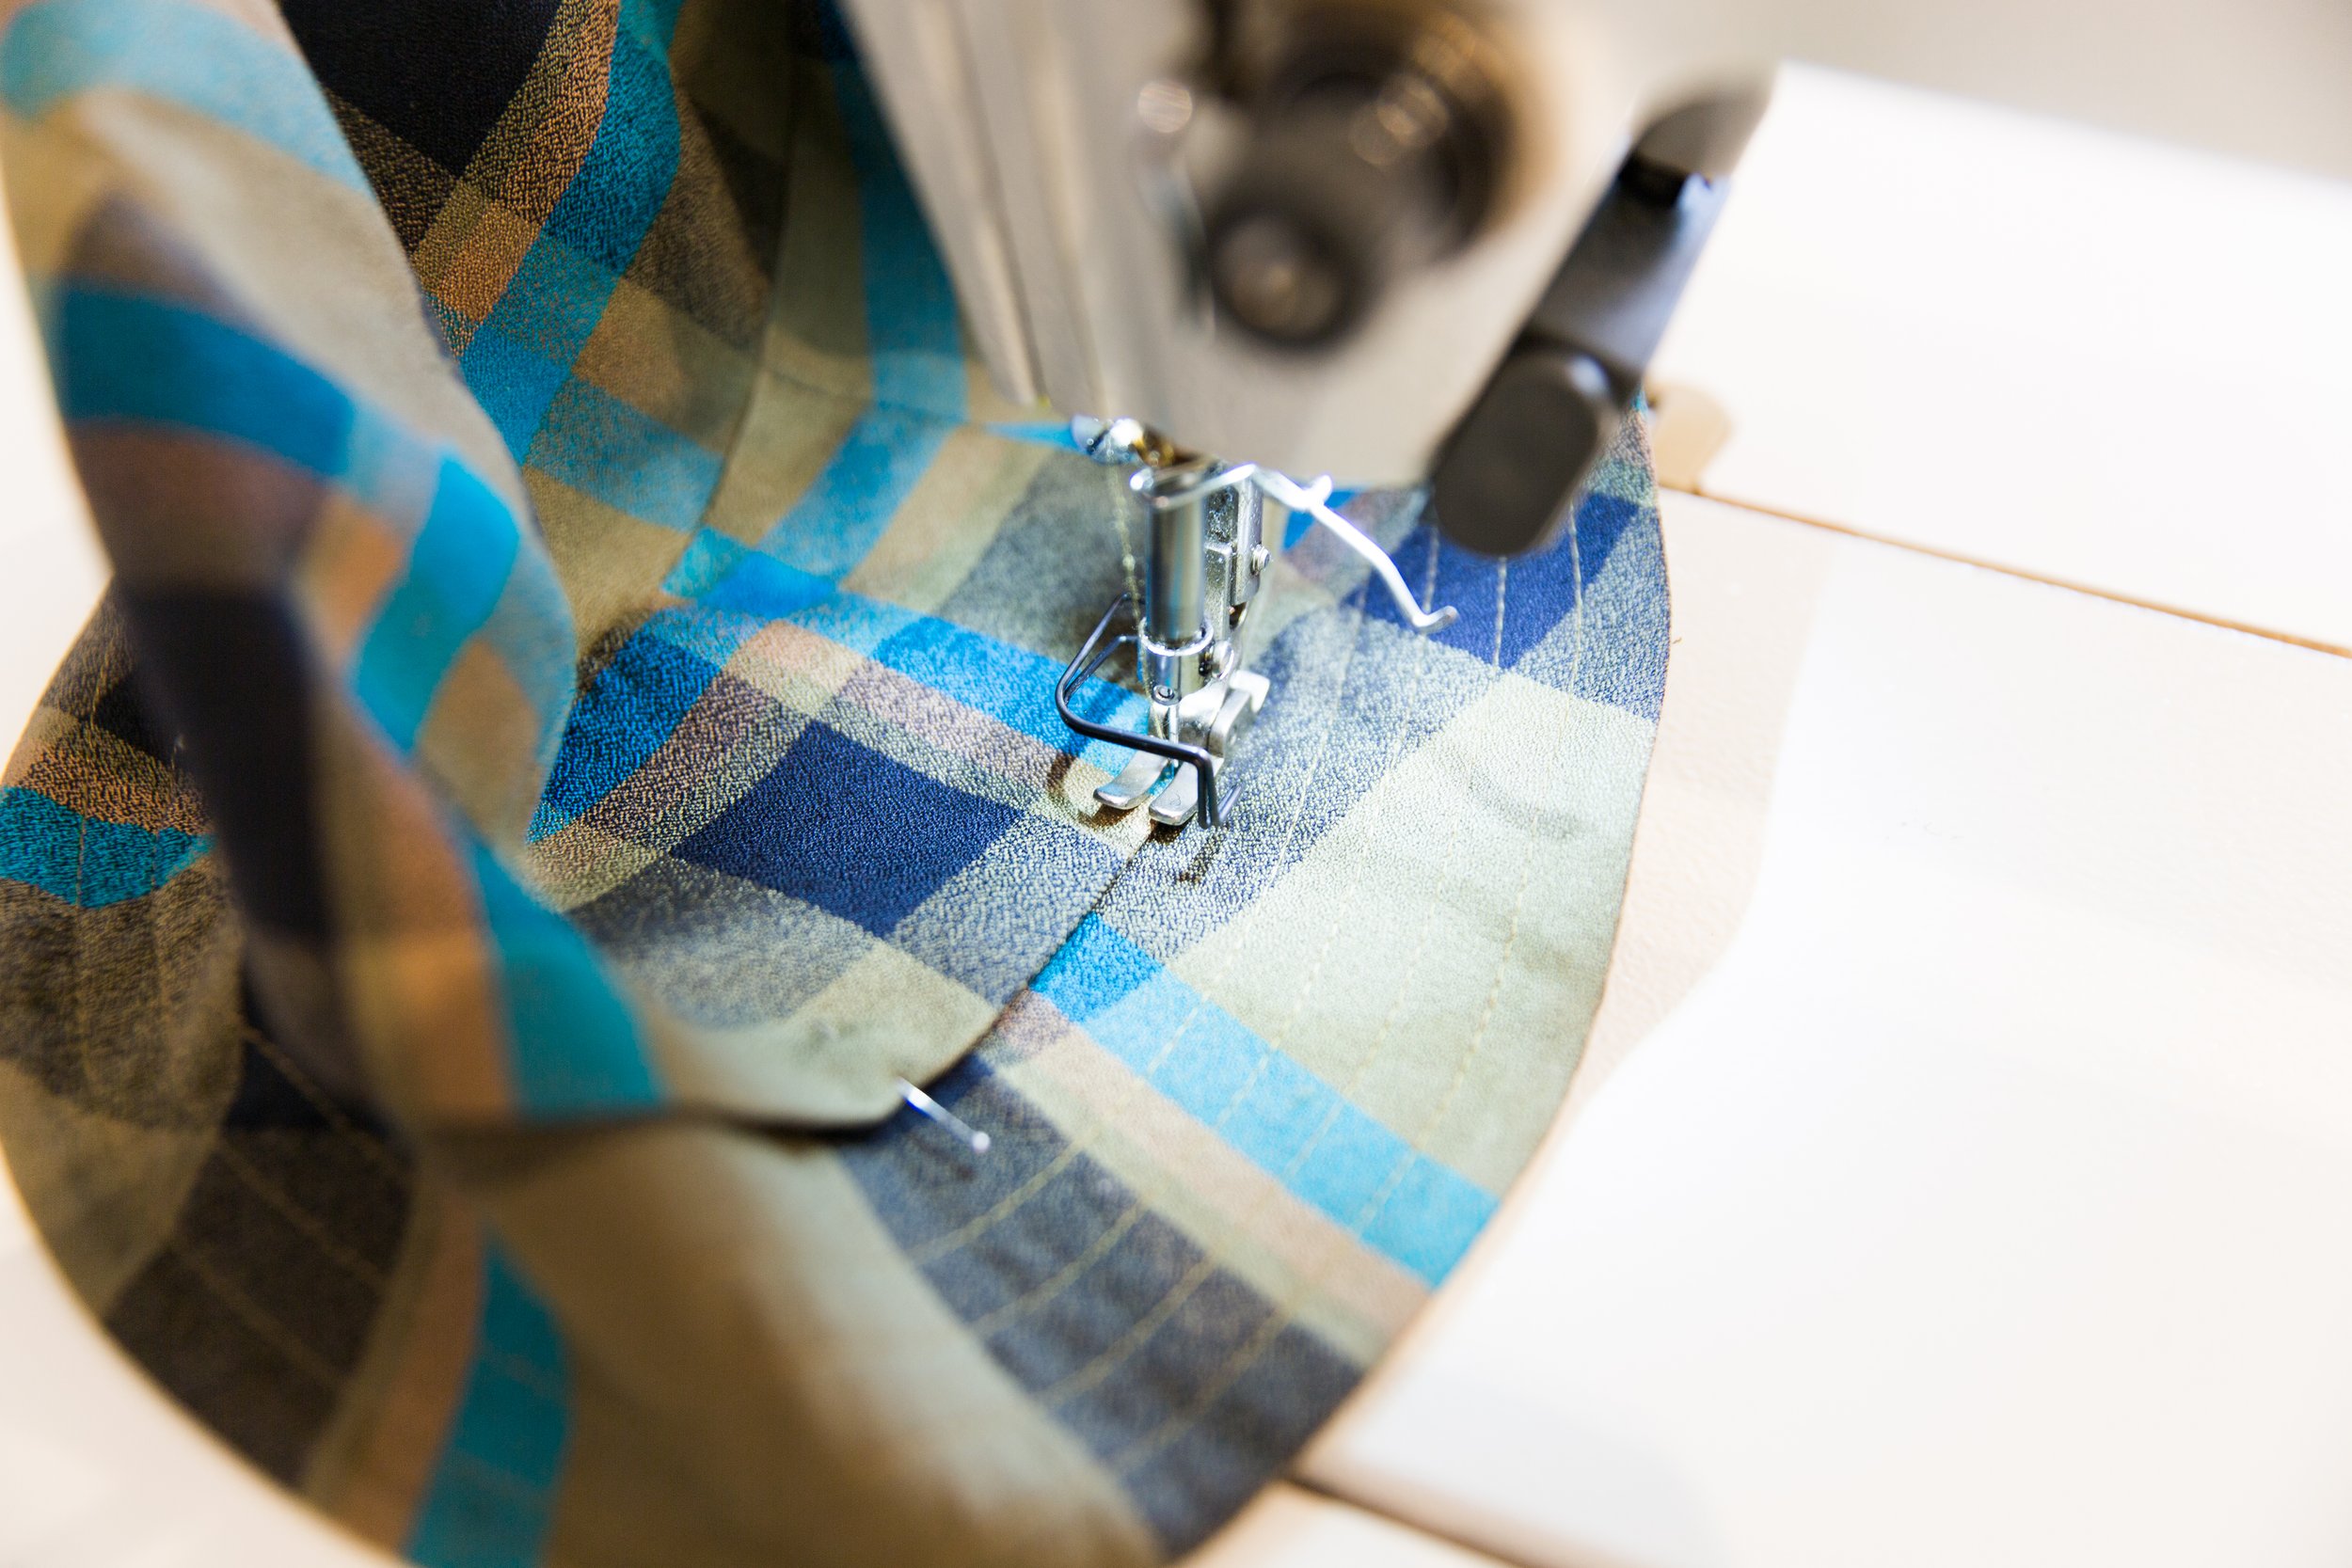
Starting at the bottom edge of brim, stitch through all layers, all the way around brim at 1cm/0.39” intervals until you have about 2cm/0.78” left at the top edge. Trim threads. Press.
Step 8
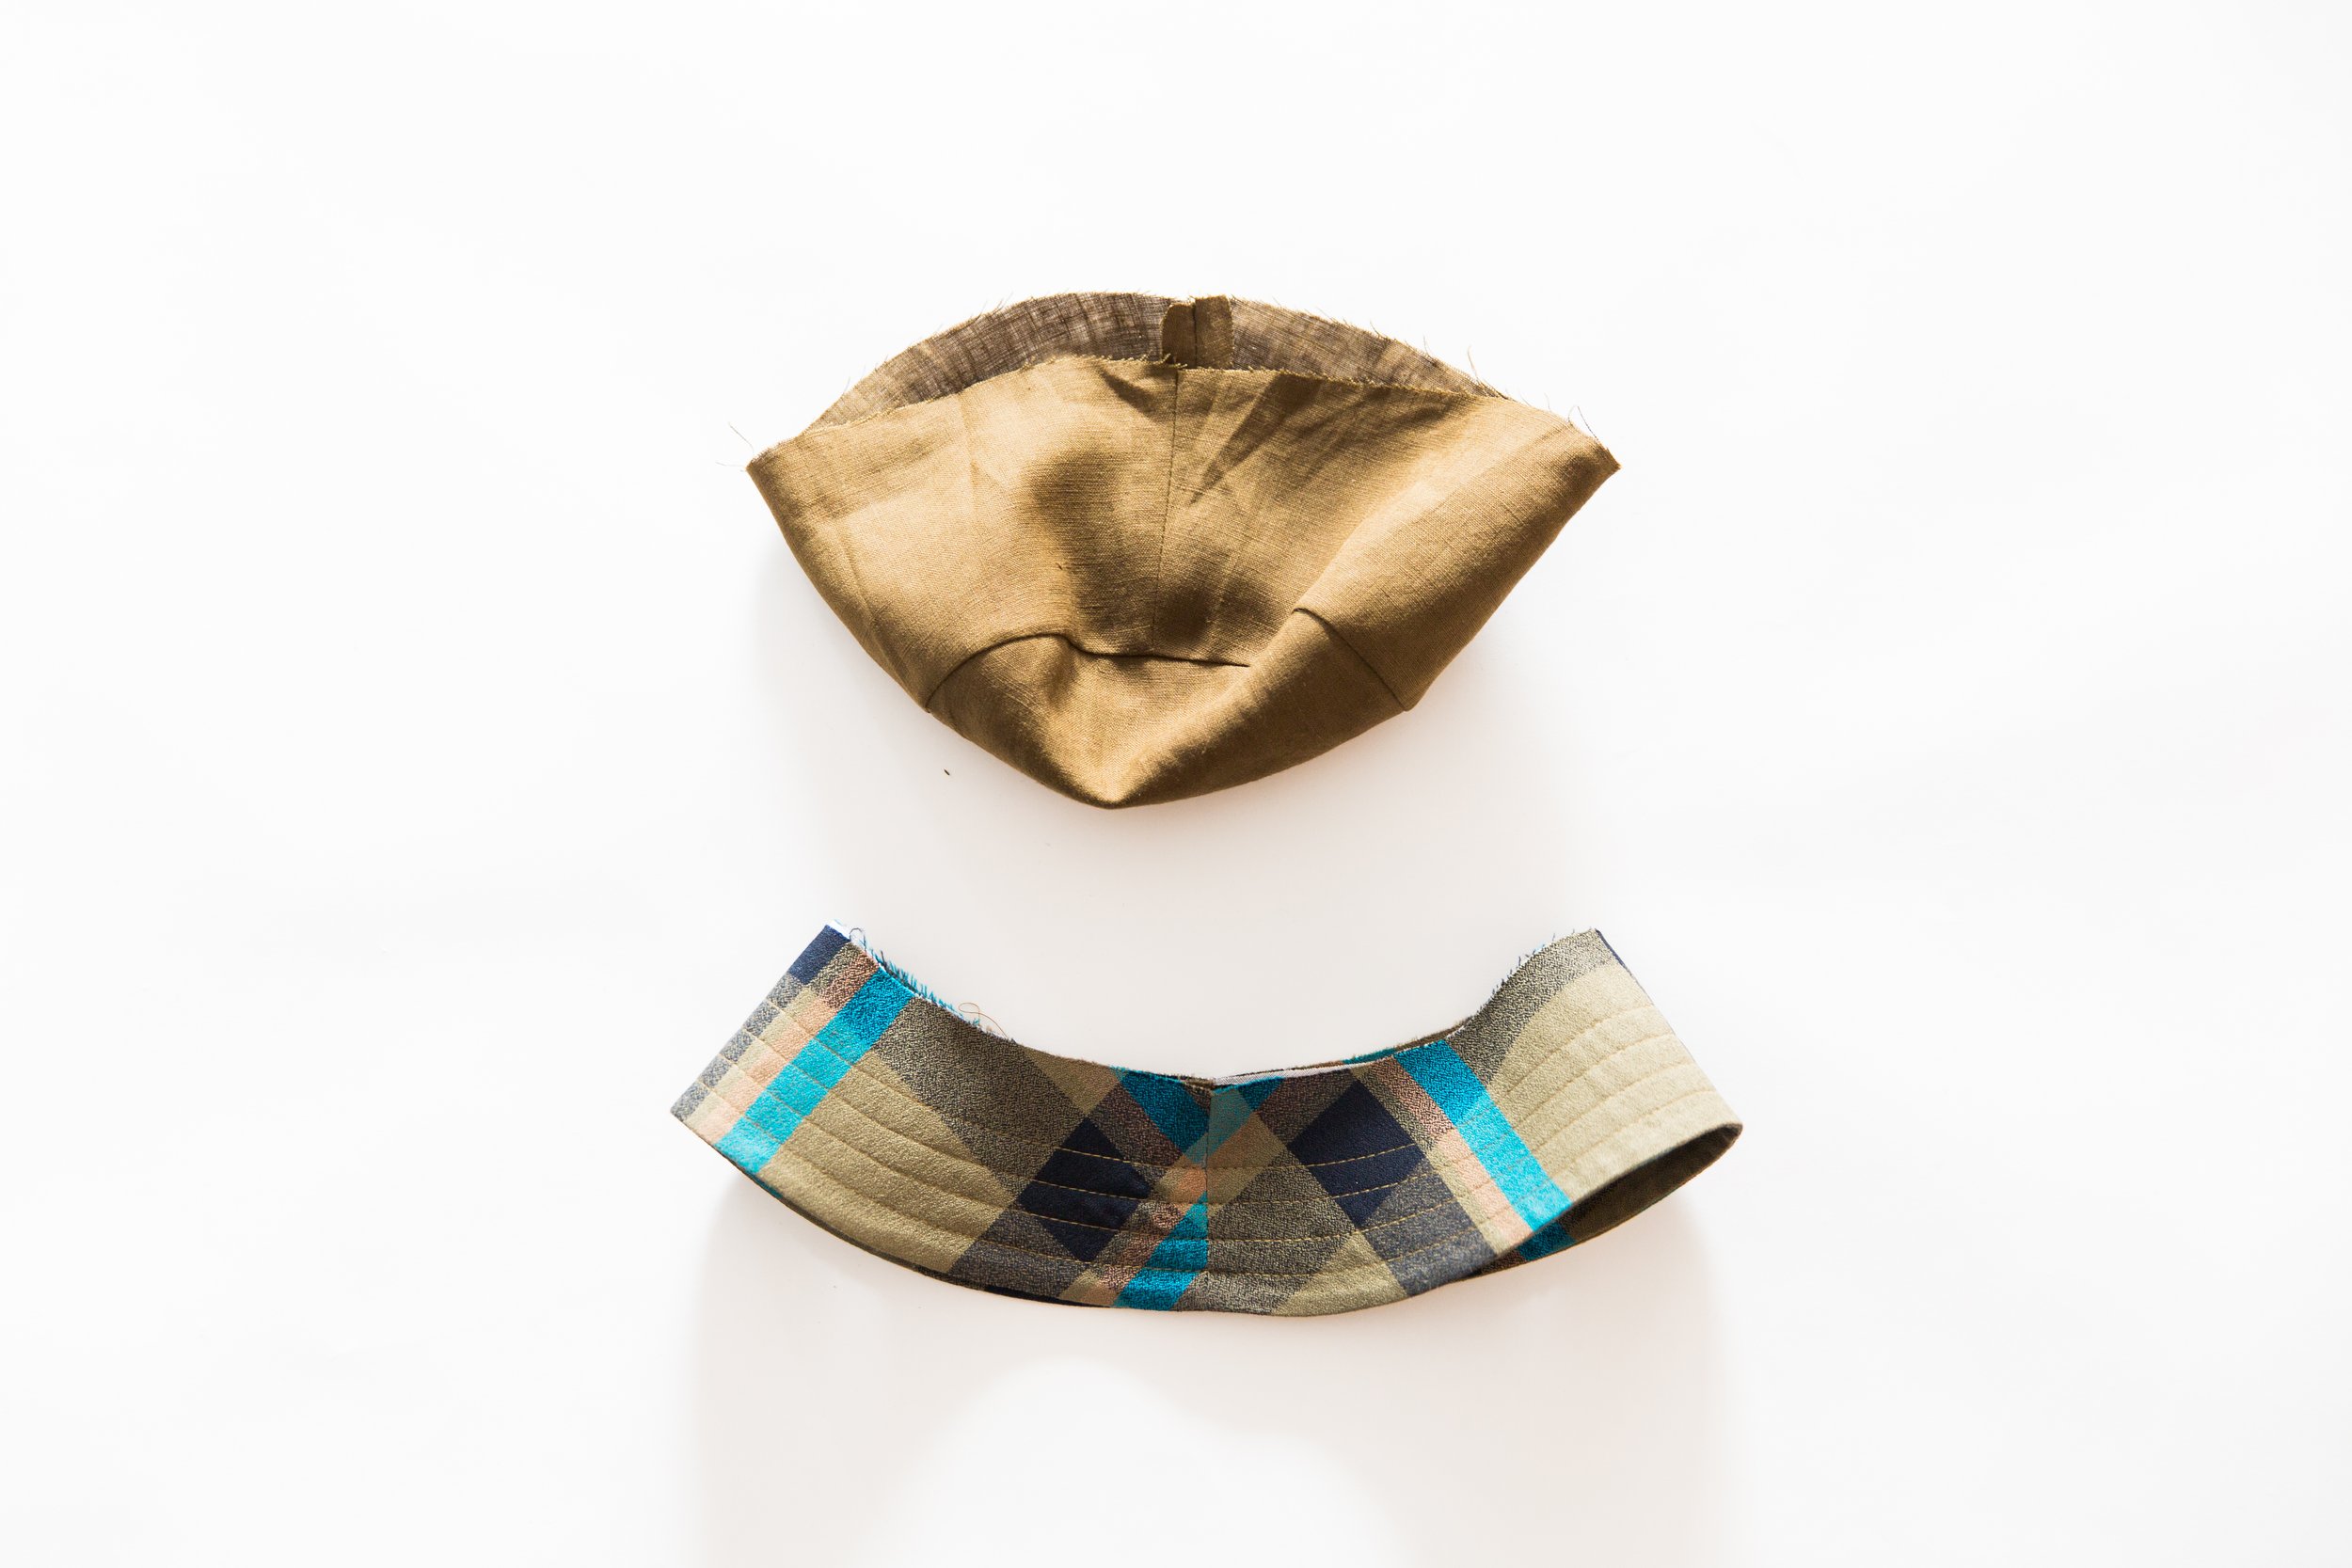
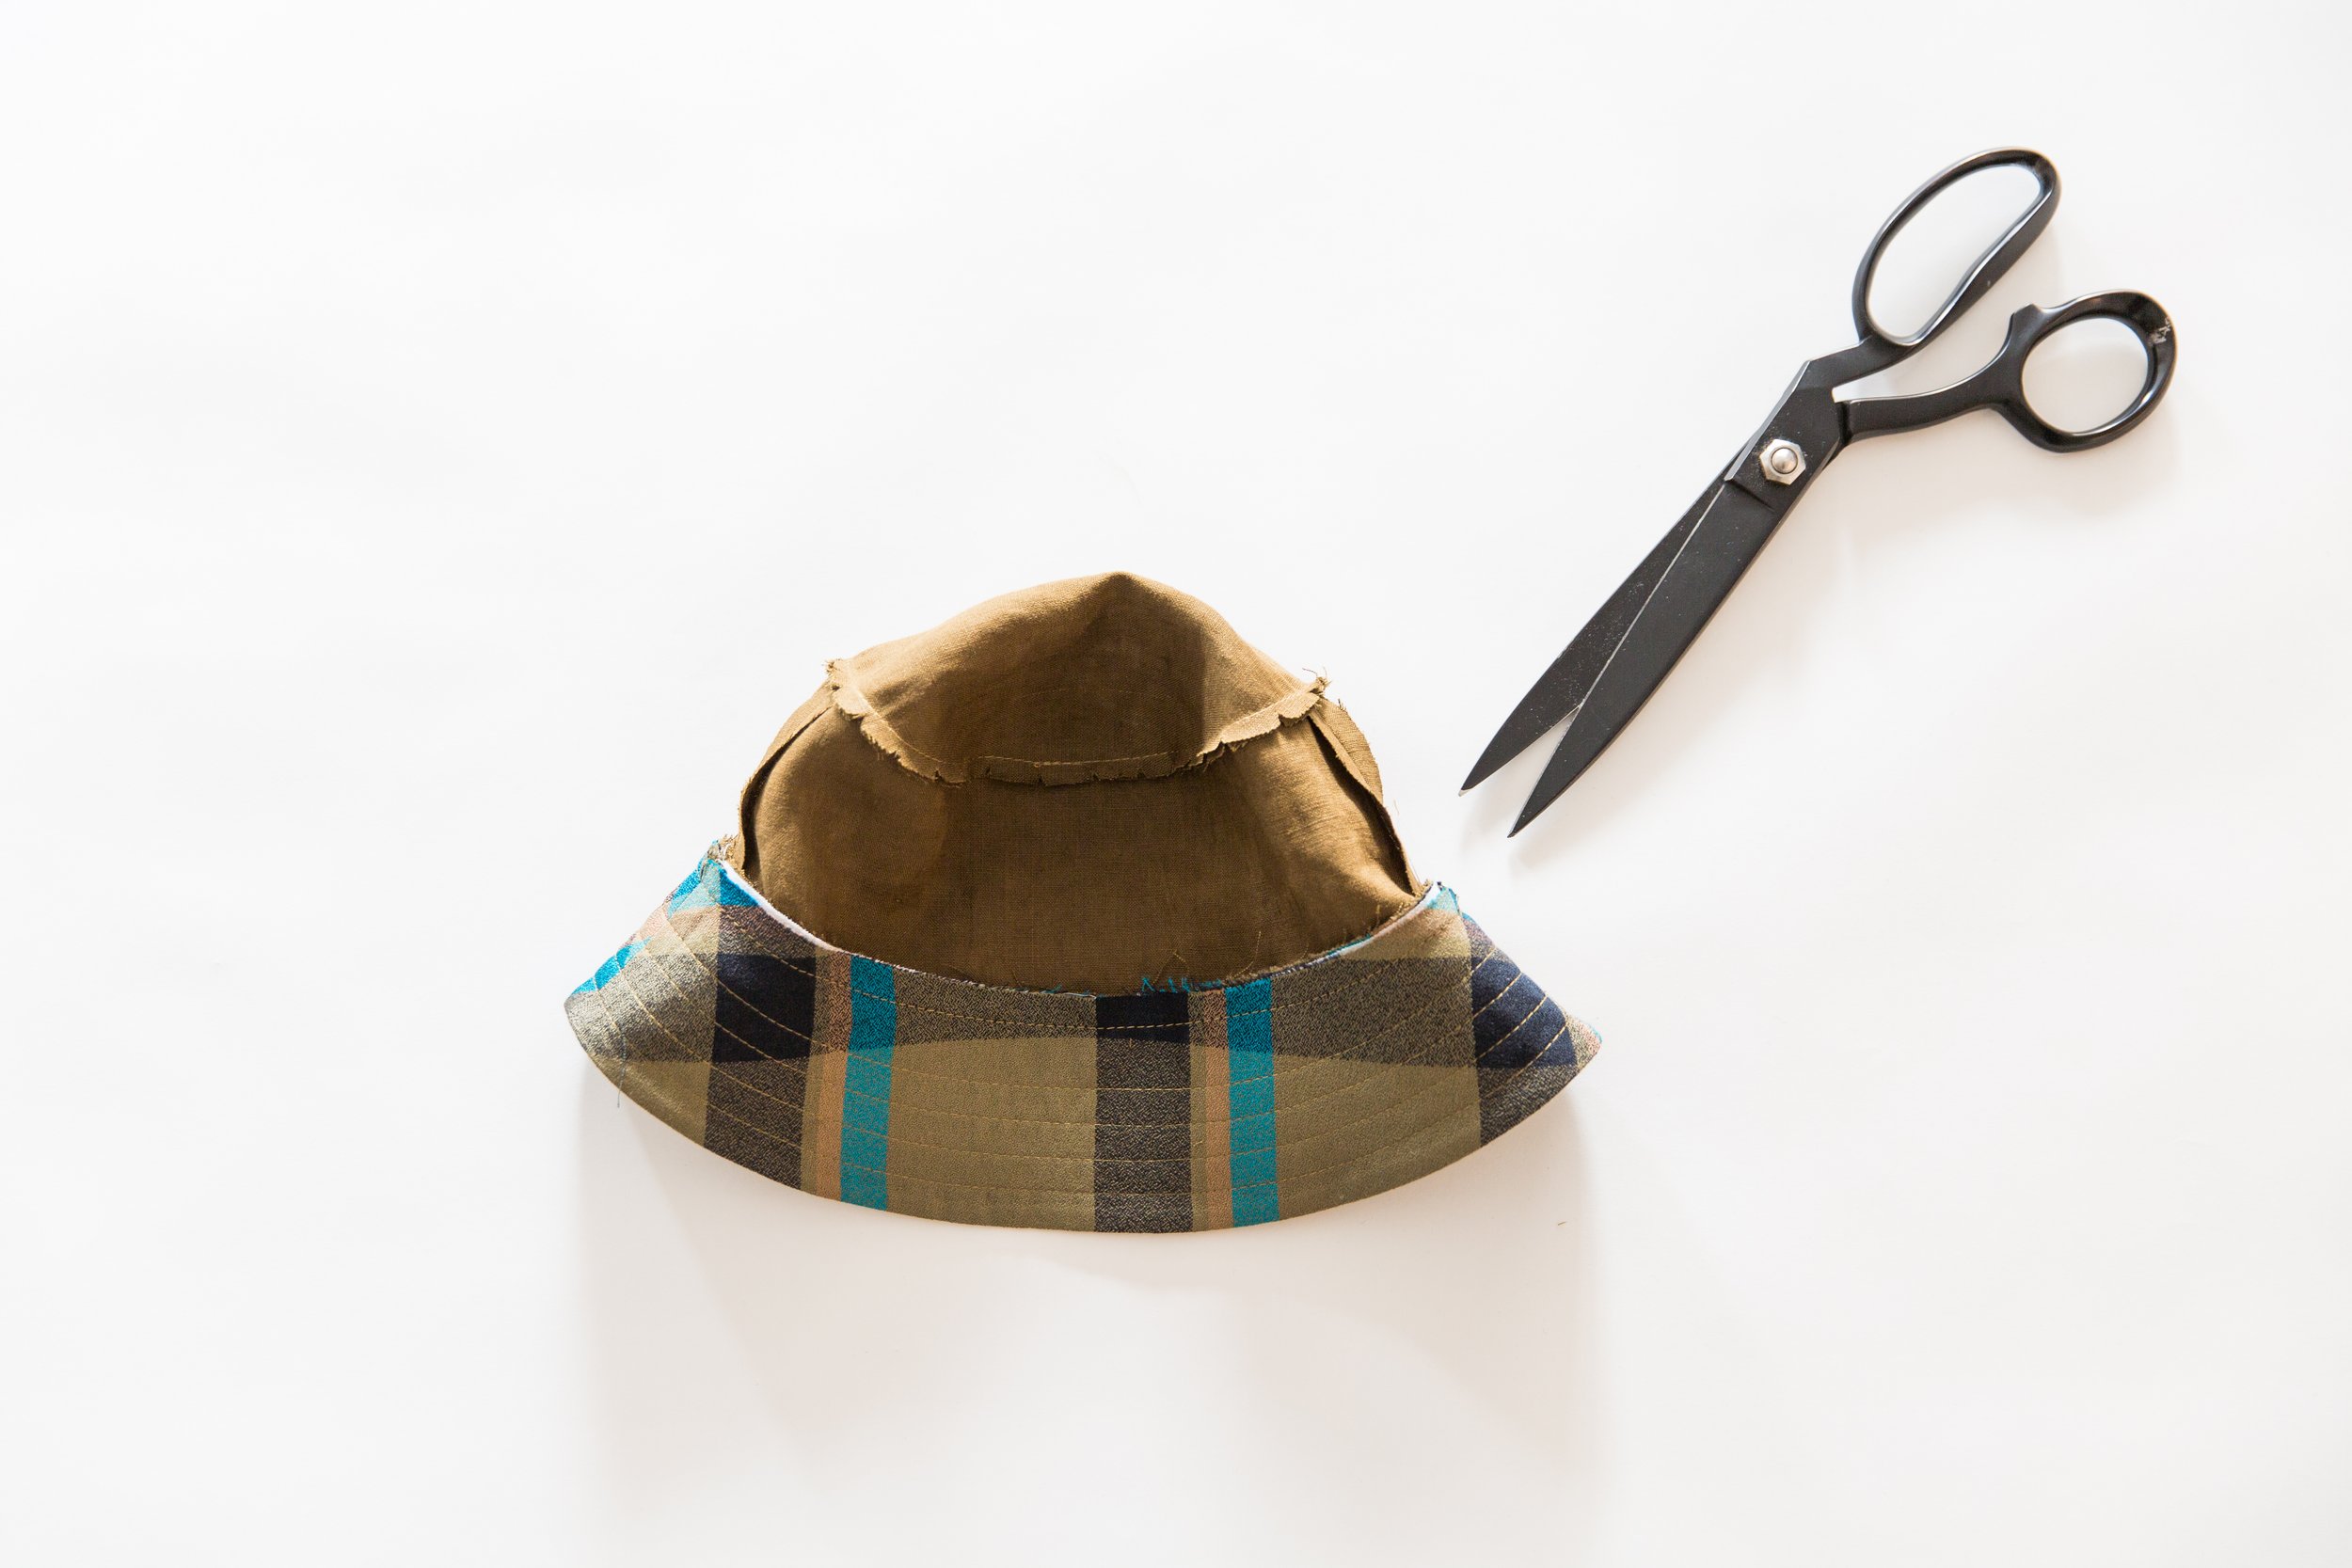
With your hat lining right side out, place inside brim so that the right side of lining is facing the underside of brim. Pin together the raw edges, lining up seam allowances and notches. Stitch. Trim seam allowance and clip around curve. Push lining upwards through the brim so that the wrong side of lining is out. Press seam allowance of brim toward lining.
Step 9
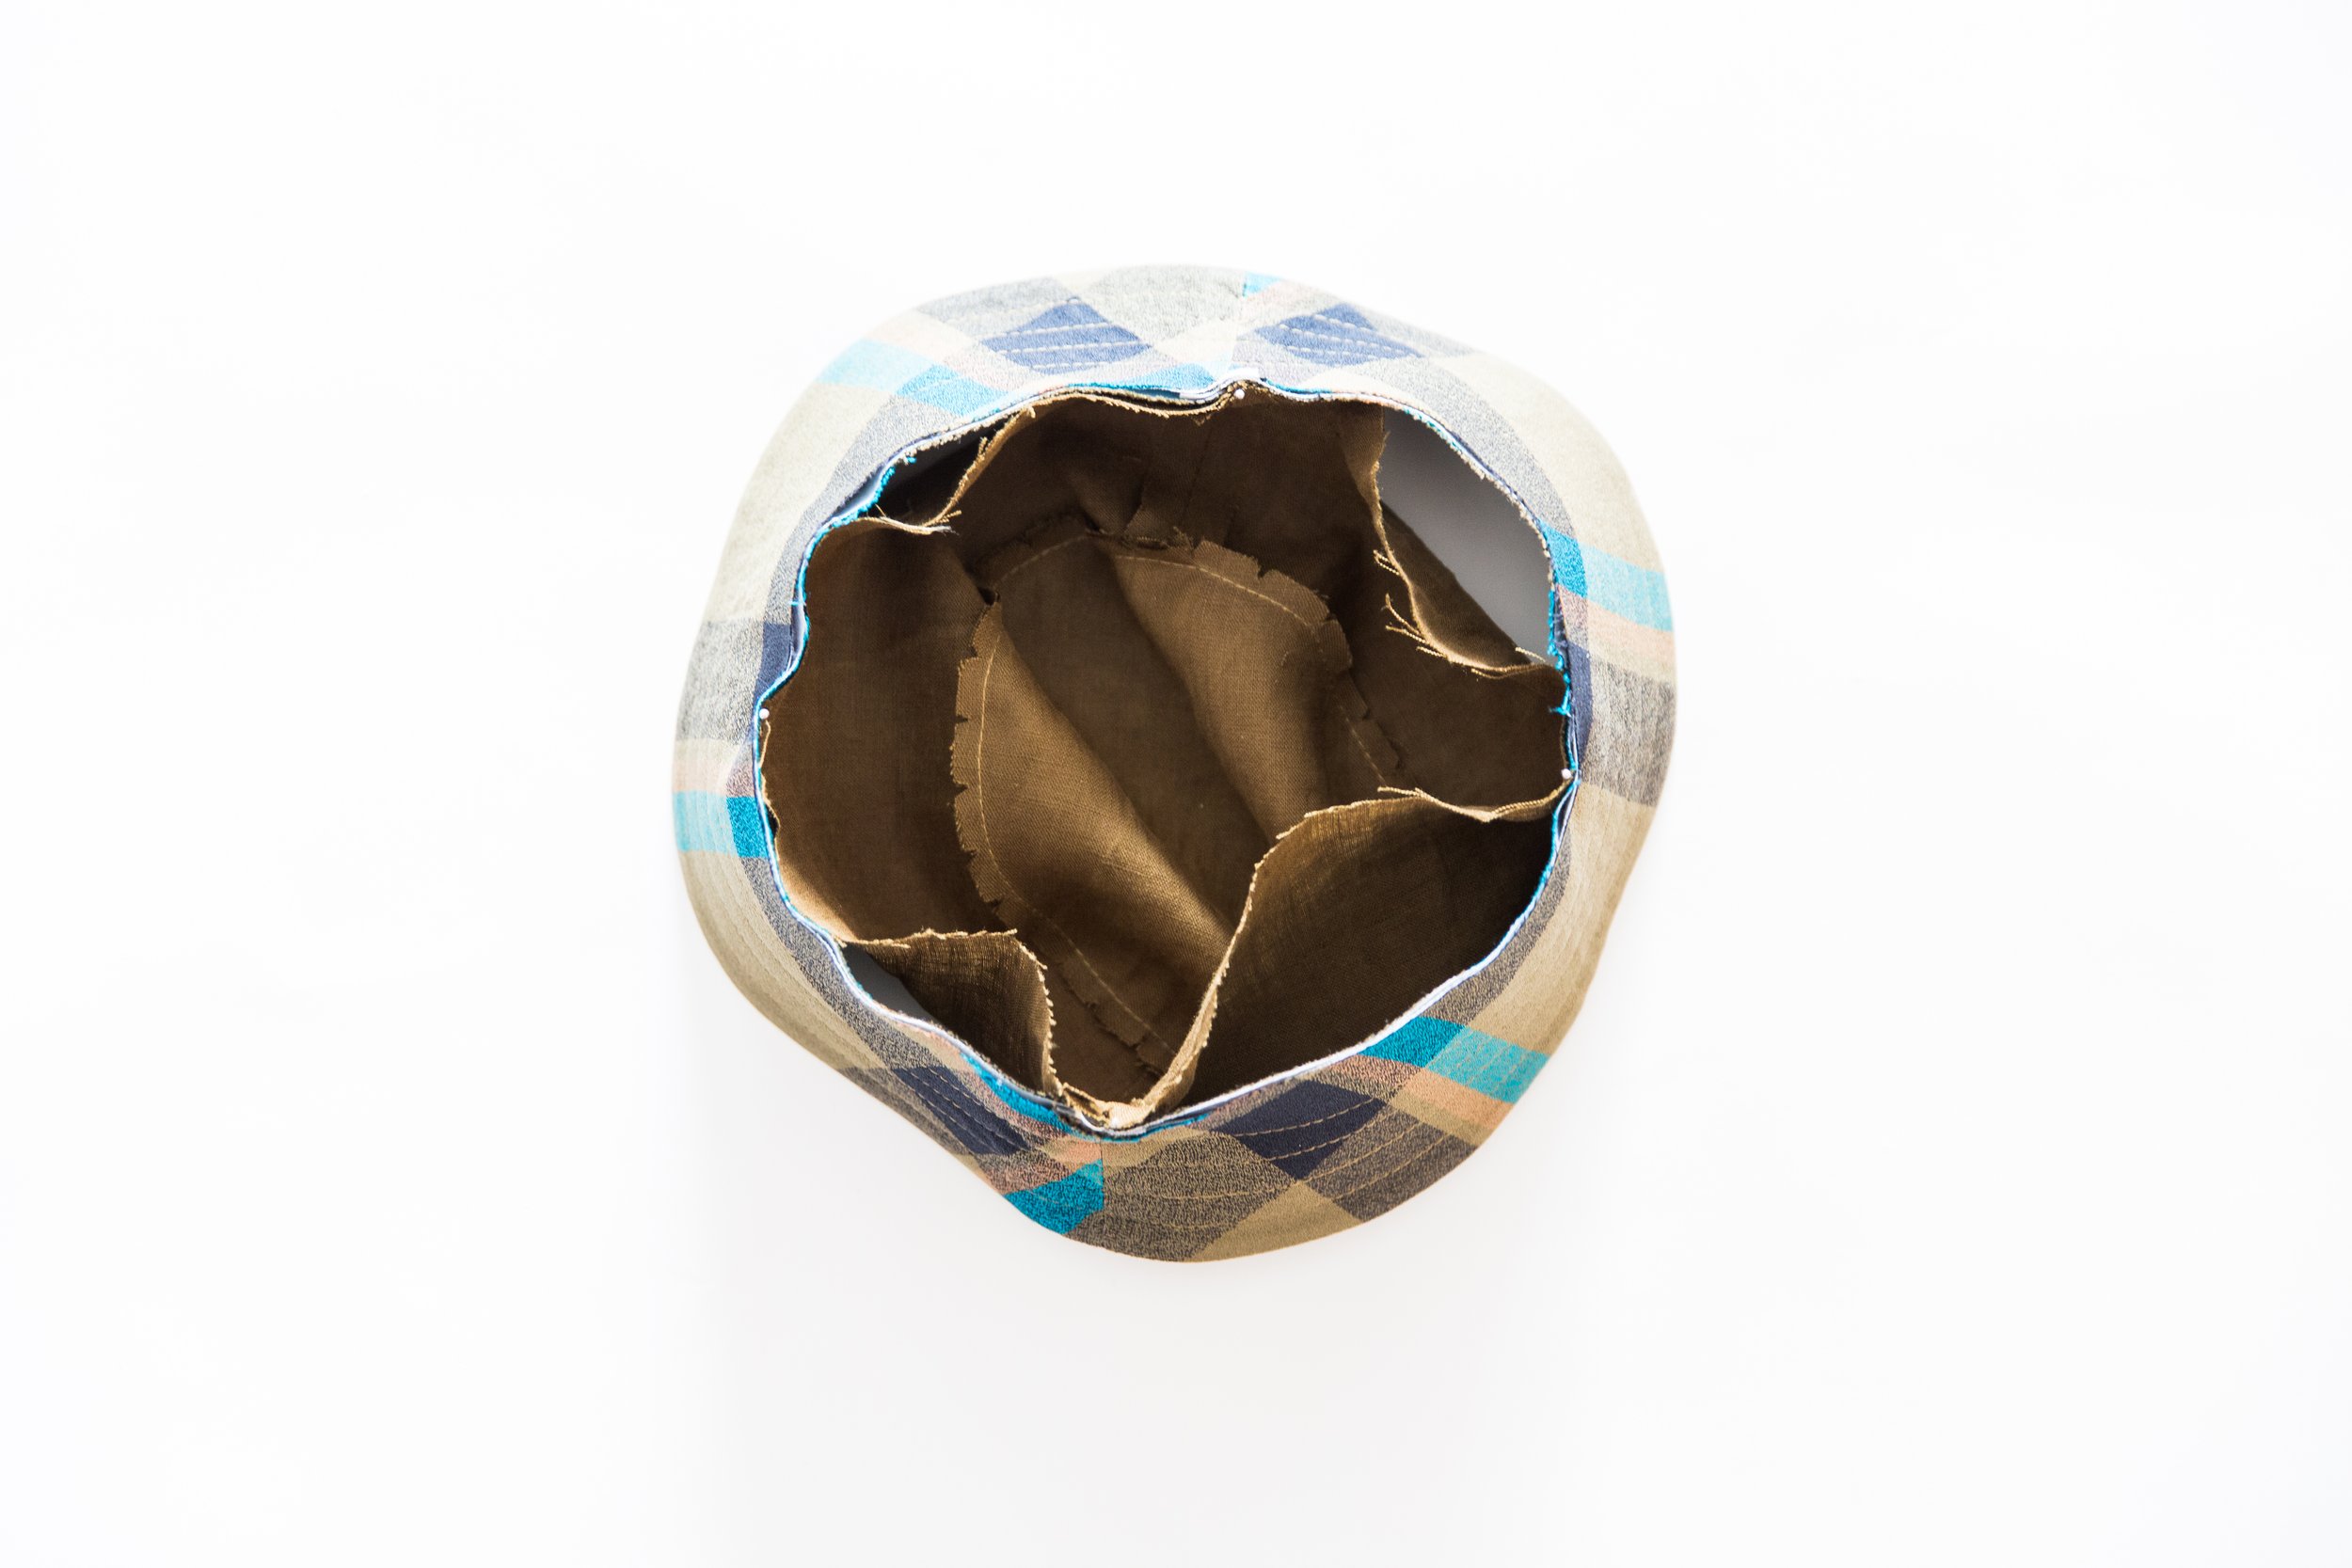
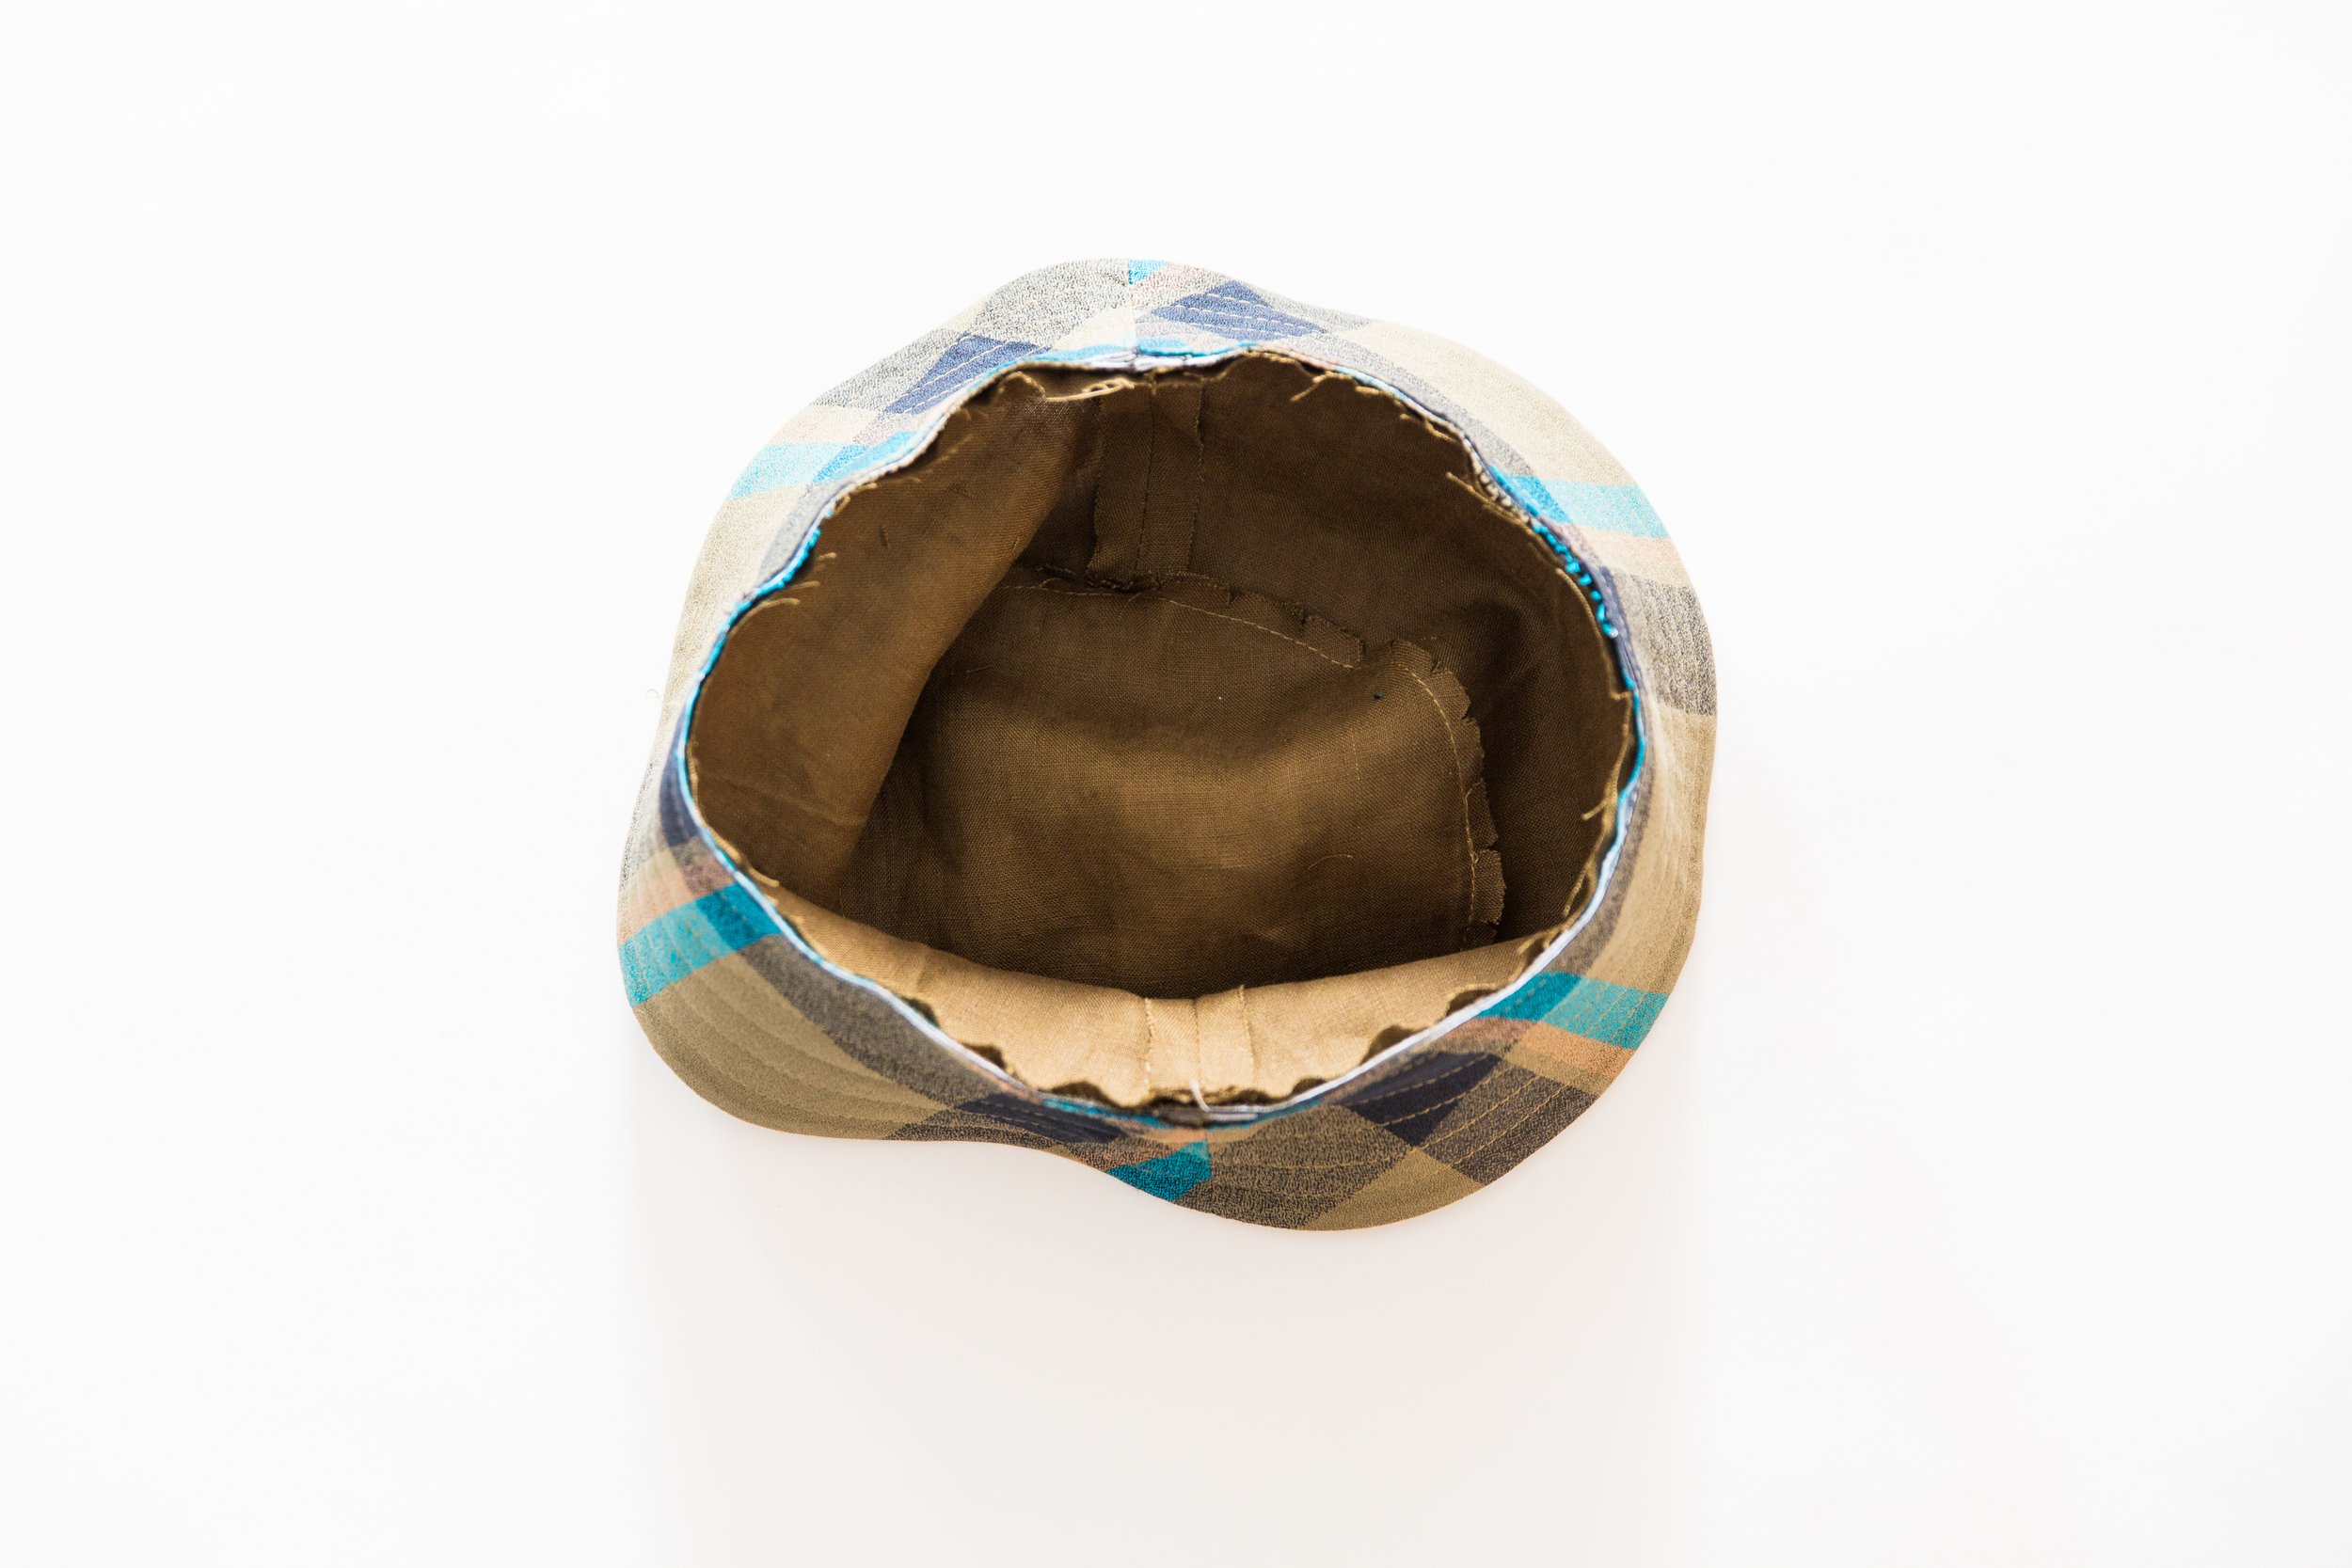
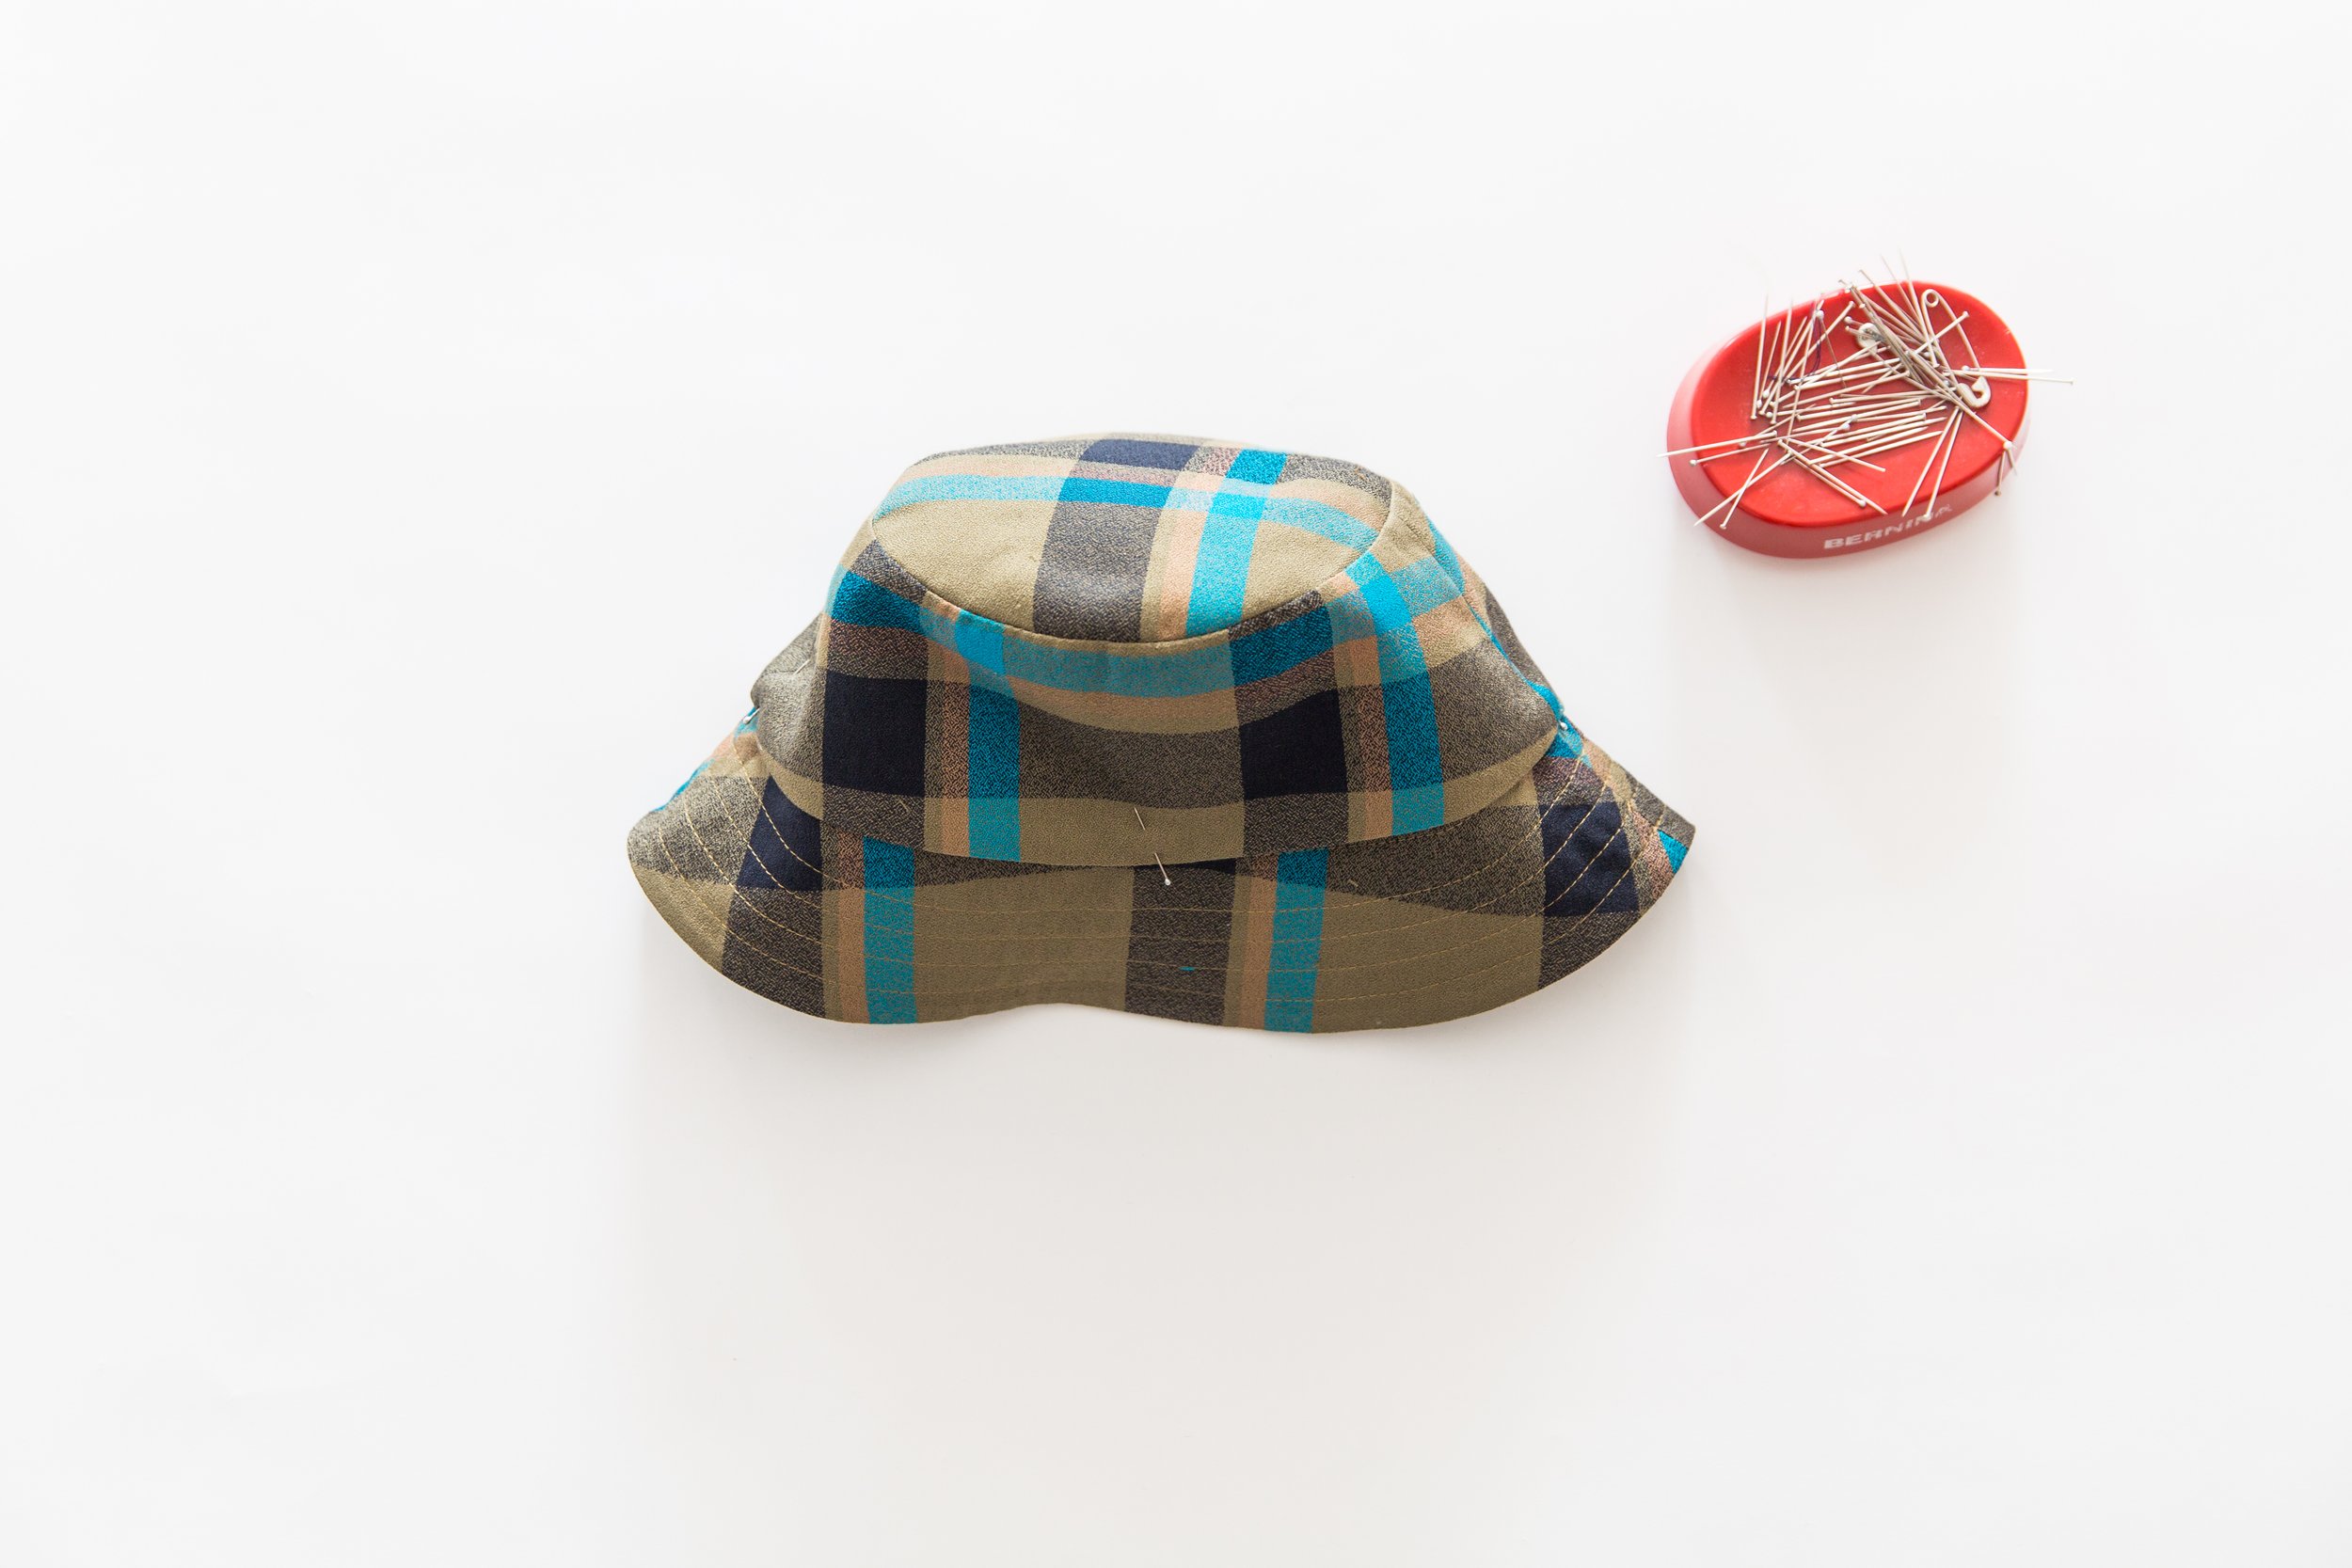
Now place your finished upper hat over the top of lining, matching up seam allowances and pin securely in place.
Step 10
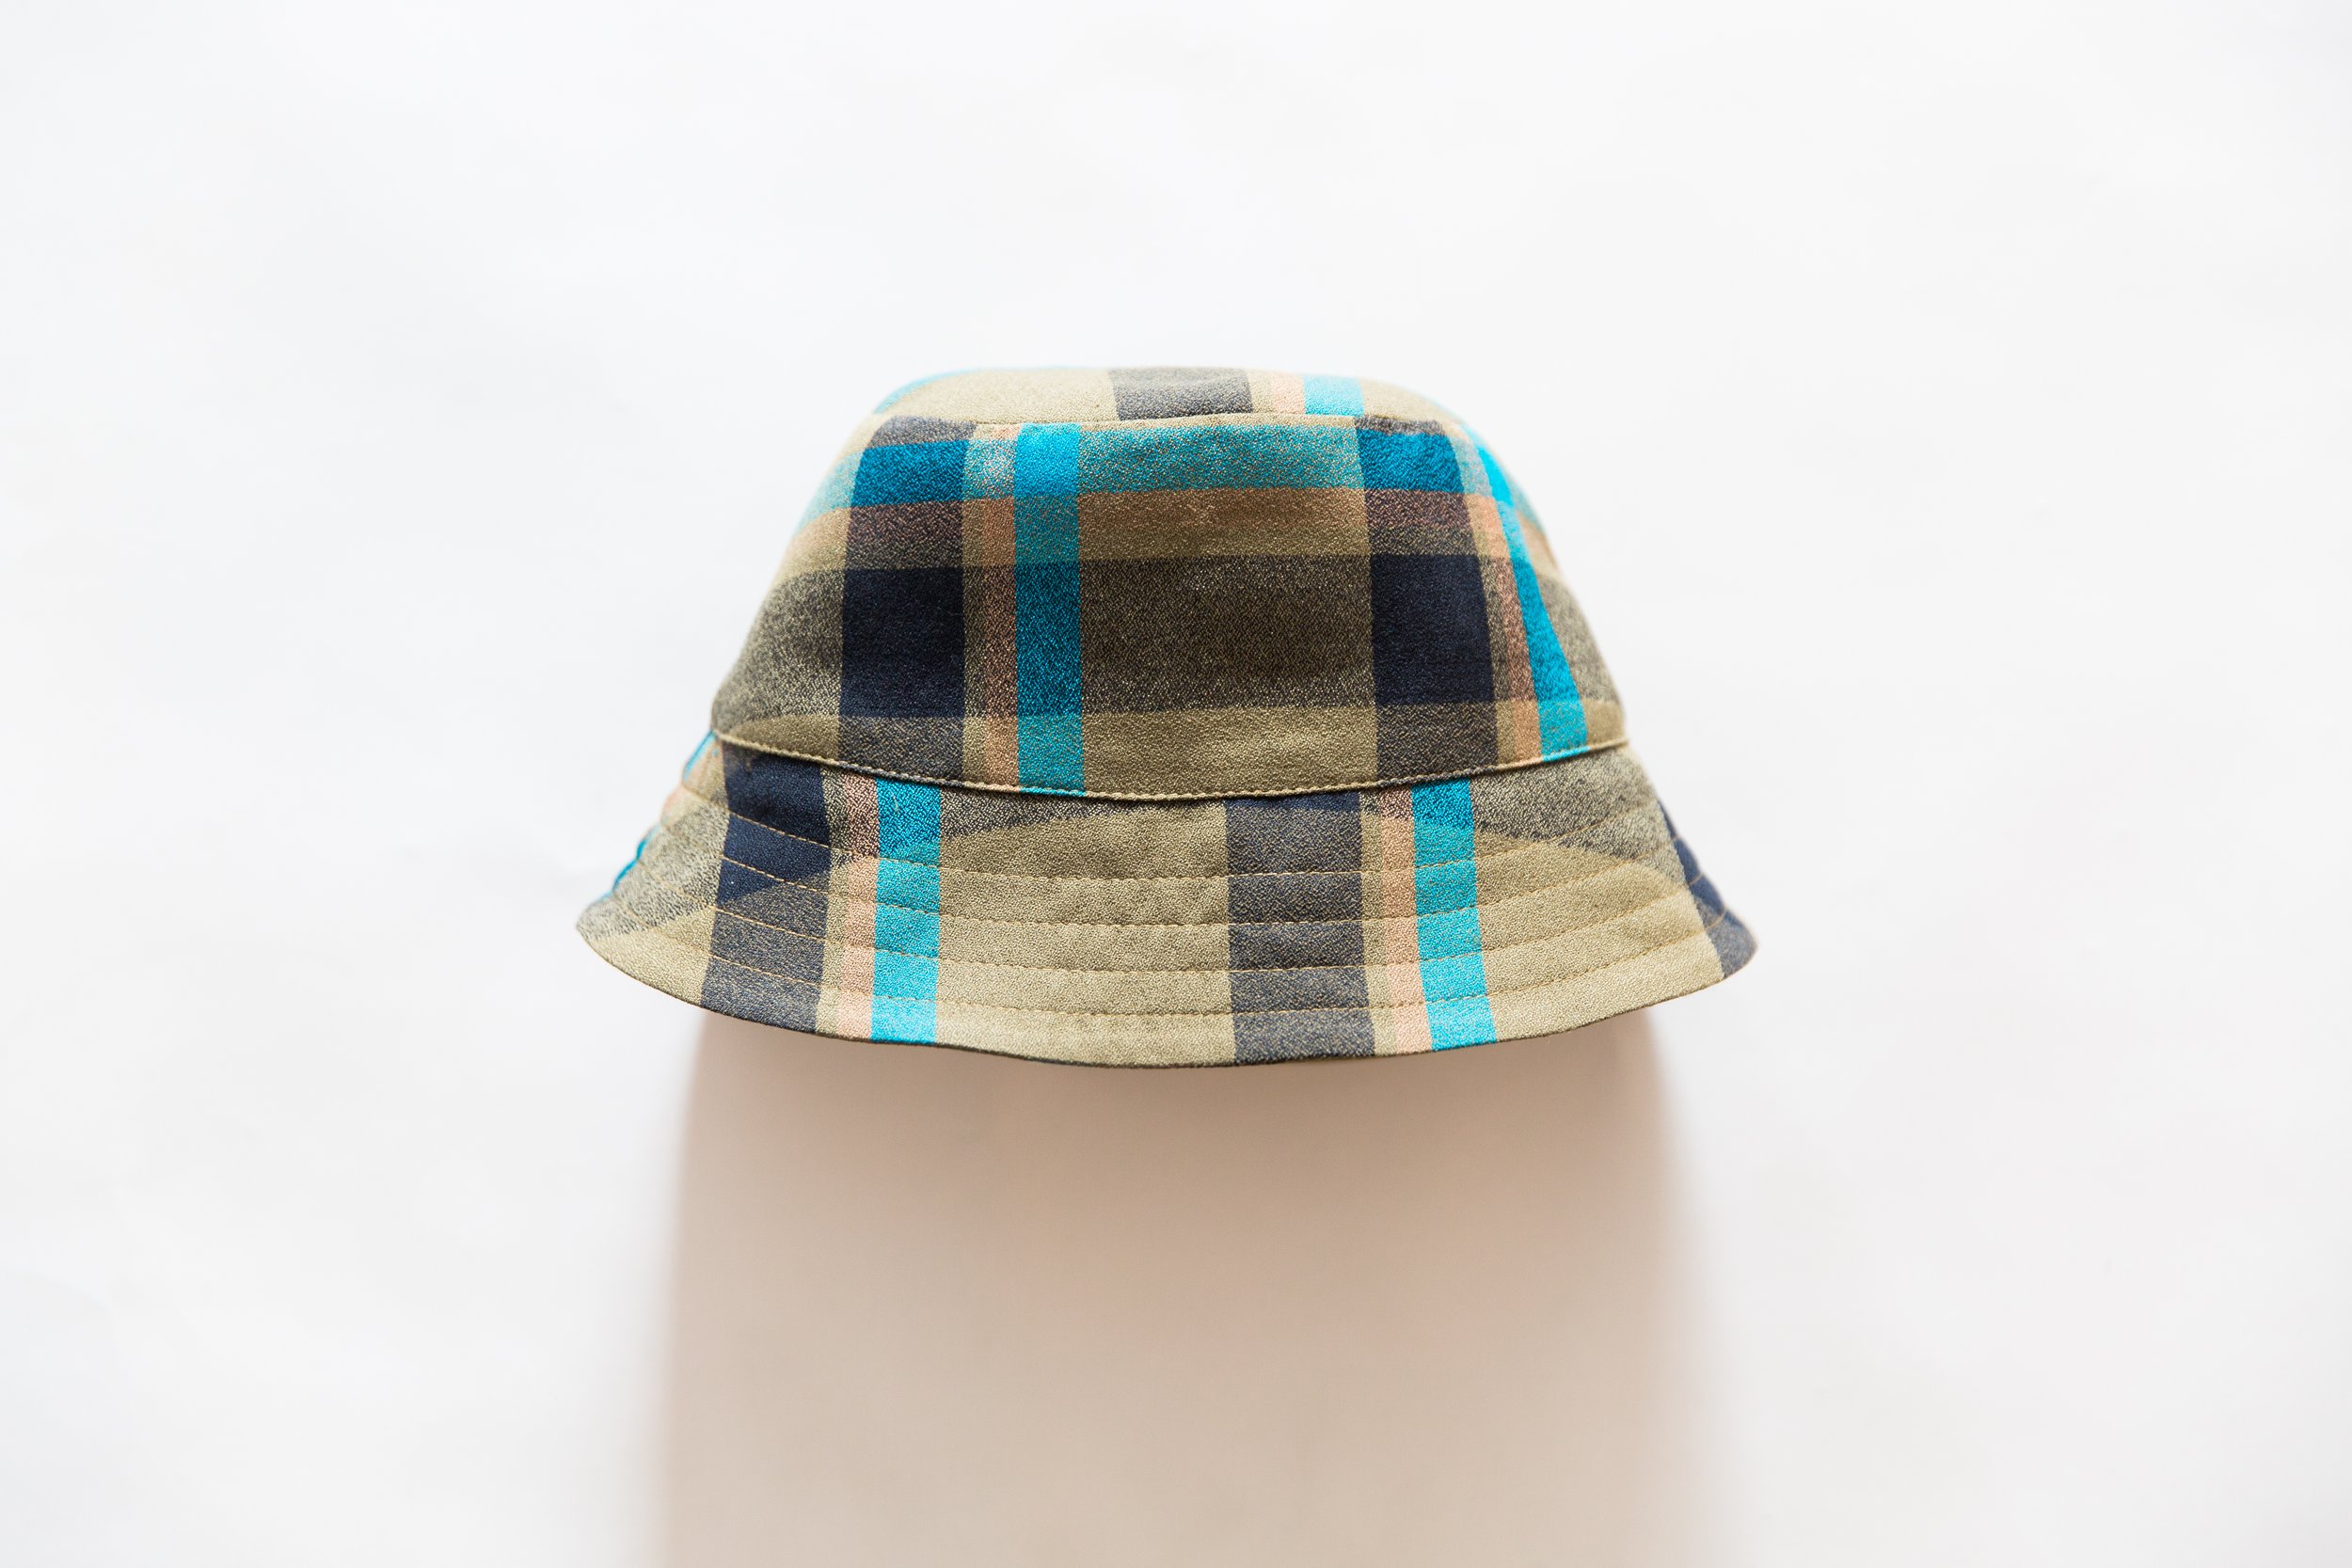
Topstitch in place all the way around. Press. Voila!
Wear that bucket had with pride!


