Step 1
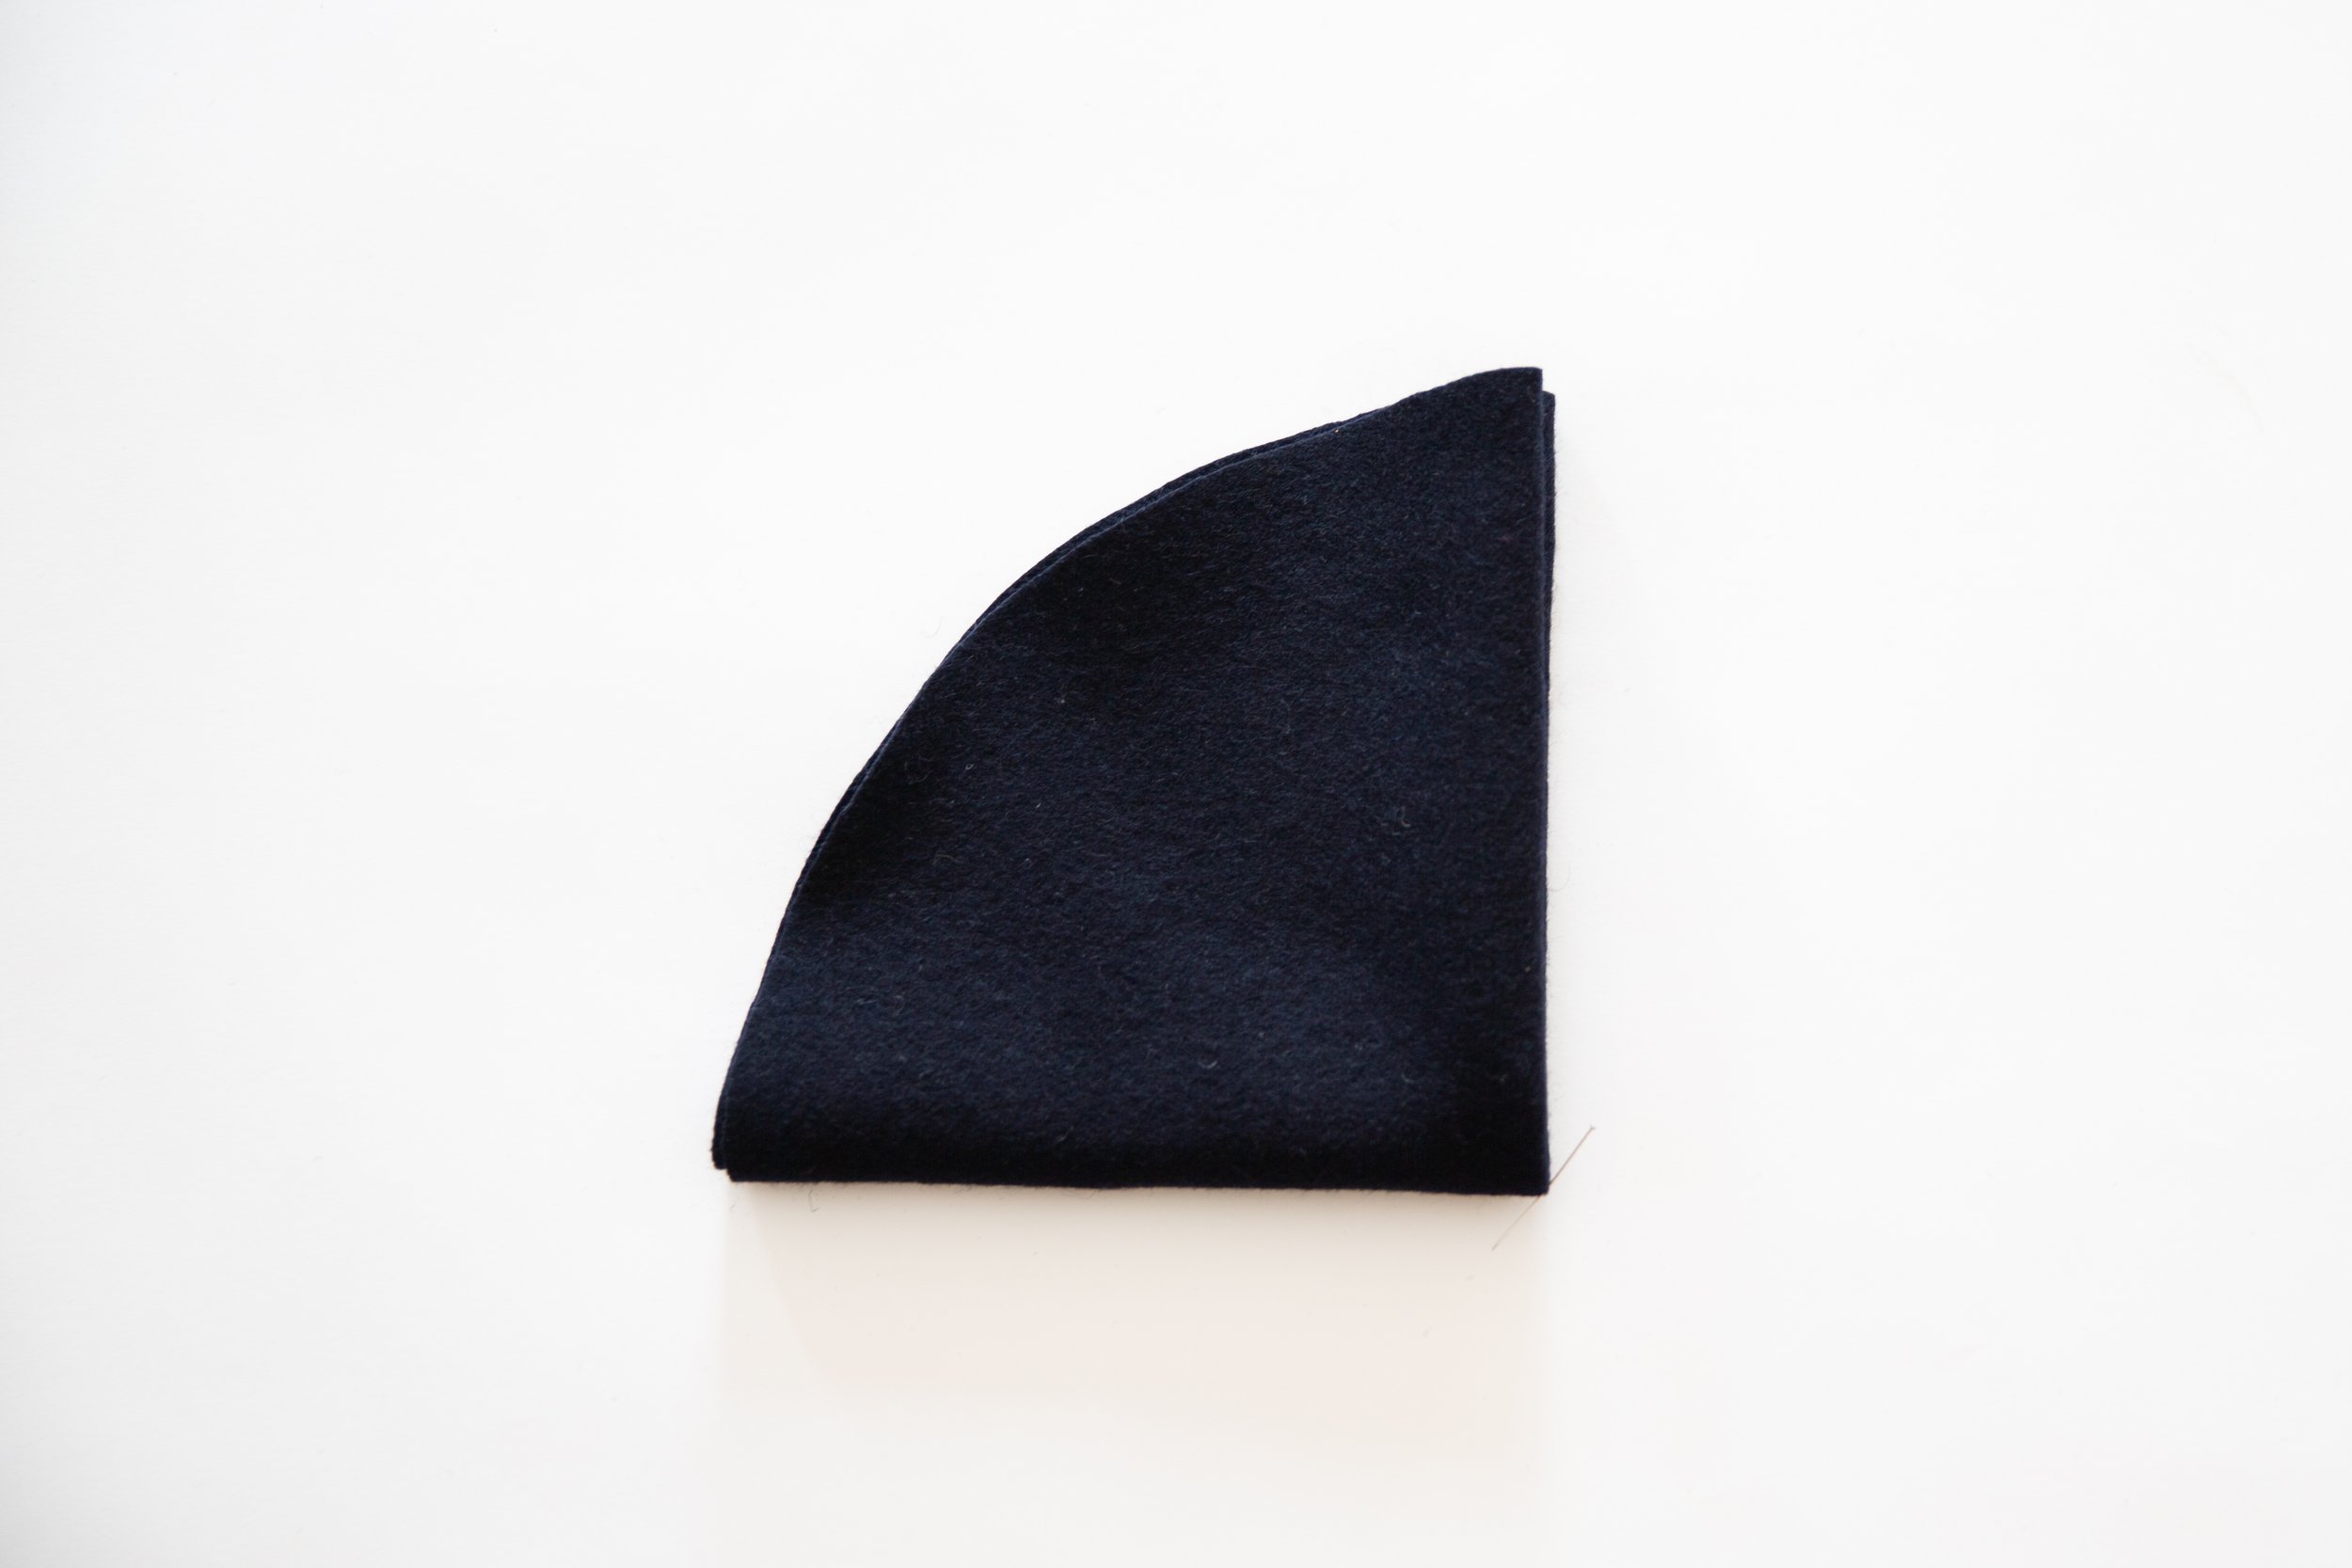
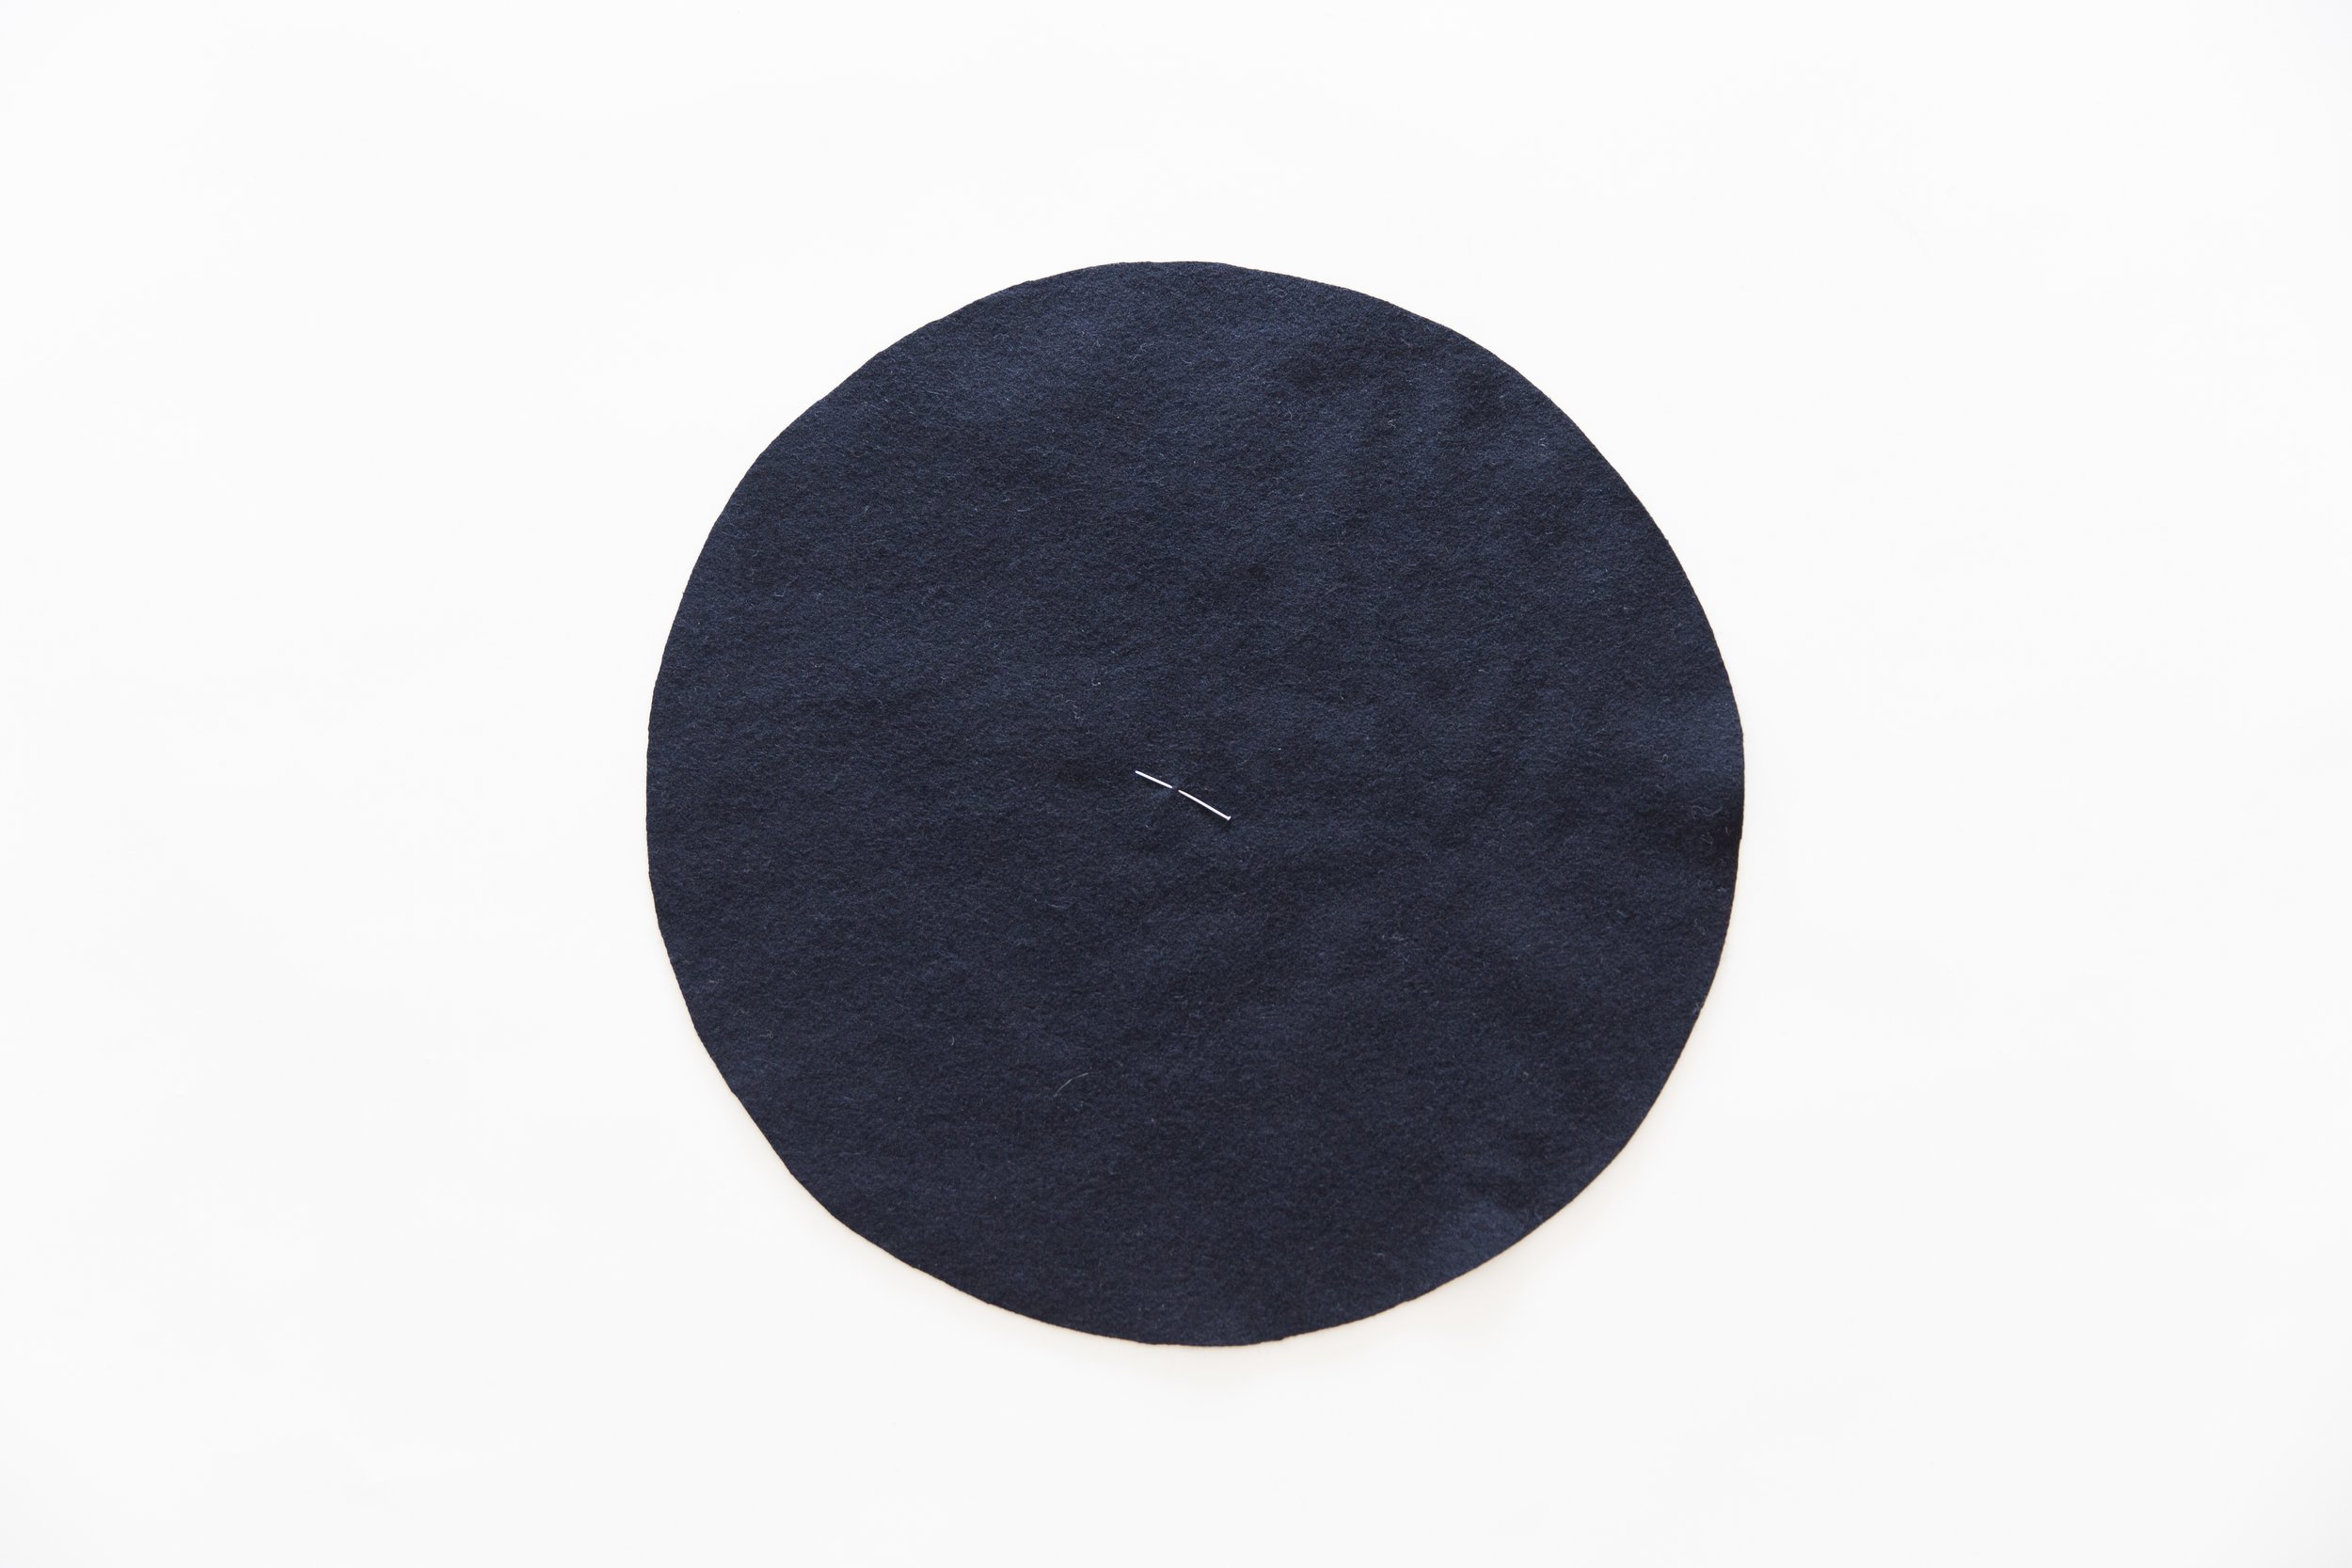
Start by finding and marking the centre point of your top circle piece on the right side of fabric. You can do this by folding it in half one way, then folding it in half the other way.
Step 2
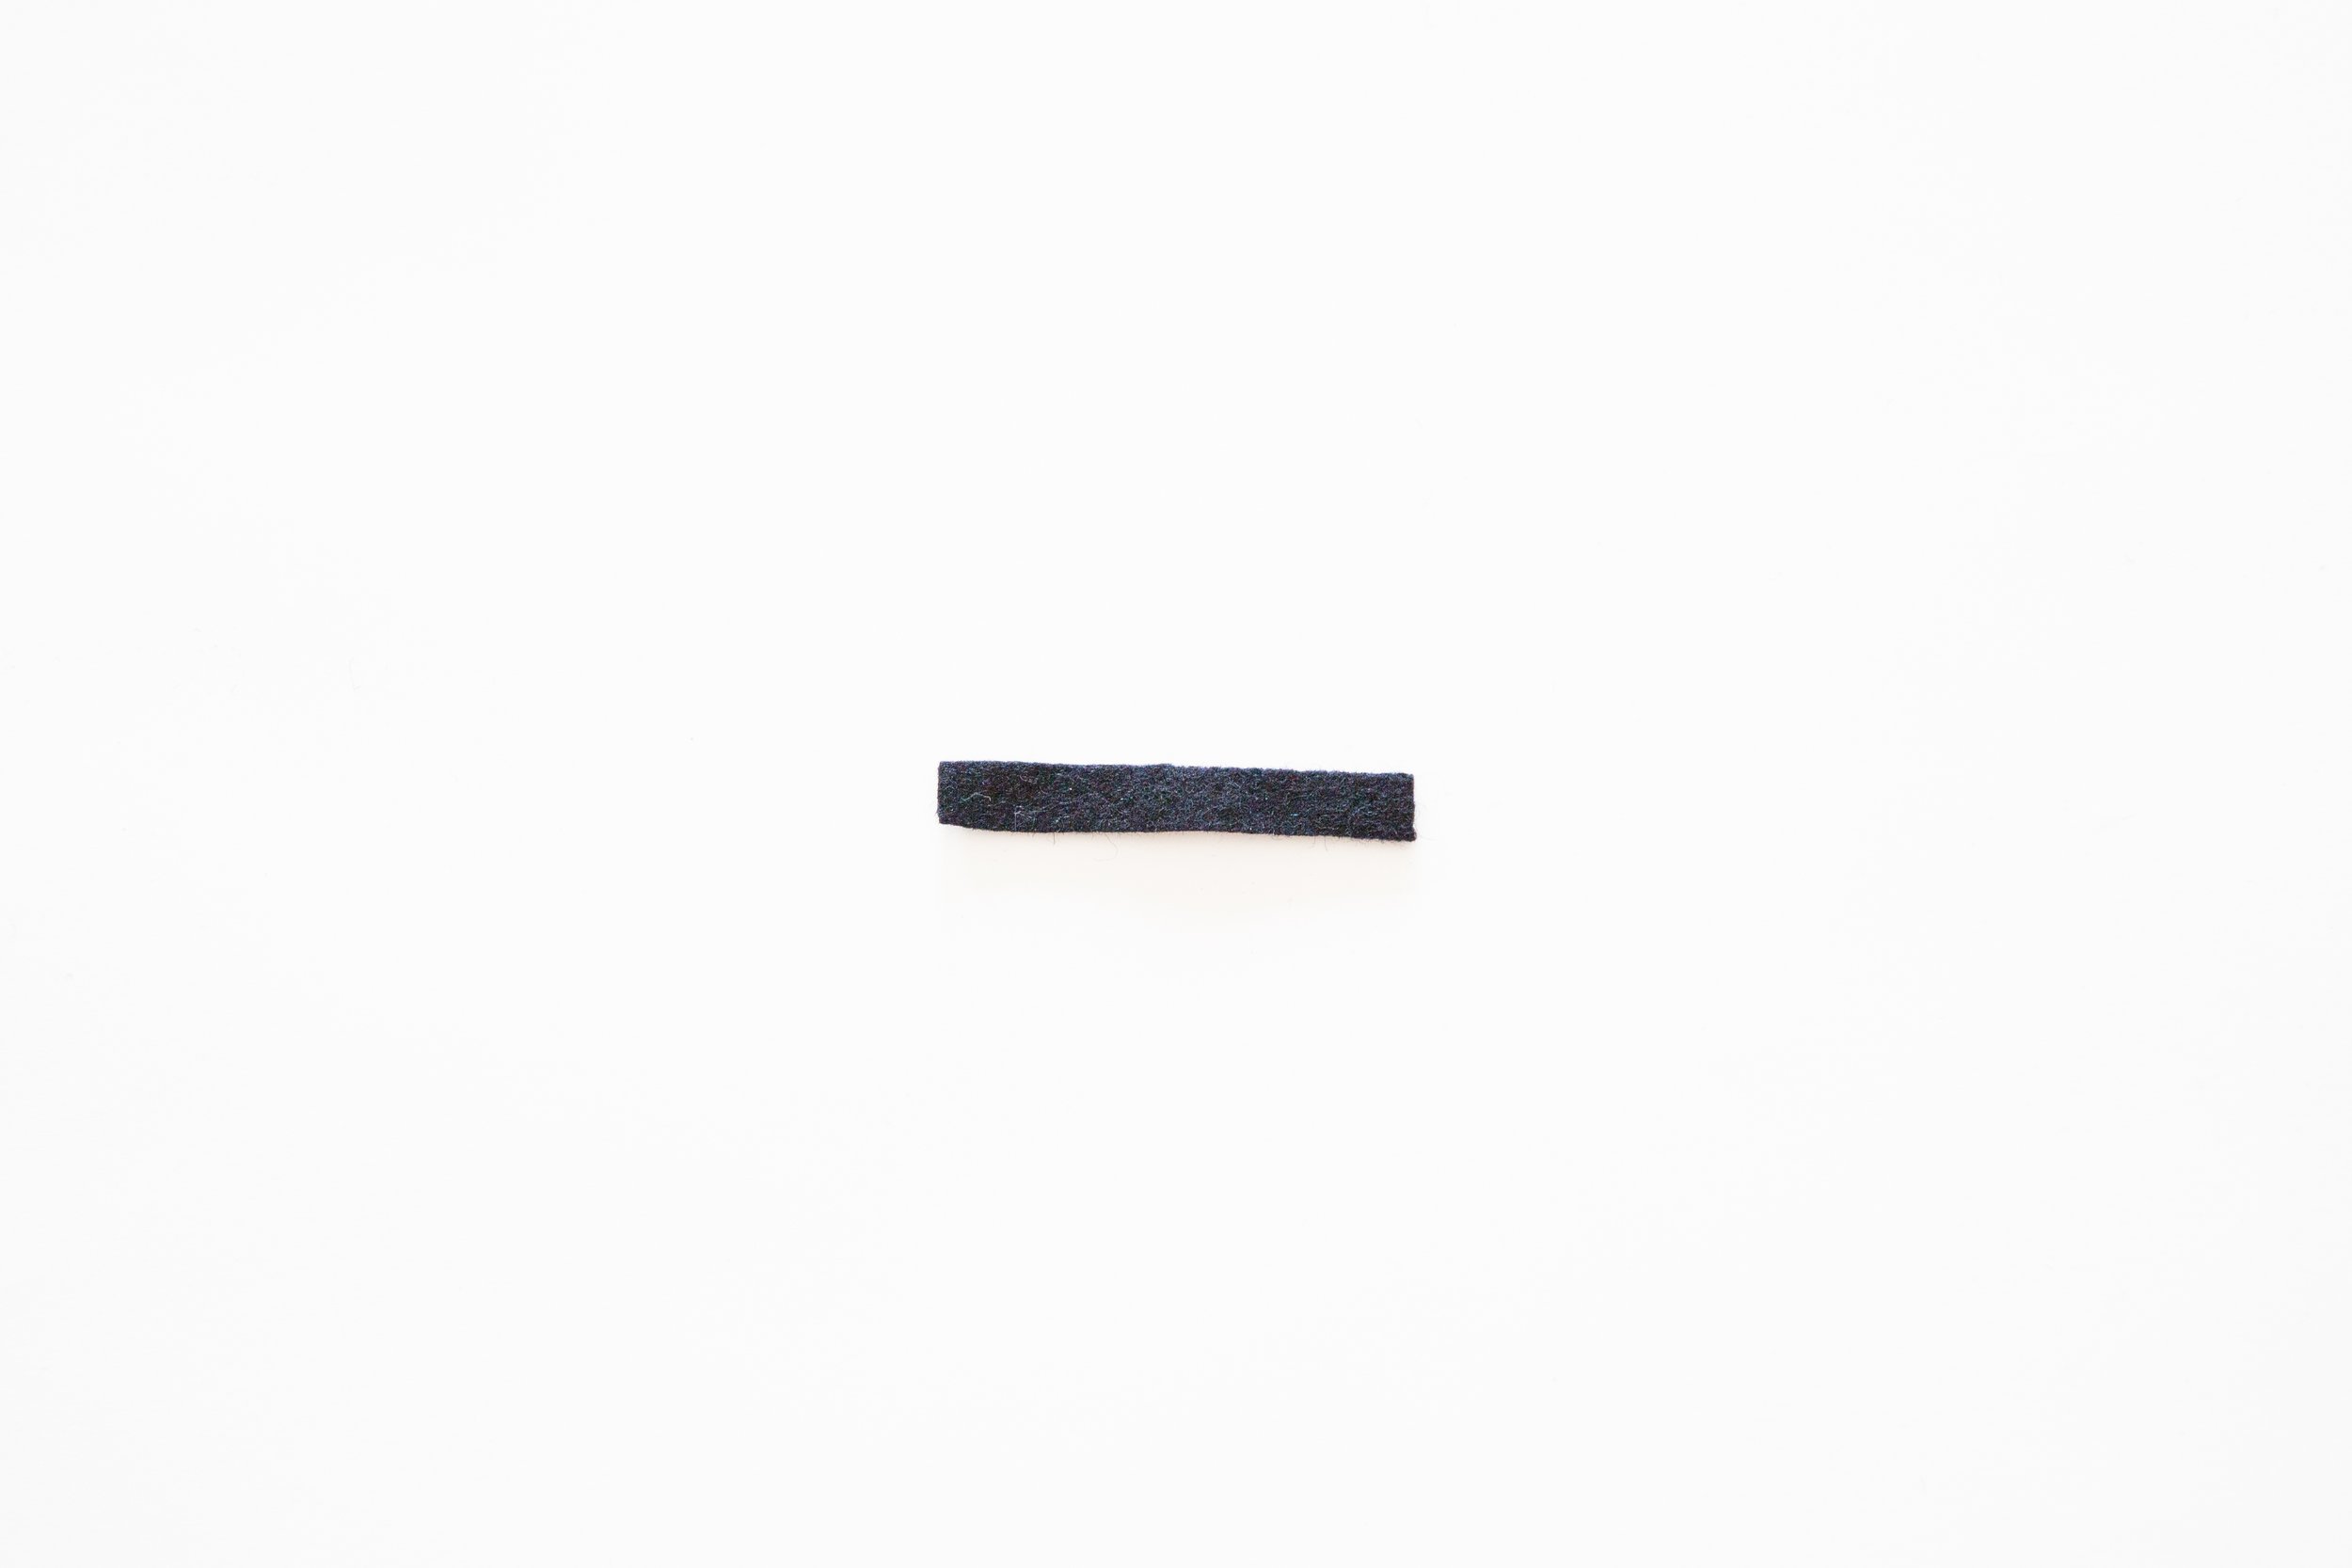
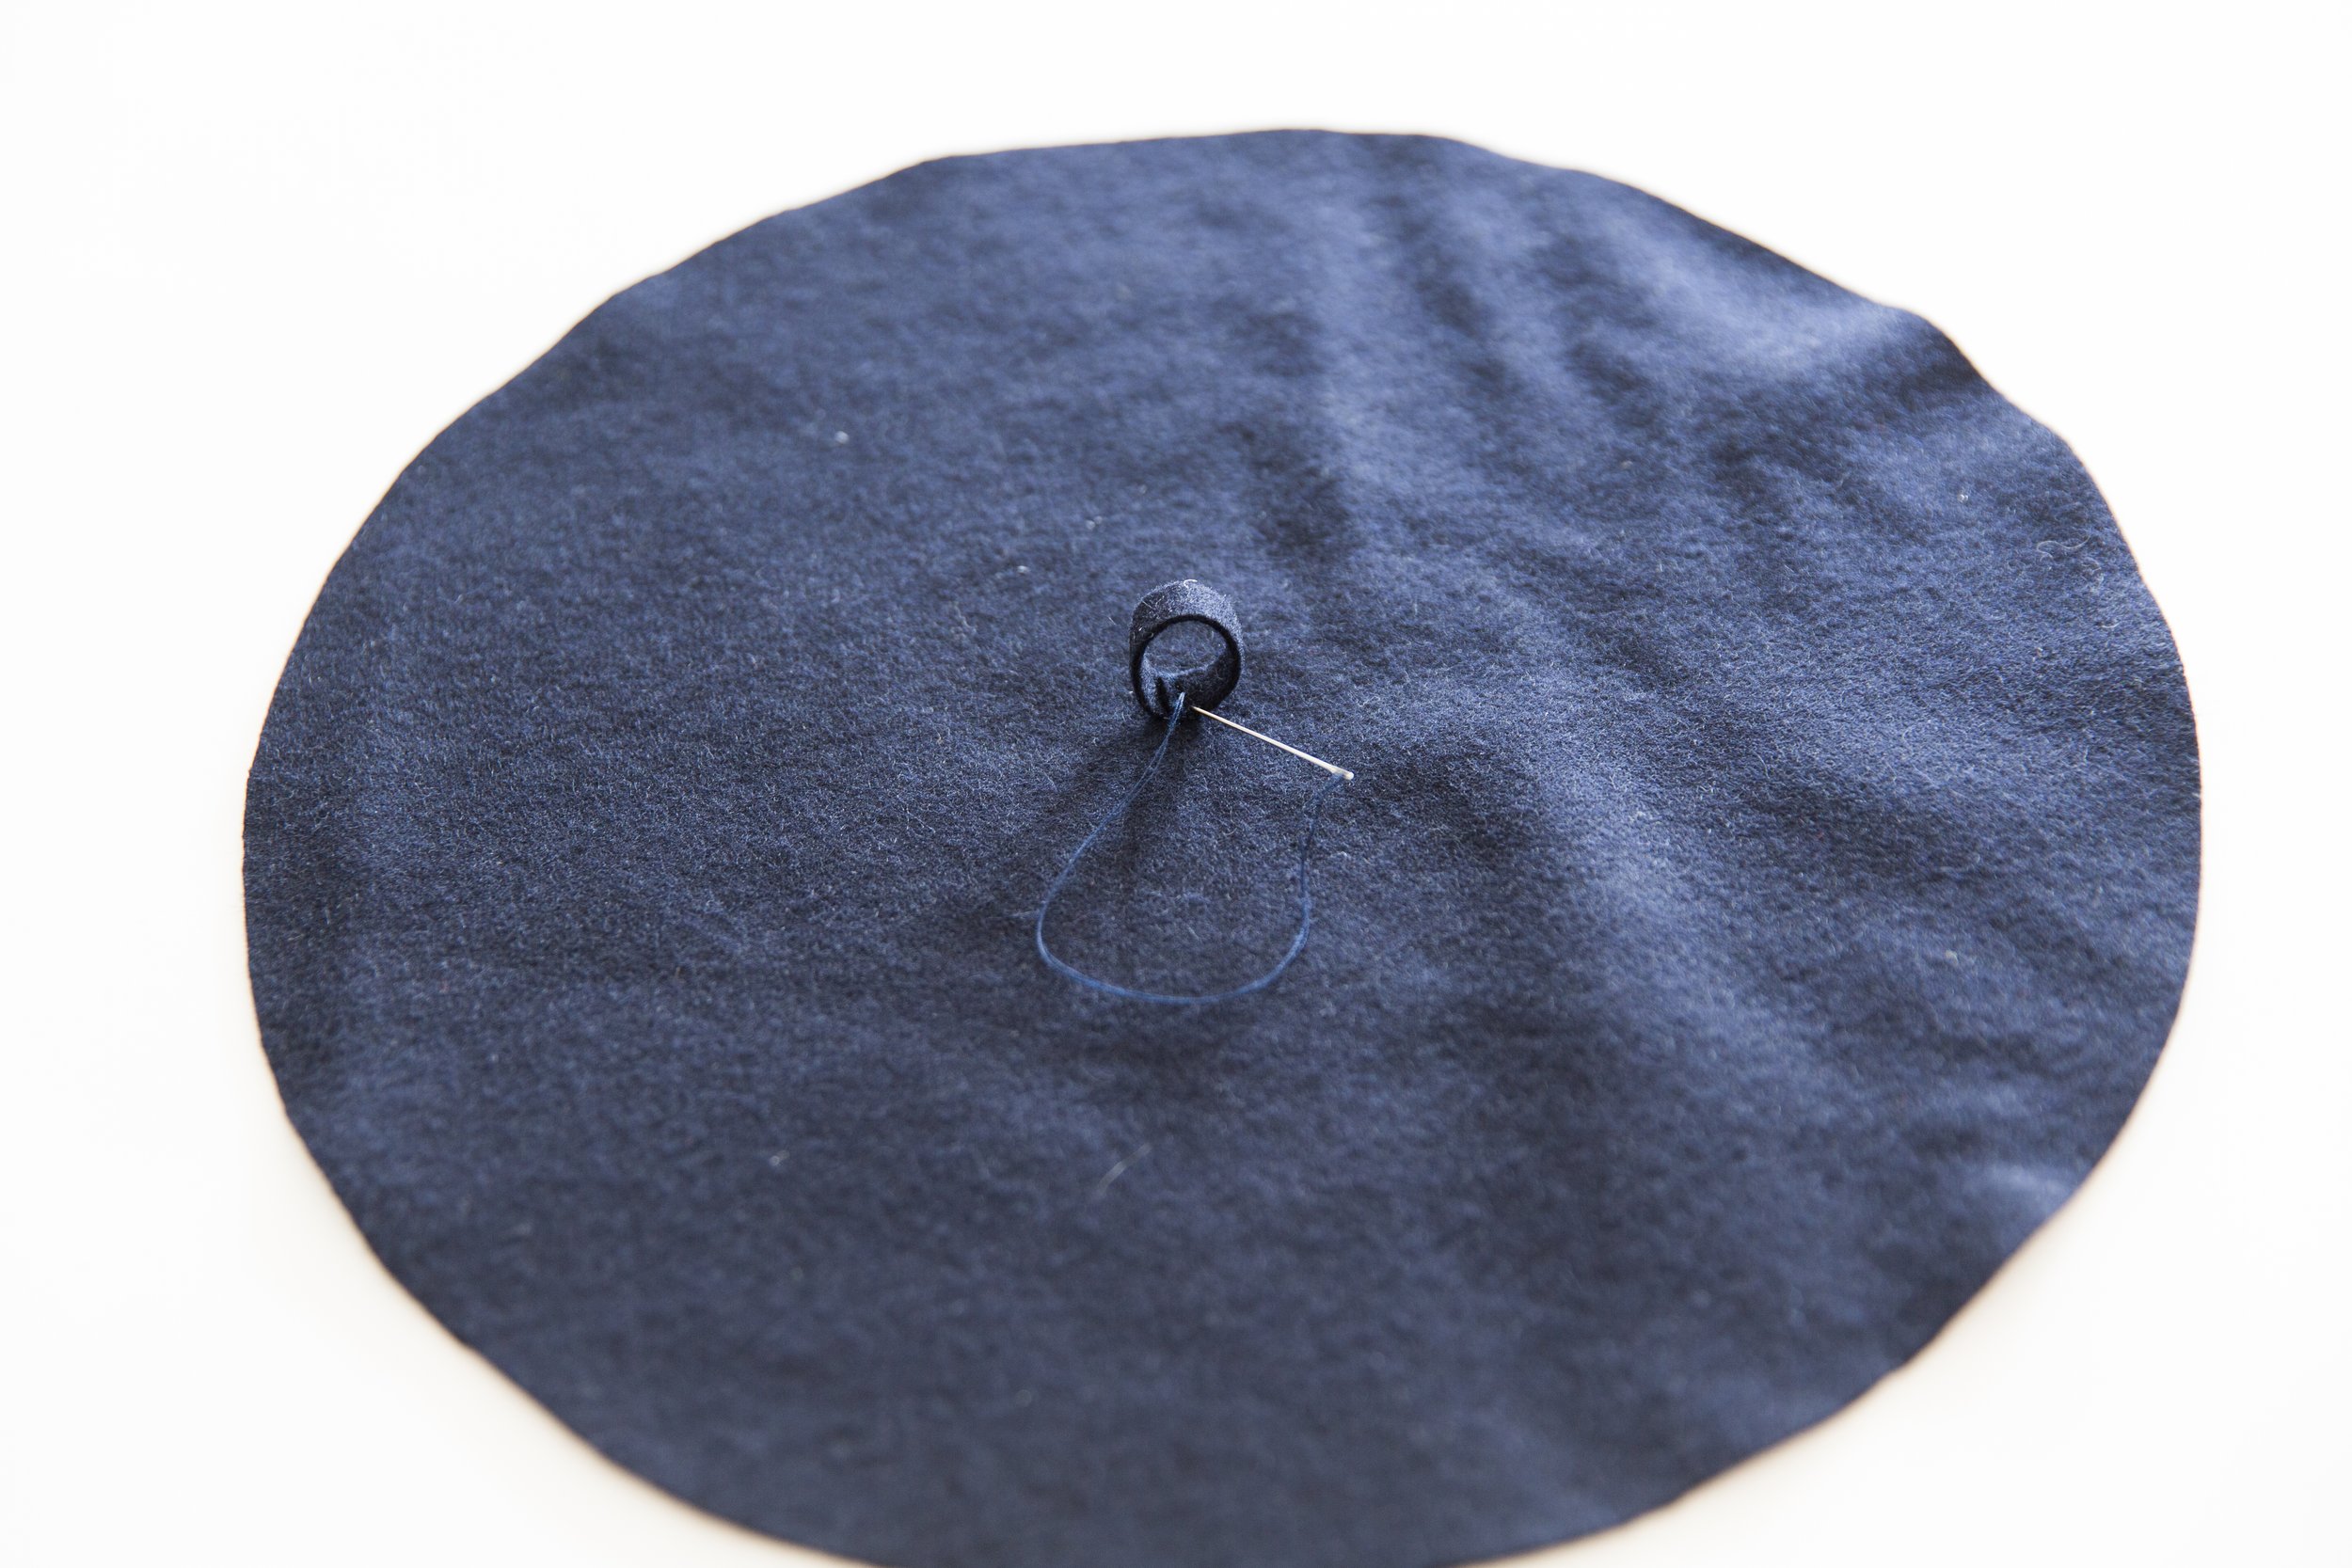
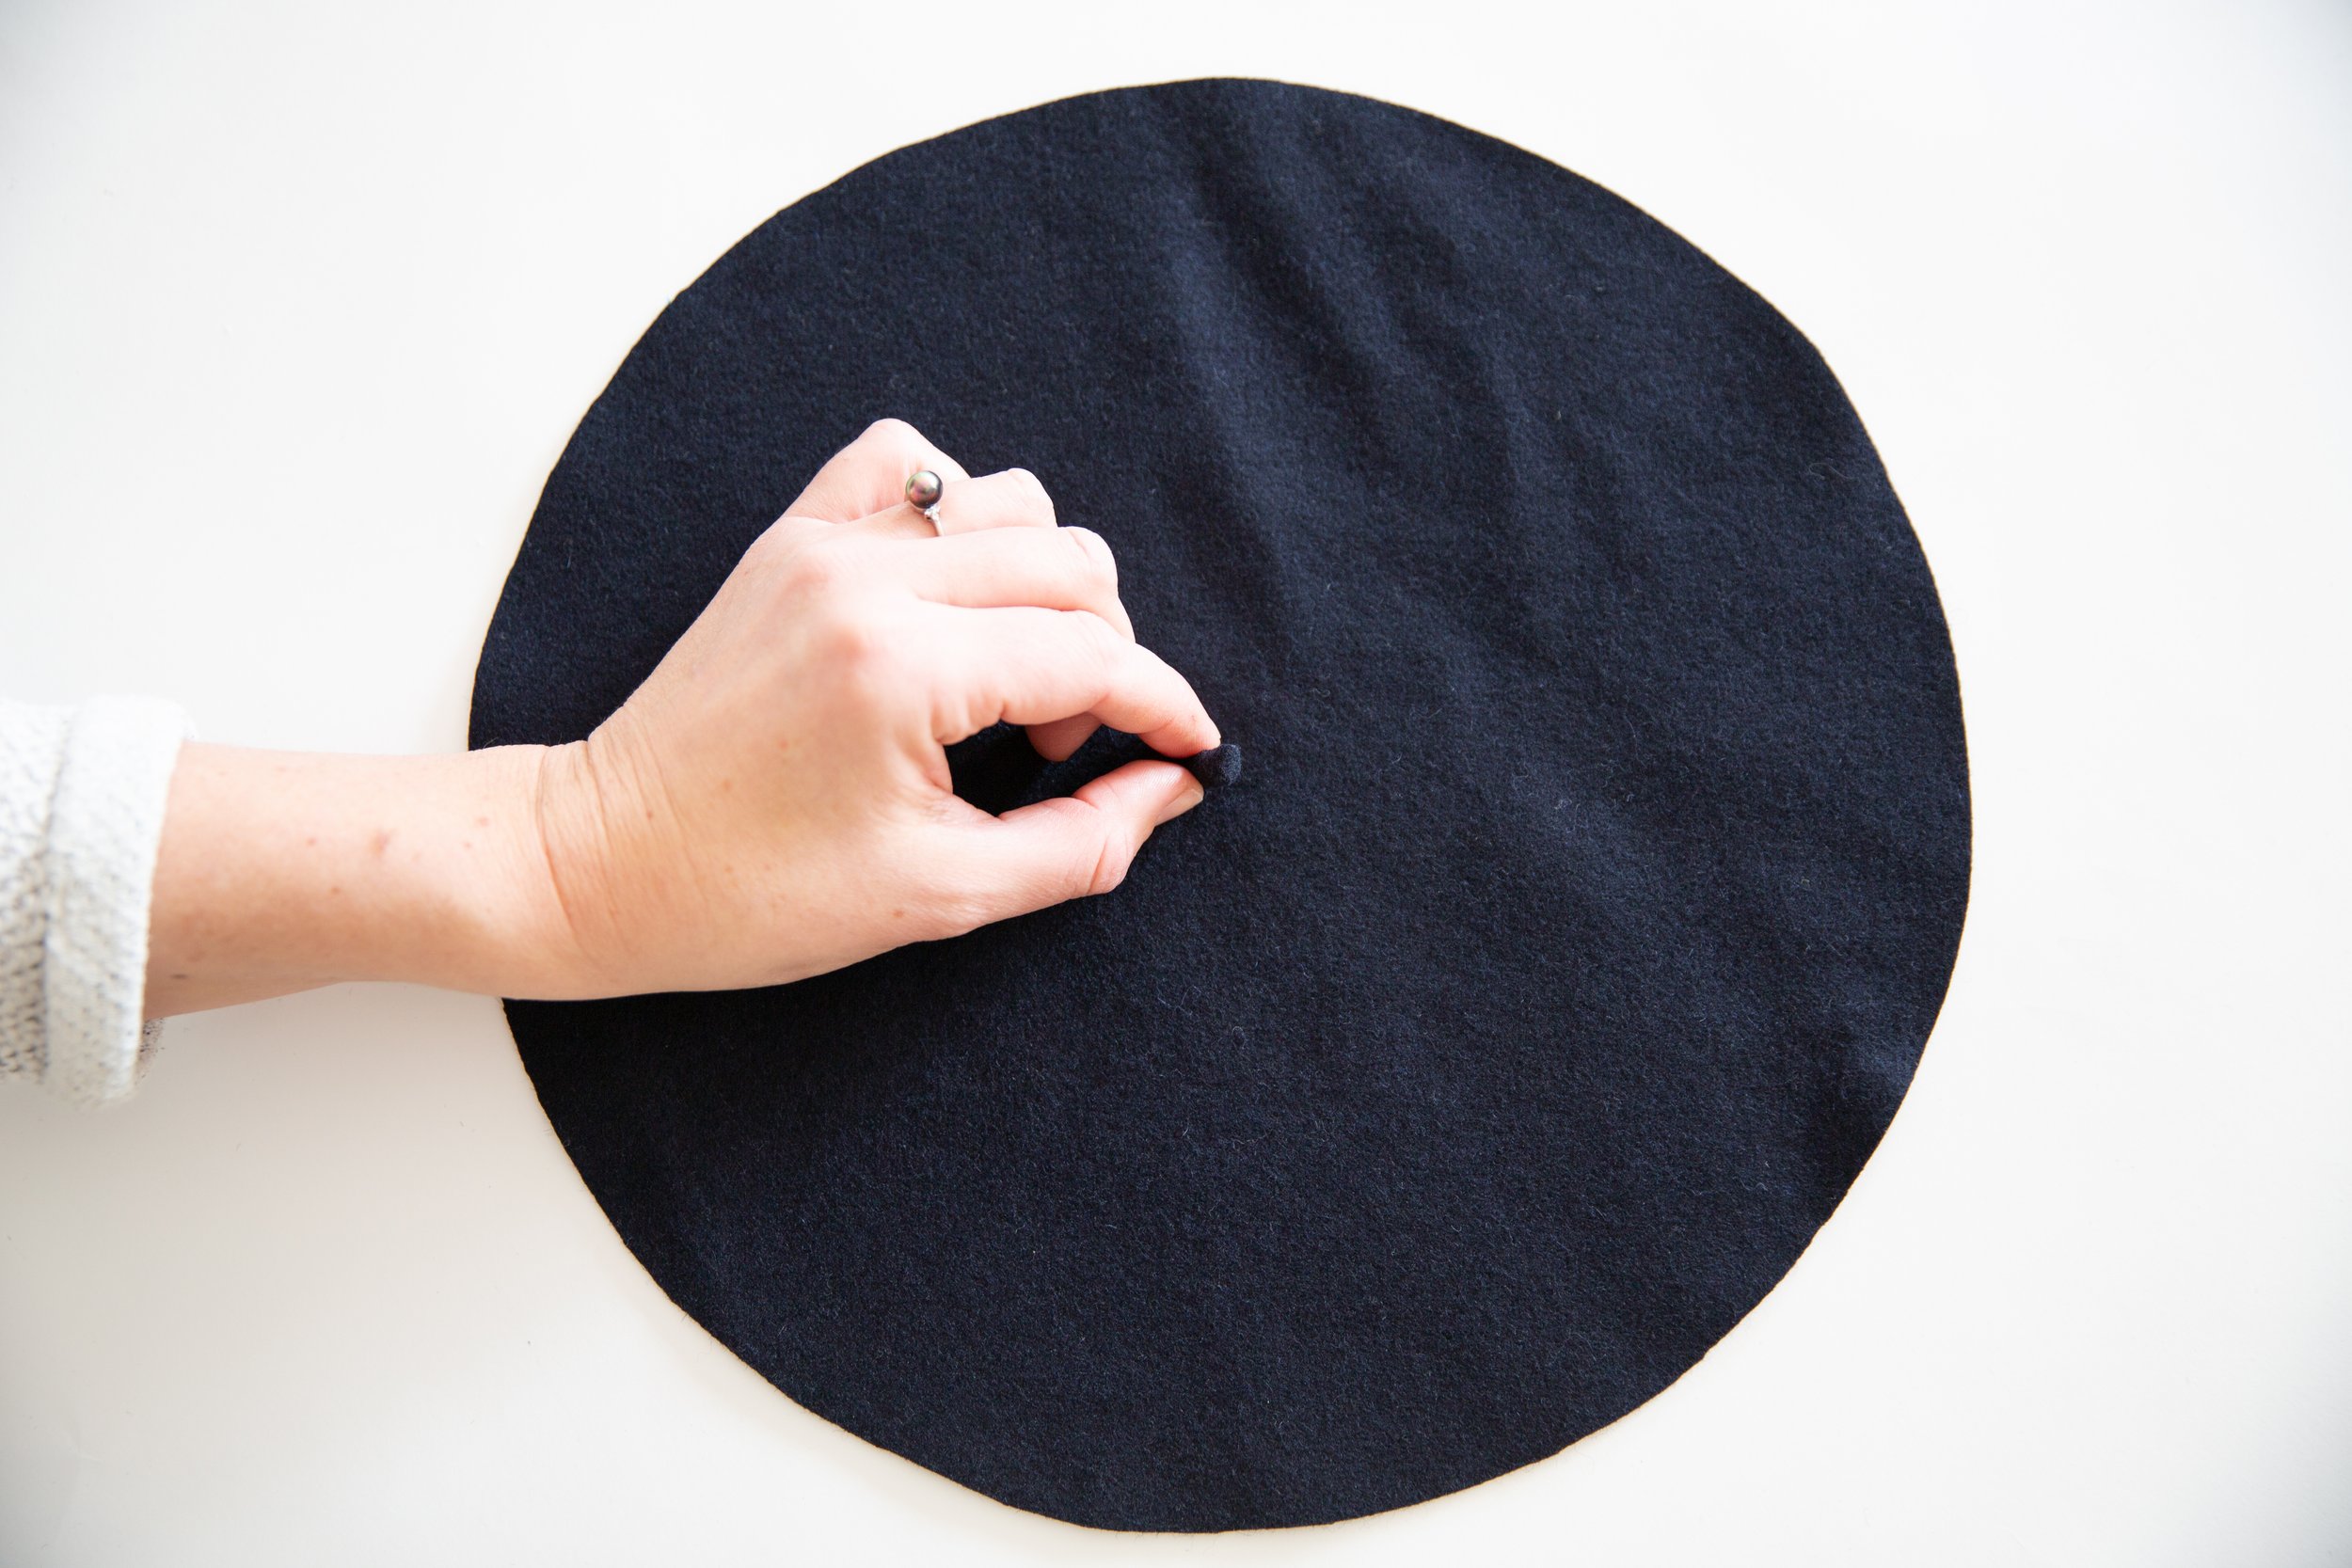
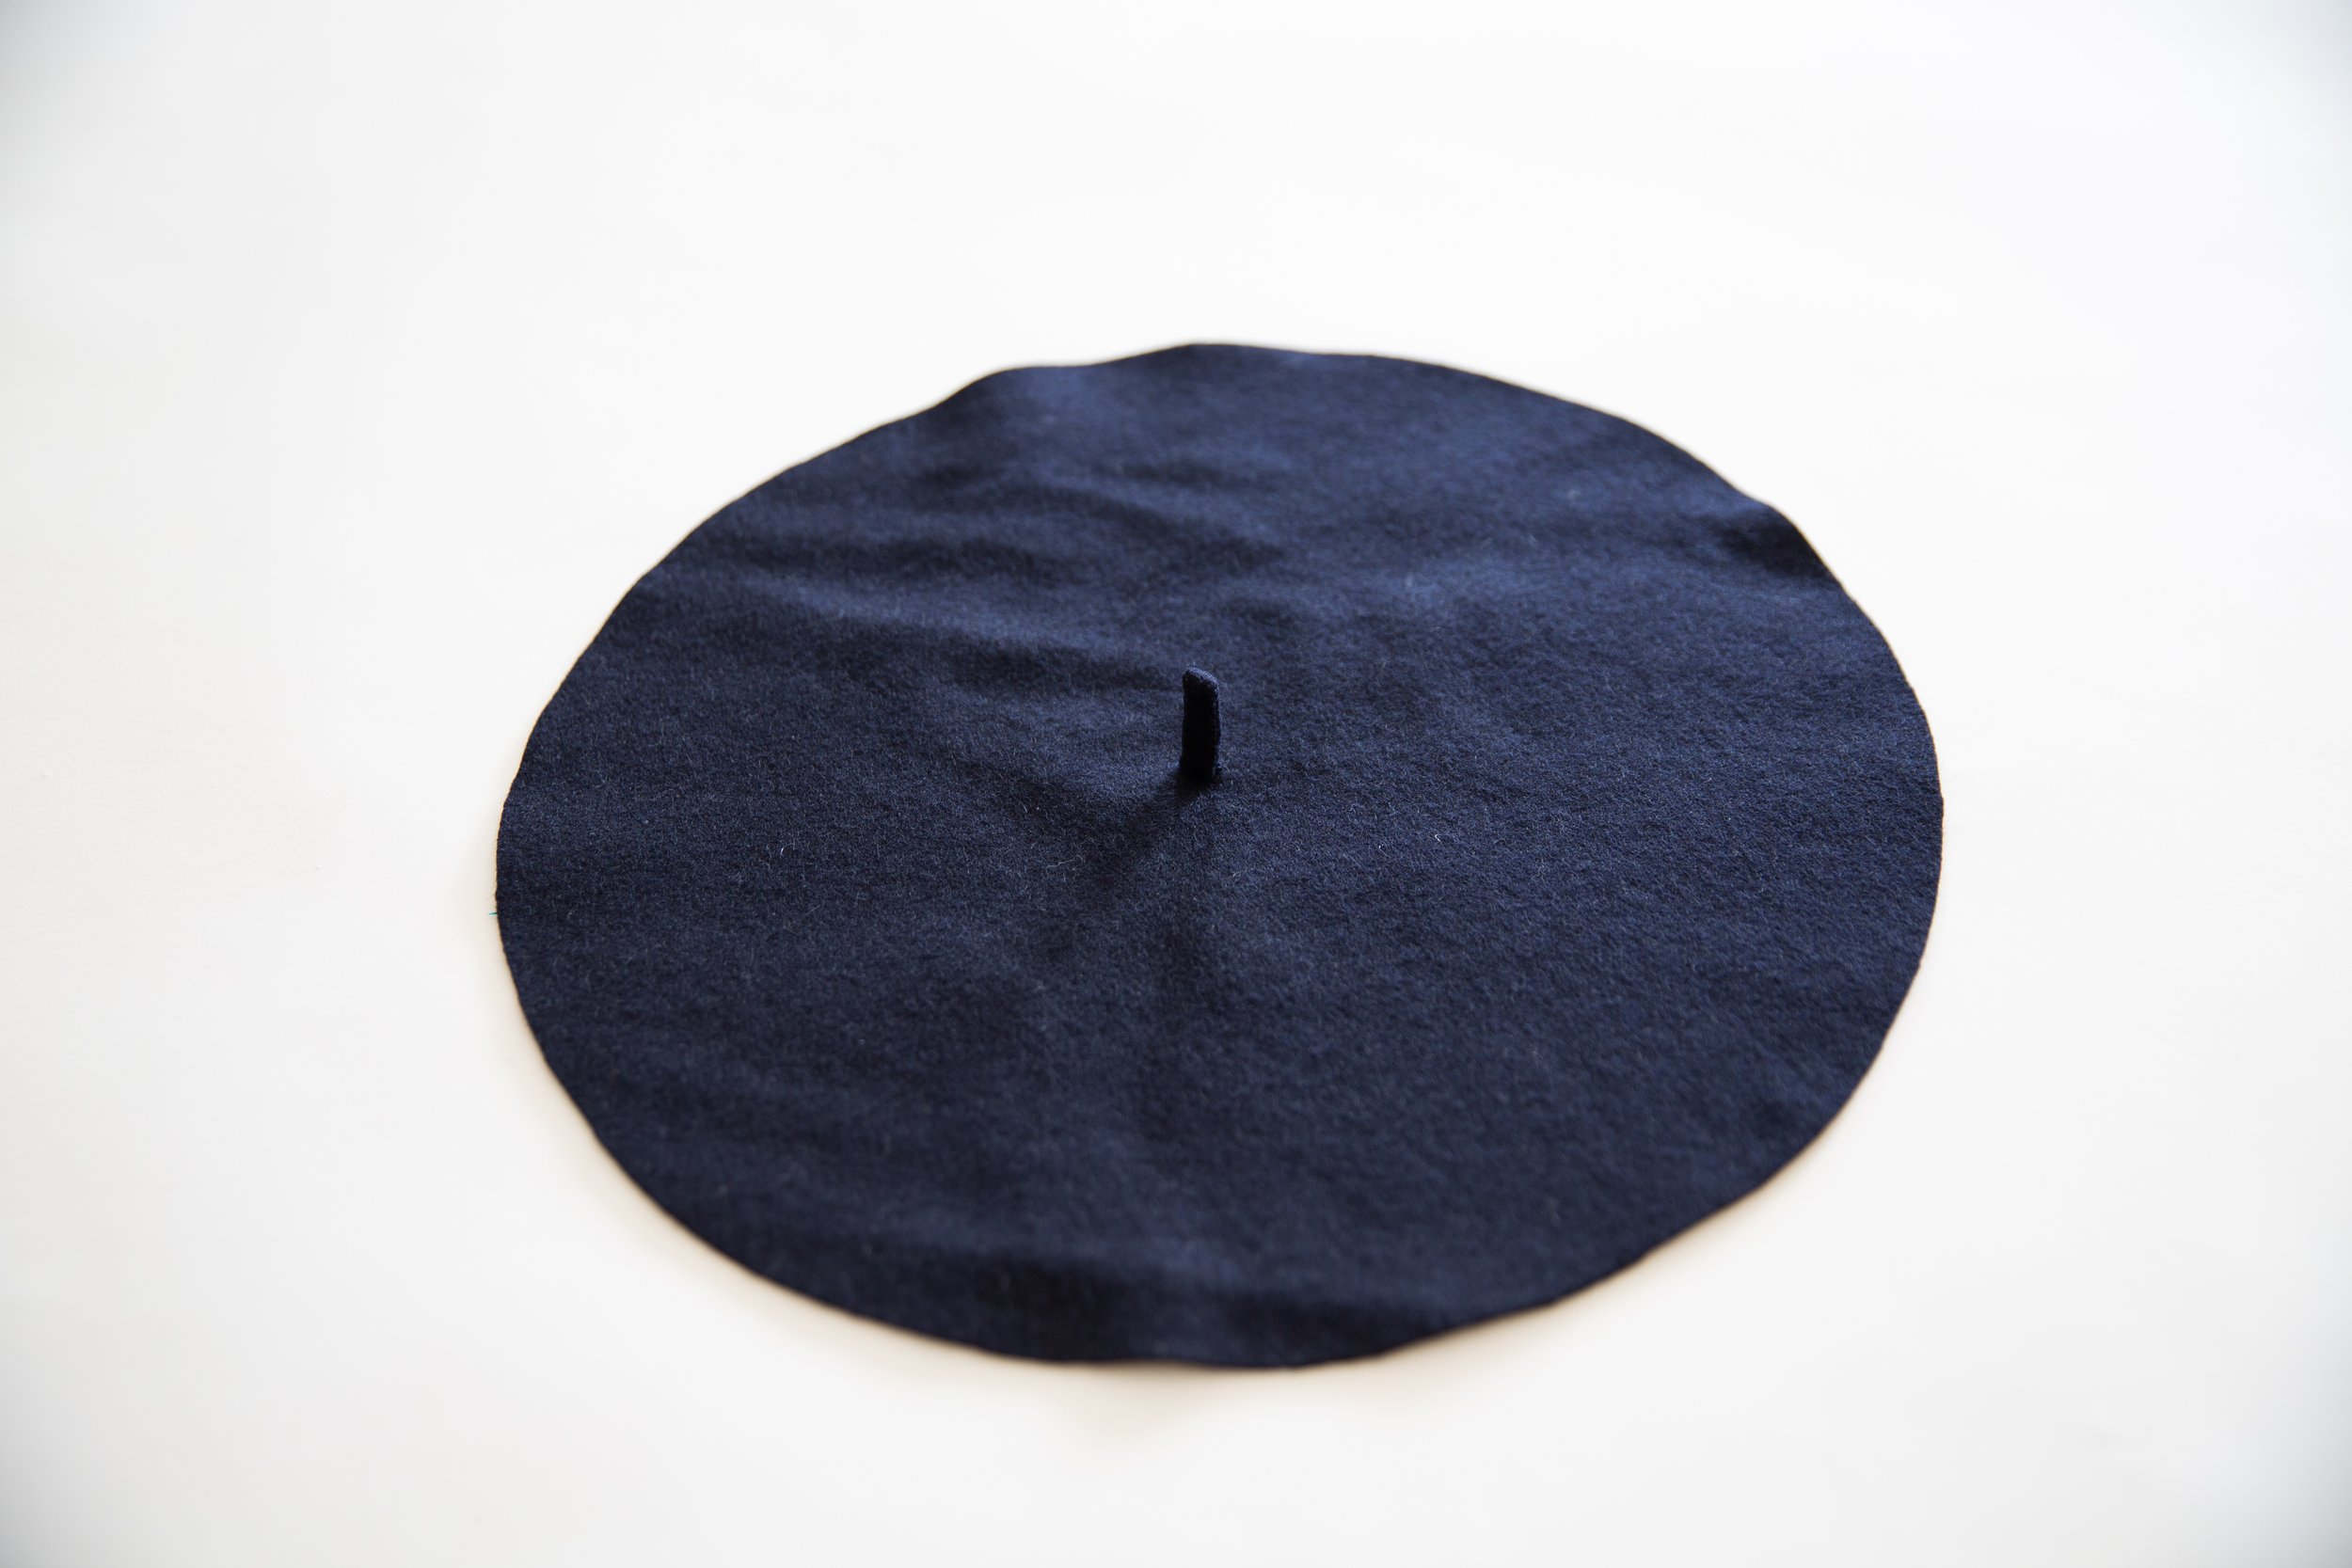
Take your beret stalk and with right side out, loop it into a circle, overlapping the open edges by about 5mm/0.19”.
Step 3
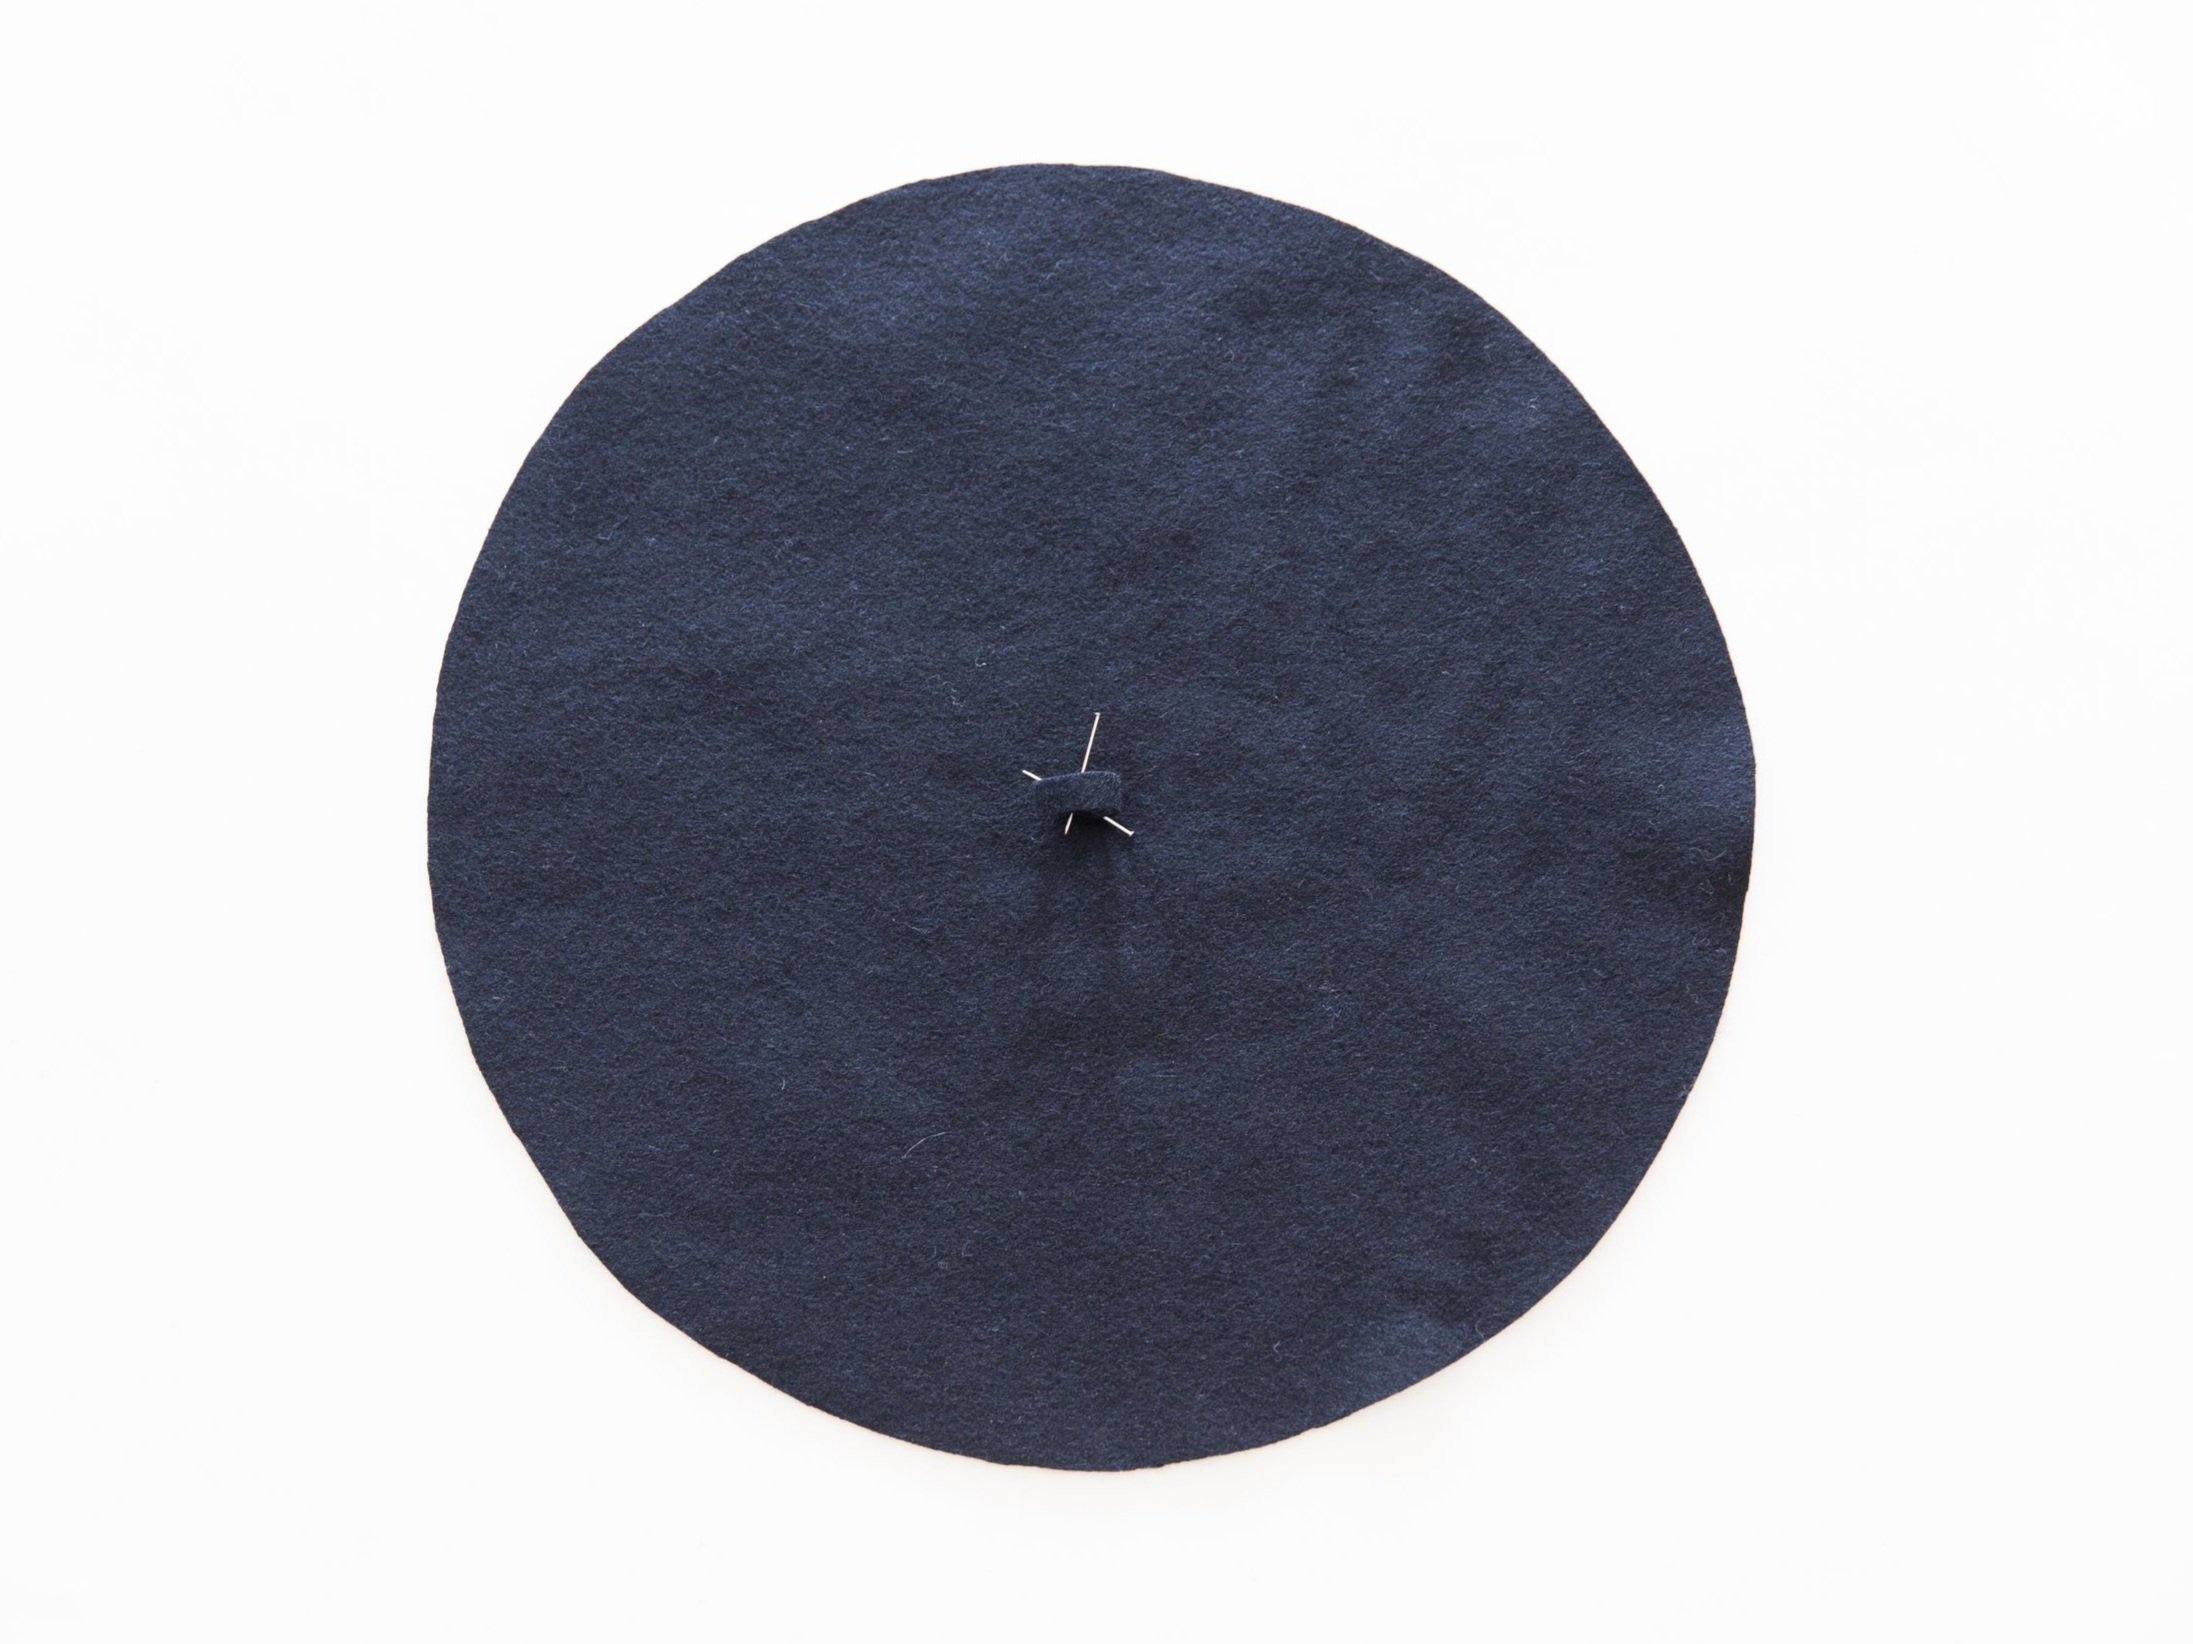
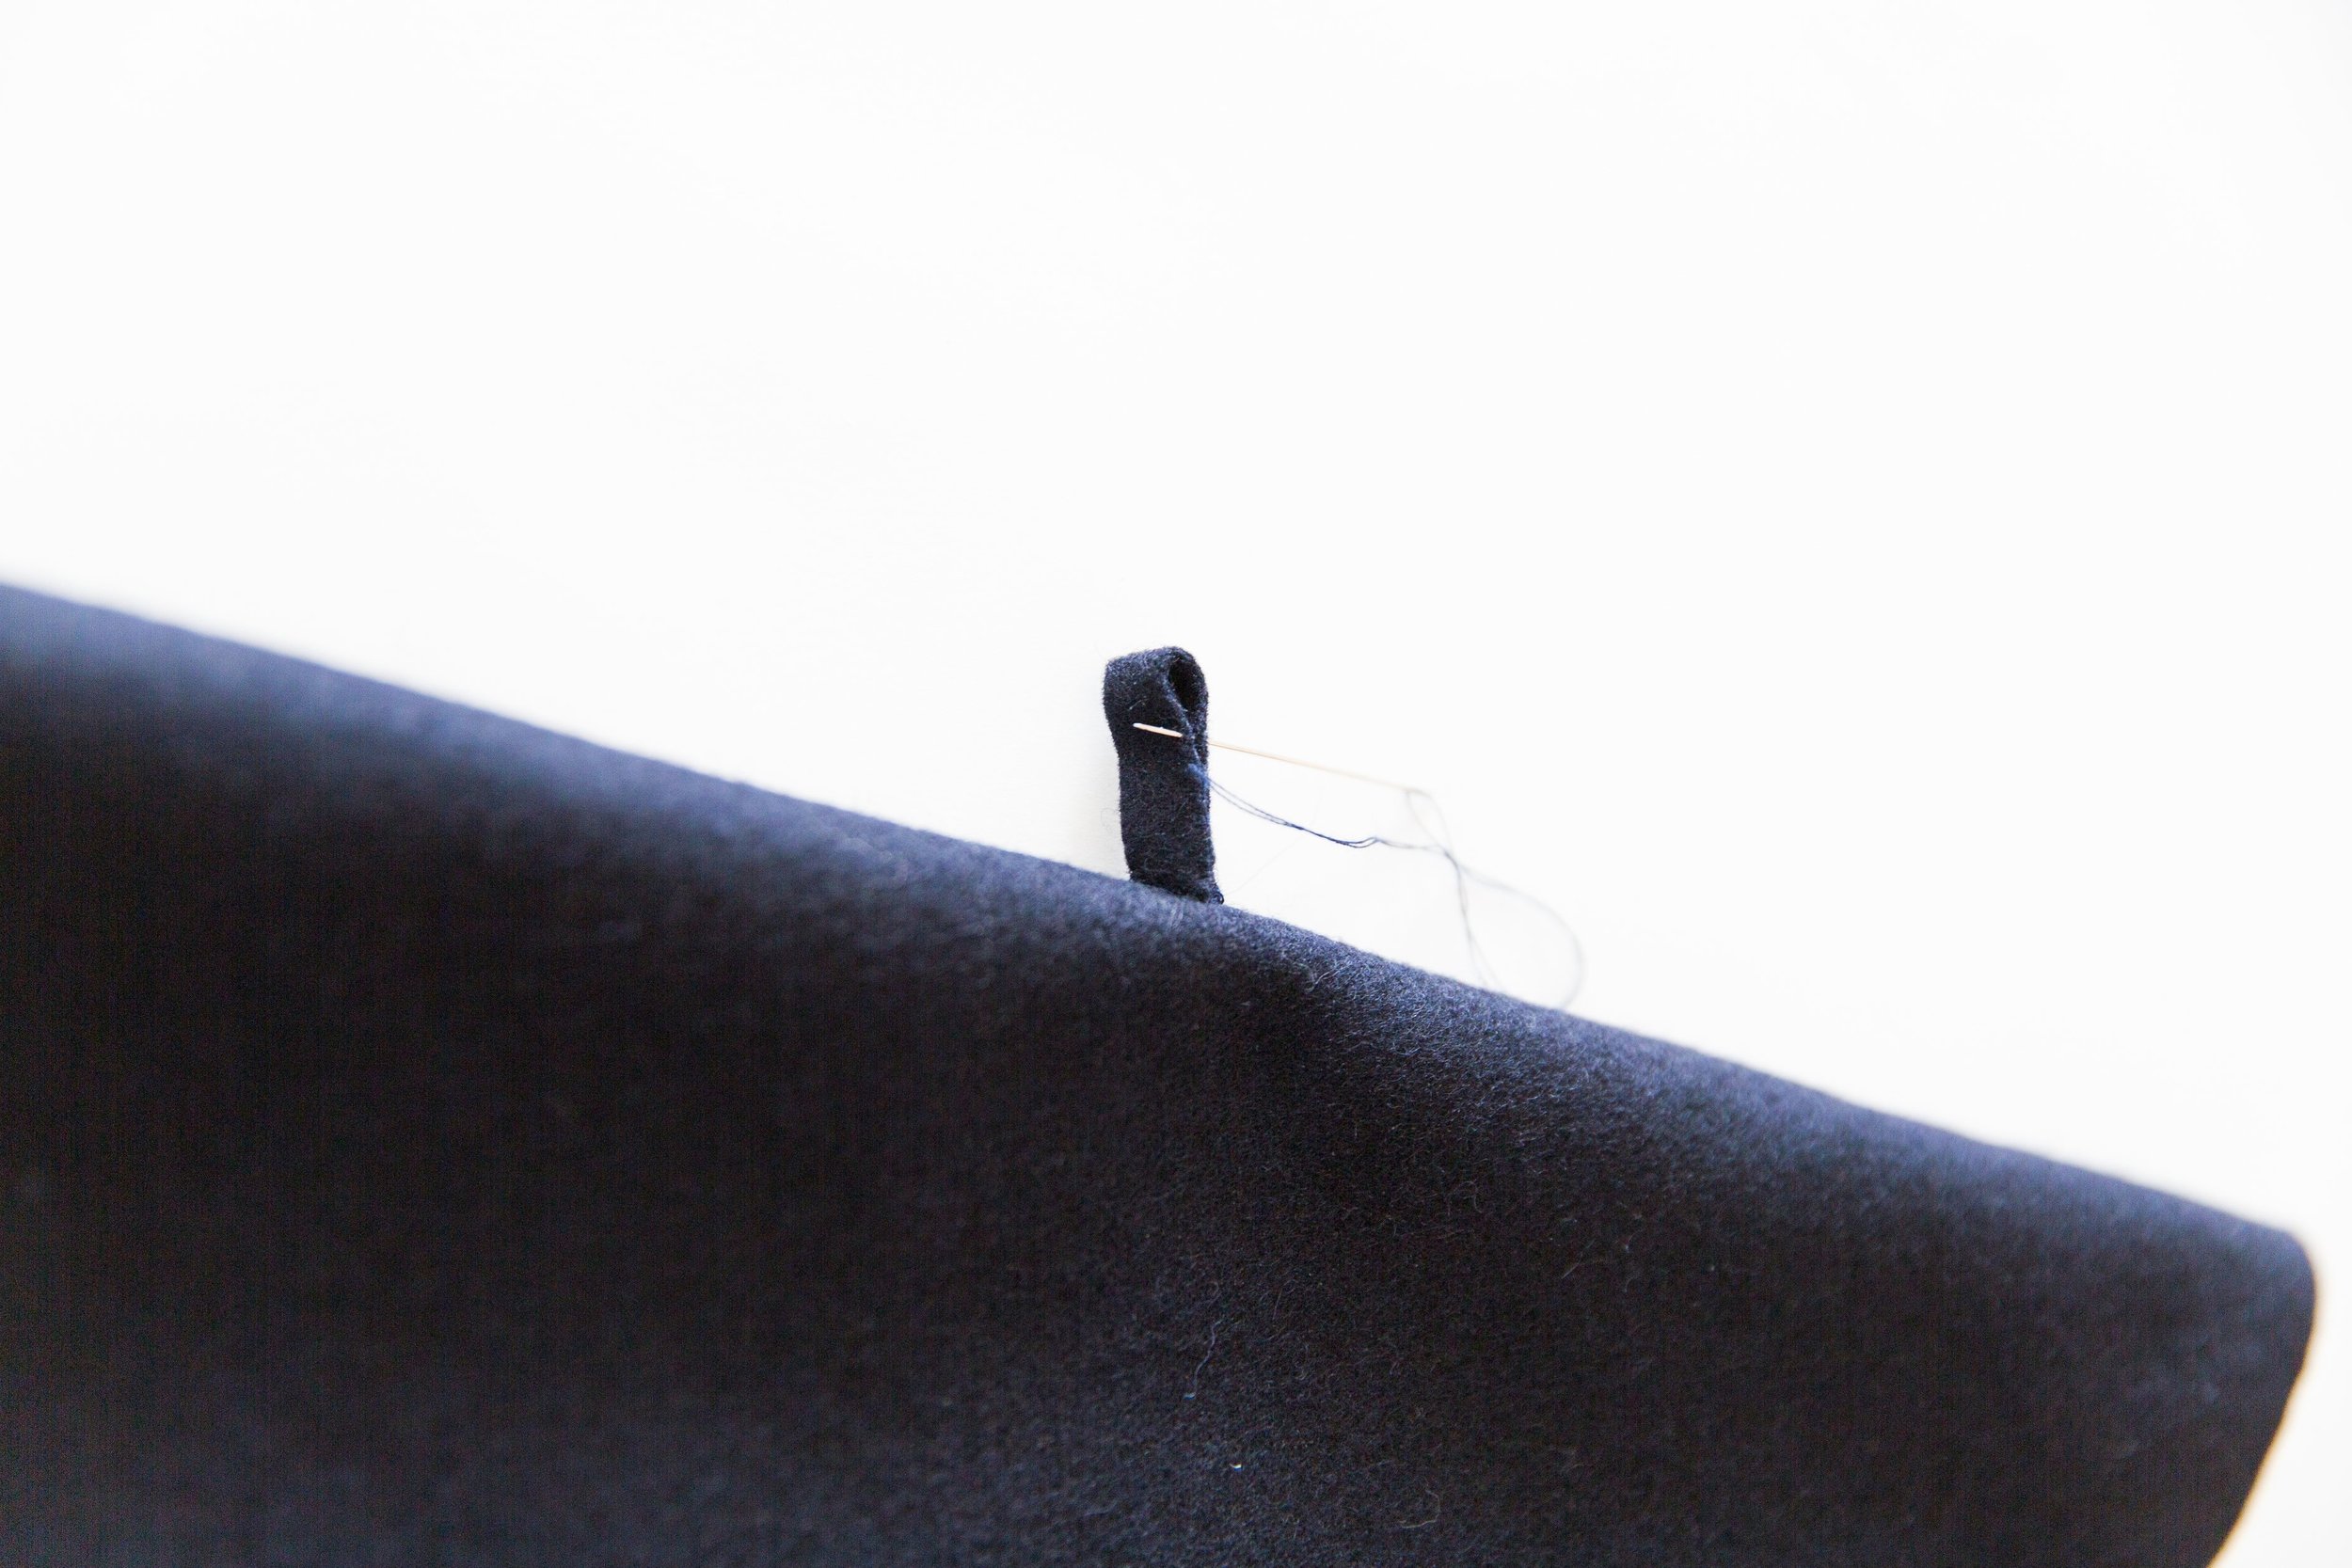
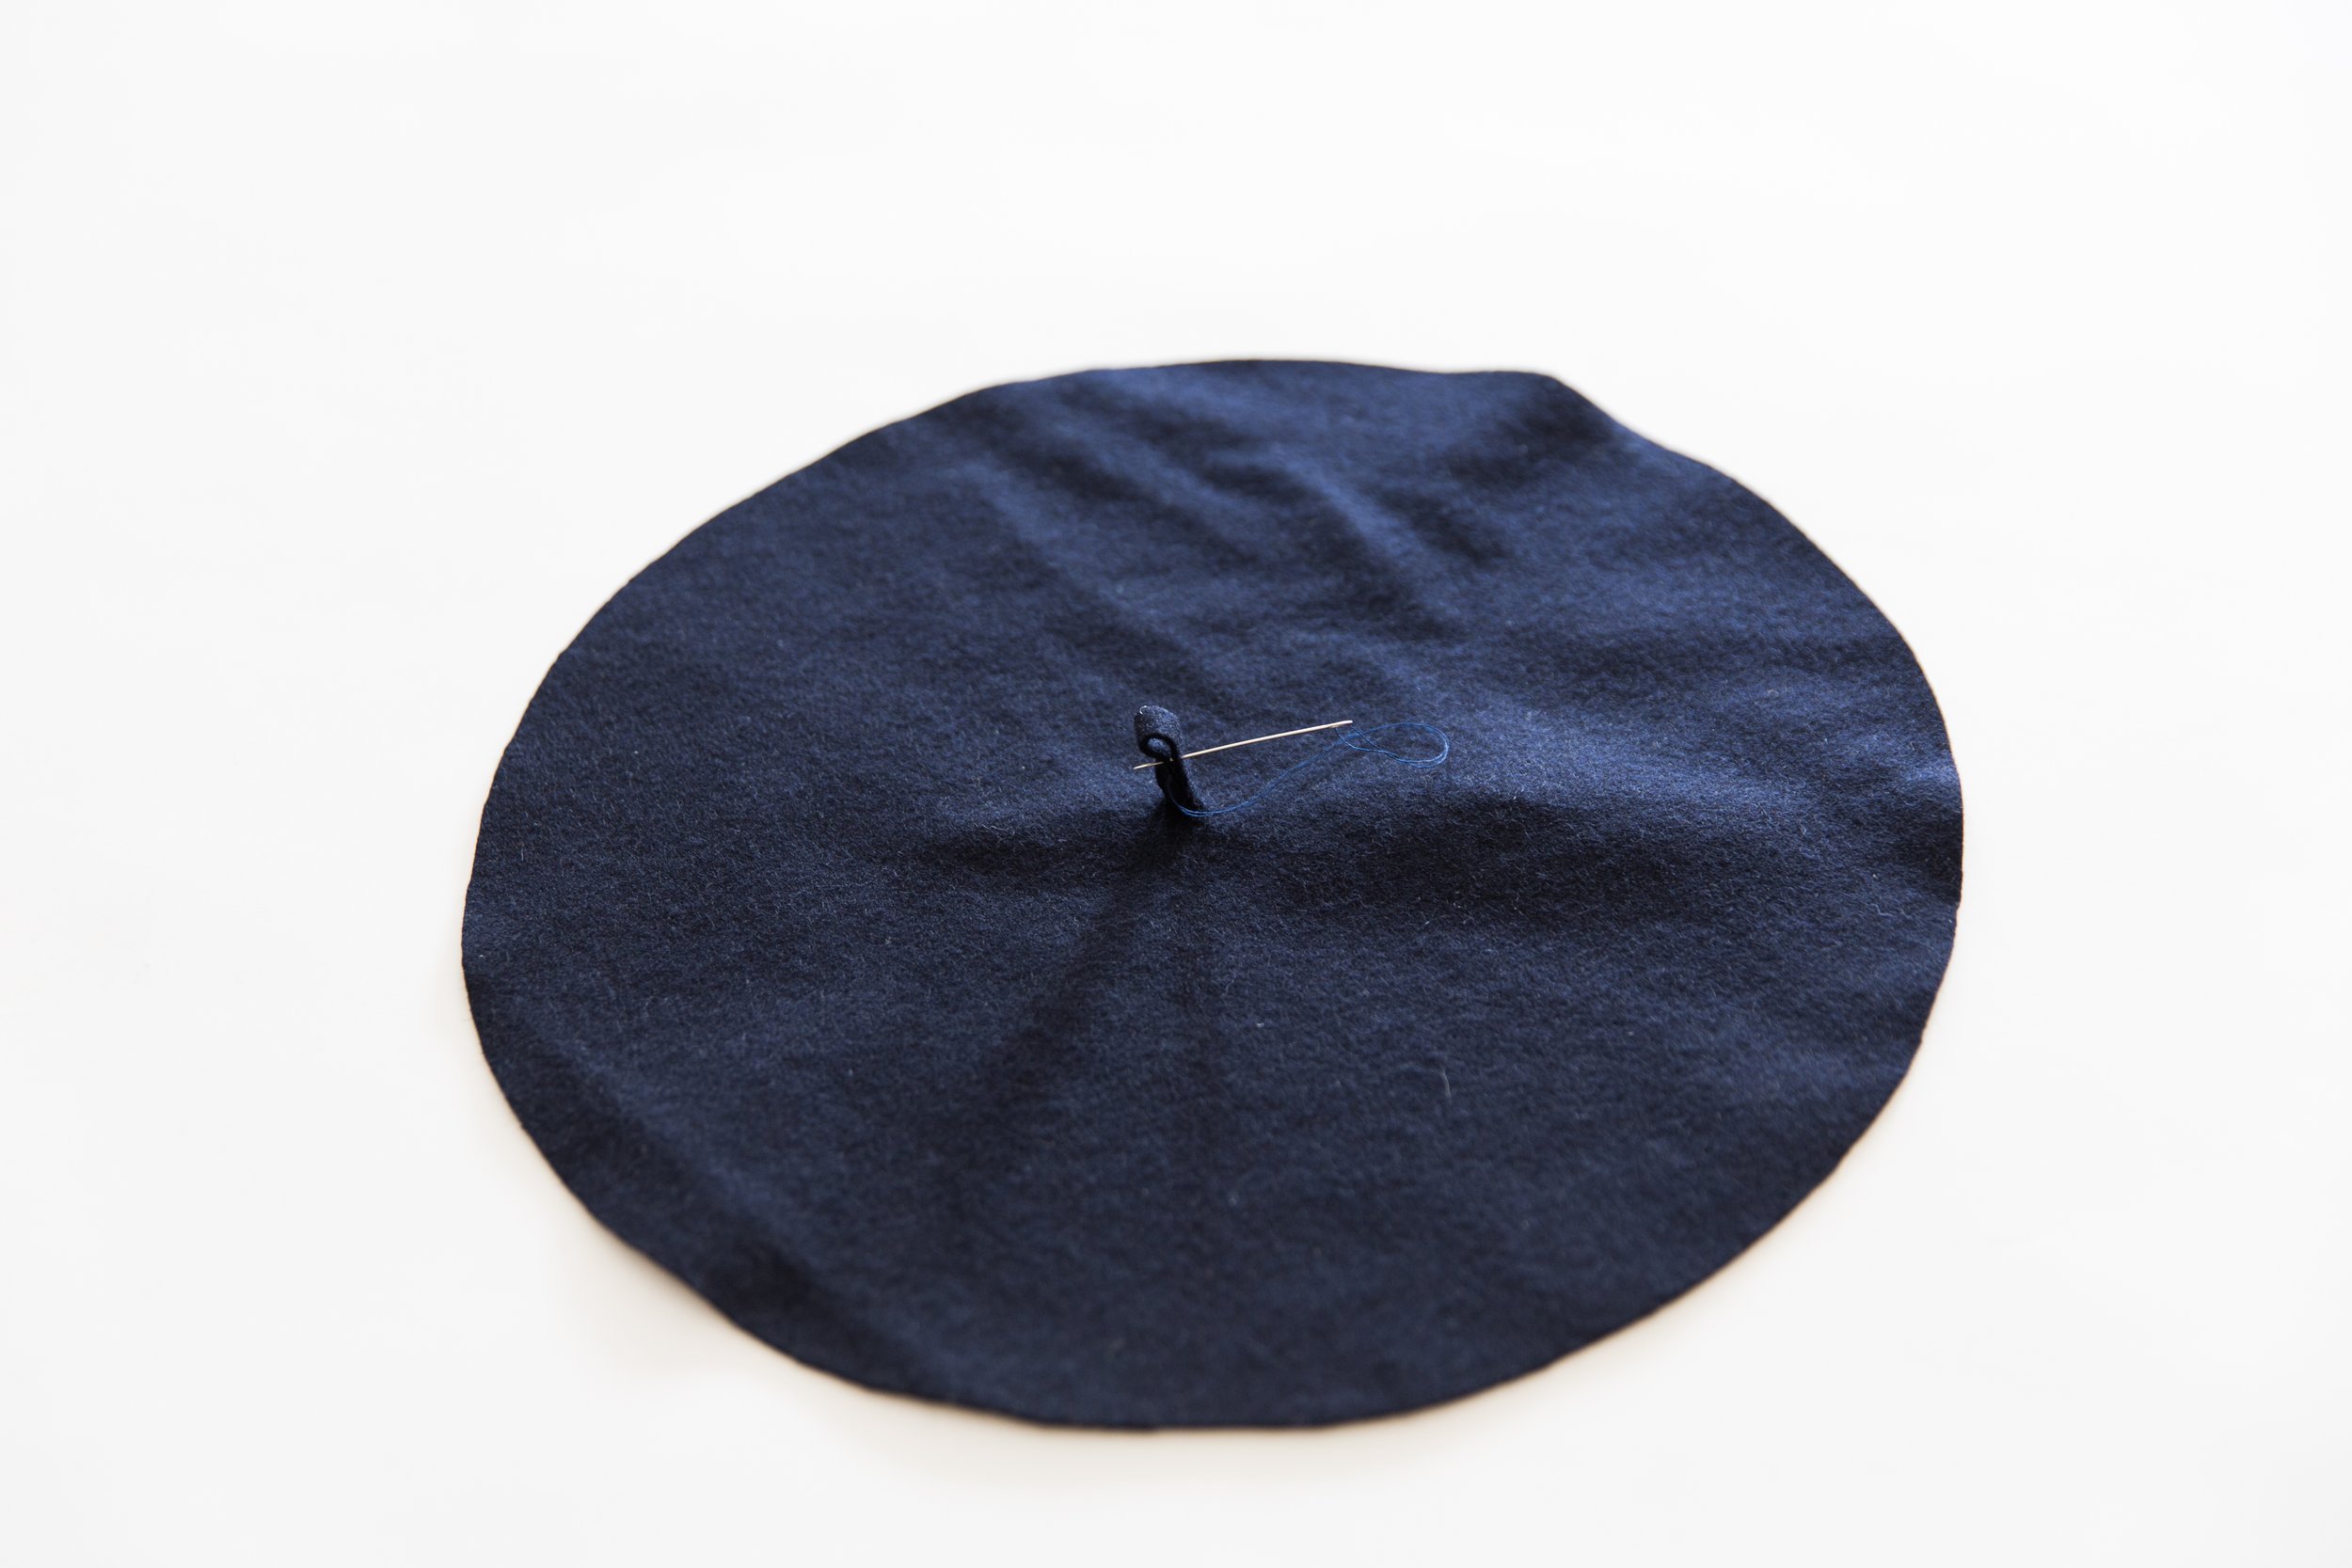
Place your looped stalk onto the centre marking of your top circle. With a needle and thread, stitch through all three layers until it is very securely held in place.
Step 4
Flatten the looped edges of stalk together, and handstitch closed with tiny stitches. Give it a good steam with your iron, then roll with your fingers to give it a rounder appearance.
Step 5
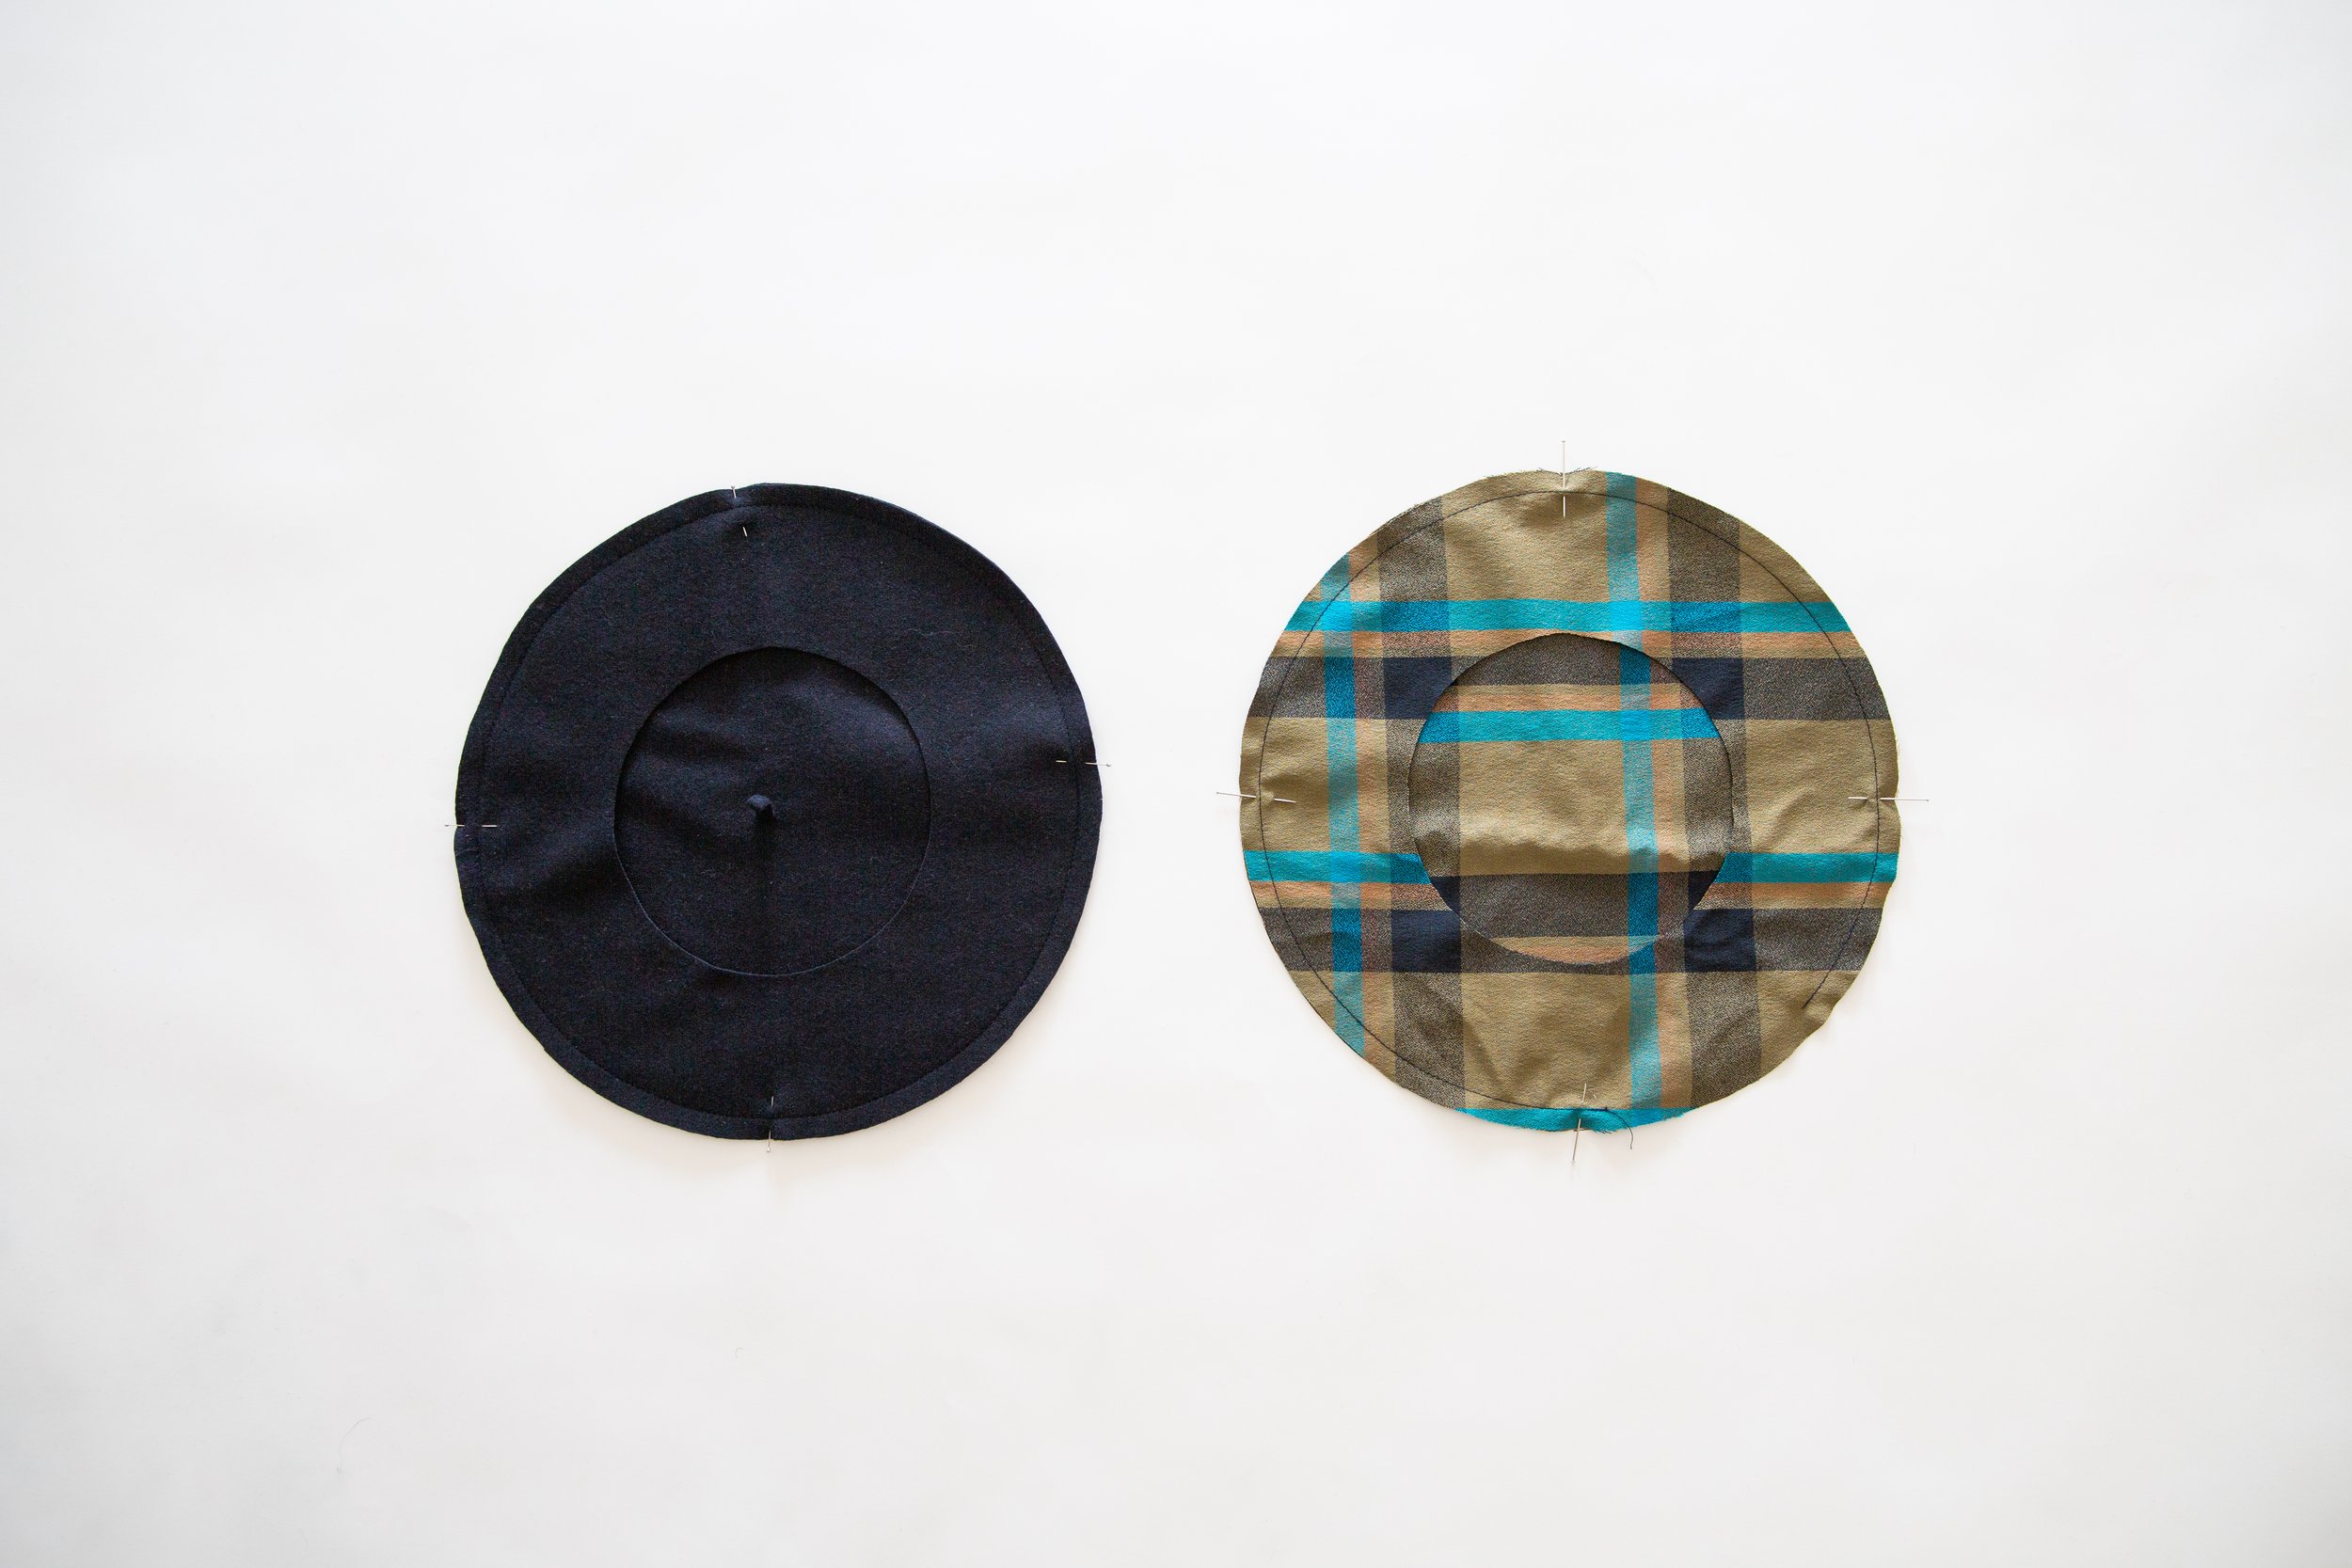
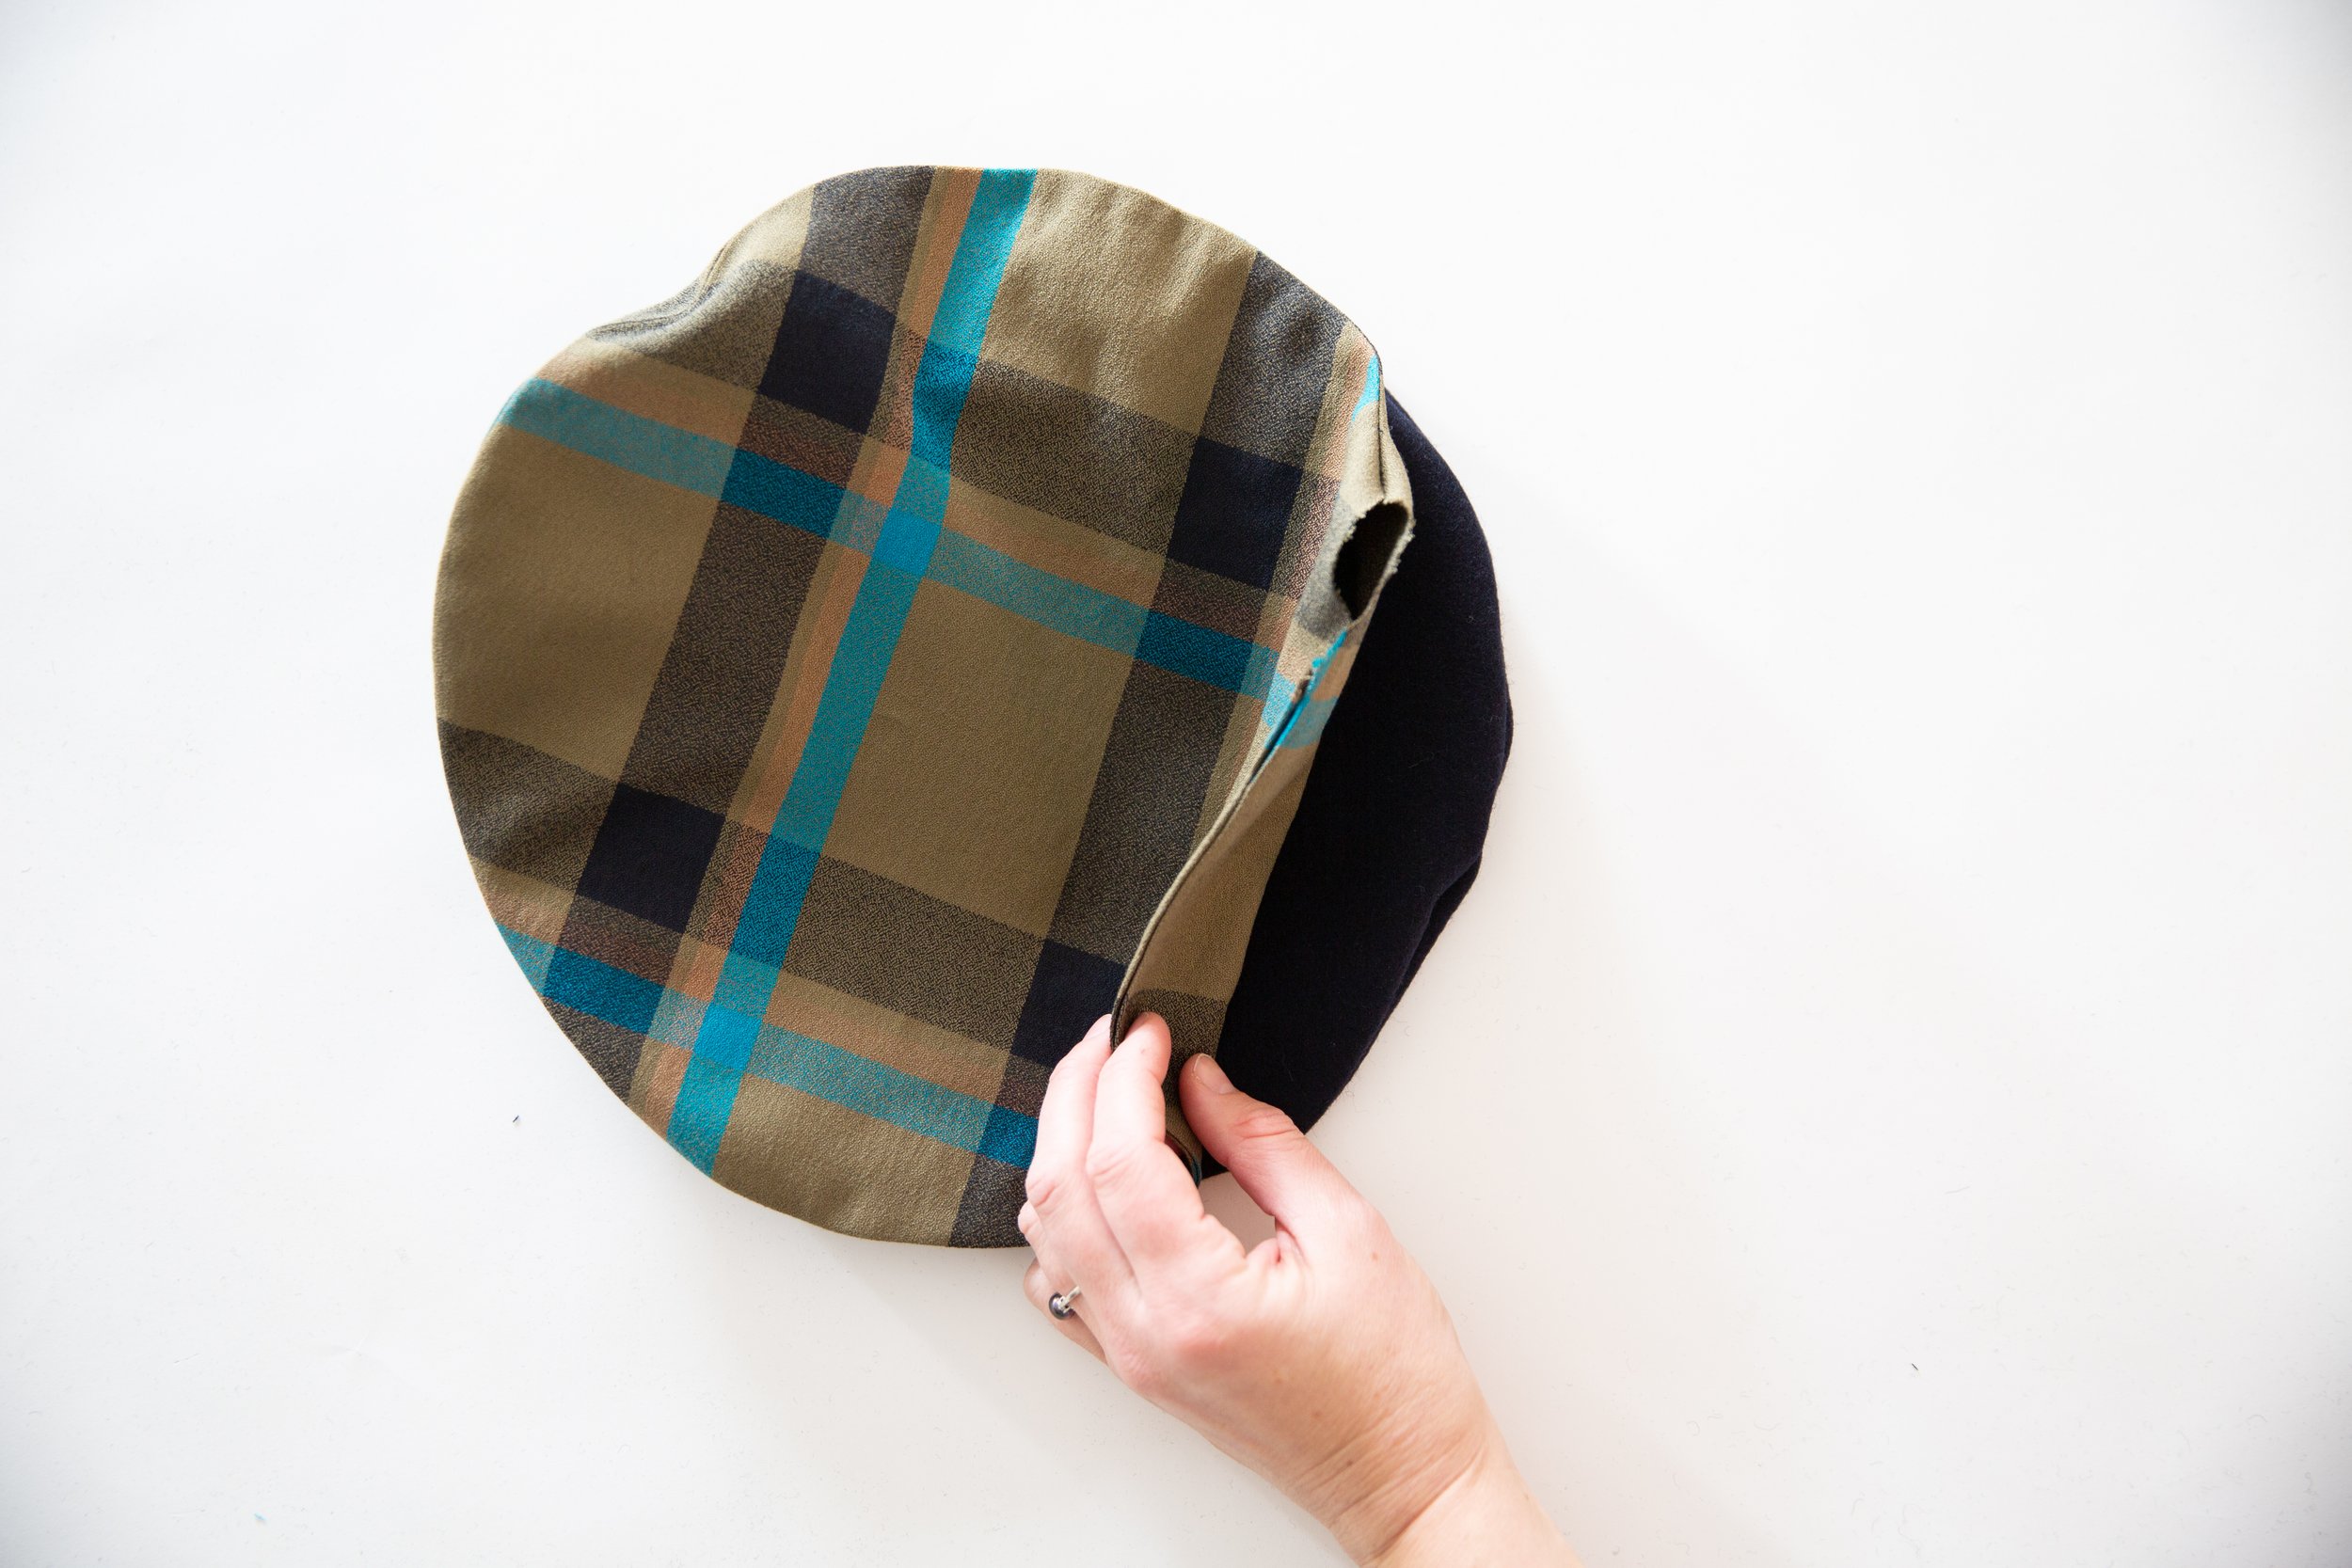
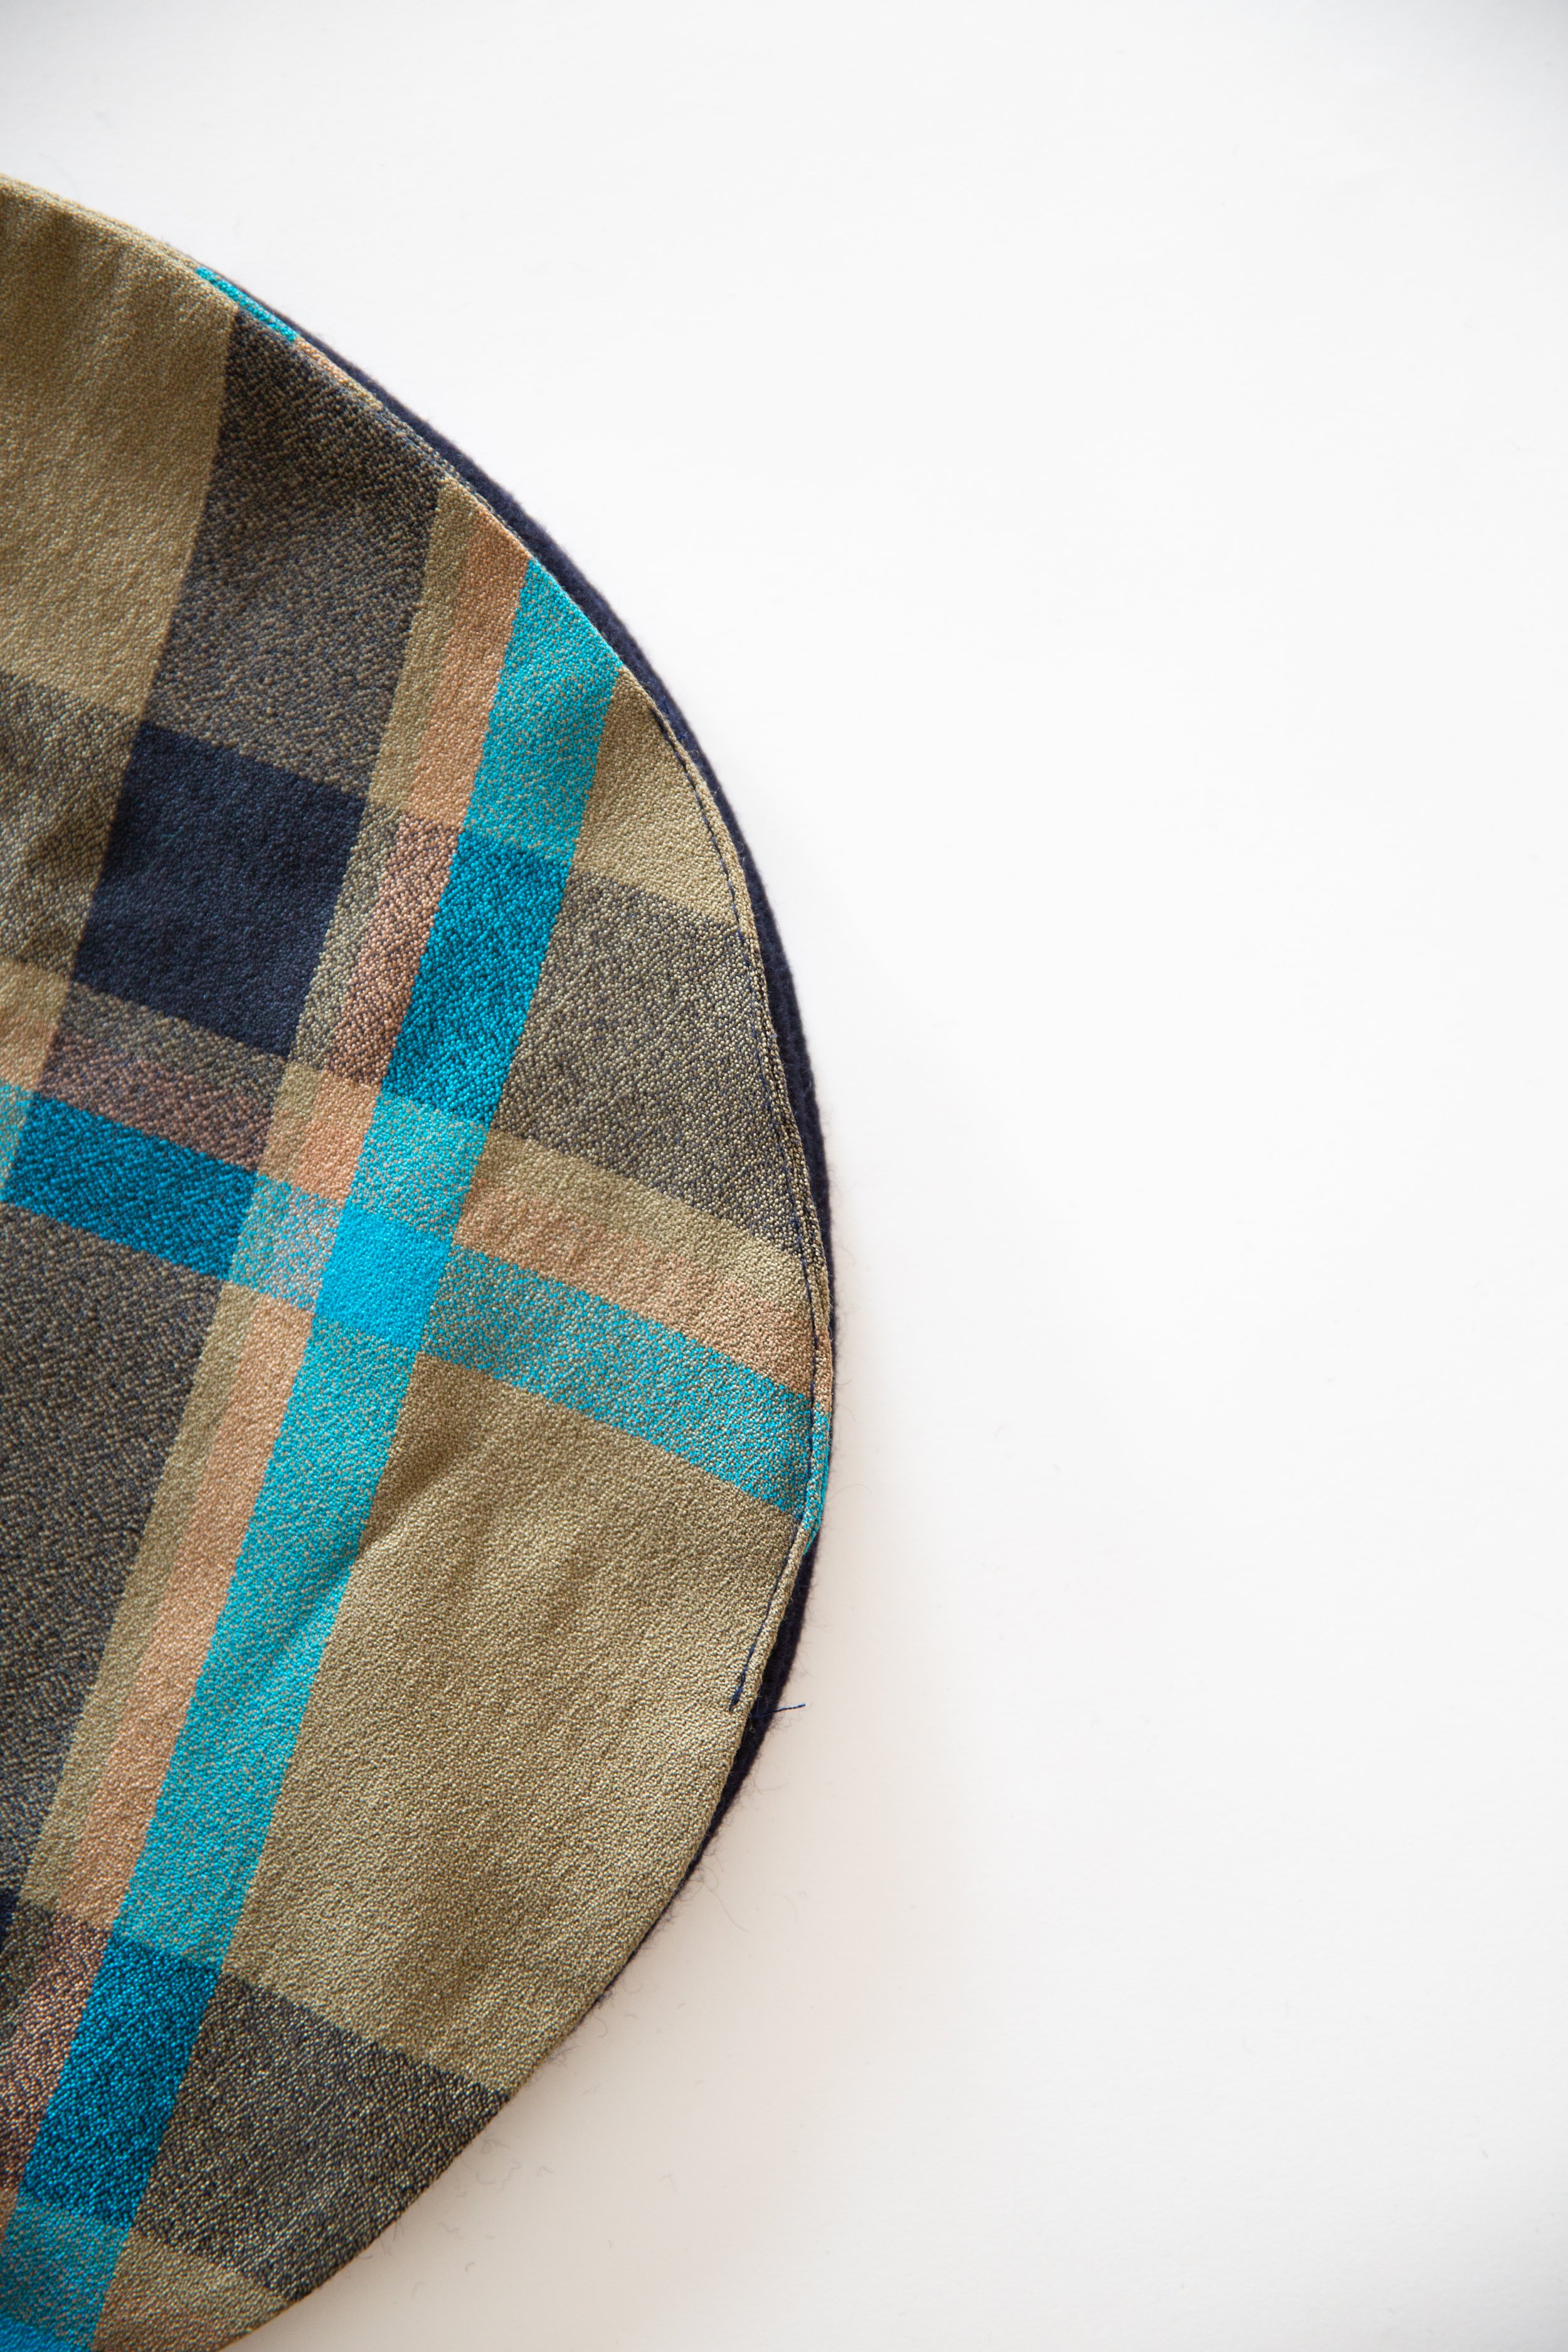
Place your outer top and bottom circles together with right sides facing and stitch together all the way around. Trim seam allowance and clip around curve. Repeat for lining pieces but leave a 10cm/ 4” gap in your stitching. Press seam allowances toward under circle.
Step 6
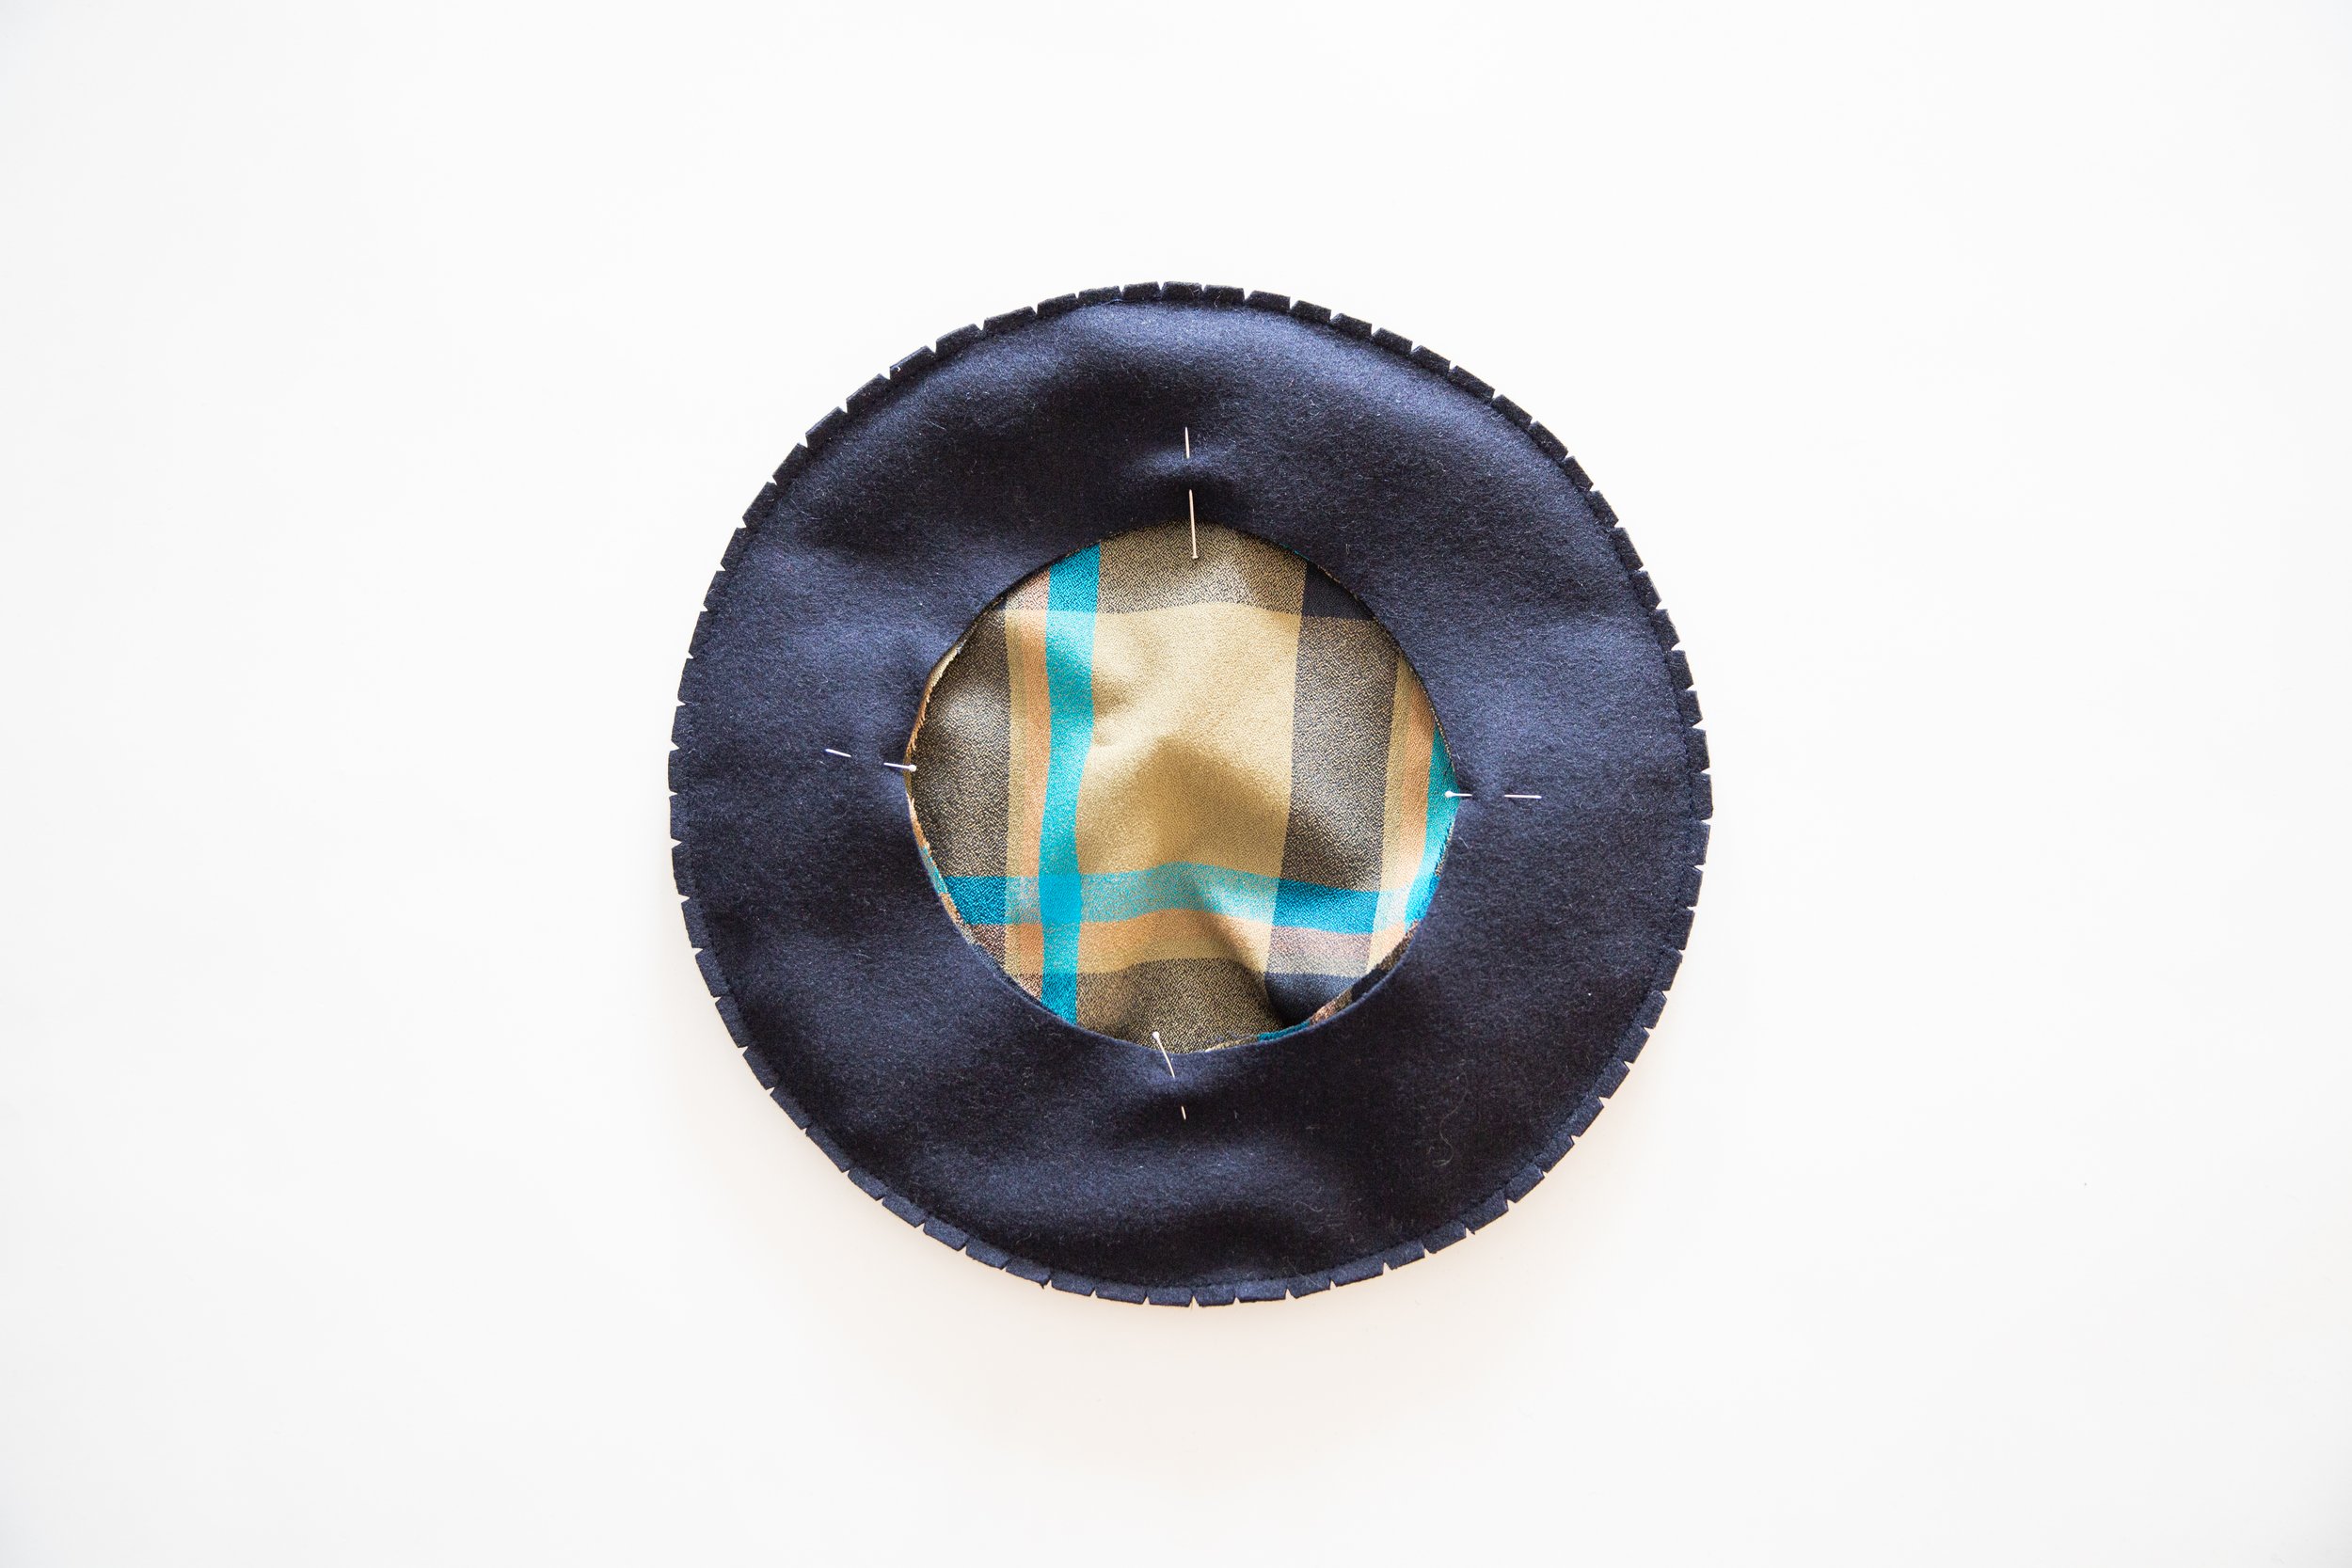
With your outer hat wrong side out, place your lining inside it with the right side out so that right sides are facing.
Step 7
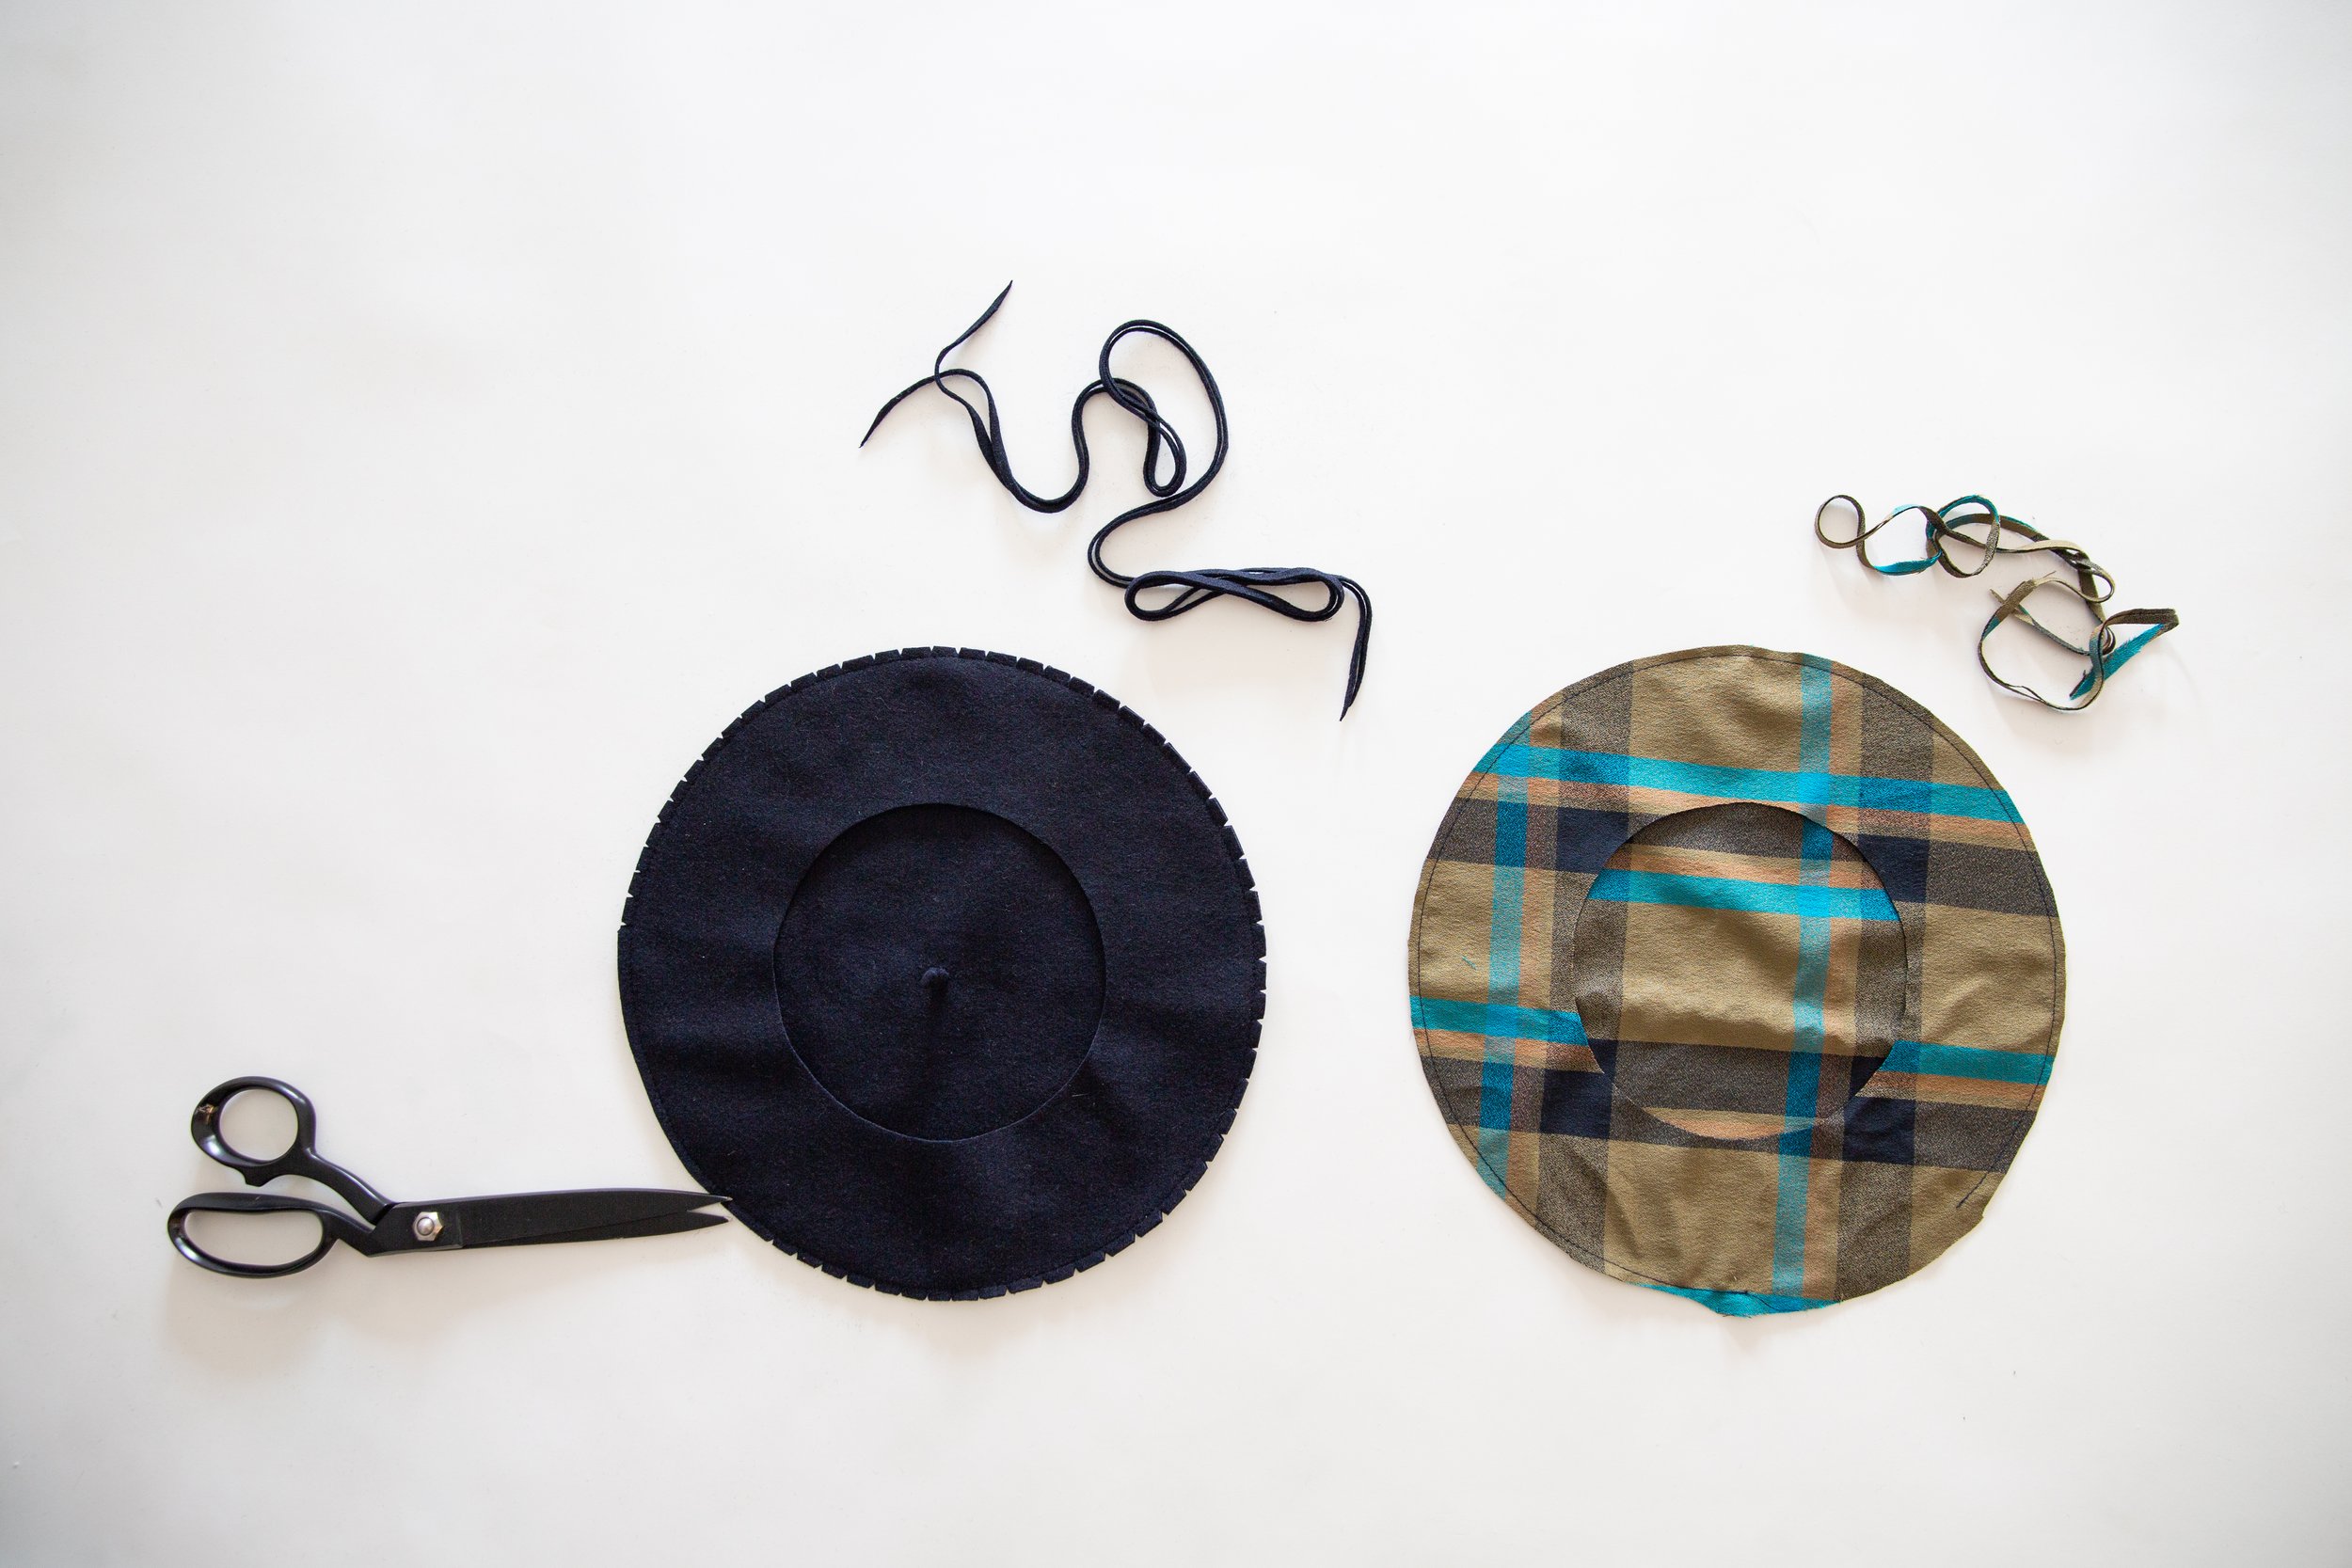
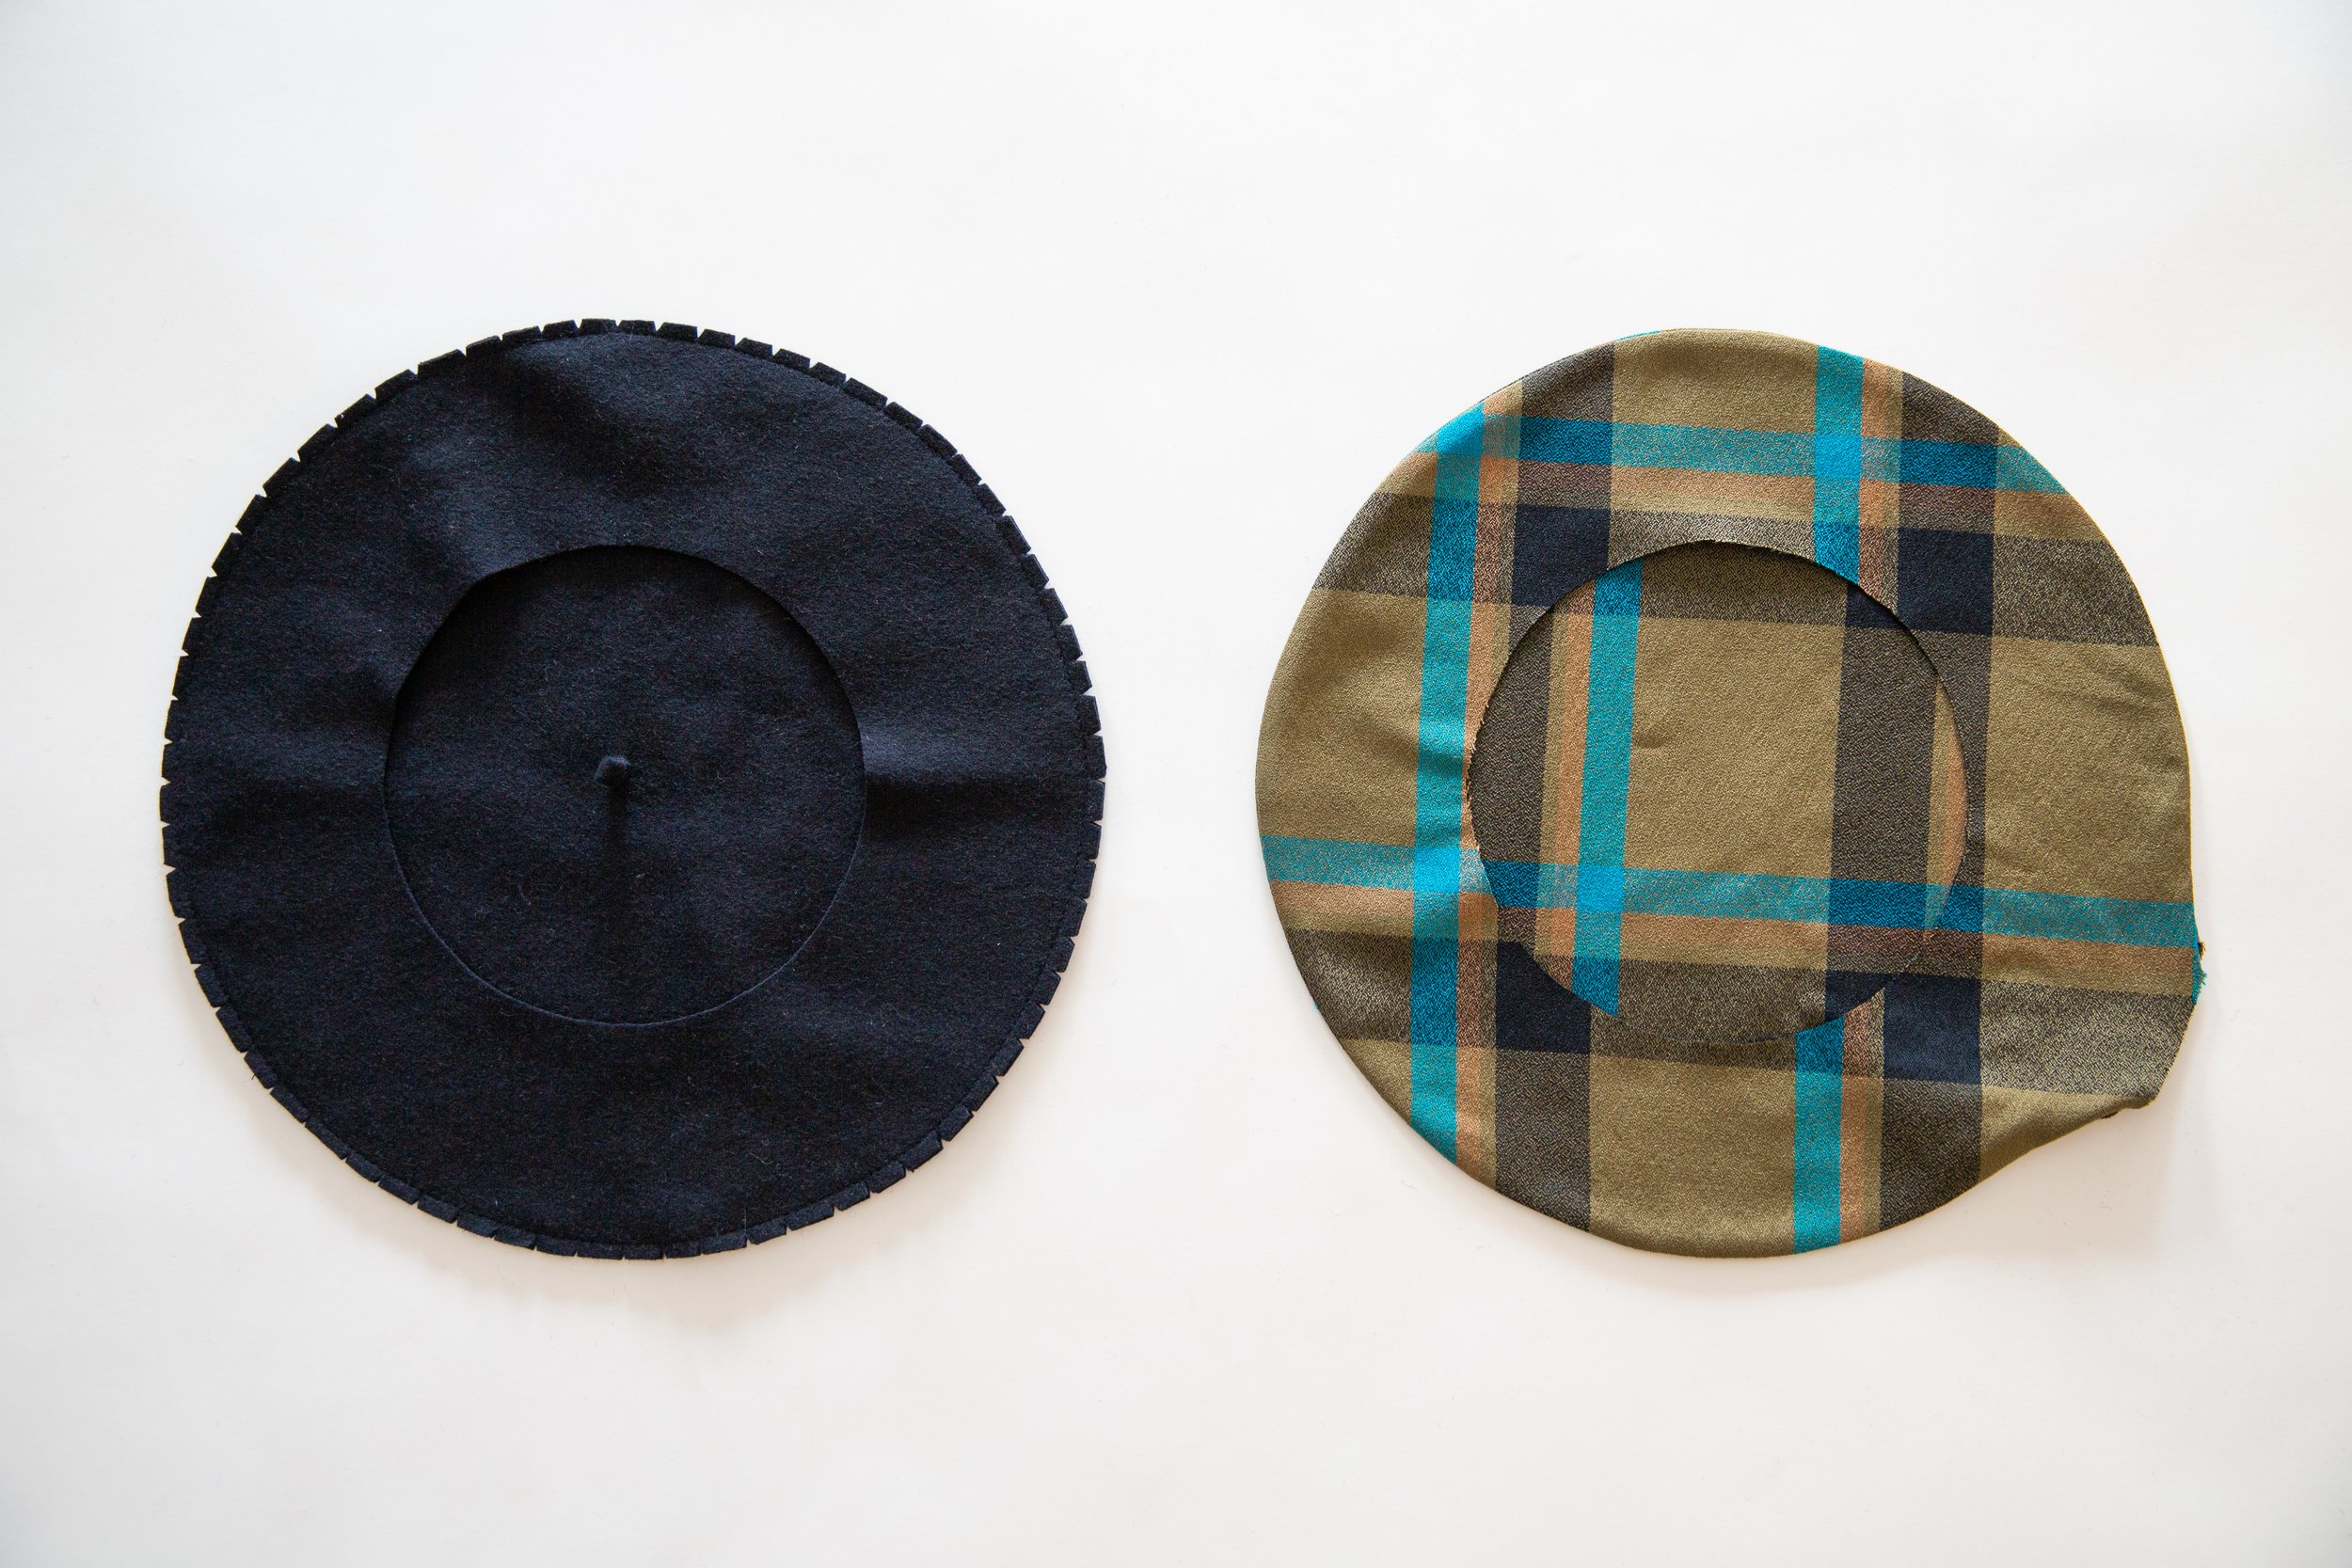
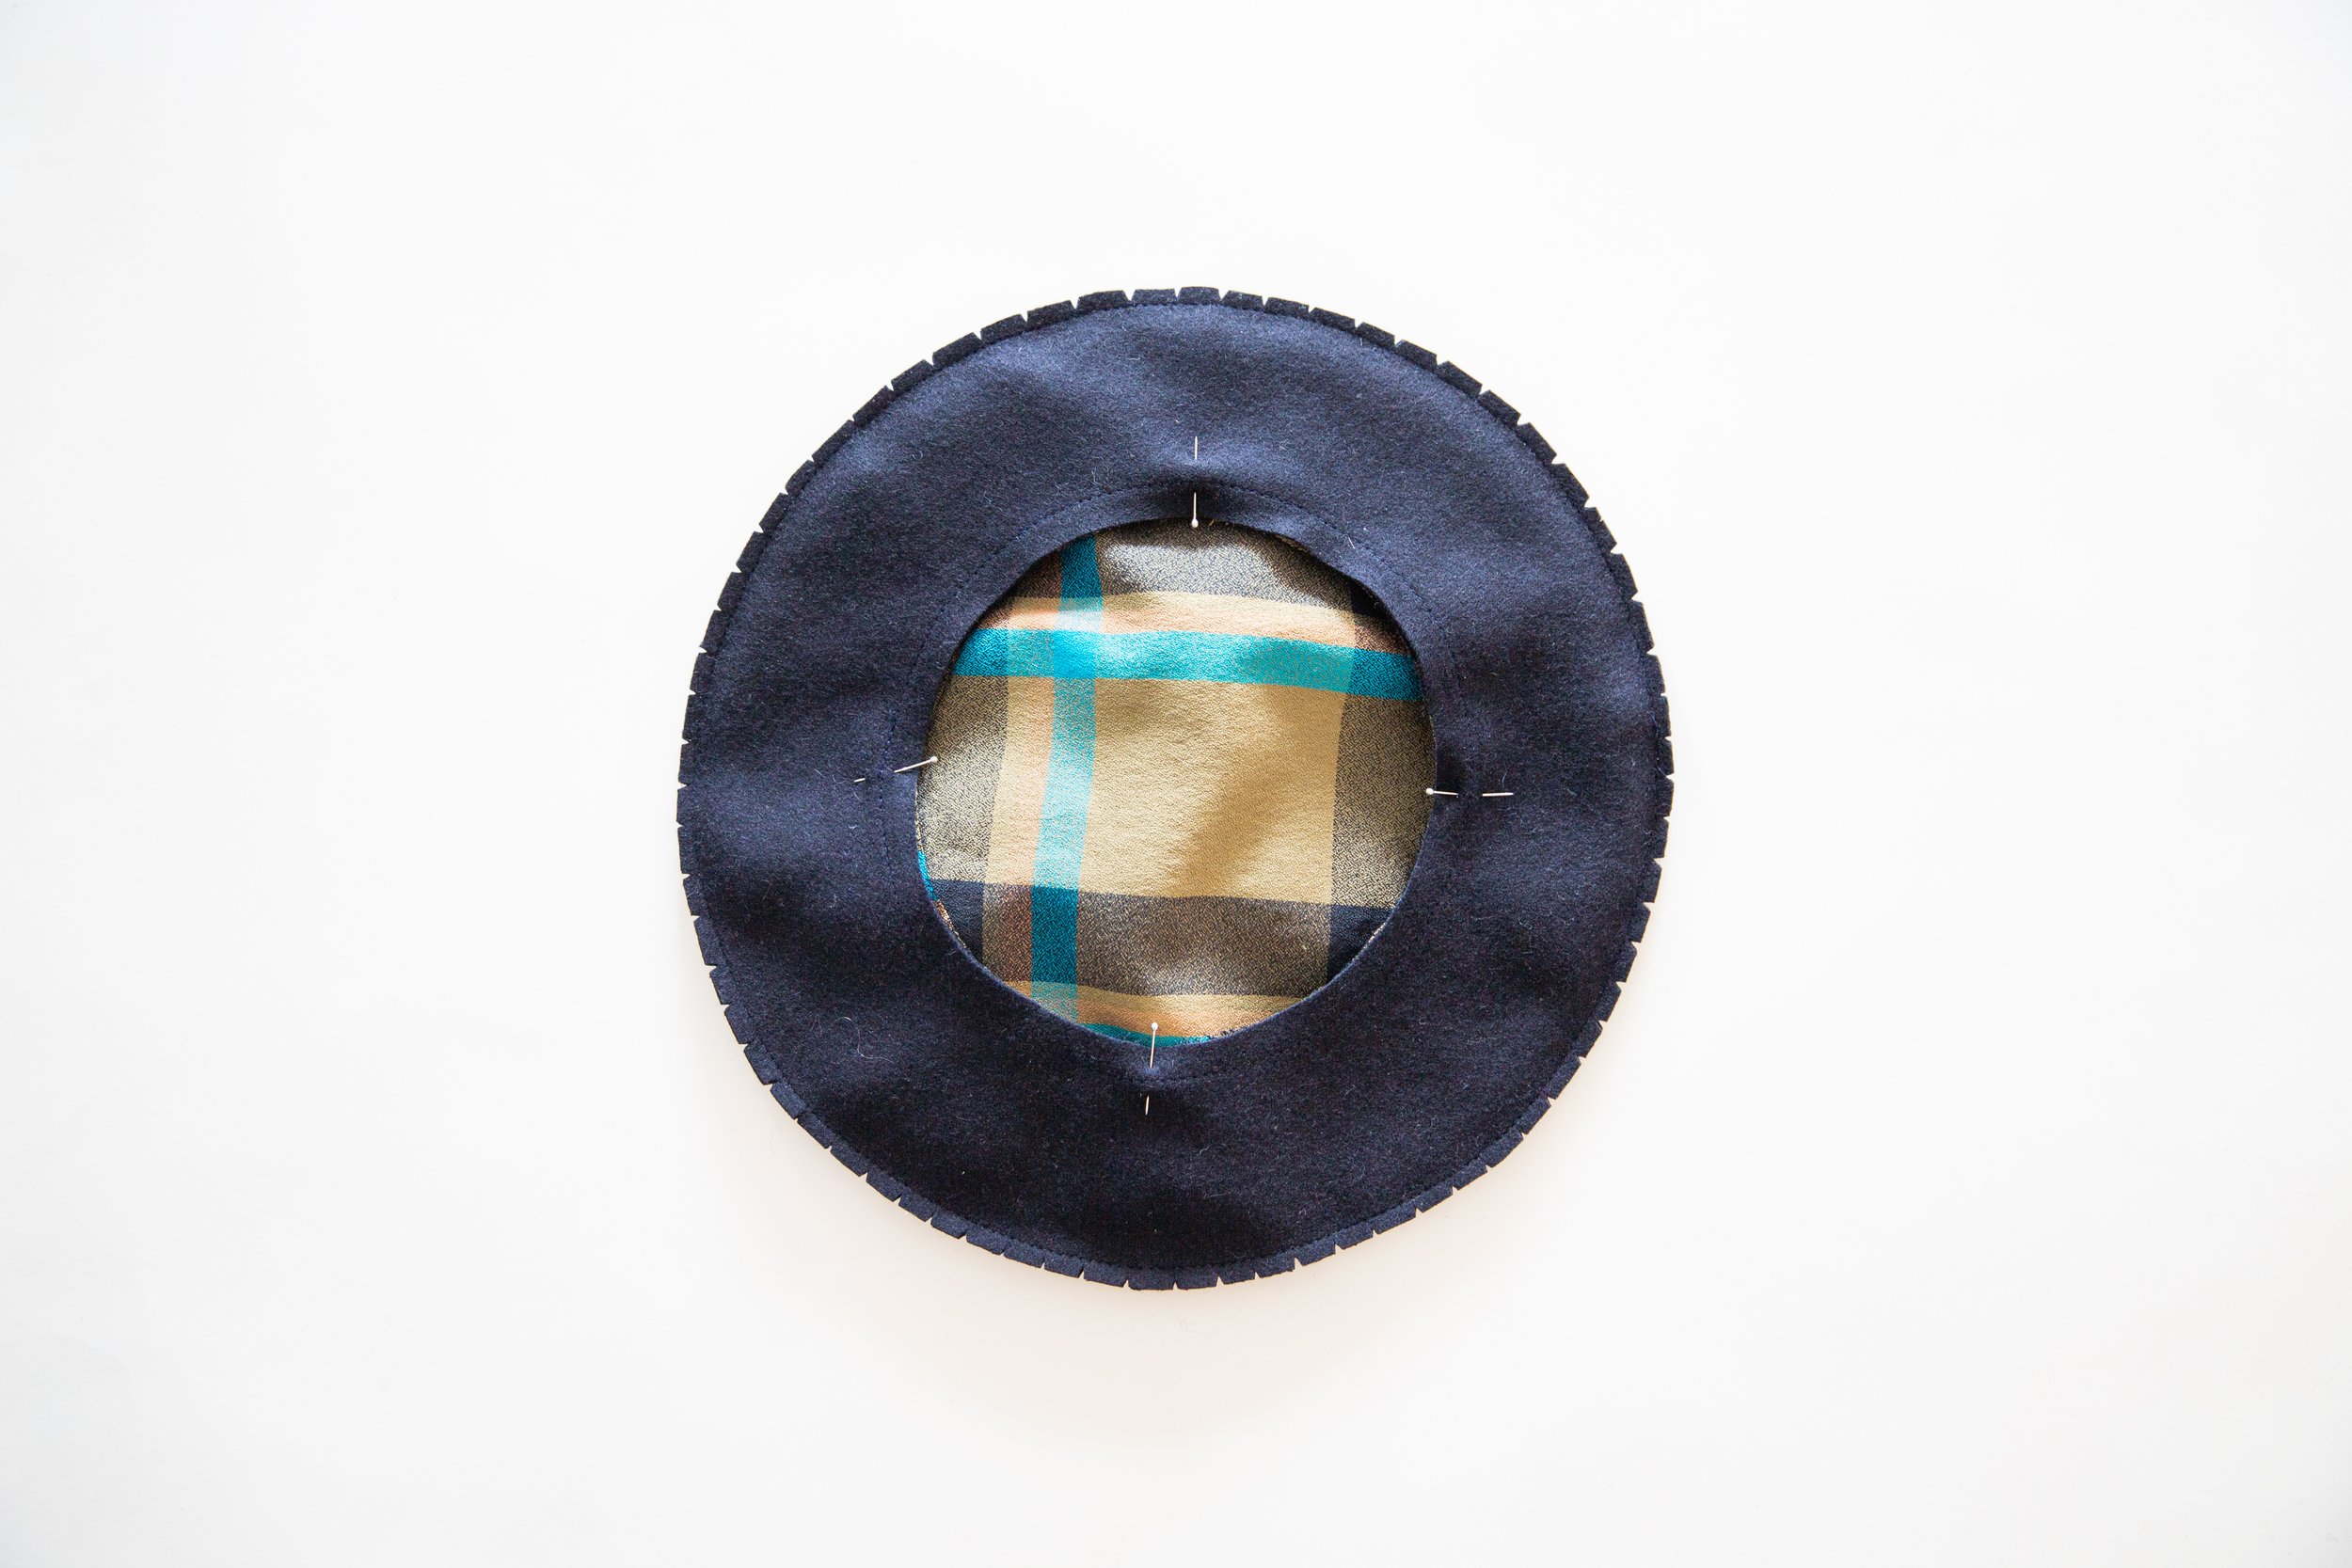
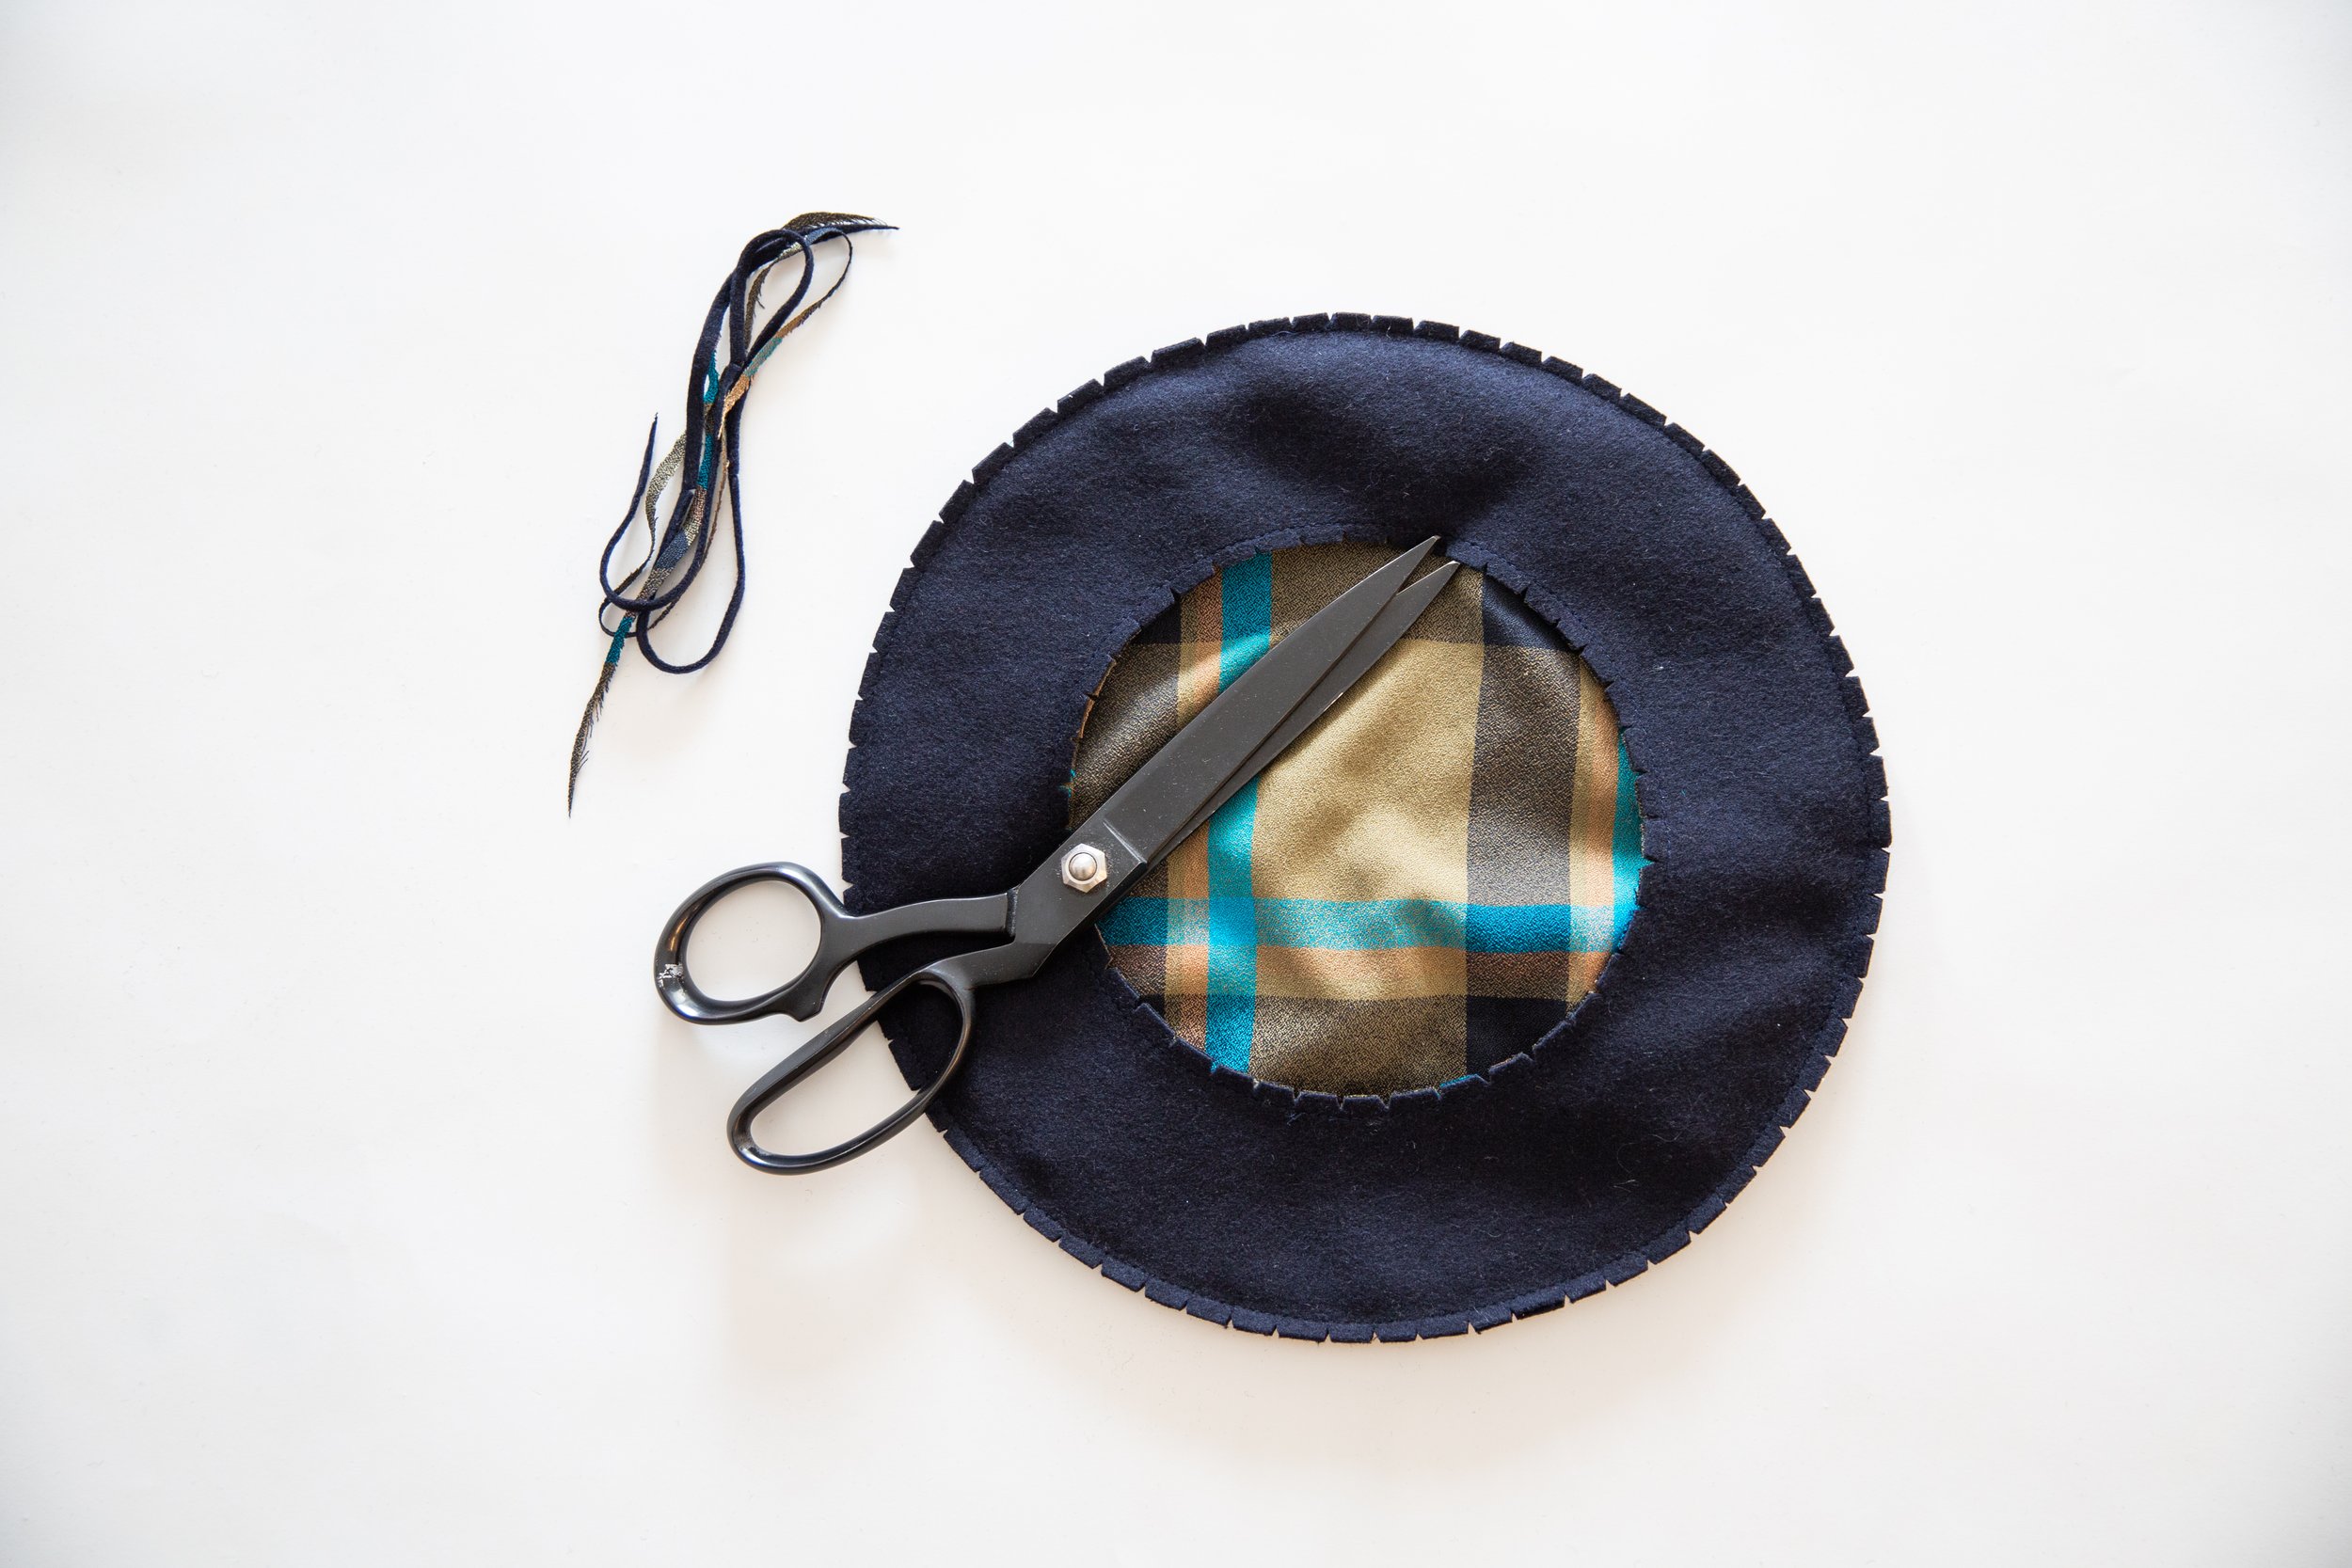
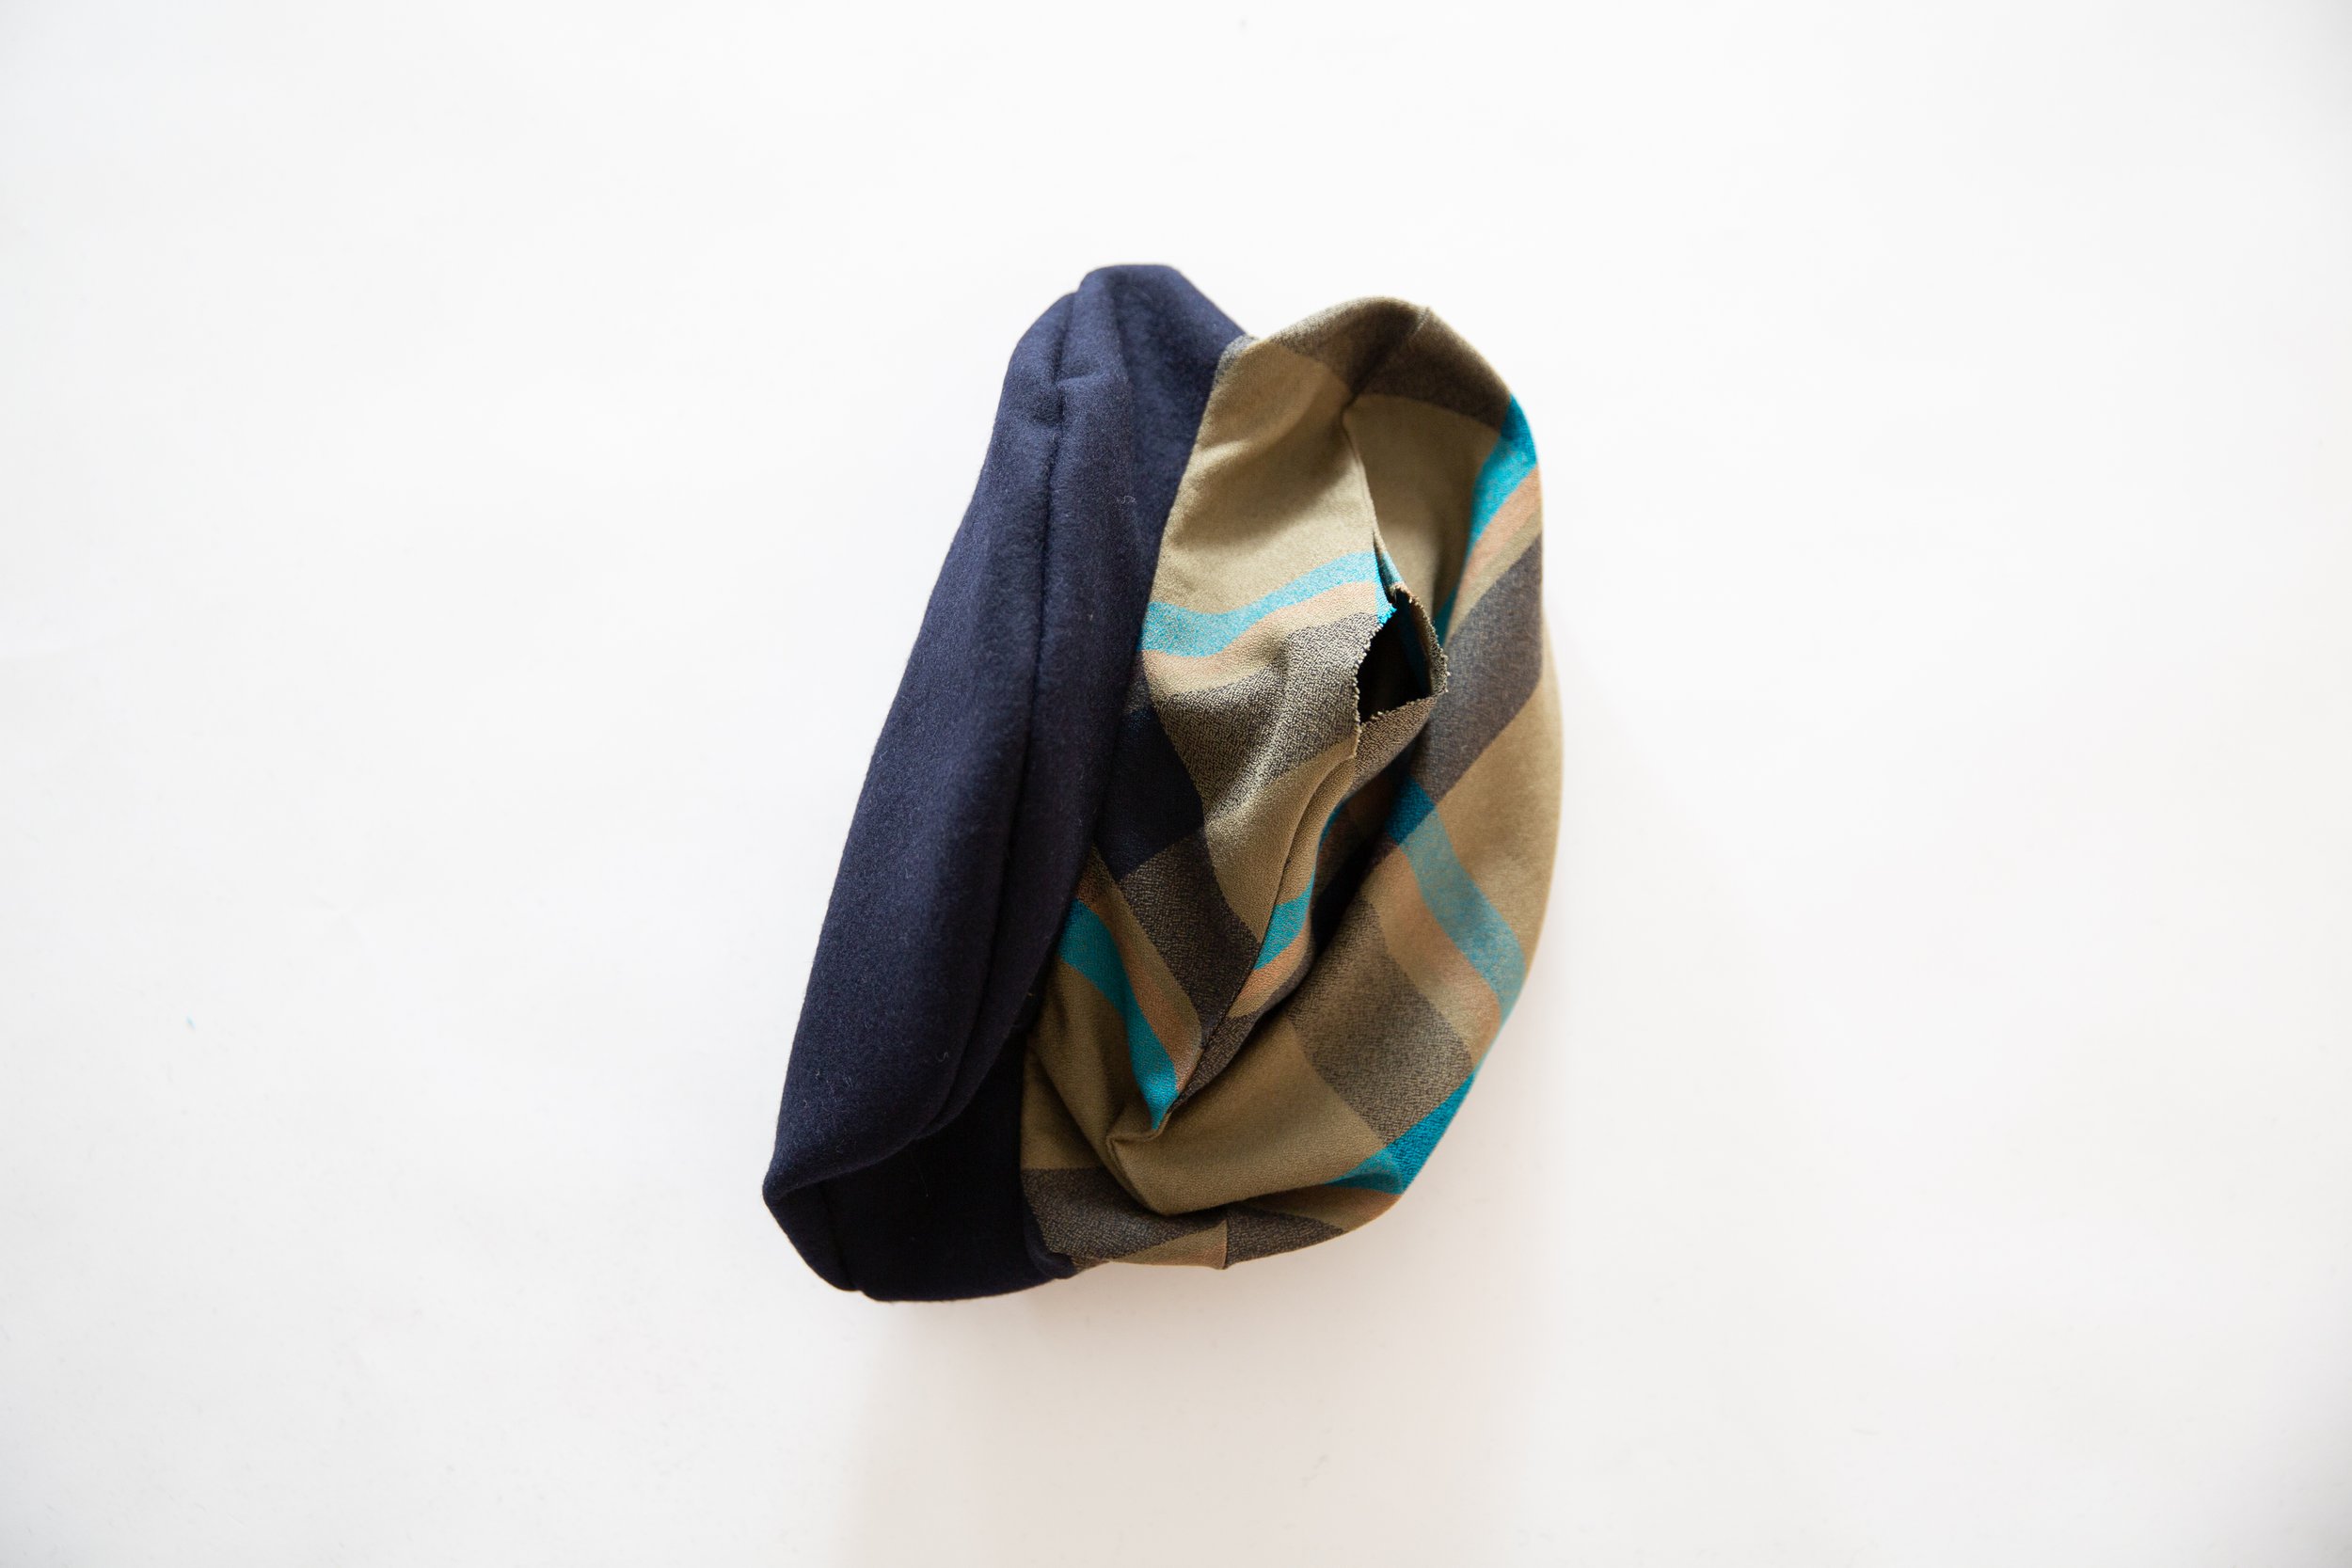
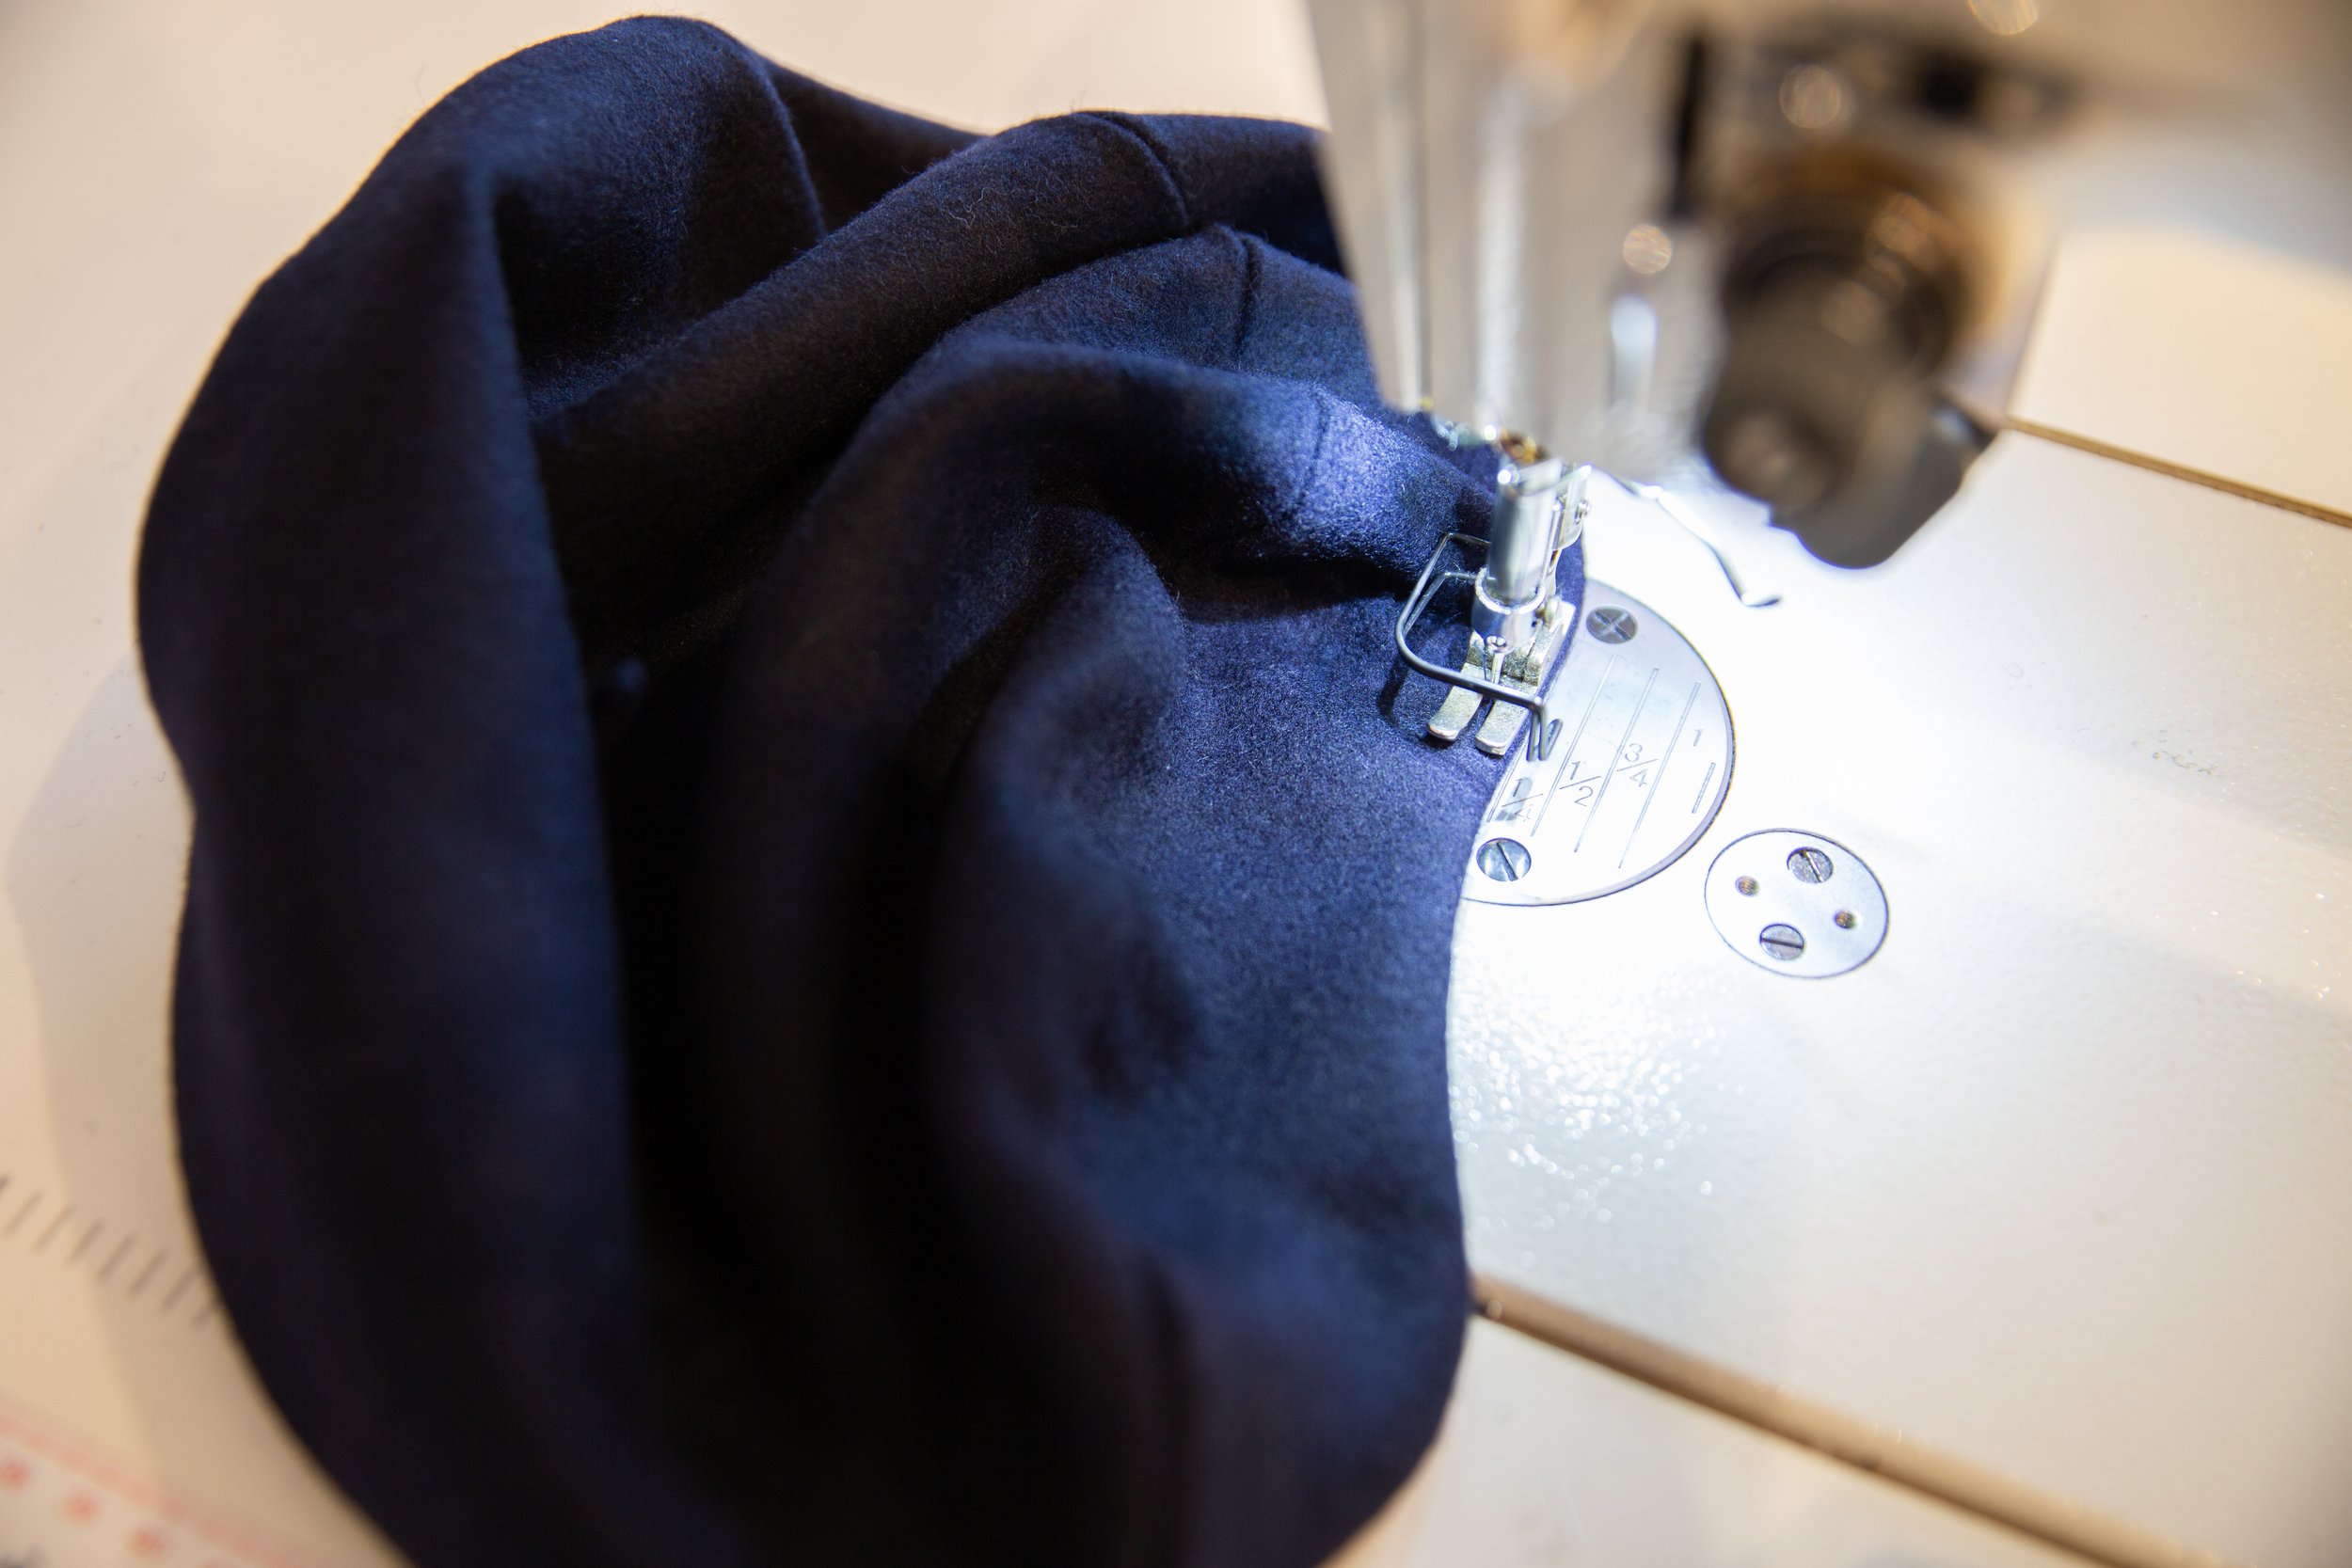
Stitch together through both outer and lining under circles all the way around. Trim seam allowances and clip around curve. Turn through to the right side through gap in the lining.
Step 8
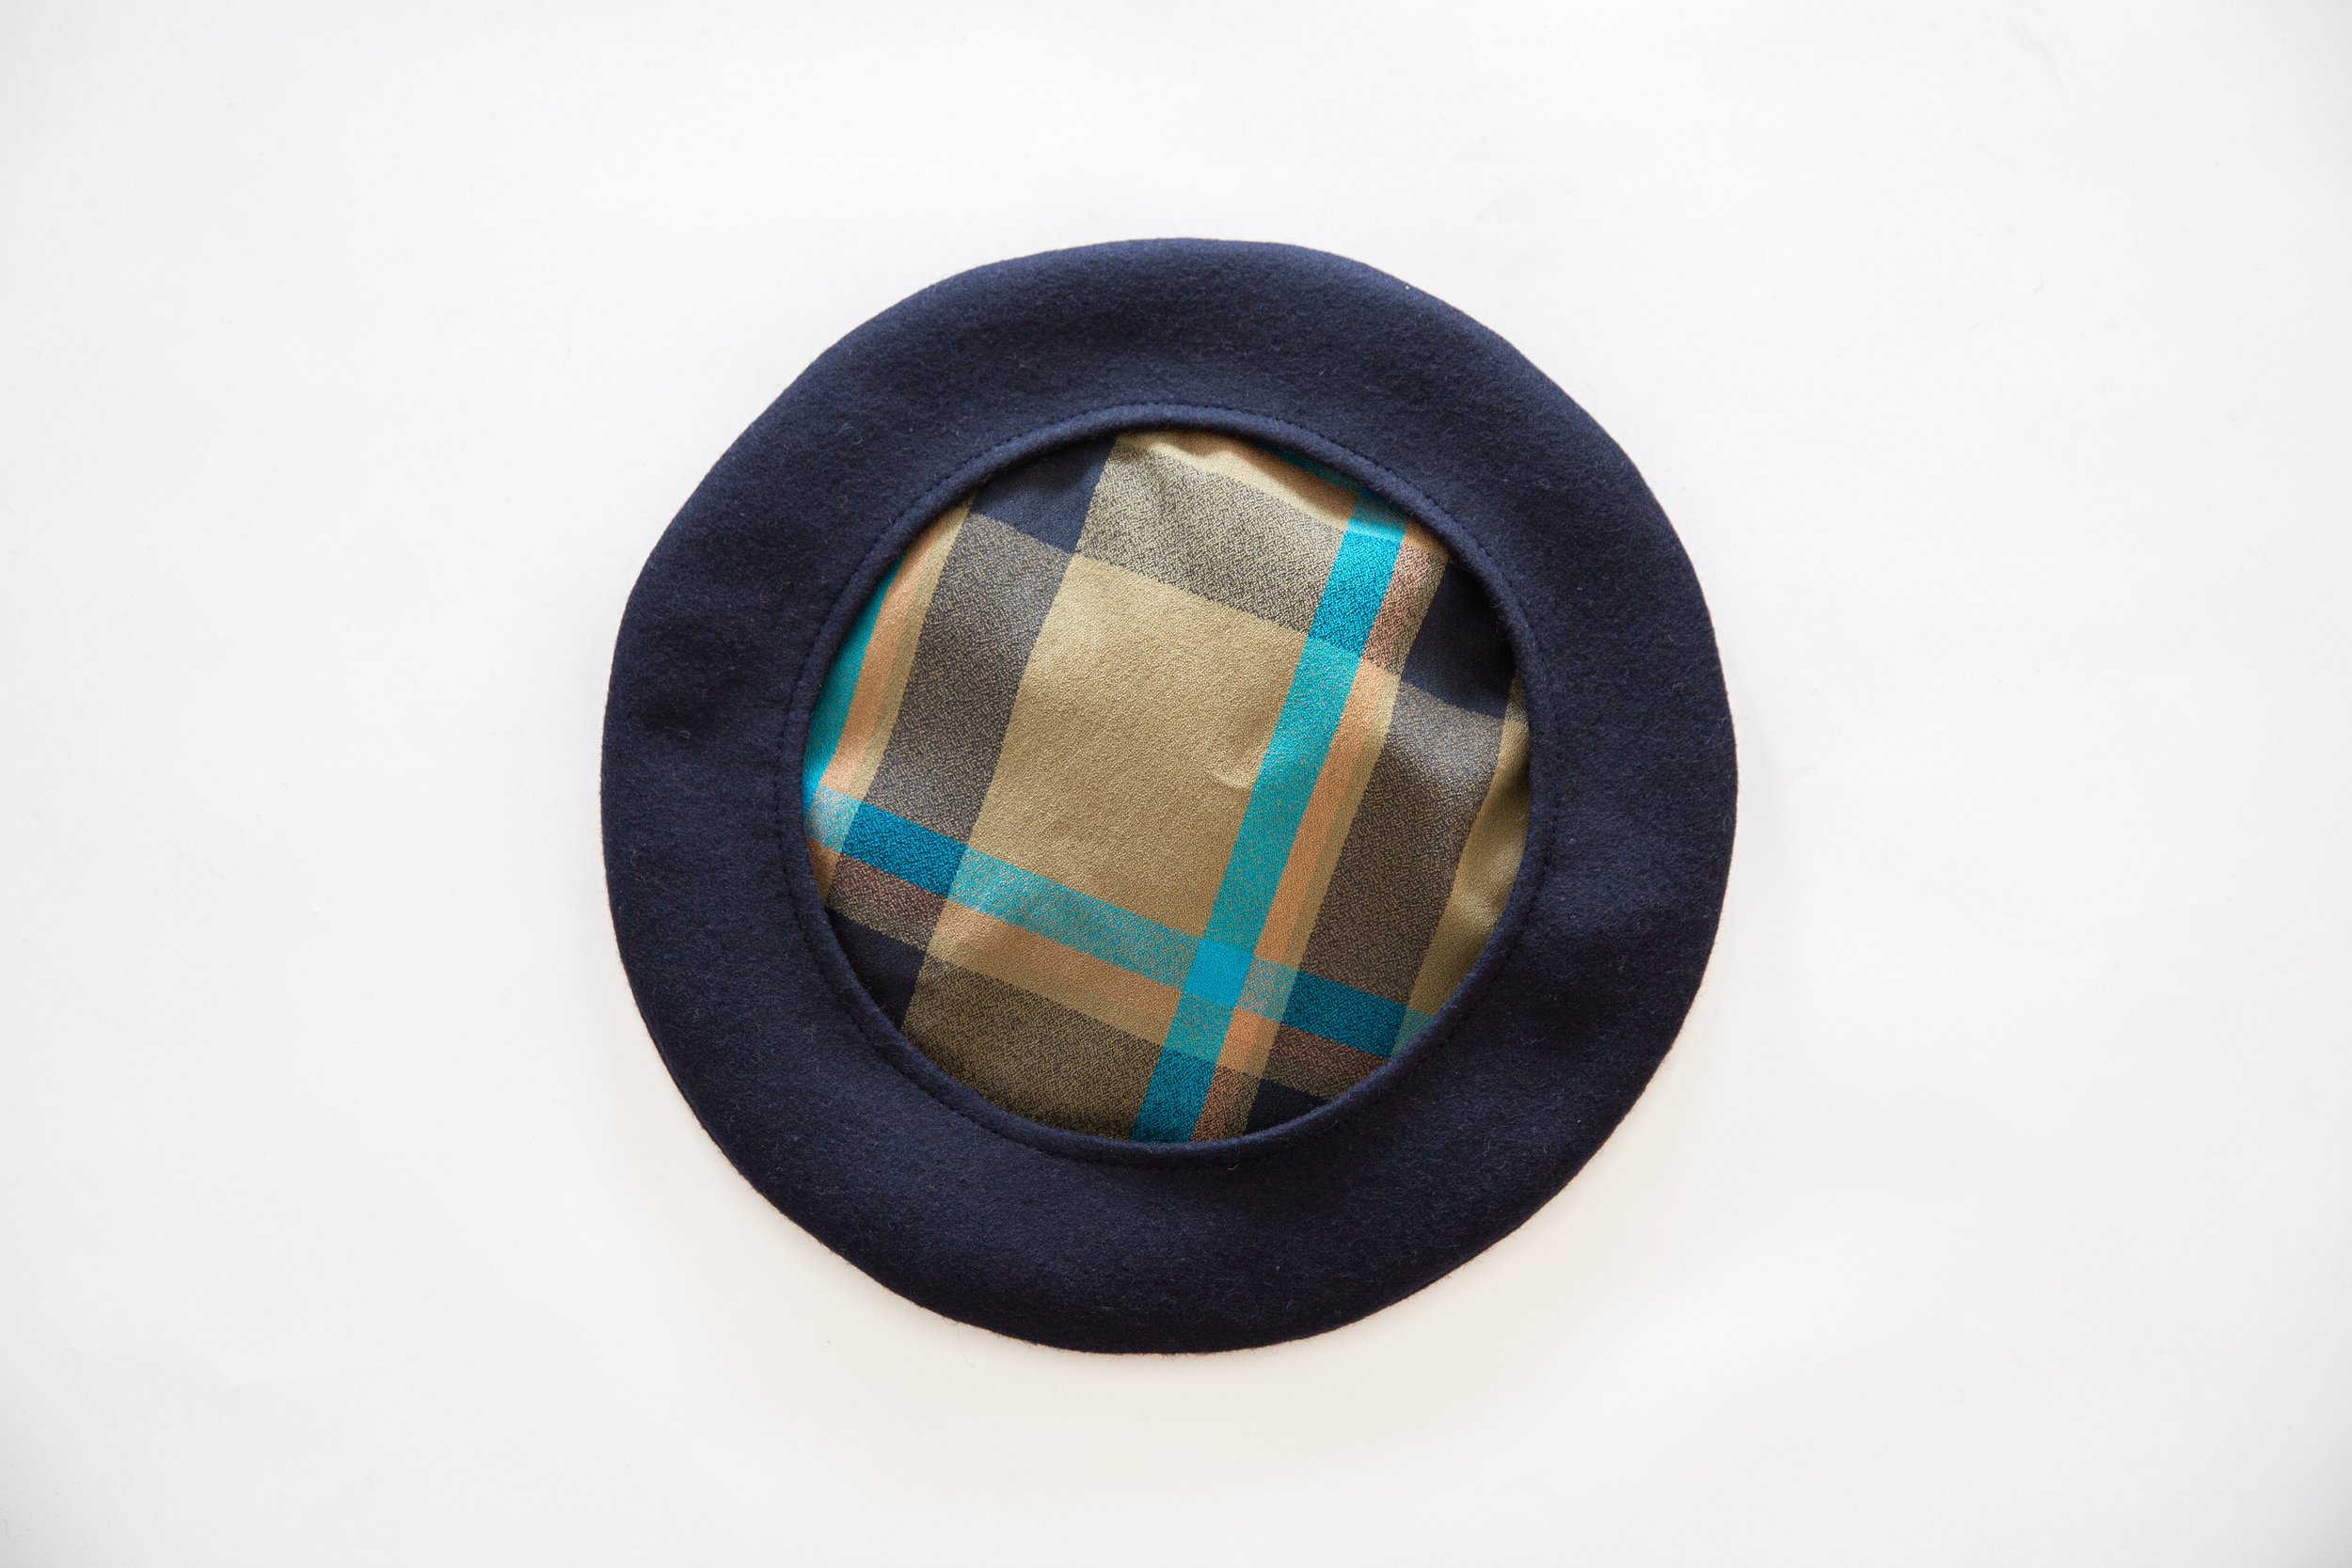
Pin, then stitch closed the gap in lining. Push lining to the inside of beret and give the edges a good press. Stitch a row of topstitching through both layers at opening to hold everything securely in place.
Voila!


