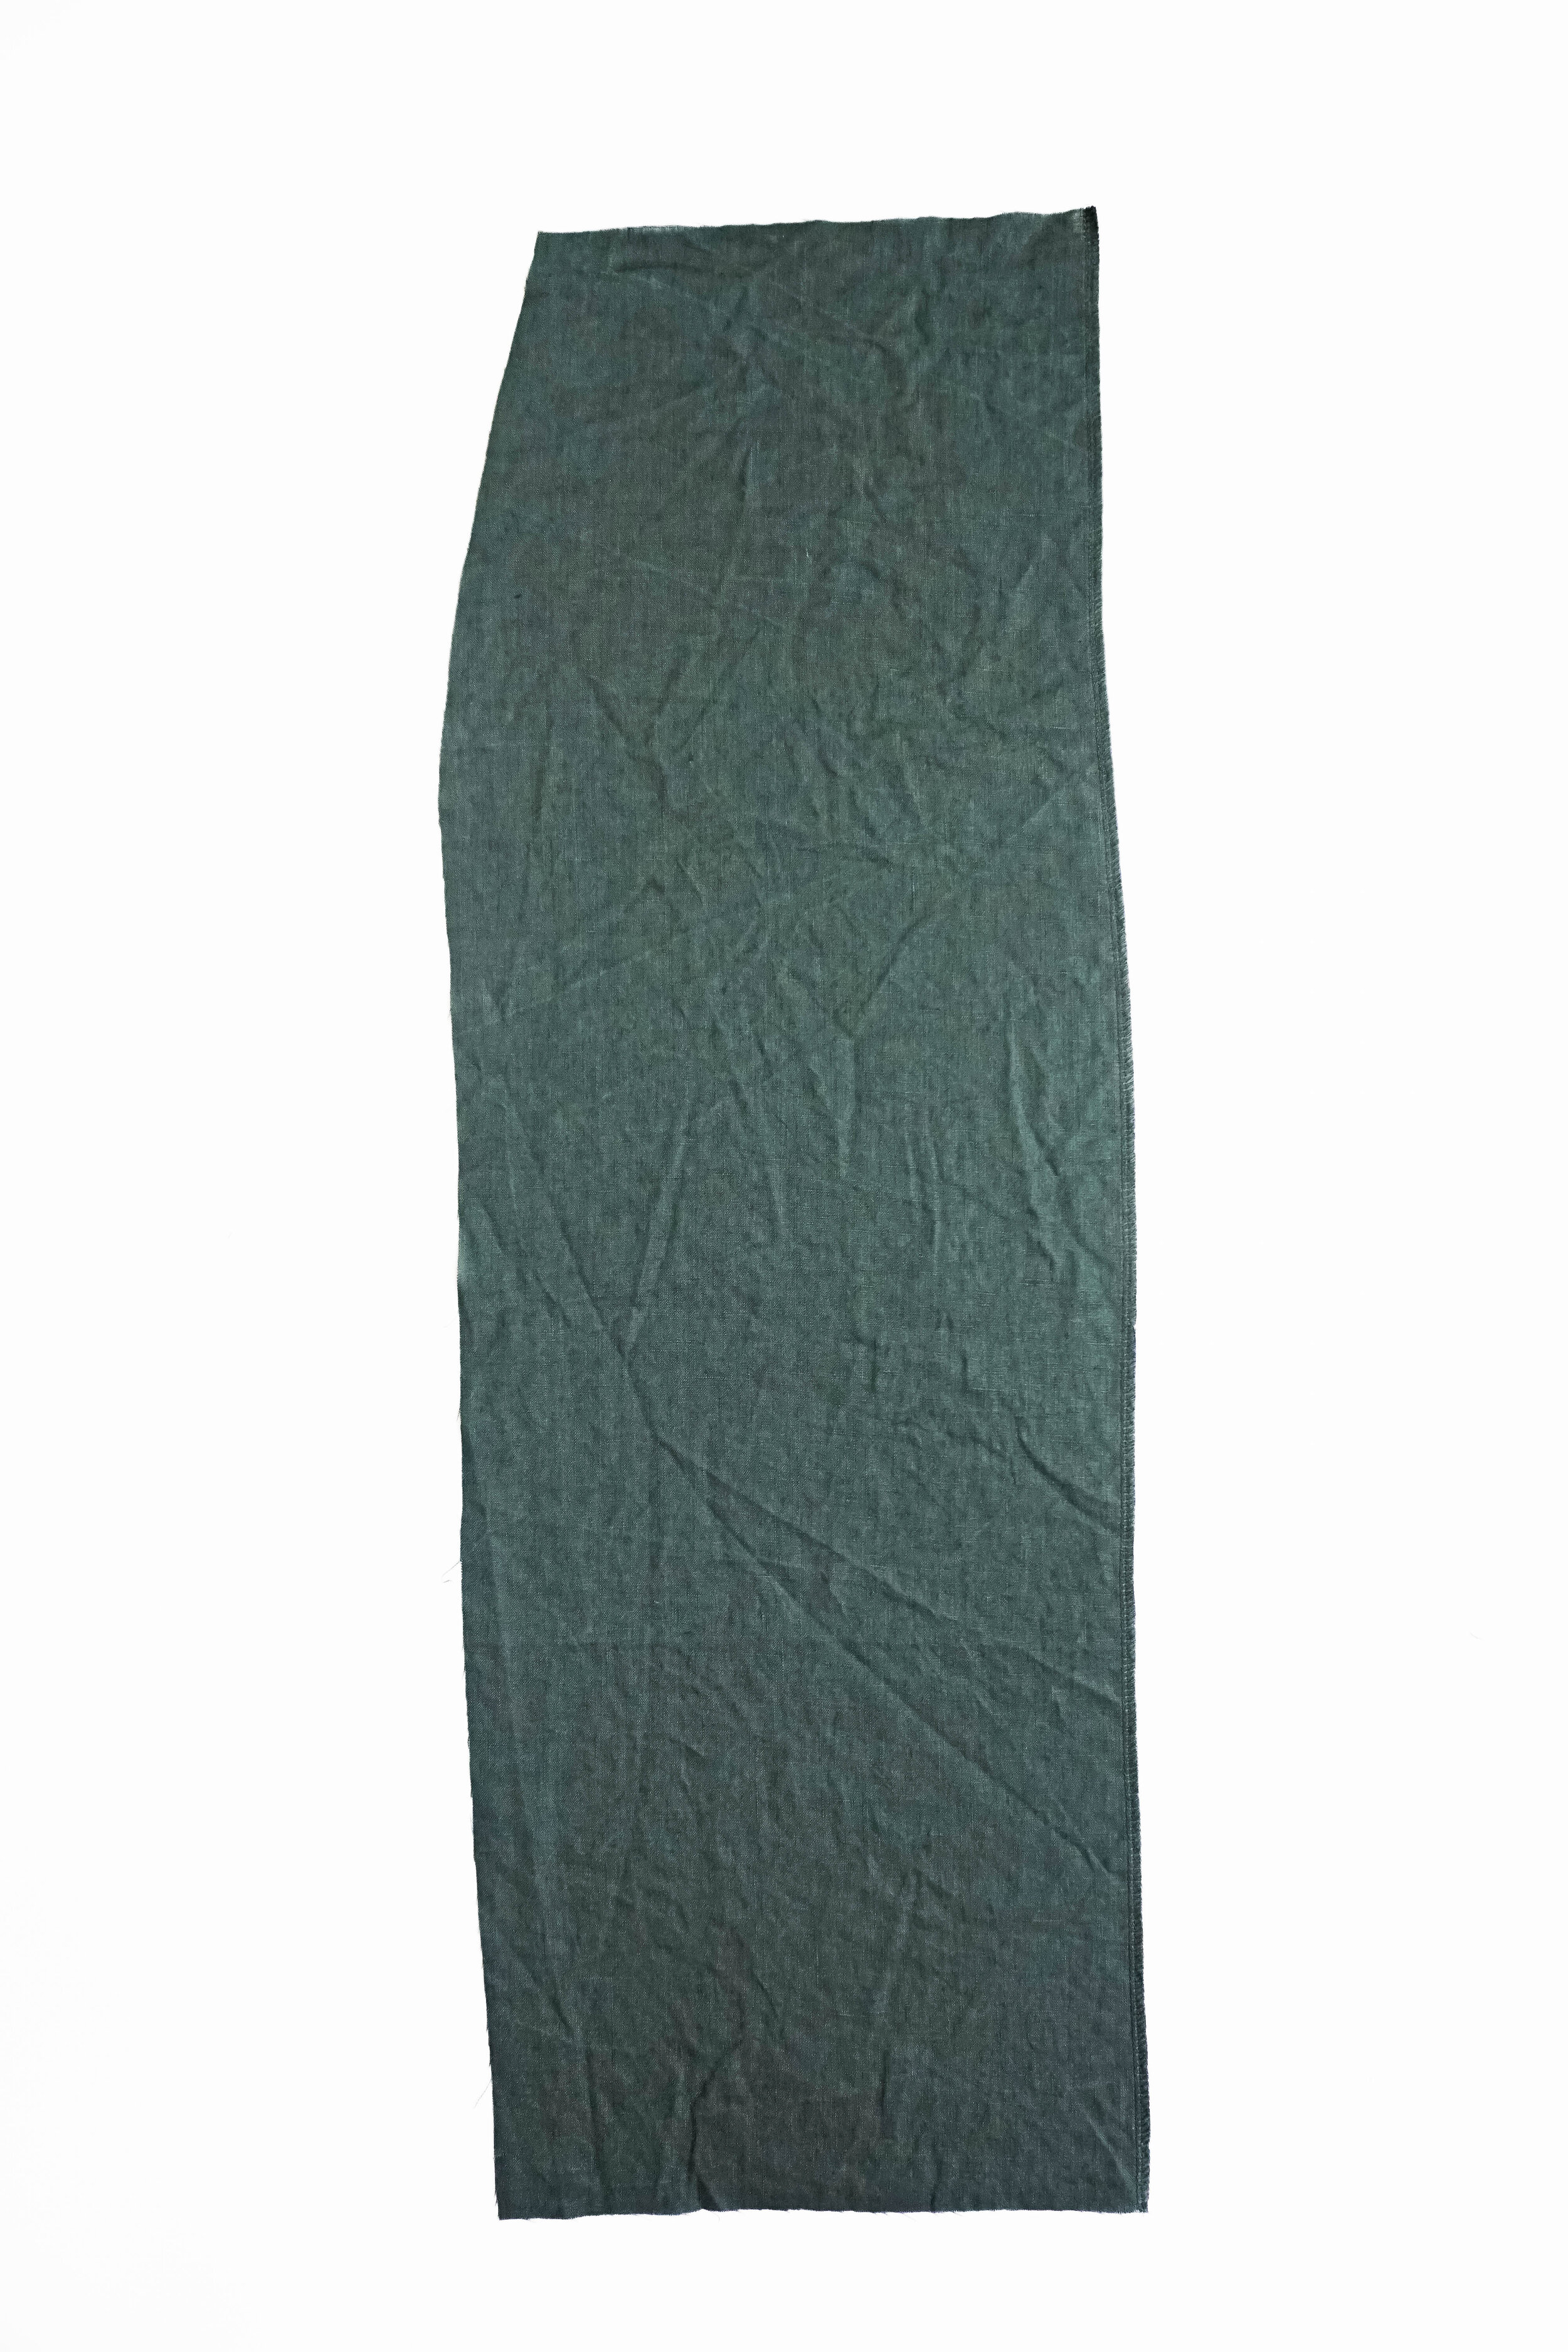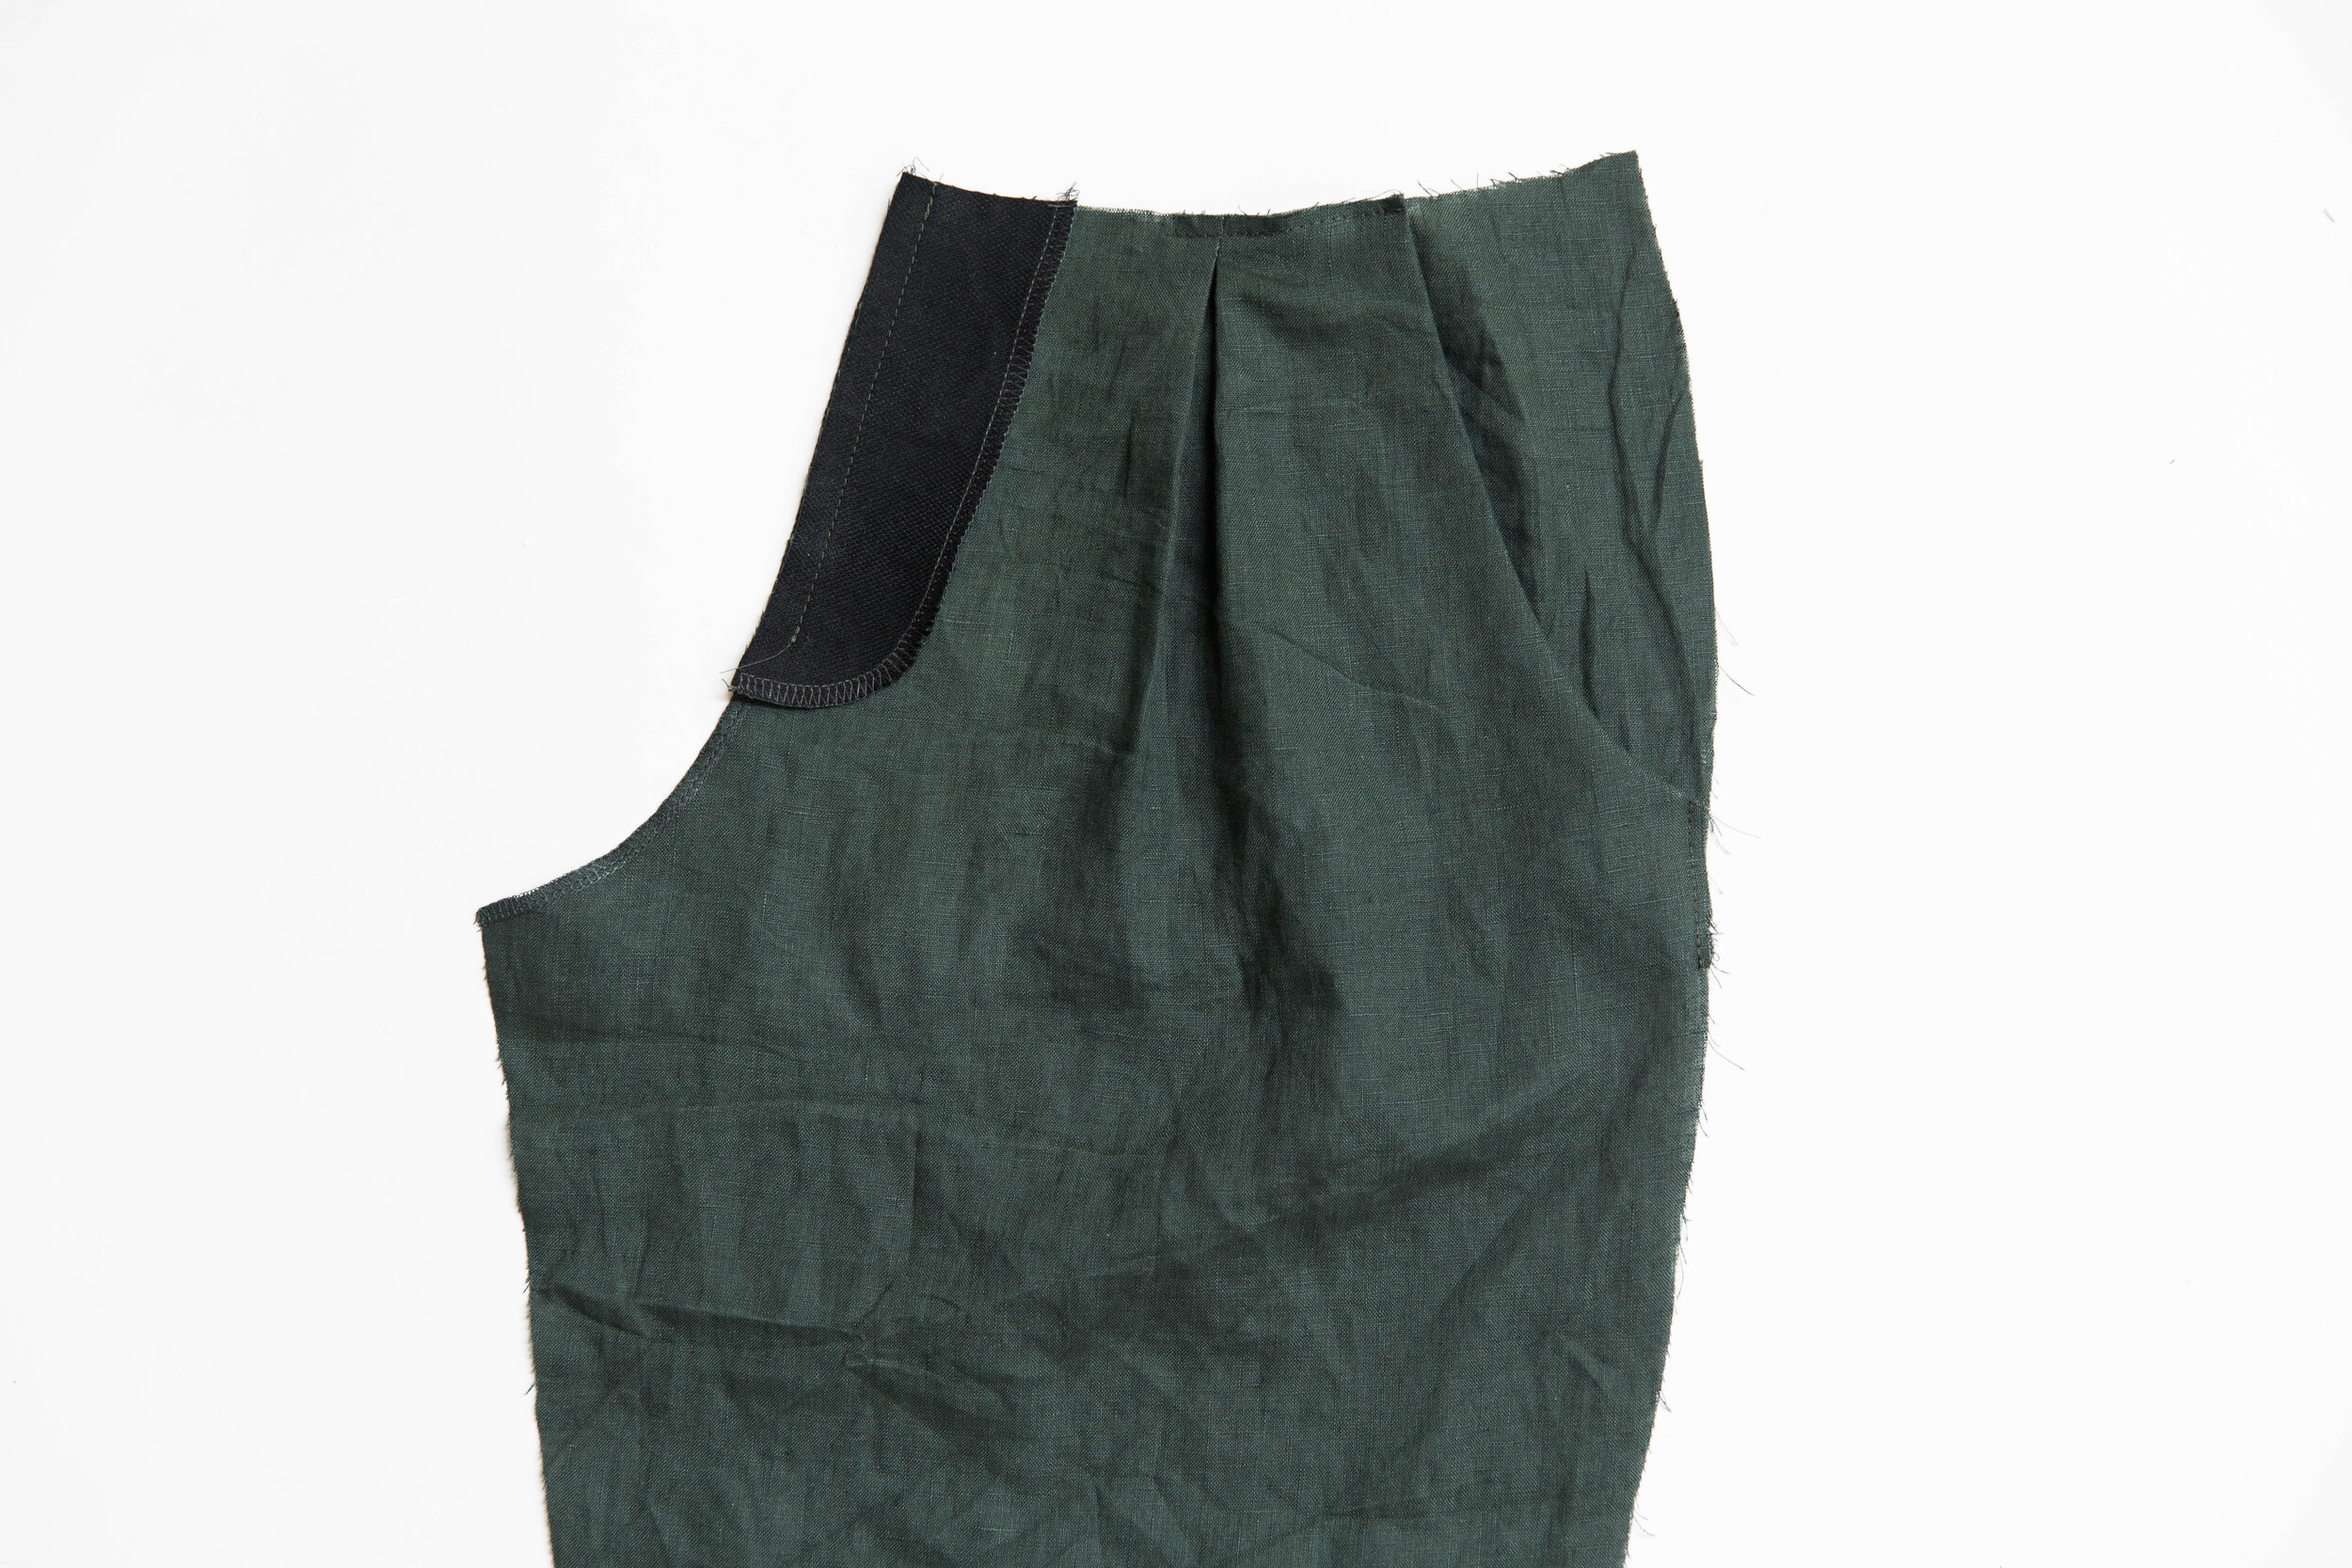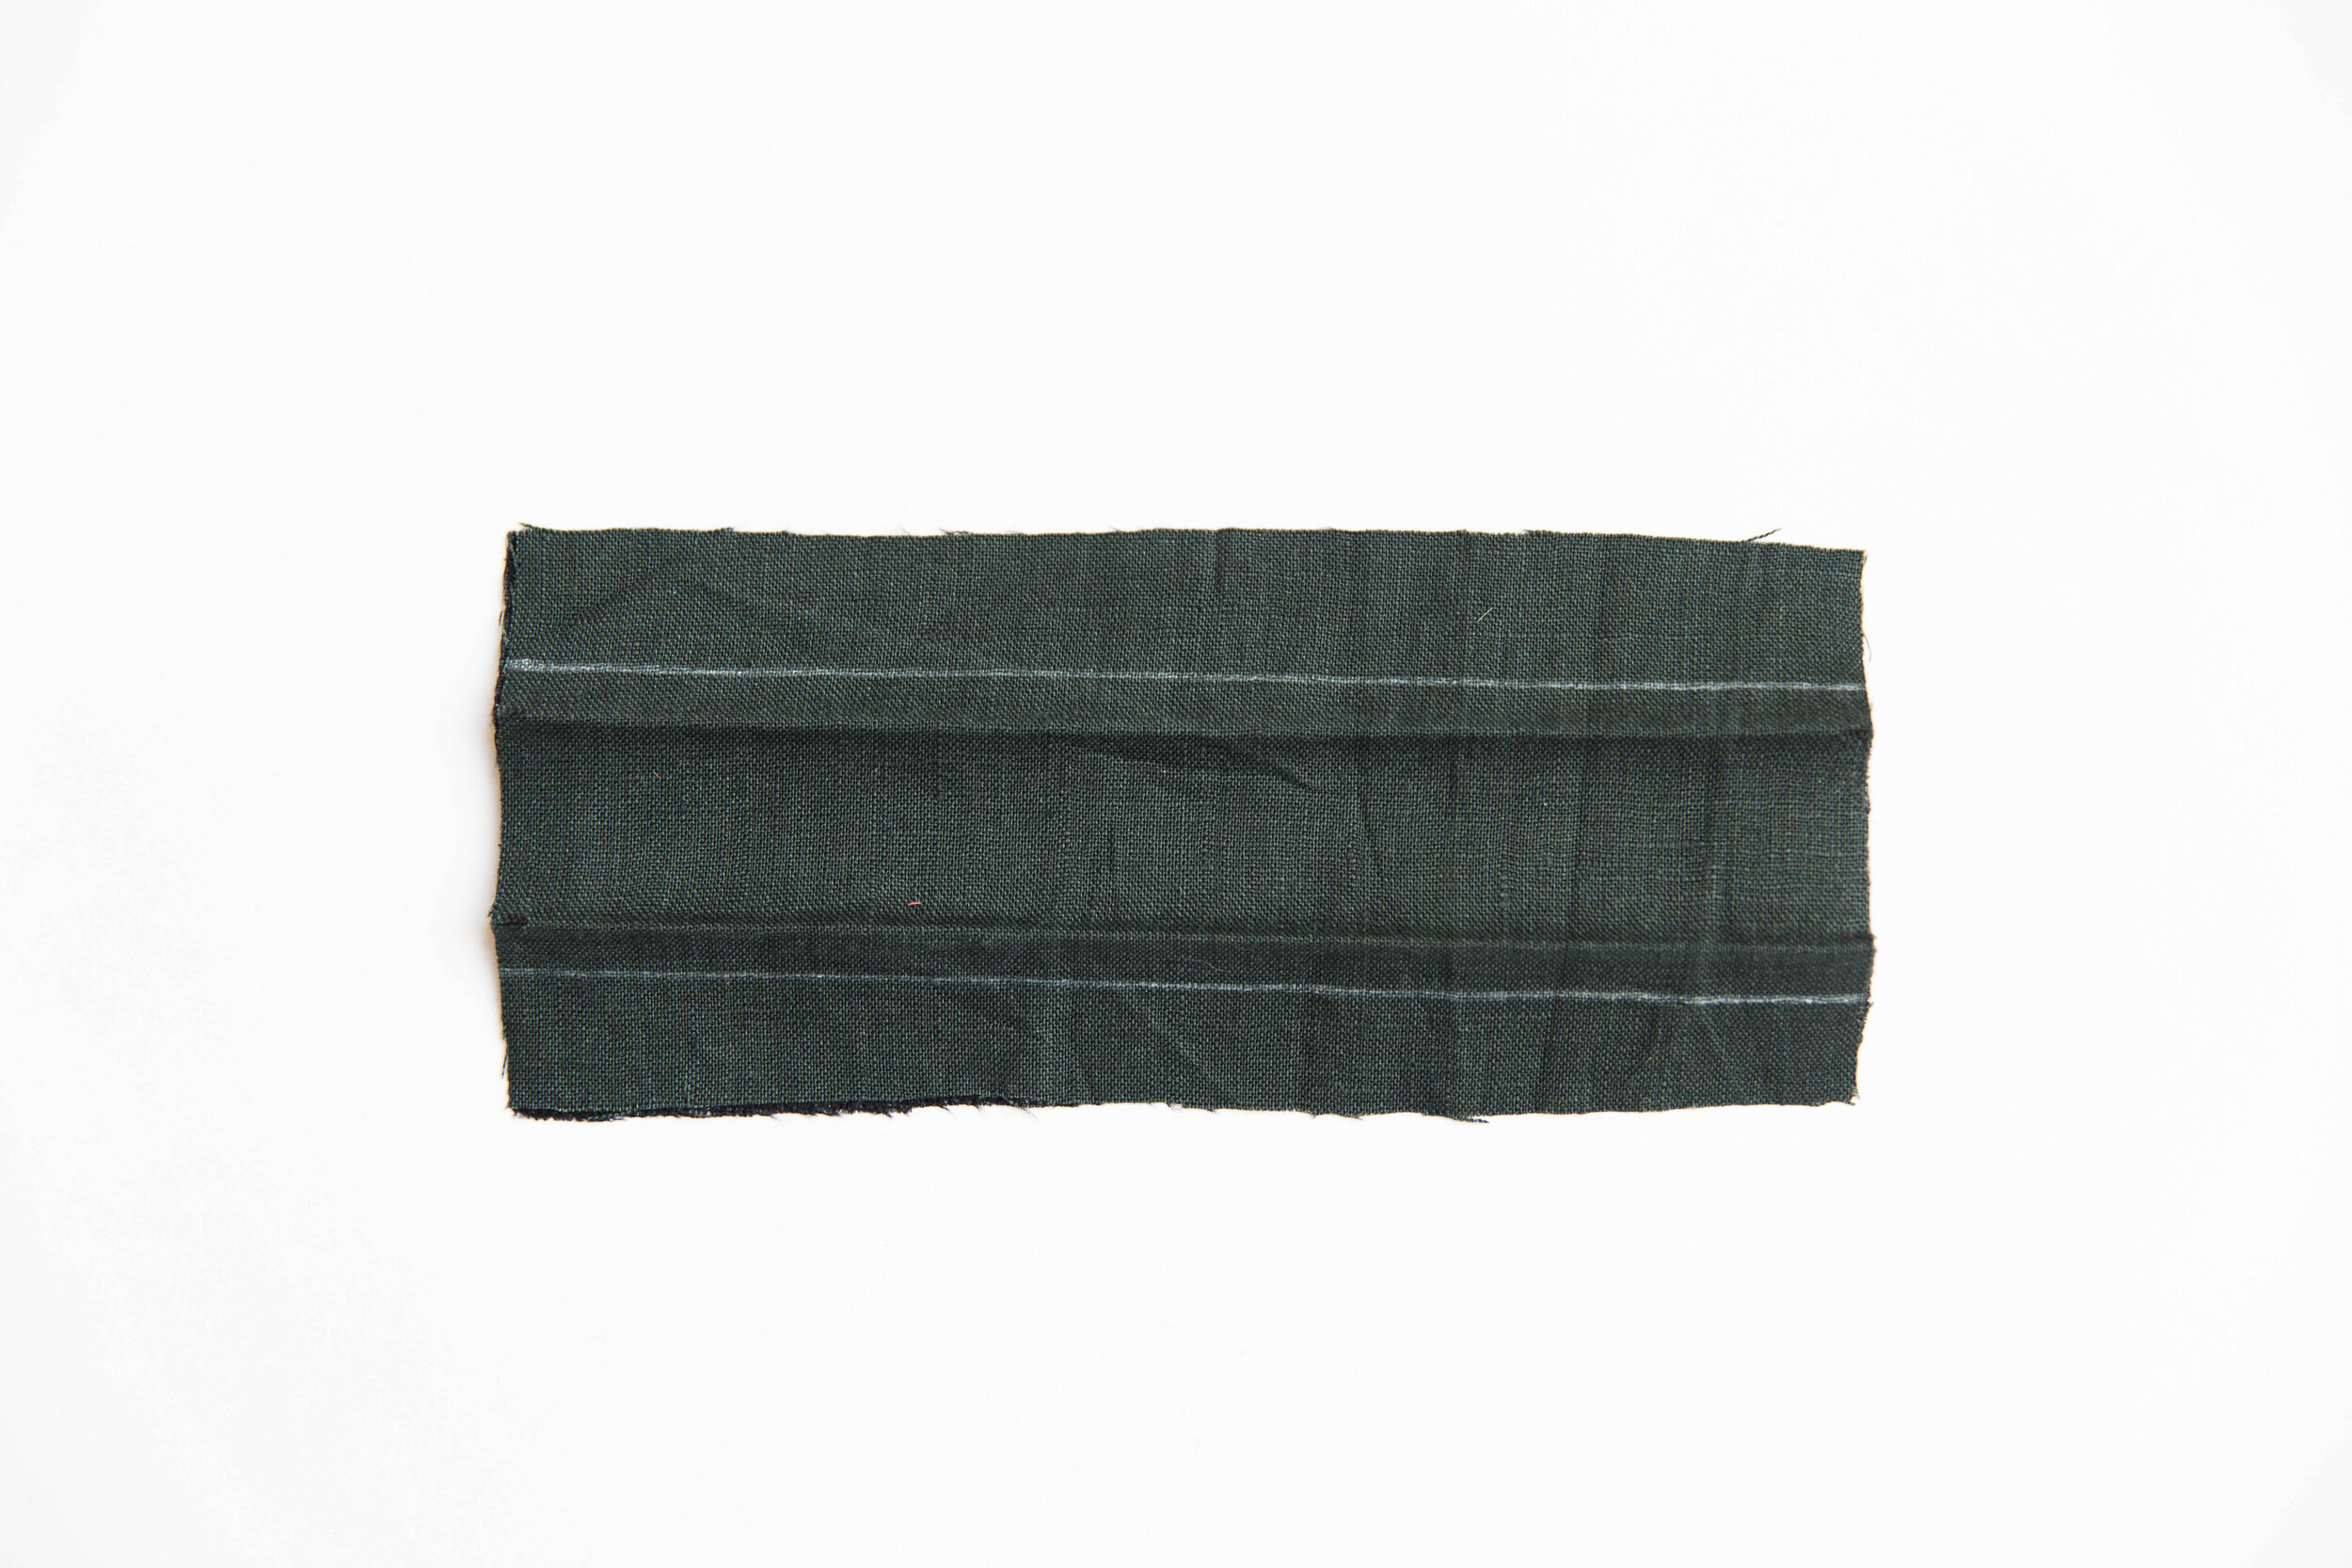

step 1
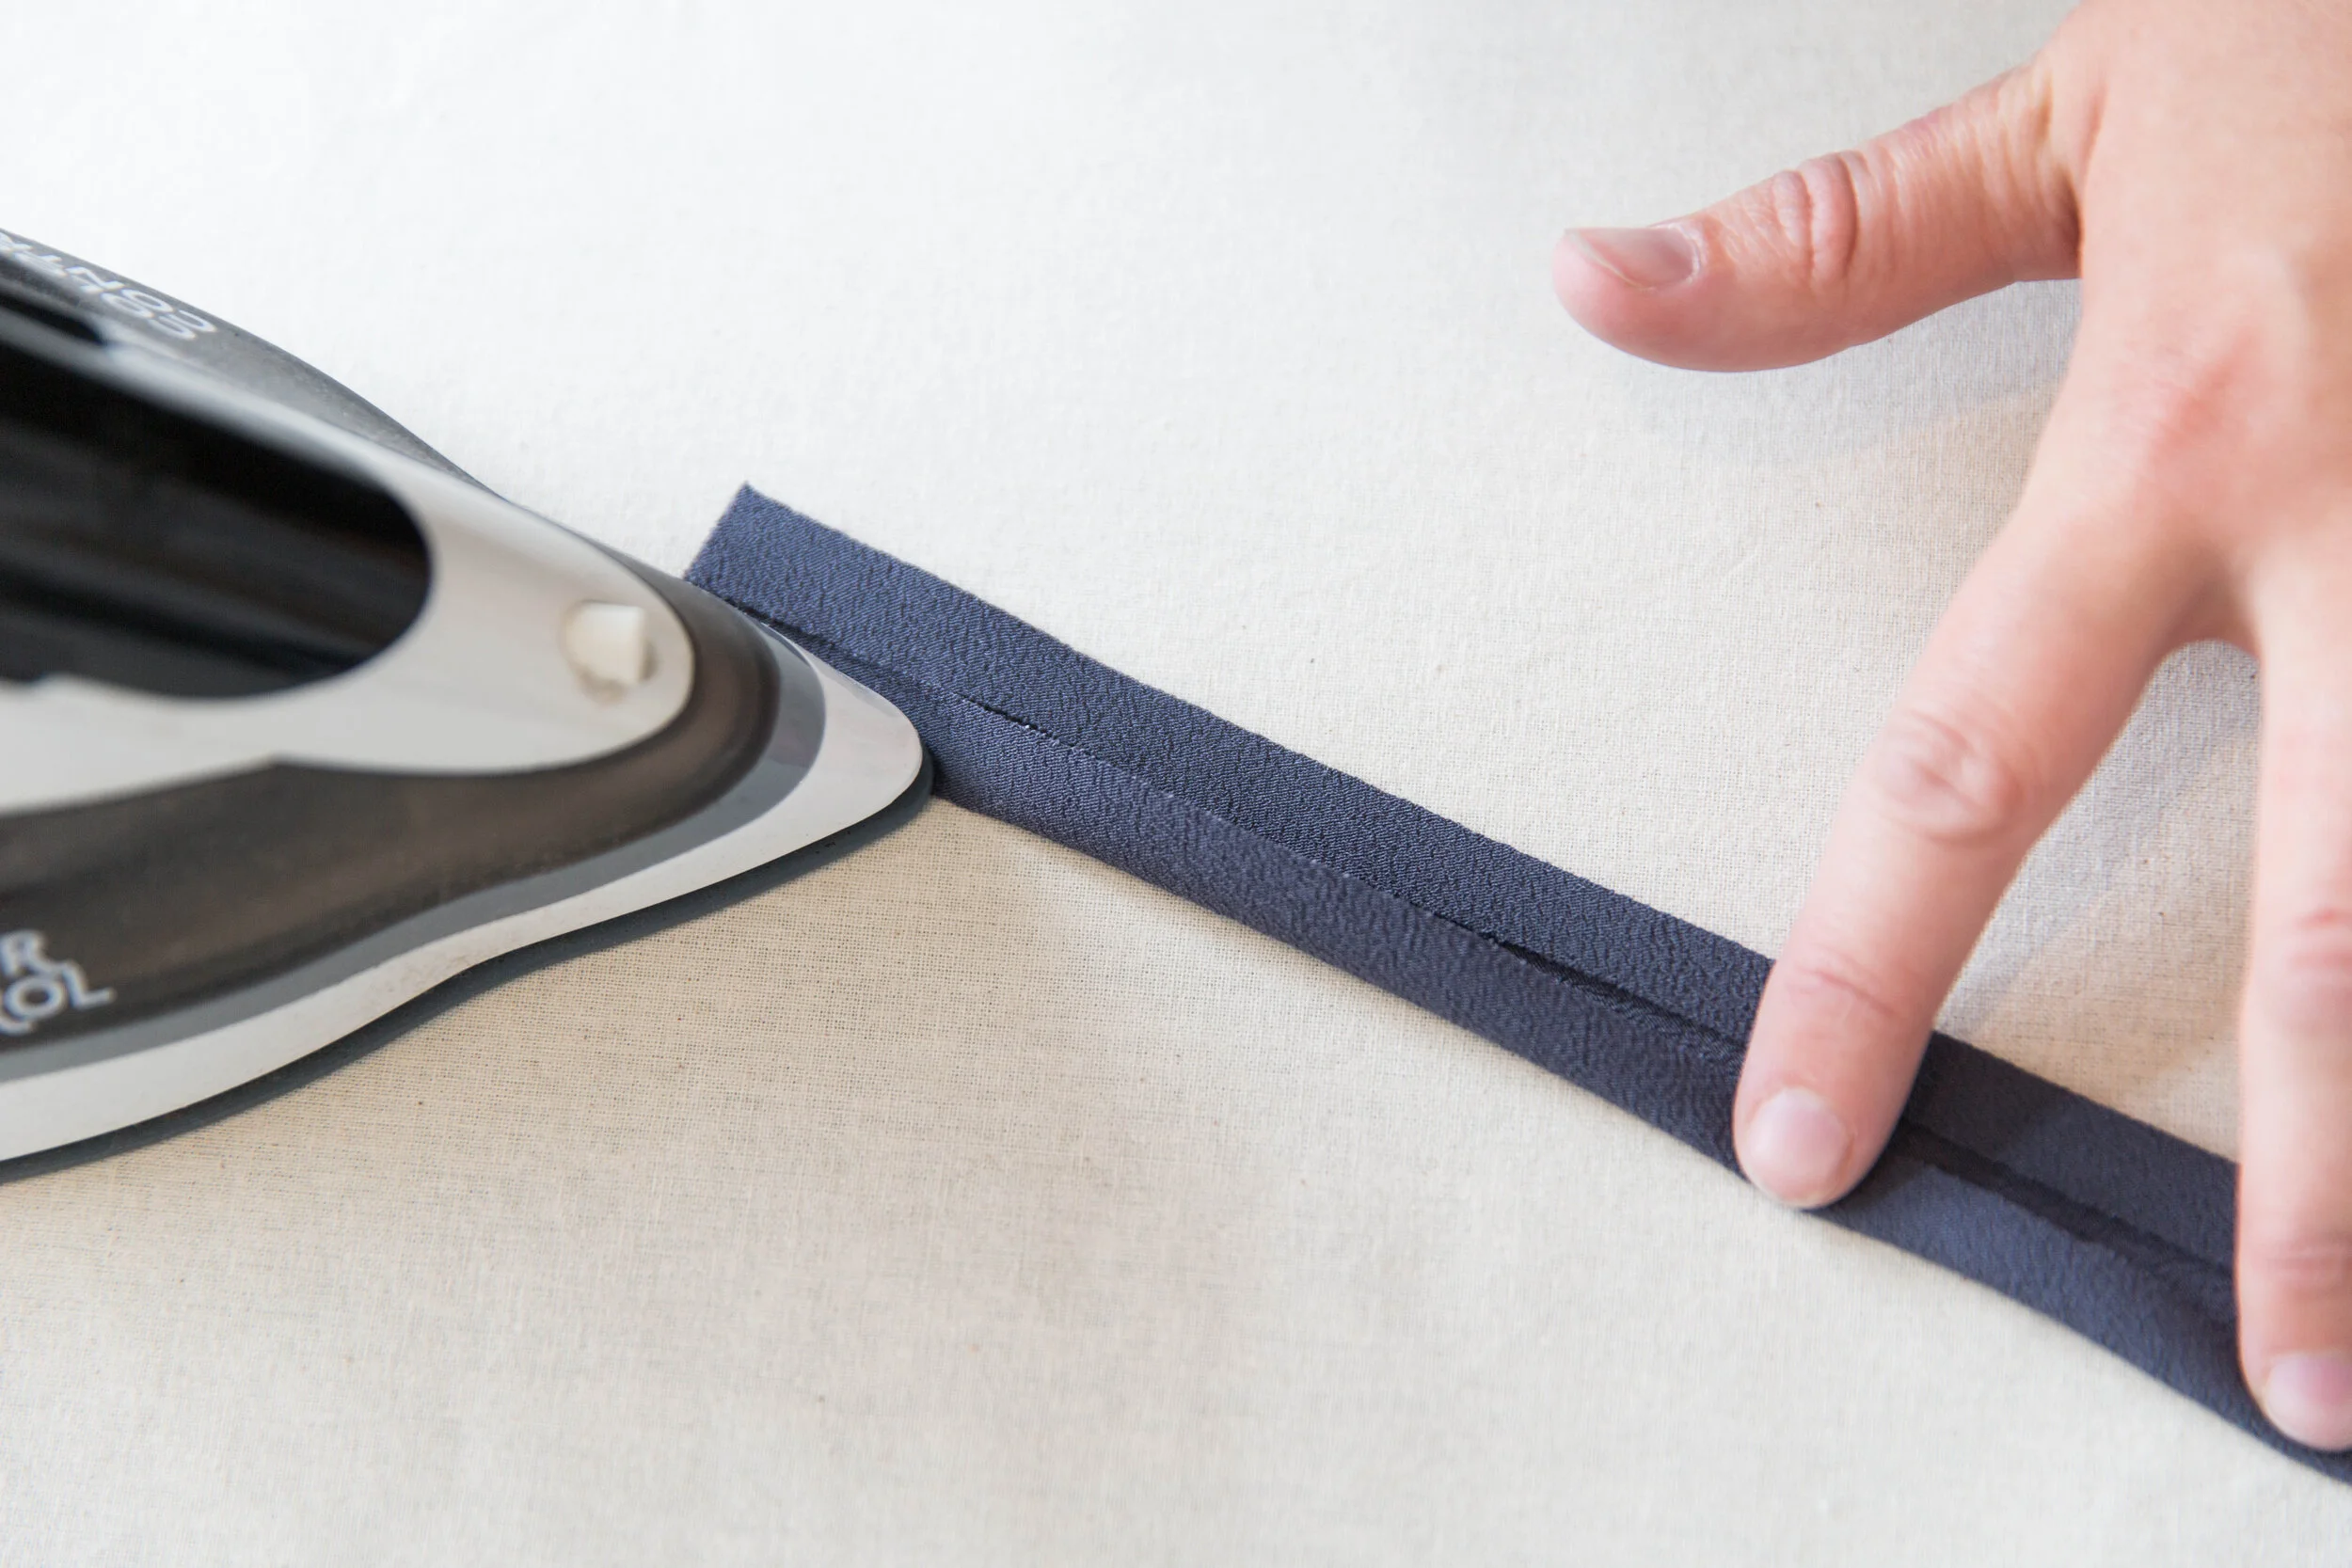
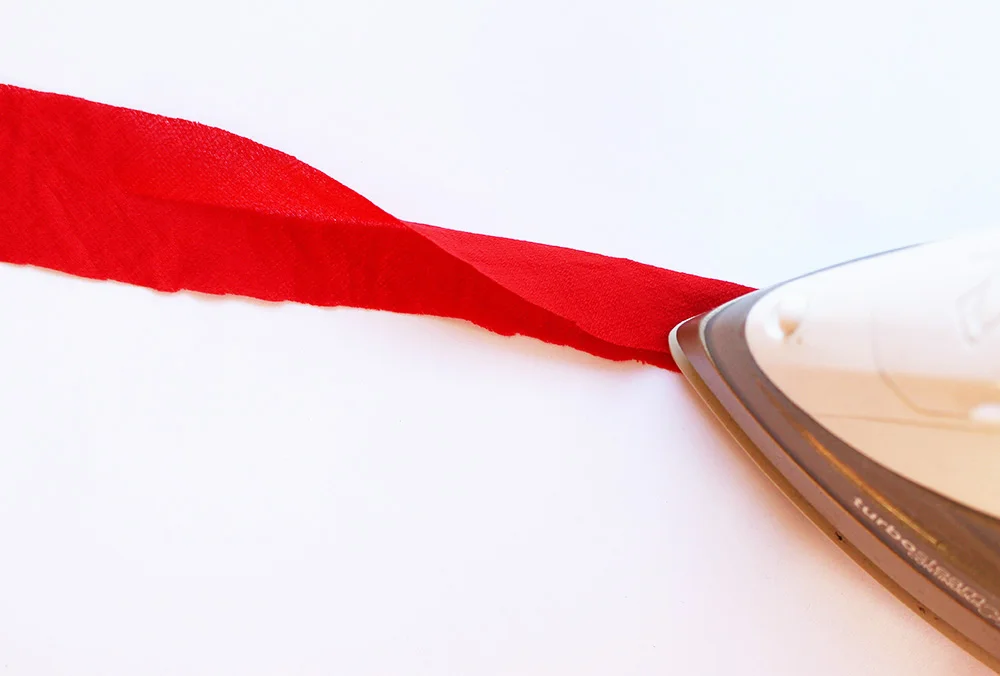
Fuse your front waistband. With your 4cm wide fusing strips, fuse the fly front of one front piece, top edge of side pieces, top edge of pocket facings and line edge of strip up with centre line of pocket bag B pieces and fuse.

step 2
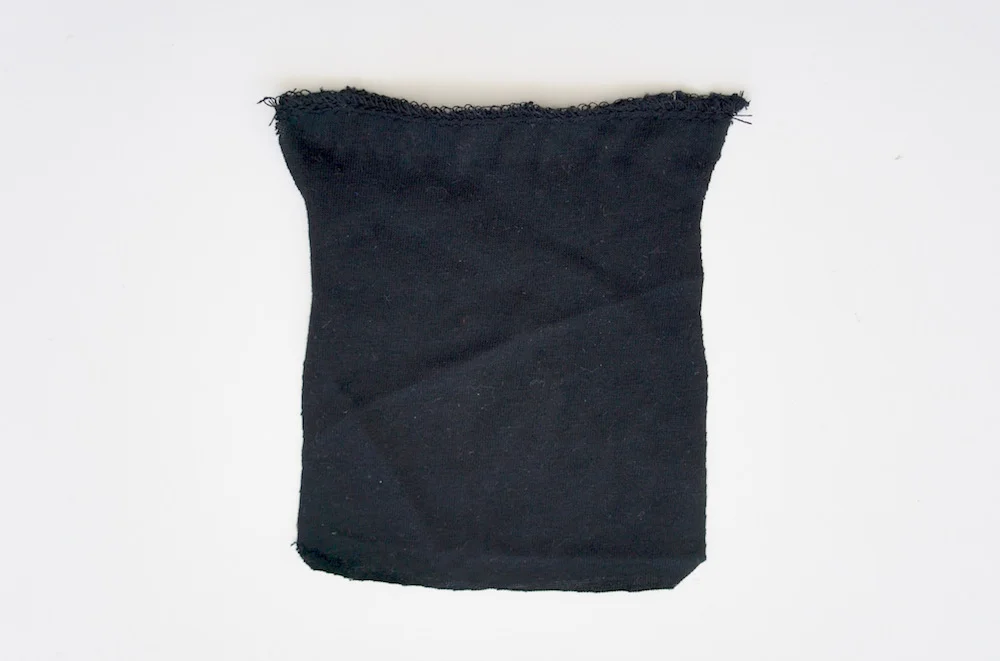
Fold pocket bag B in half along fused edge with wrong sides together. Press.
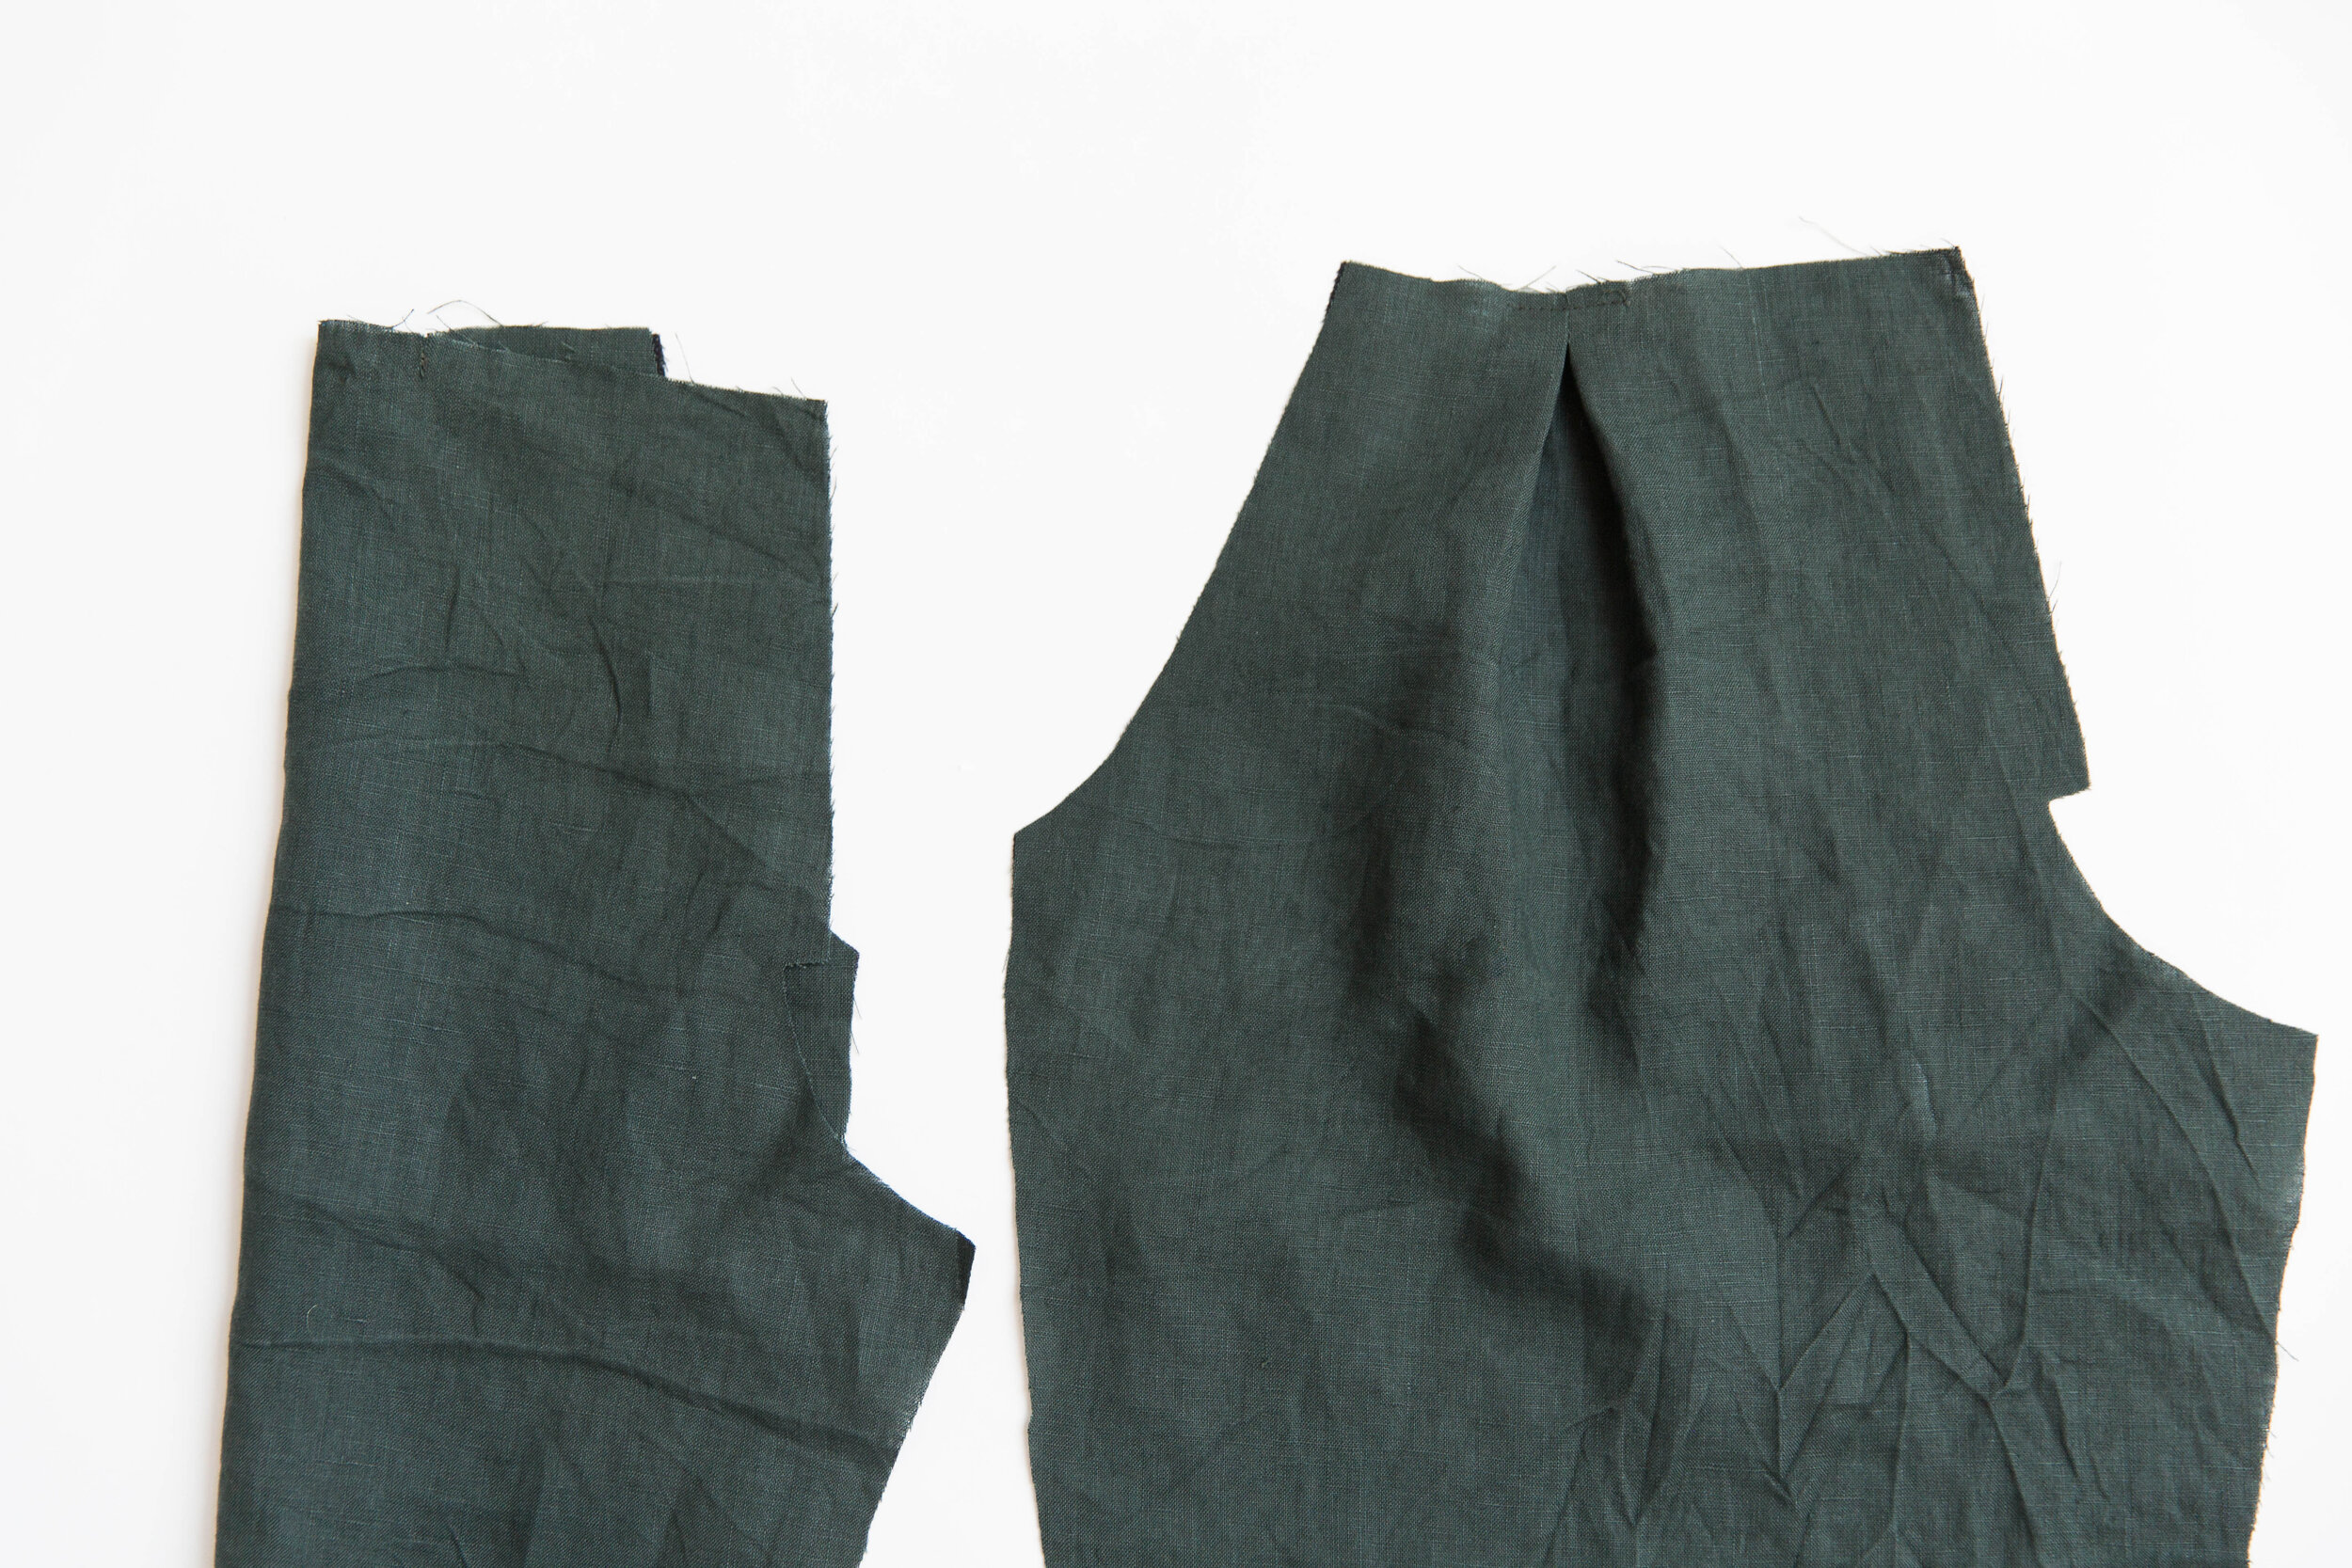
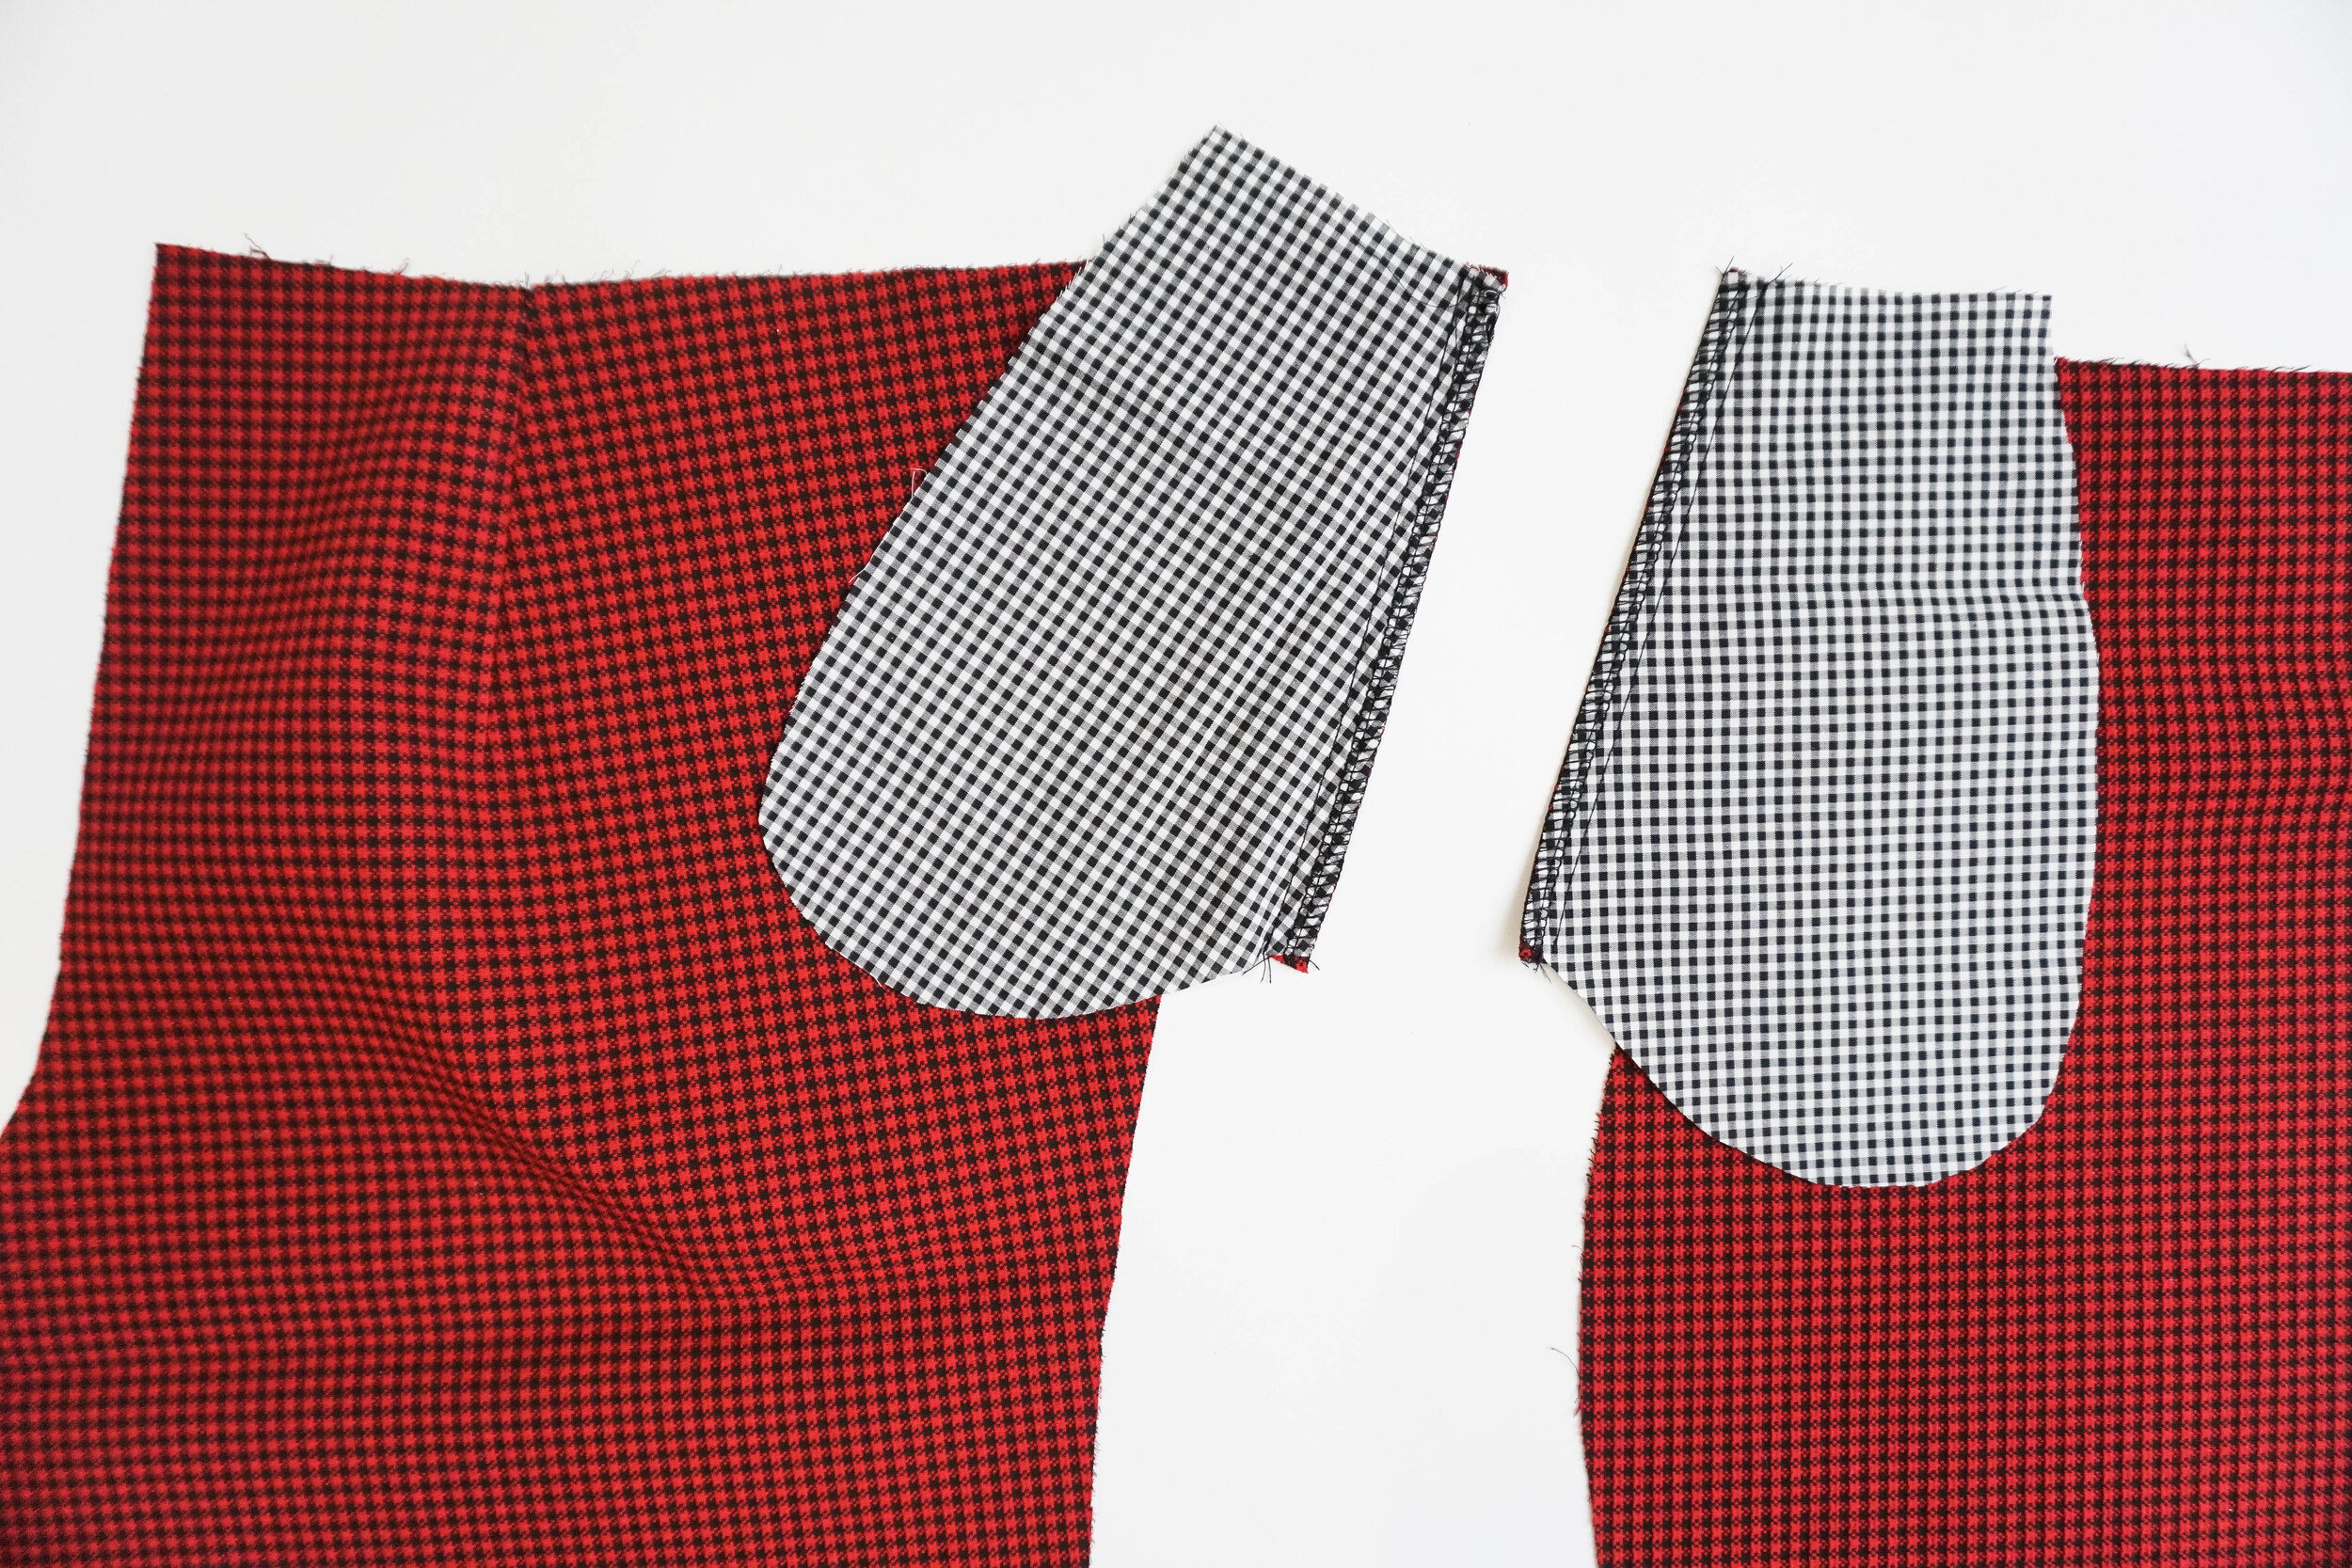
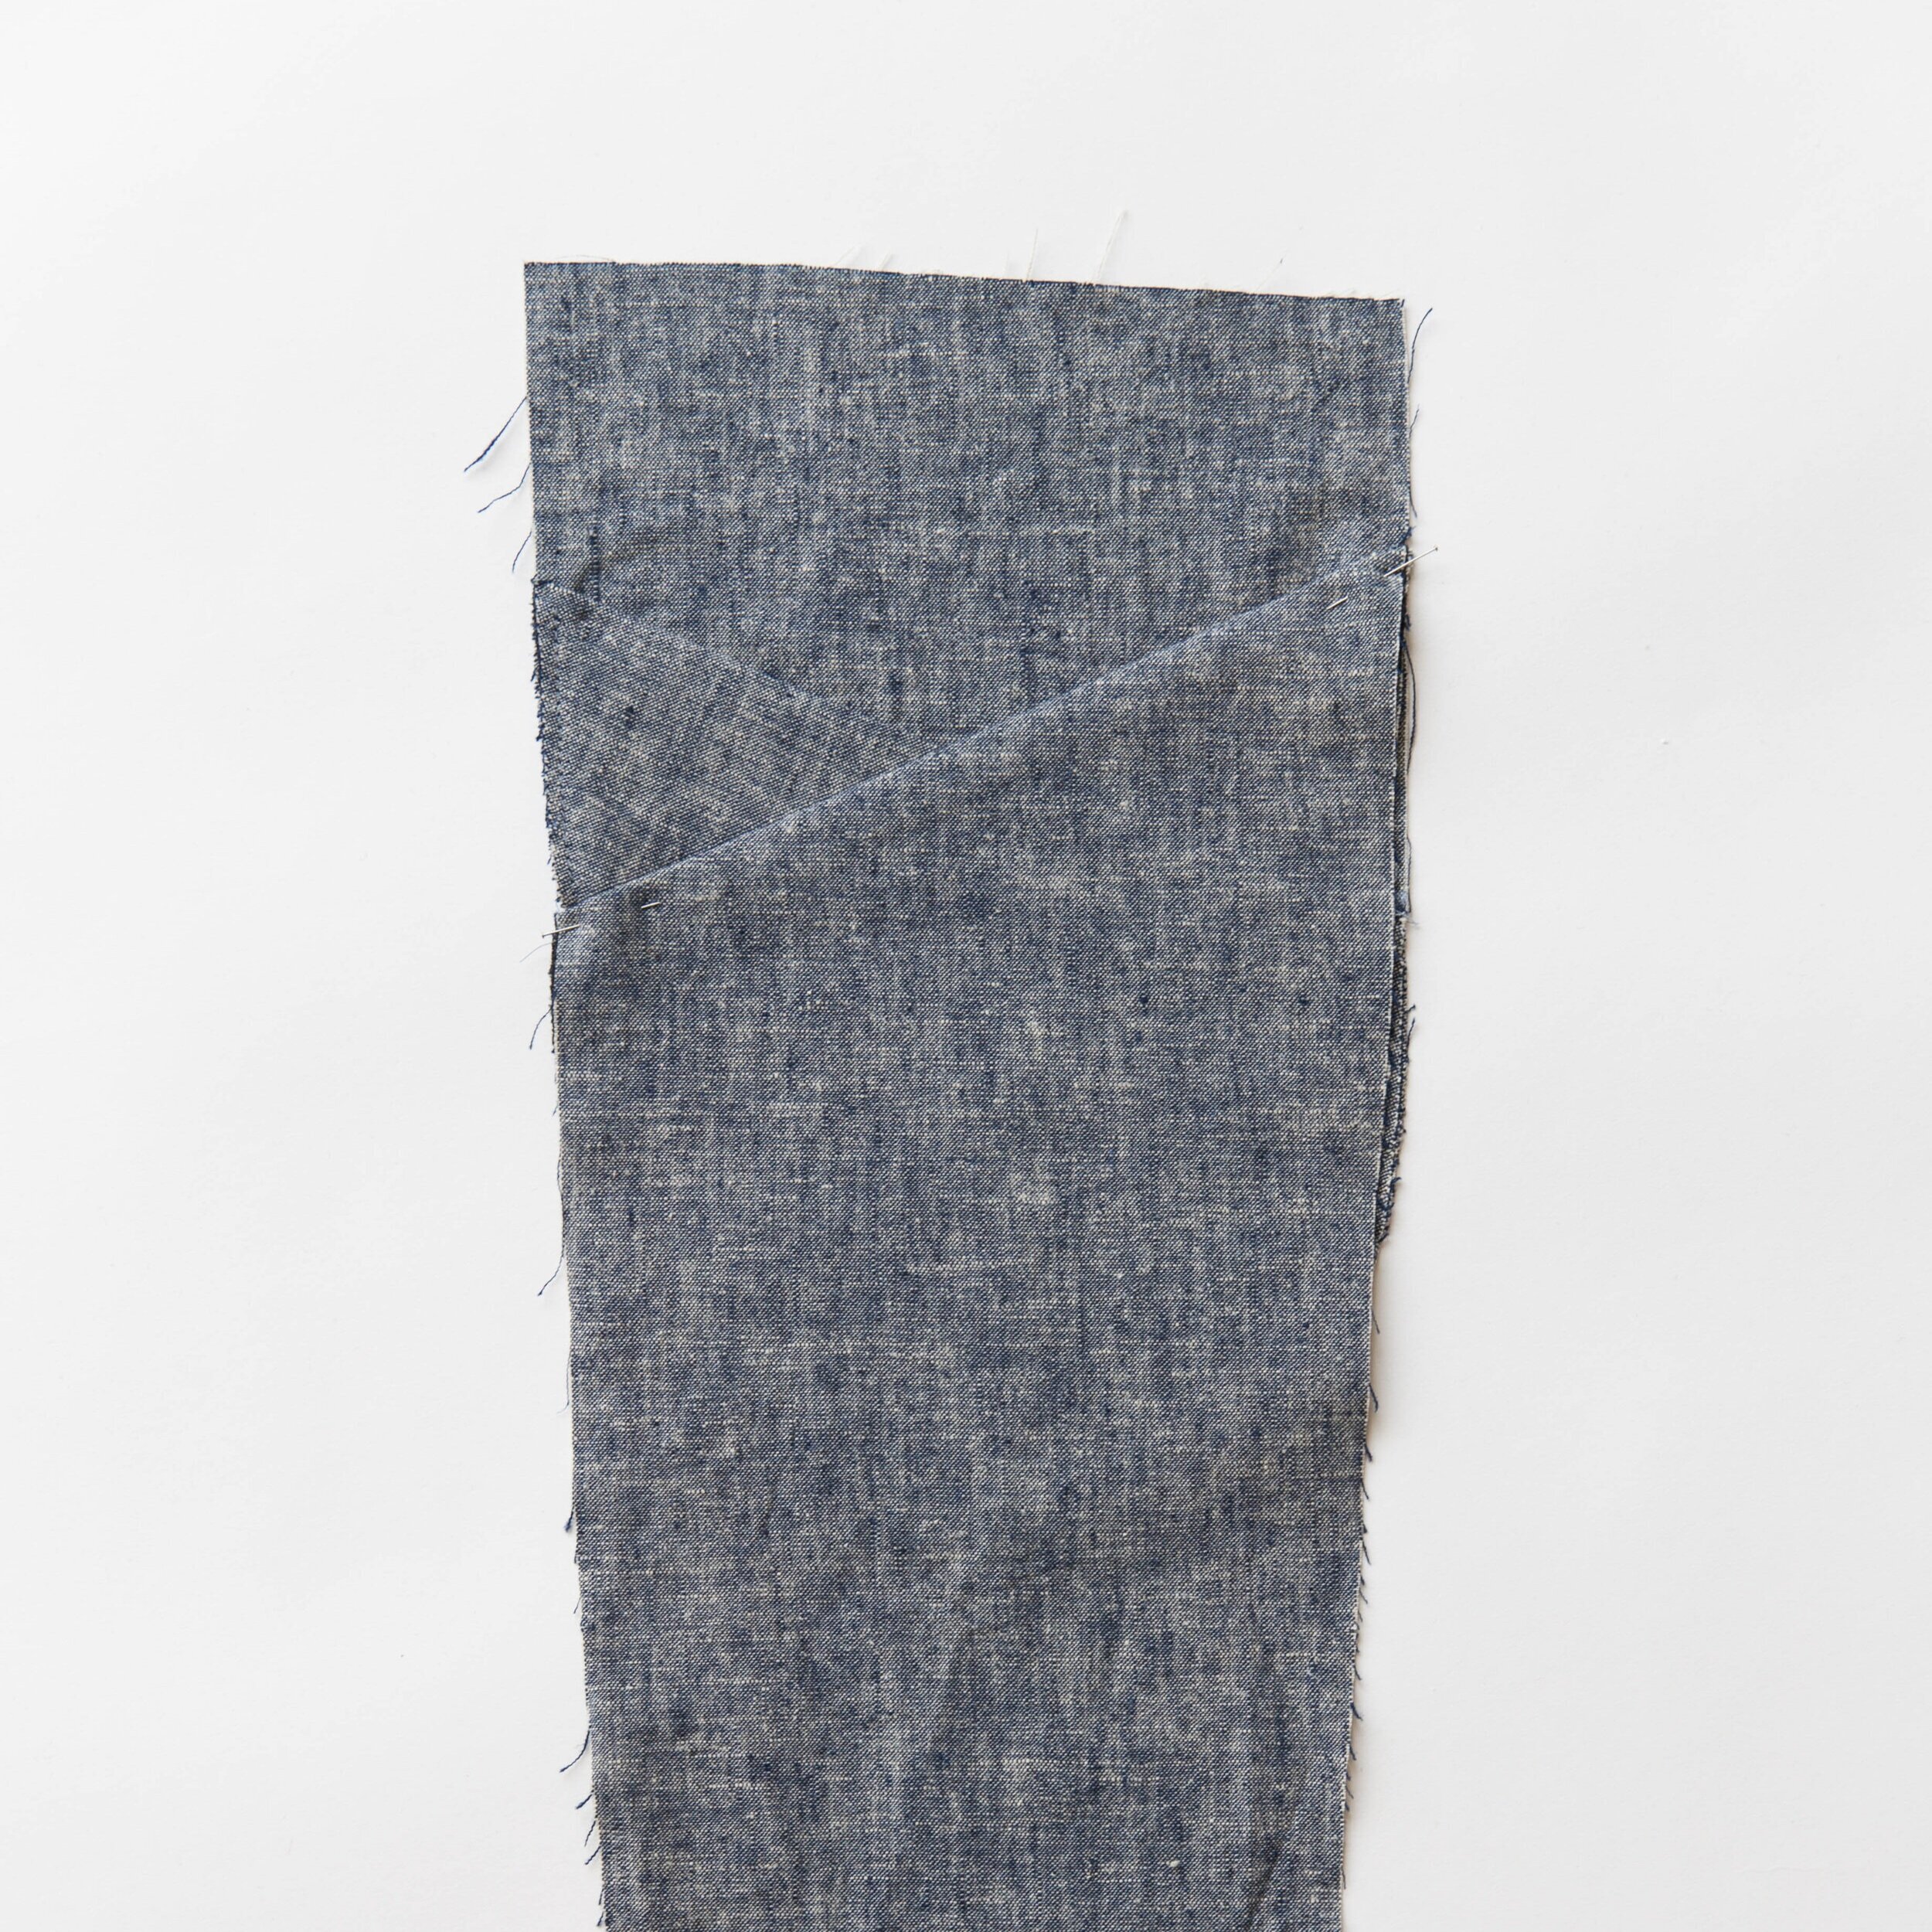
step 3
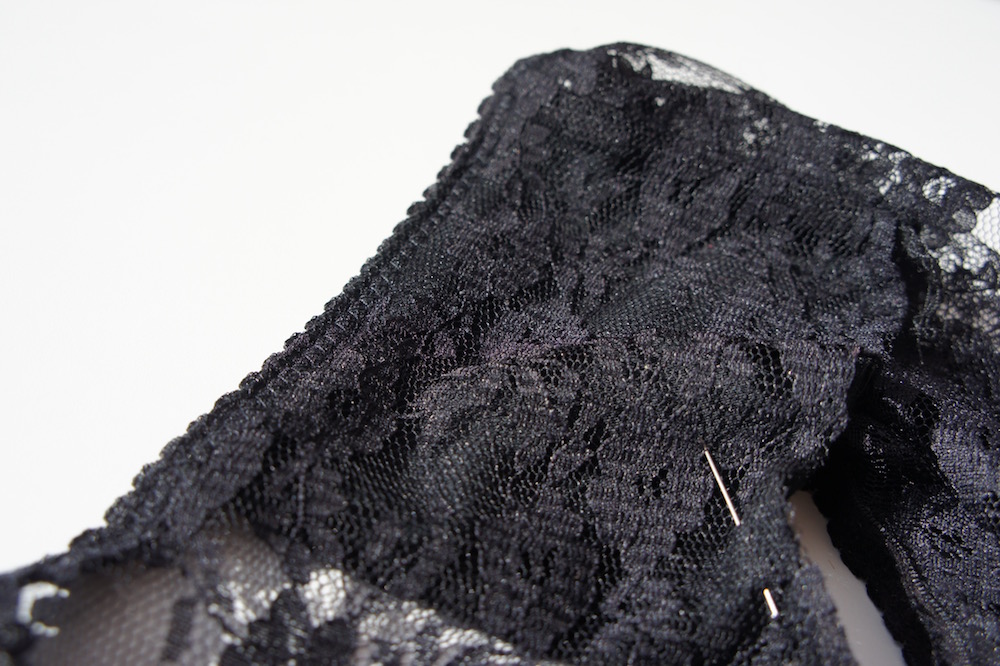
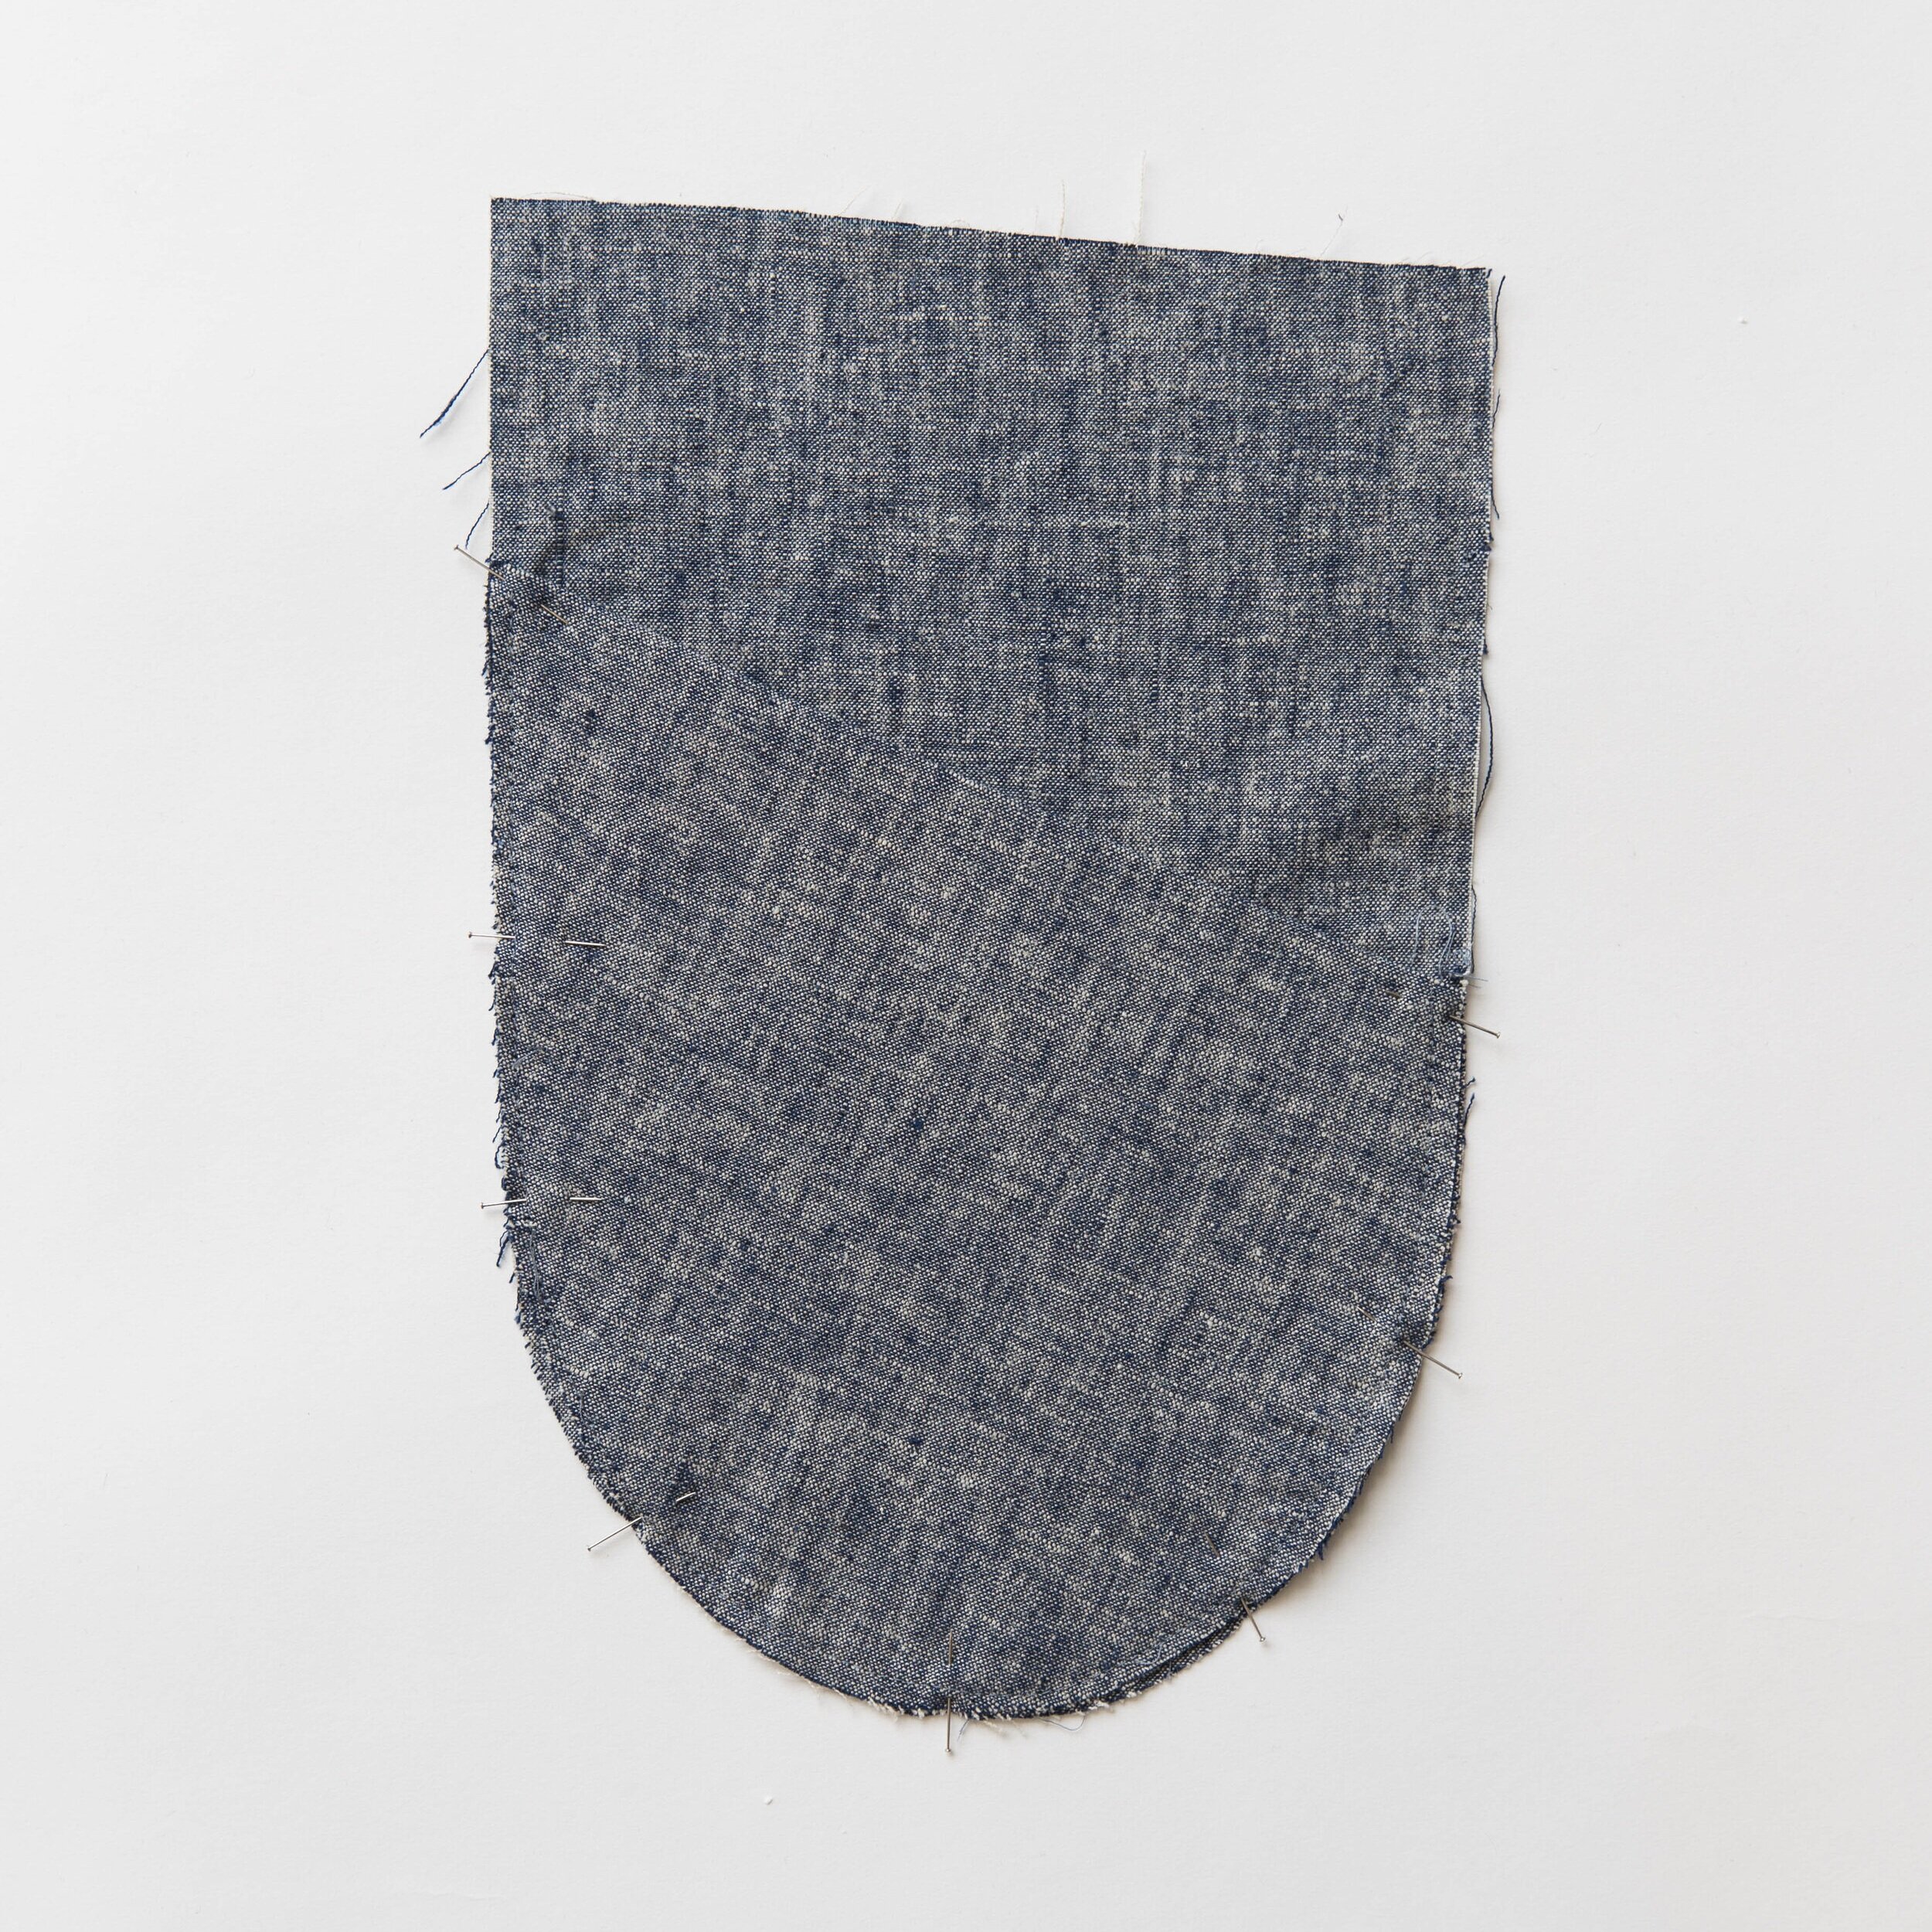
Place folded pocket bag B onto right side of Pocket bag A with top edge lining up with double notch, and lower edge lining up with lower single notch. Baste together around edge.

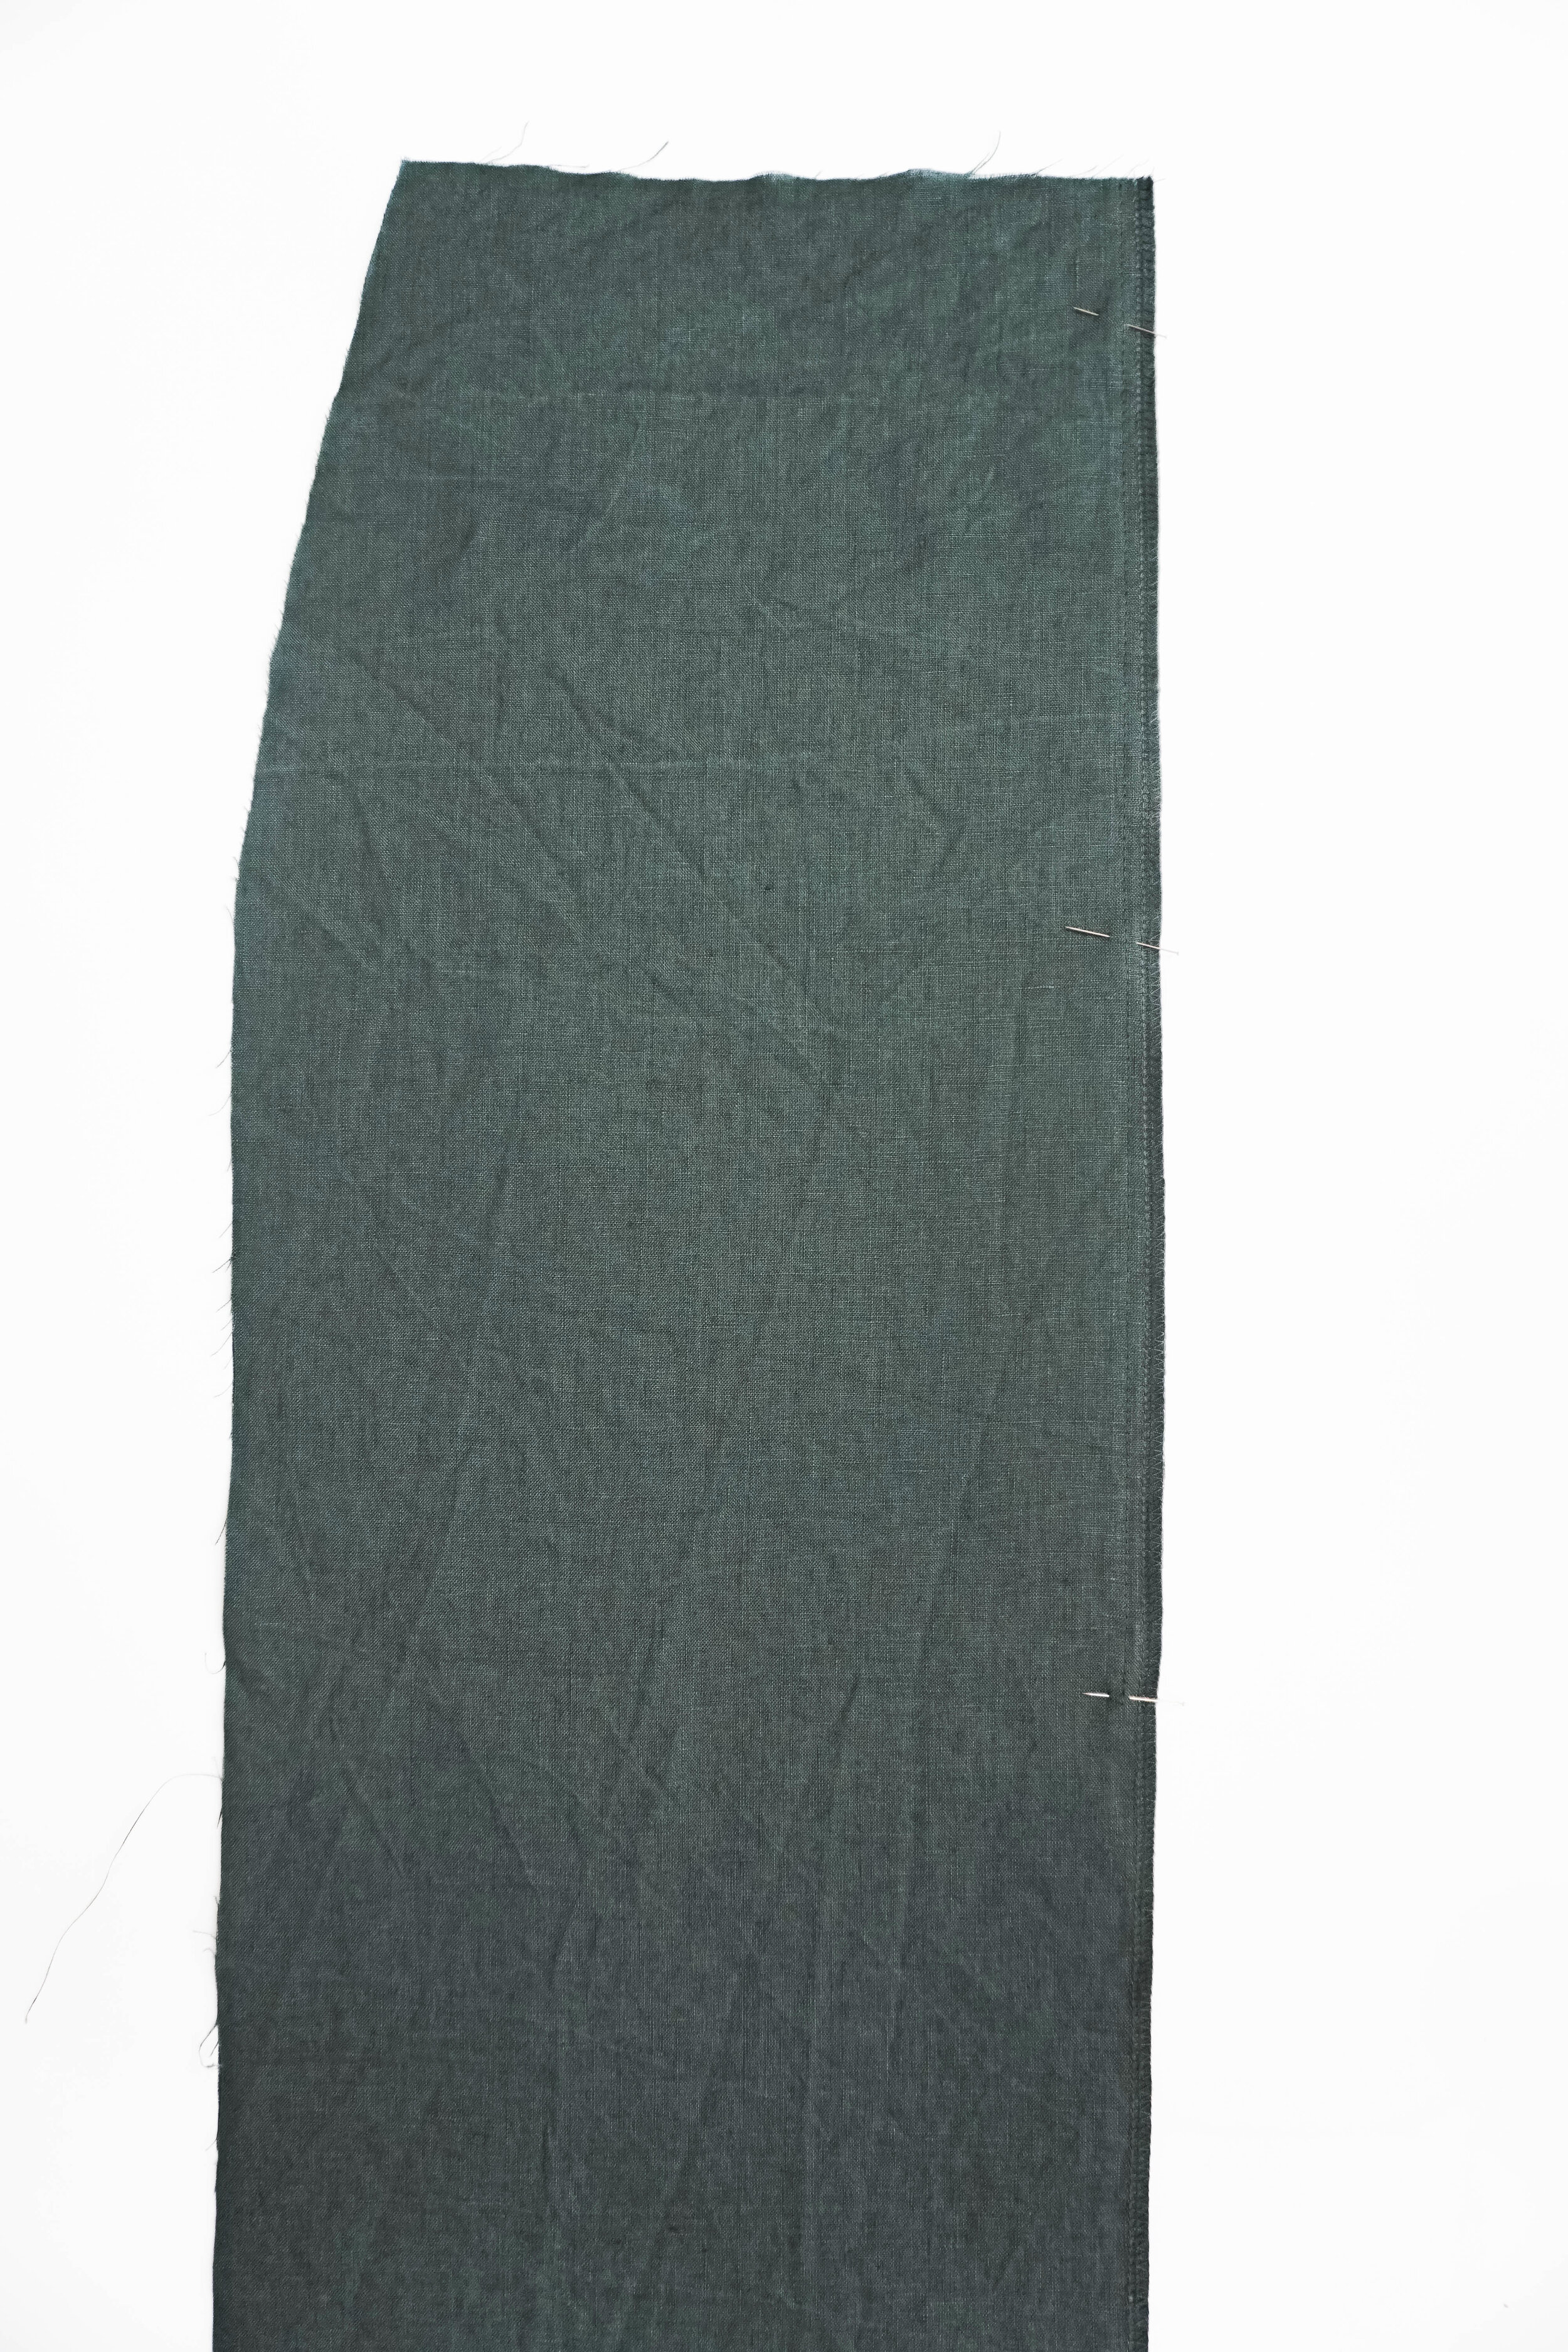
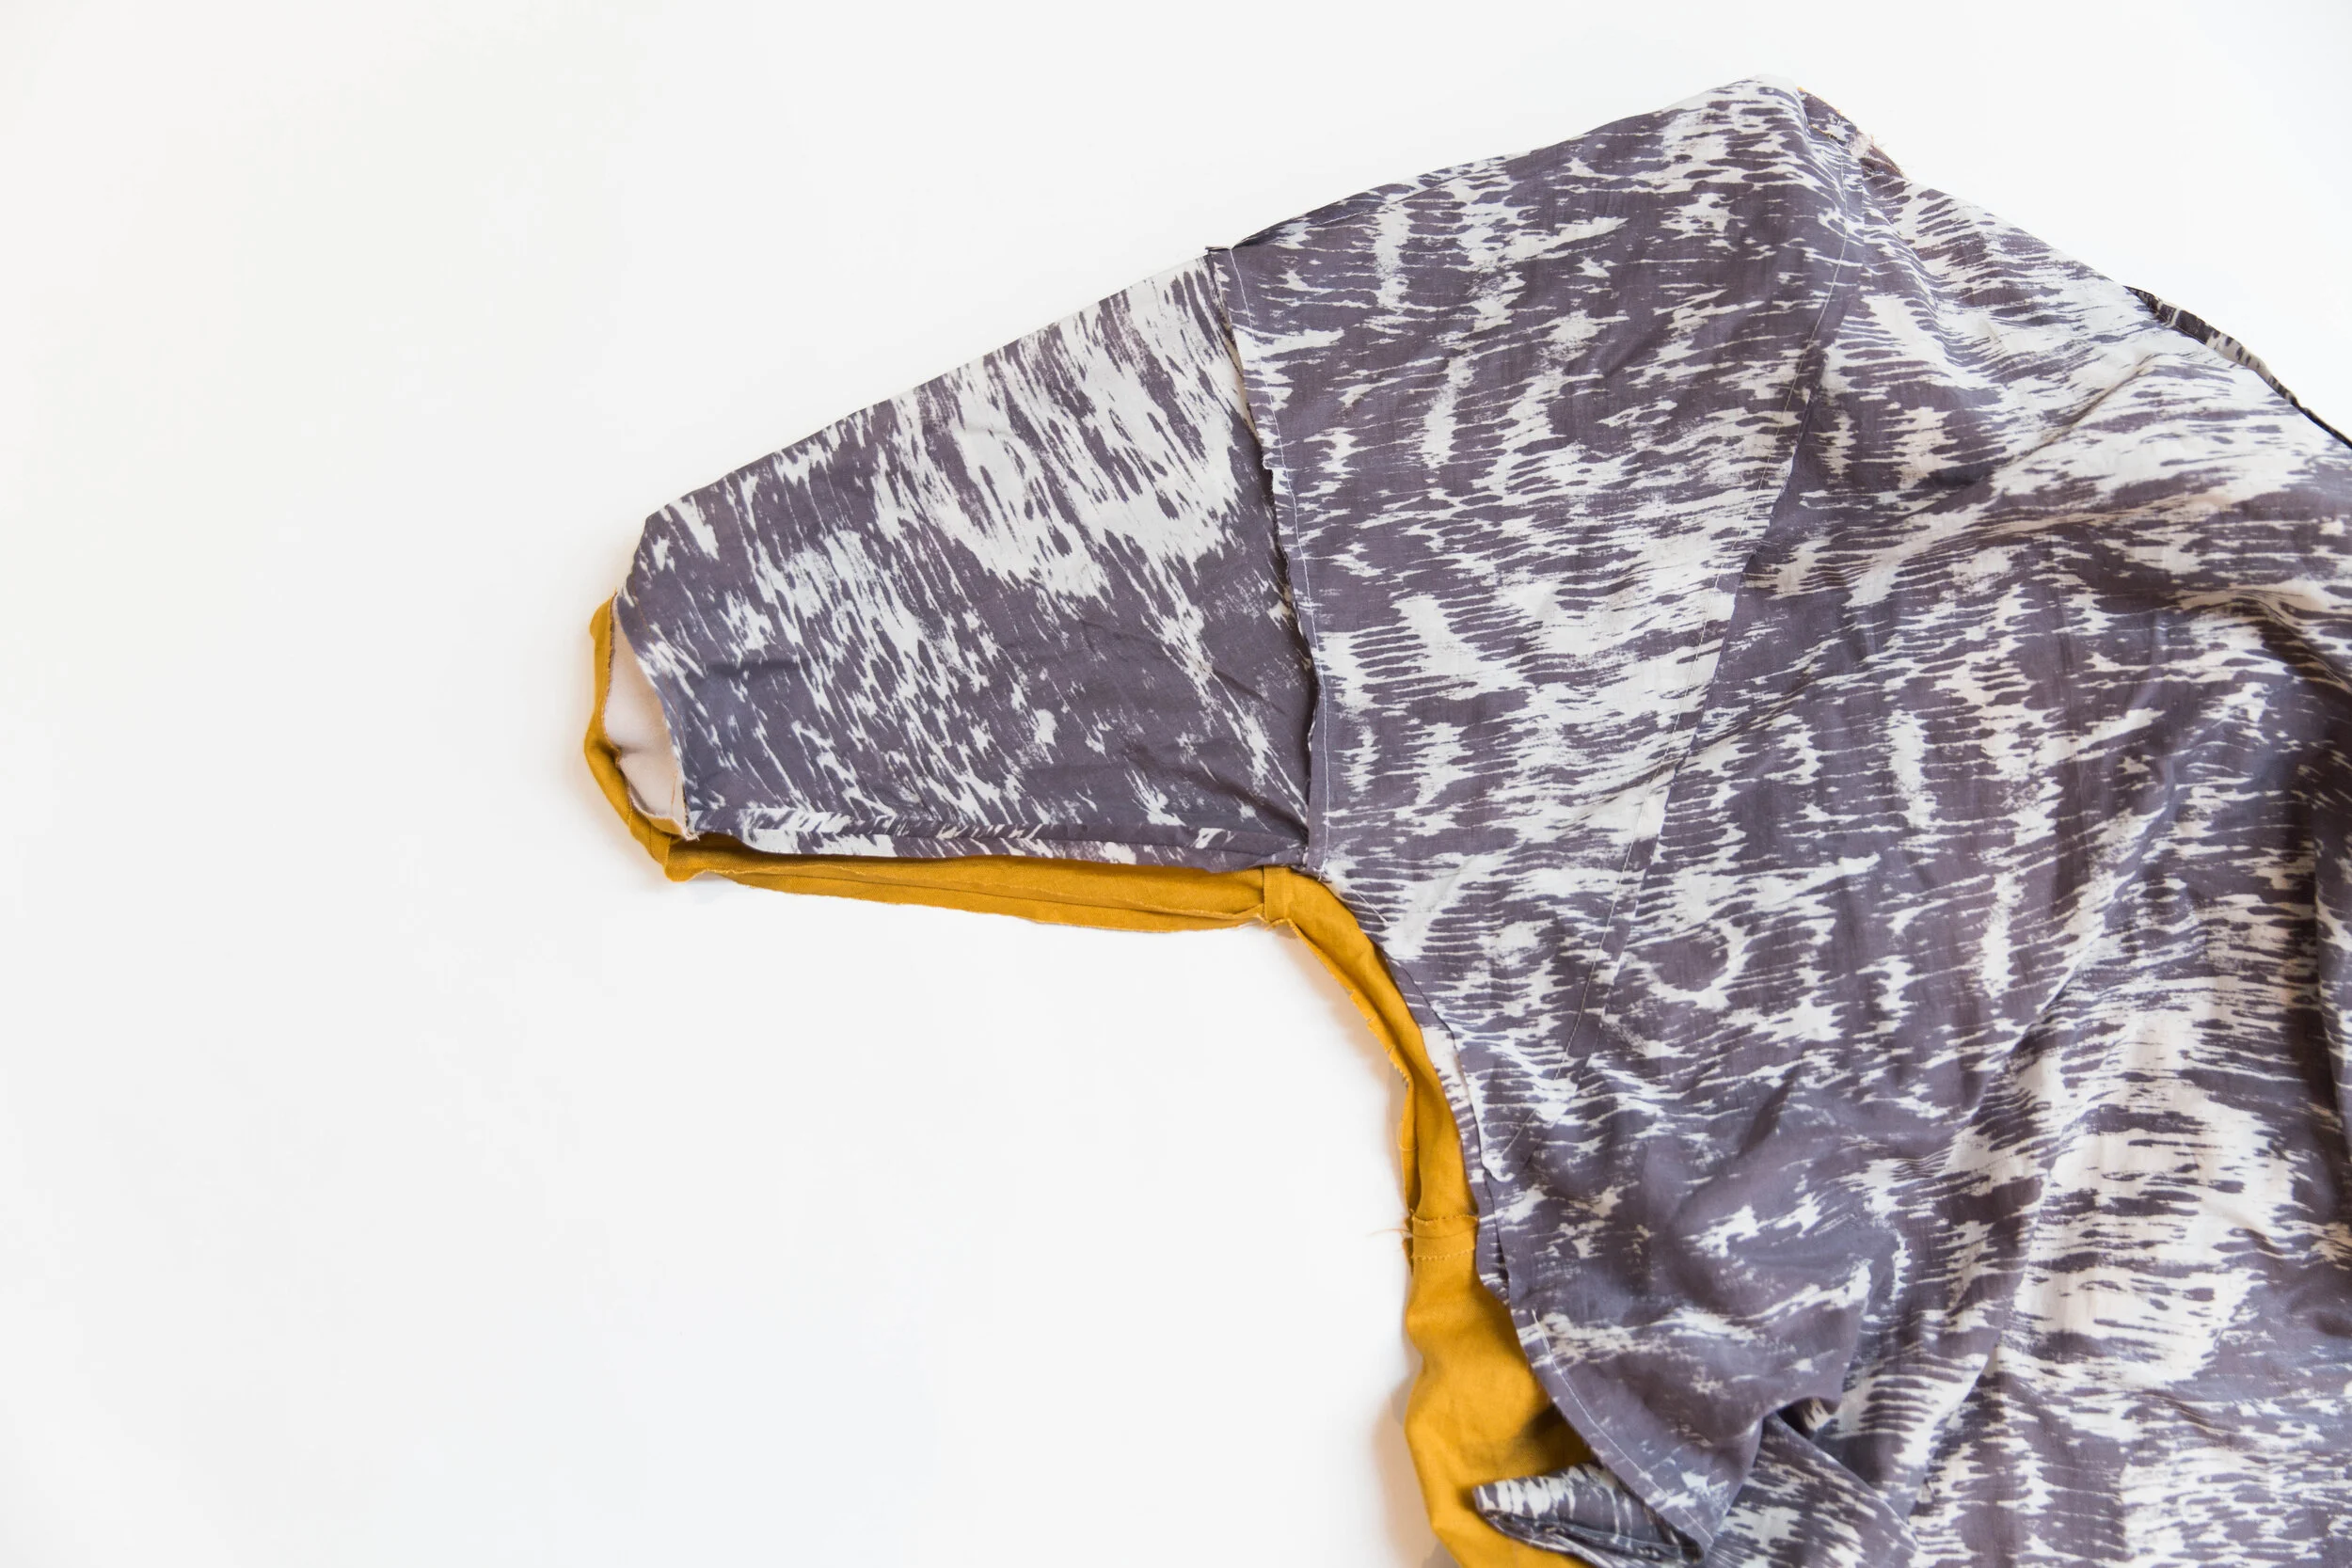
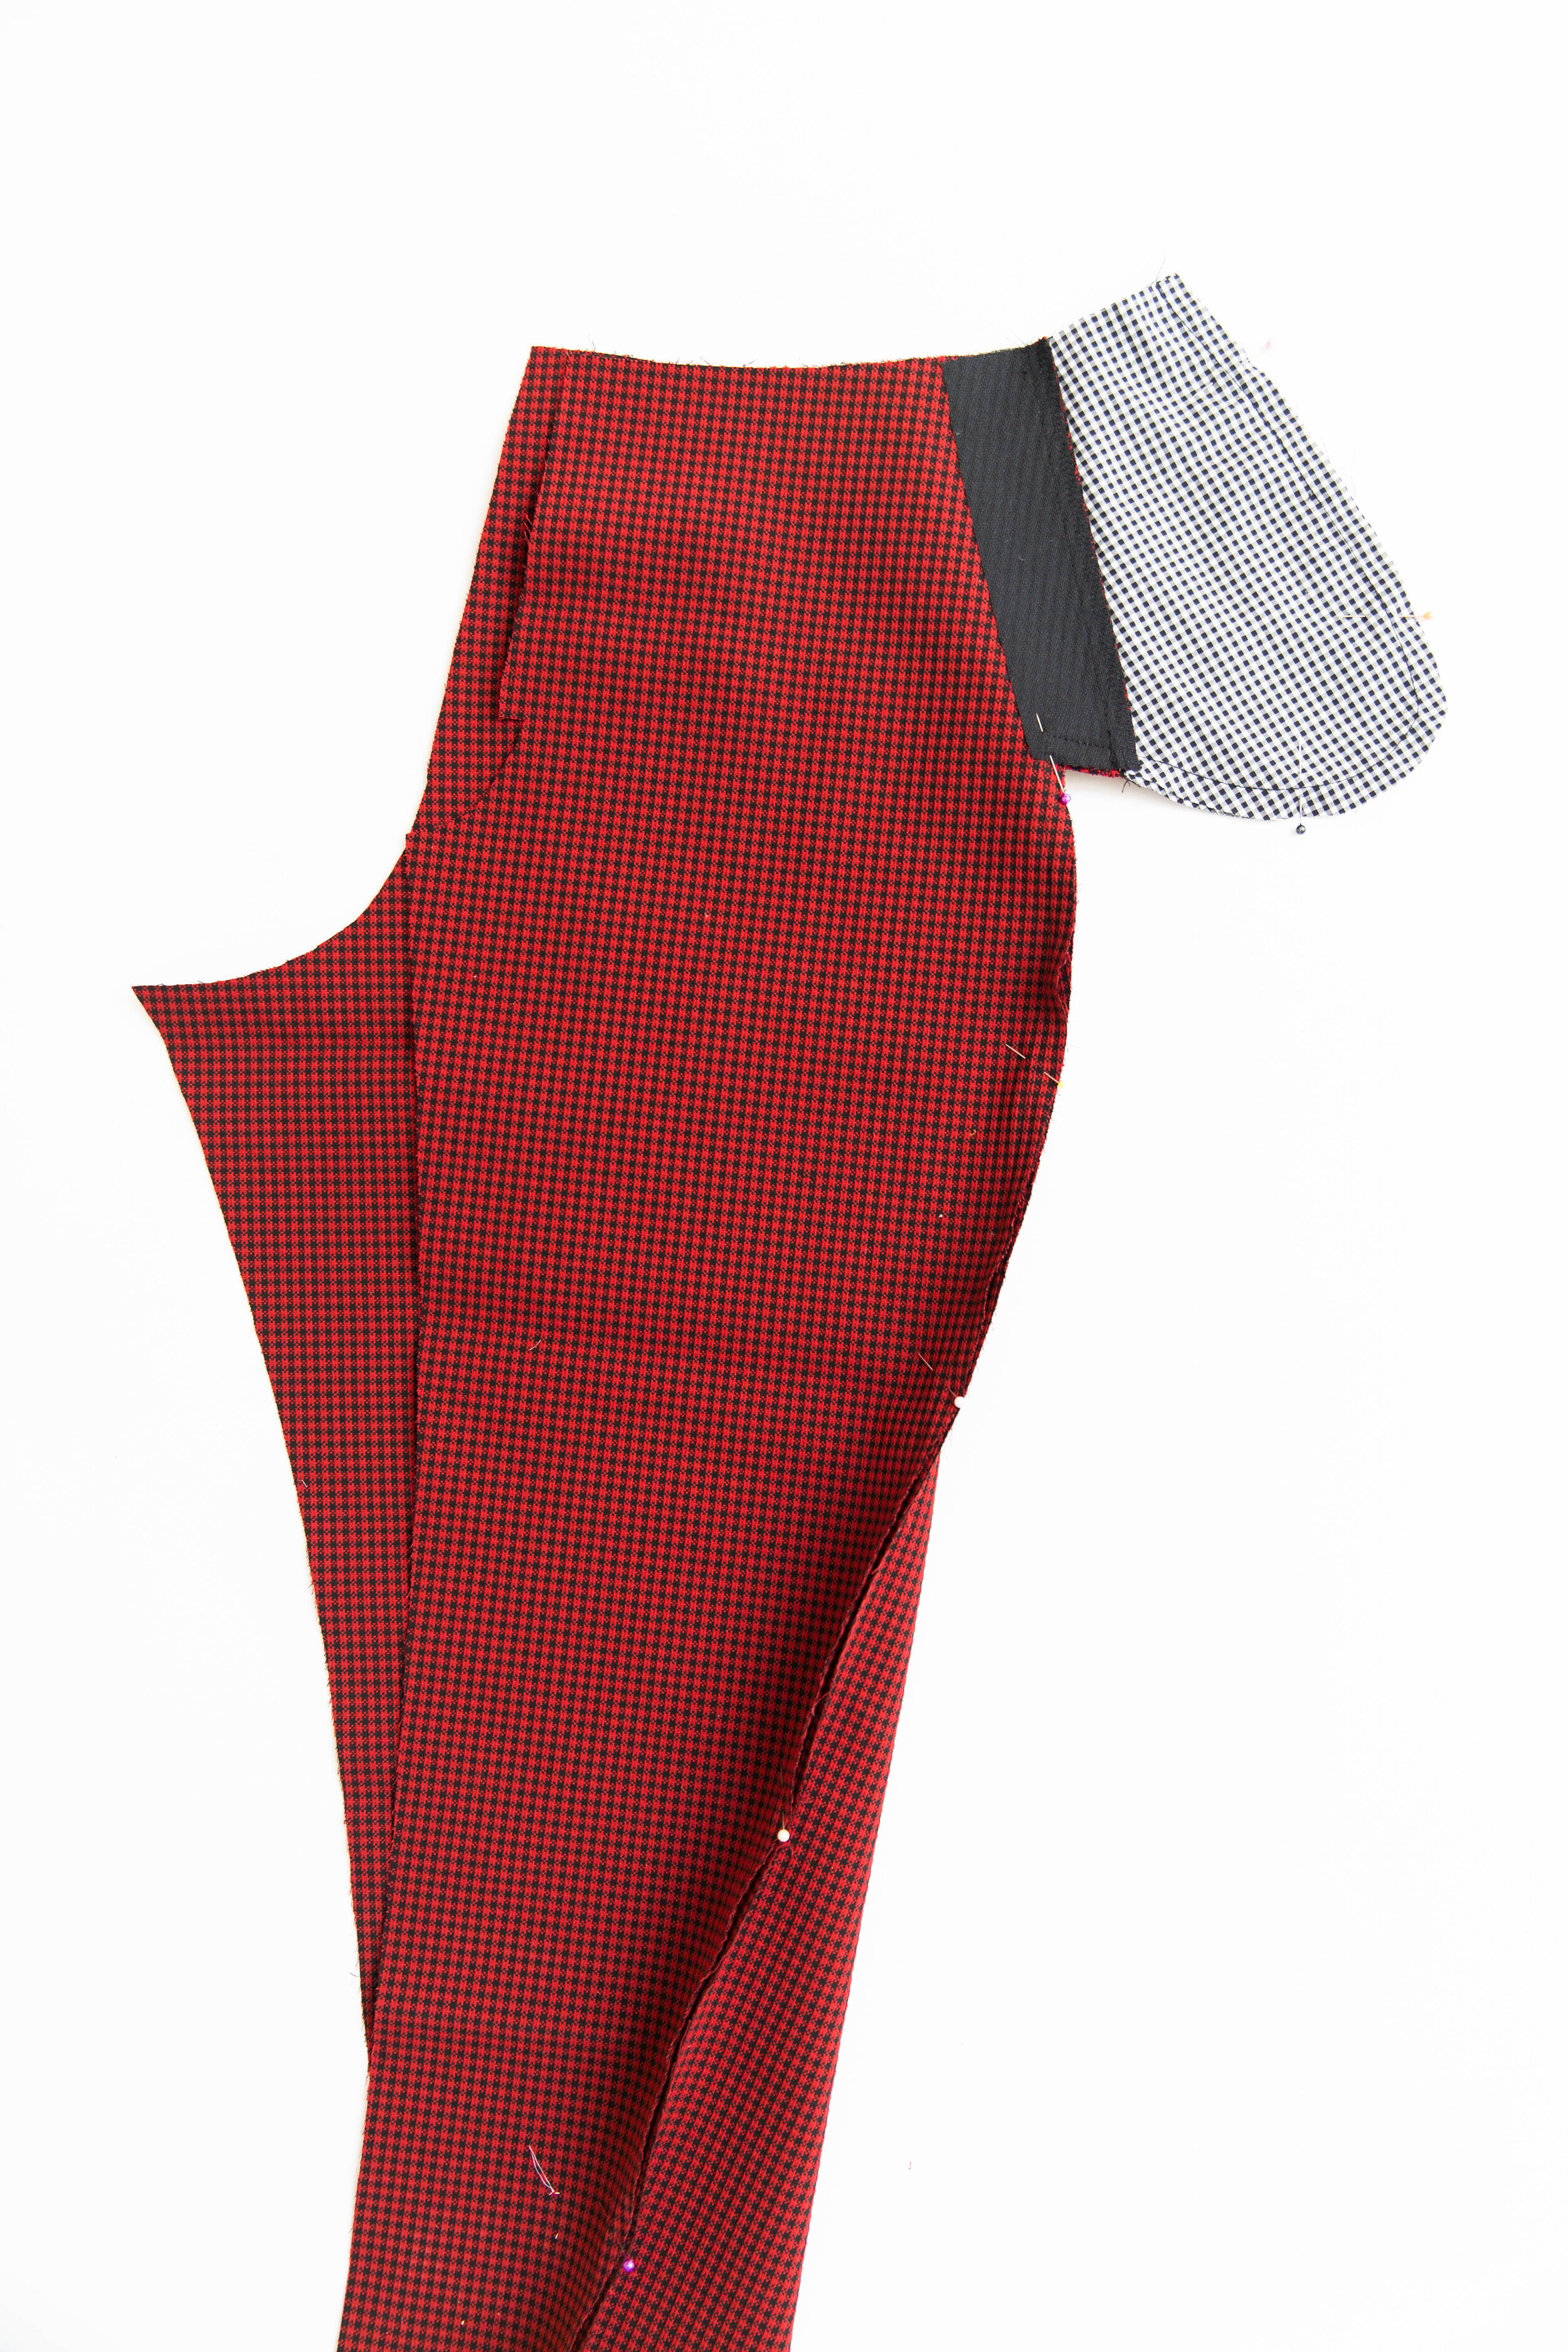
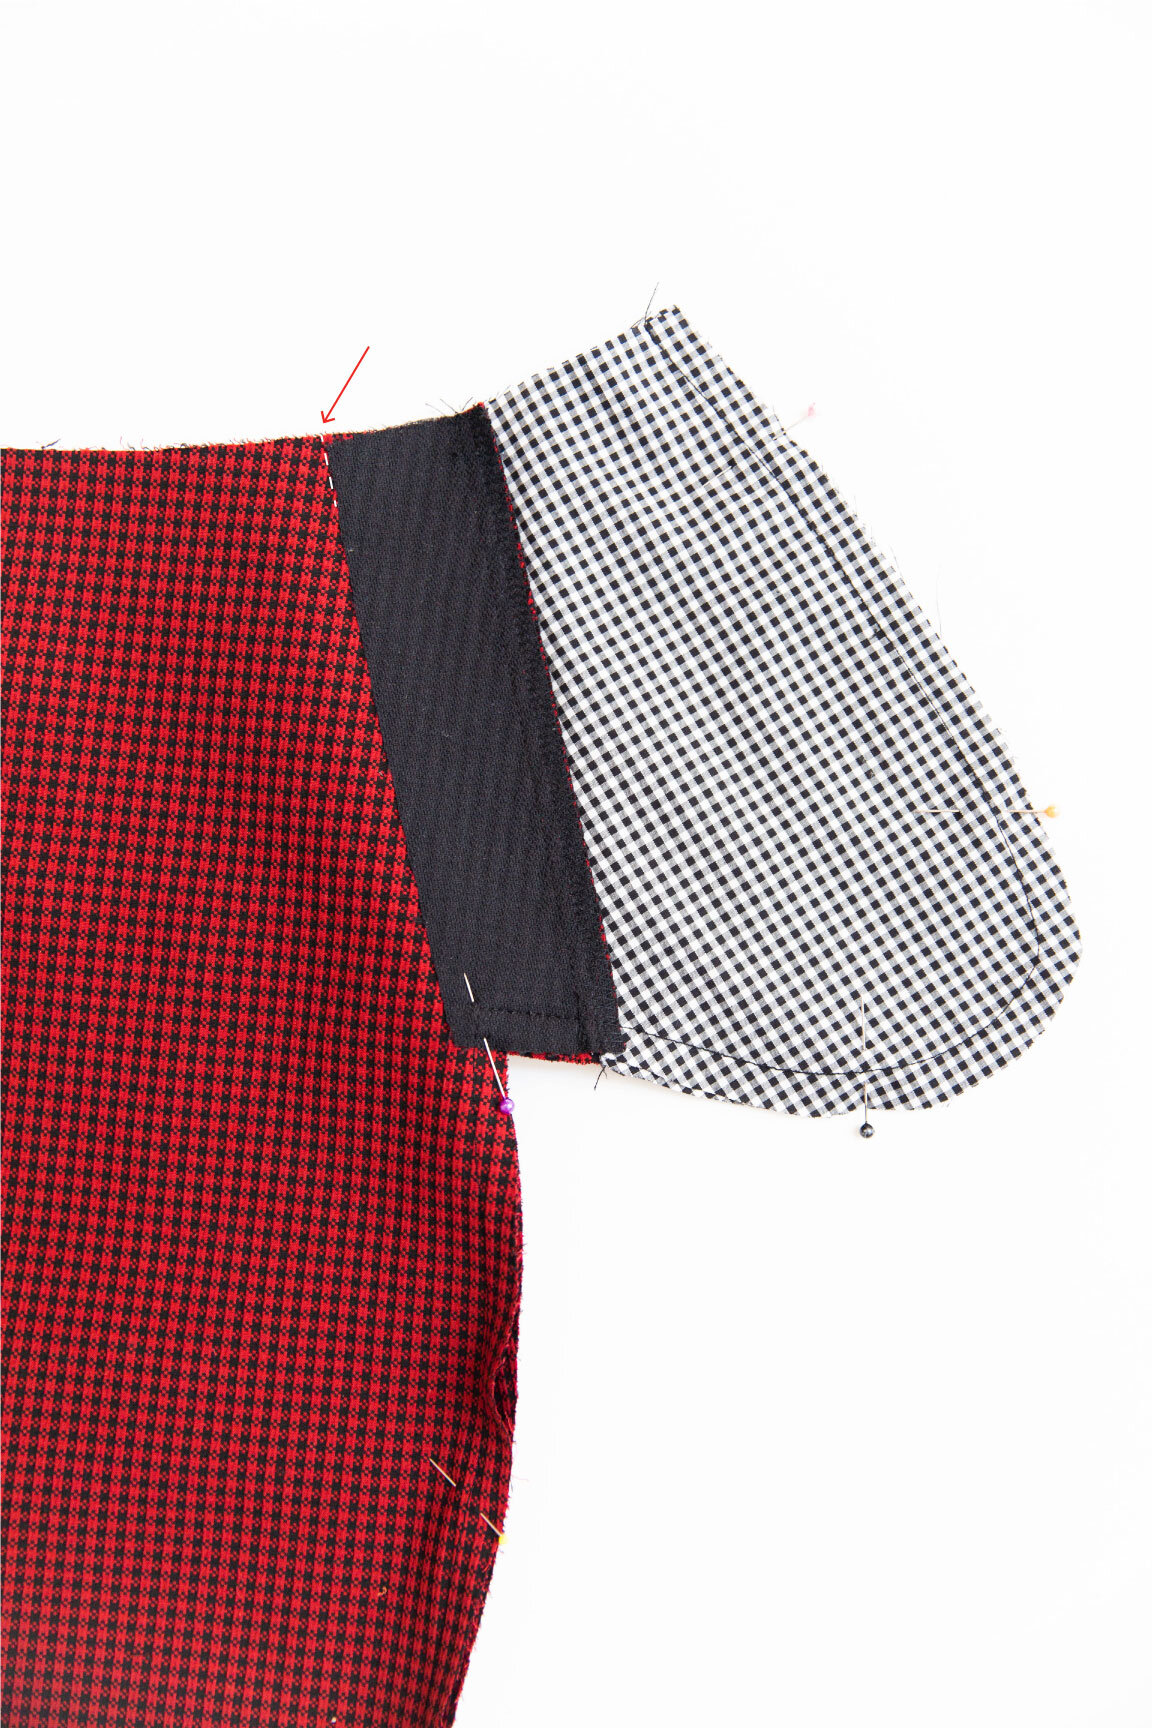
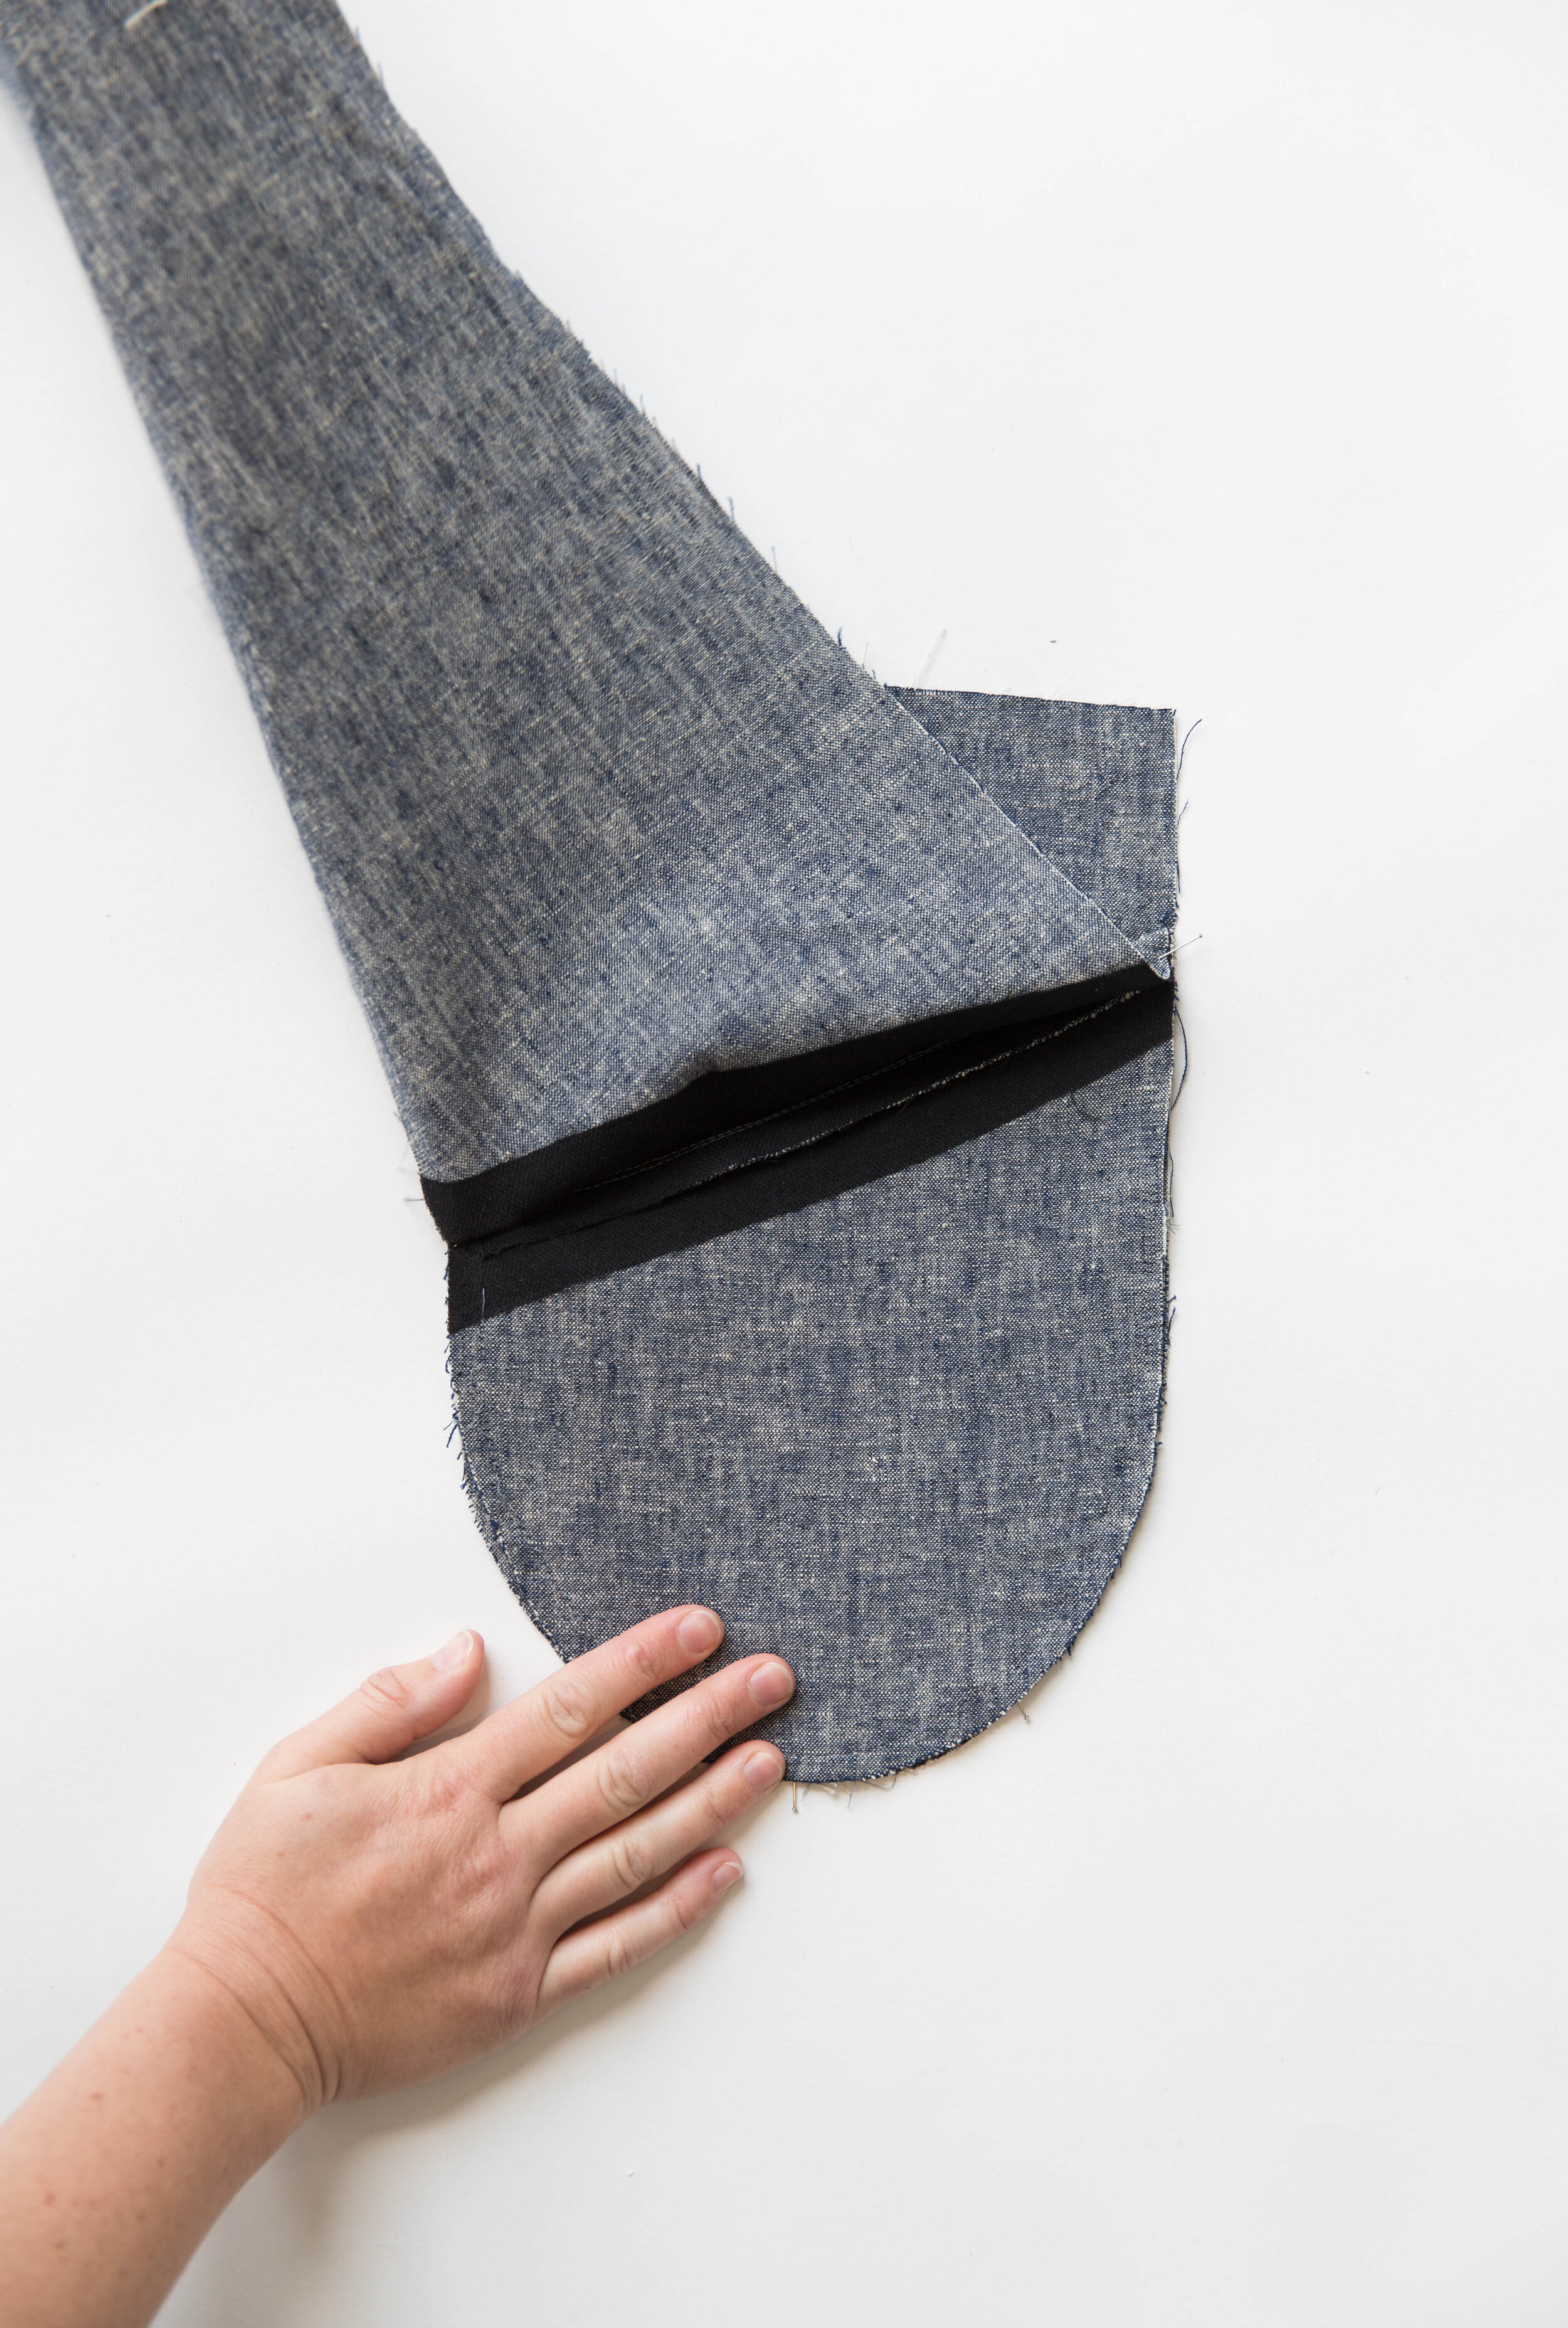
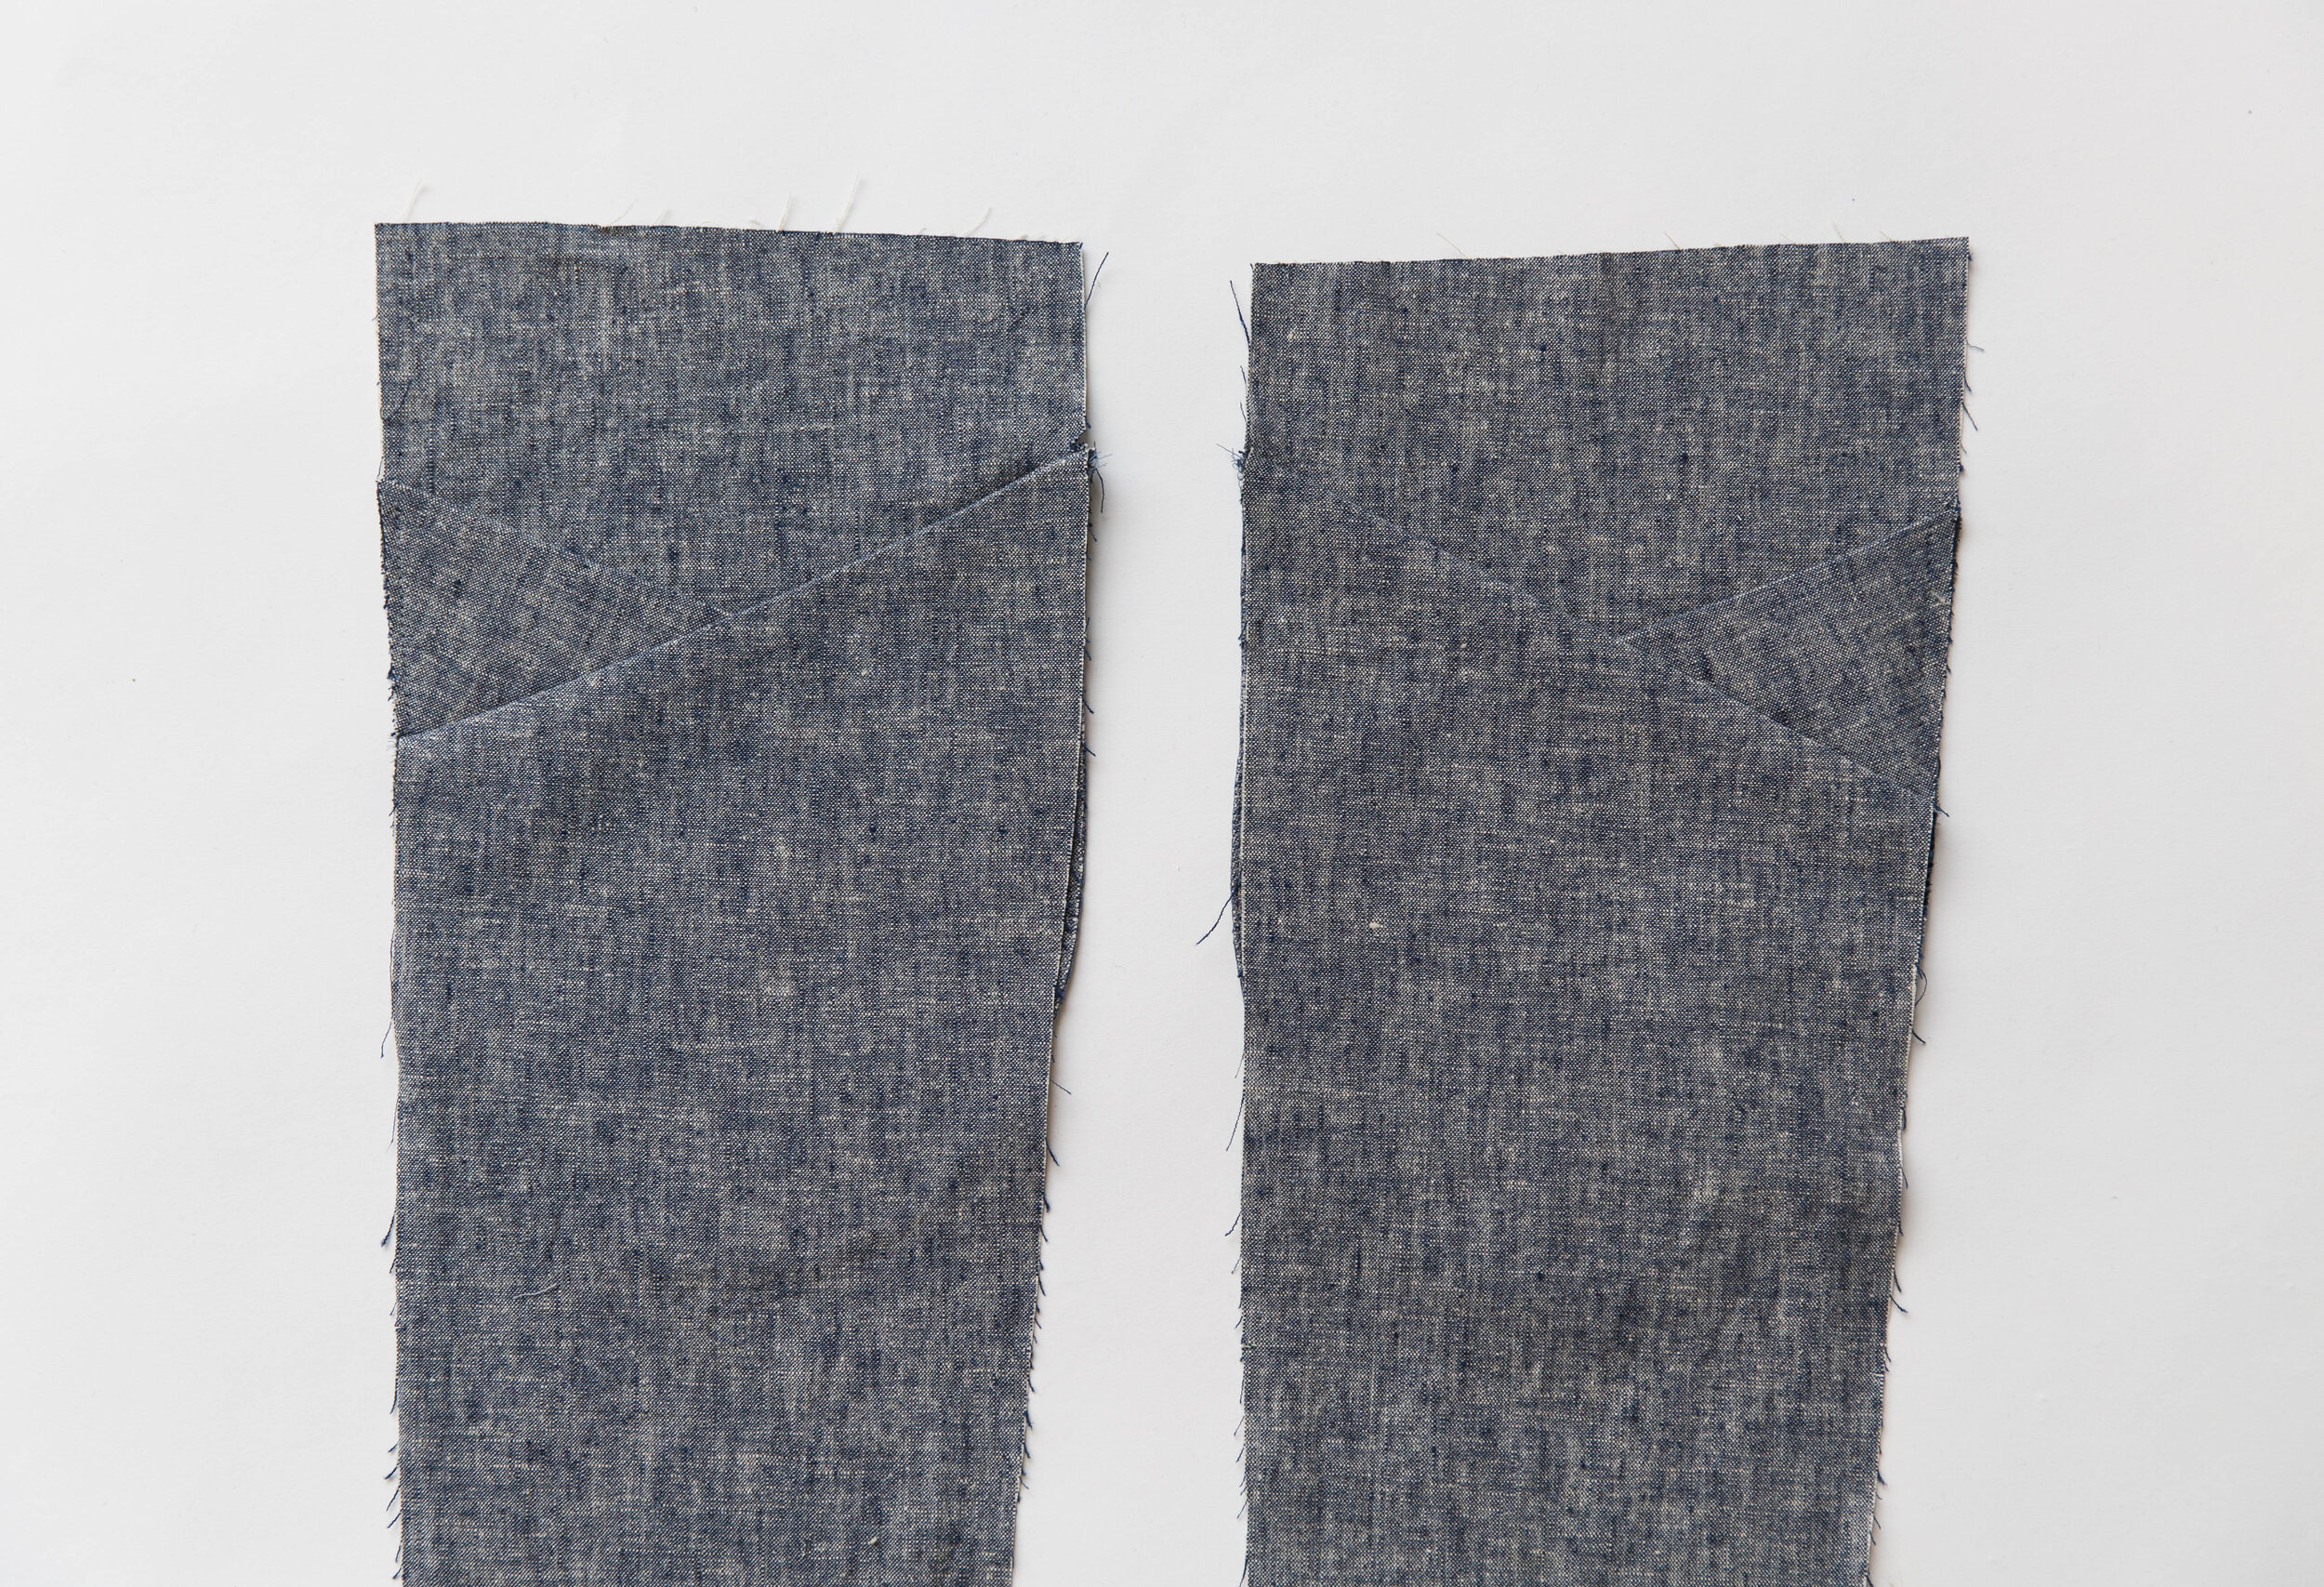
step 4
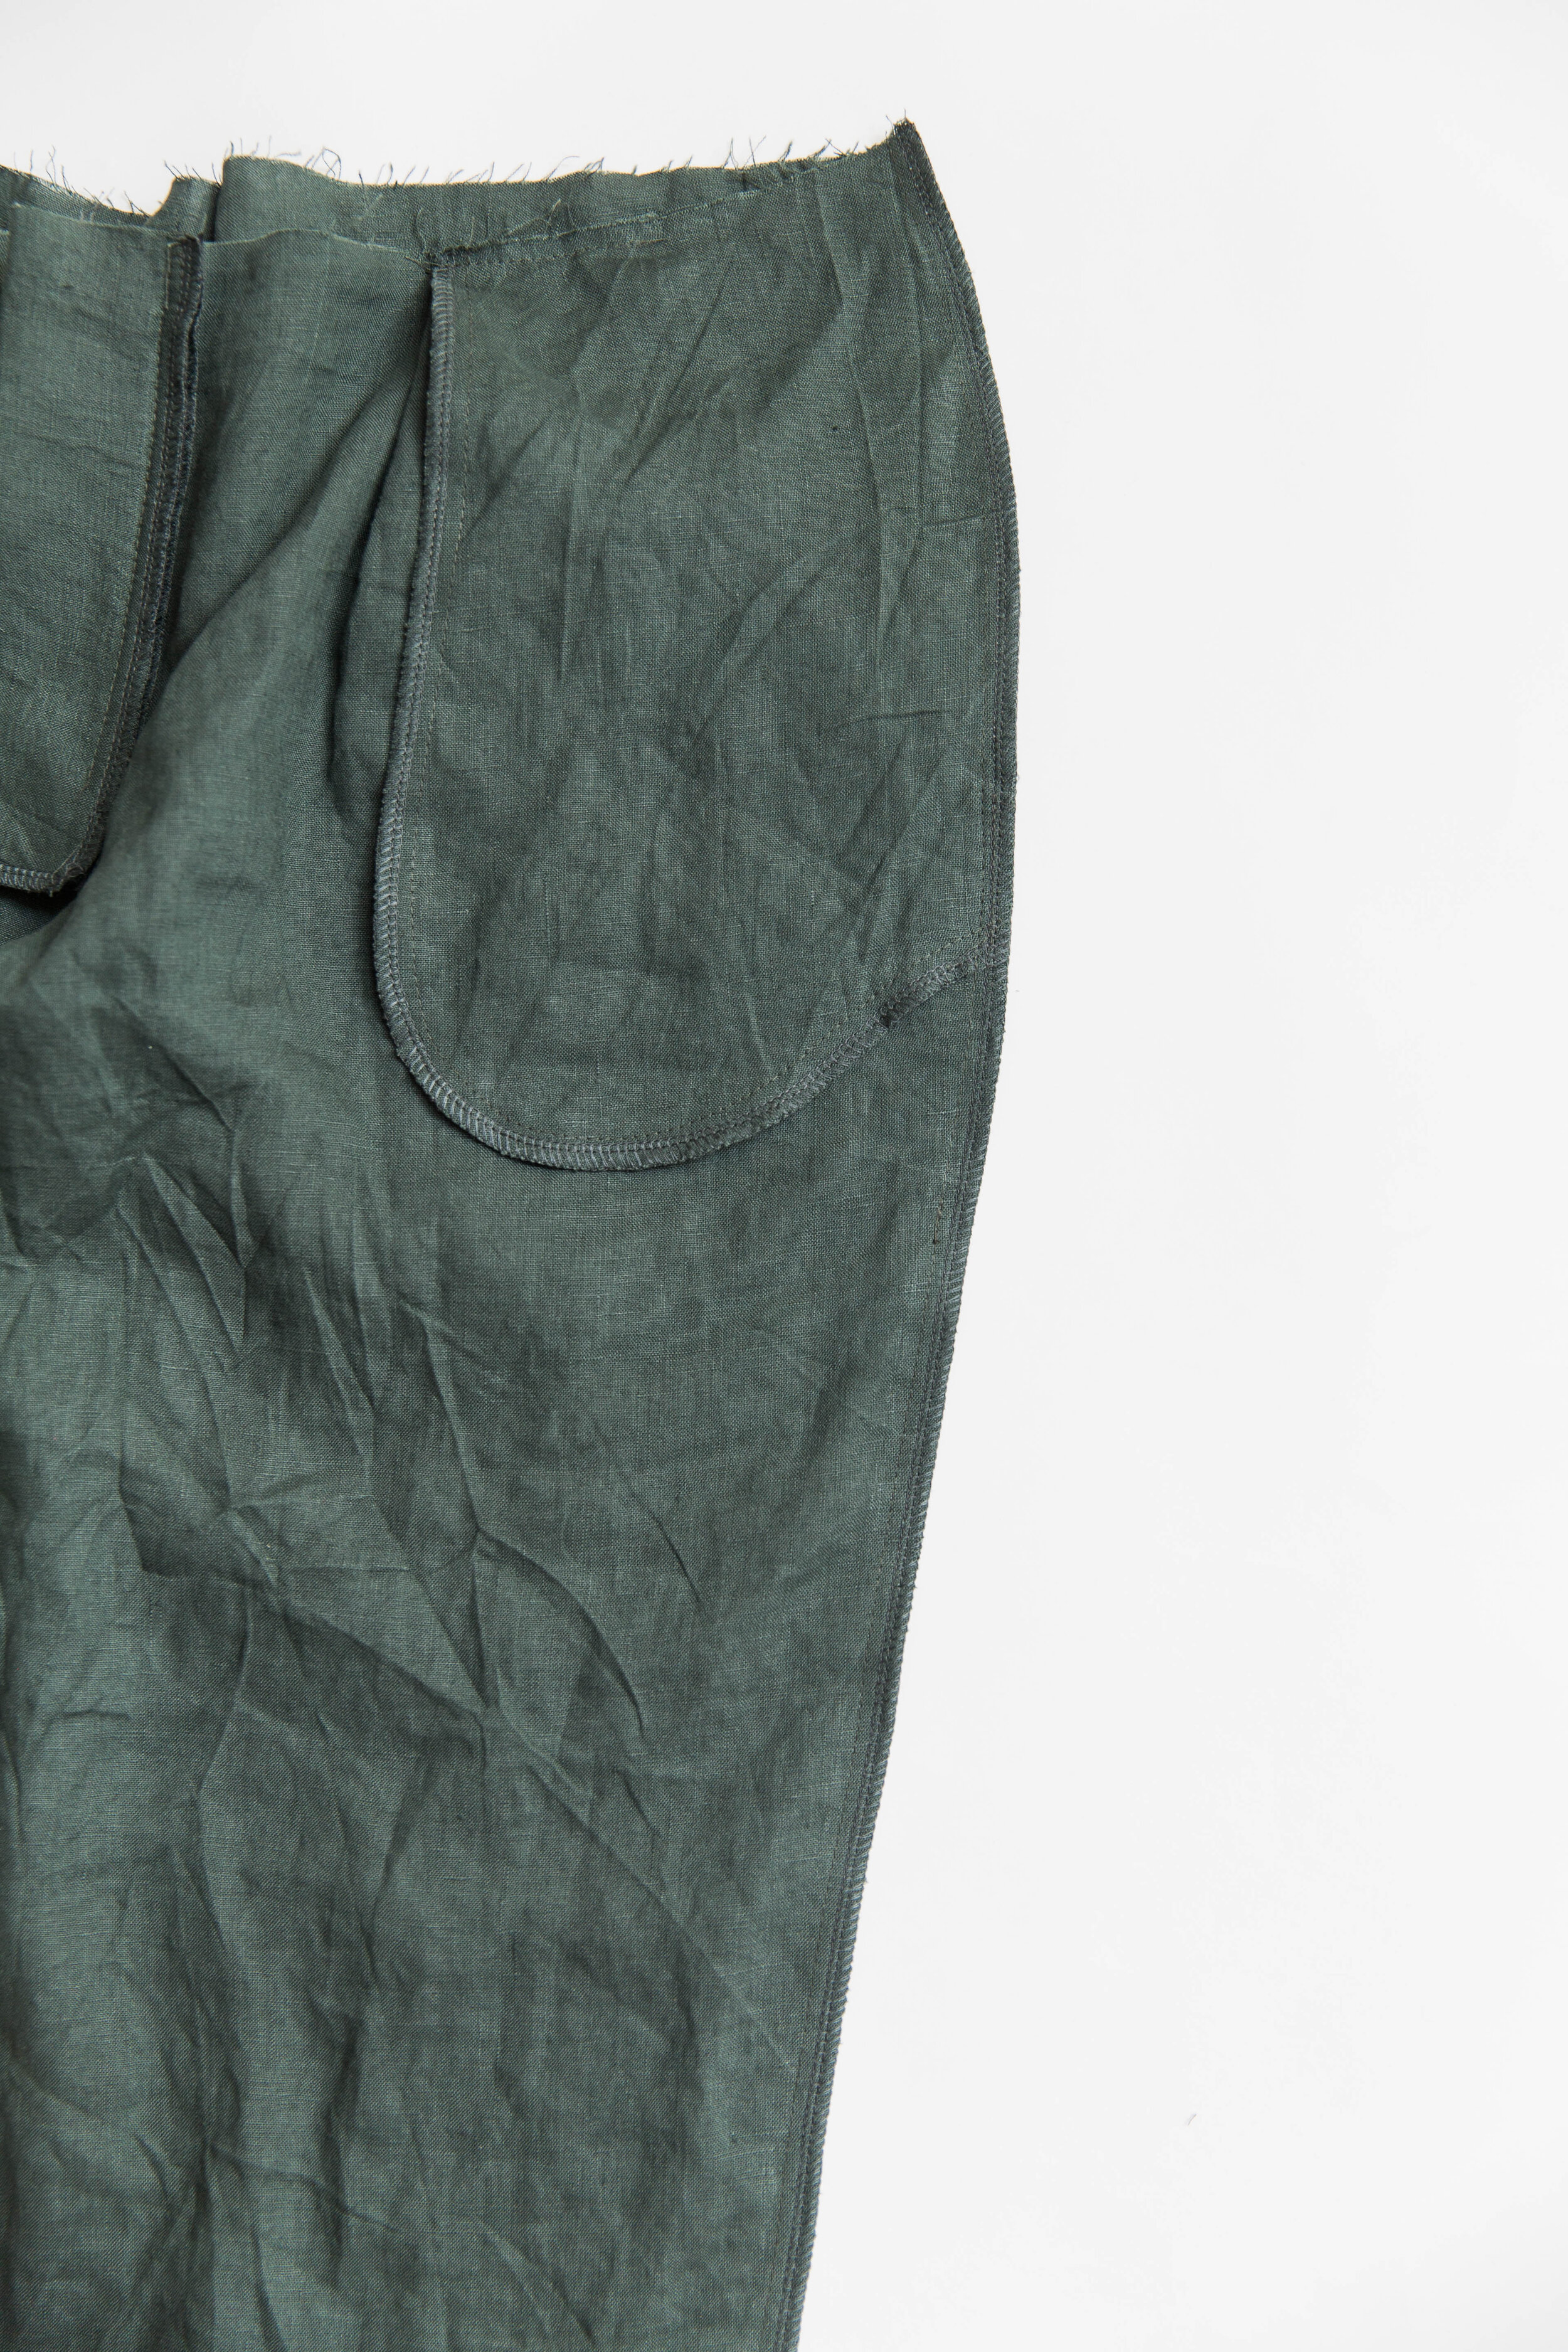
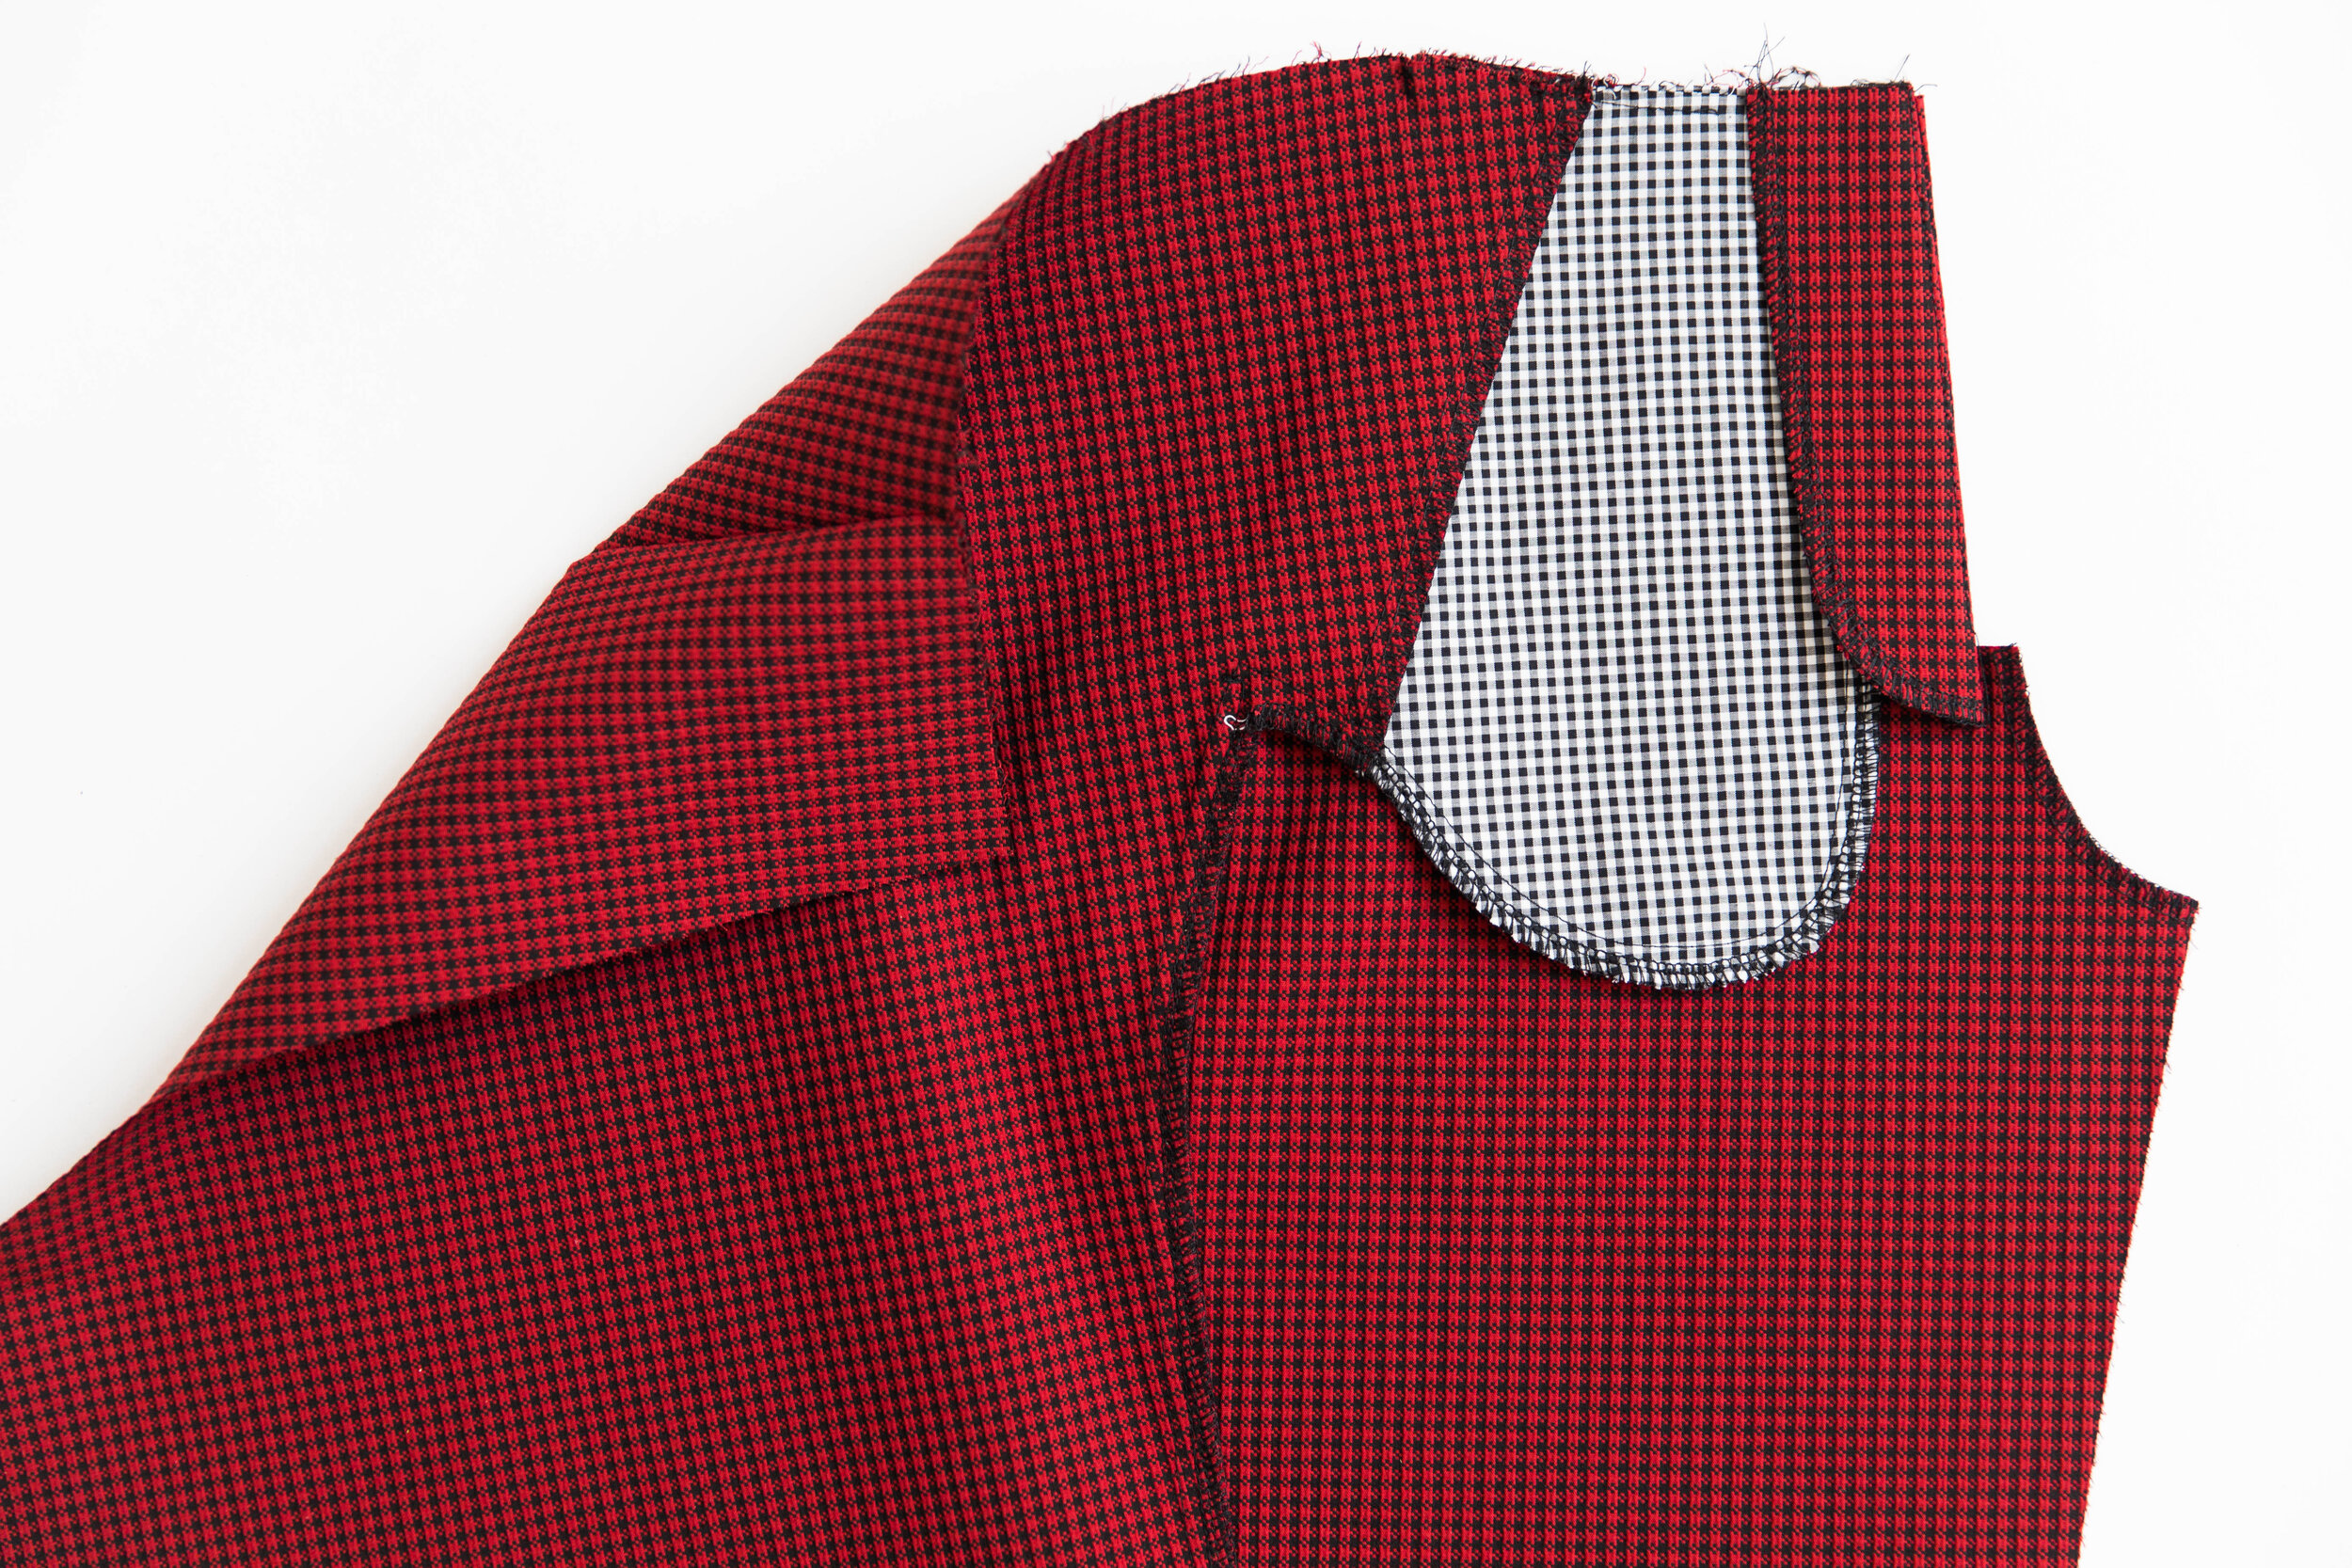
Pin pocket facing onto top edge of side leg panel with right sides facing. Stitch together. Understitch seam allowance toward pocket facing. Fold pocket facing over to the wrong side of side leg panel. Press edge.
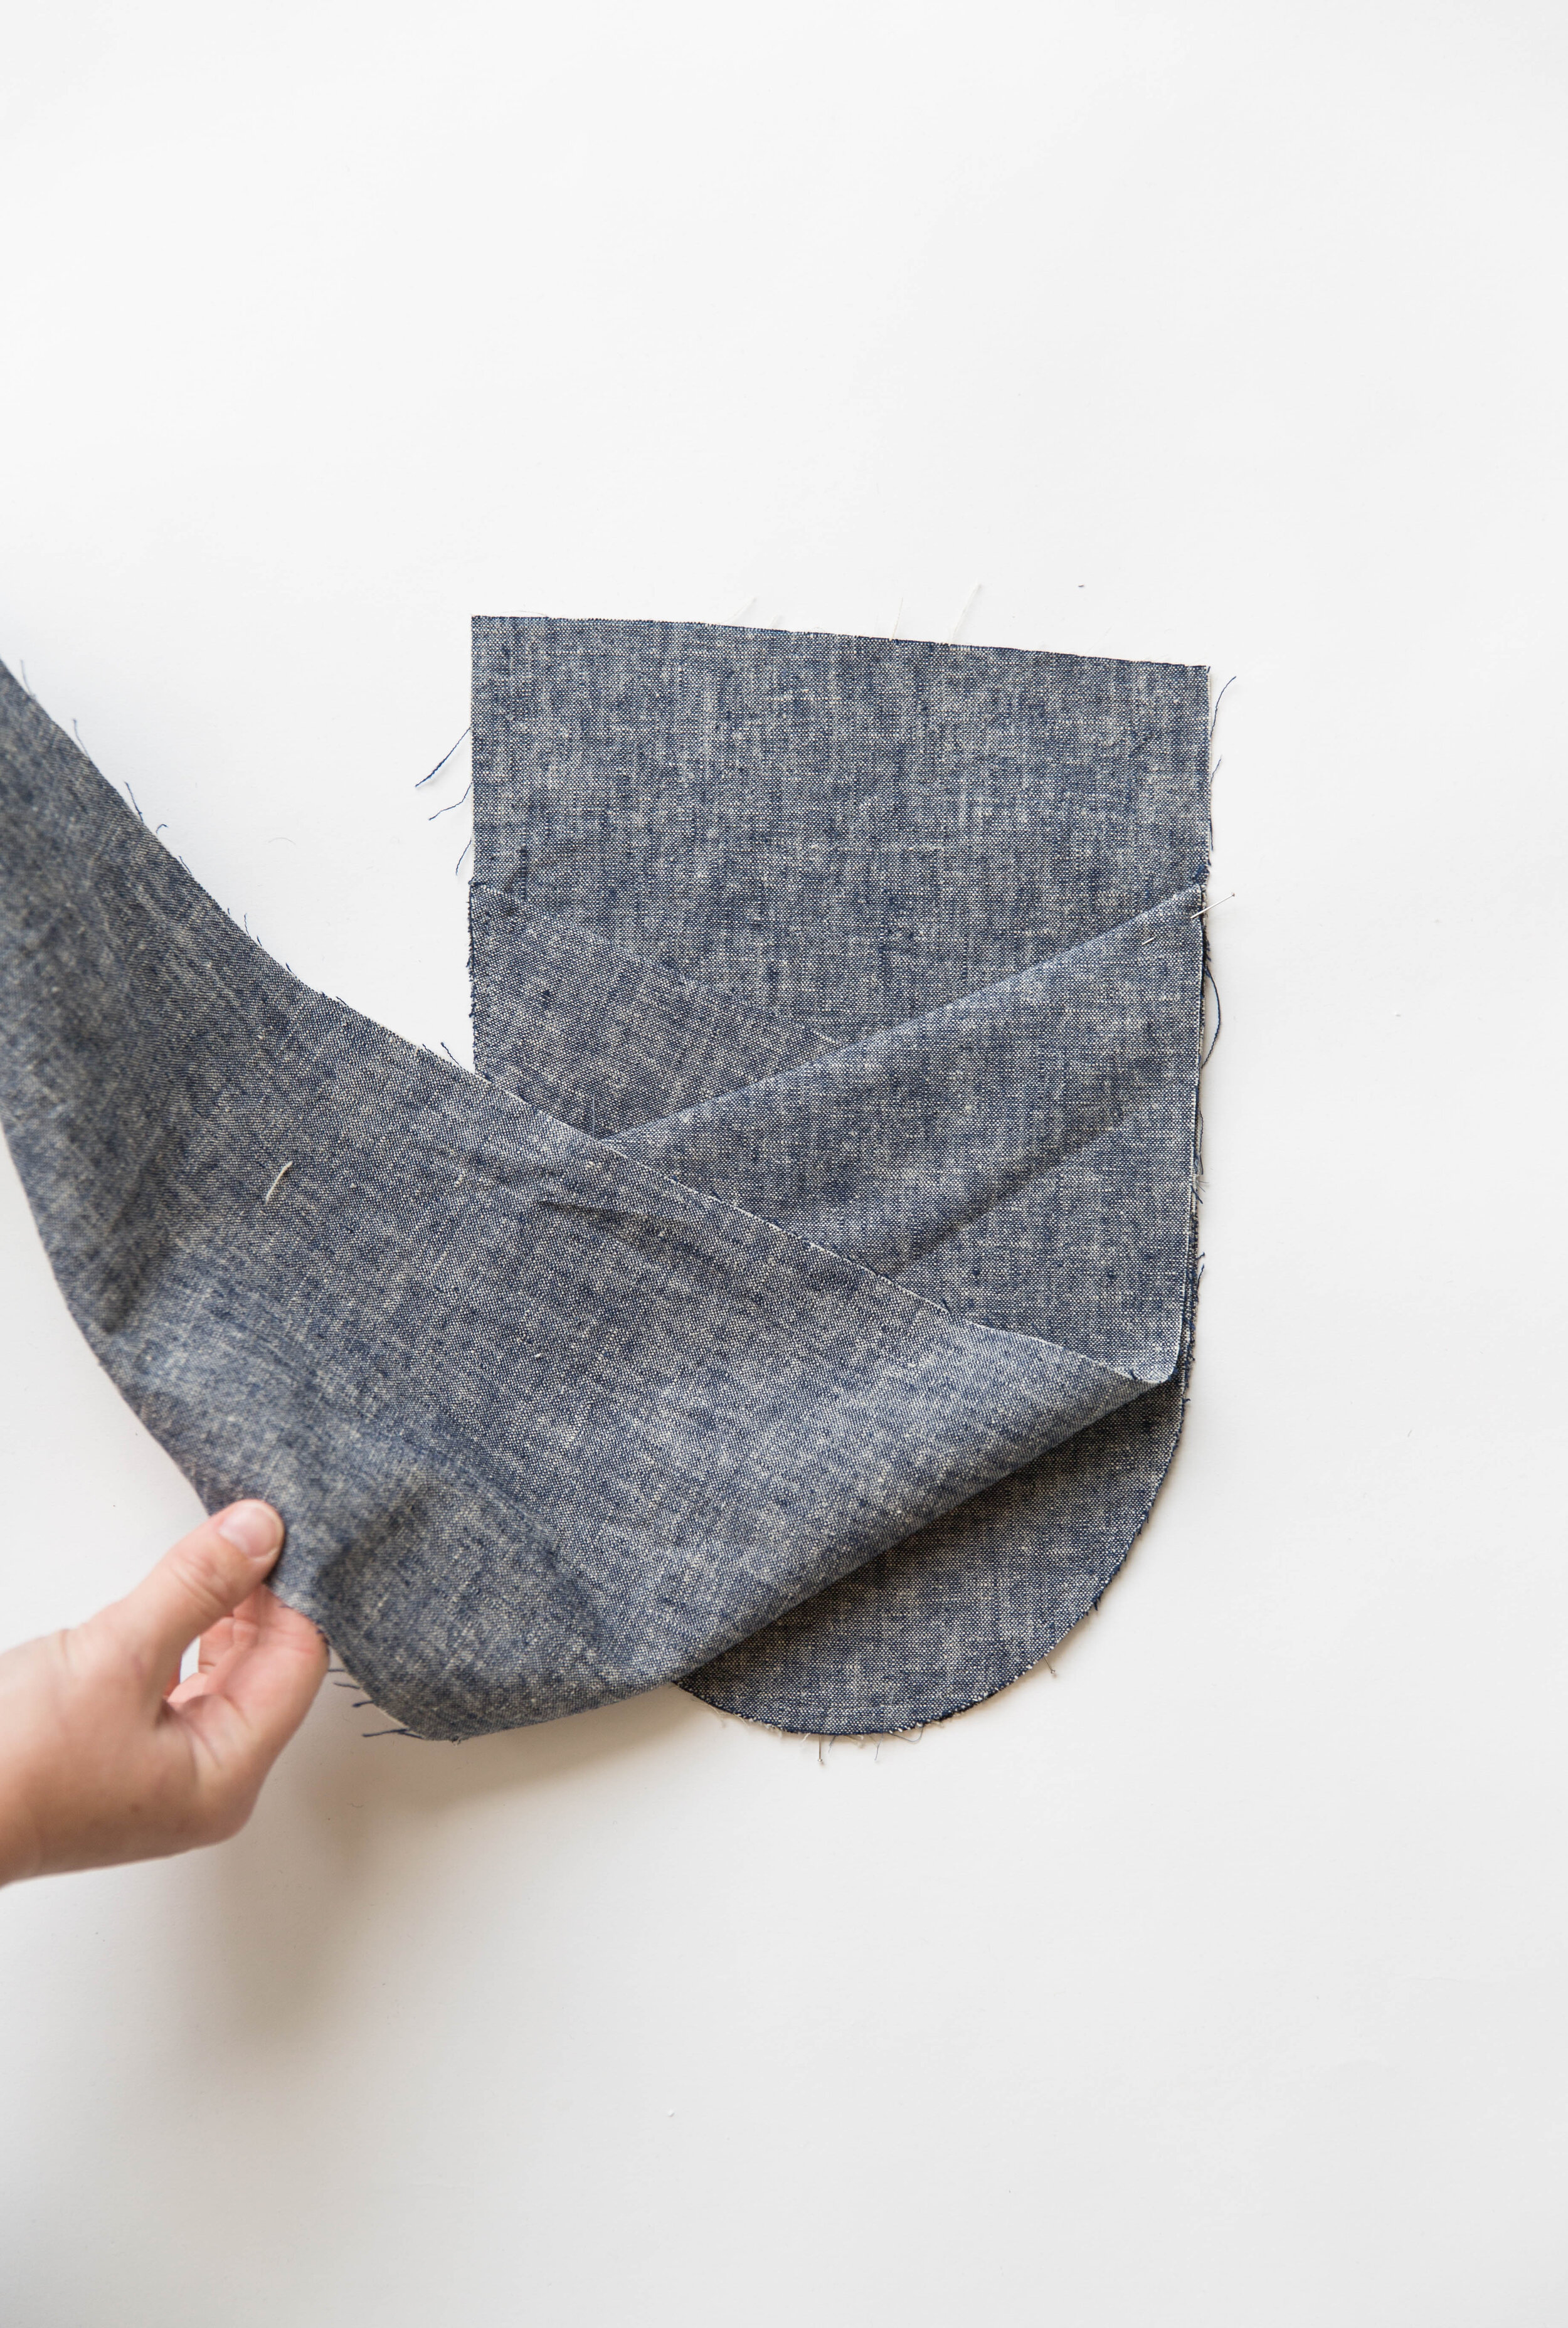
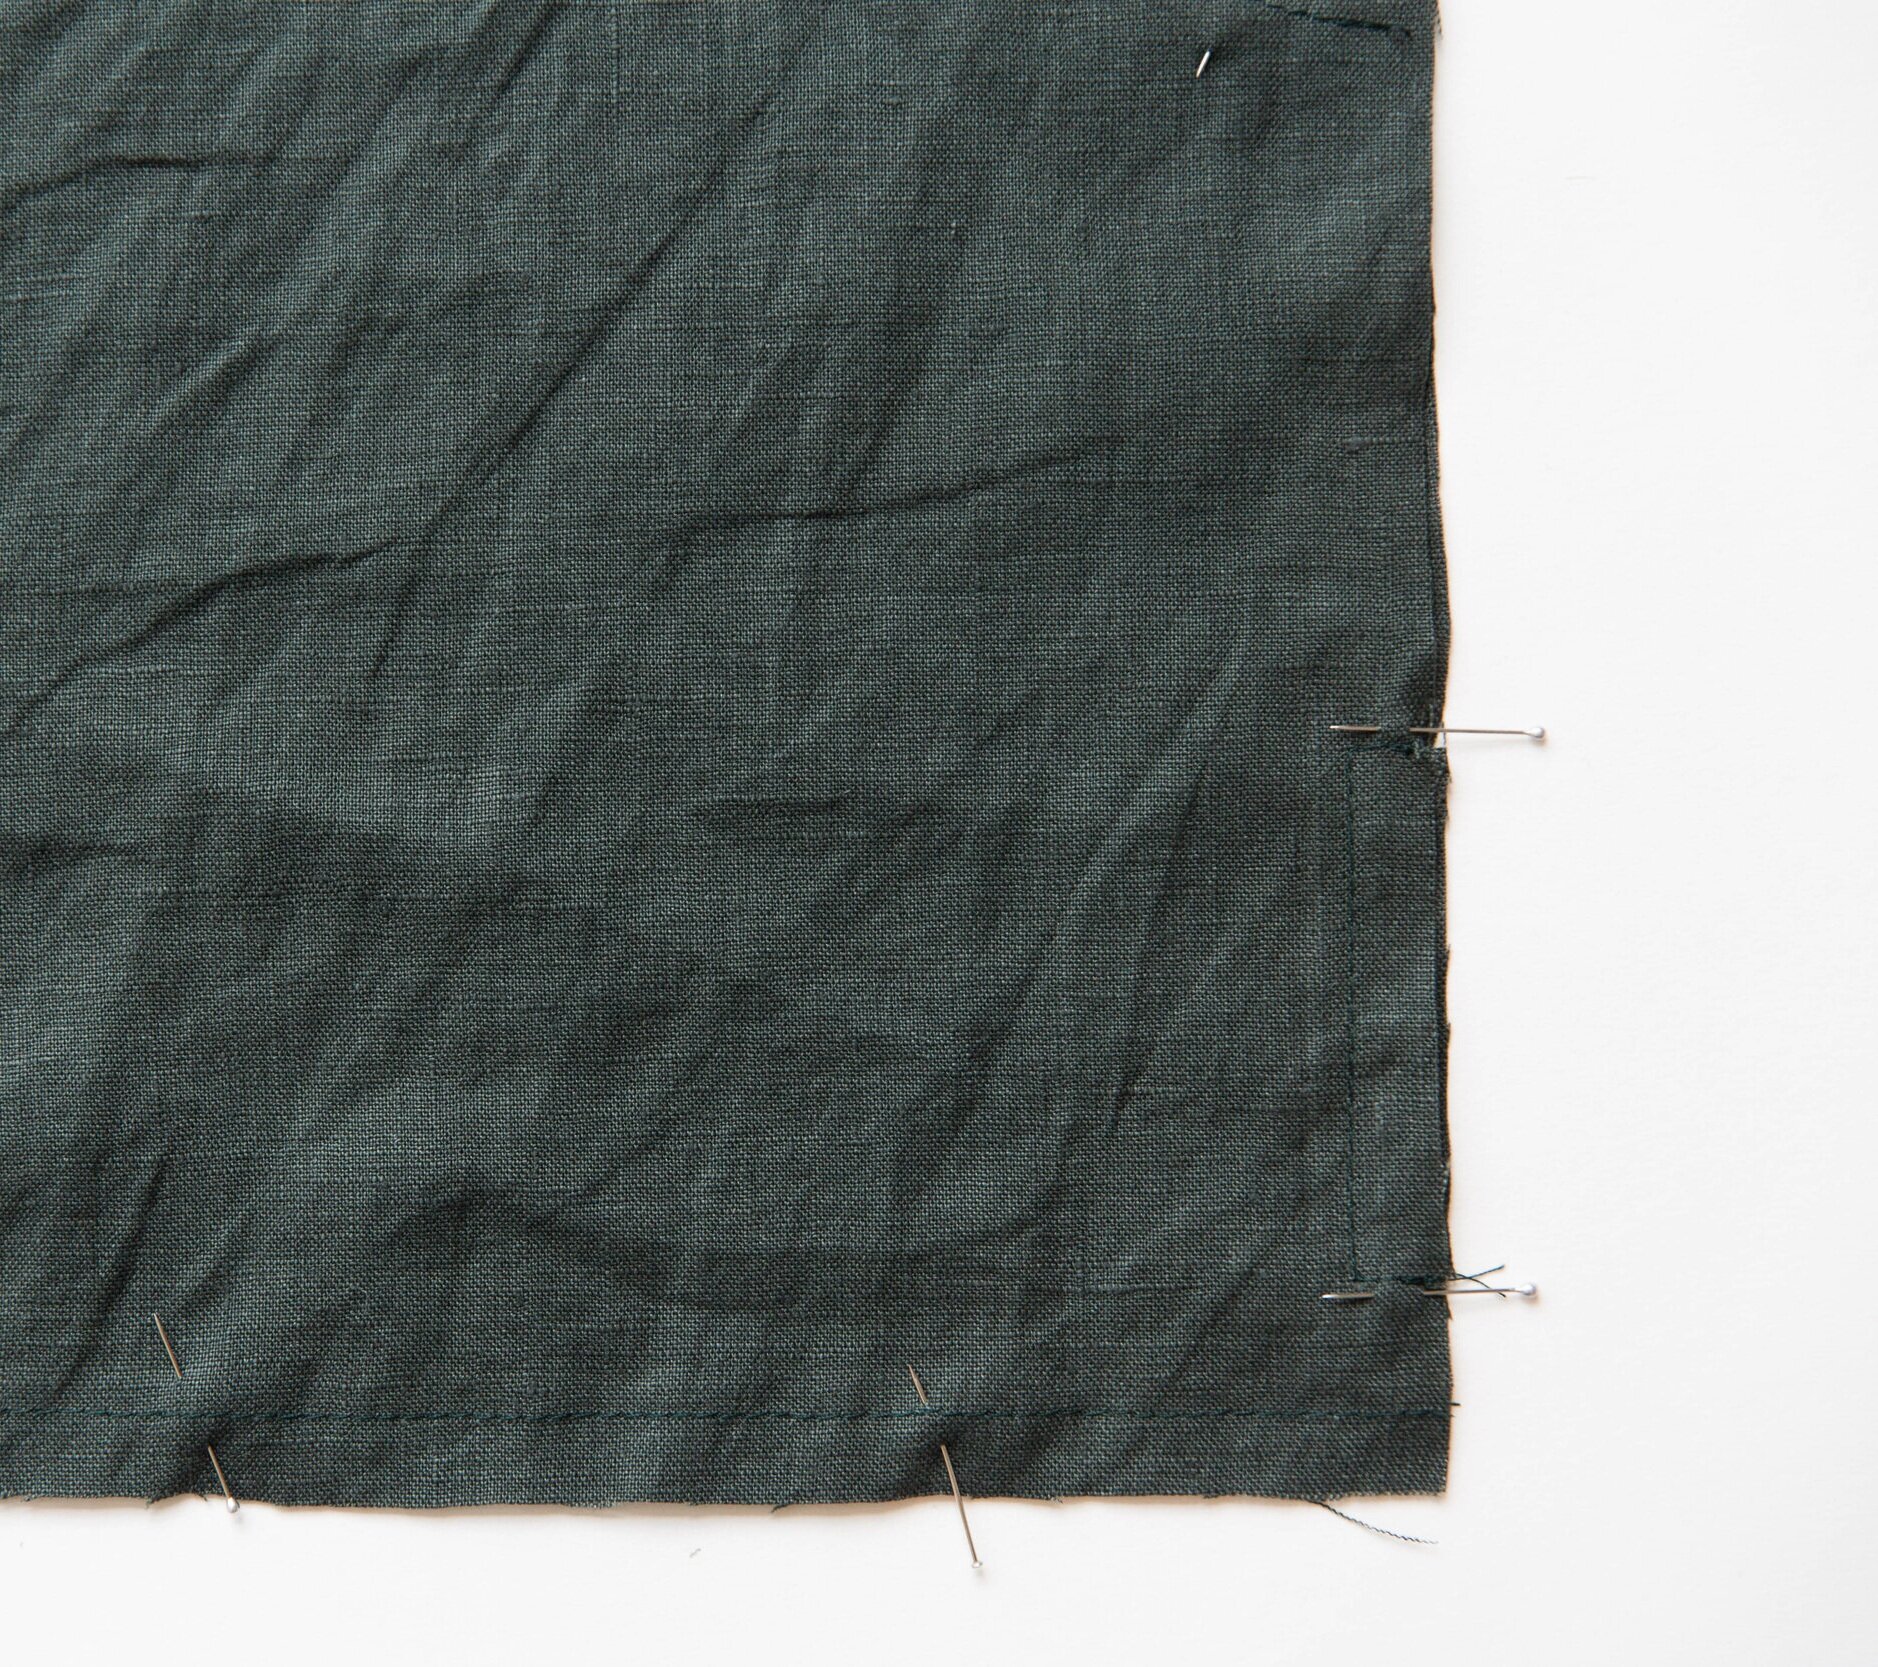
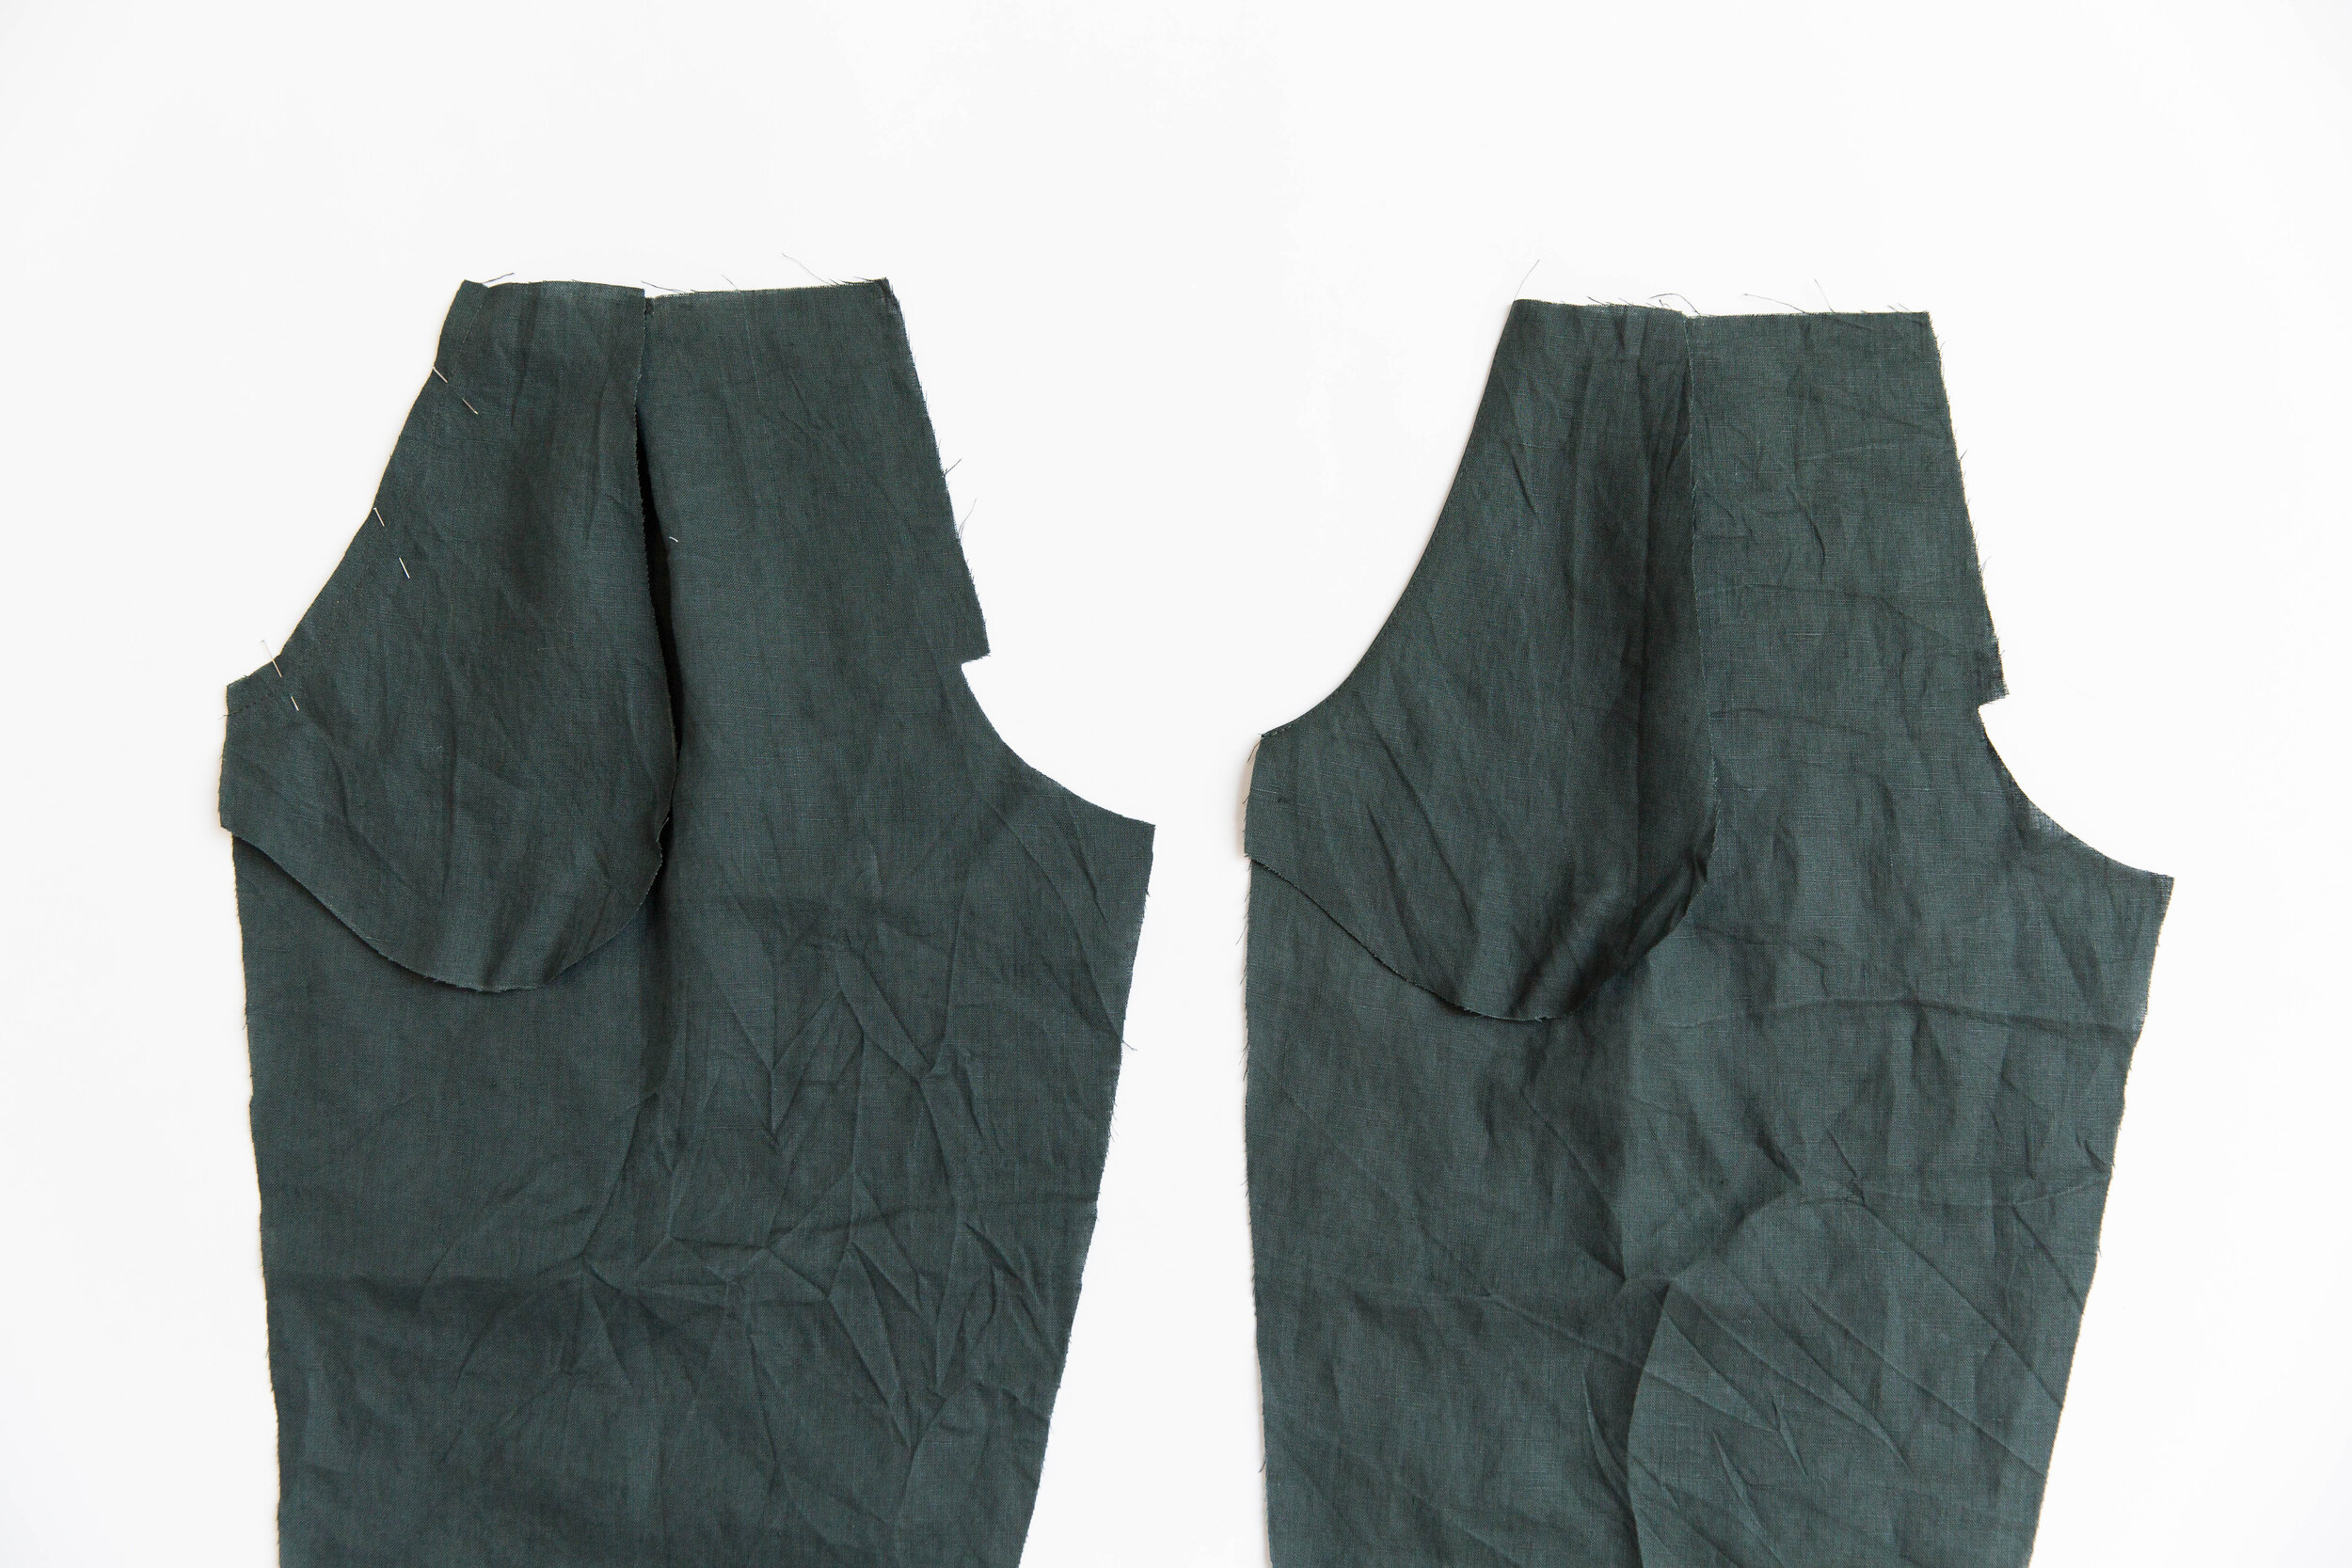
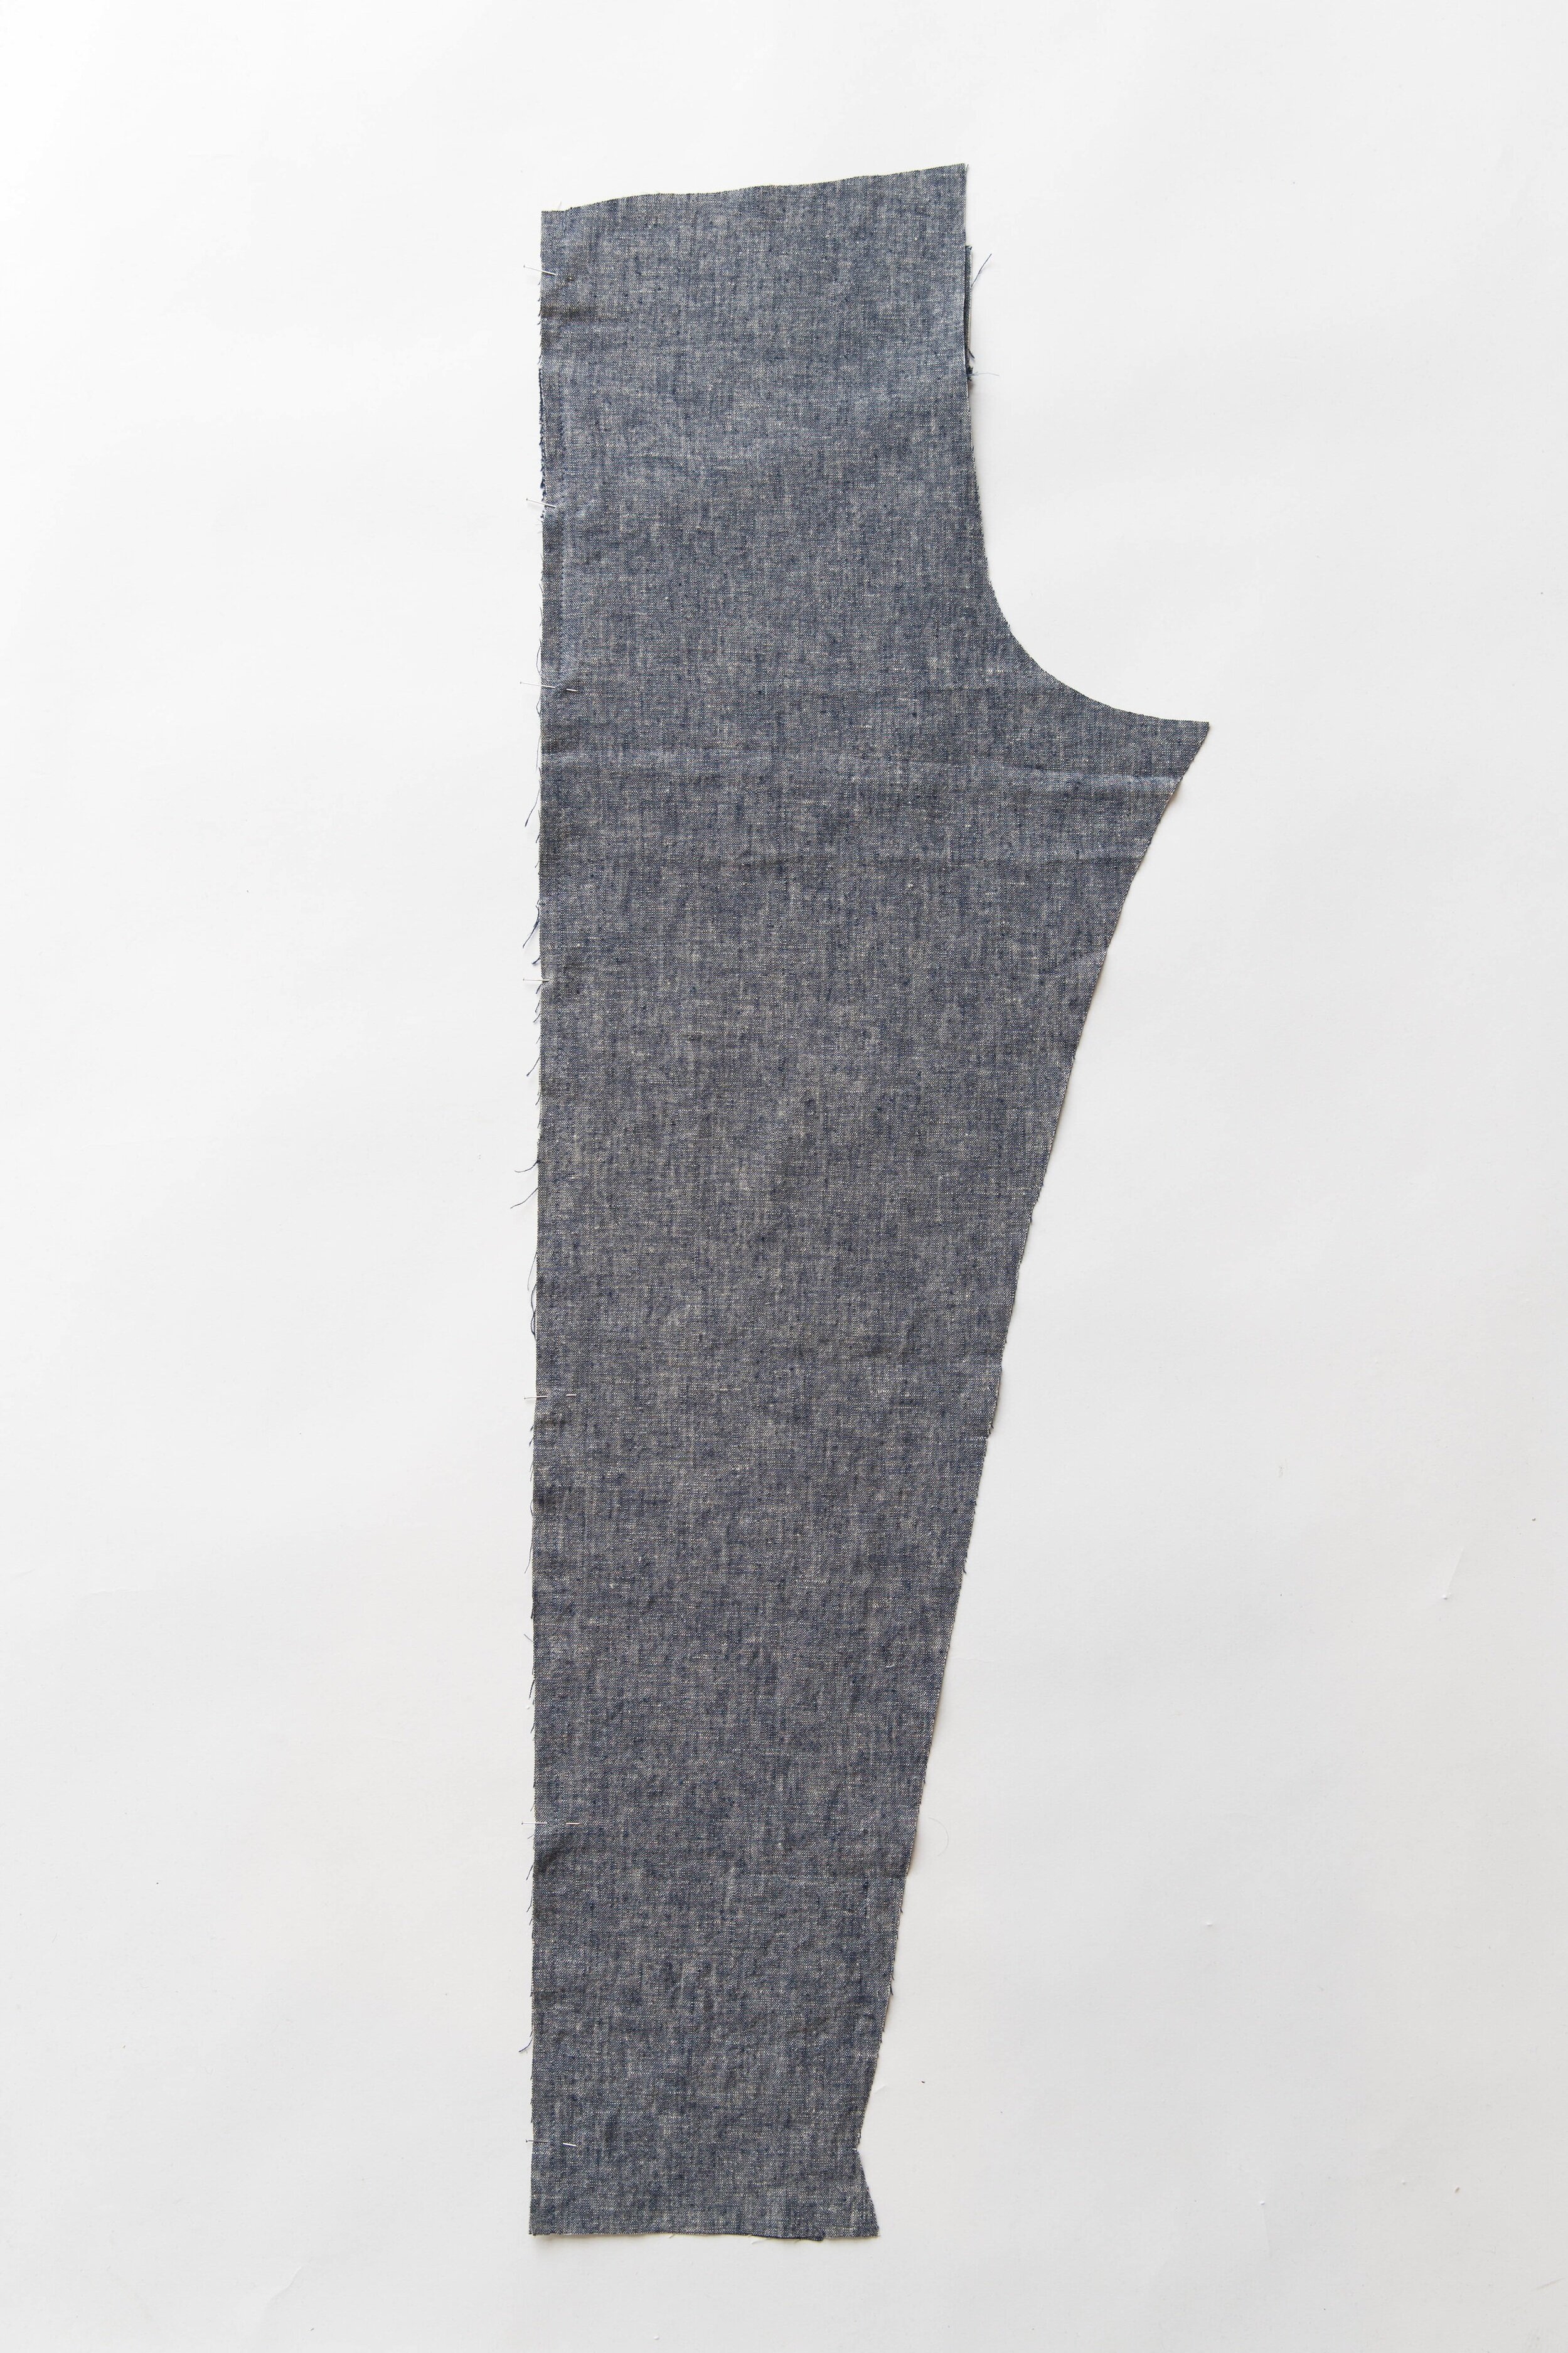
step 5
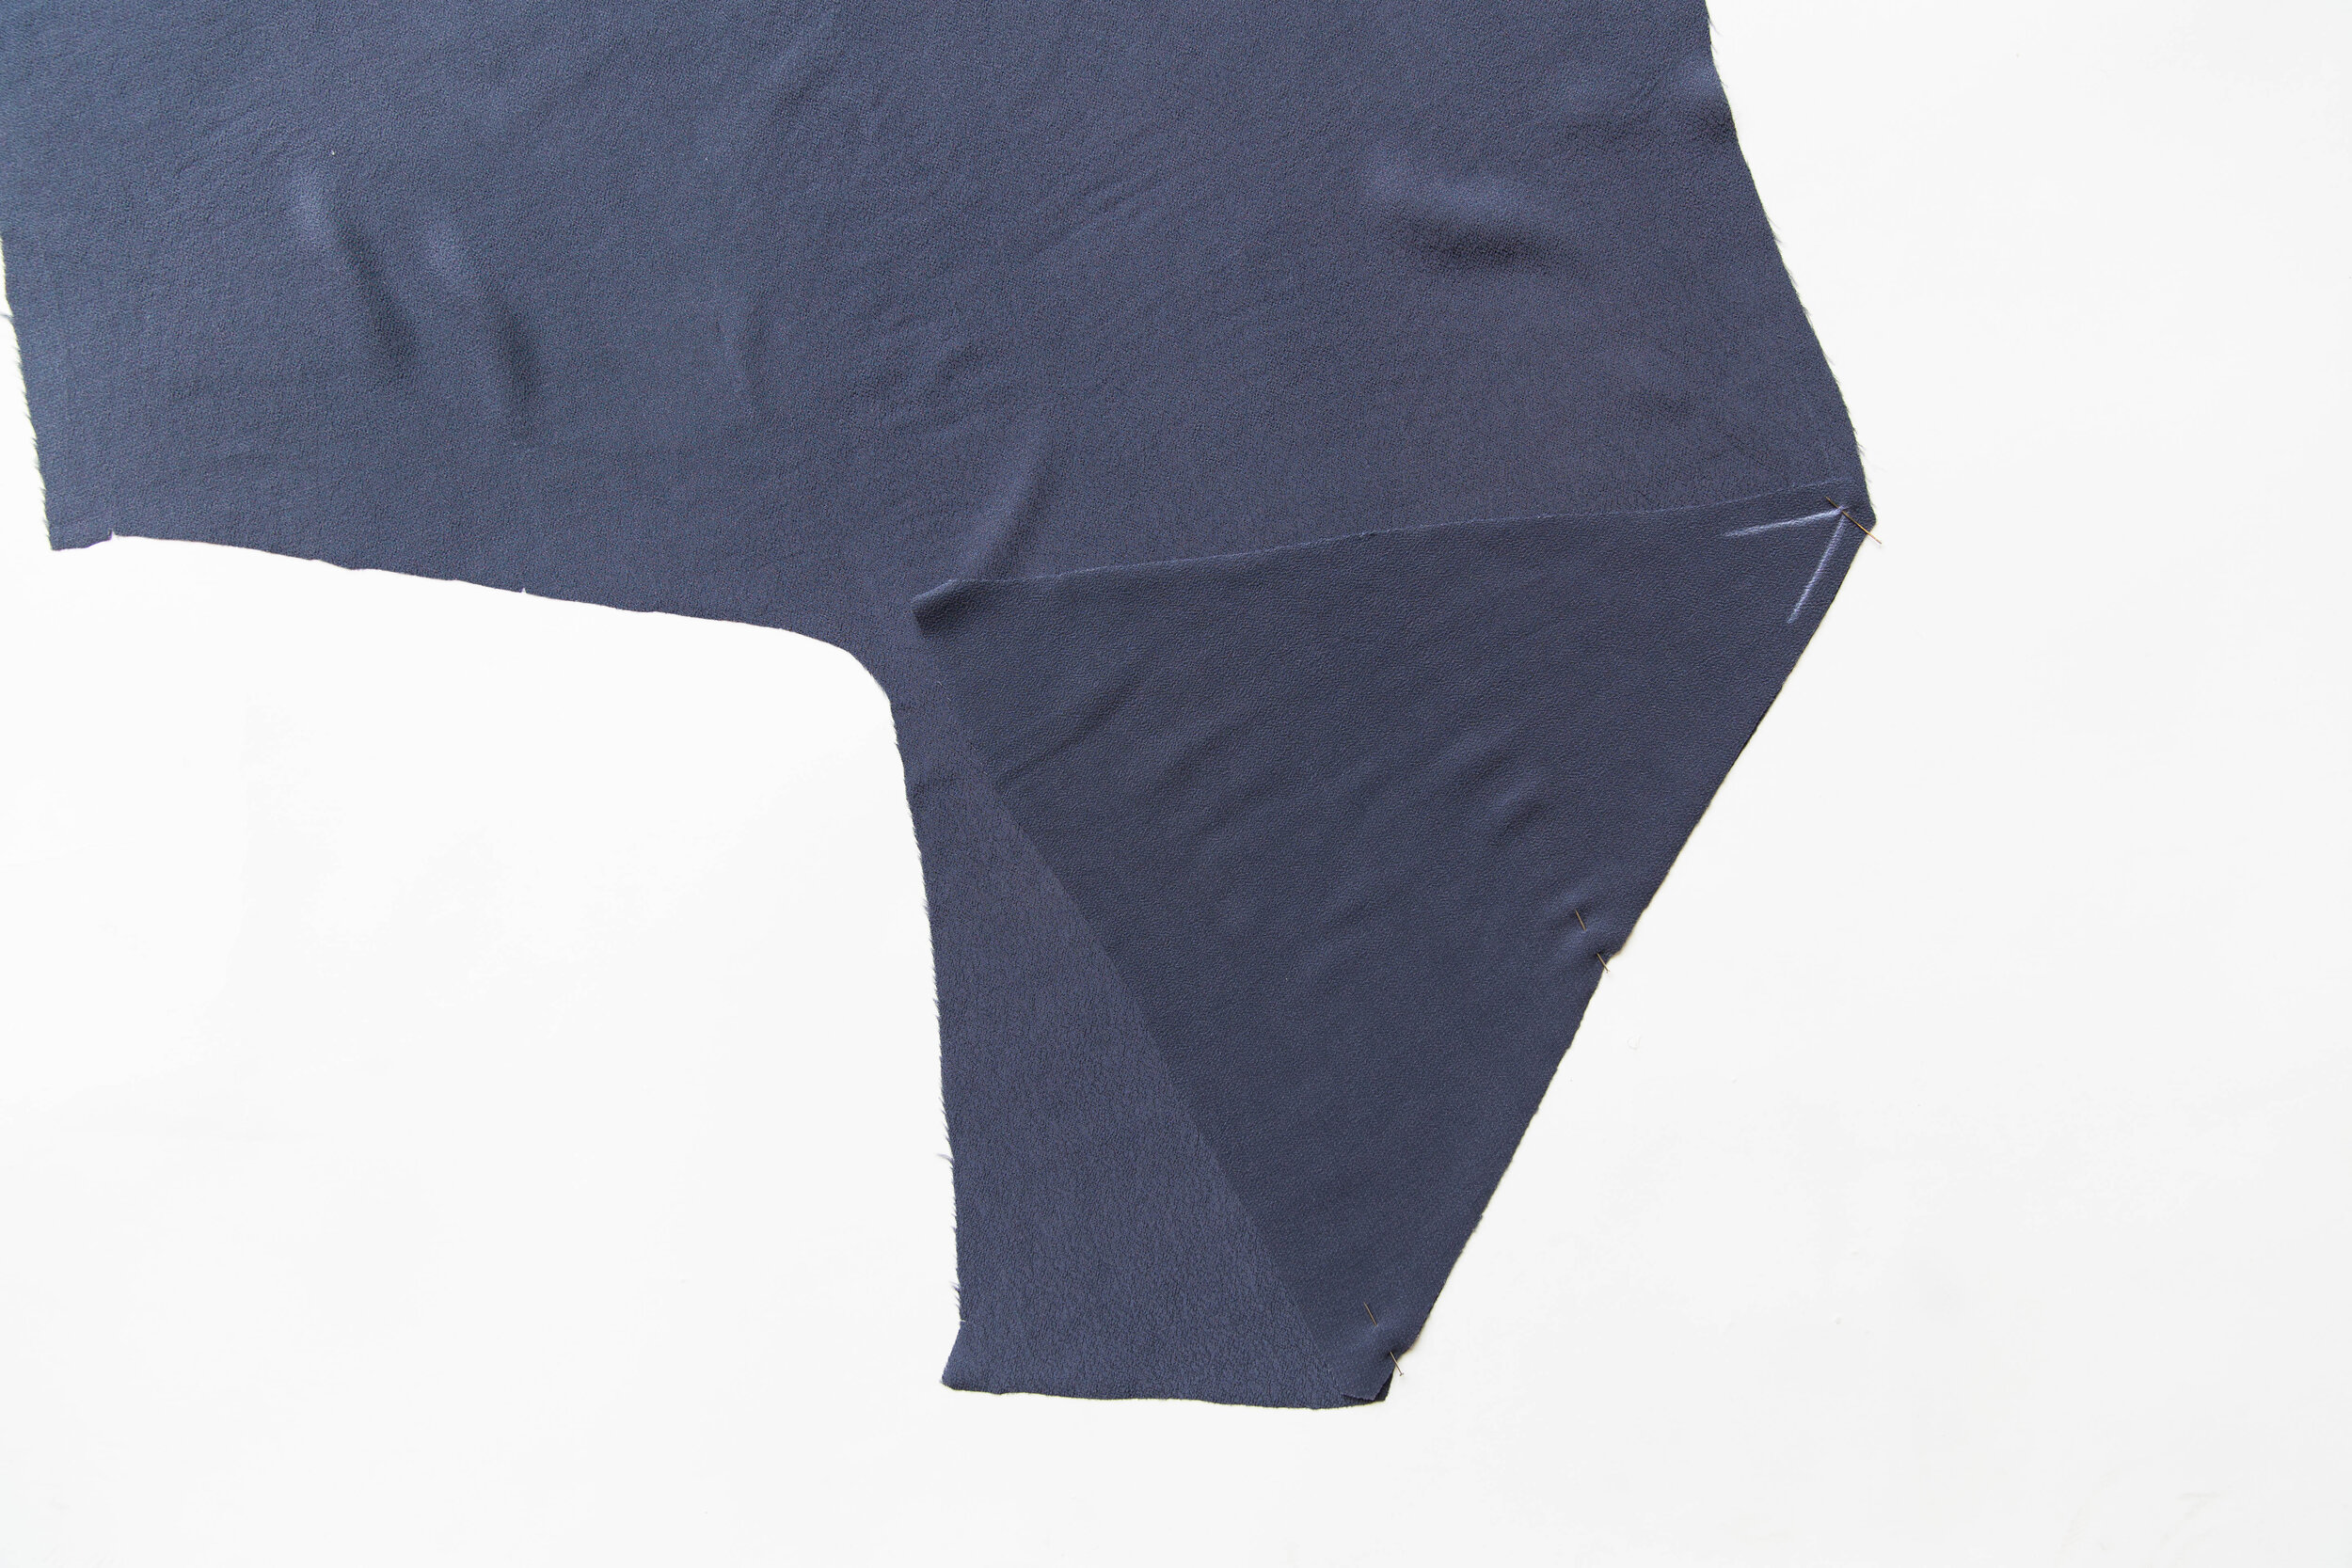
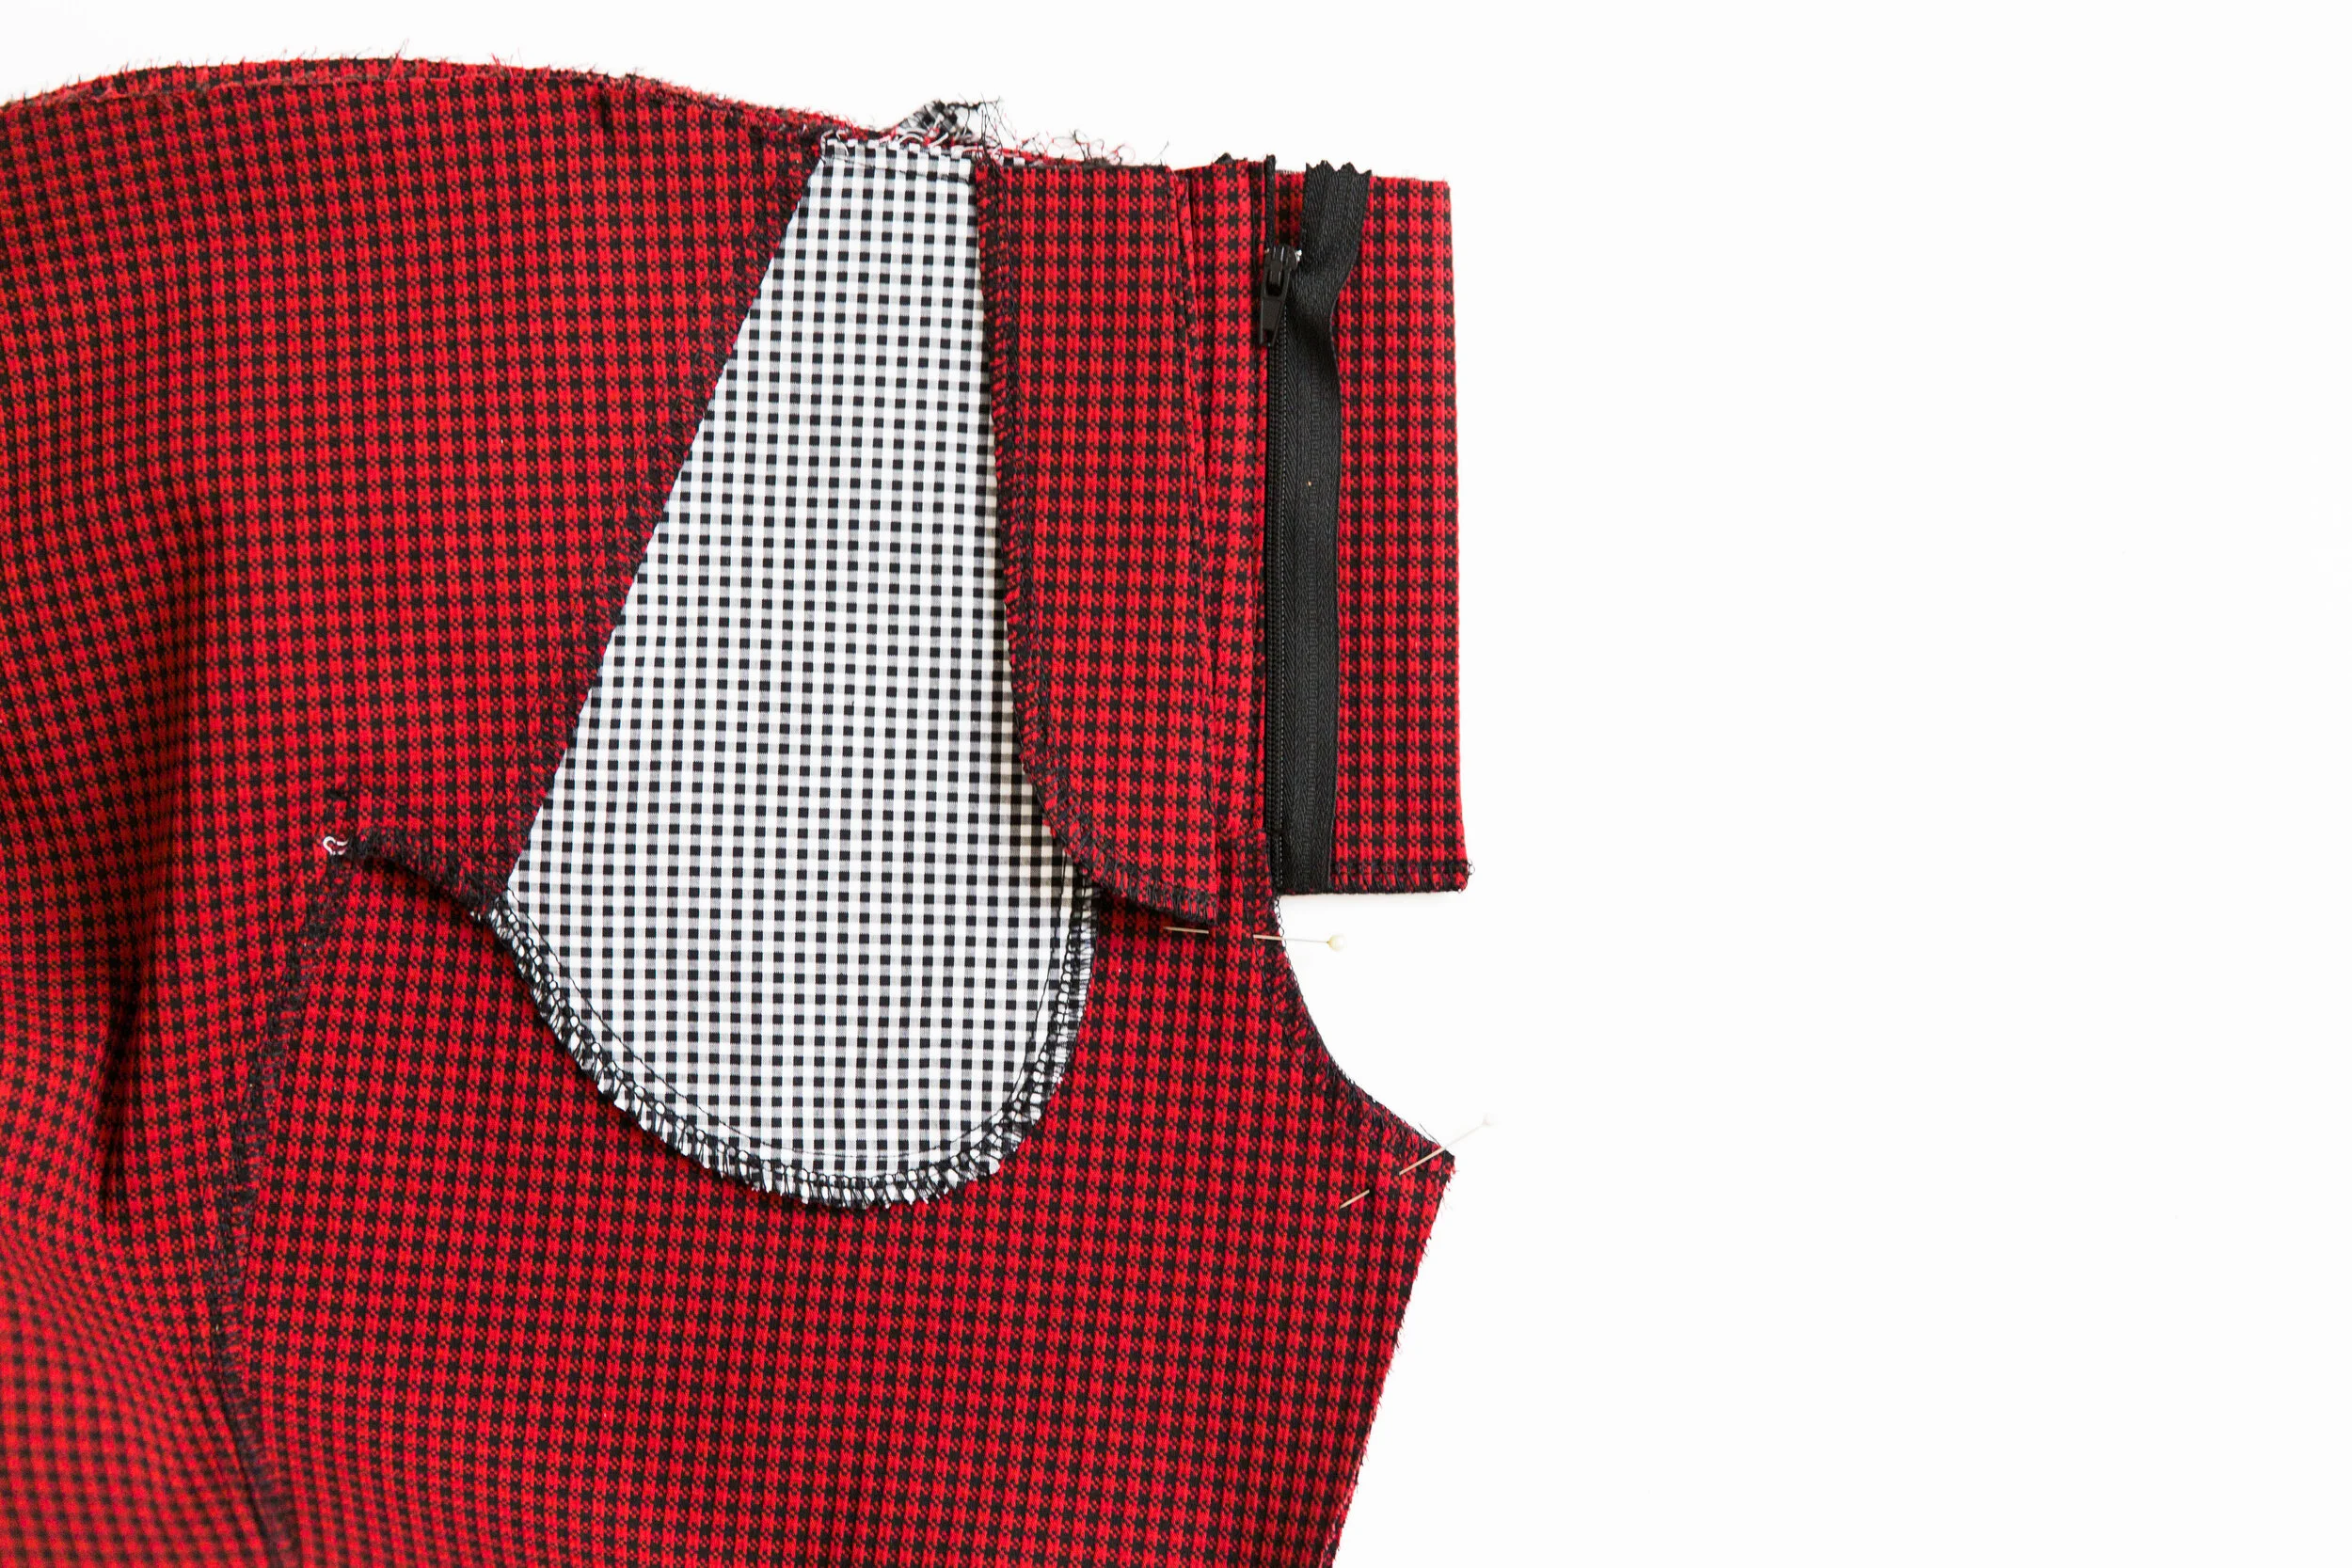
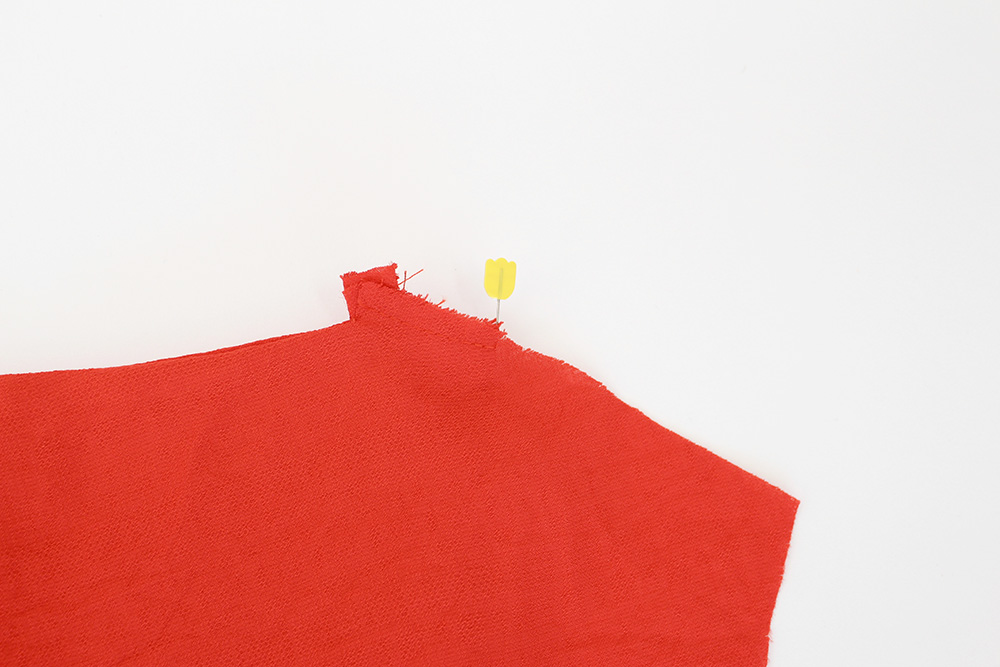
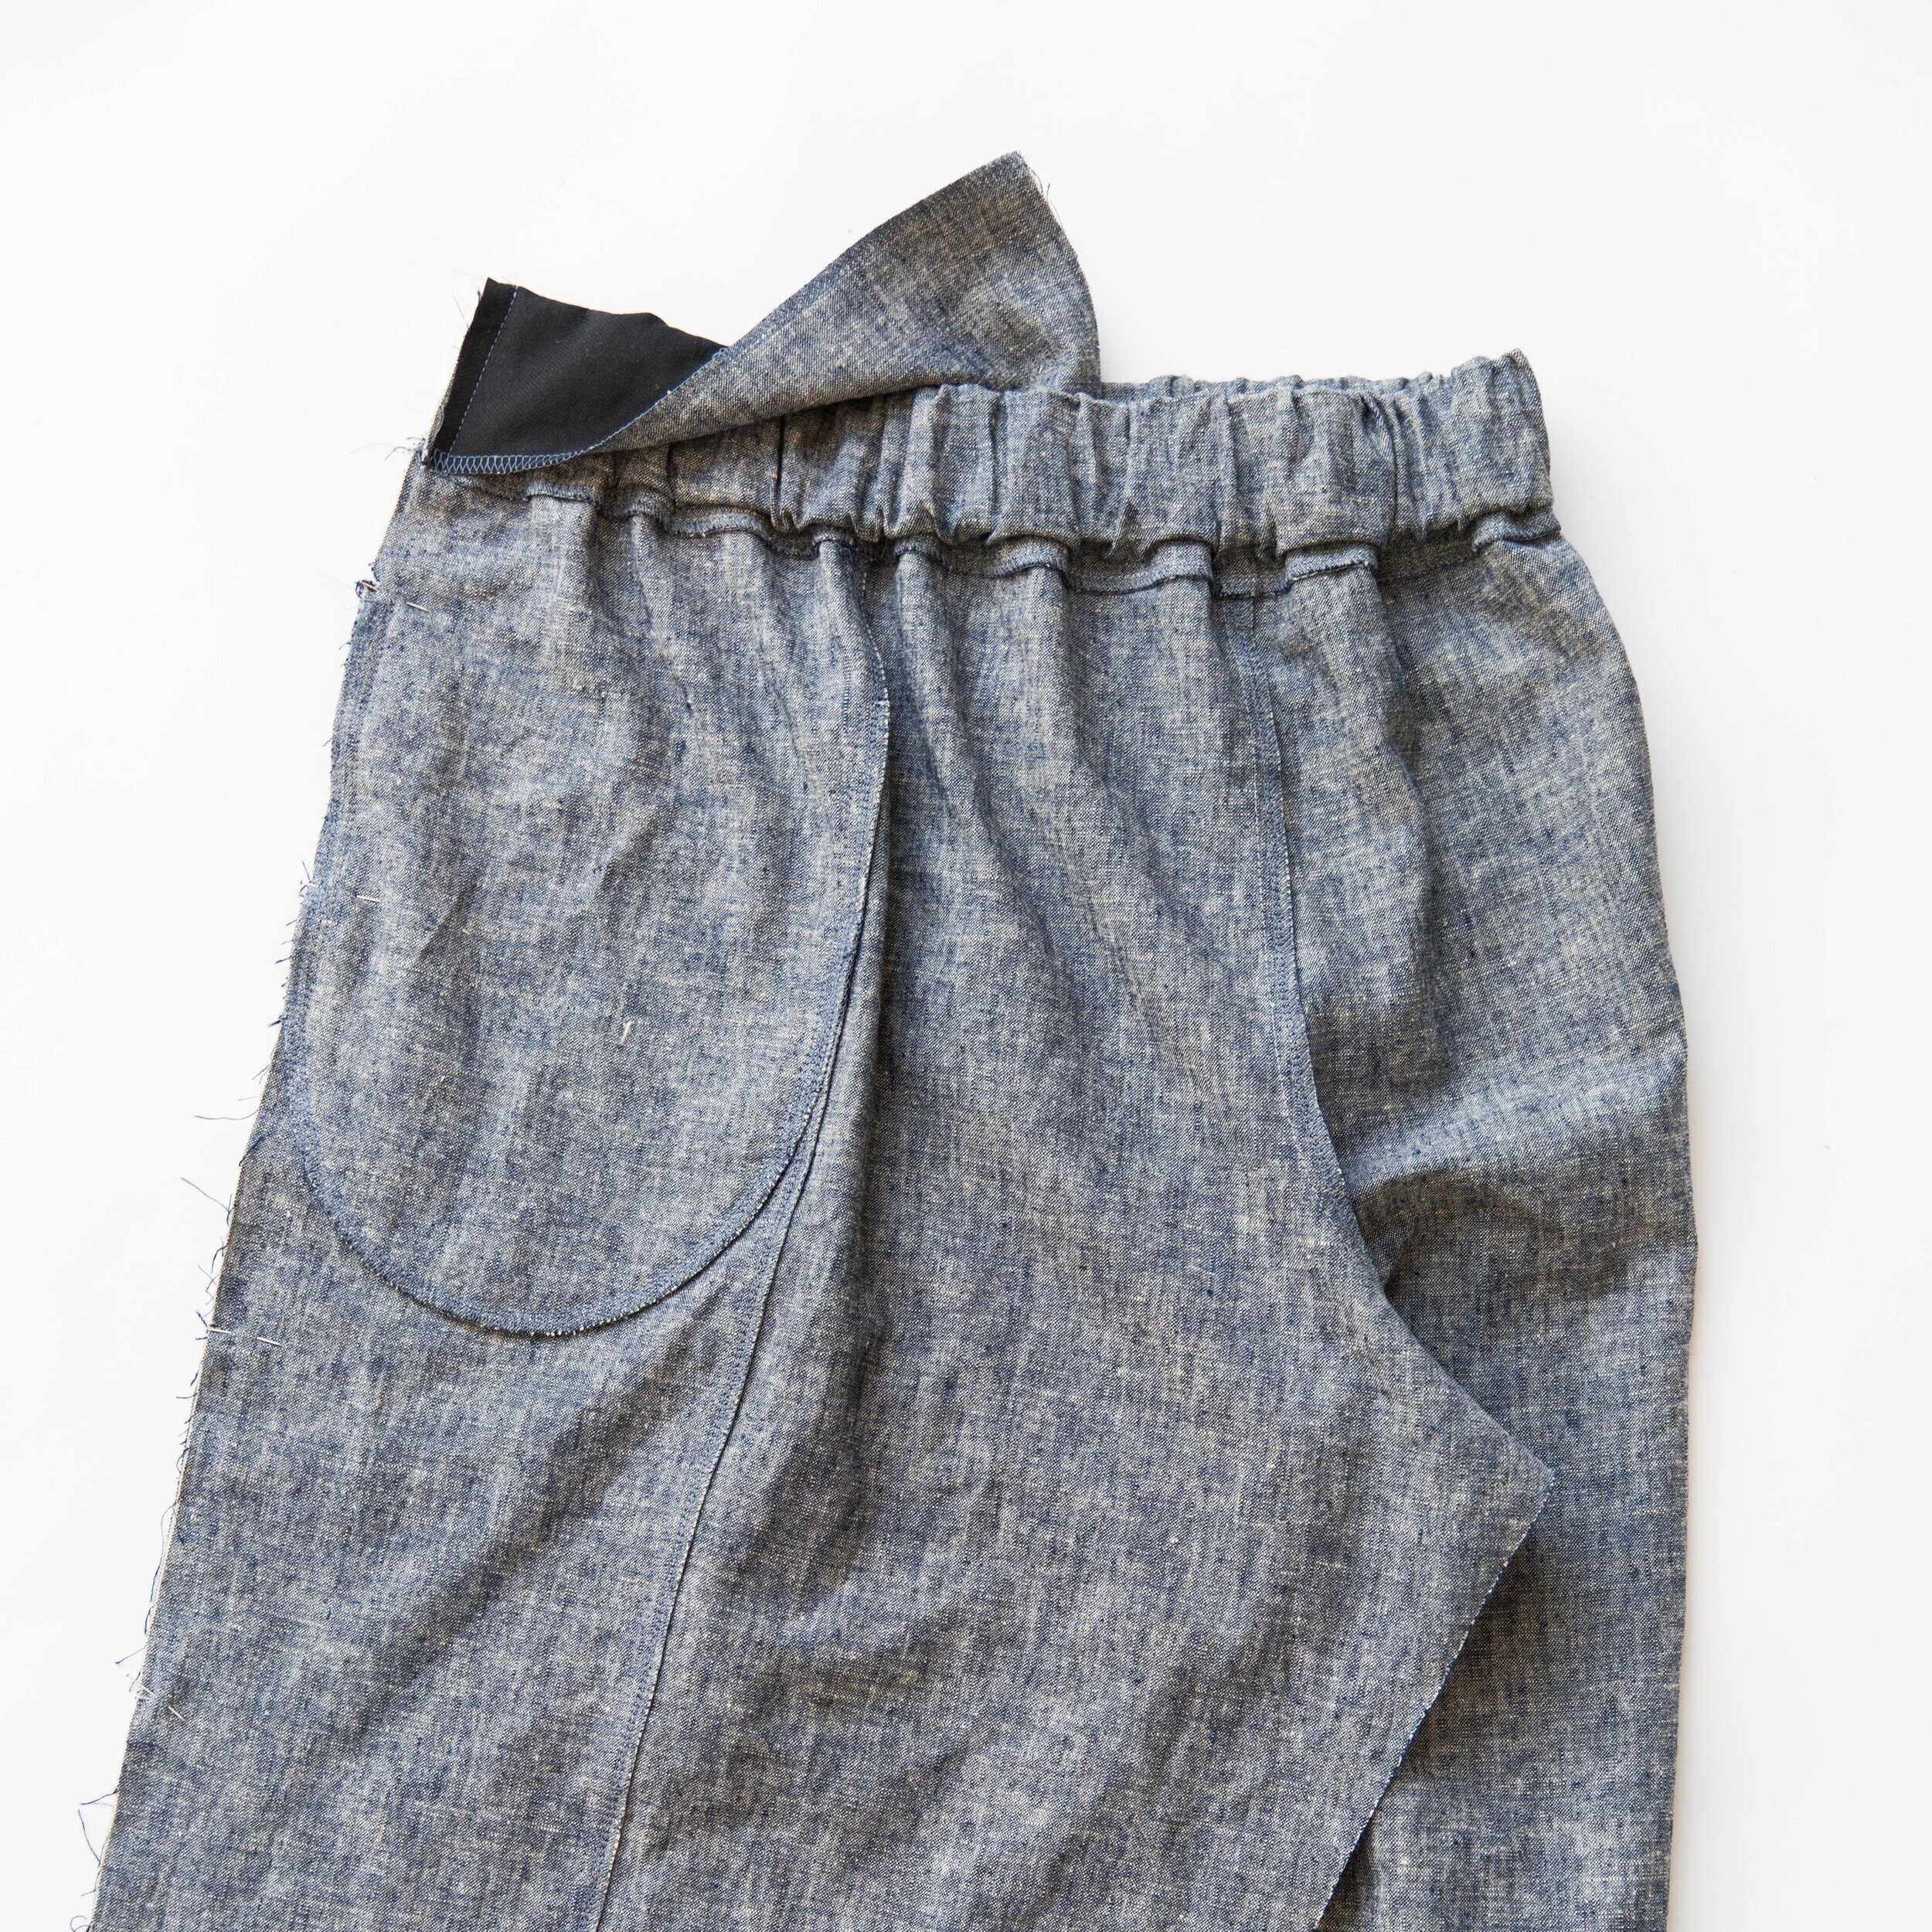
Place side leg panel over pocket bag A matching up the top edges with other two notches. Place a pin on each top edge to secure in place.
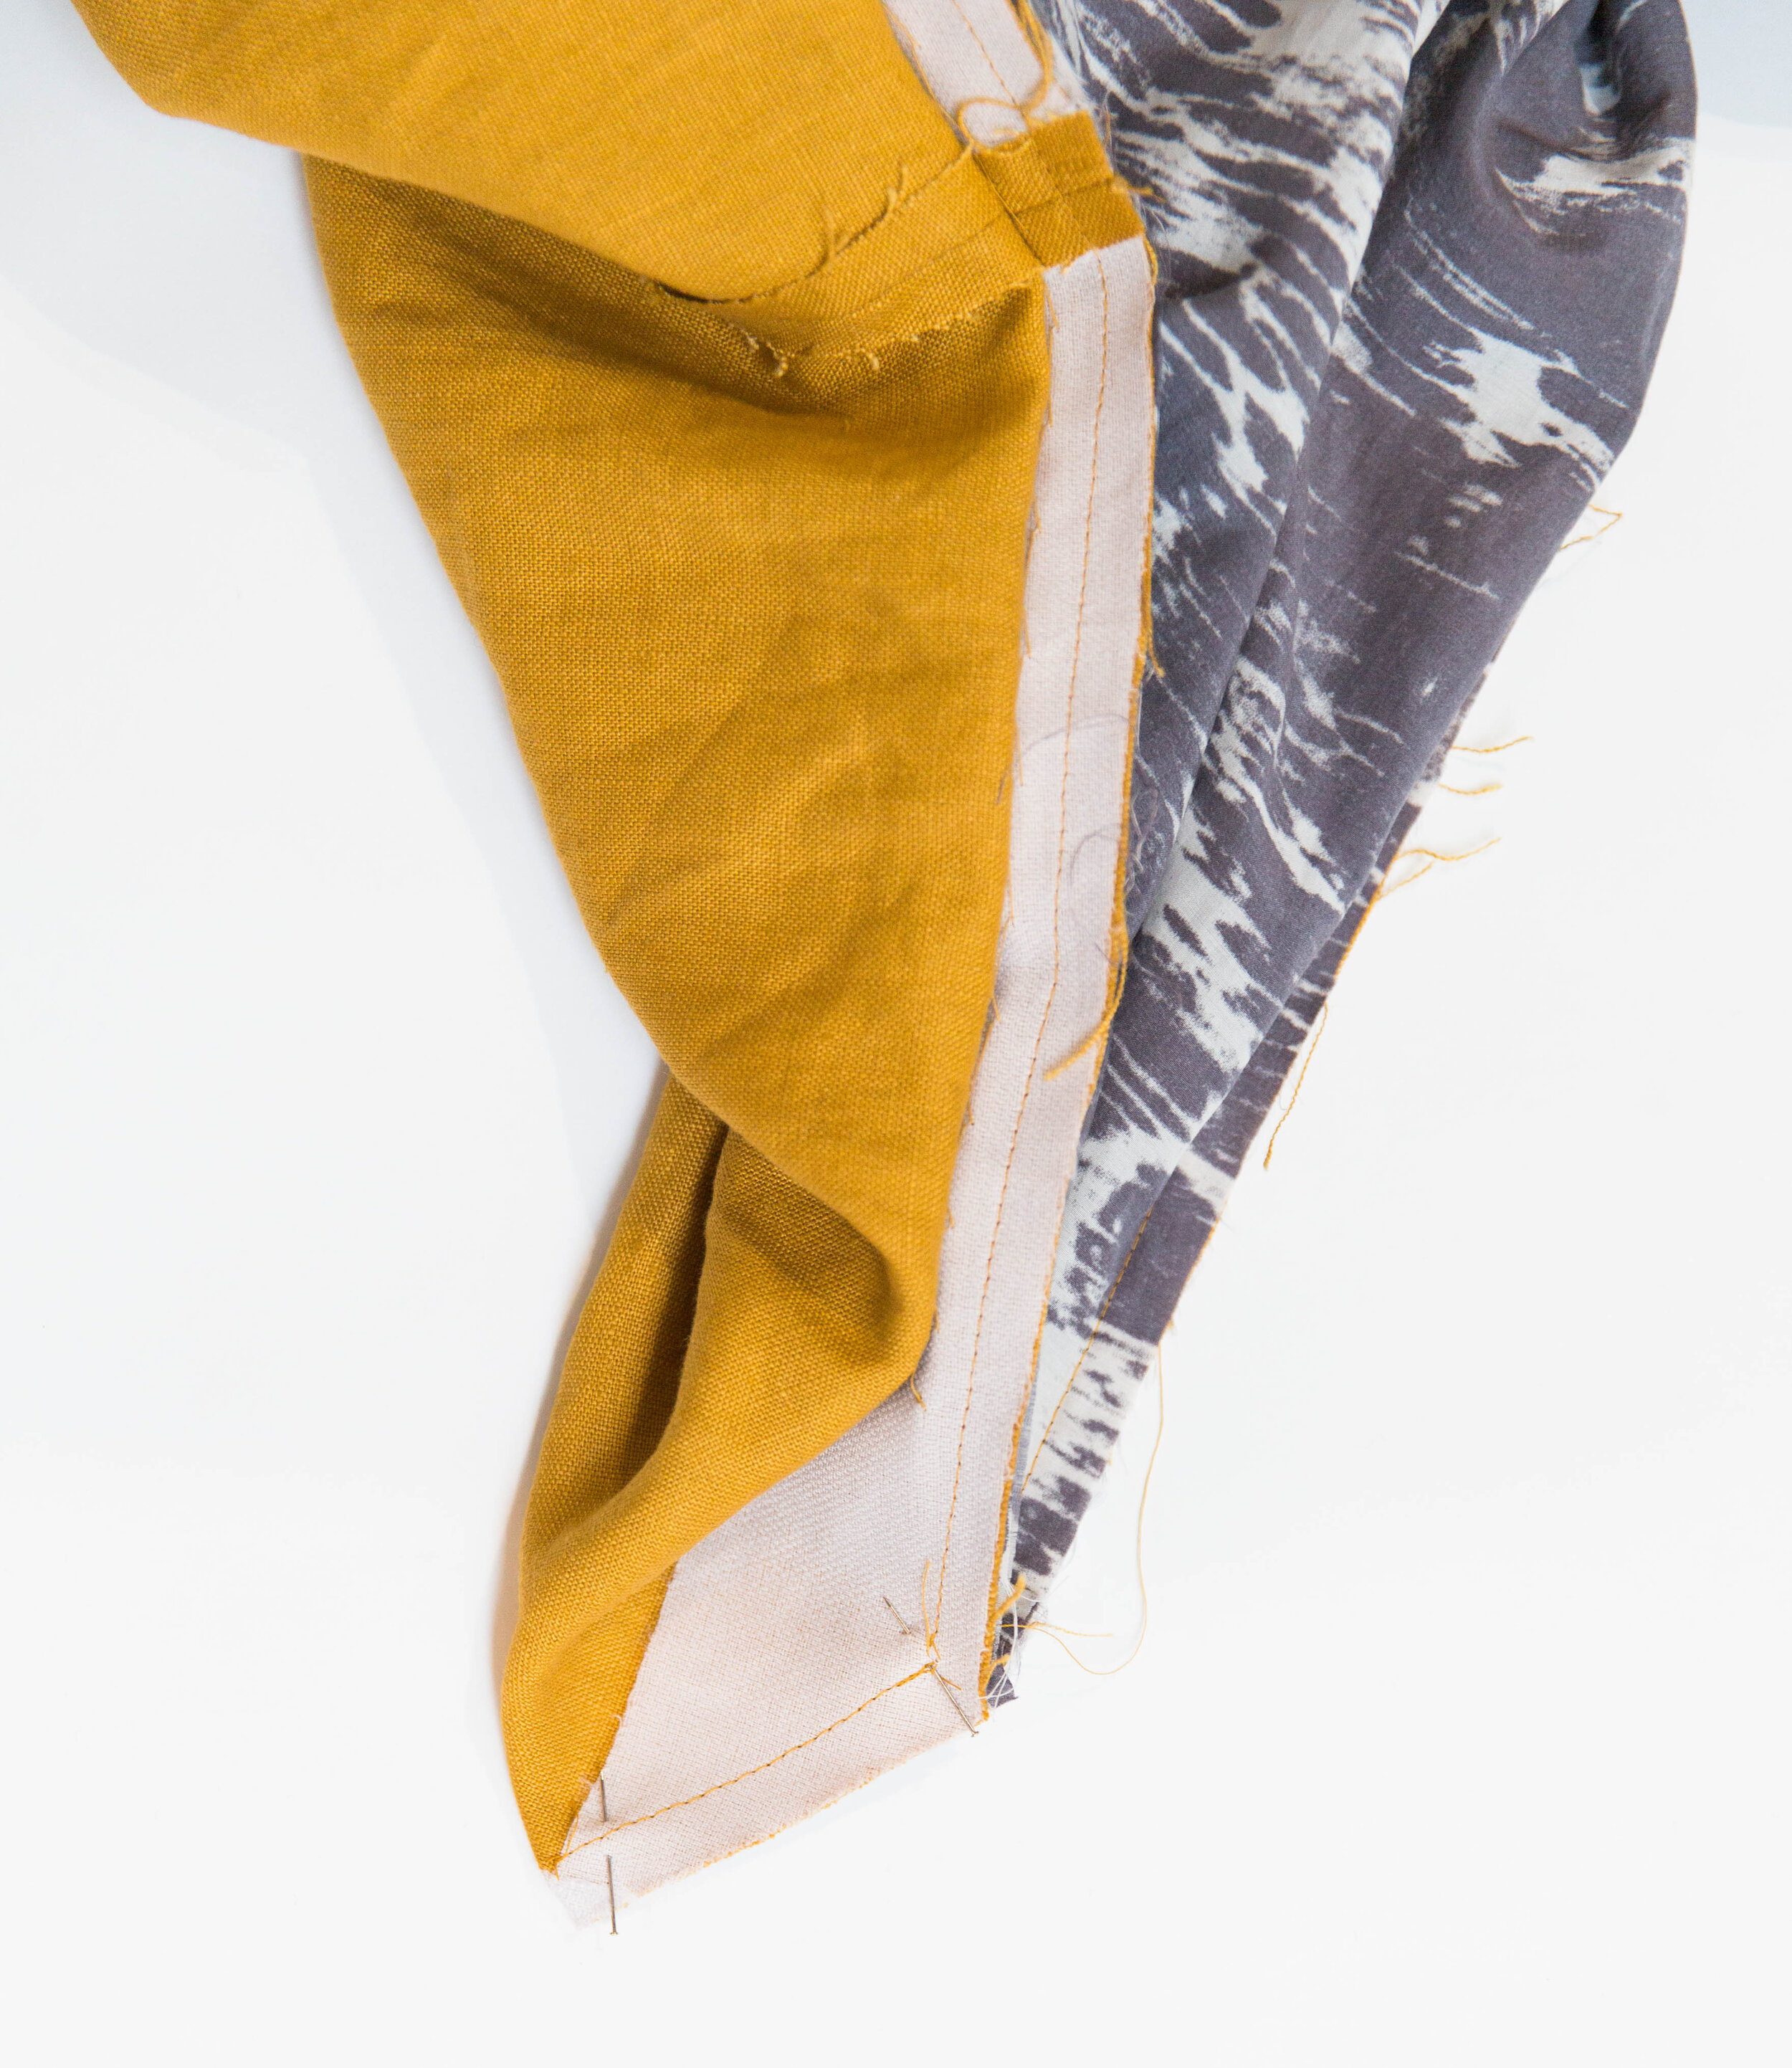
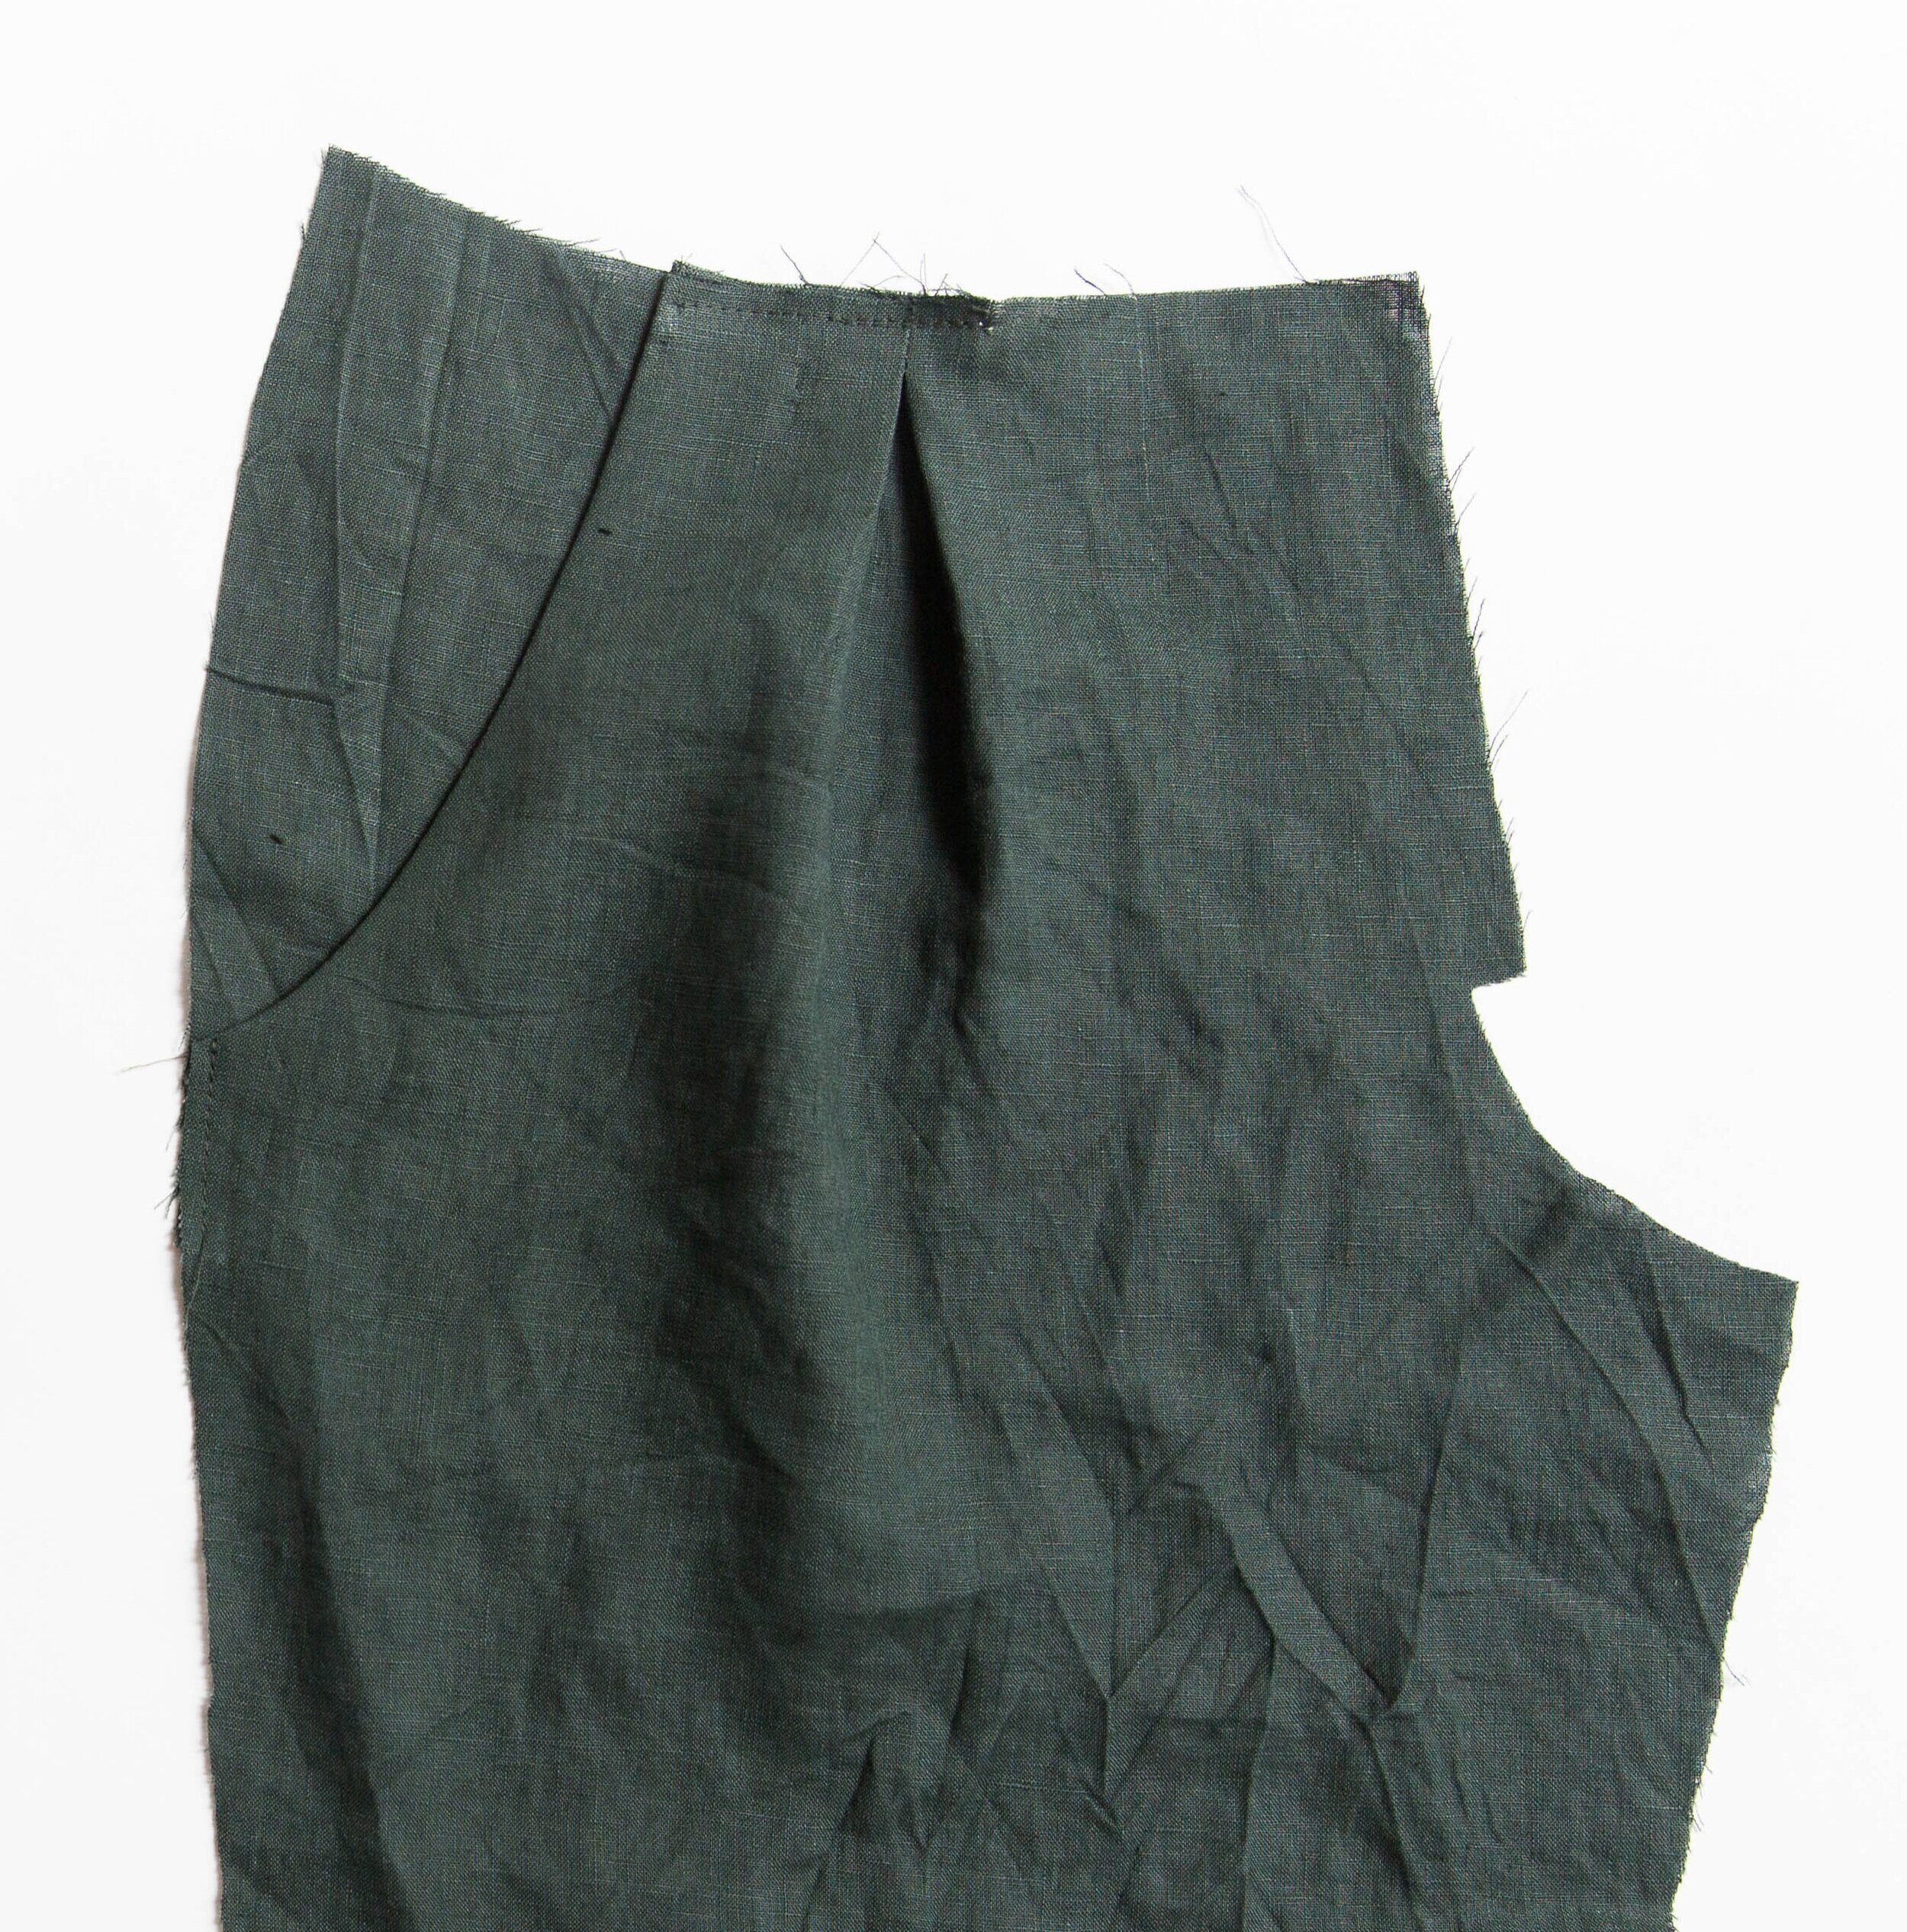
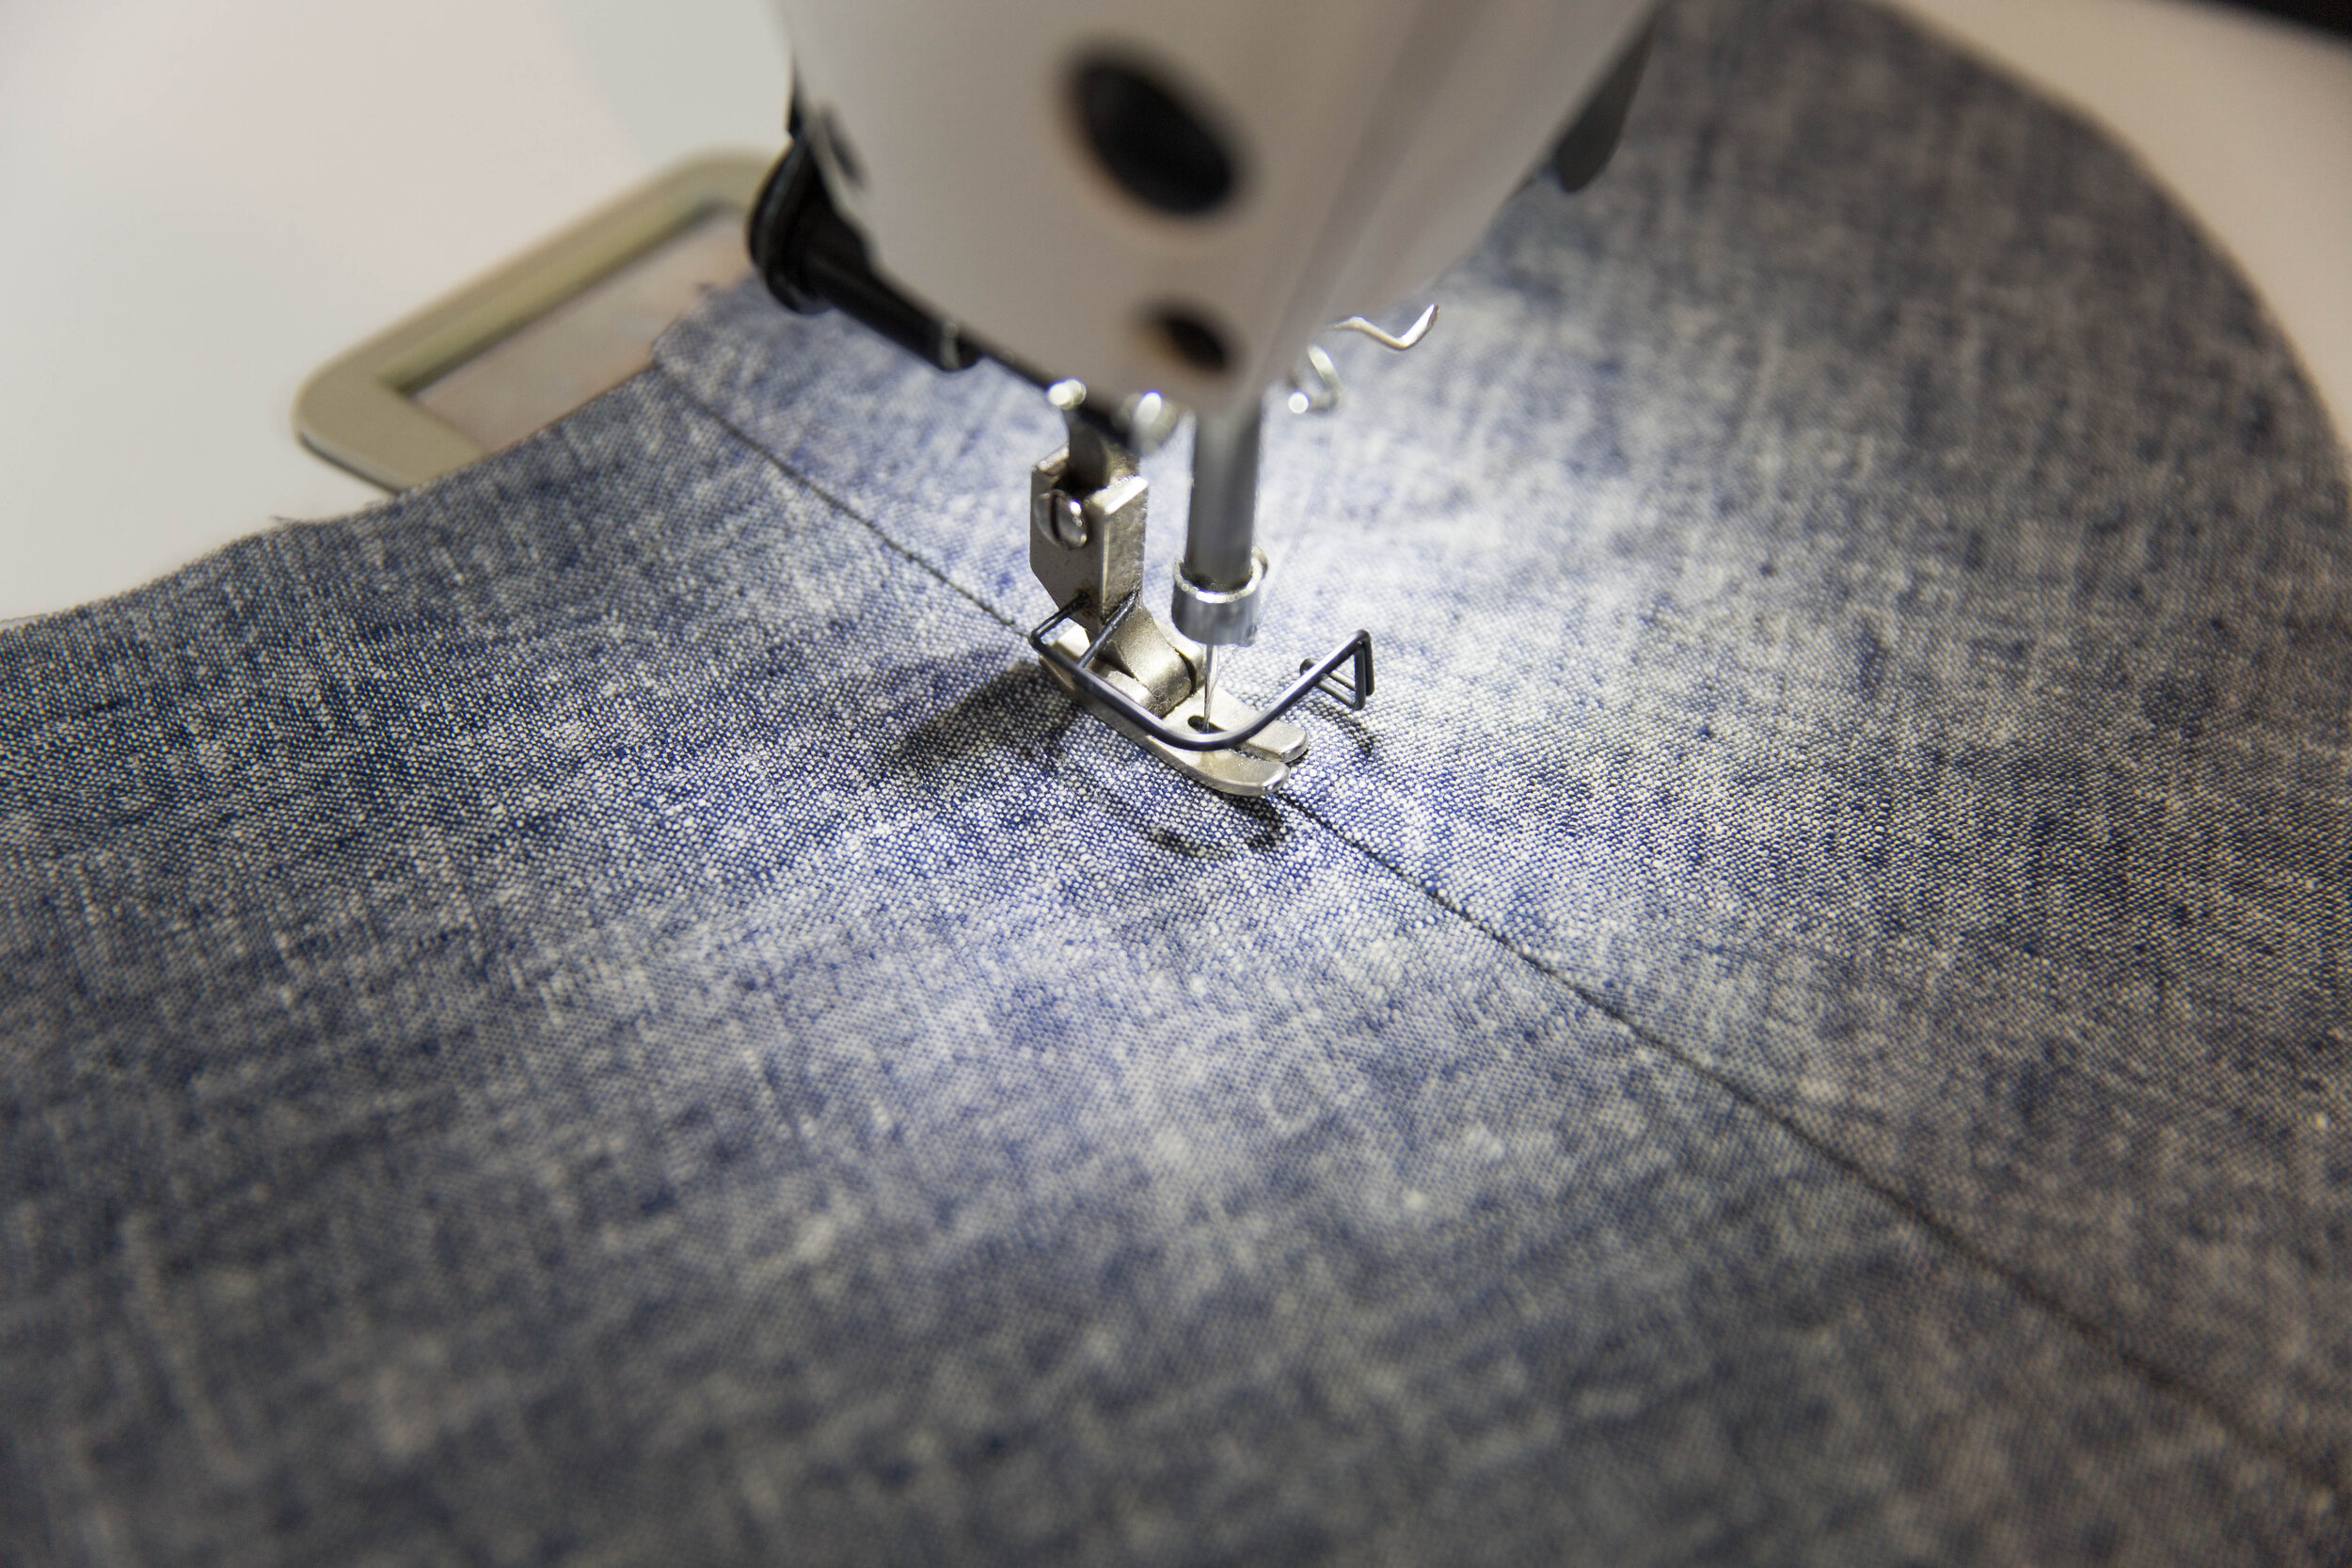
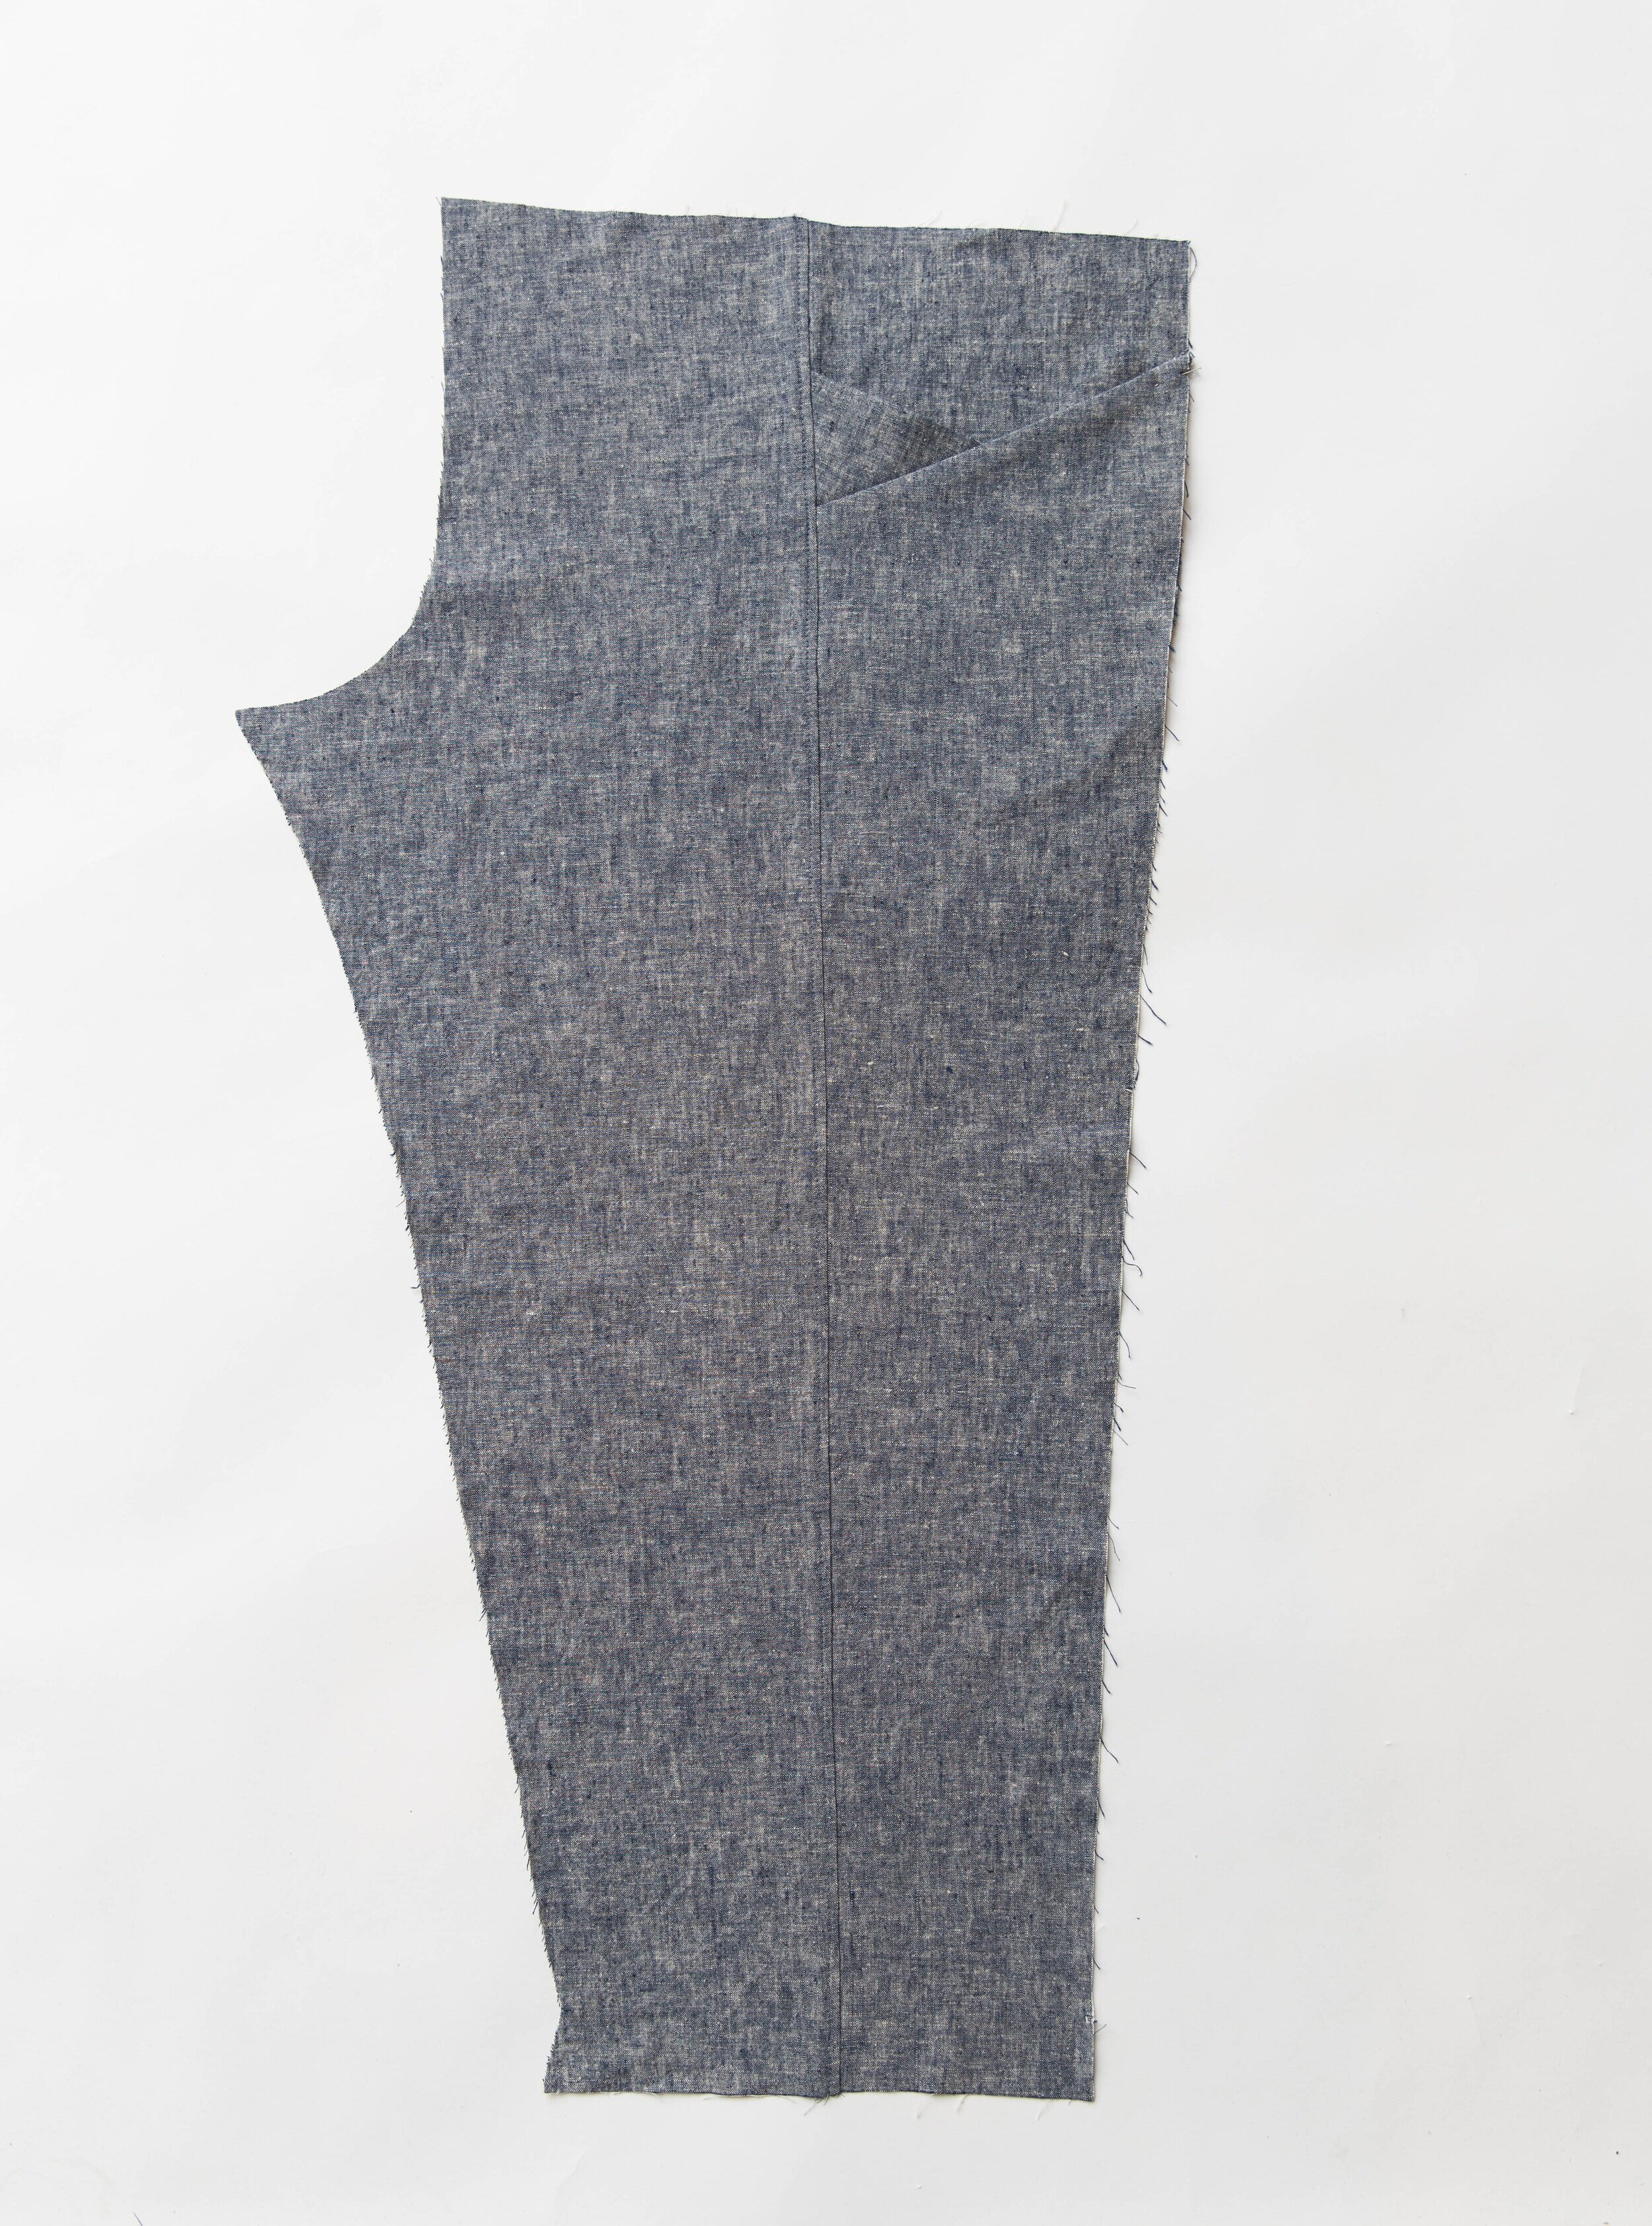
step 6
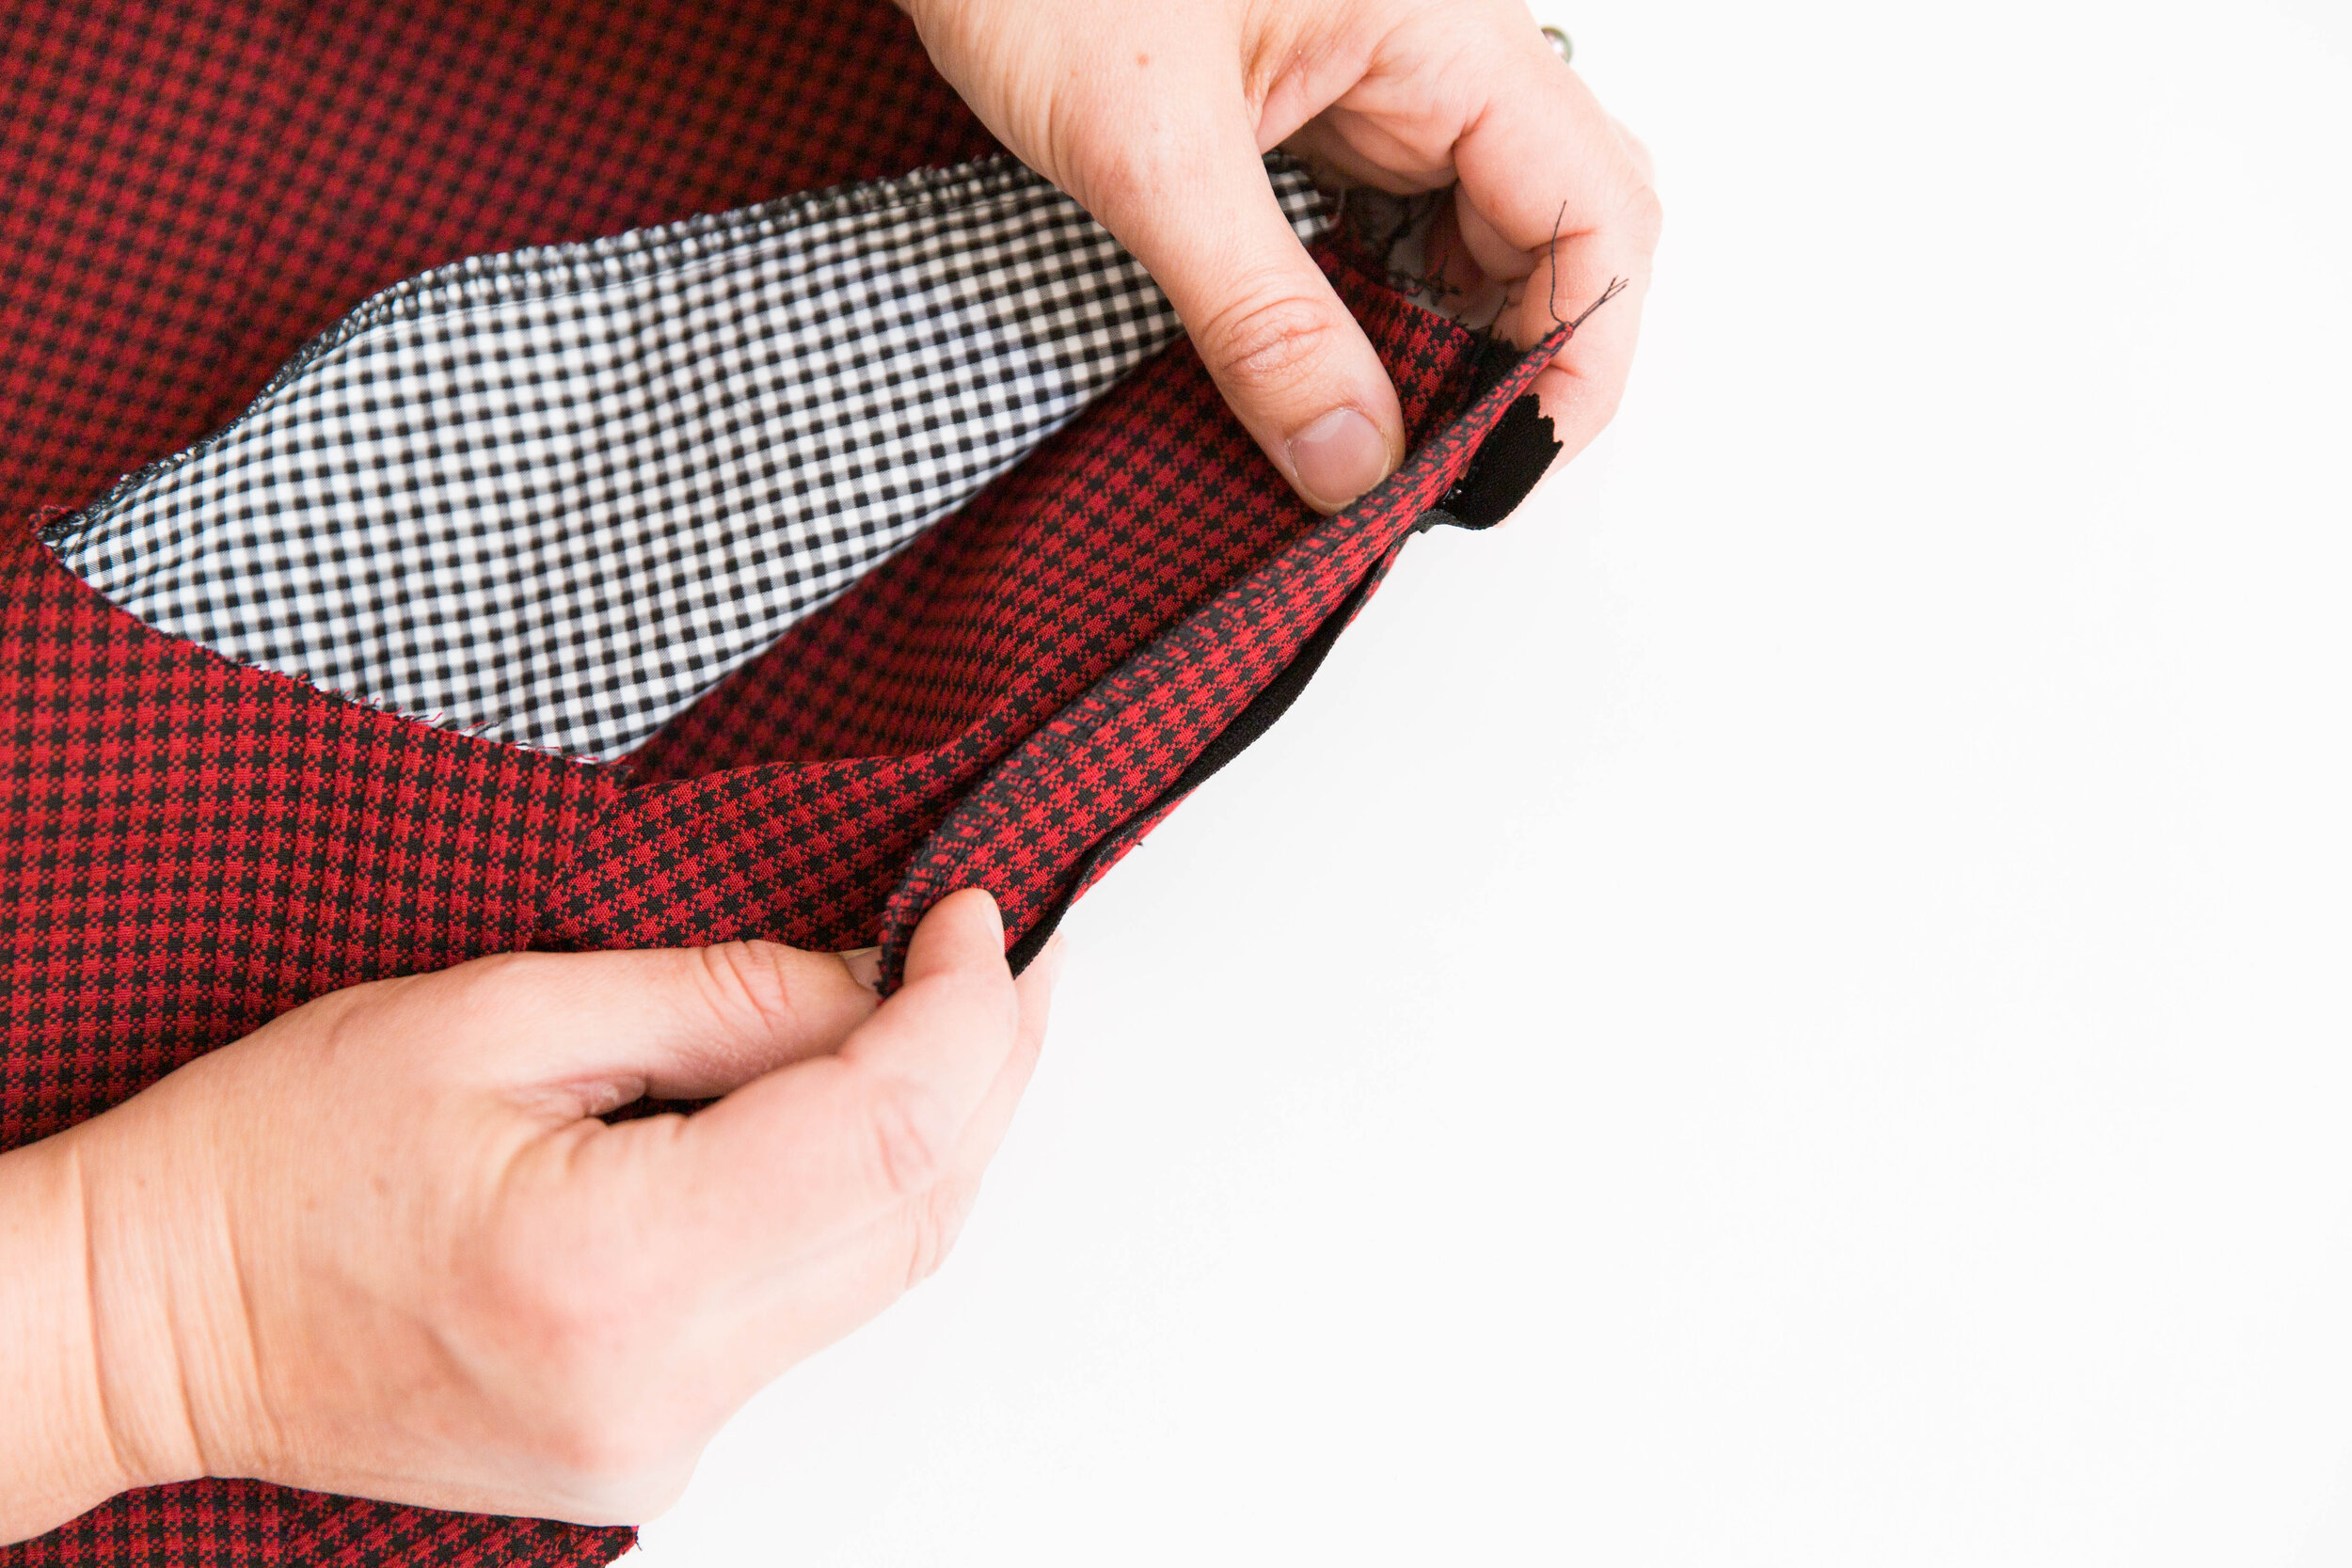
Fold leg panel up out of the way and stitch pocket bags together. Neaten seam. Fold leg panel back down and press.
Repeat steps 2 - 6 for other leg.
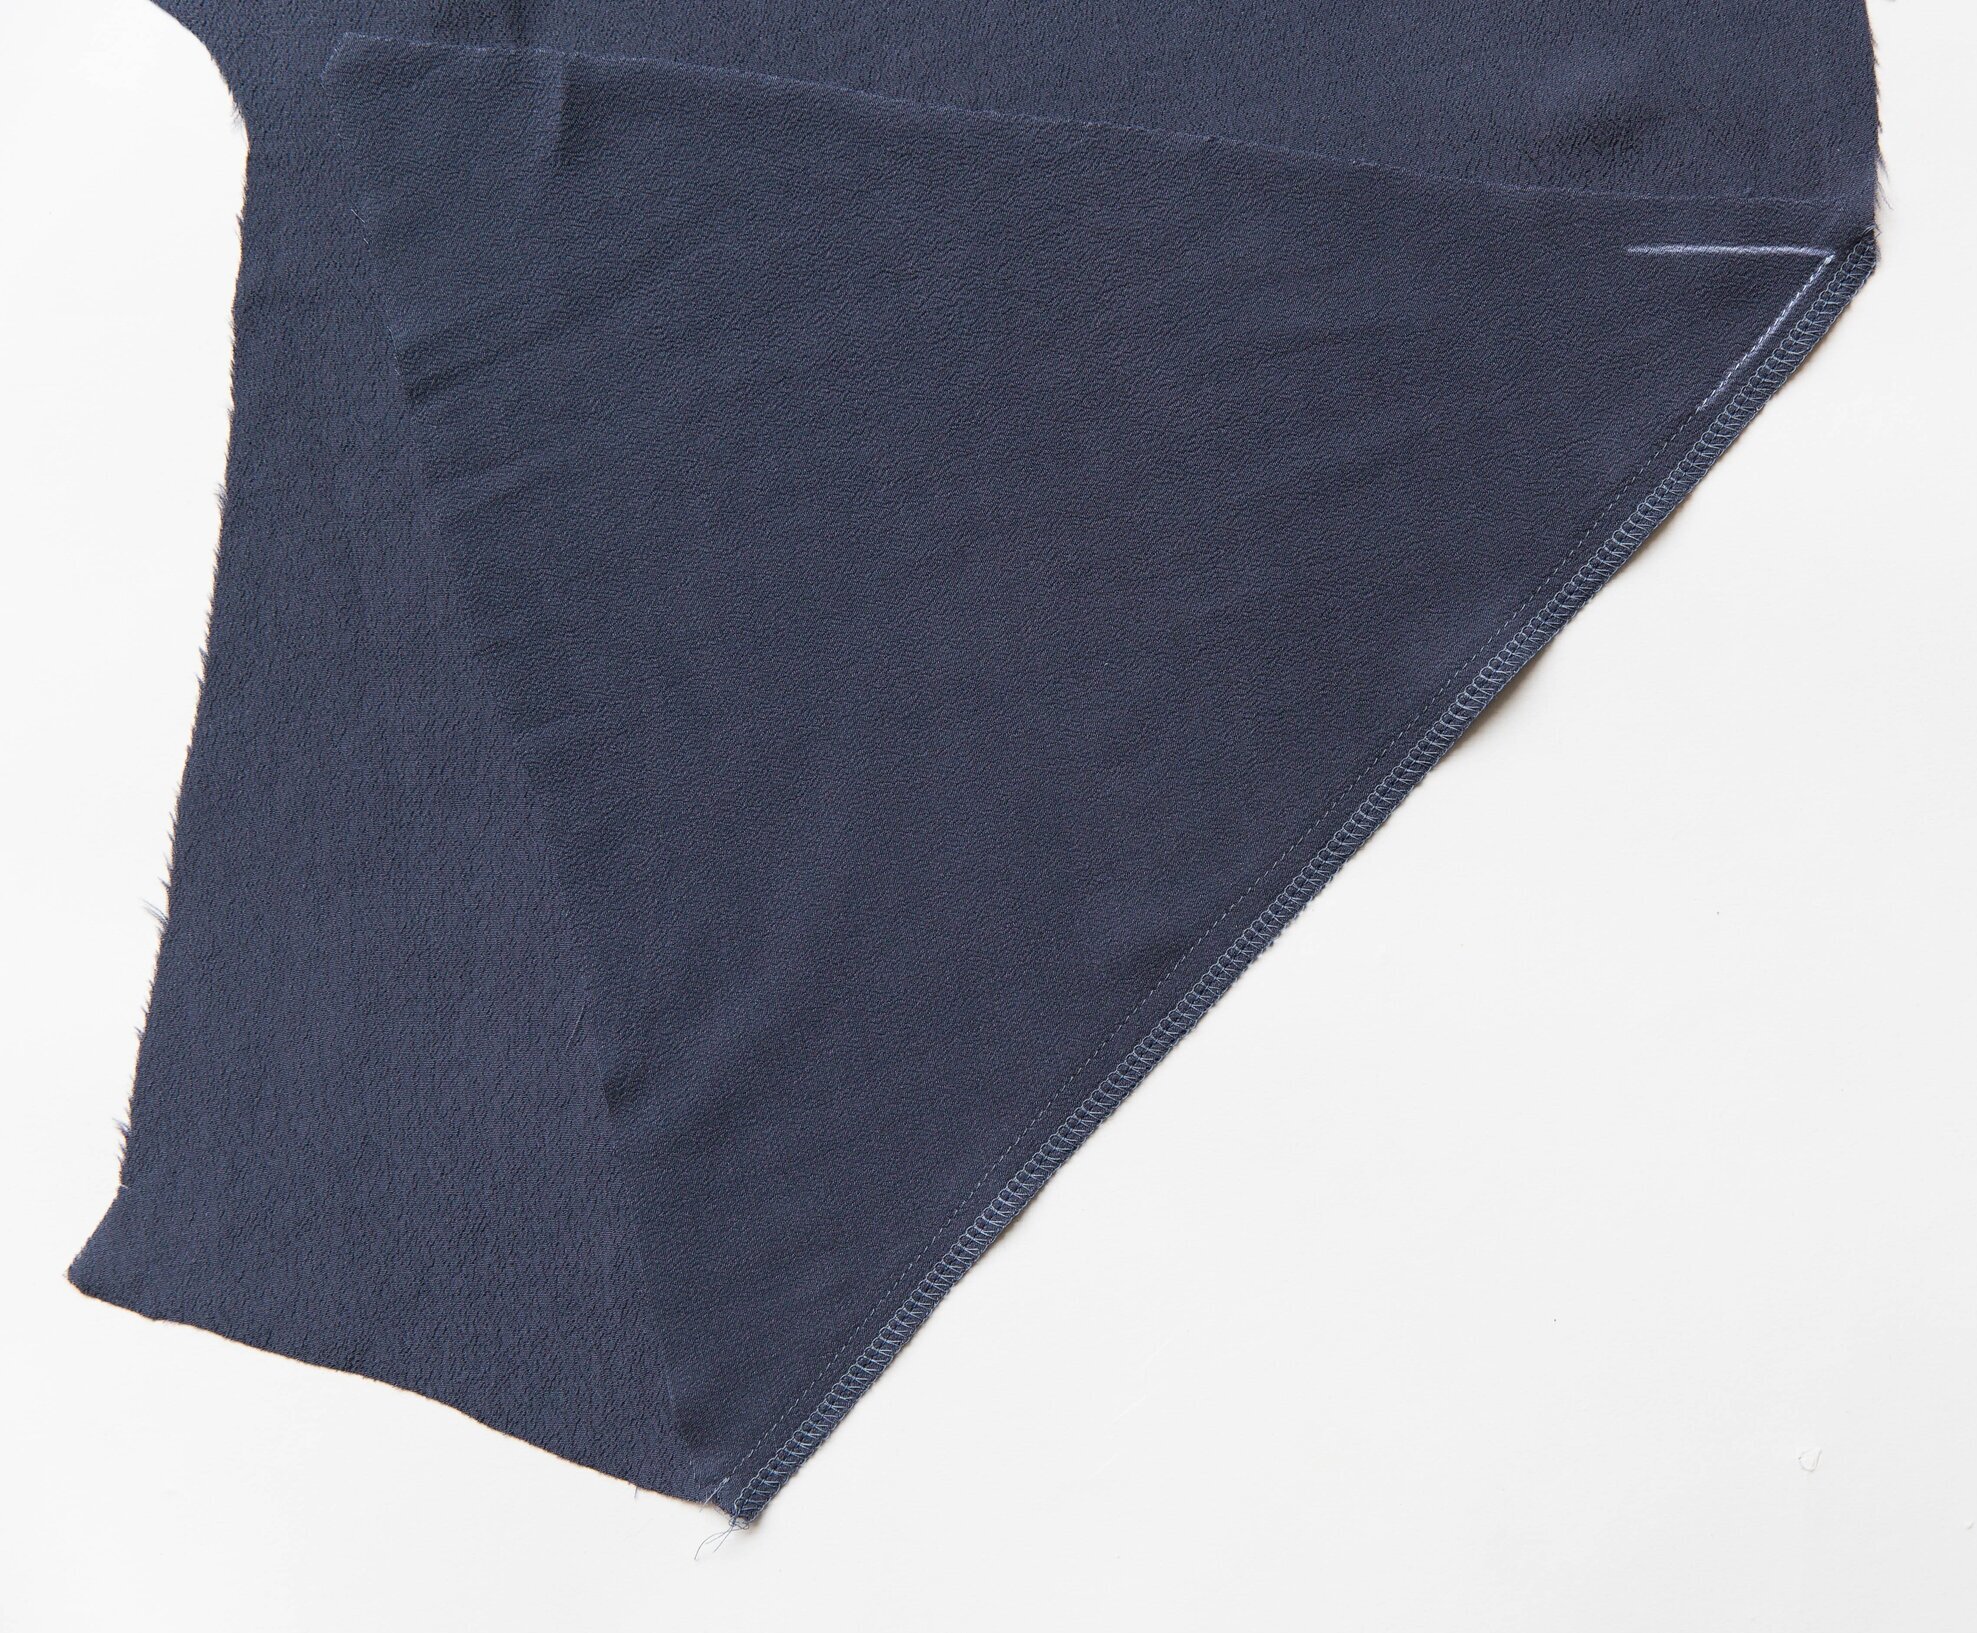
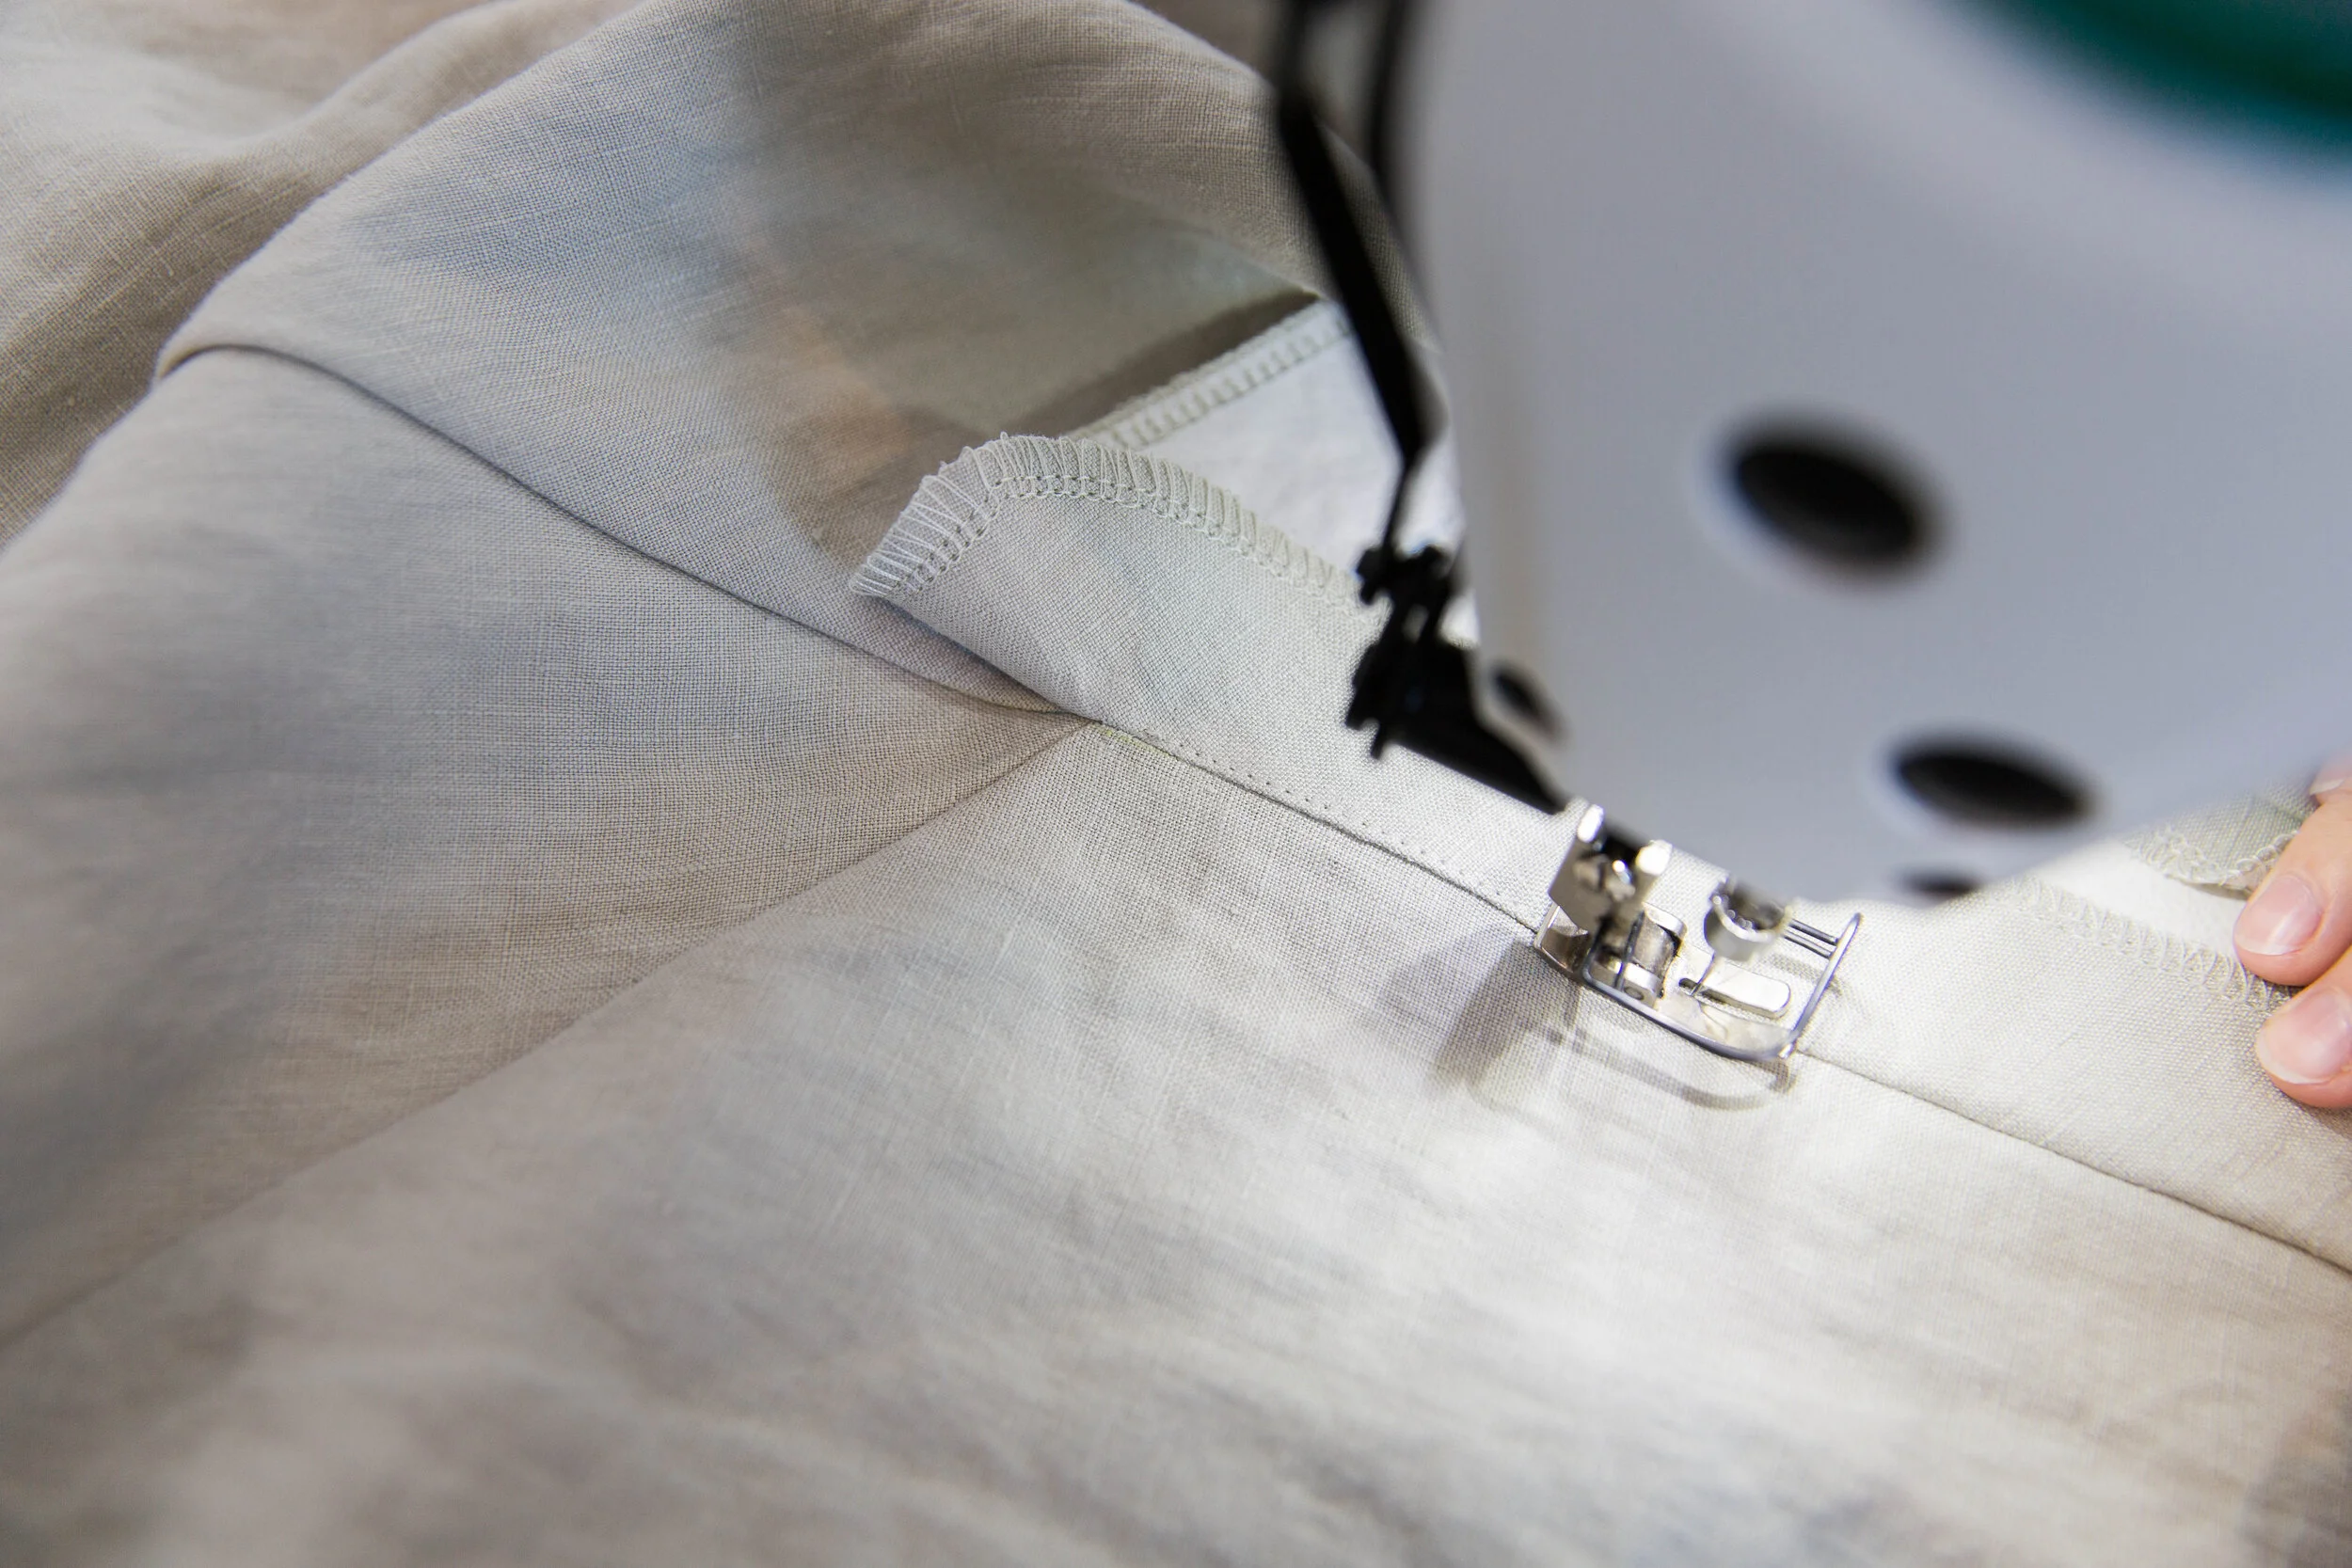
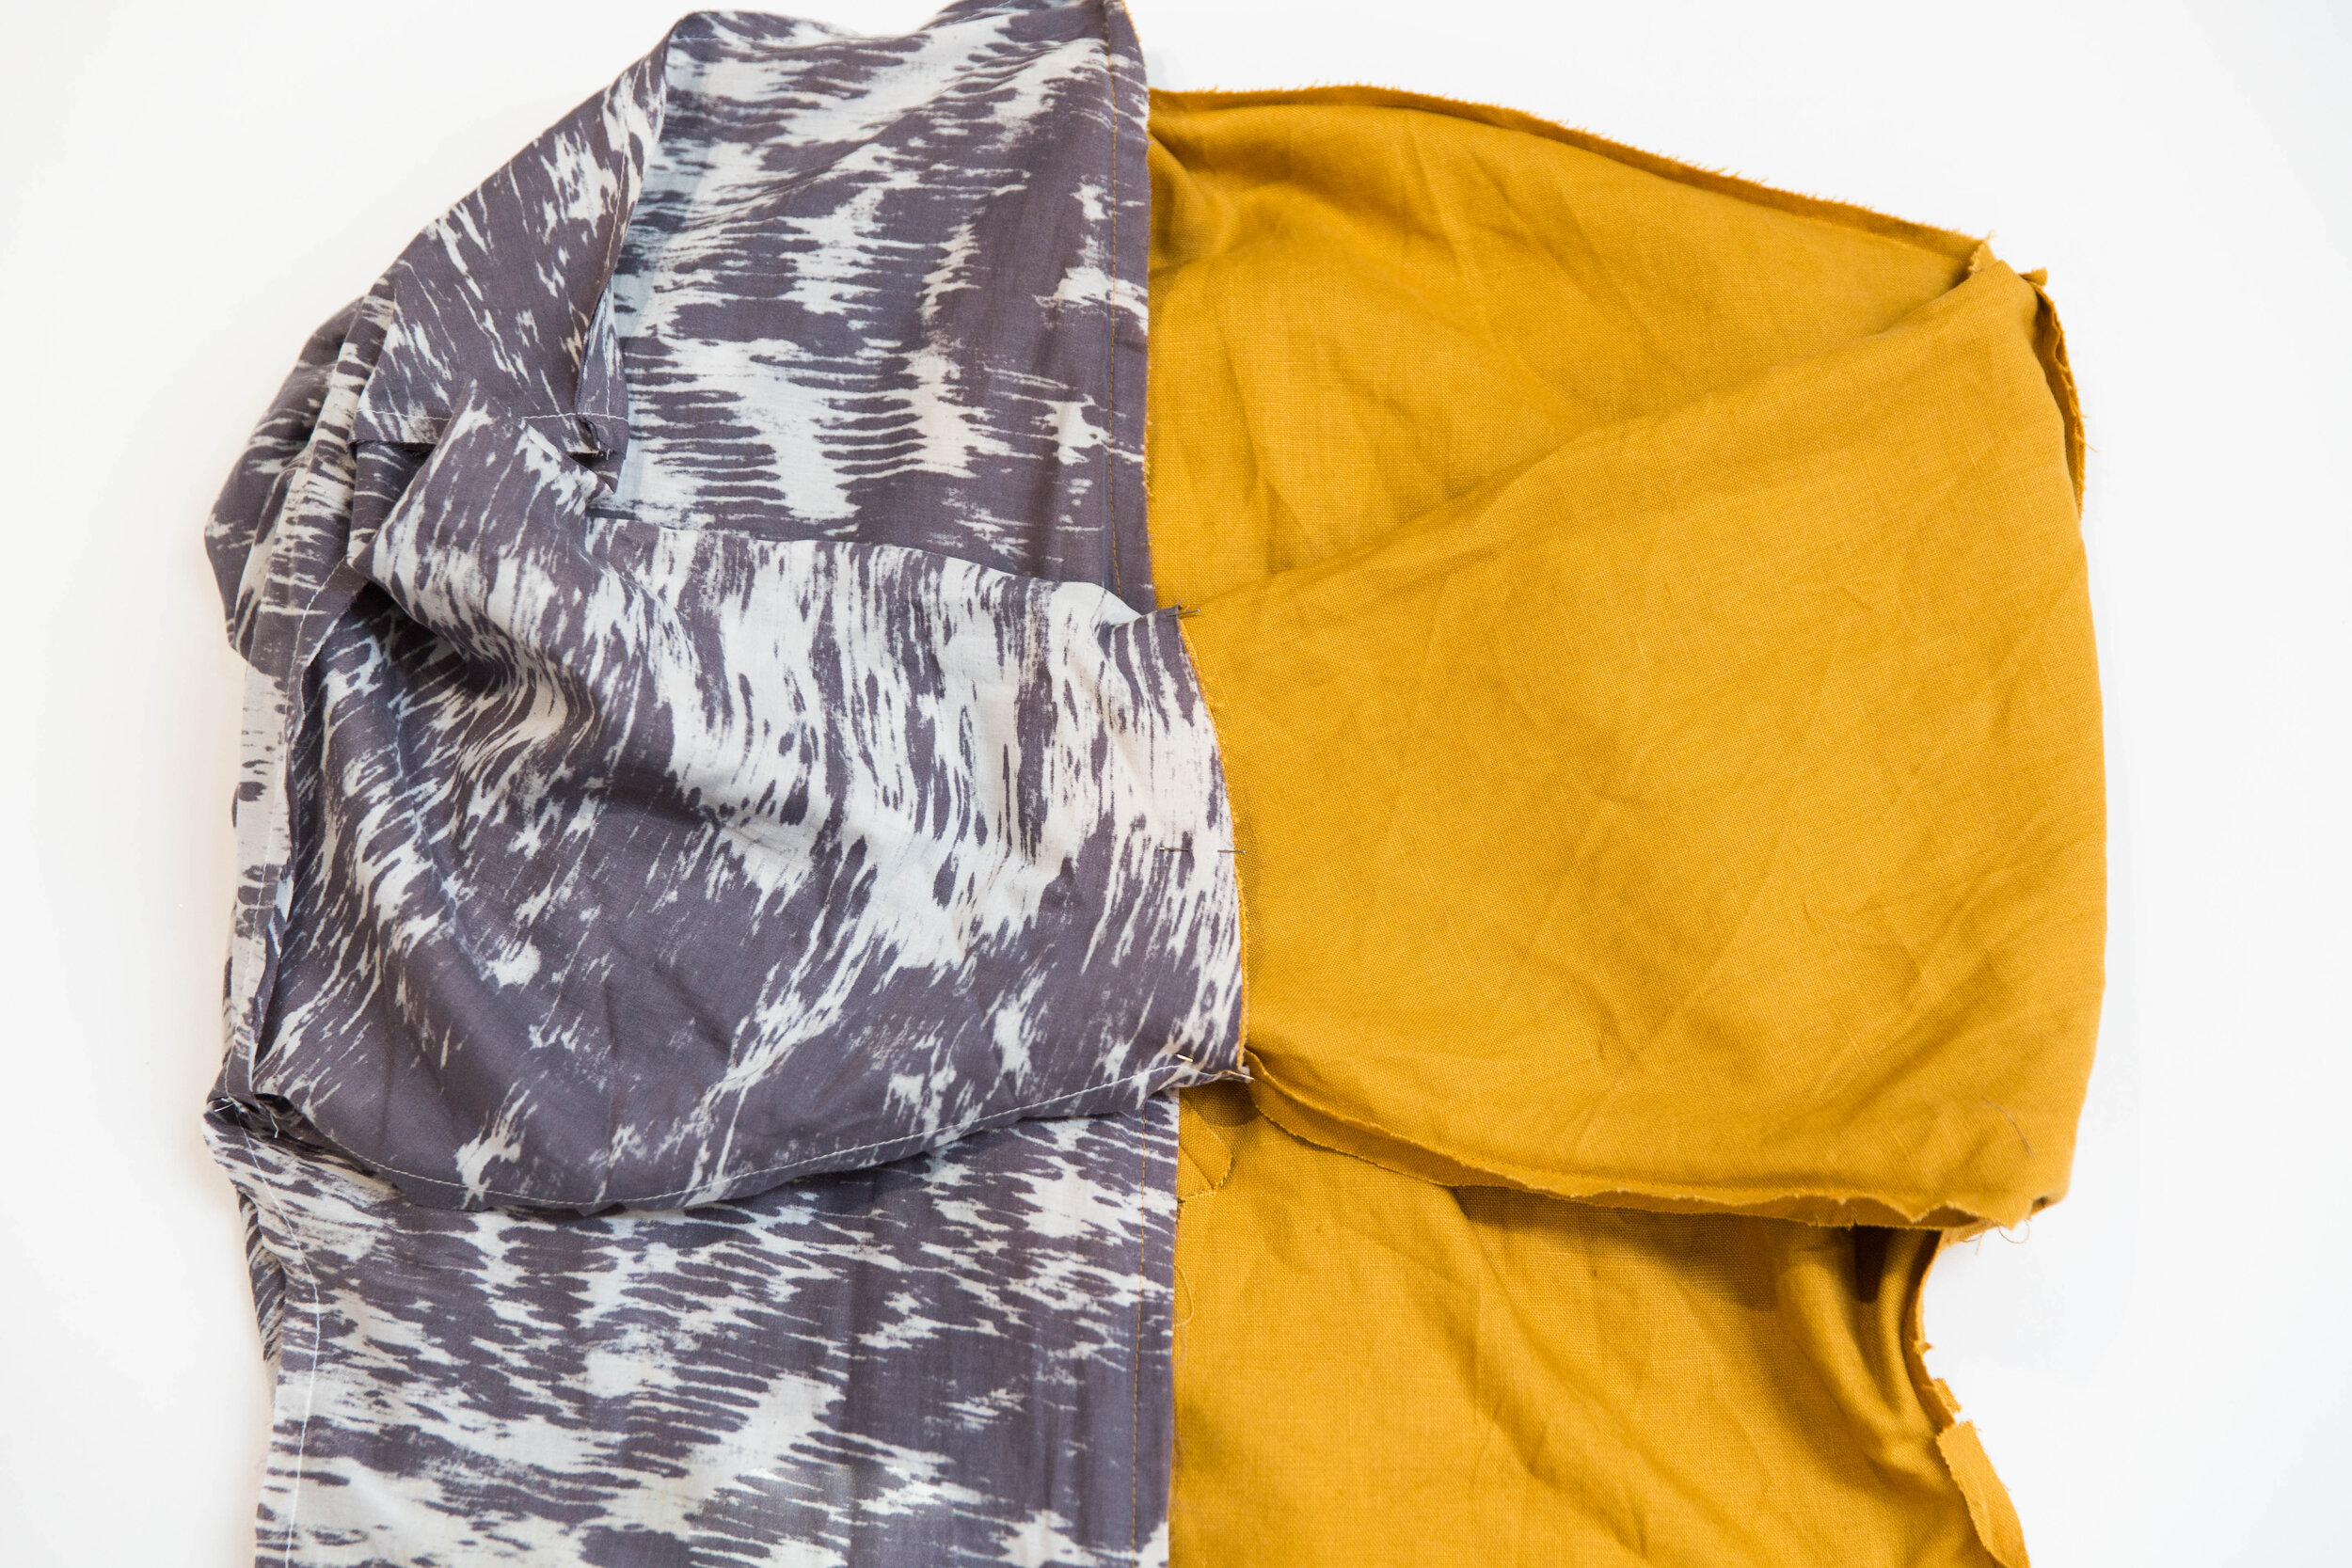
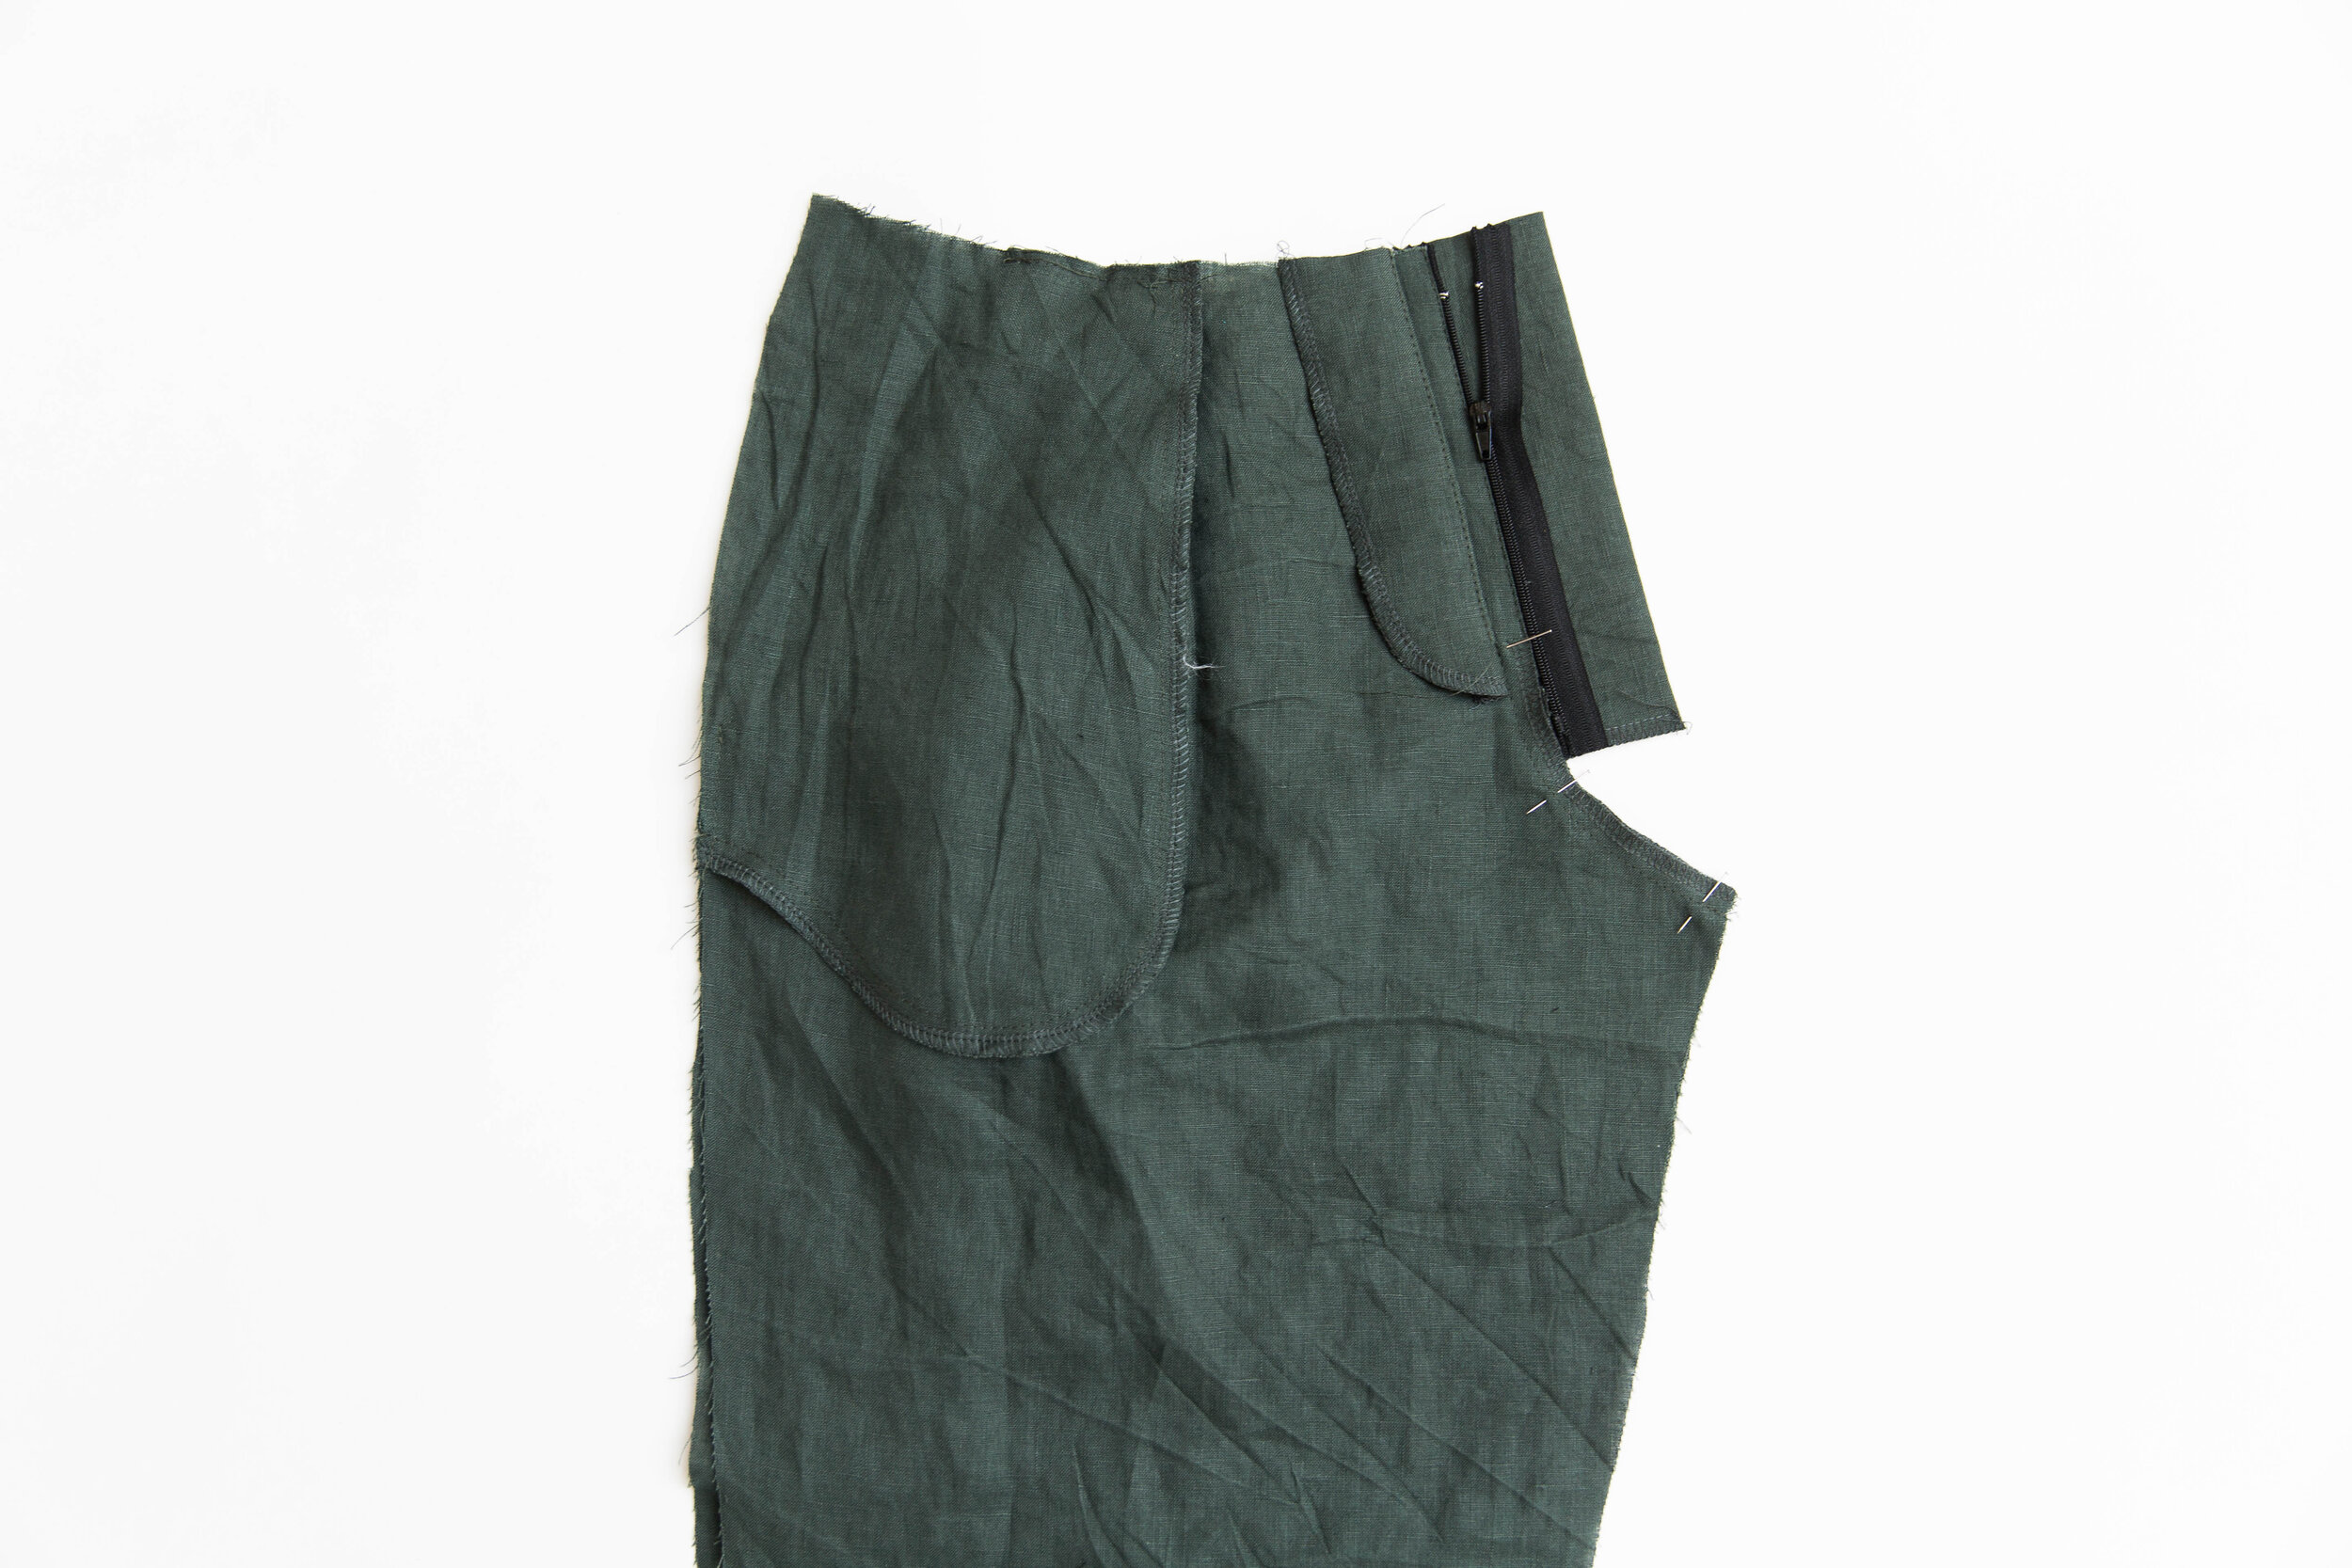
step 7
Pin back leg and side leg panels together with right sides facing. Stitch together. Neaten seam. Press seam allowance toward back leg. Topstitch seam. Repeat for other leg.

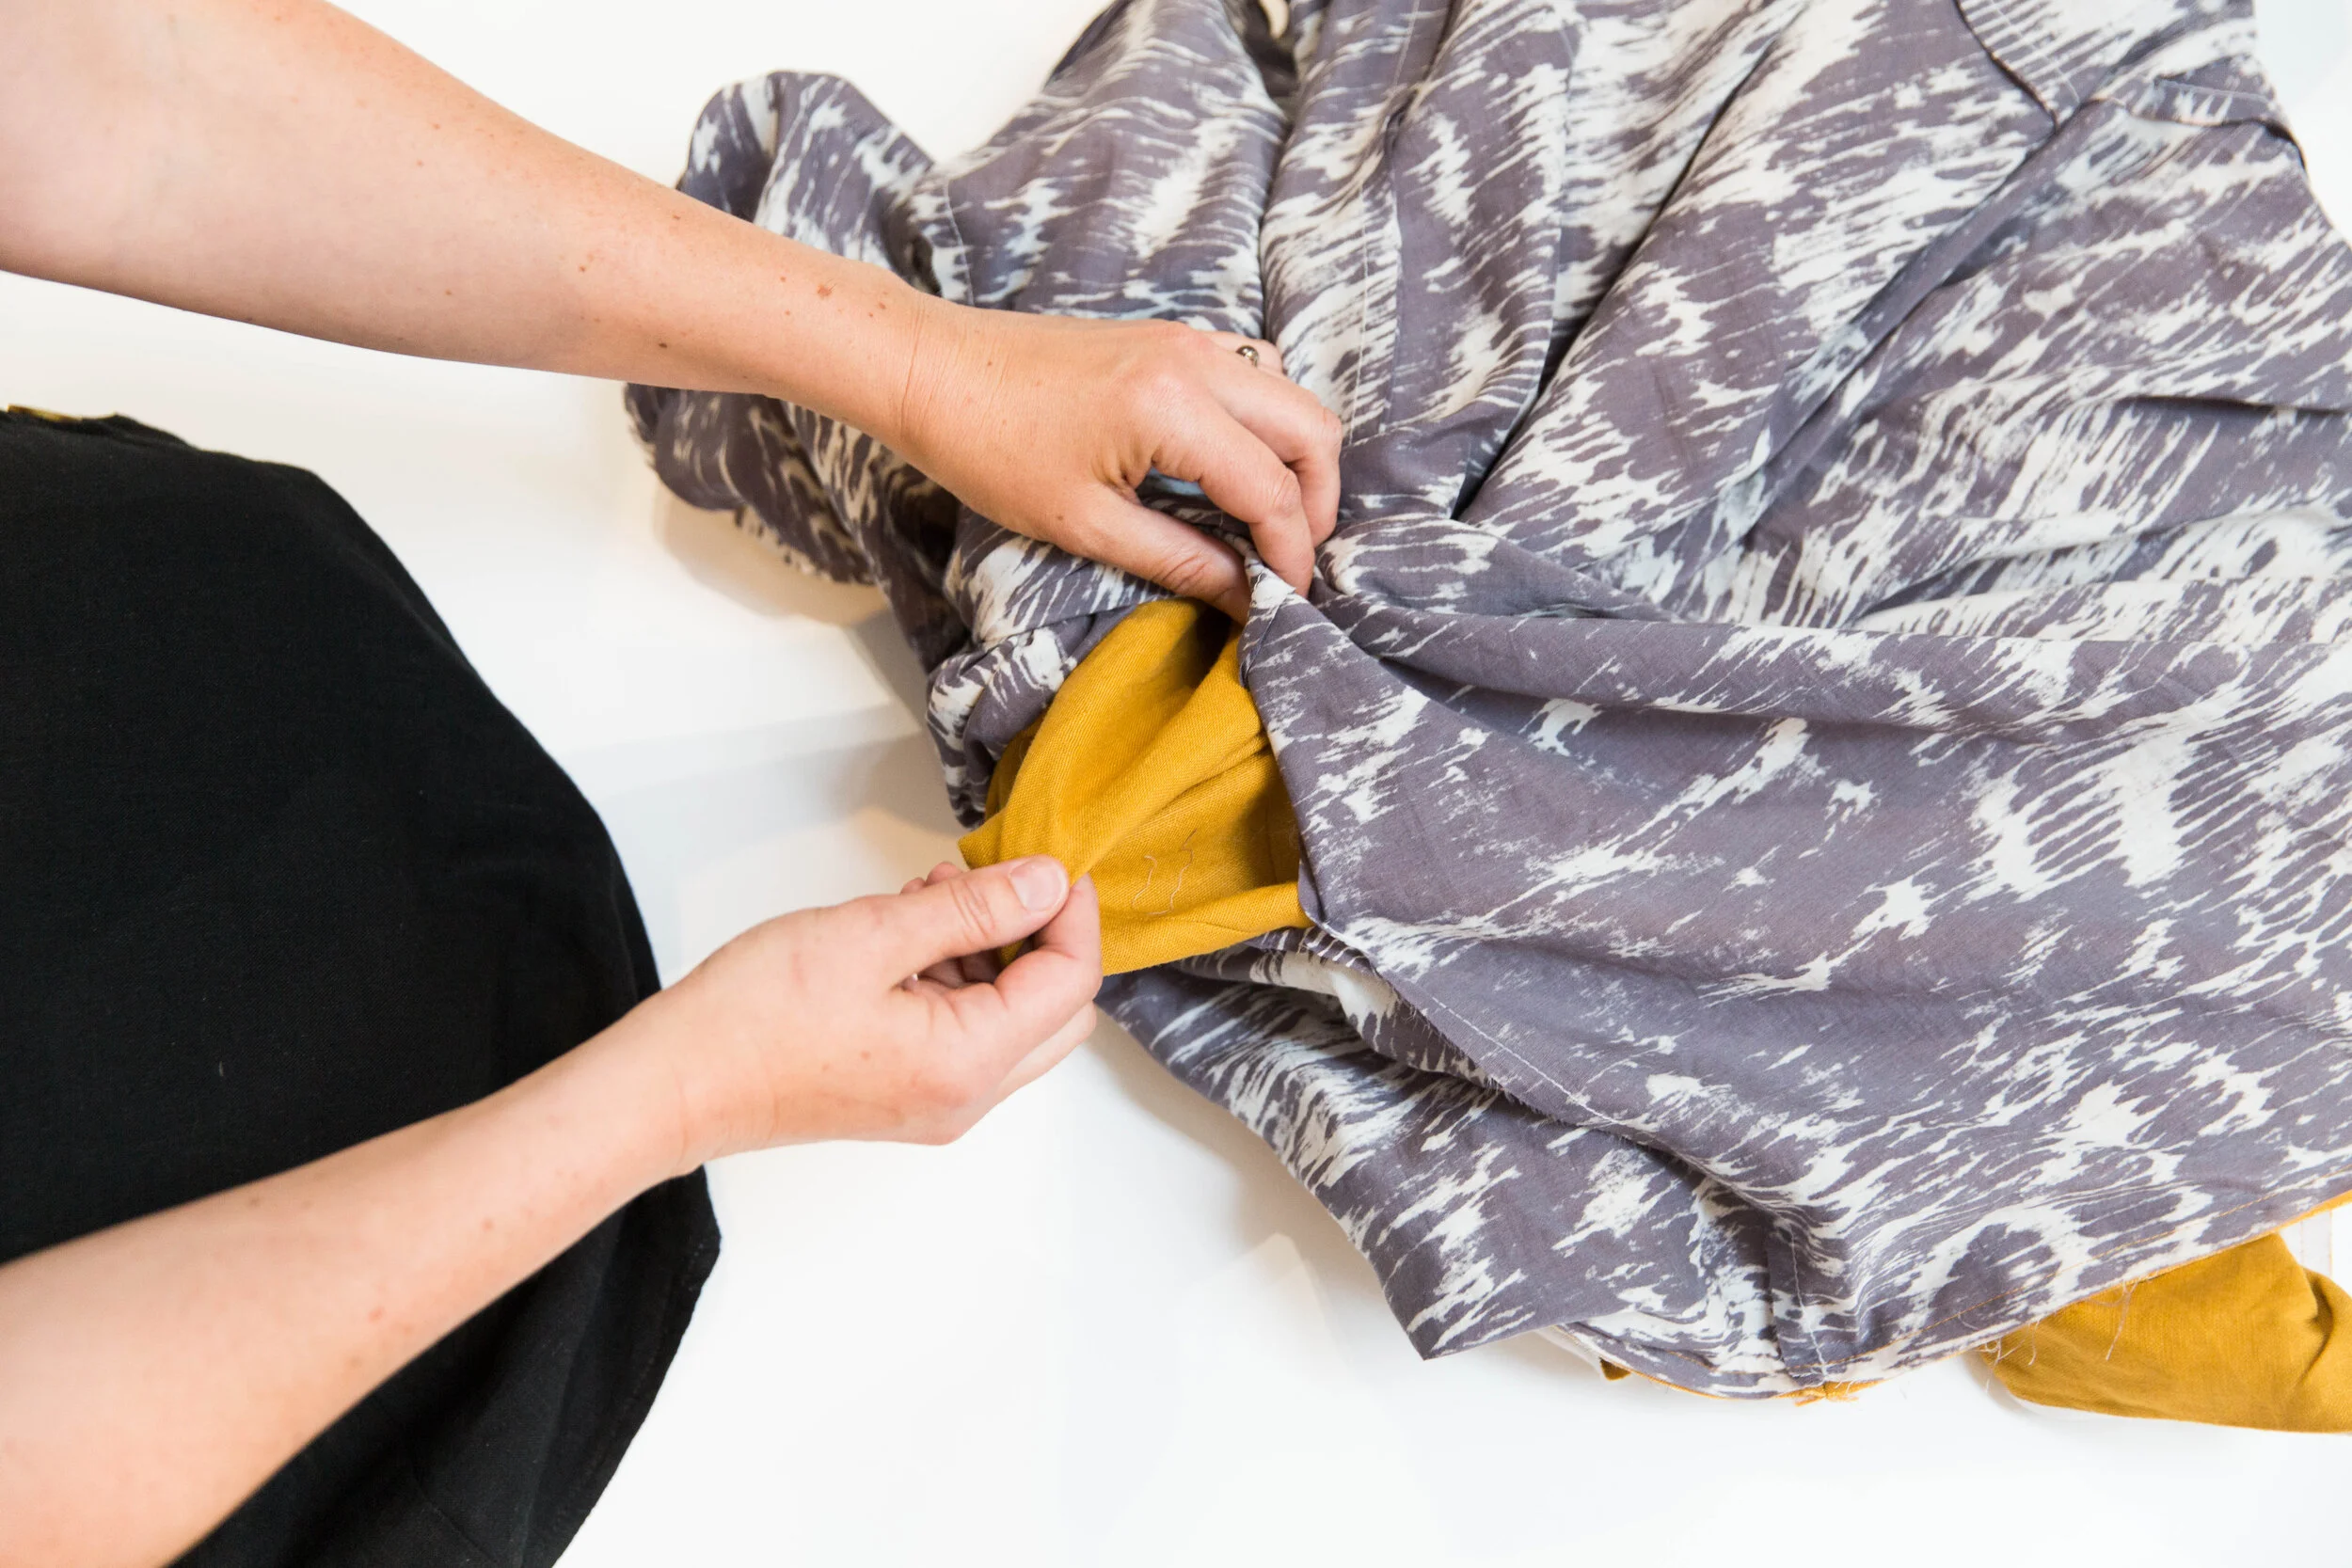
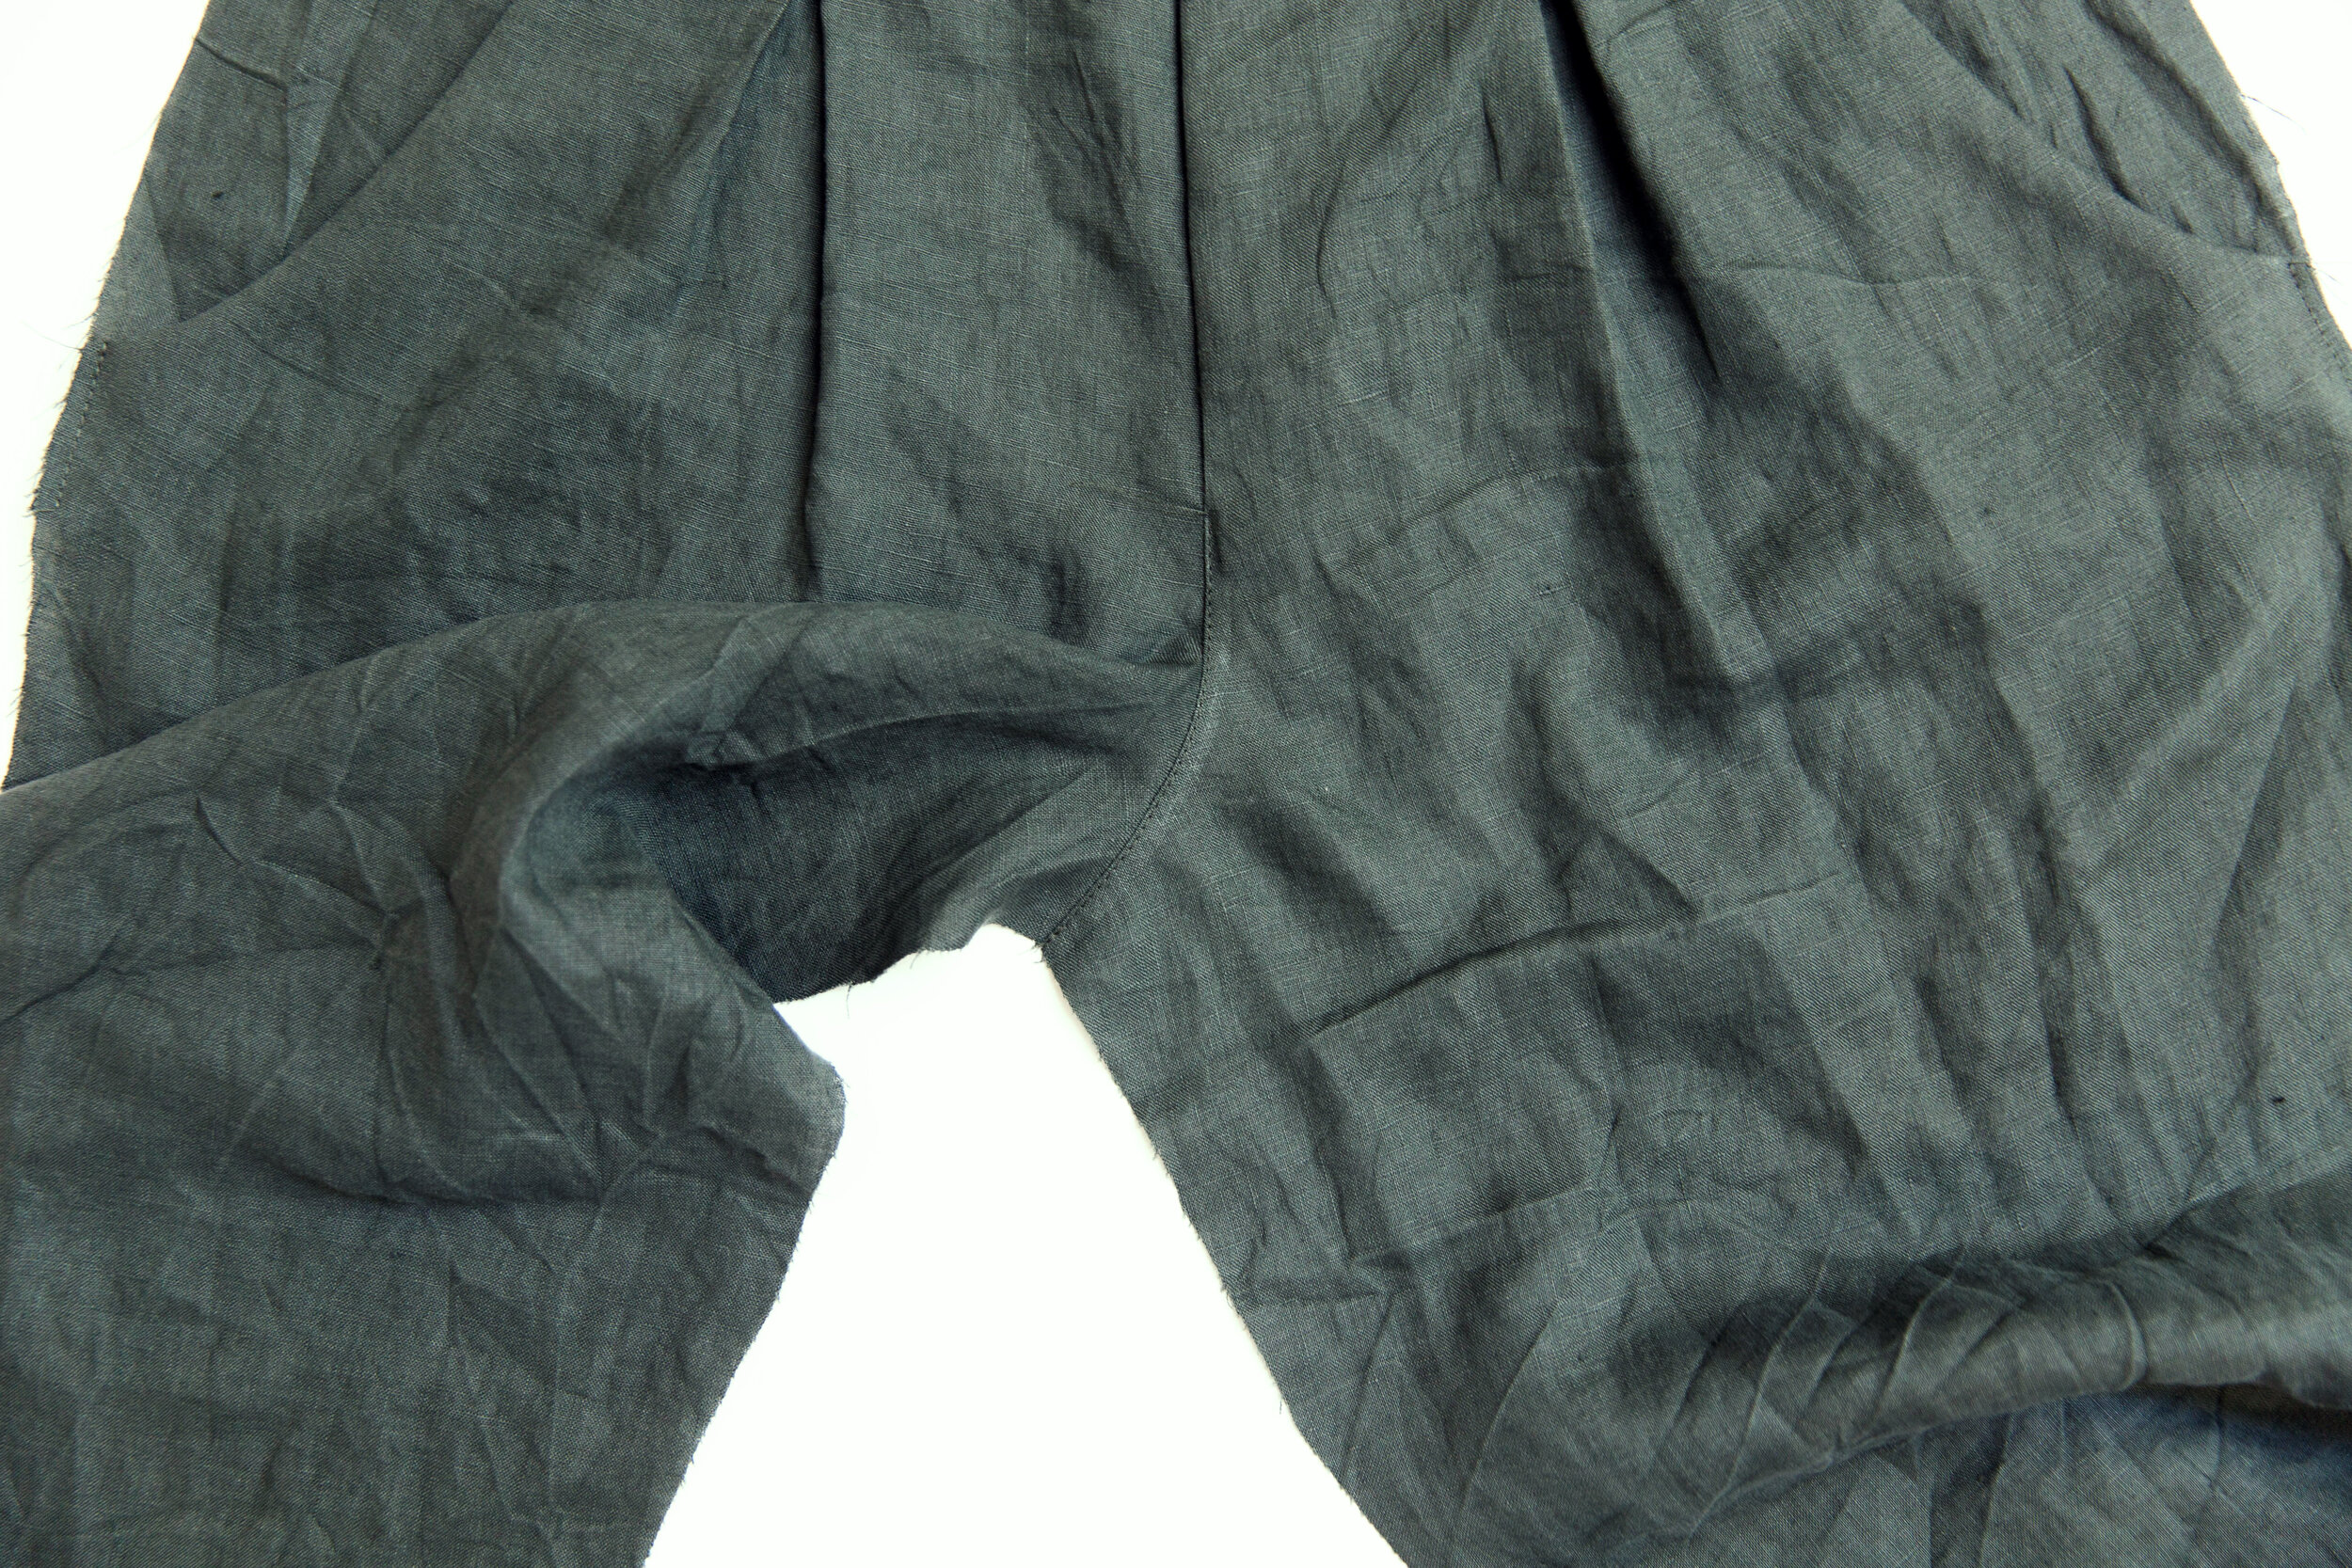
step 8
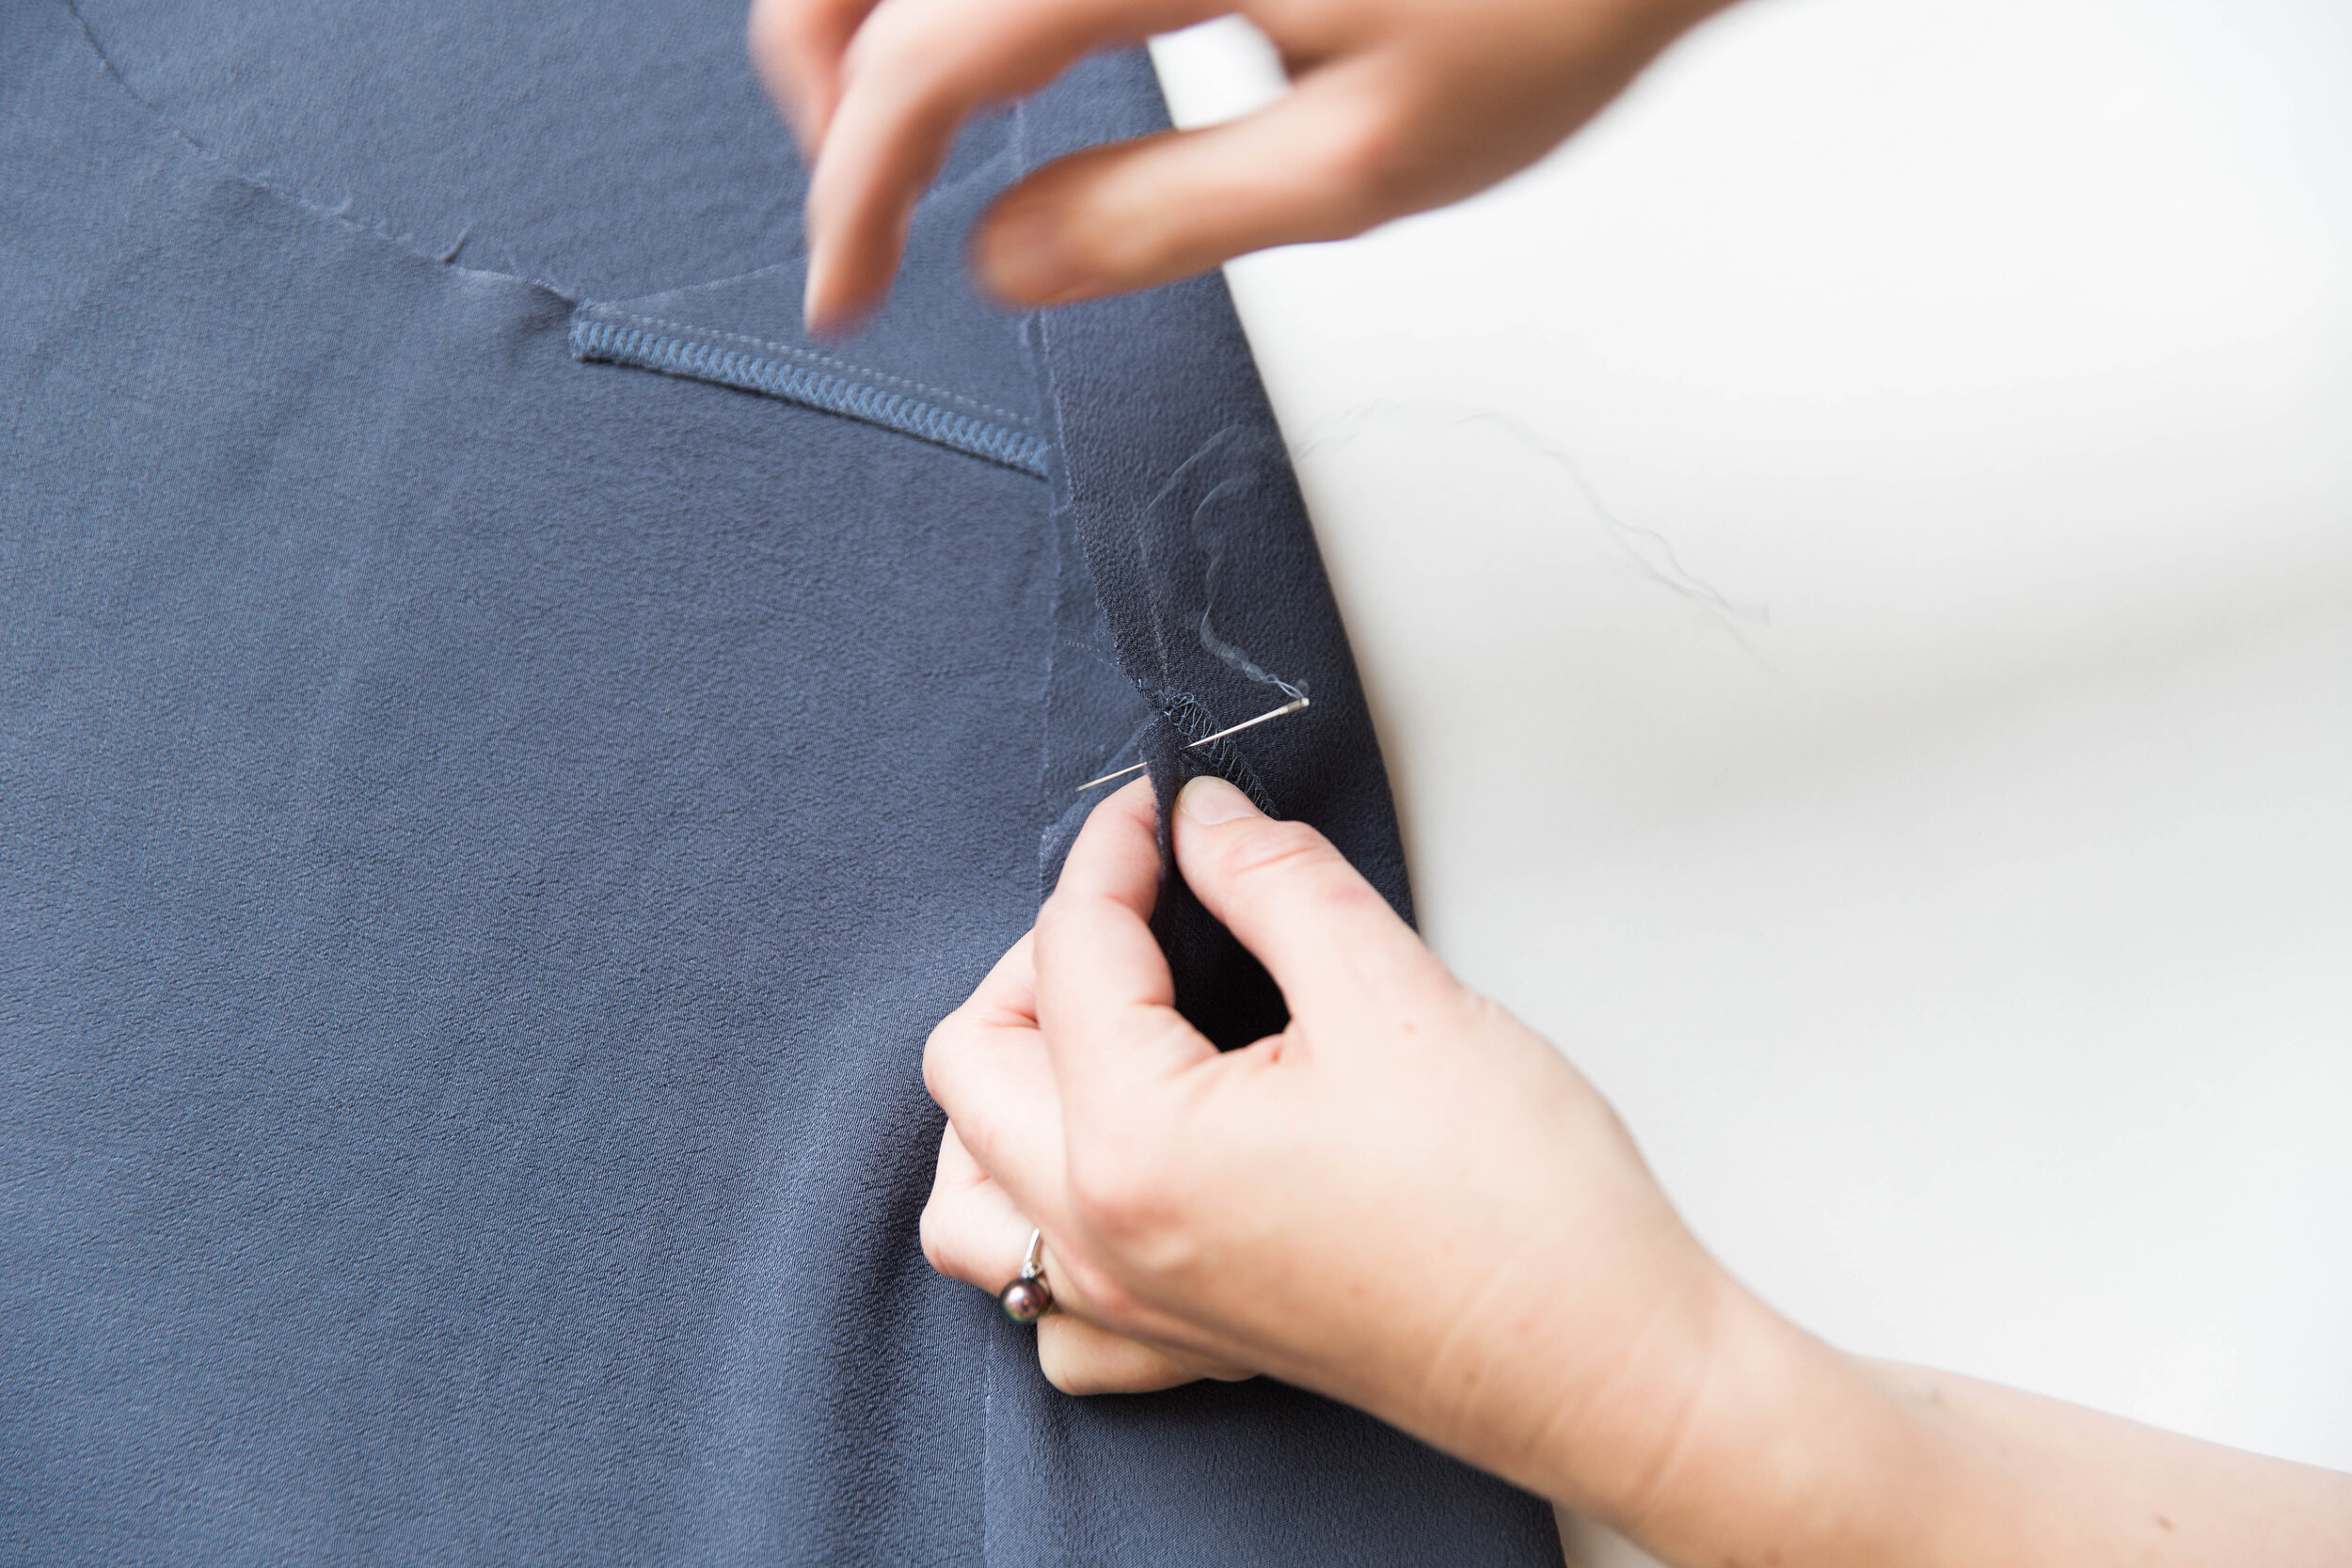
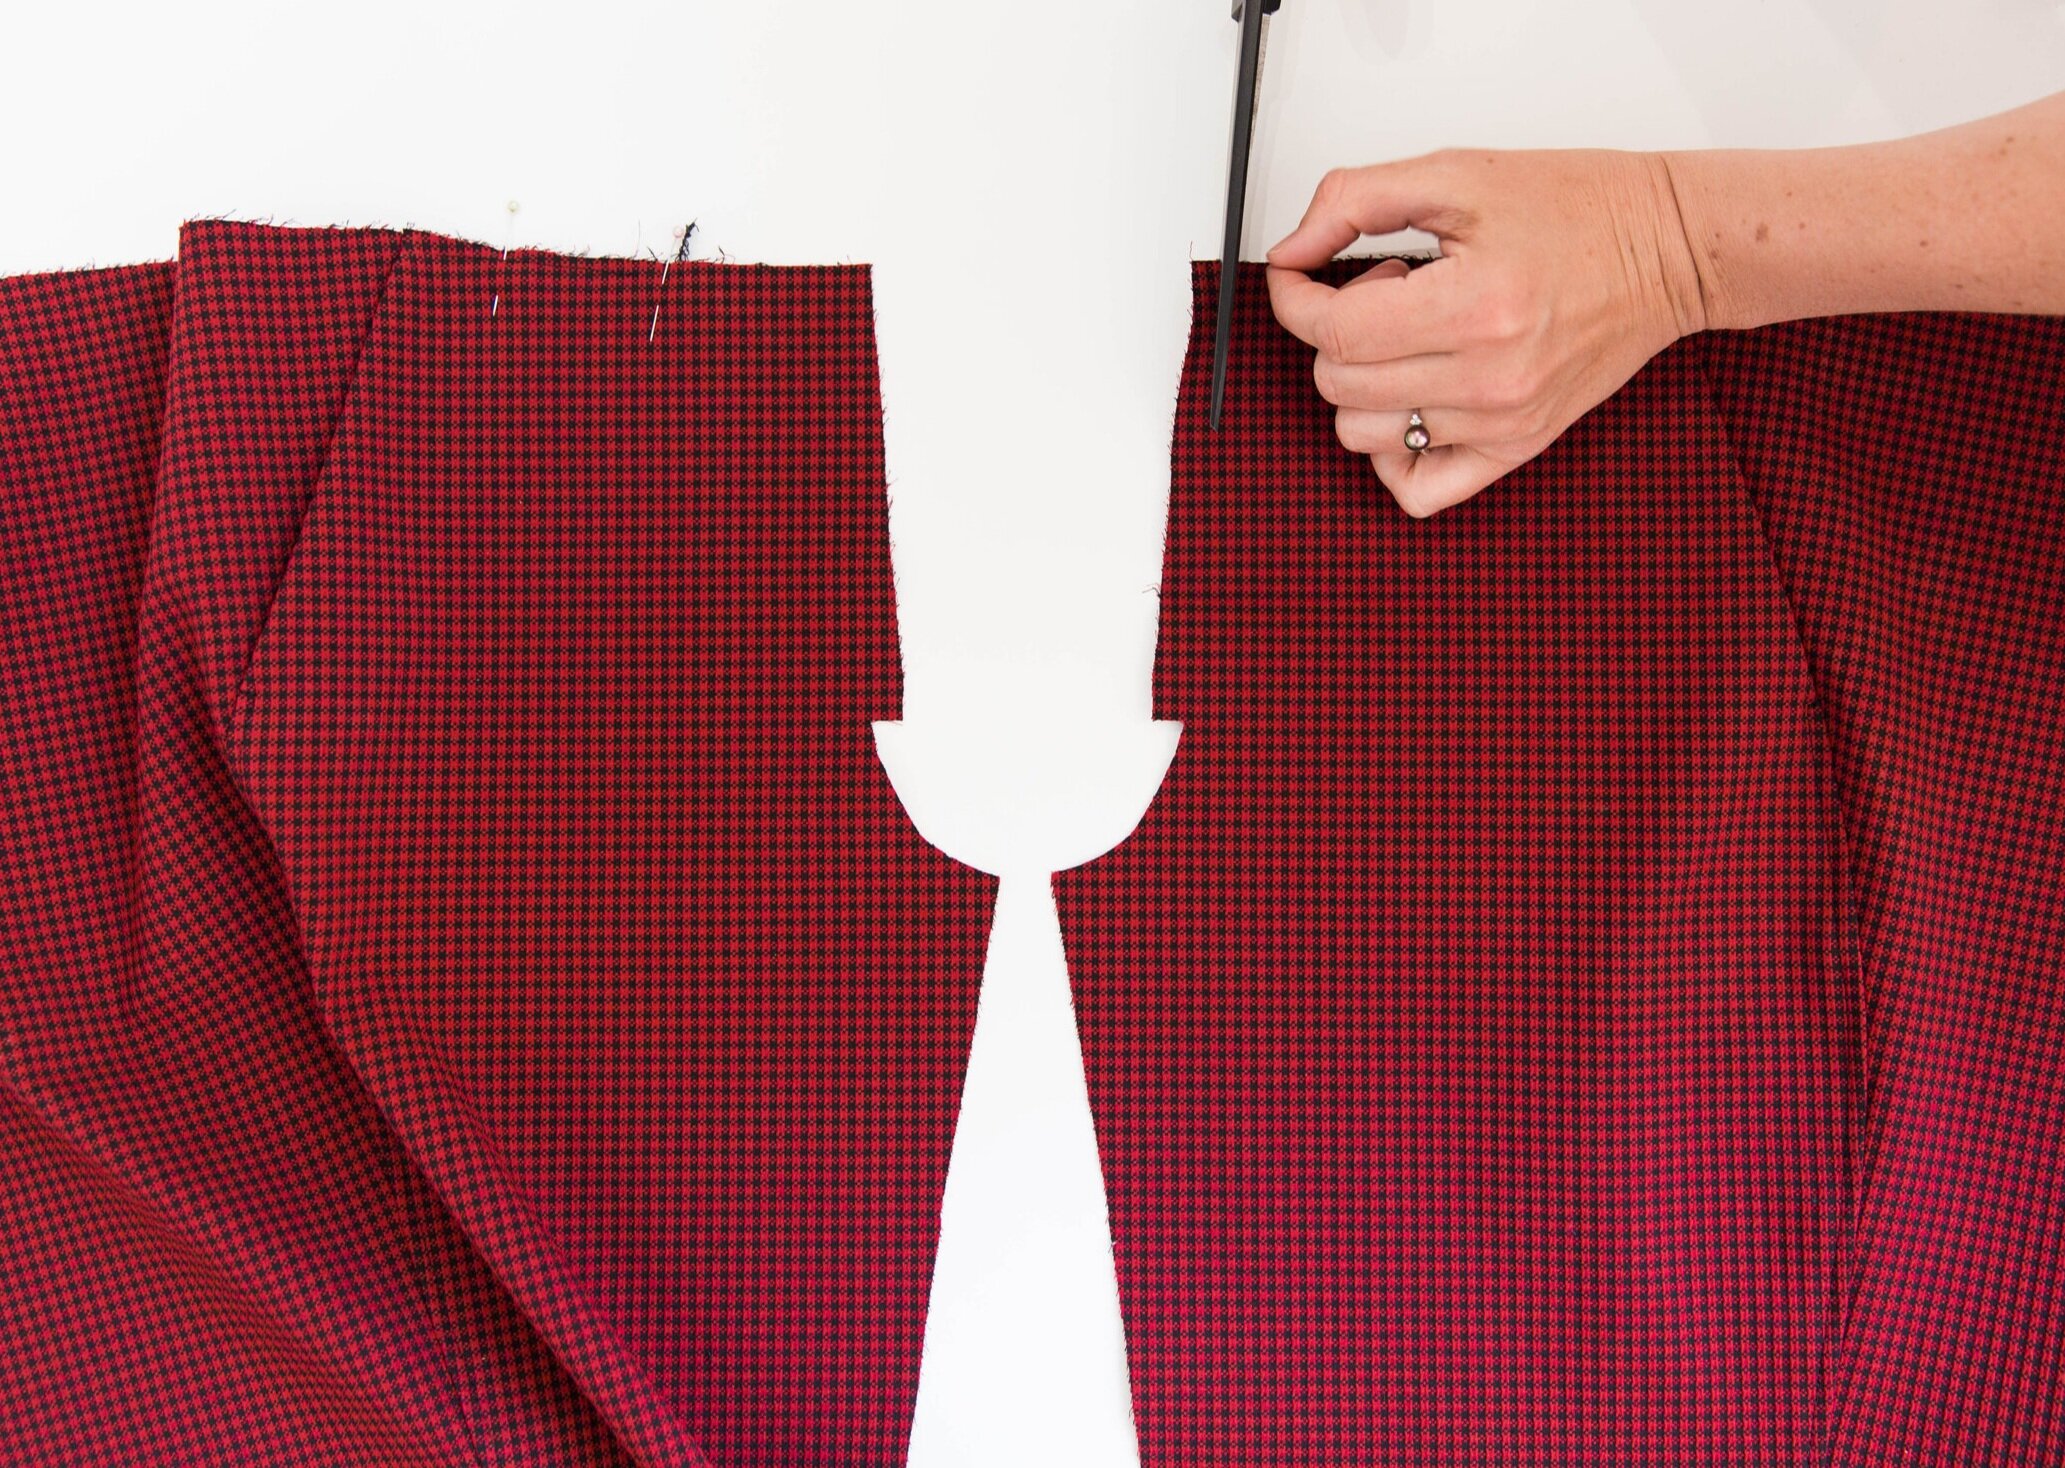
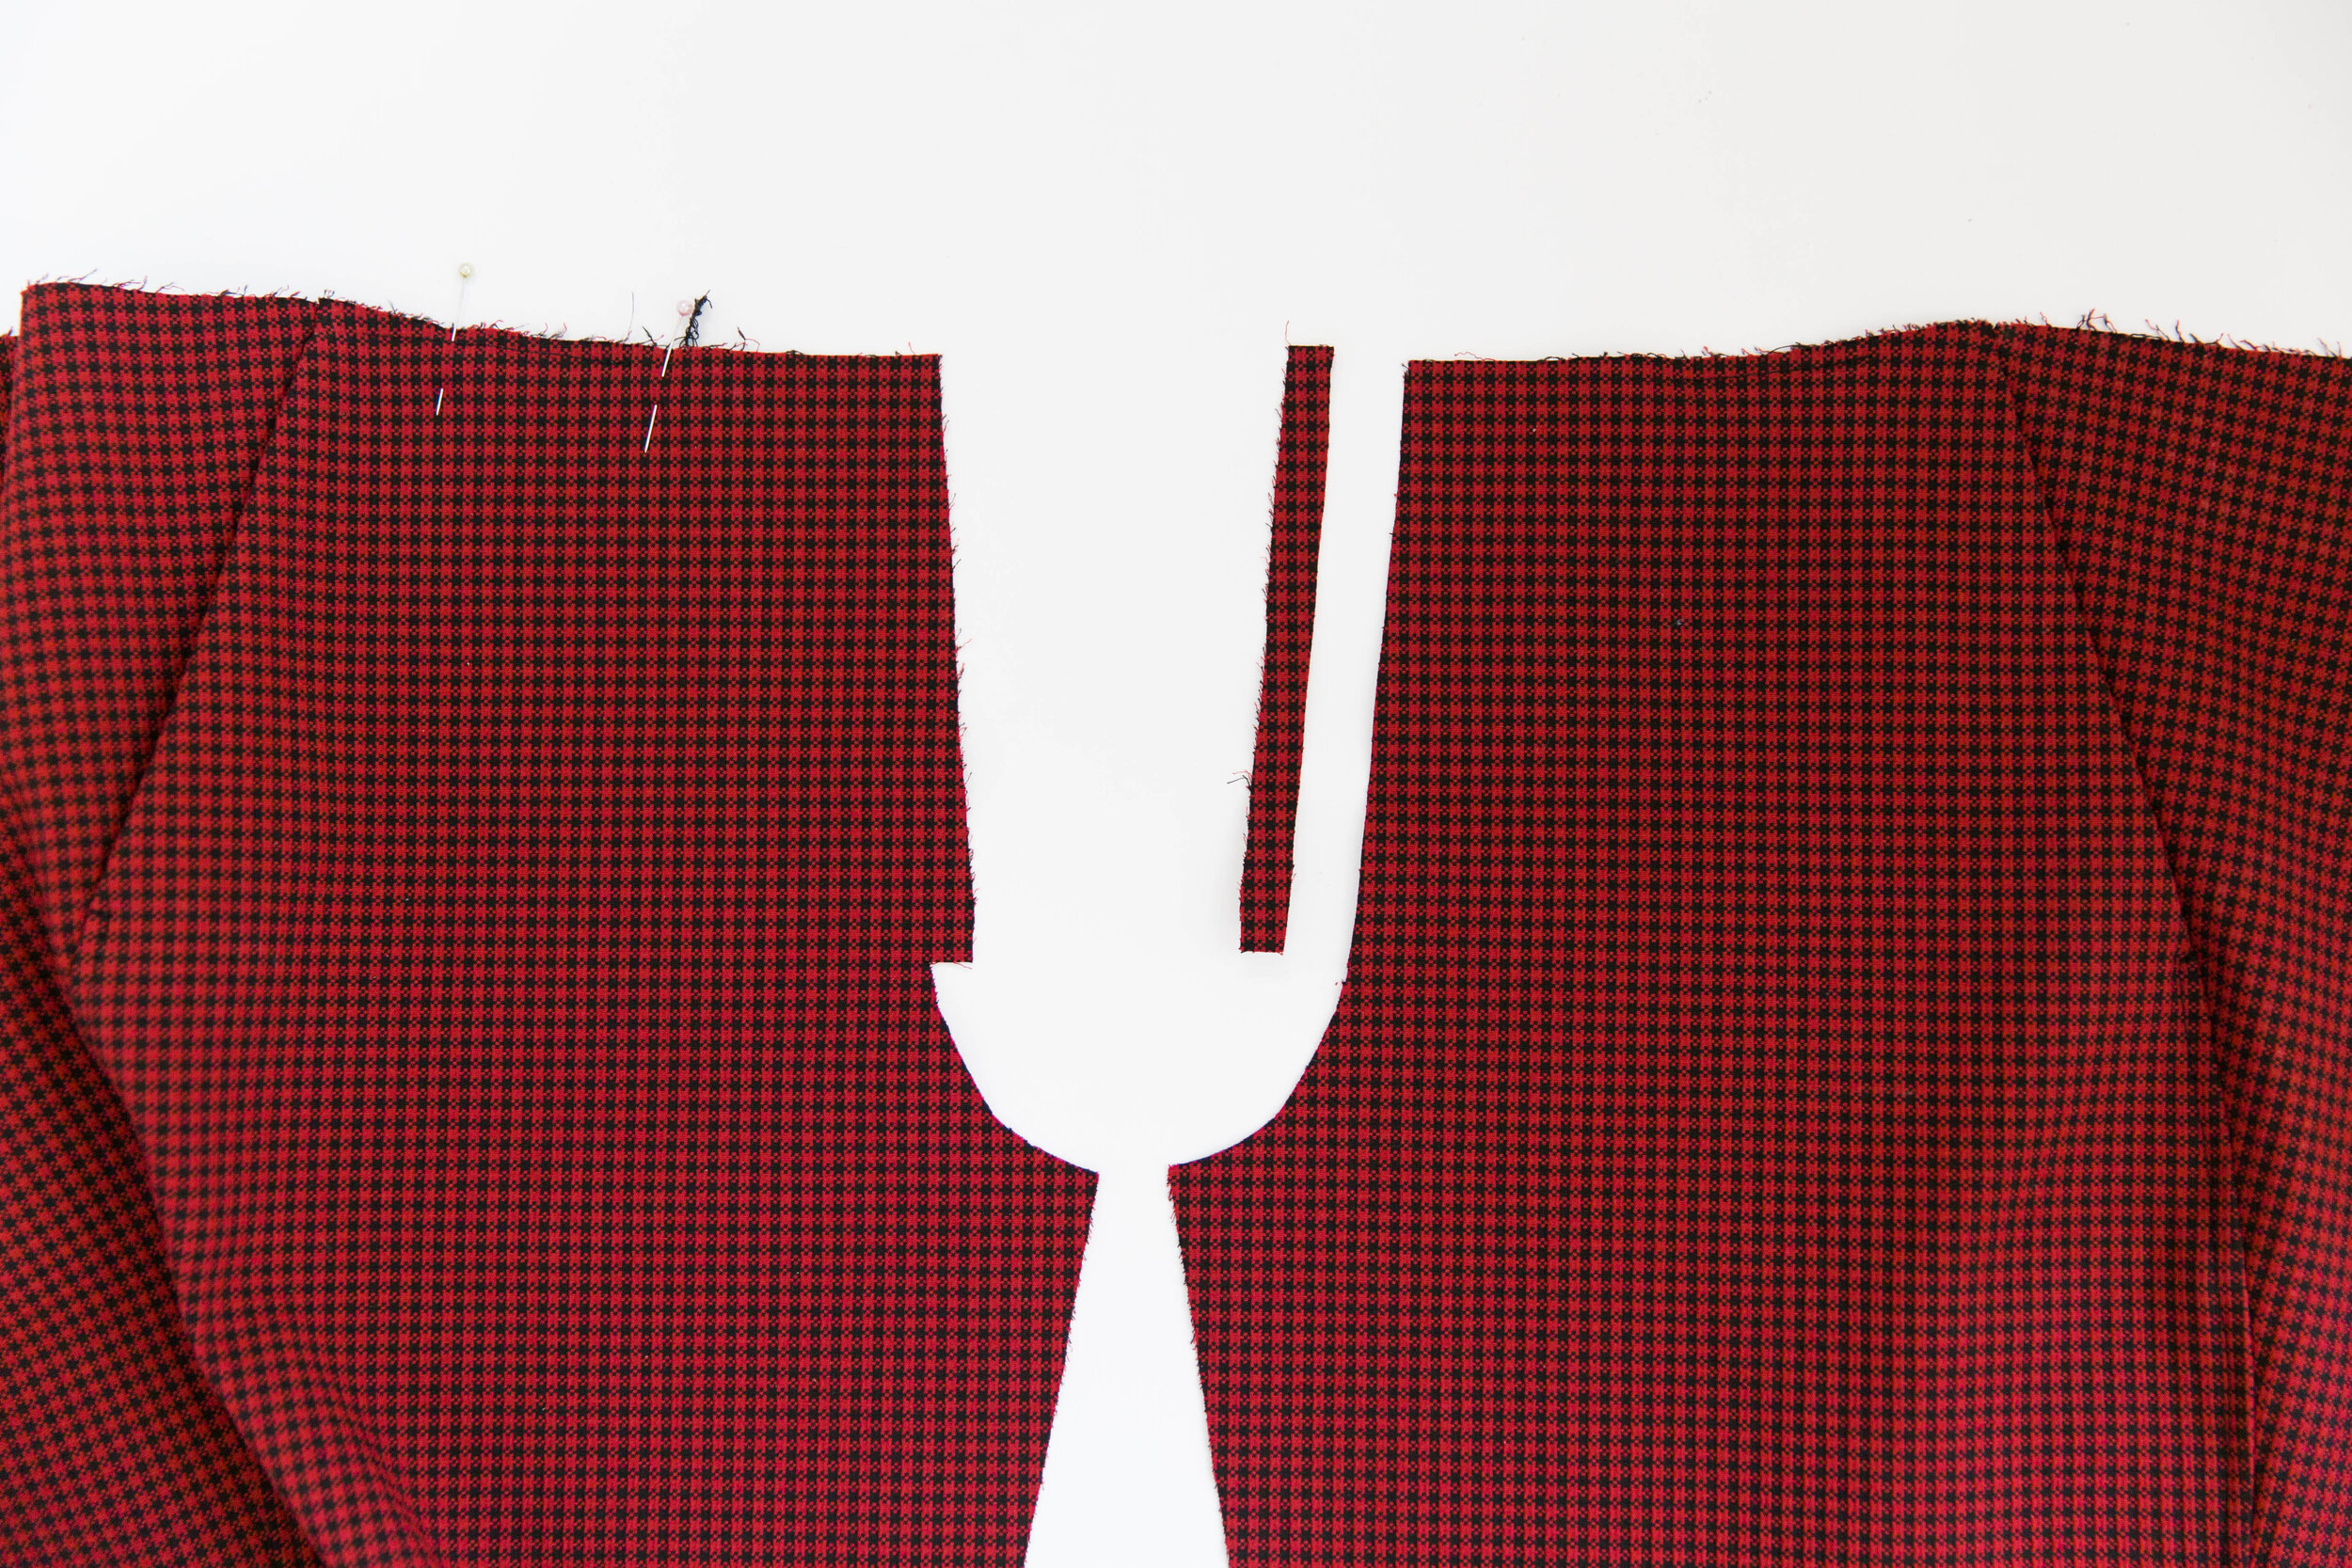
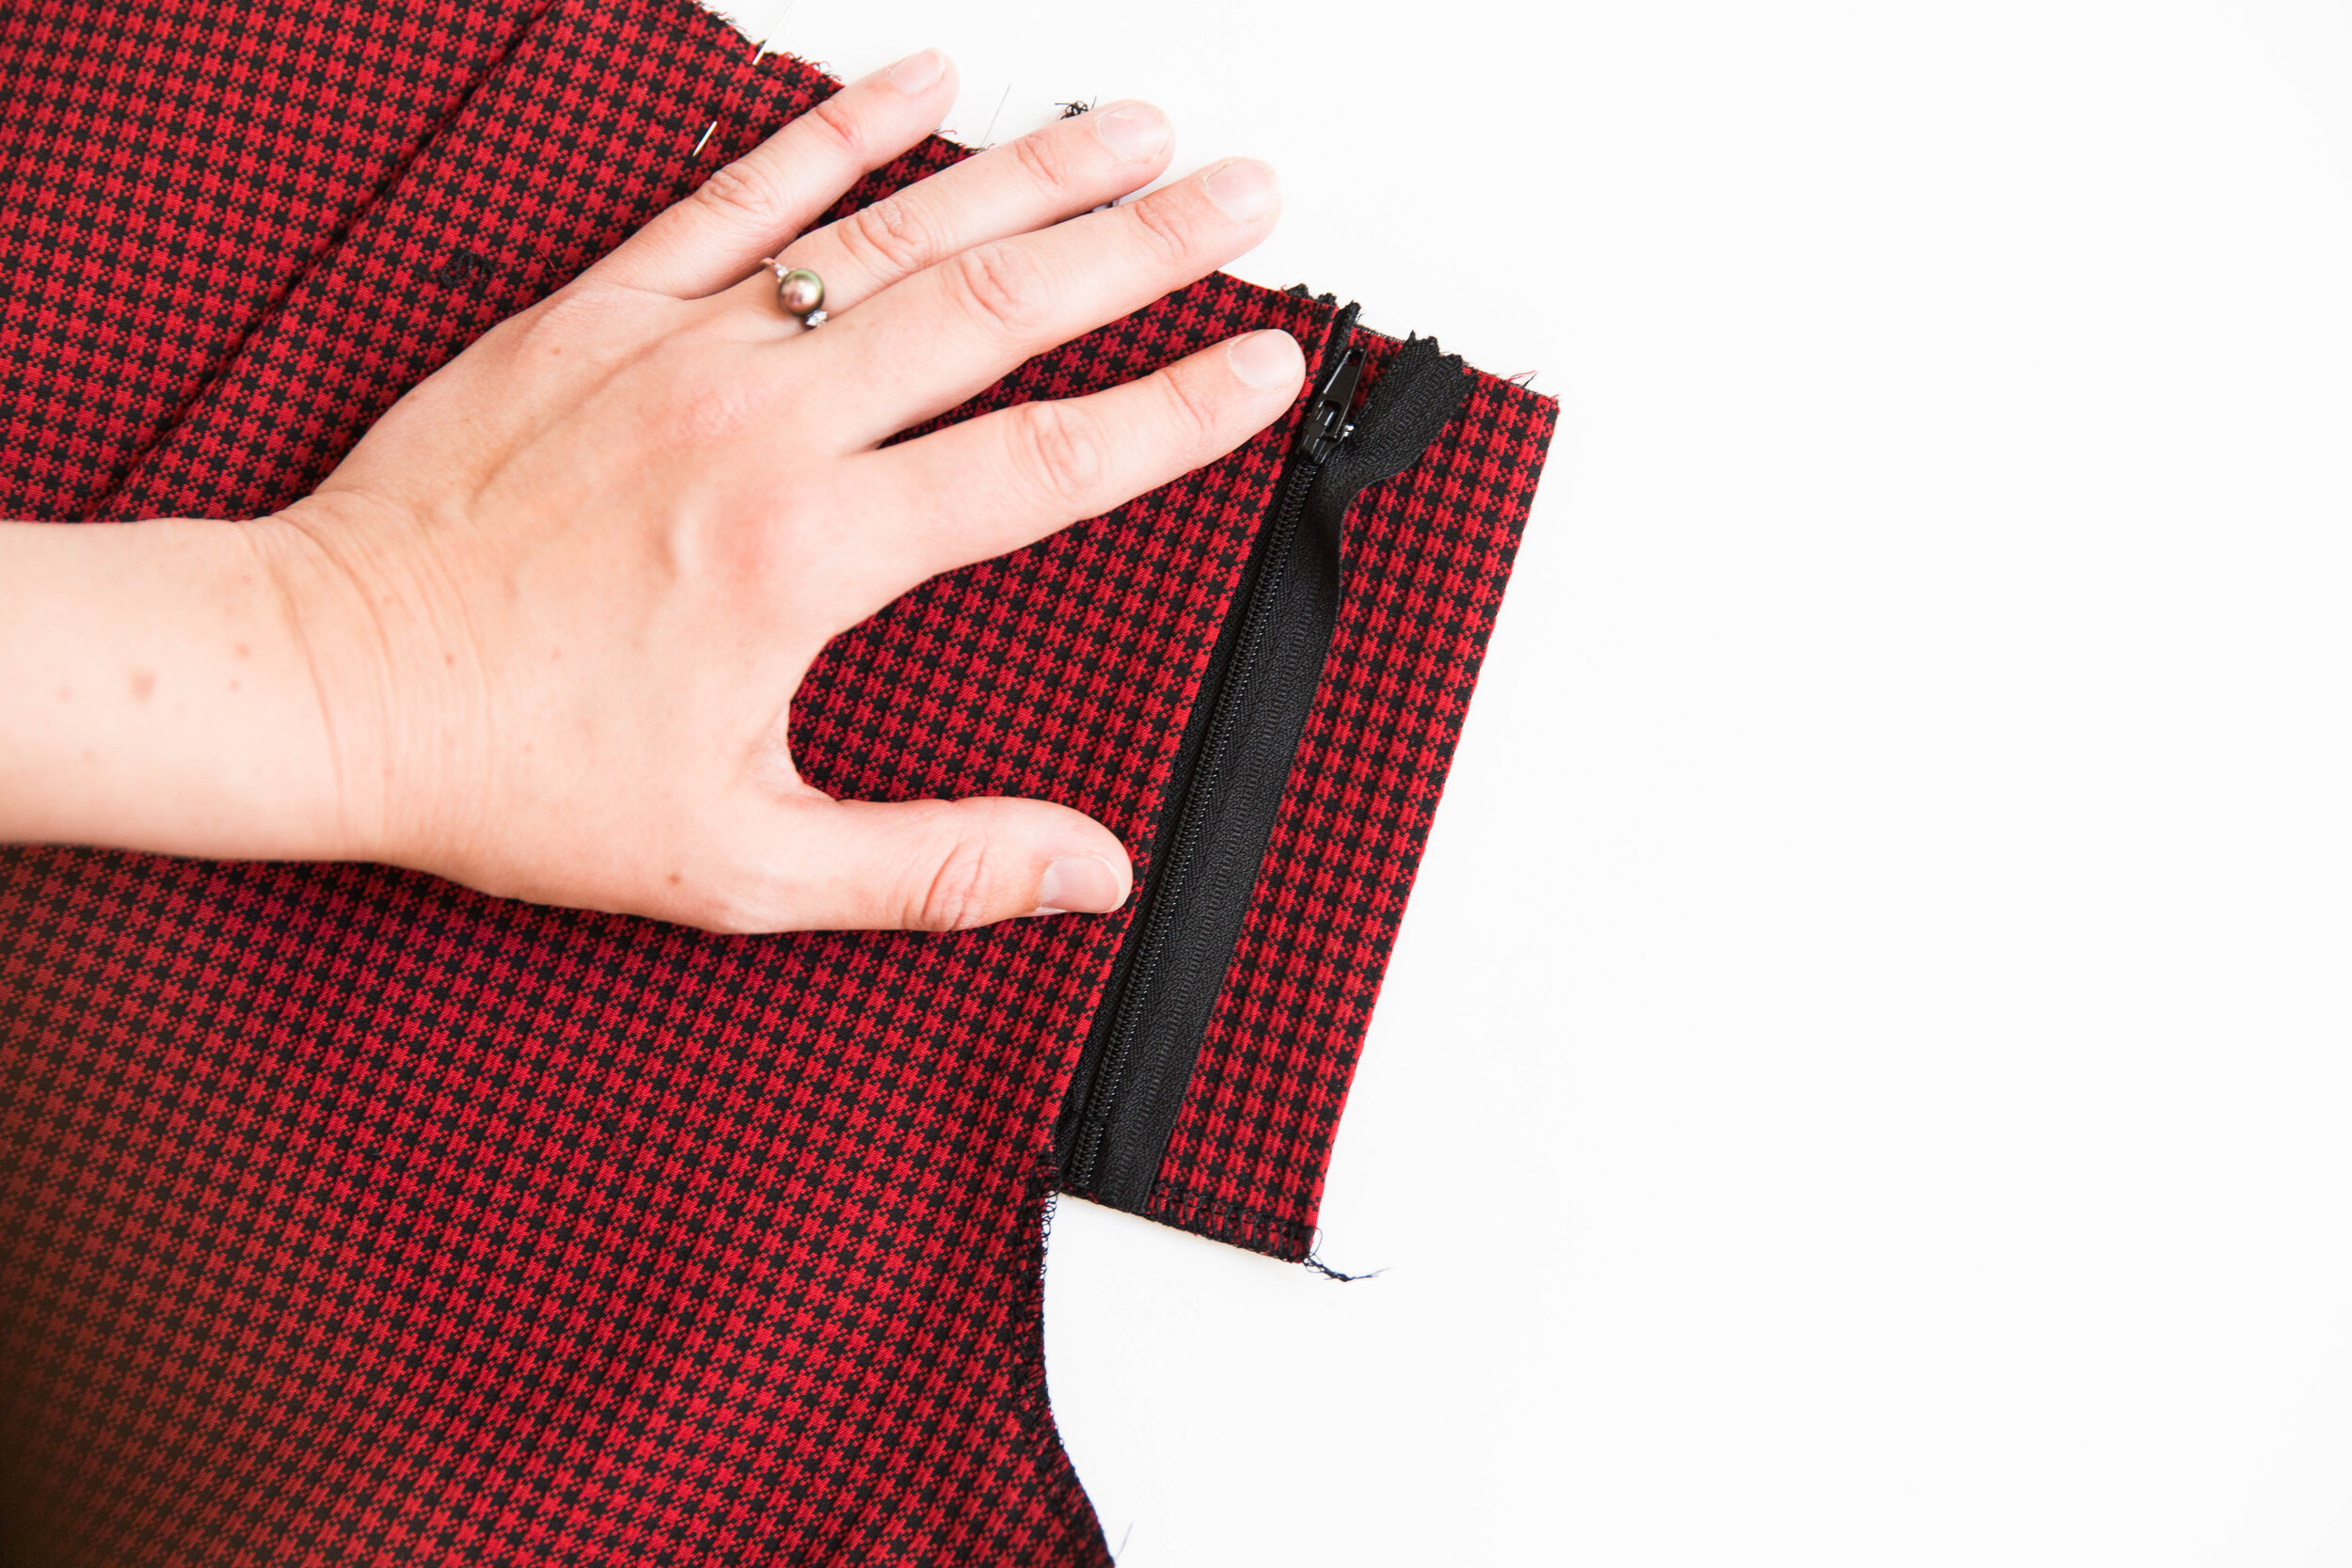
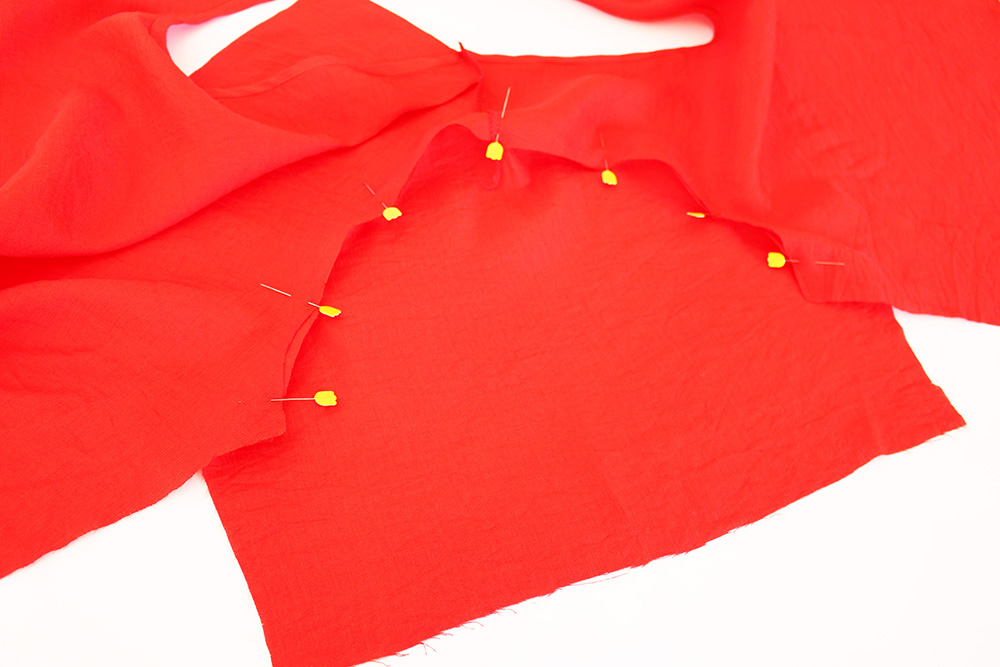
Pin back crotch seams together with right sides facing. Stitch together. Neaten seam.

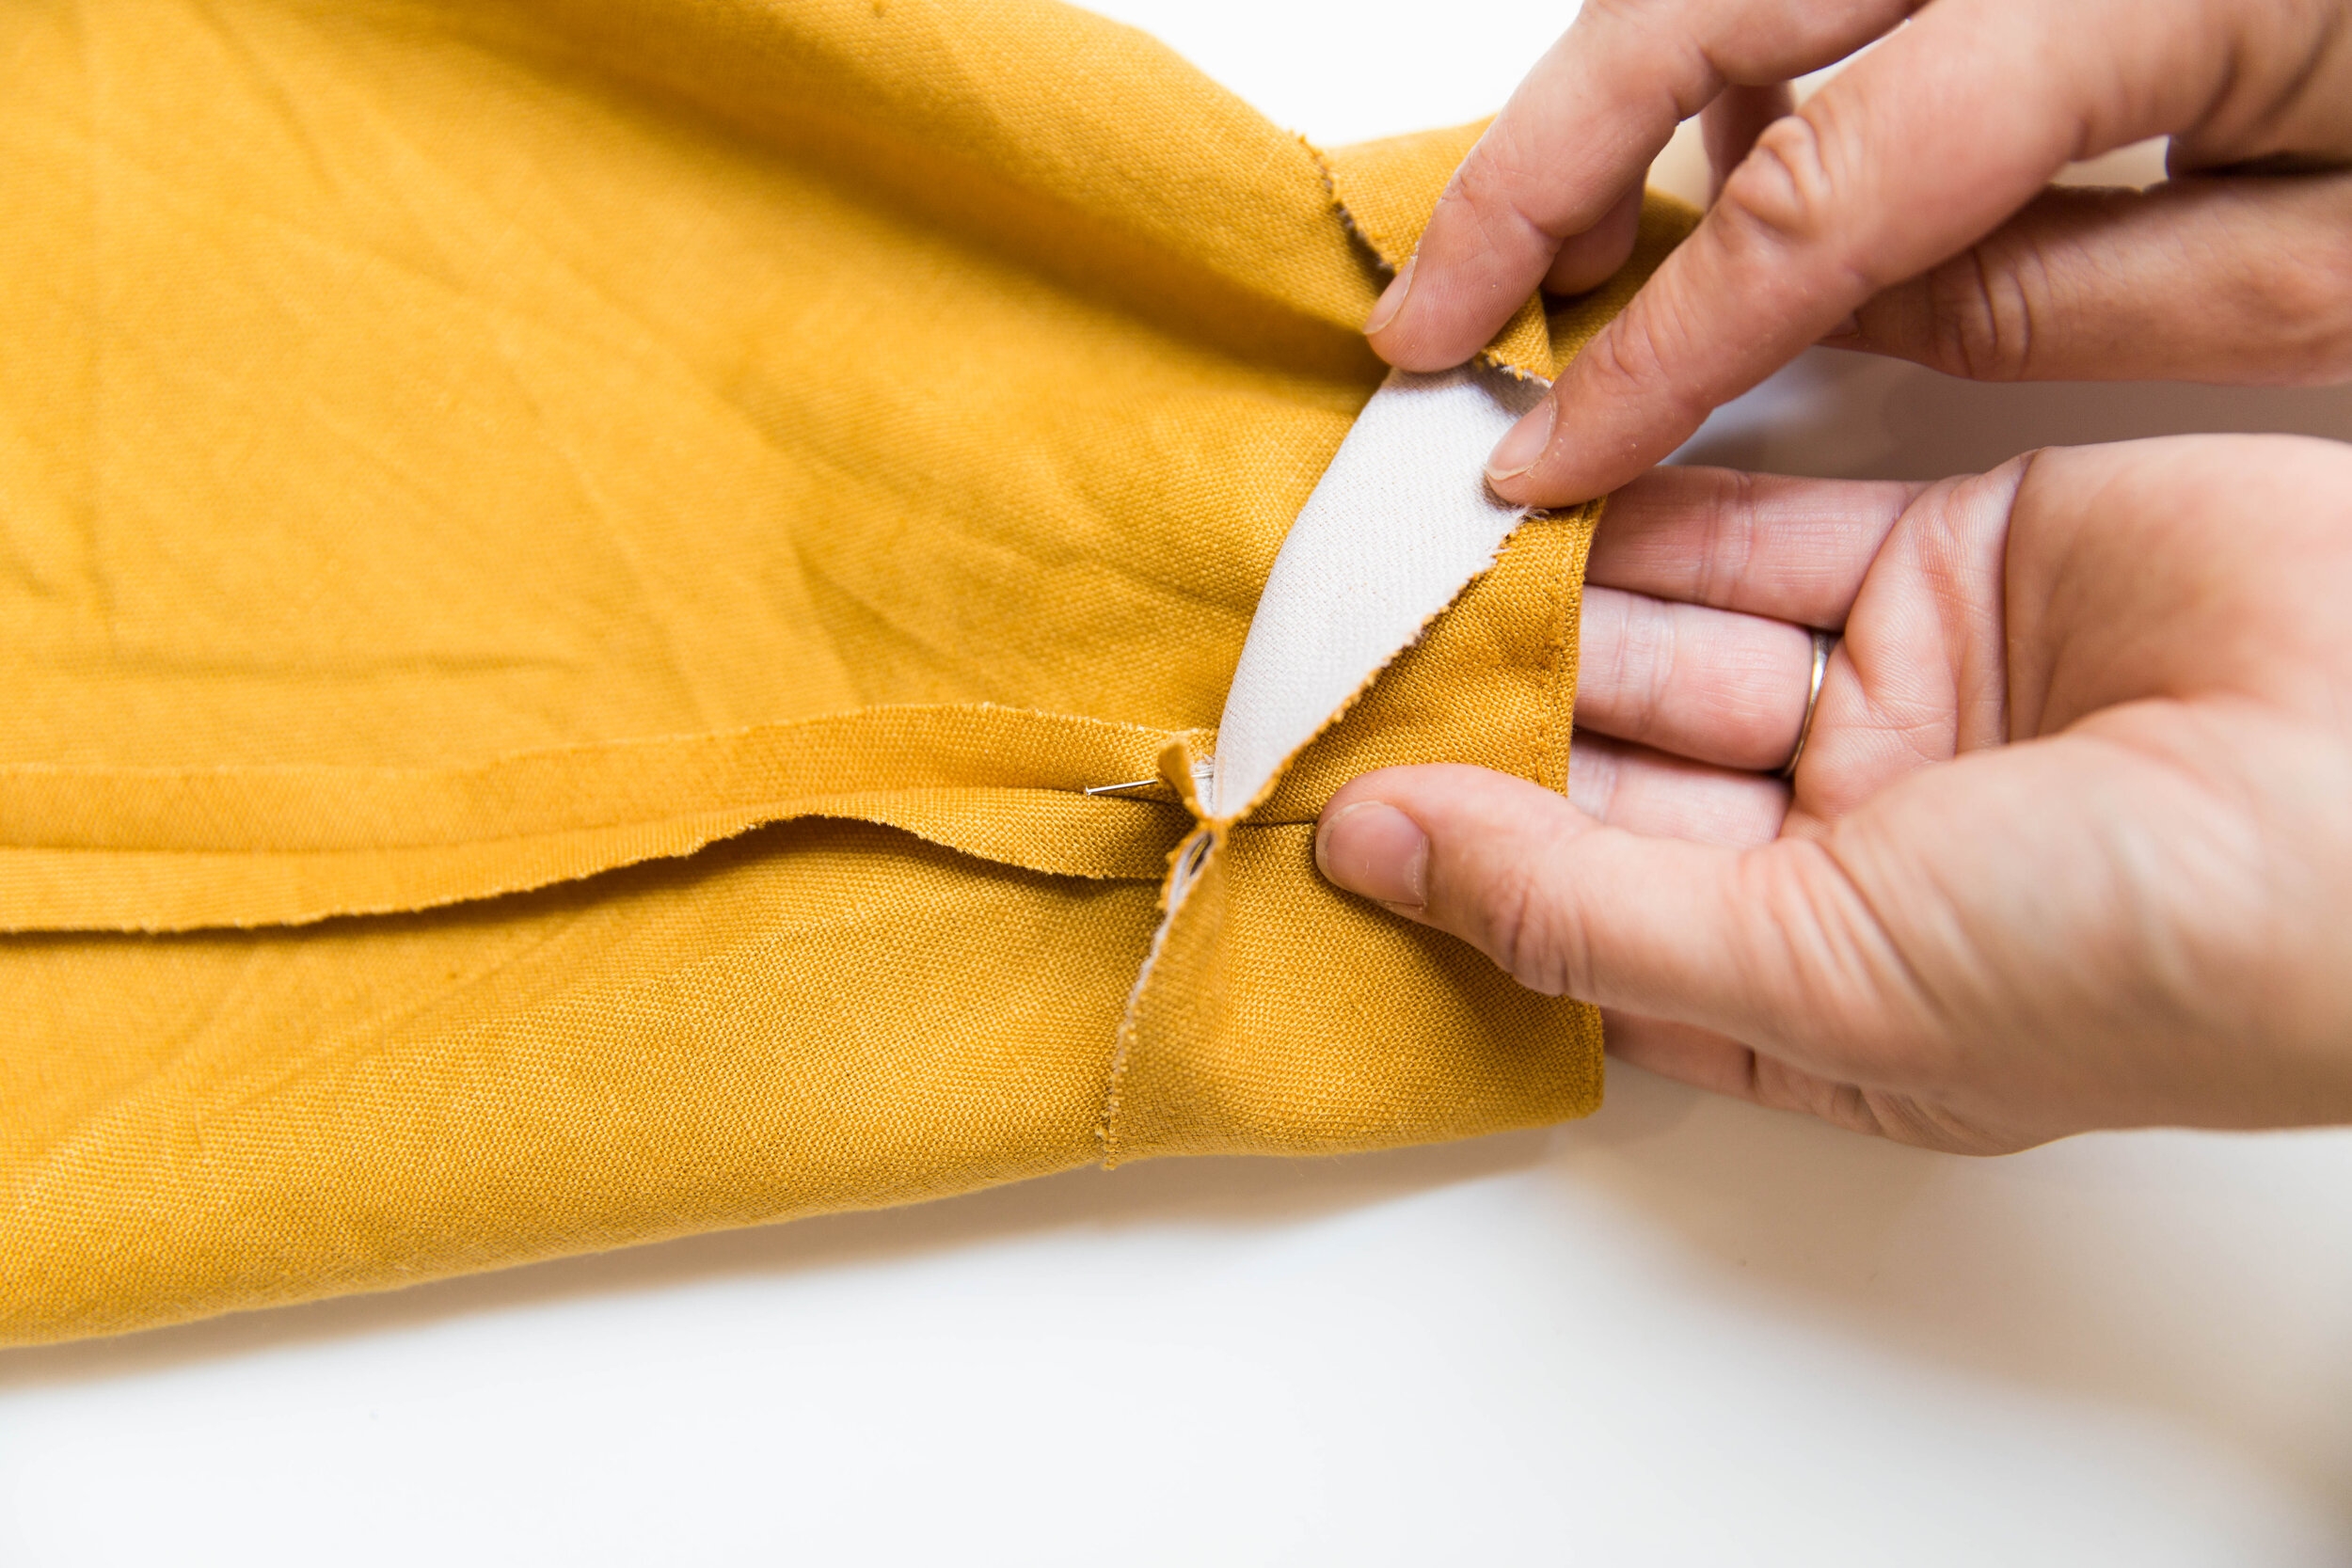
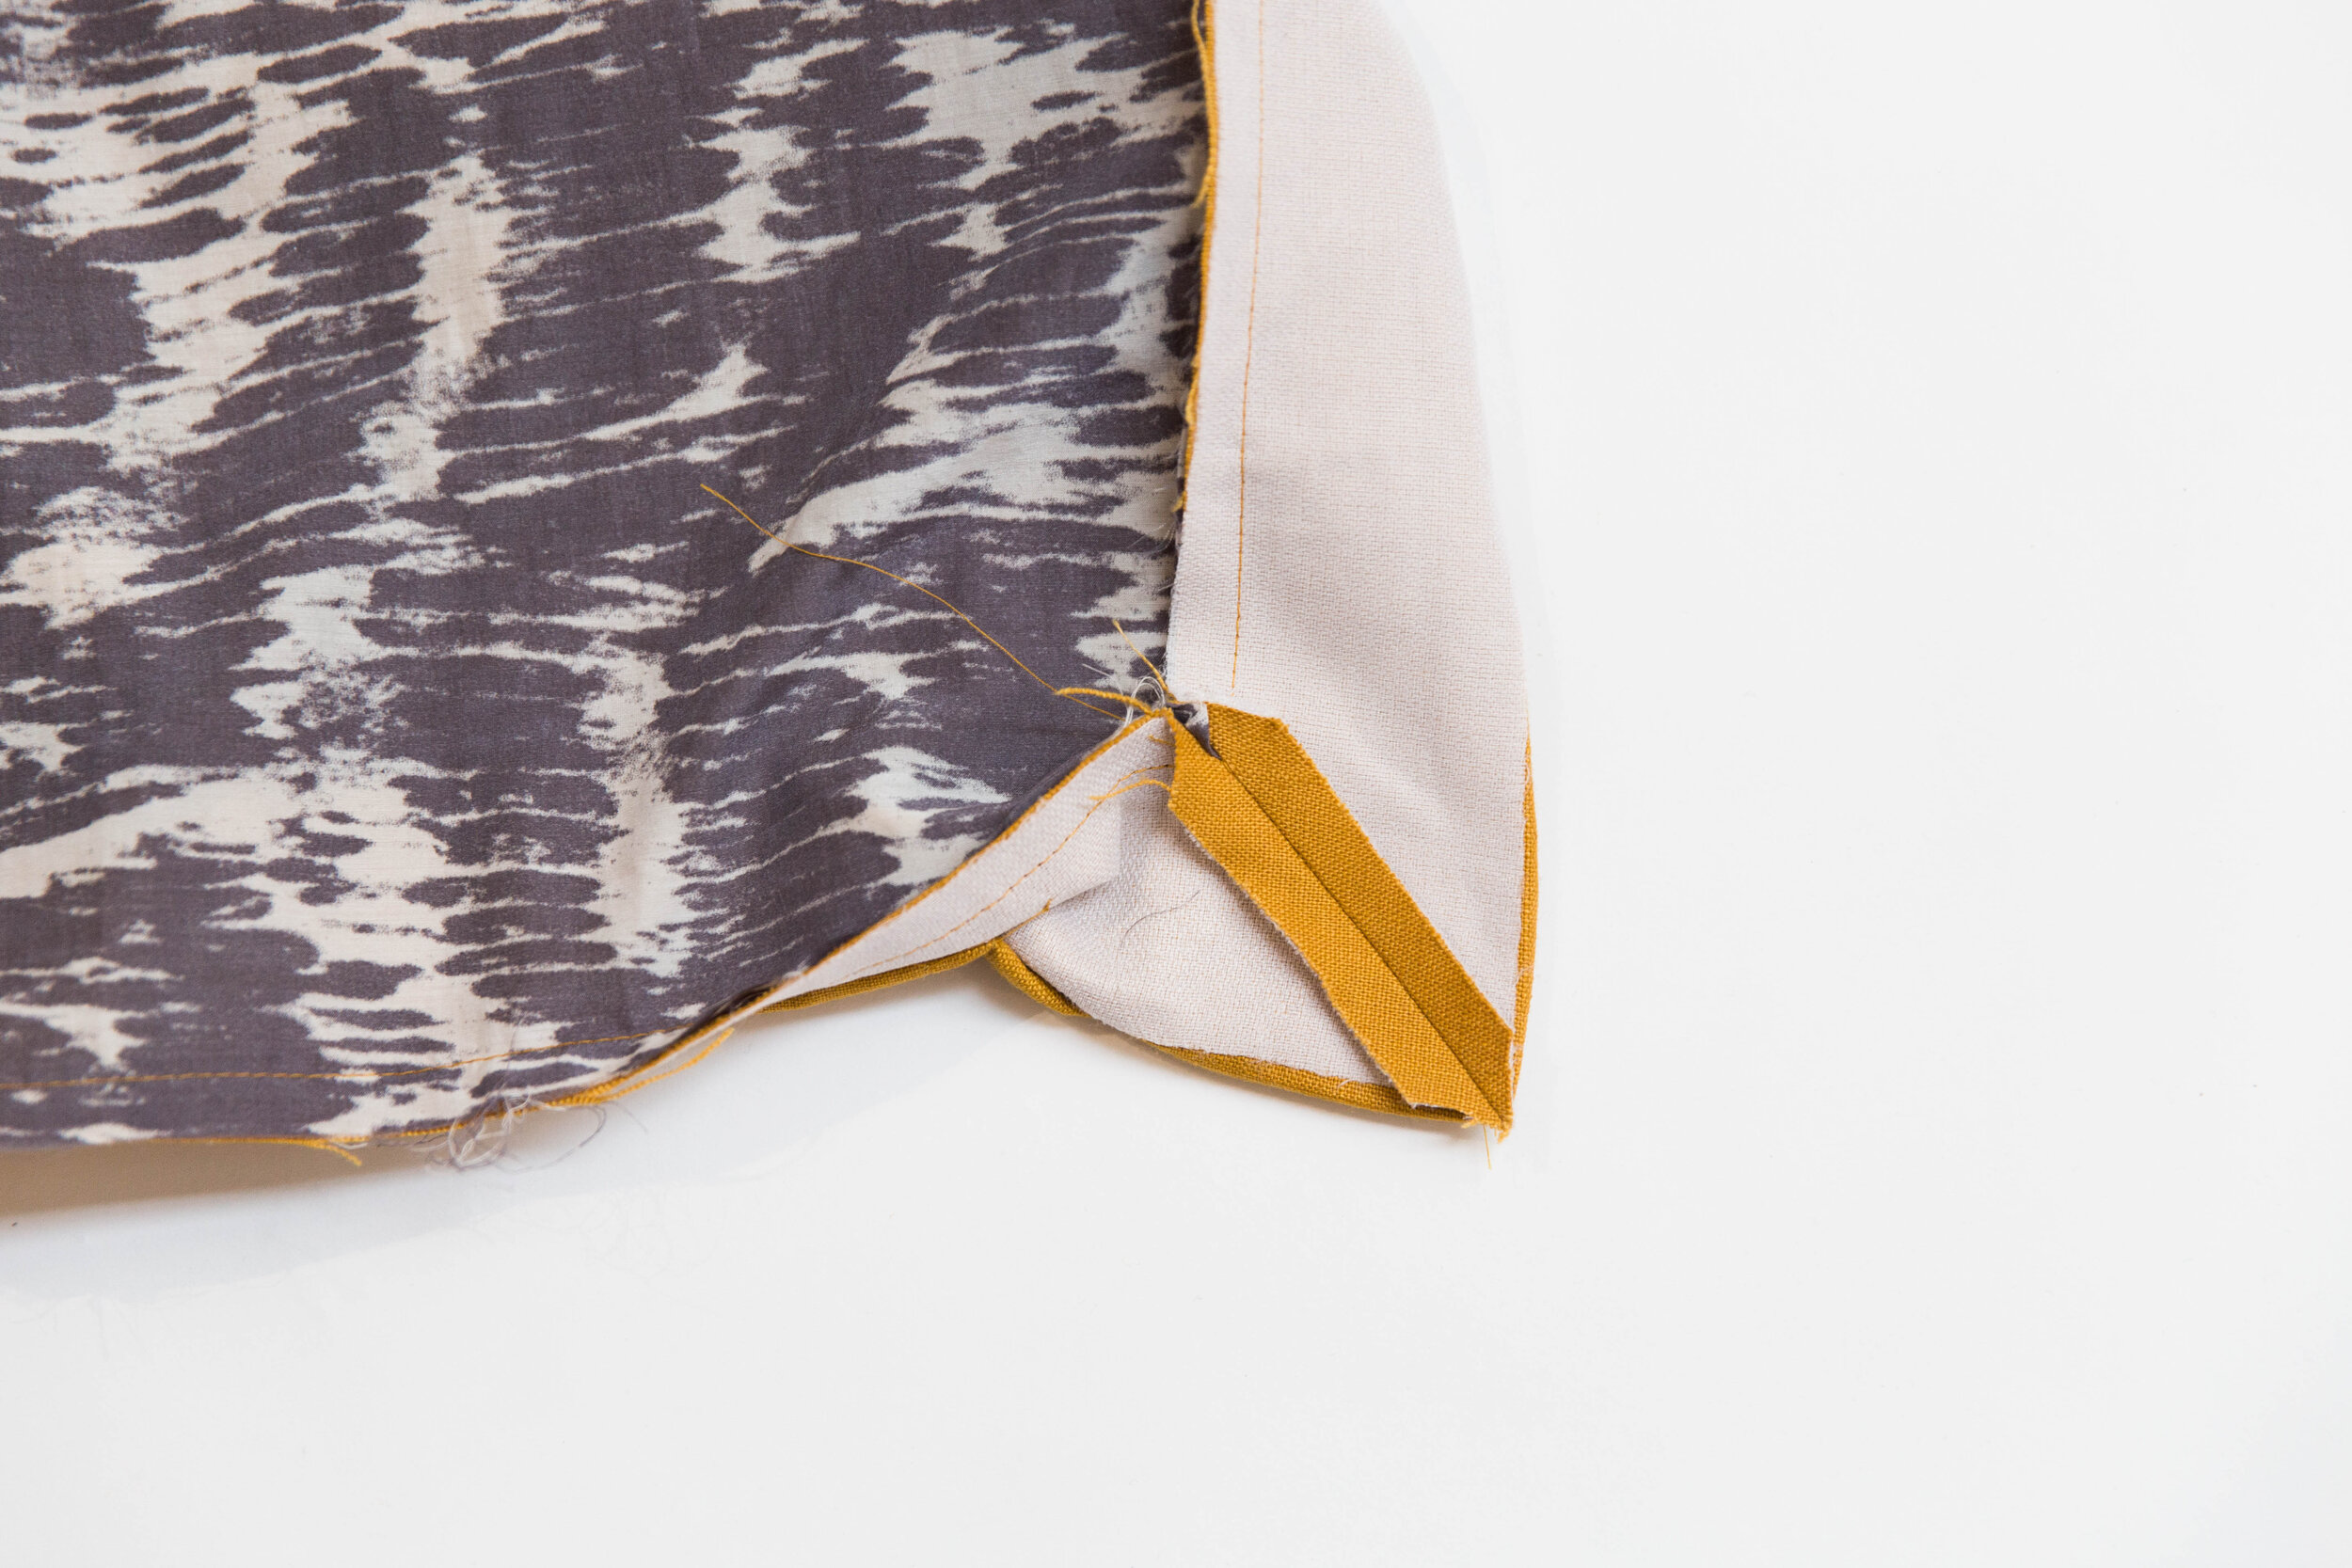
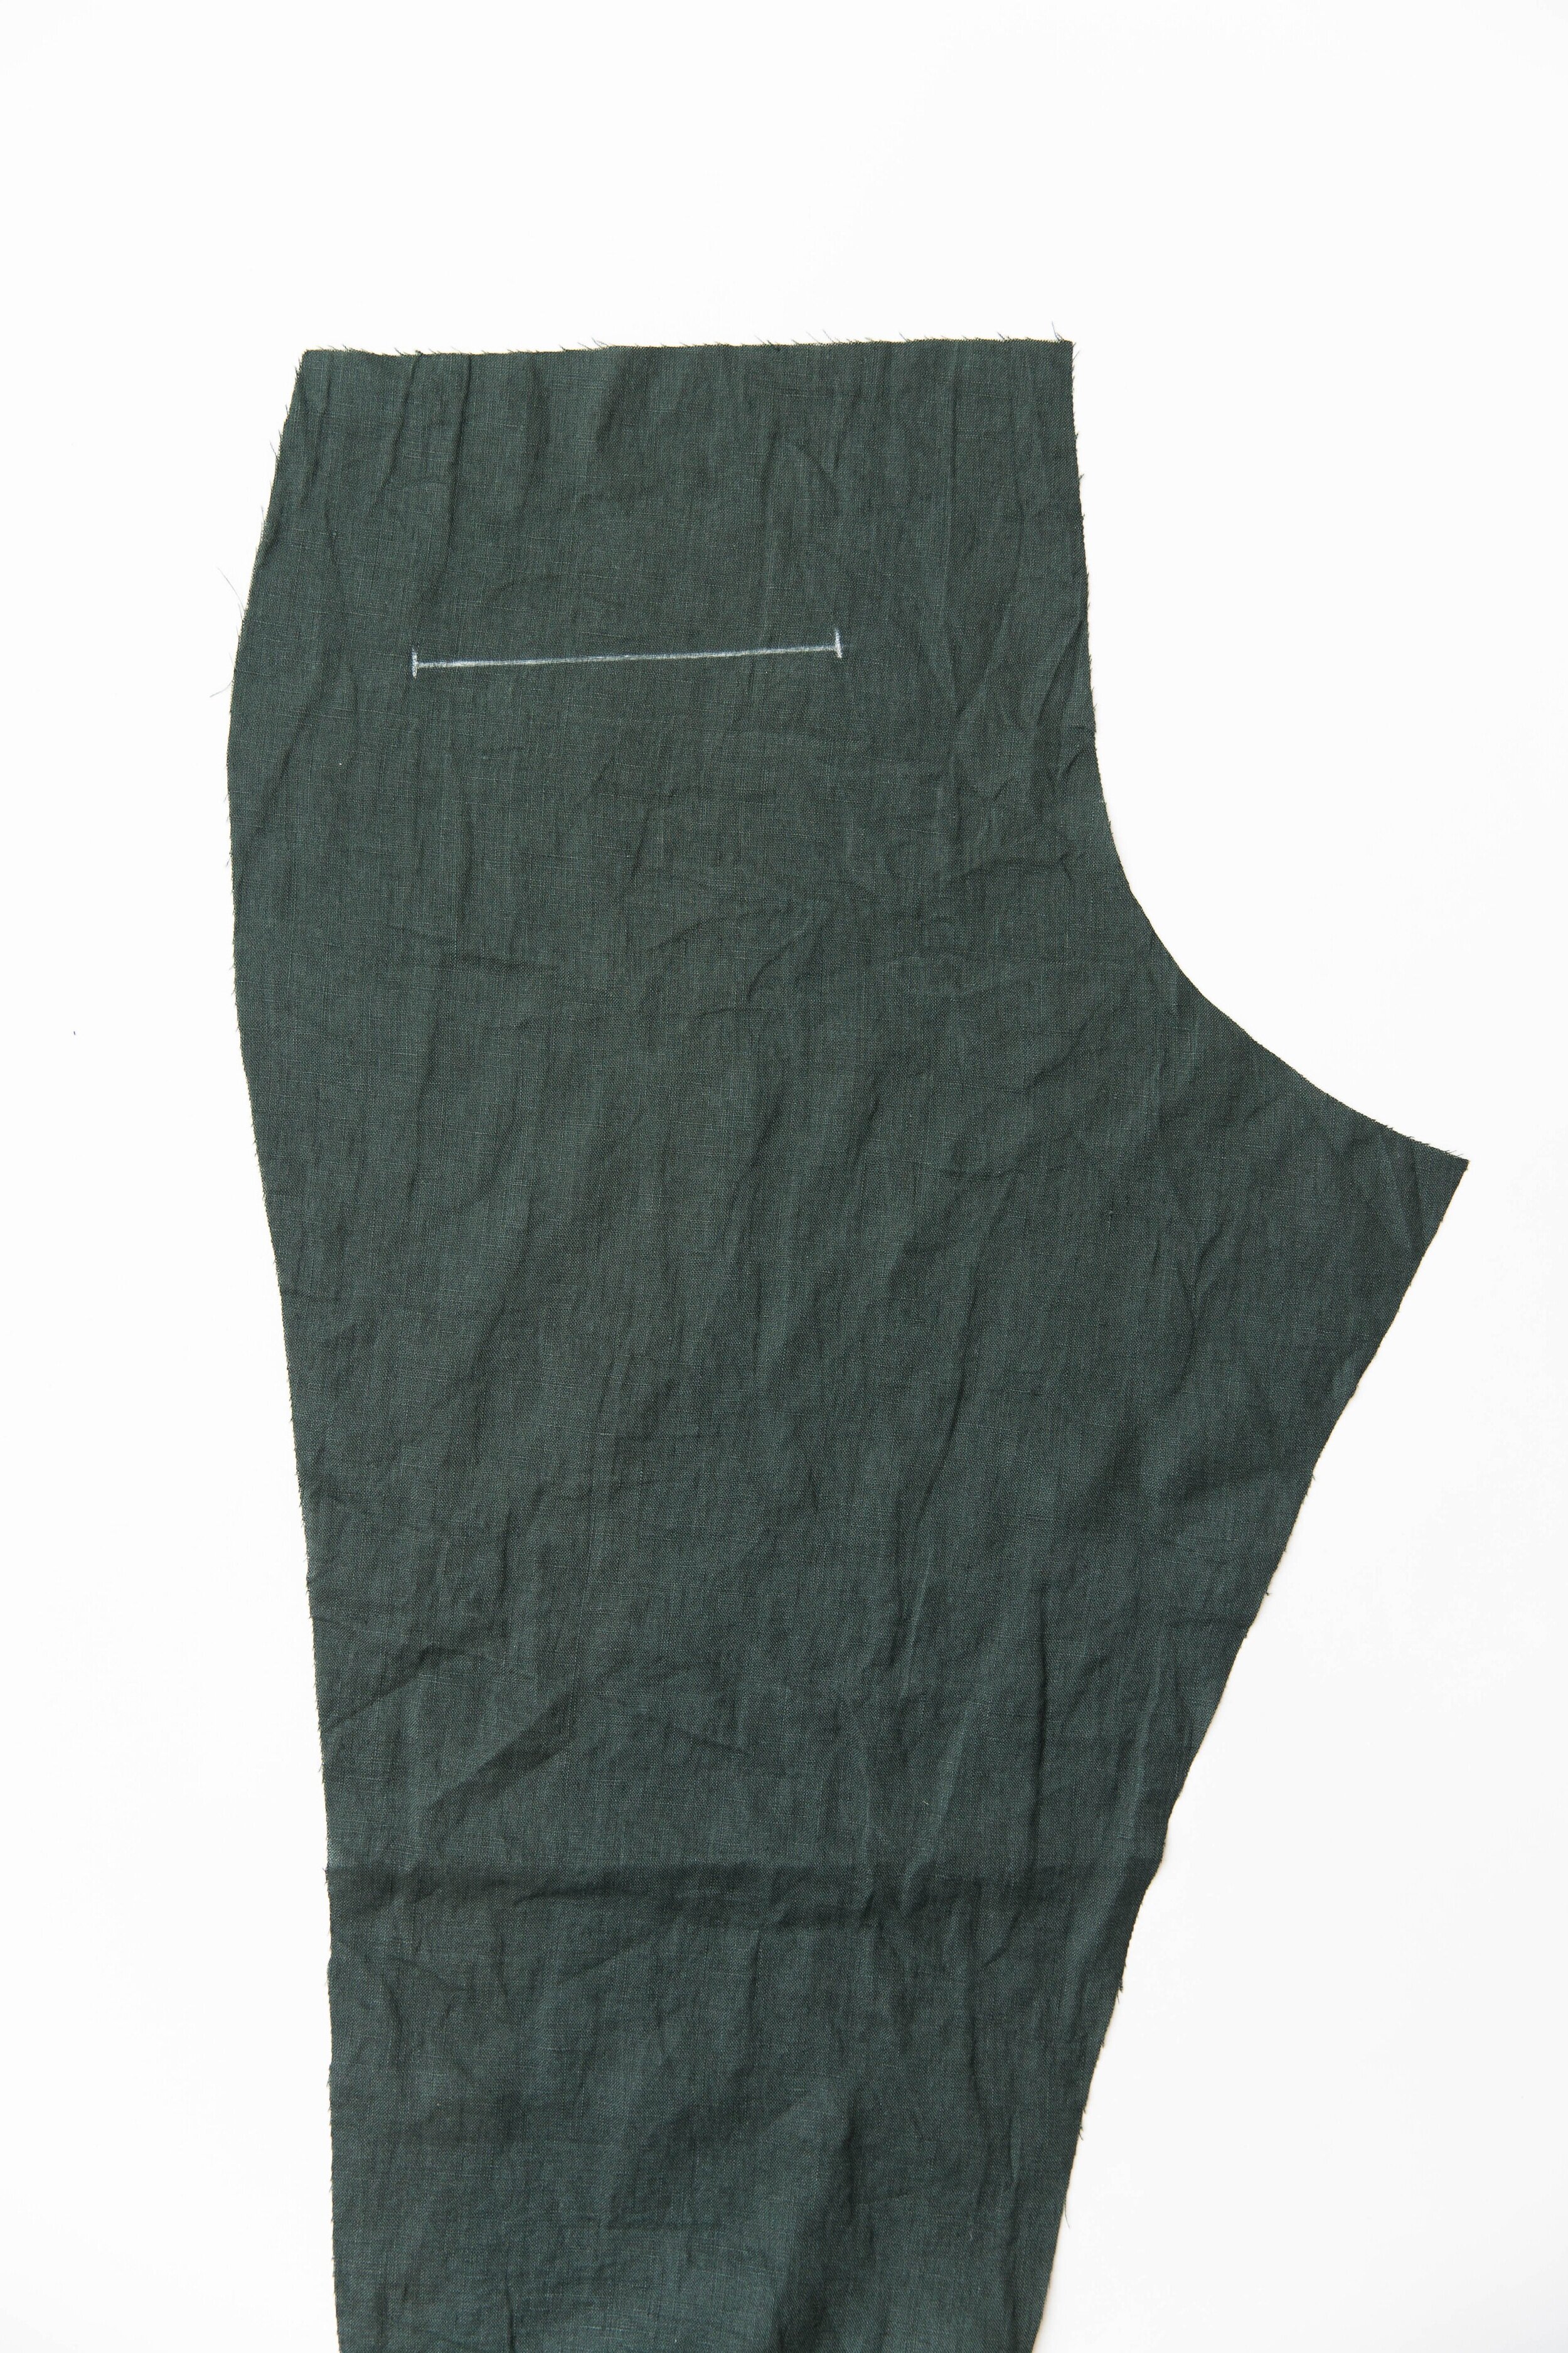
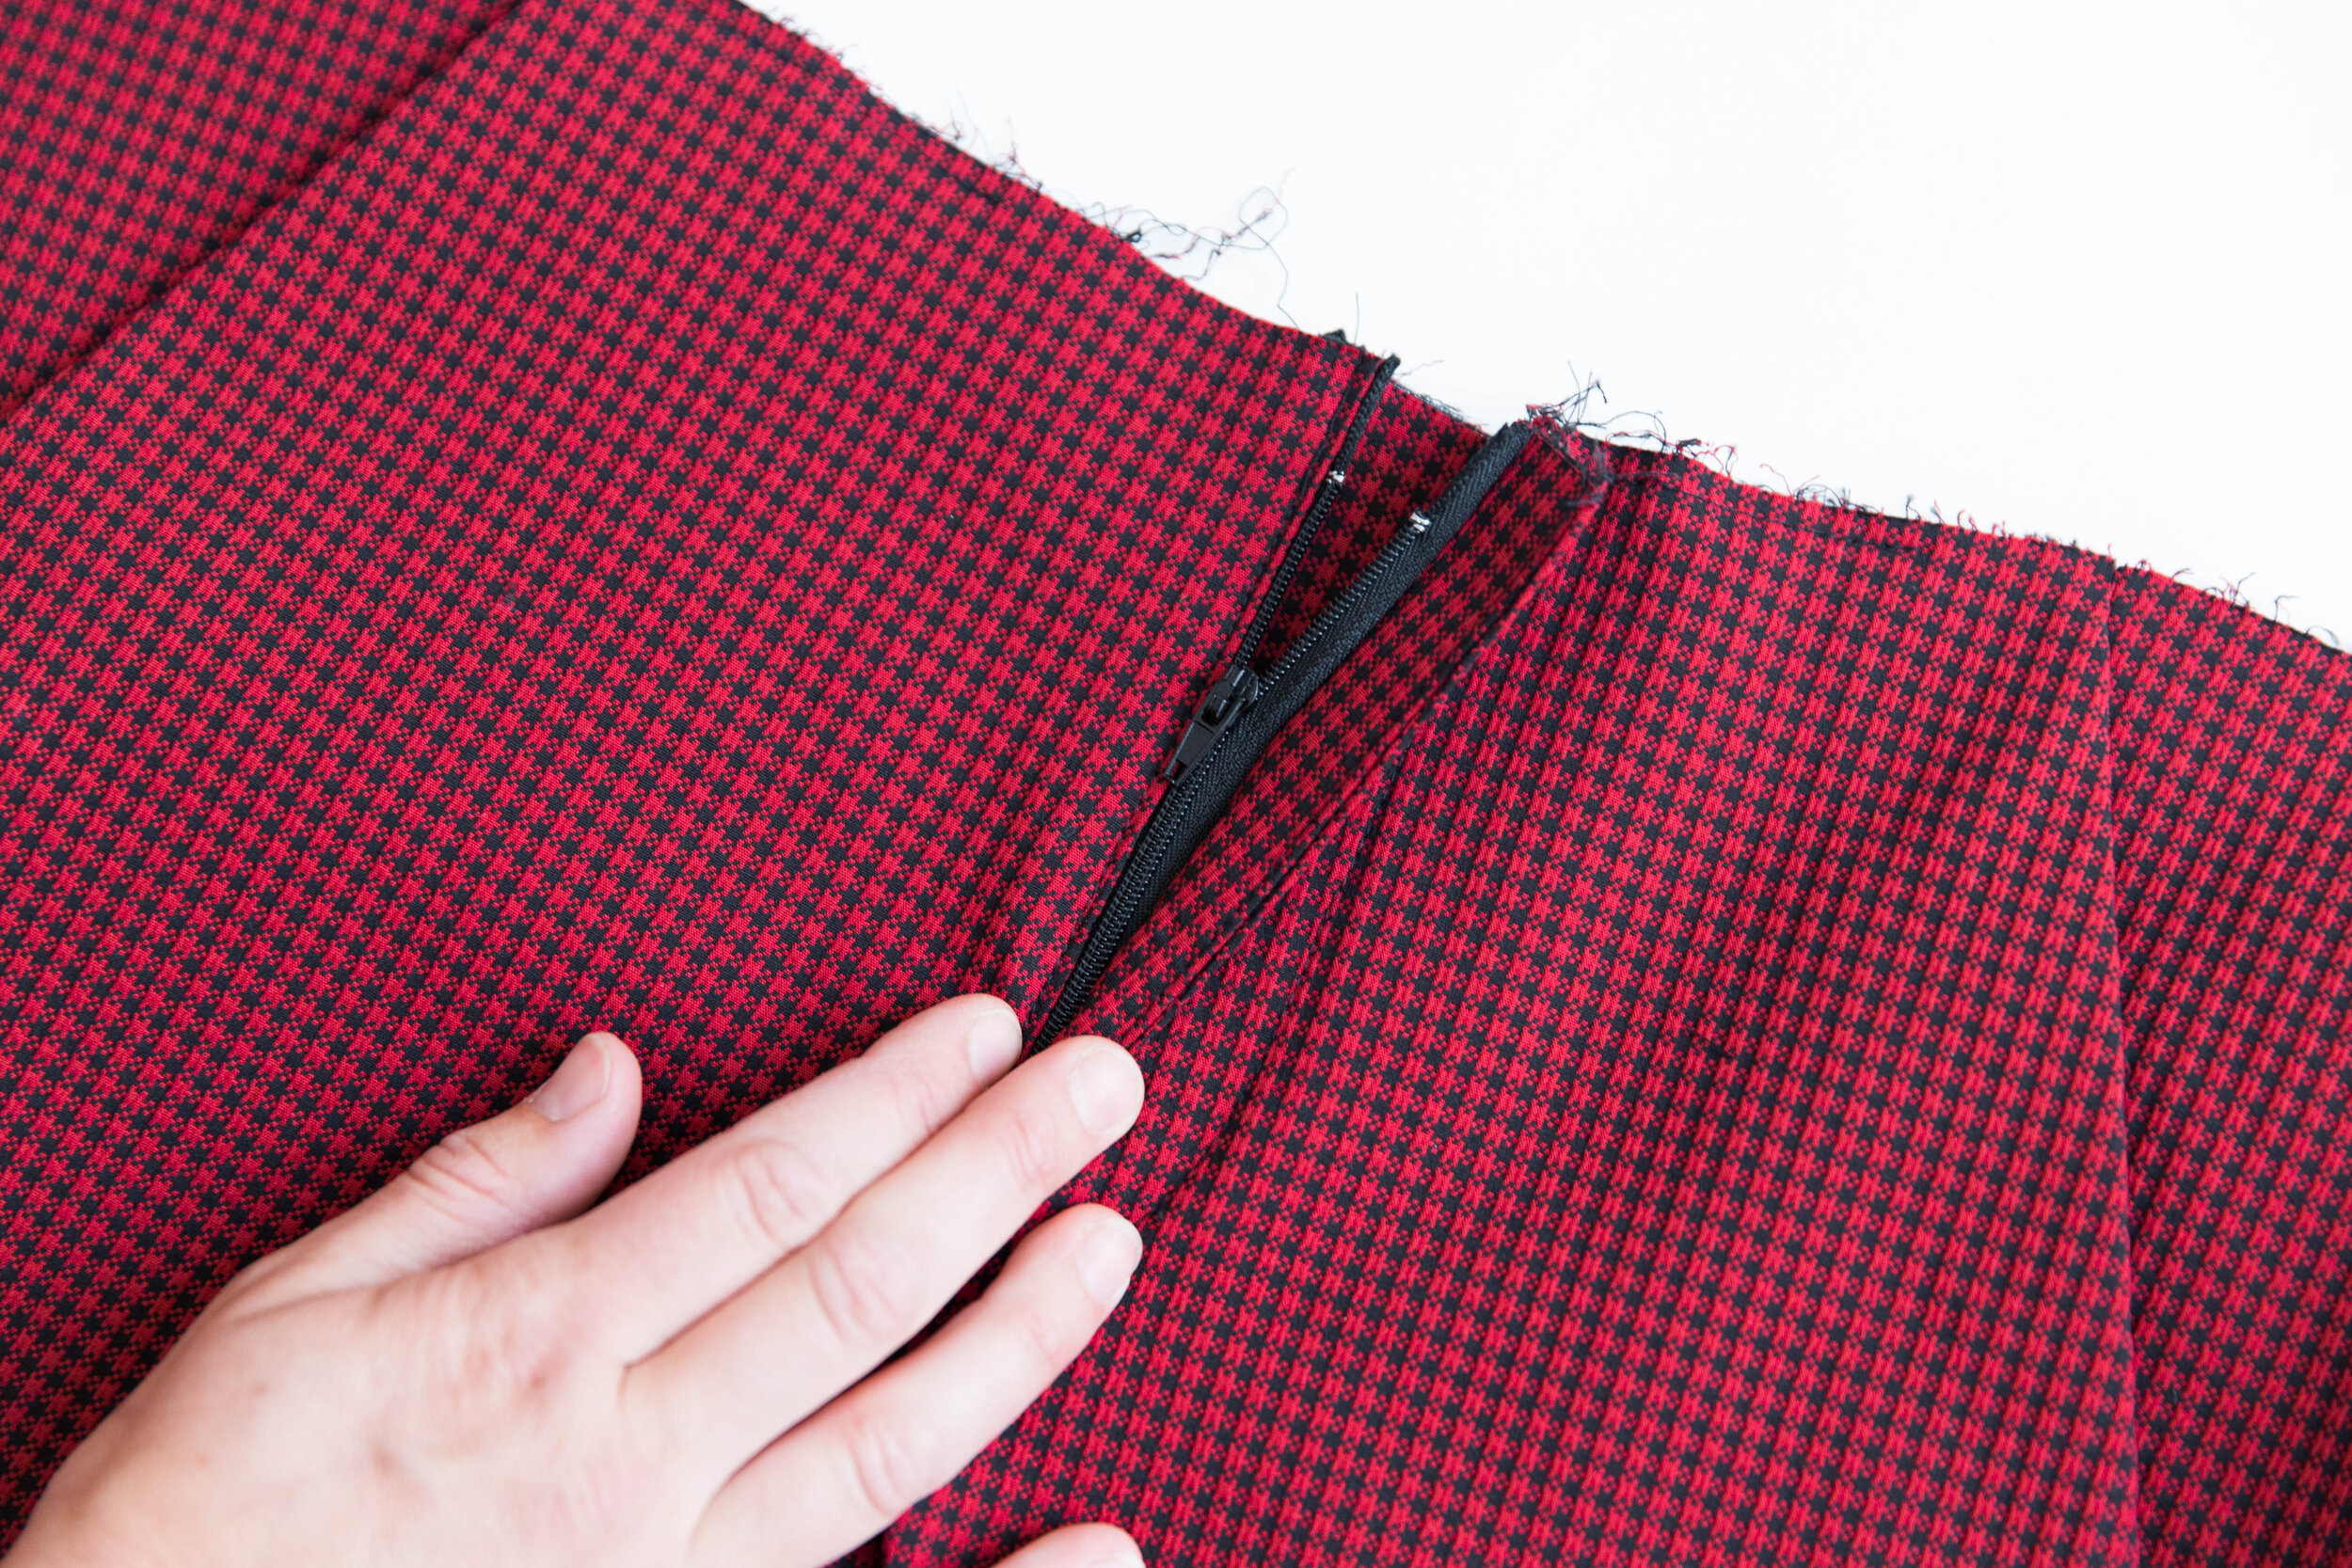
step 9
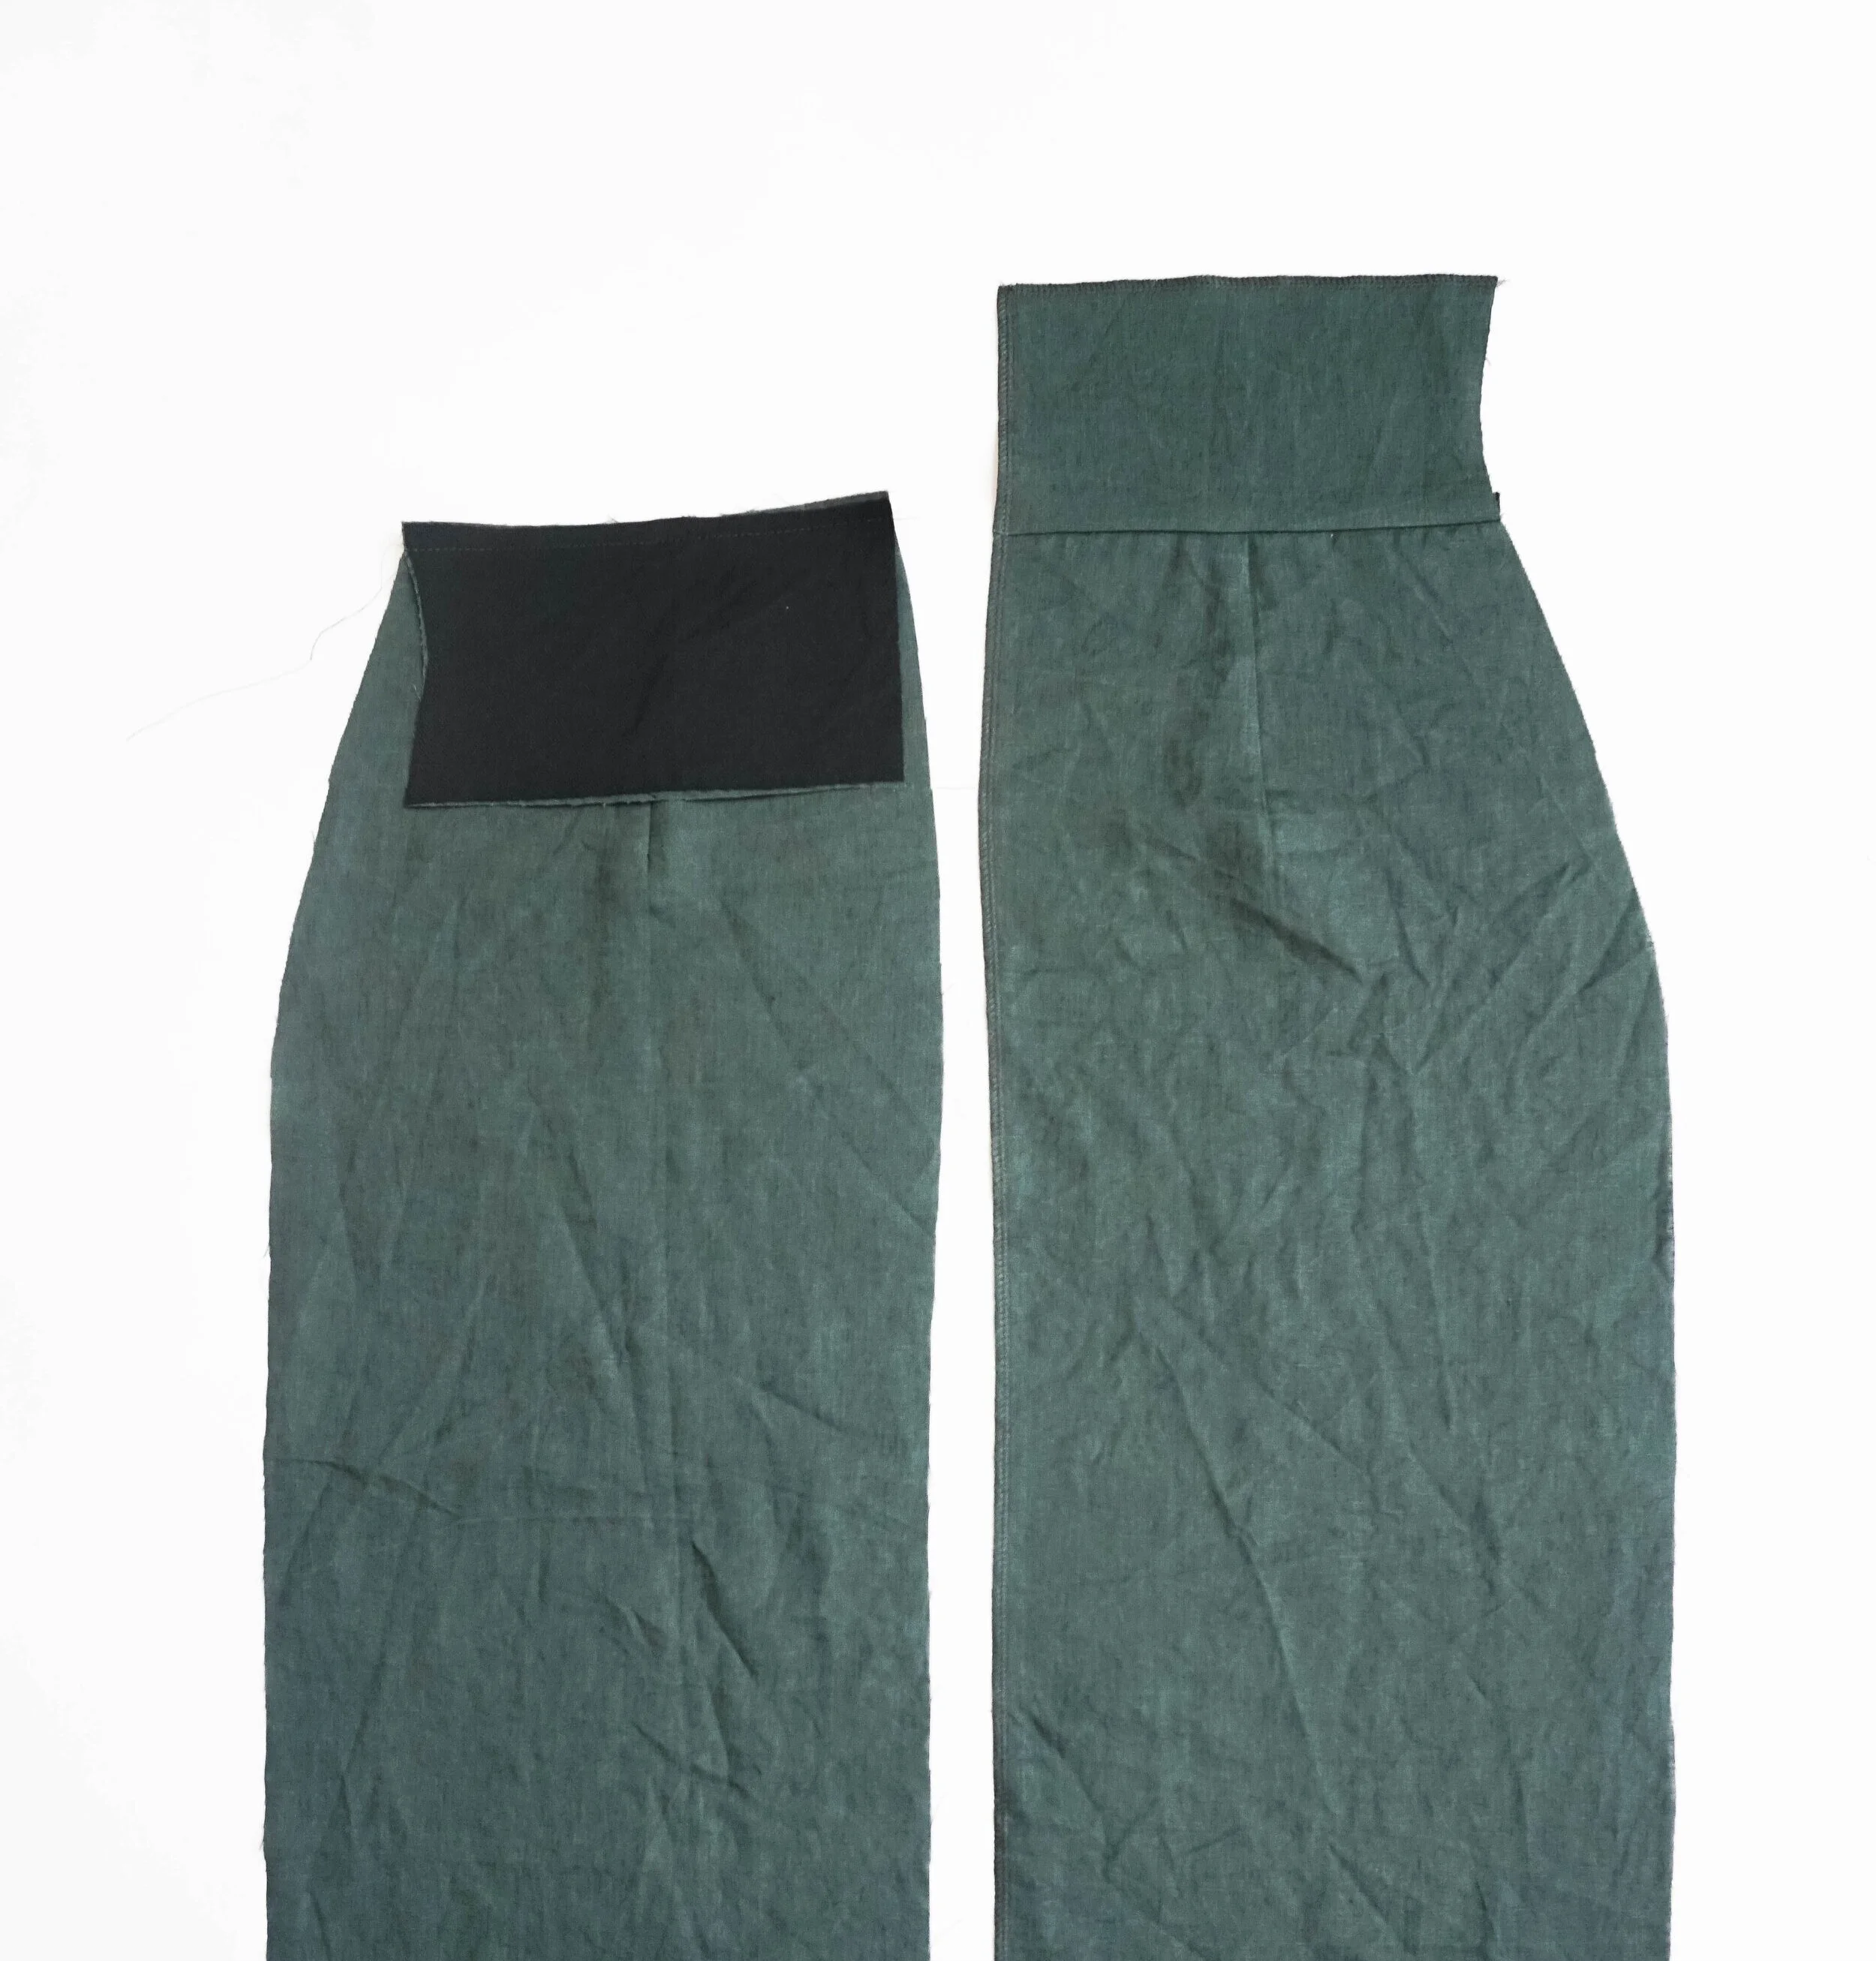
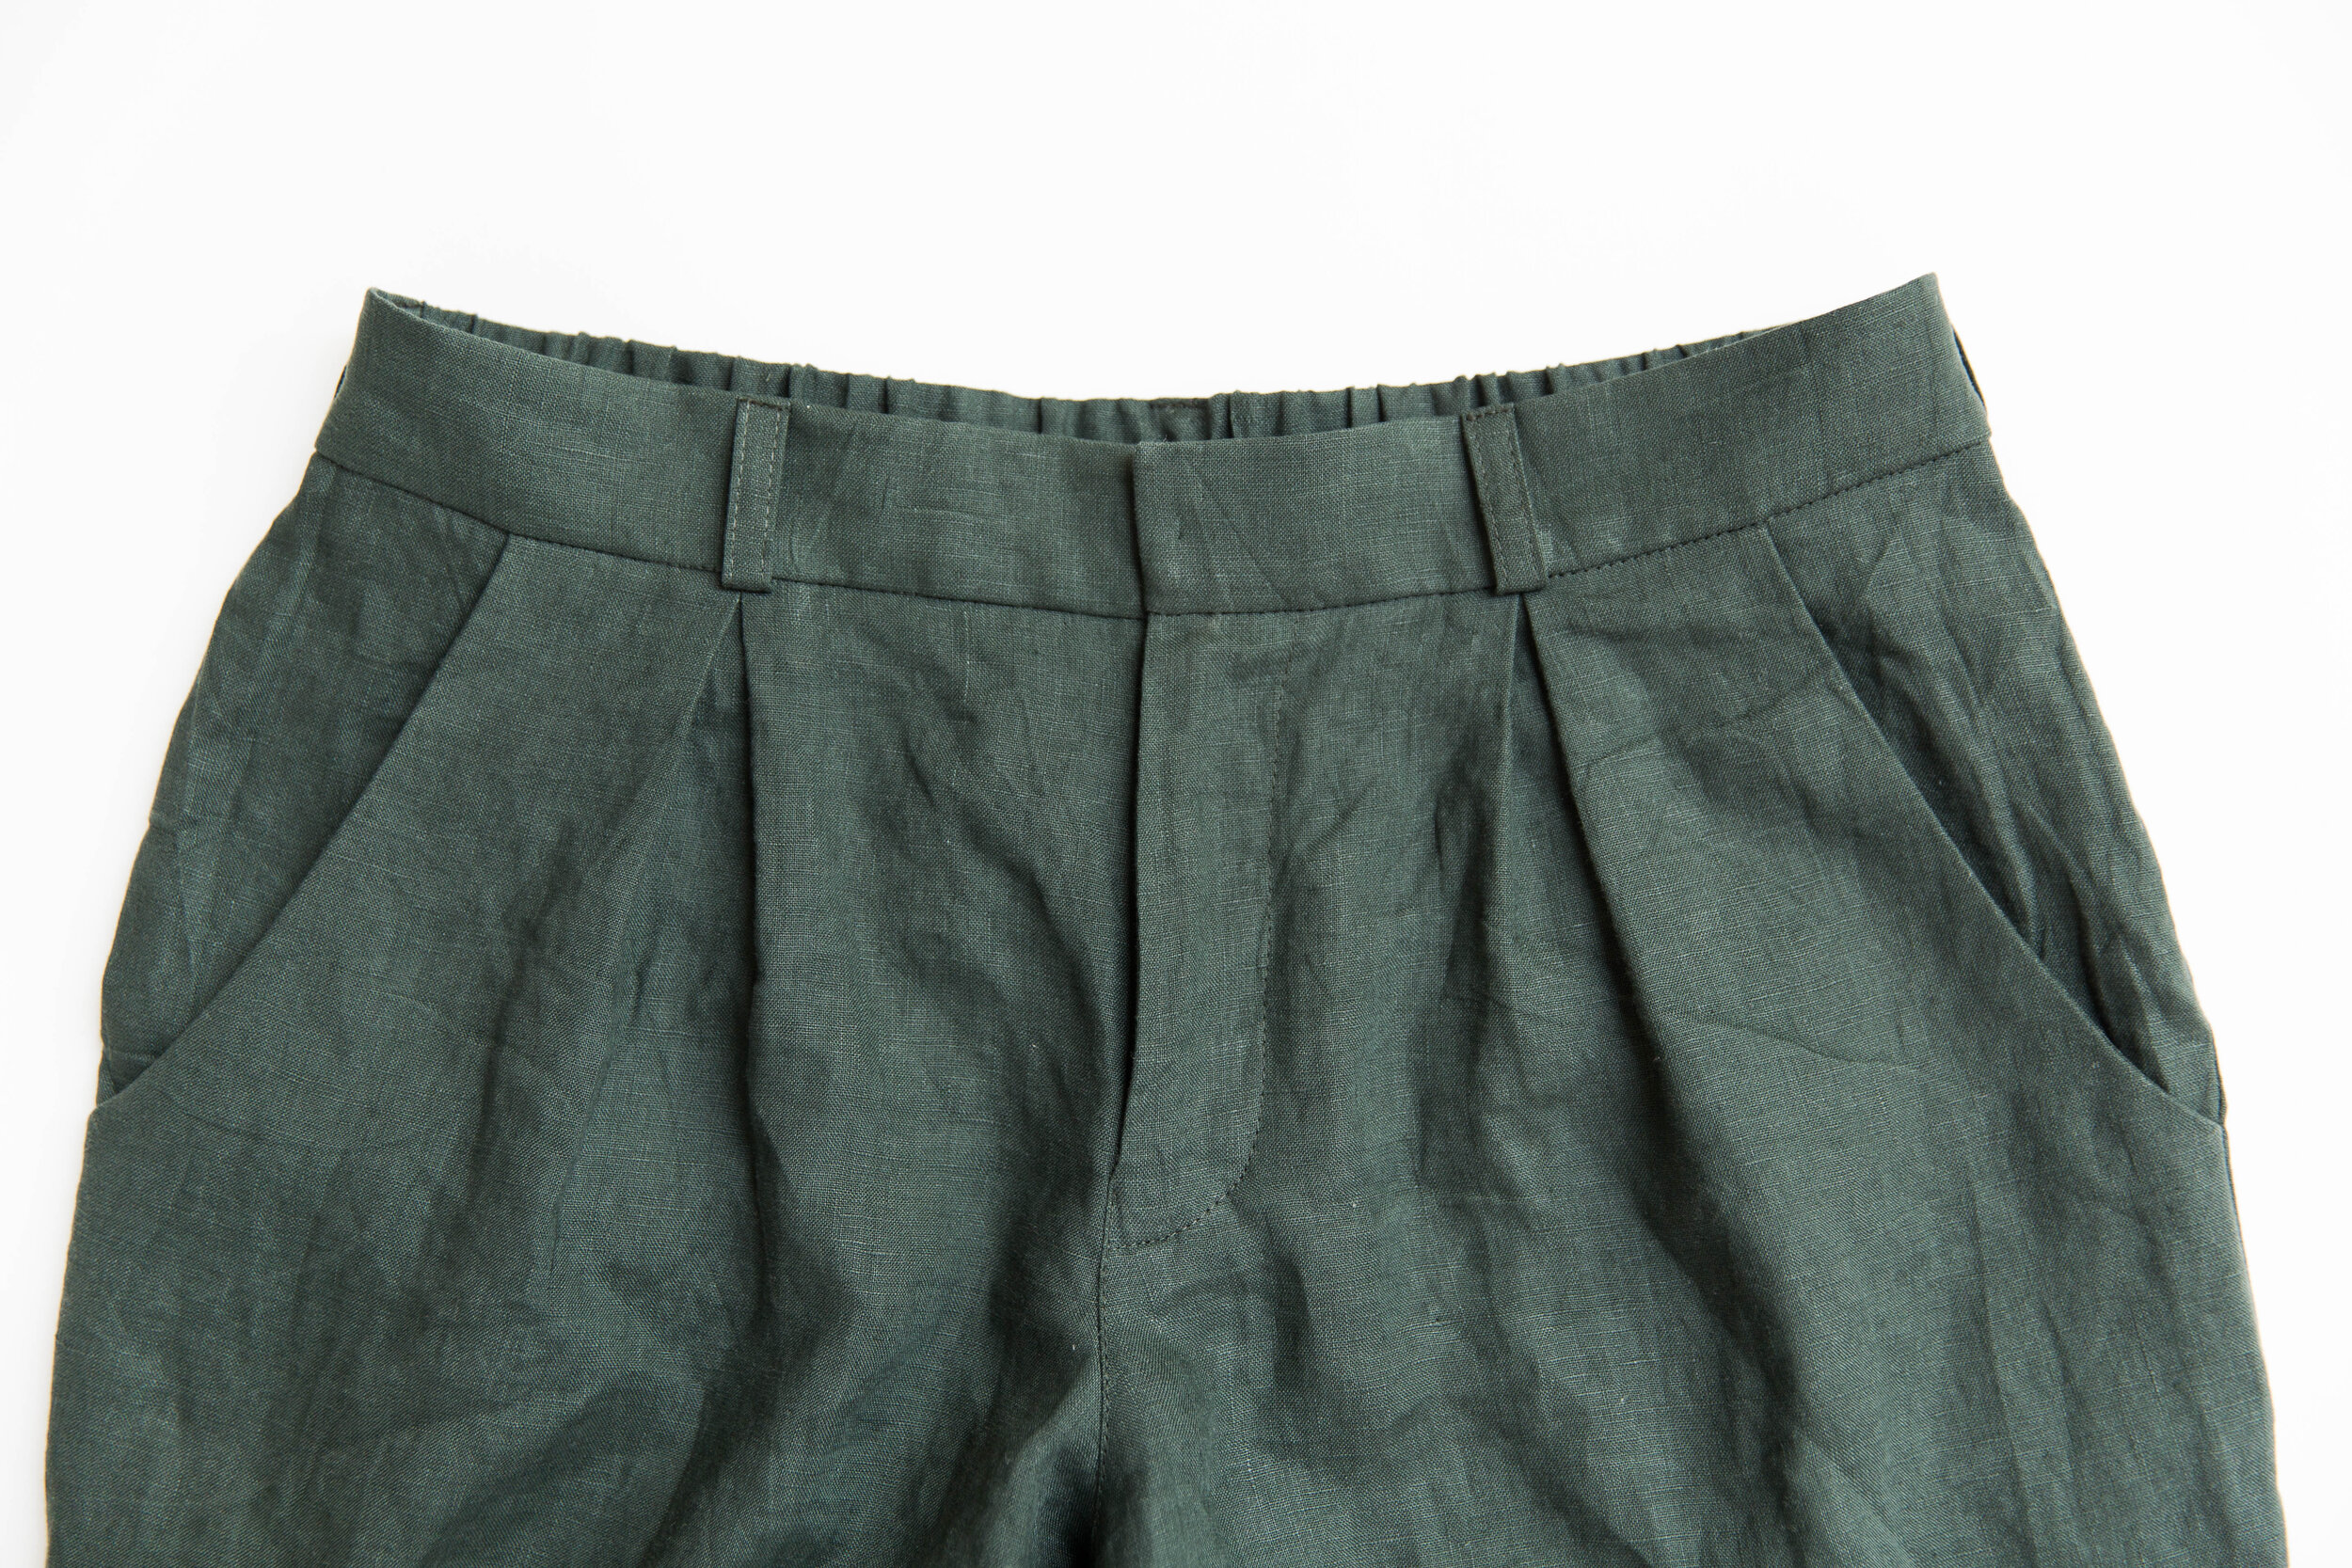
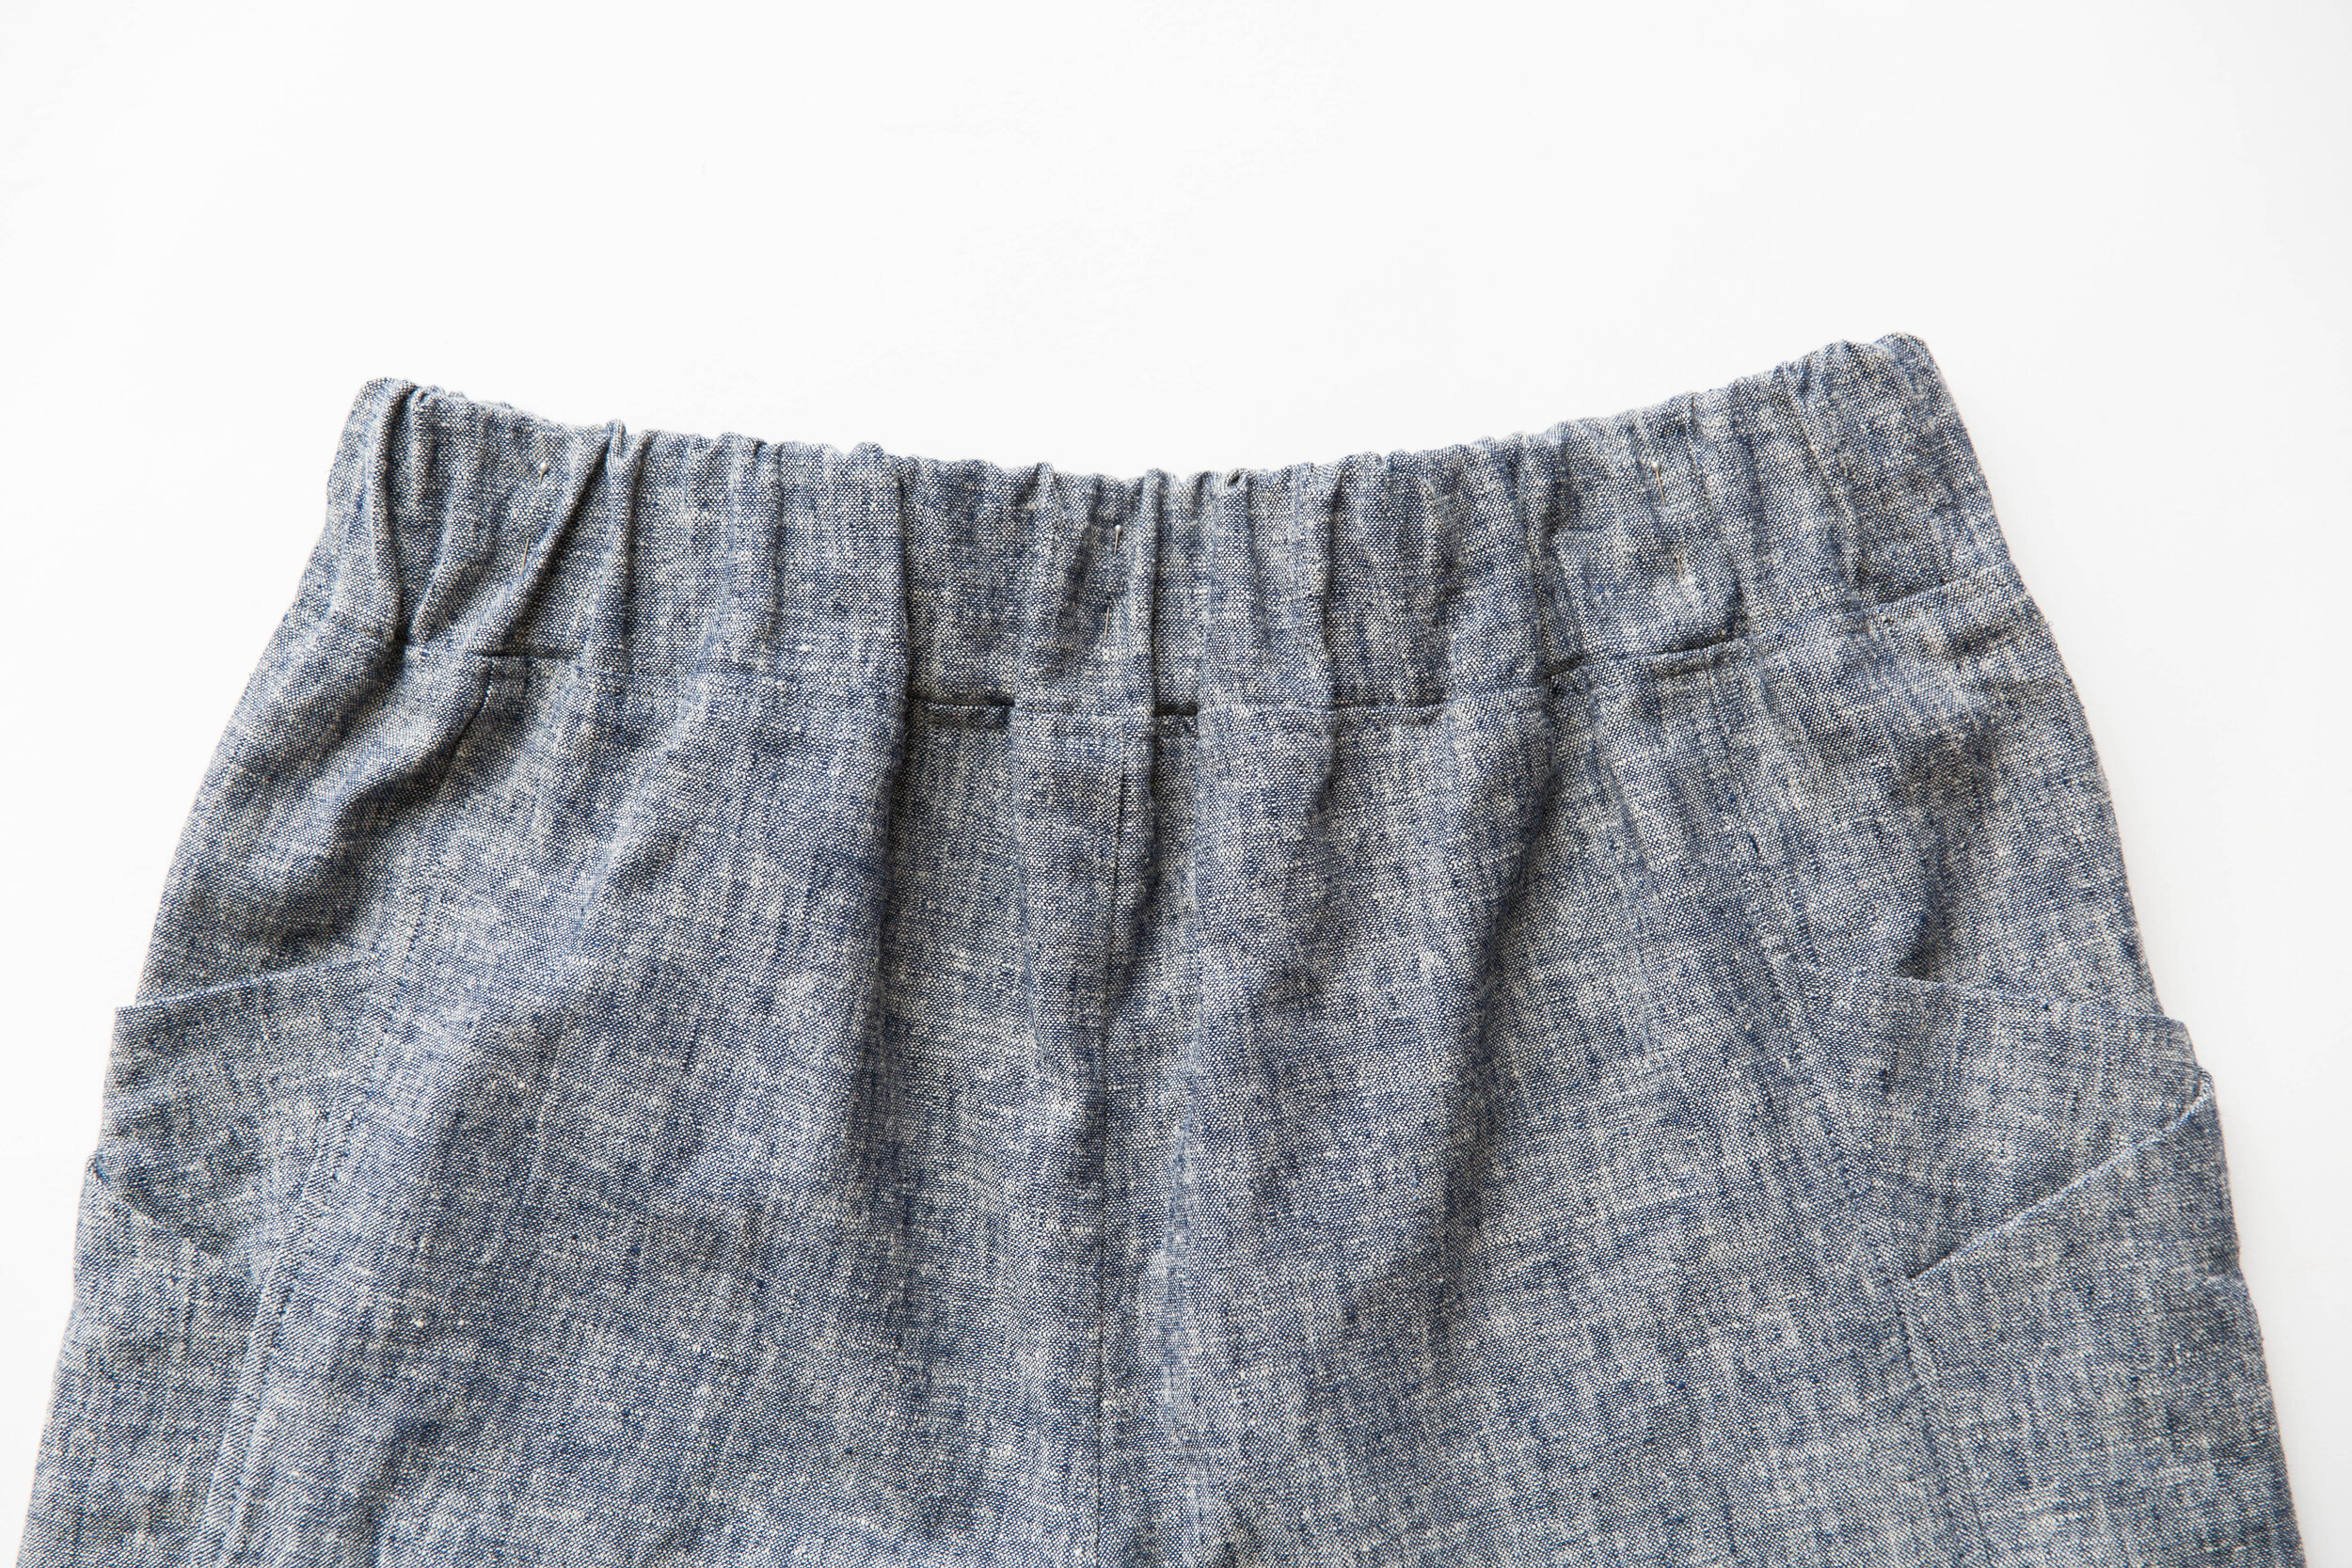
Fold the short ends of back waistband in half with right sides out. Pin the open ends along top edge of back pants panel. Stitch. Neaten seam.
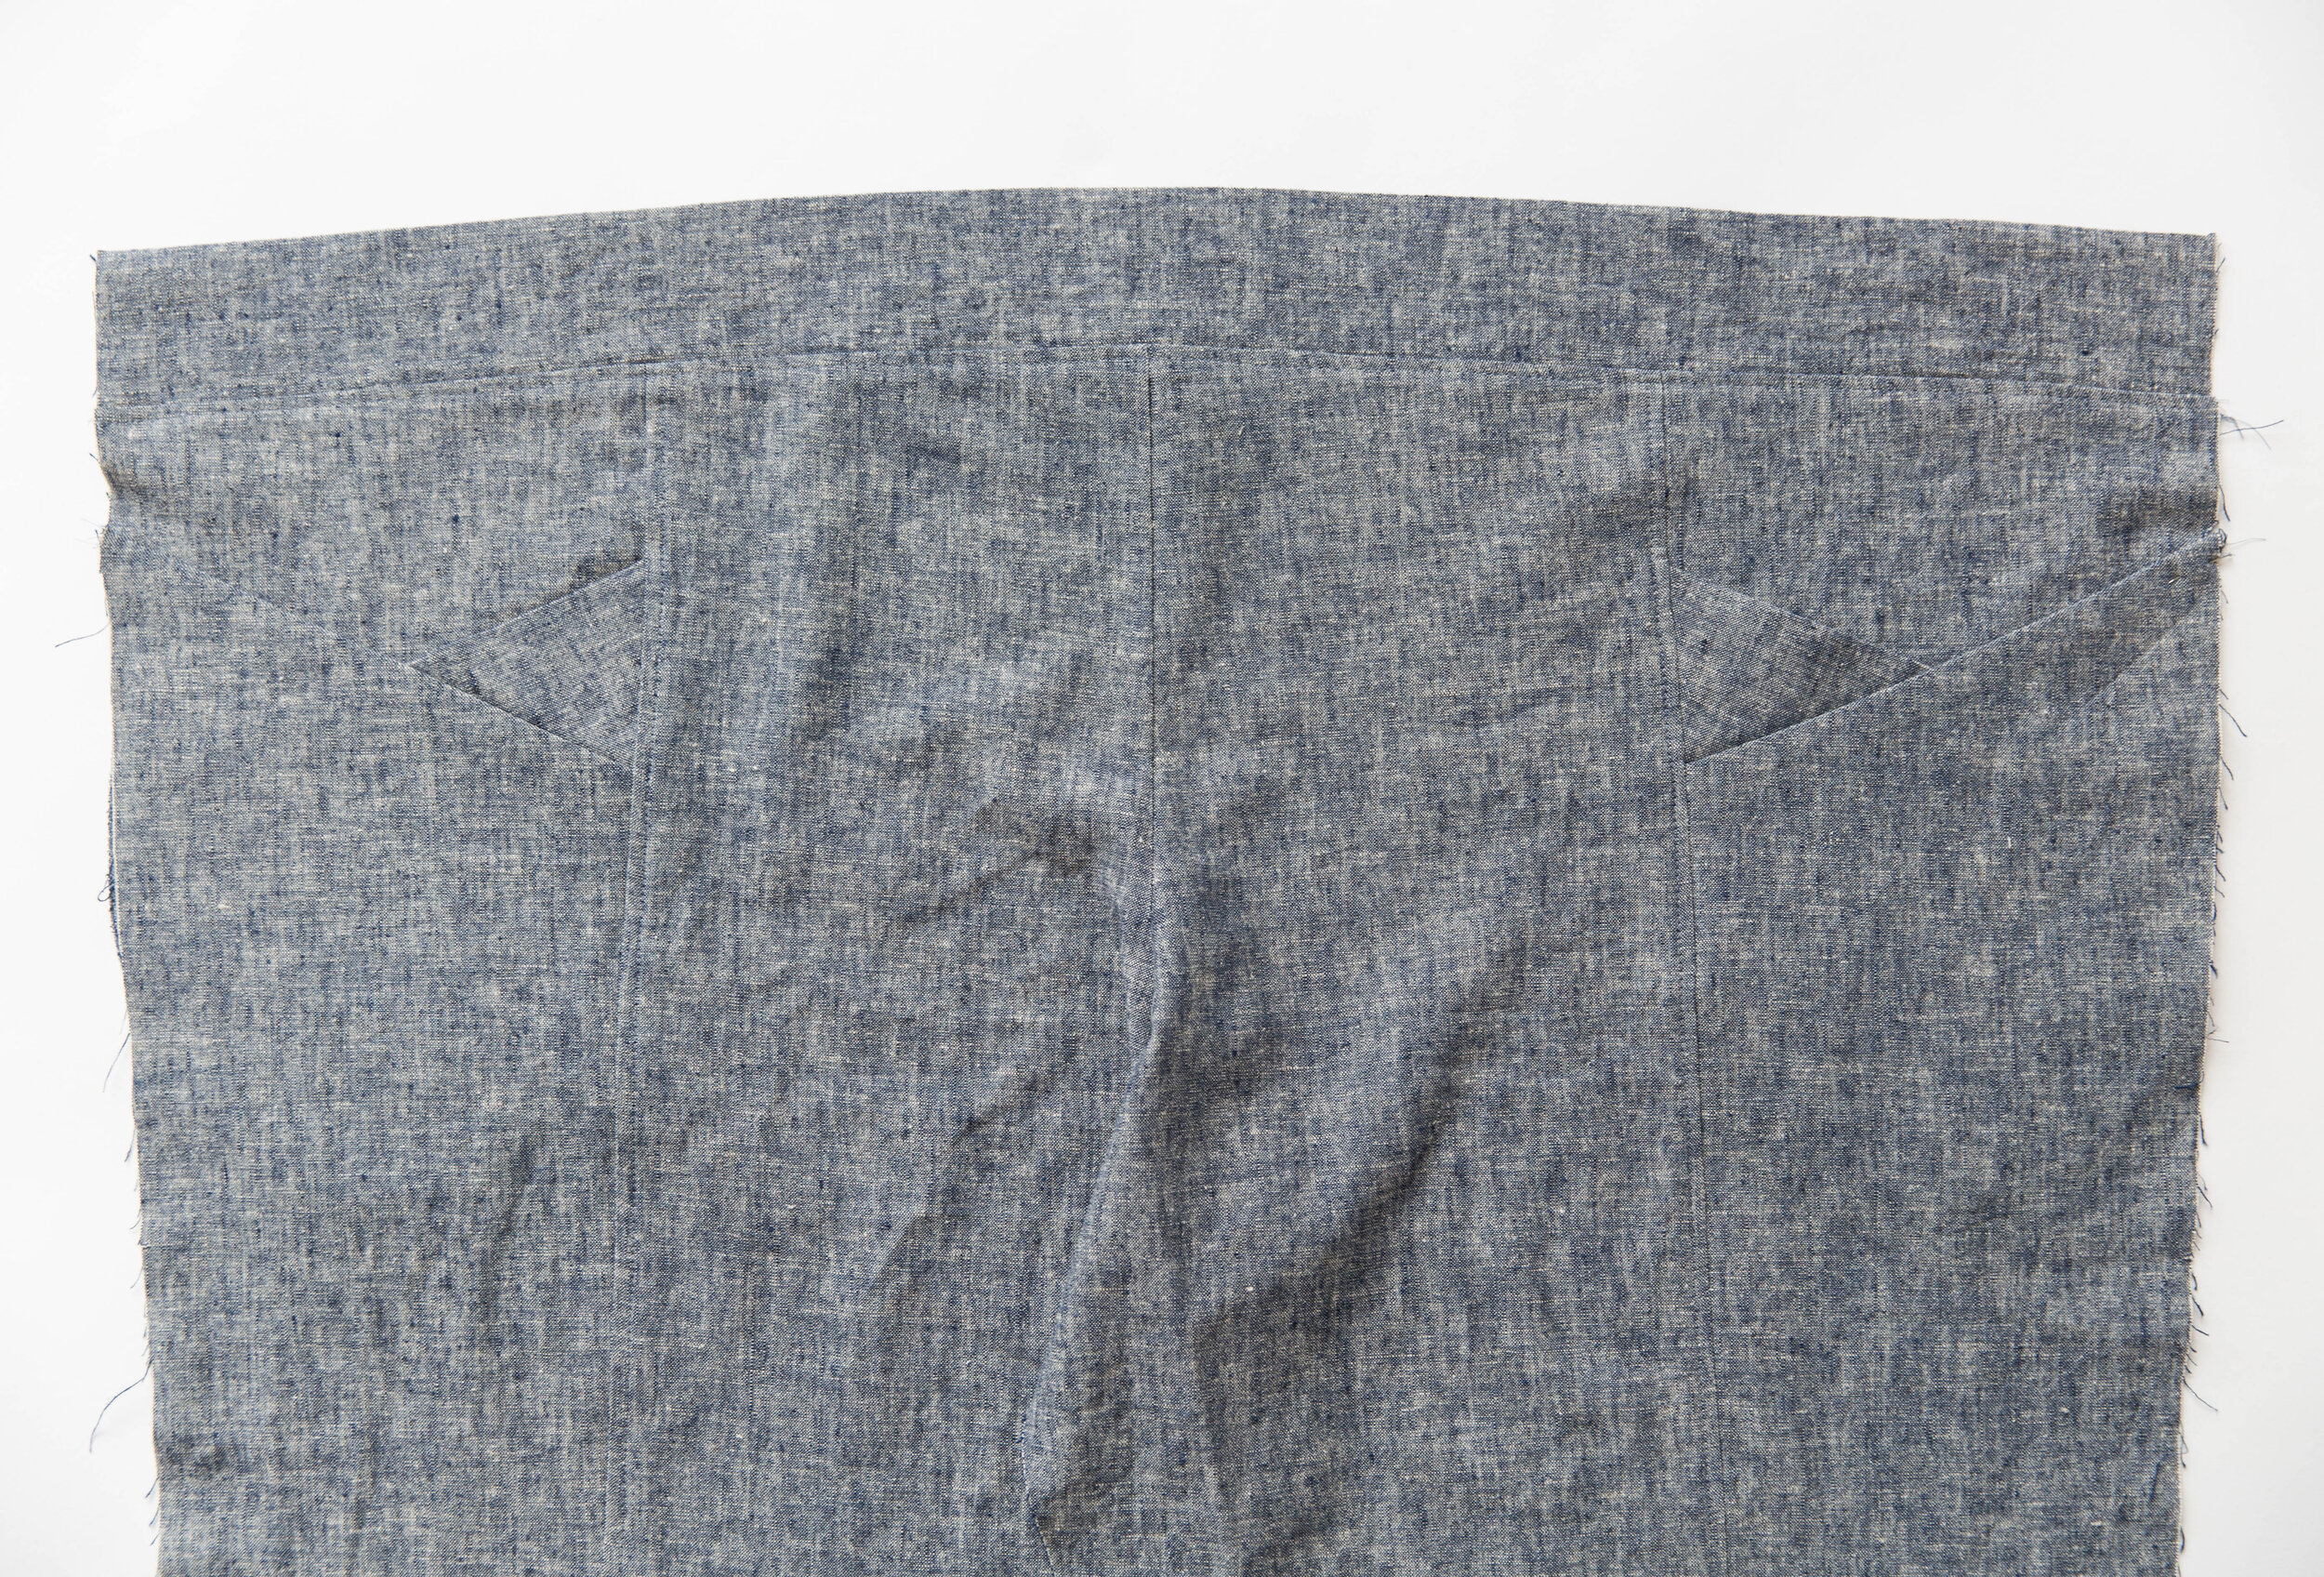
step 10
Press the seam allowance down toward pants panel and topstitch down.
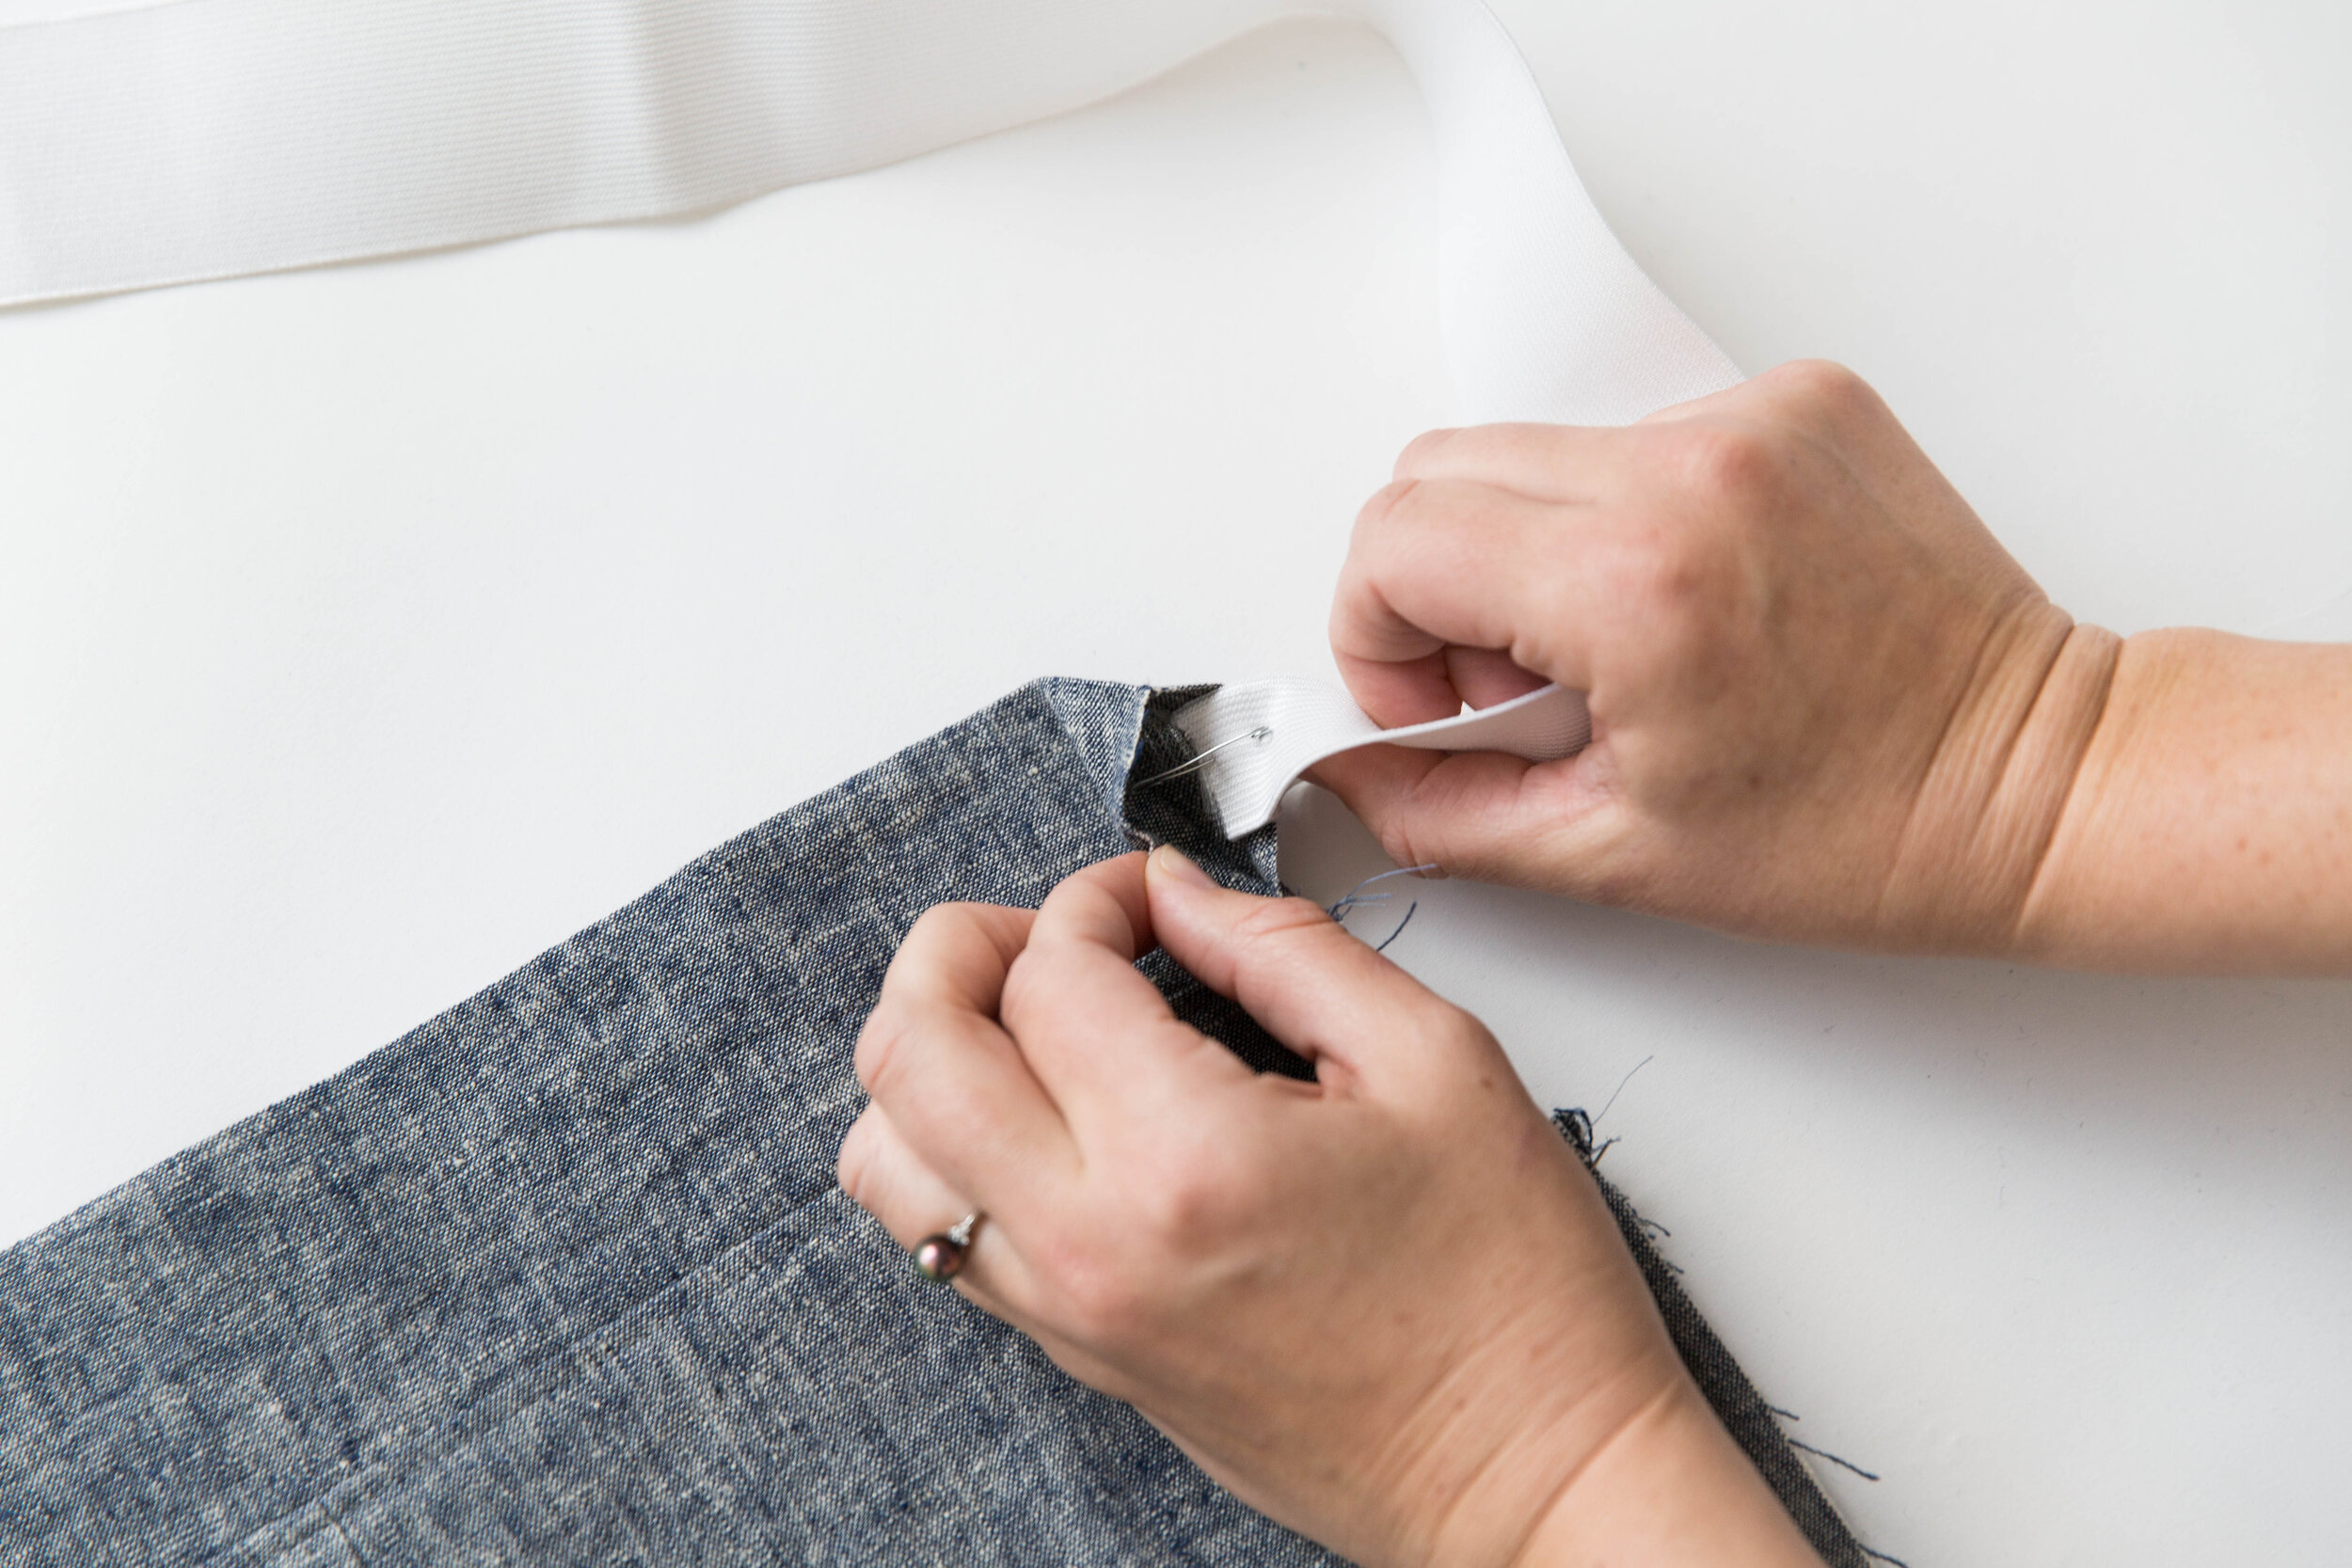
step 11
Cut a piece of elastic:
XXS - 43cm/17” XS - 49cm/191⁄4” S - 55cm/213⁄4” M - 61cm/24” L - 67cm/261⁄2“ XL - 73cm/283⁄4”
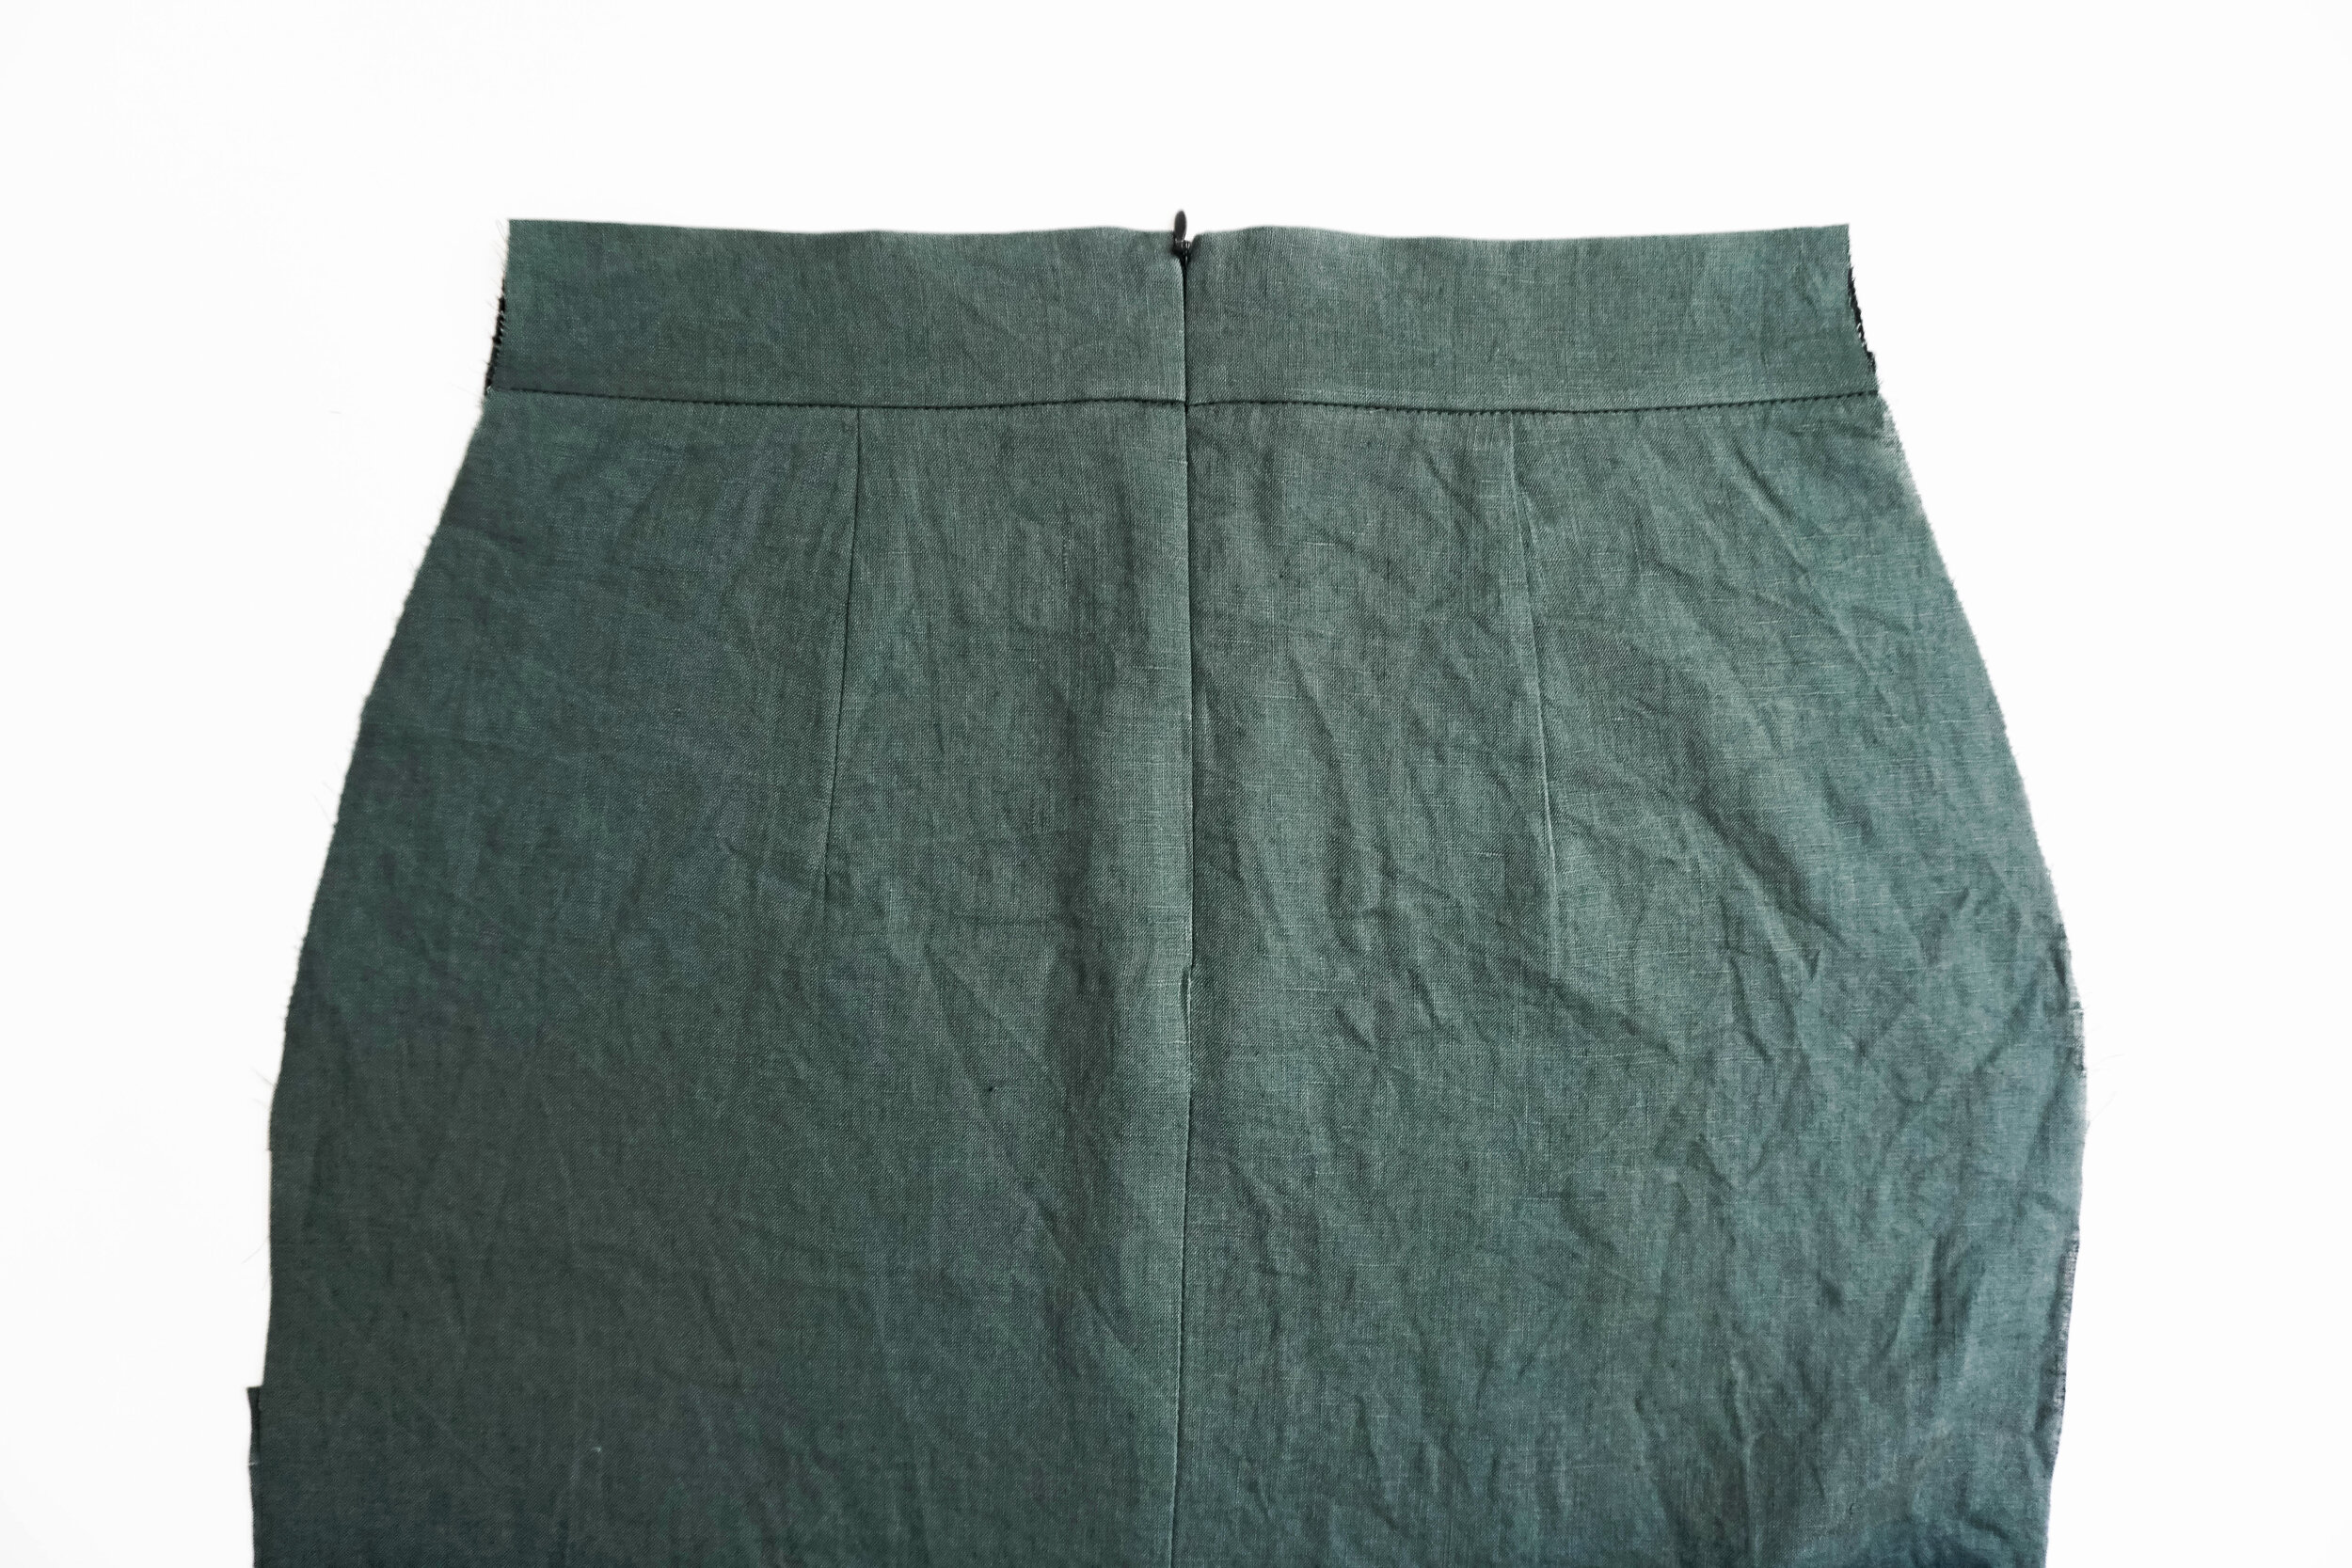
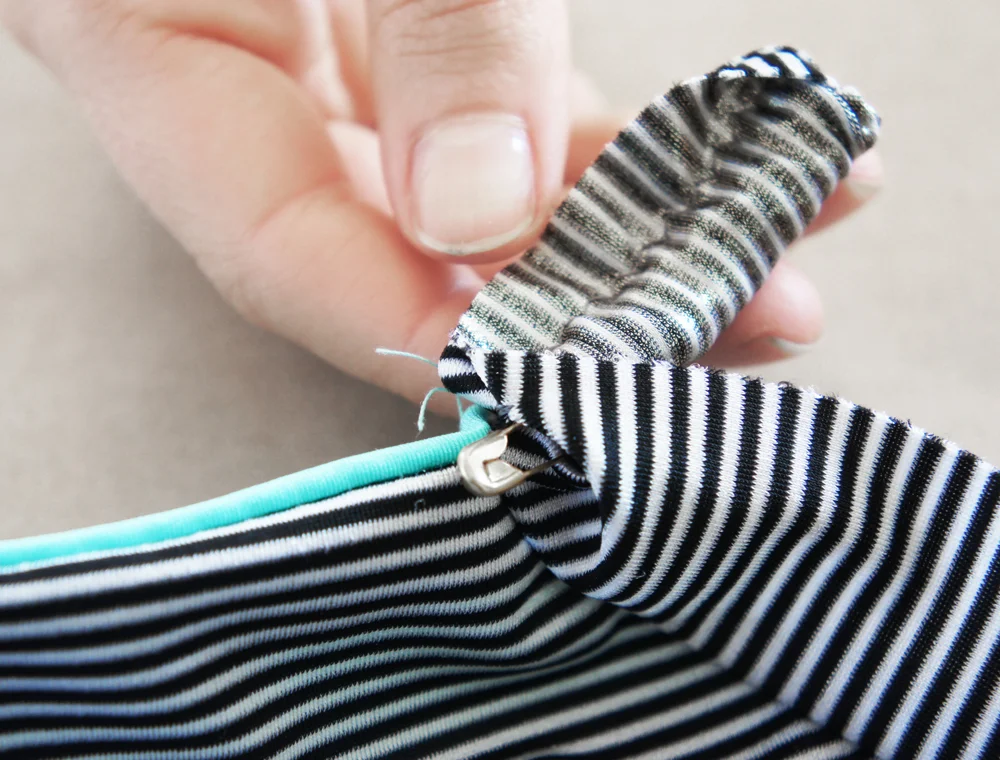
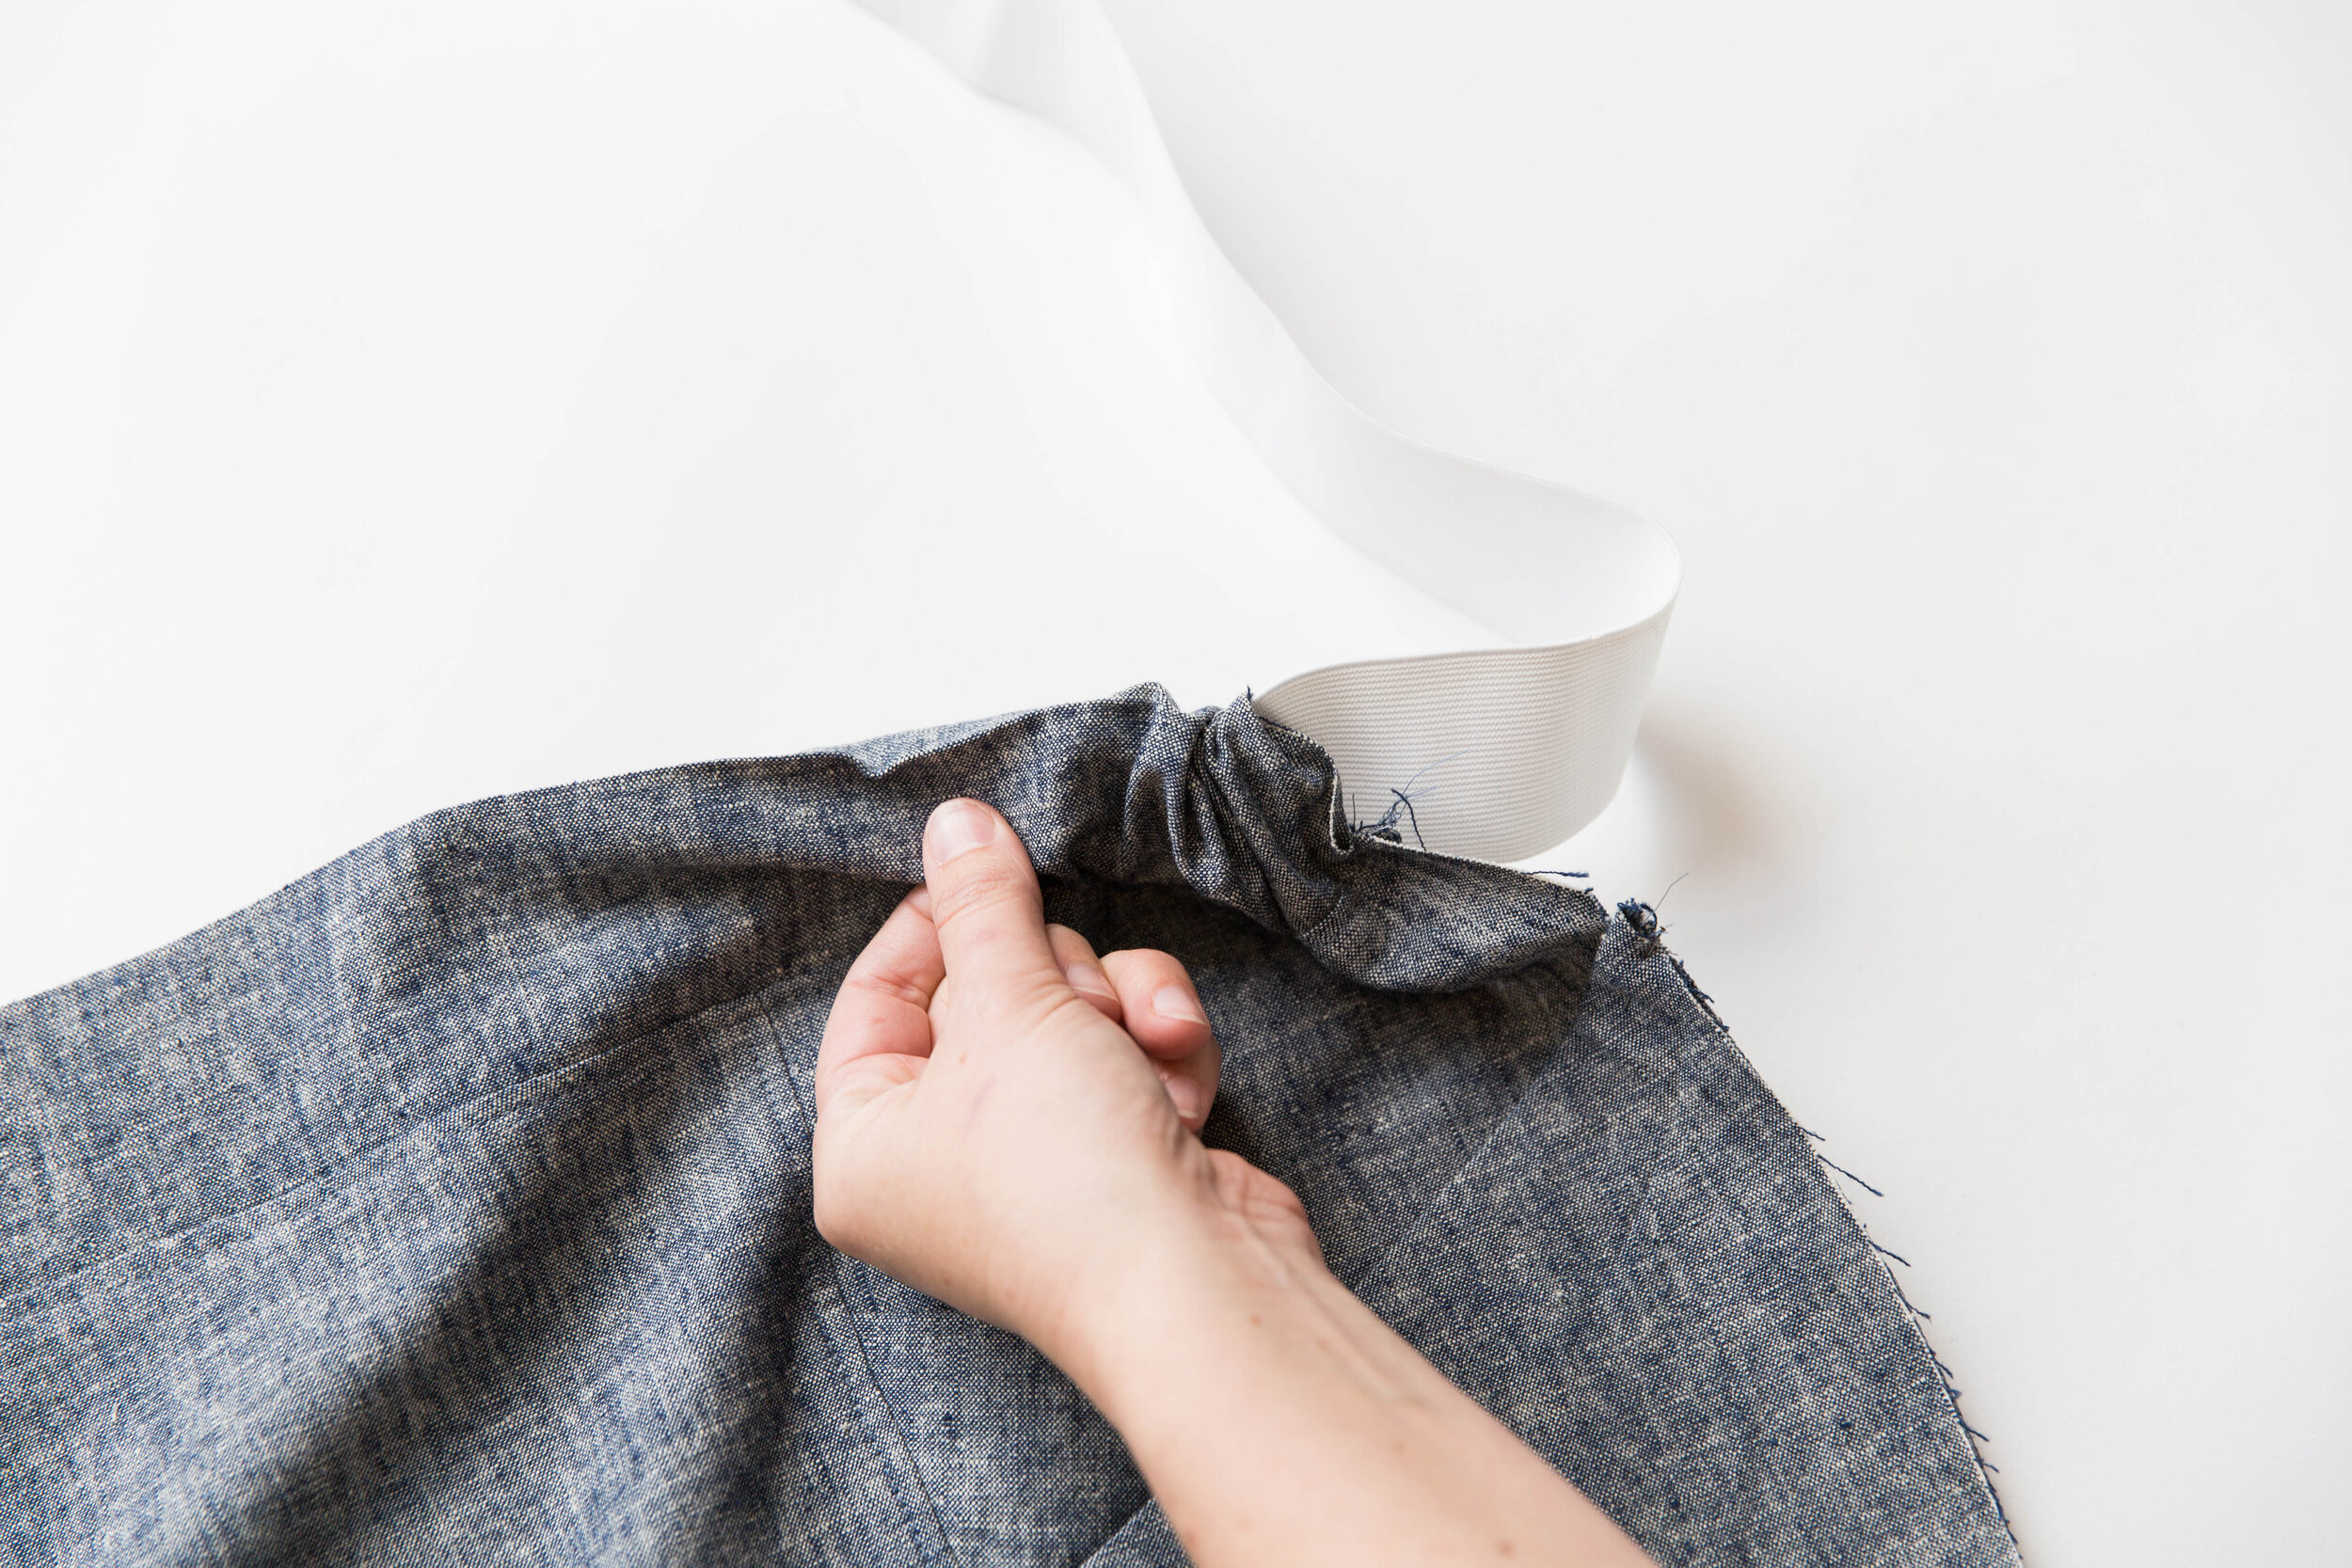
Attach a pin to one end of your elastic and thread it through the channel of your back waistband.

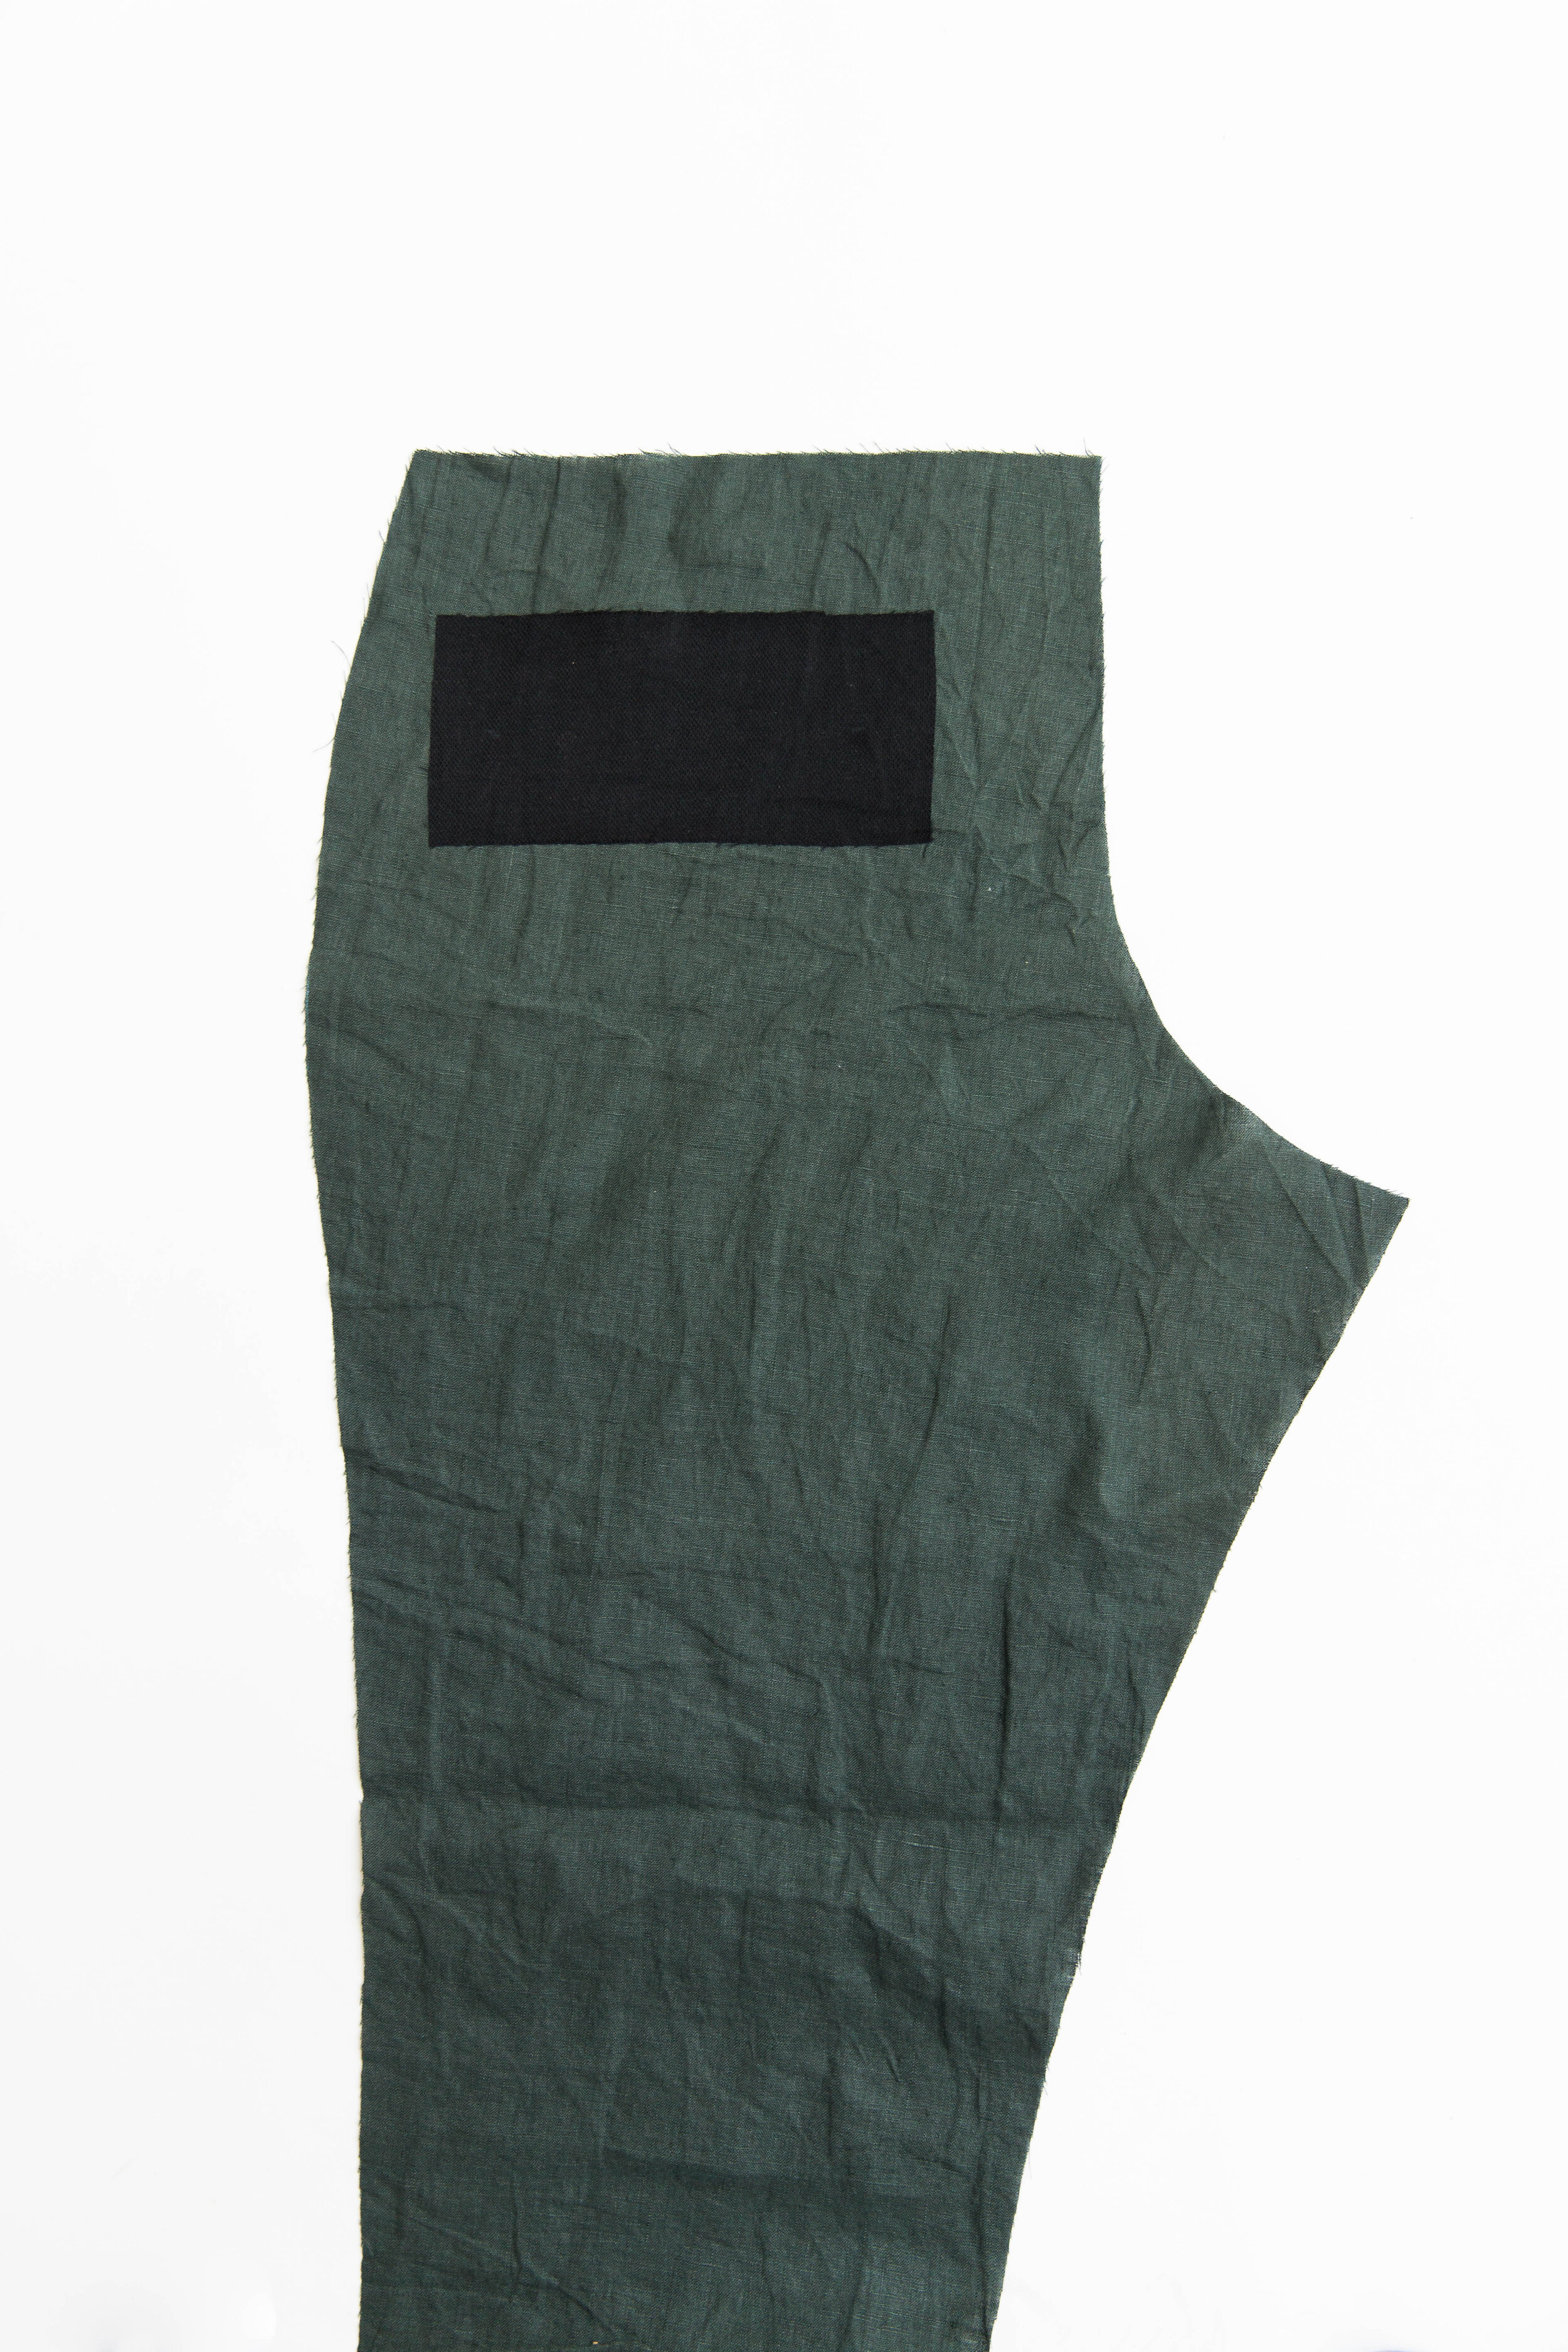
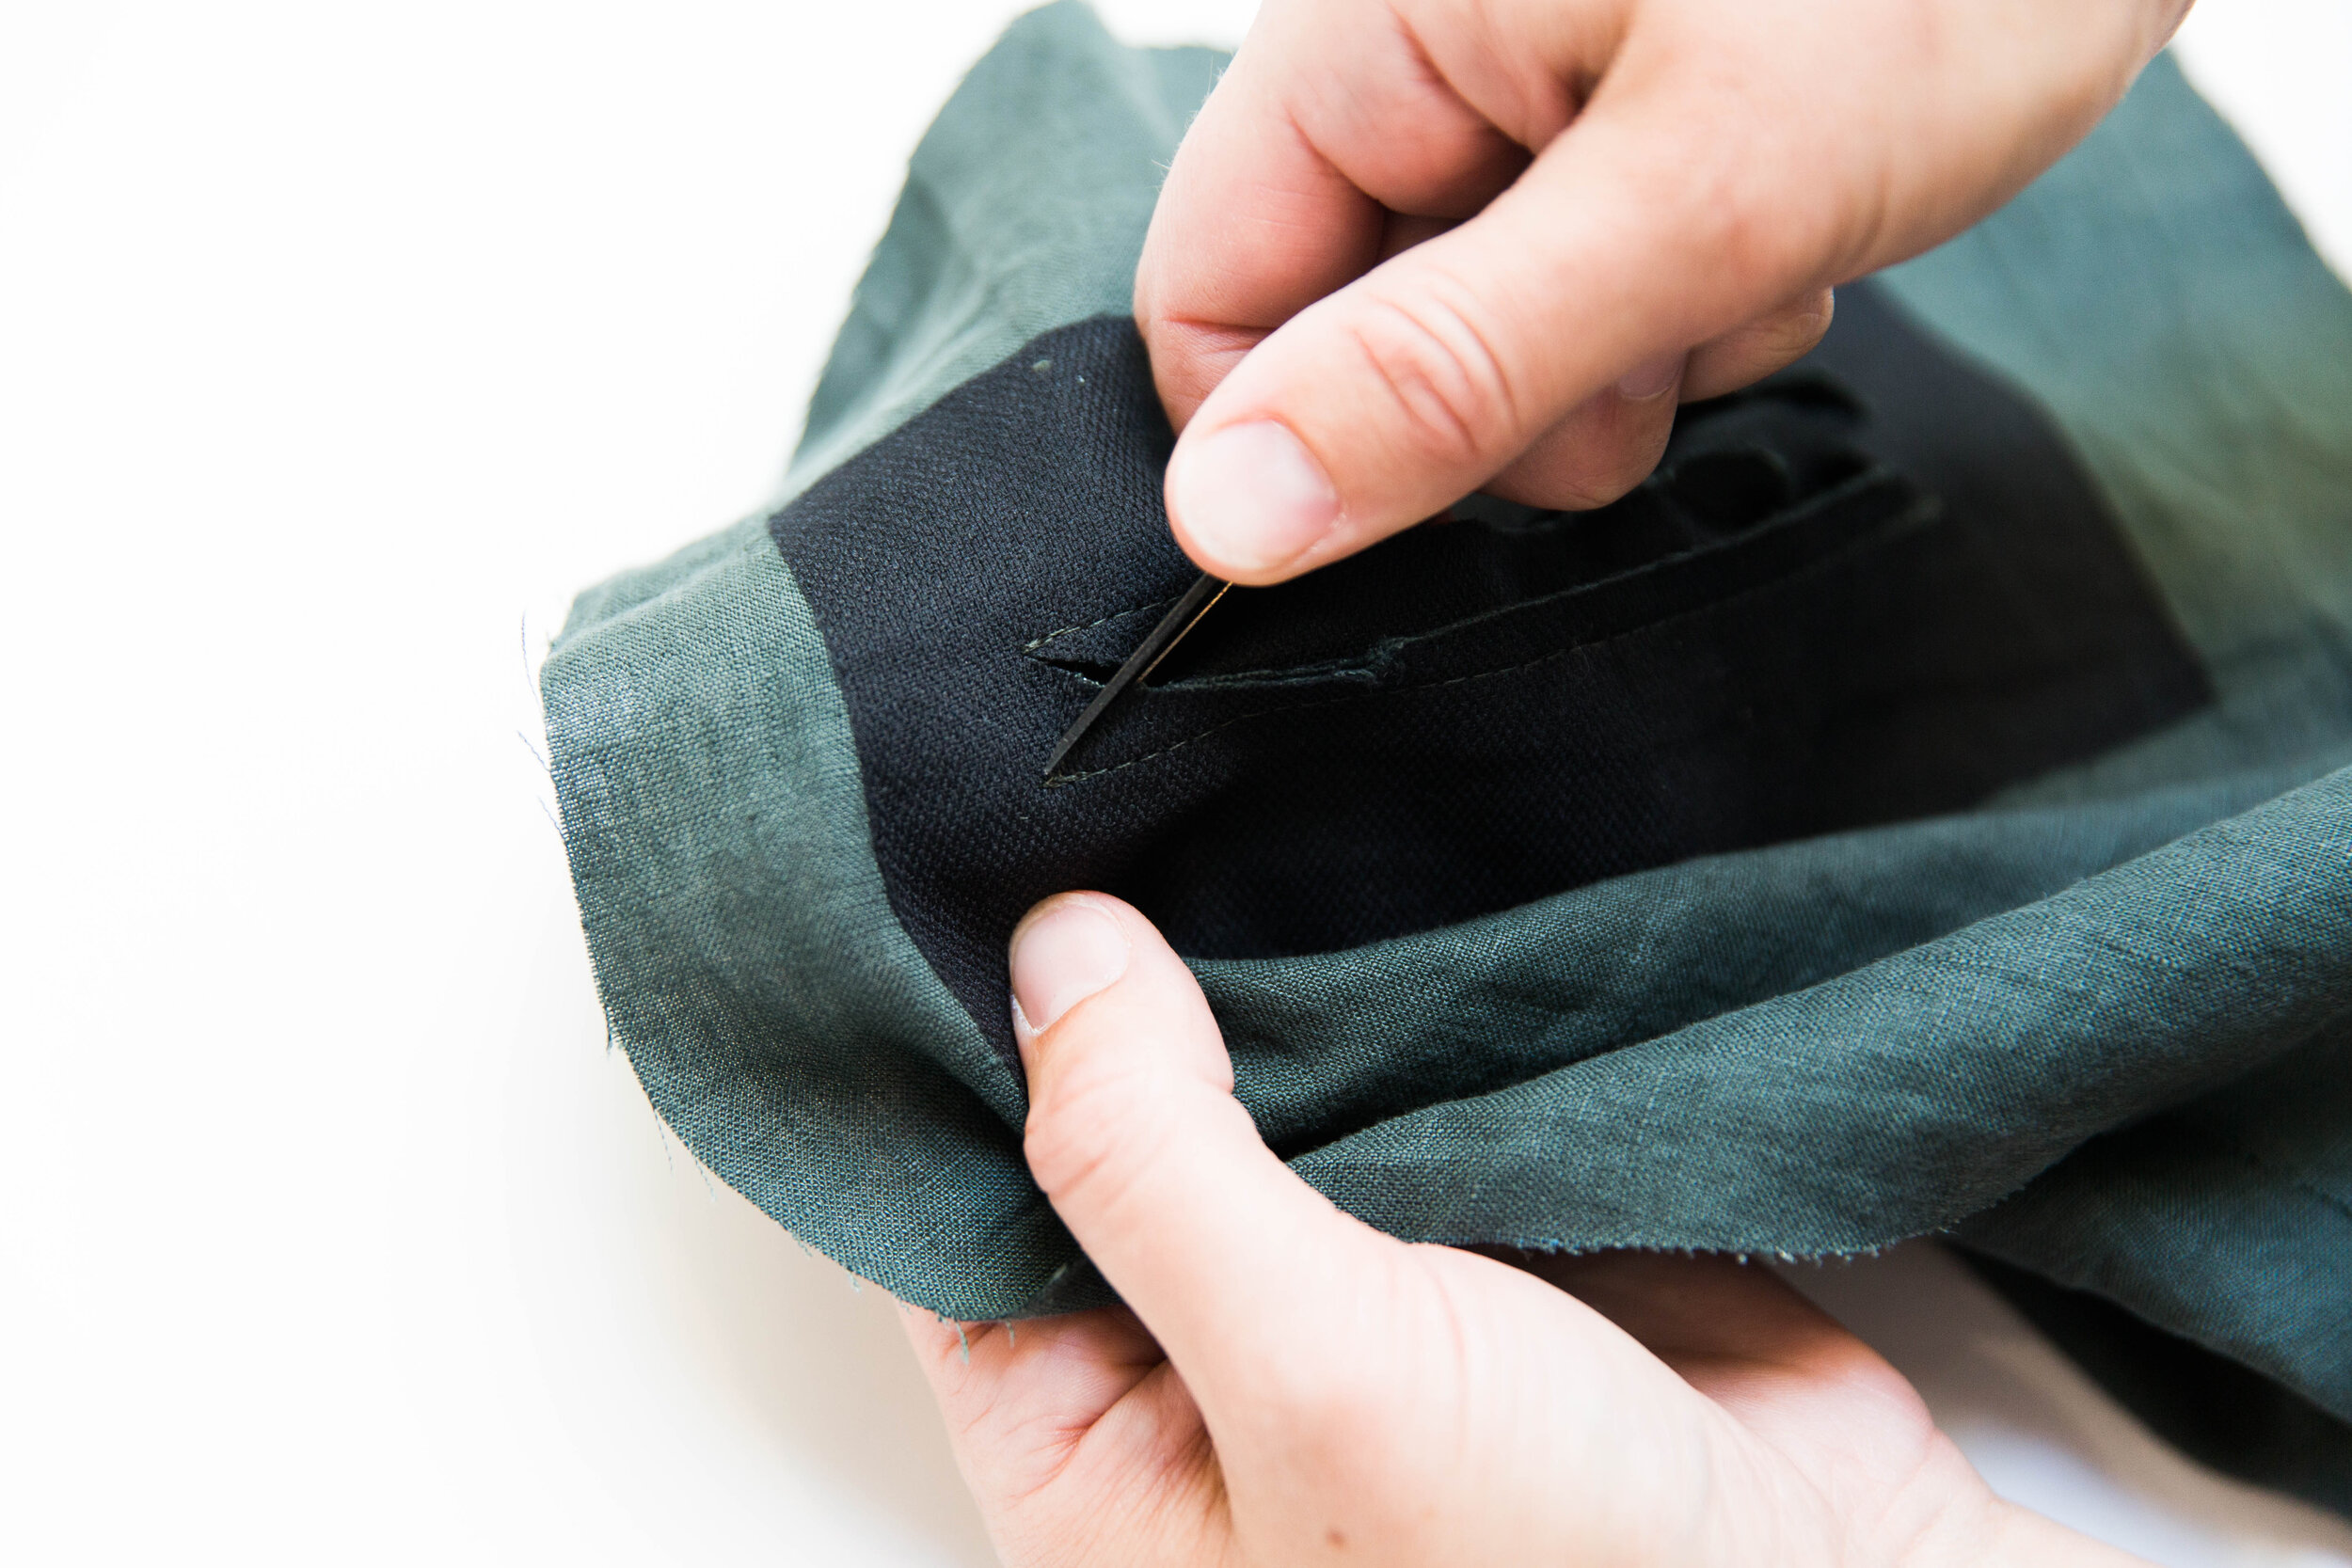
step 12
Stitch one end of waistband closed catching the elastic to secure. Pin the other end together with a safety pin so that you don’t lose the end of your elastic.

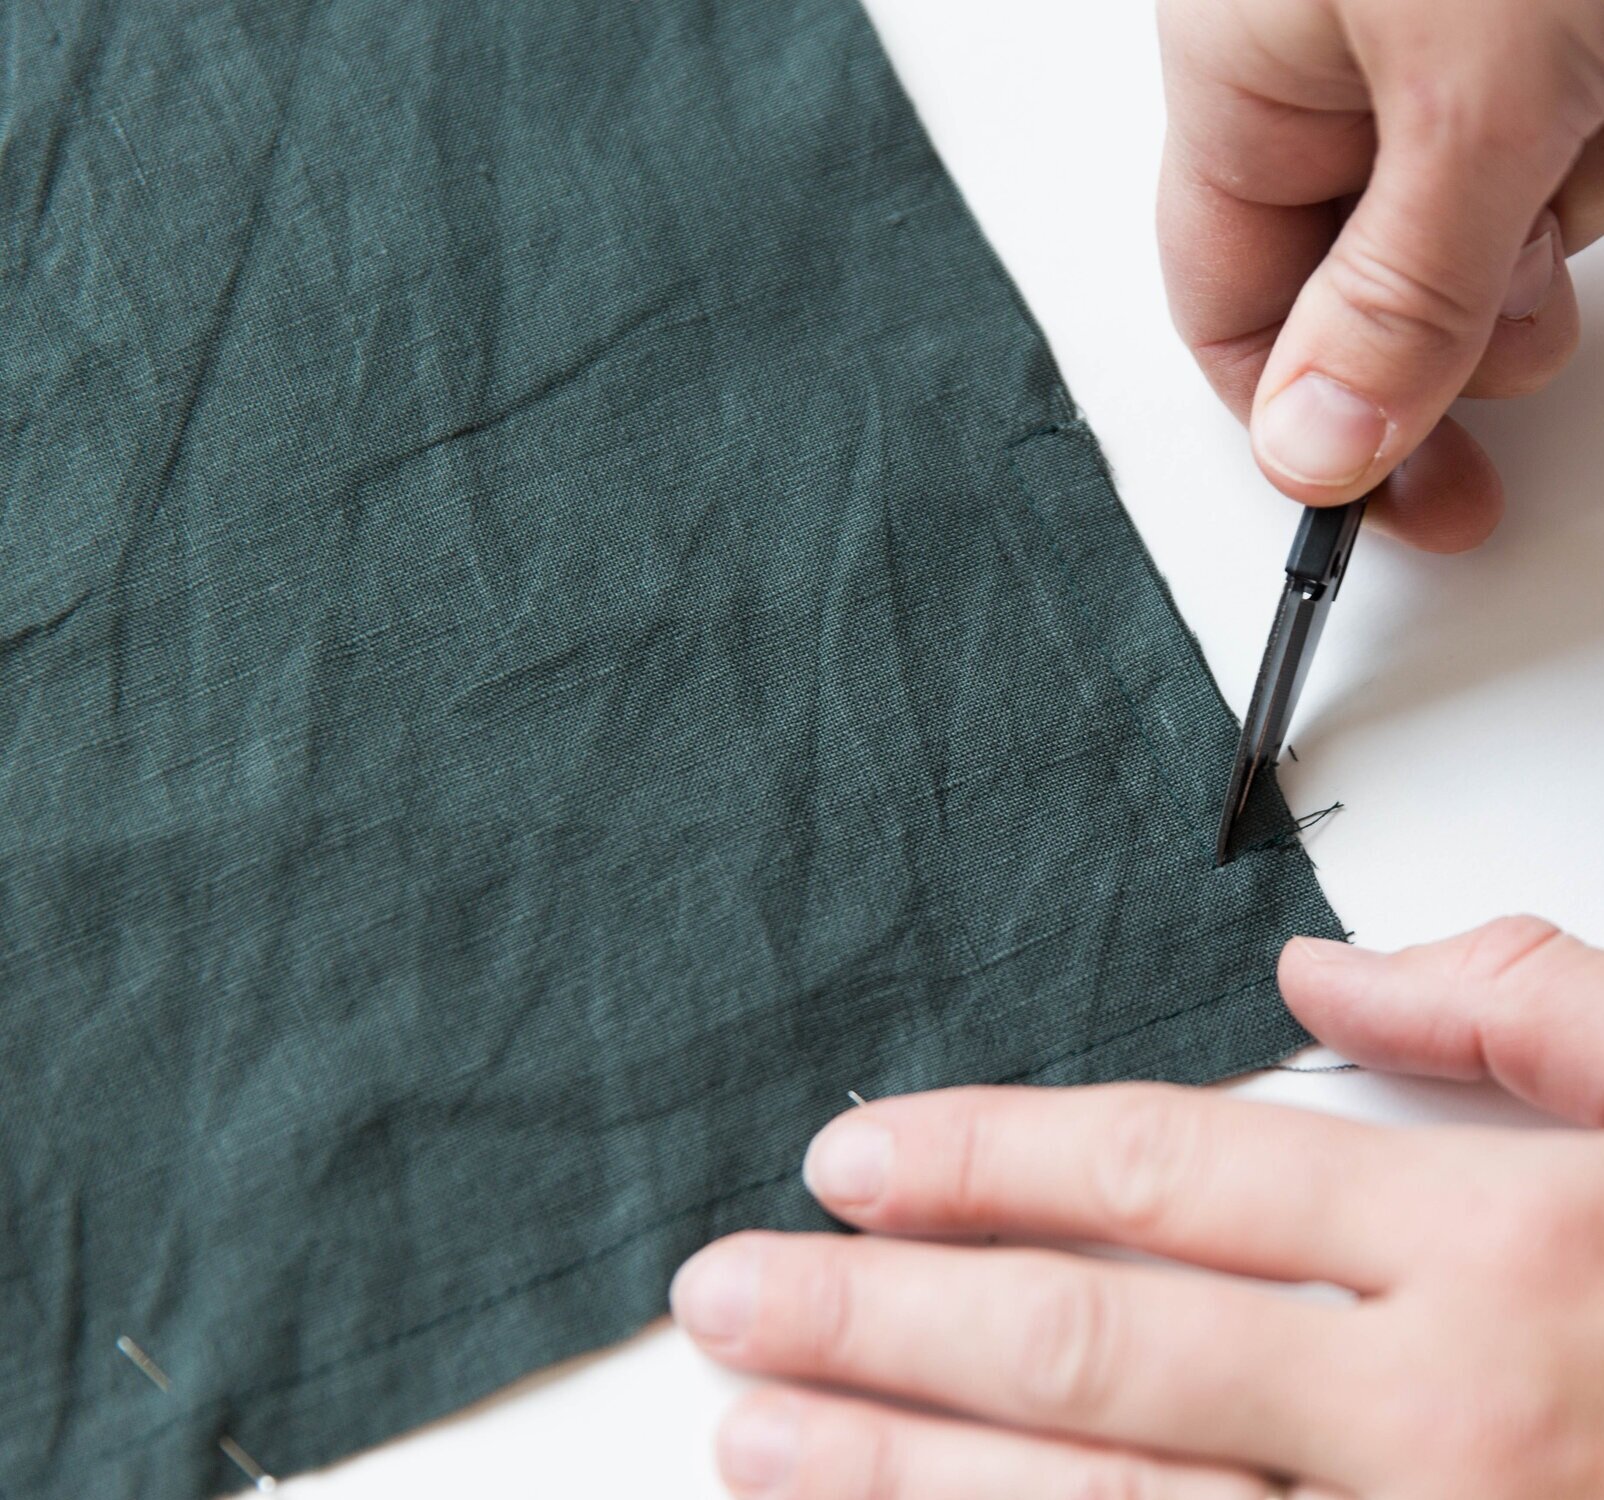
step 13
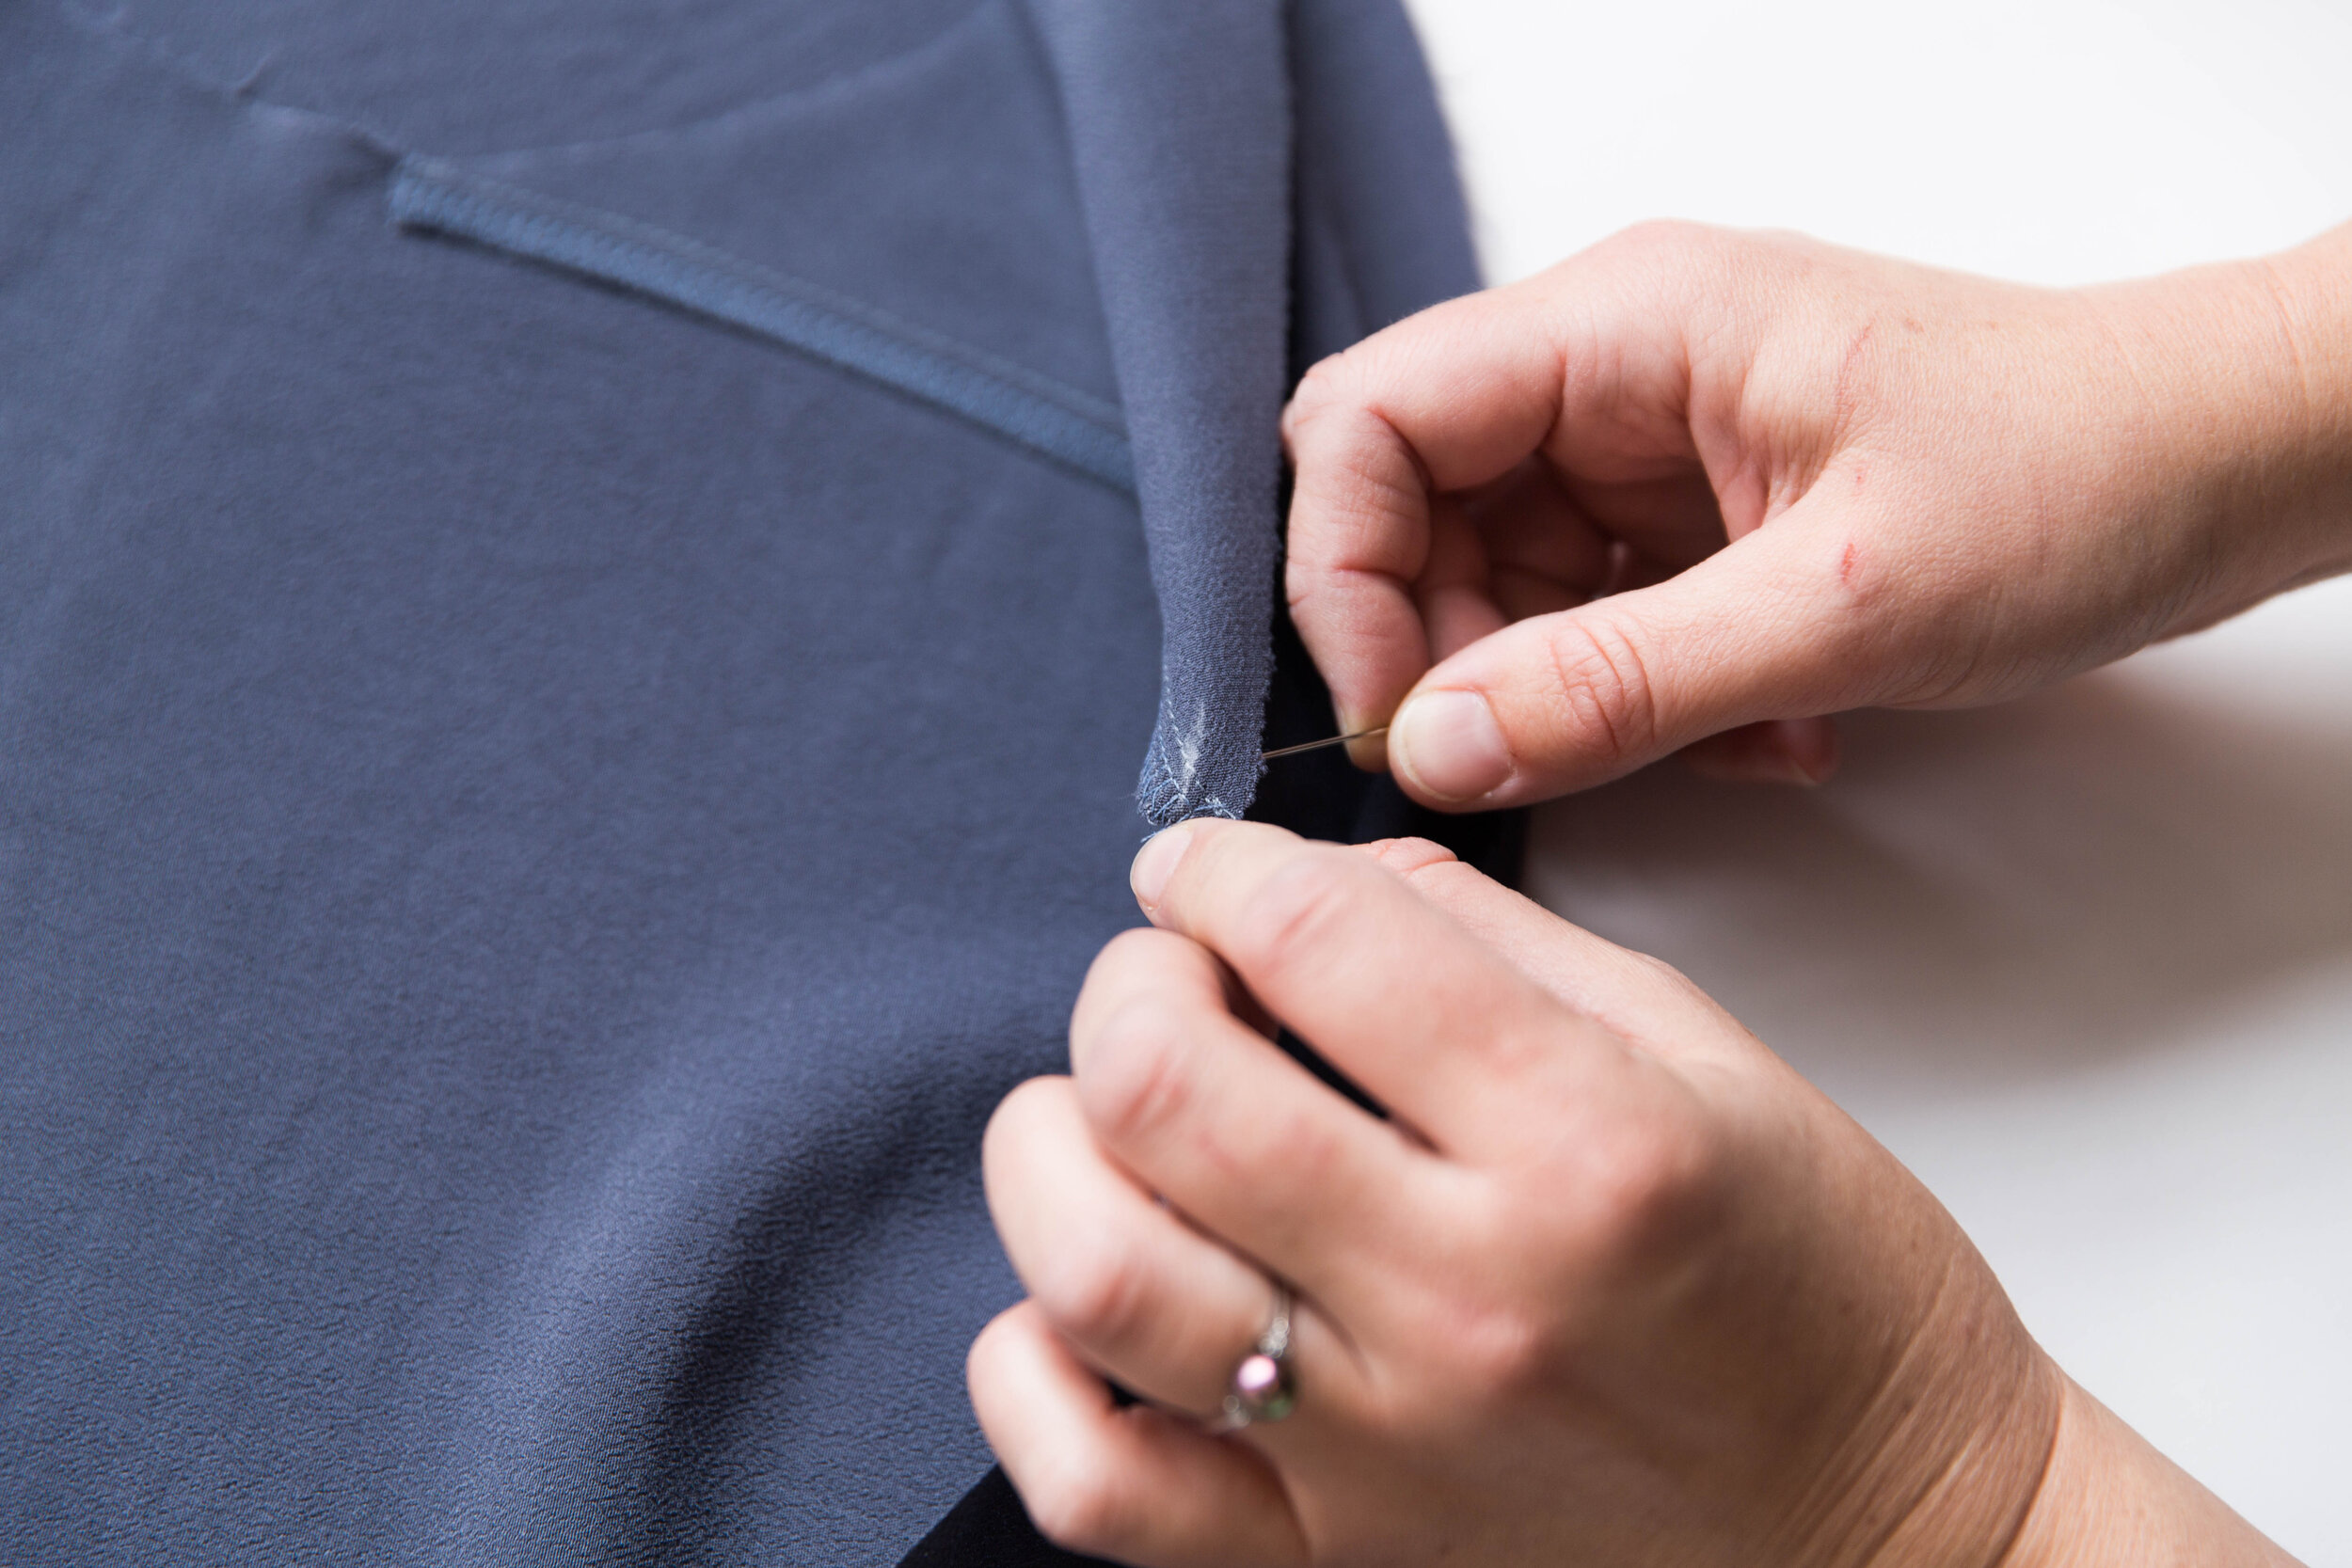
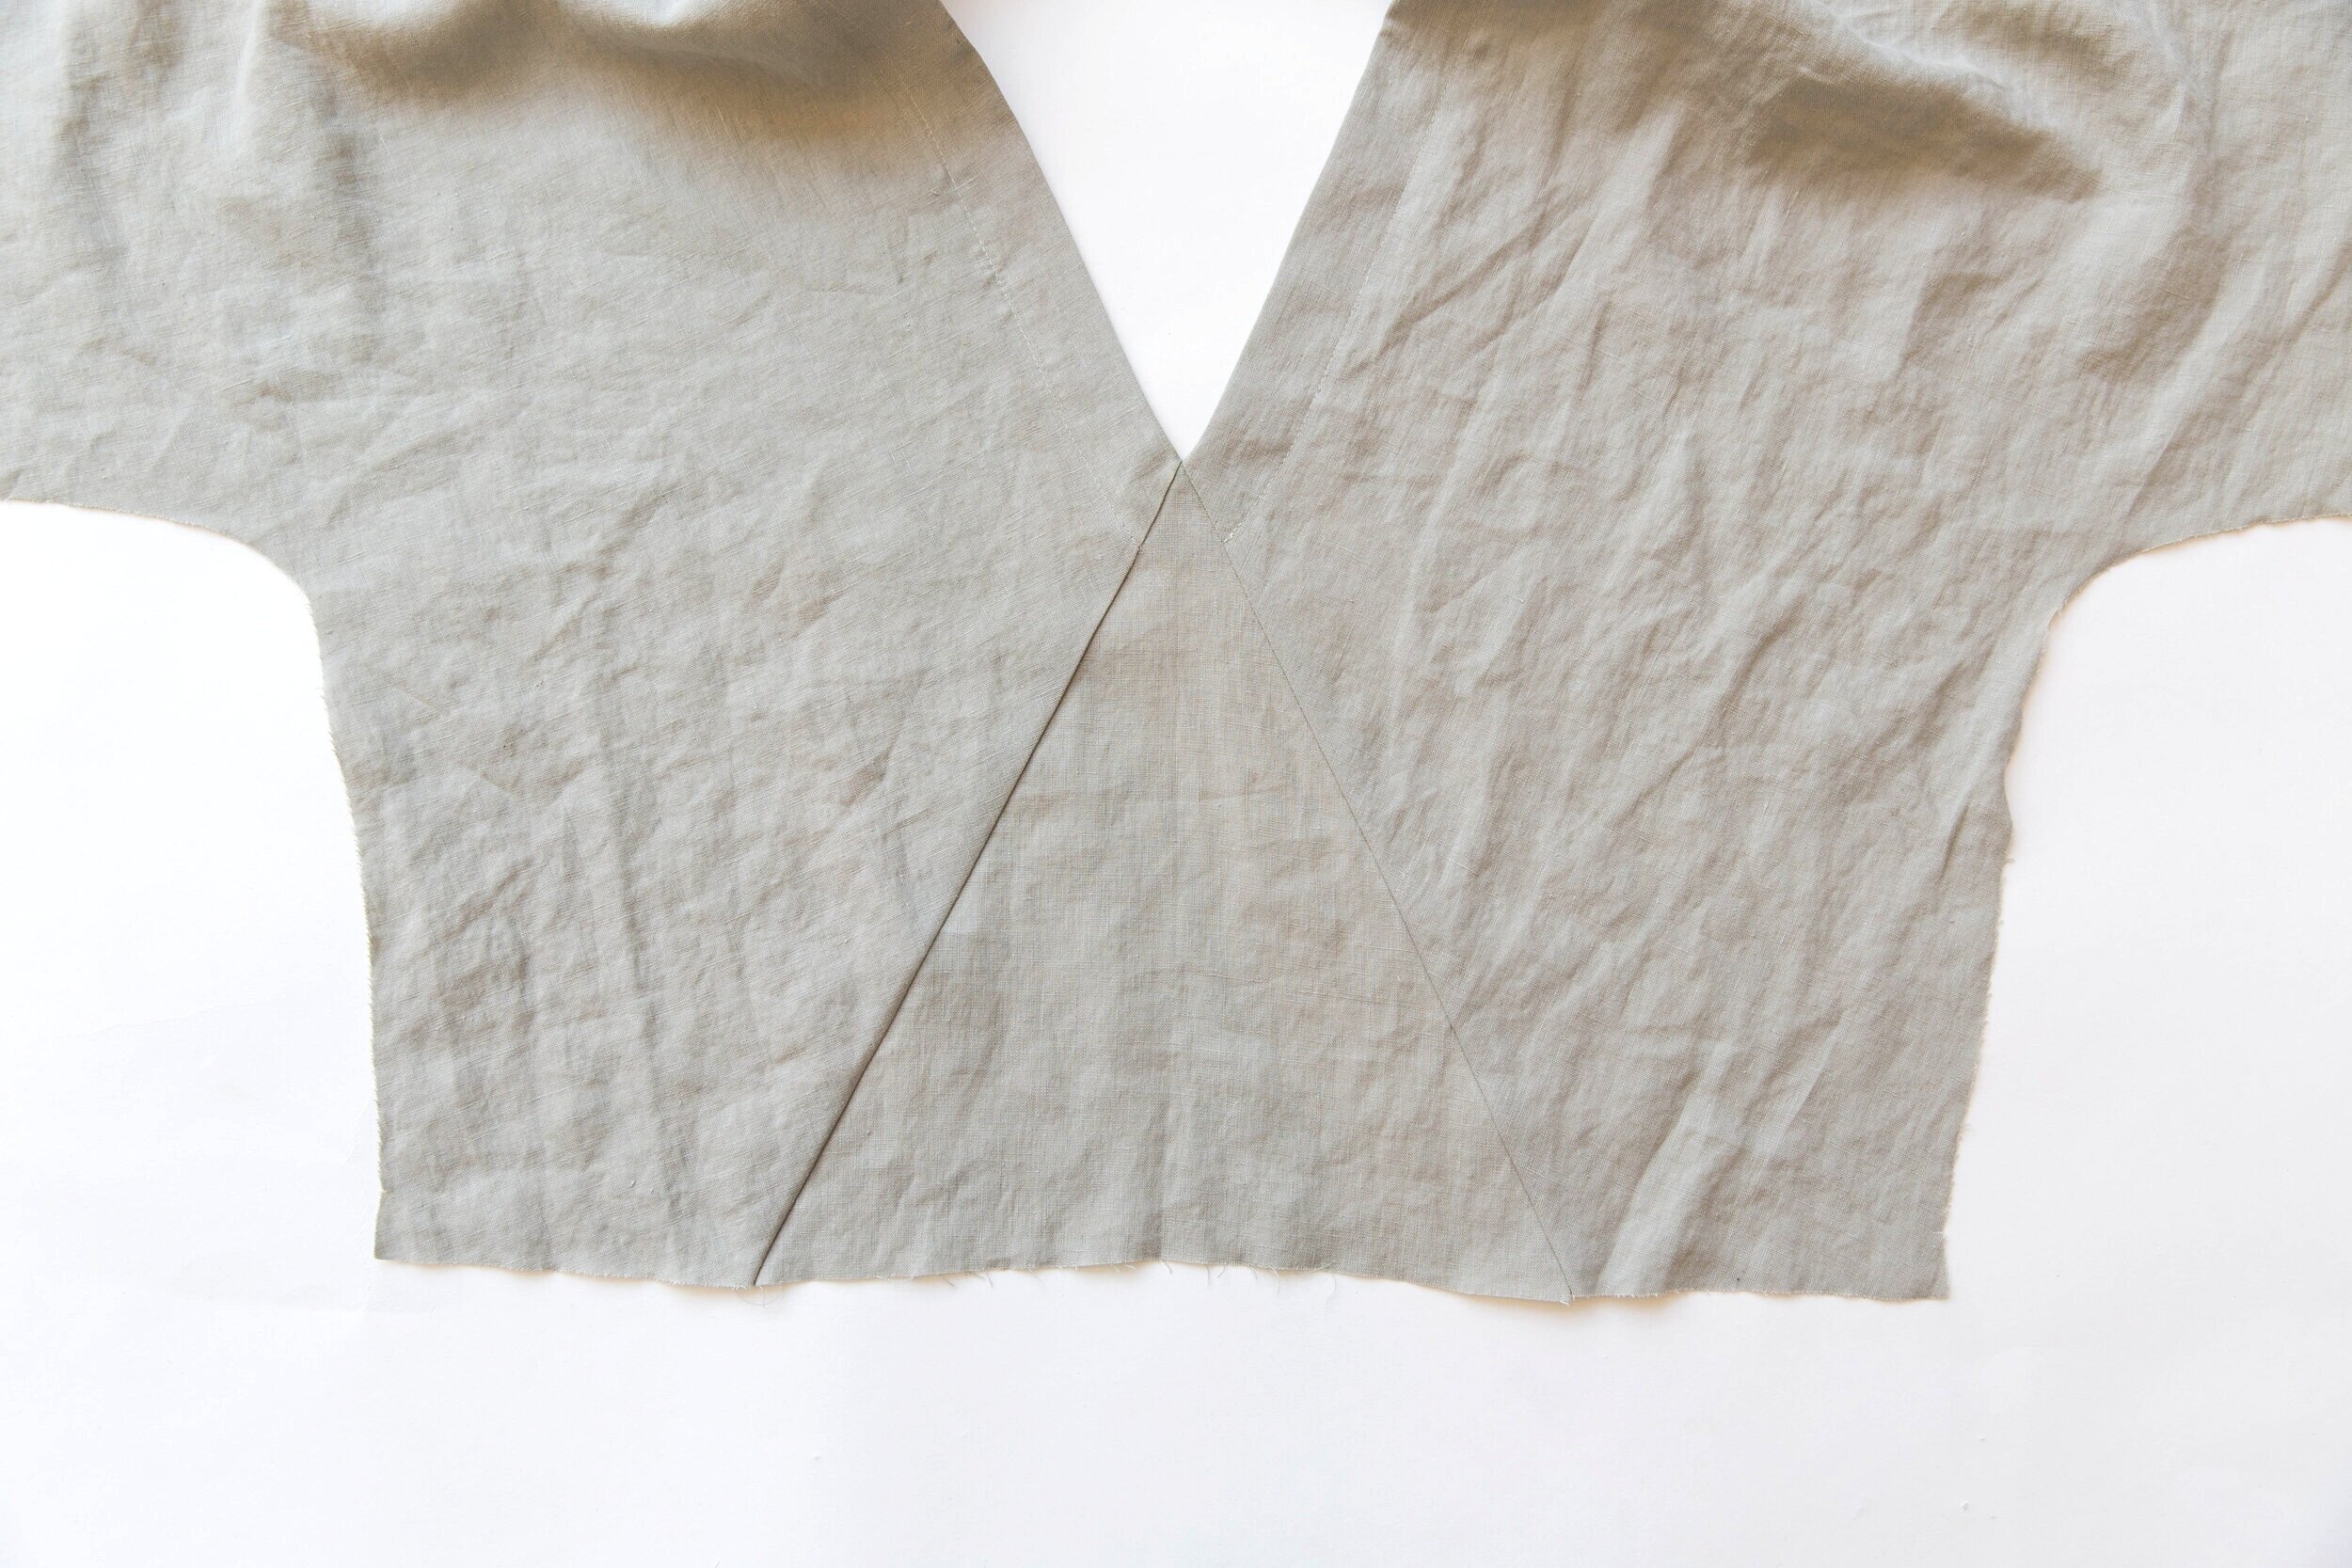
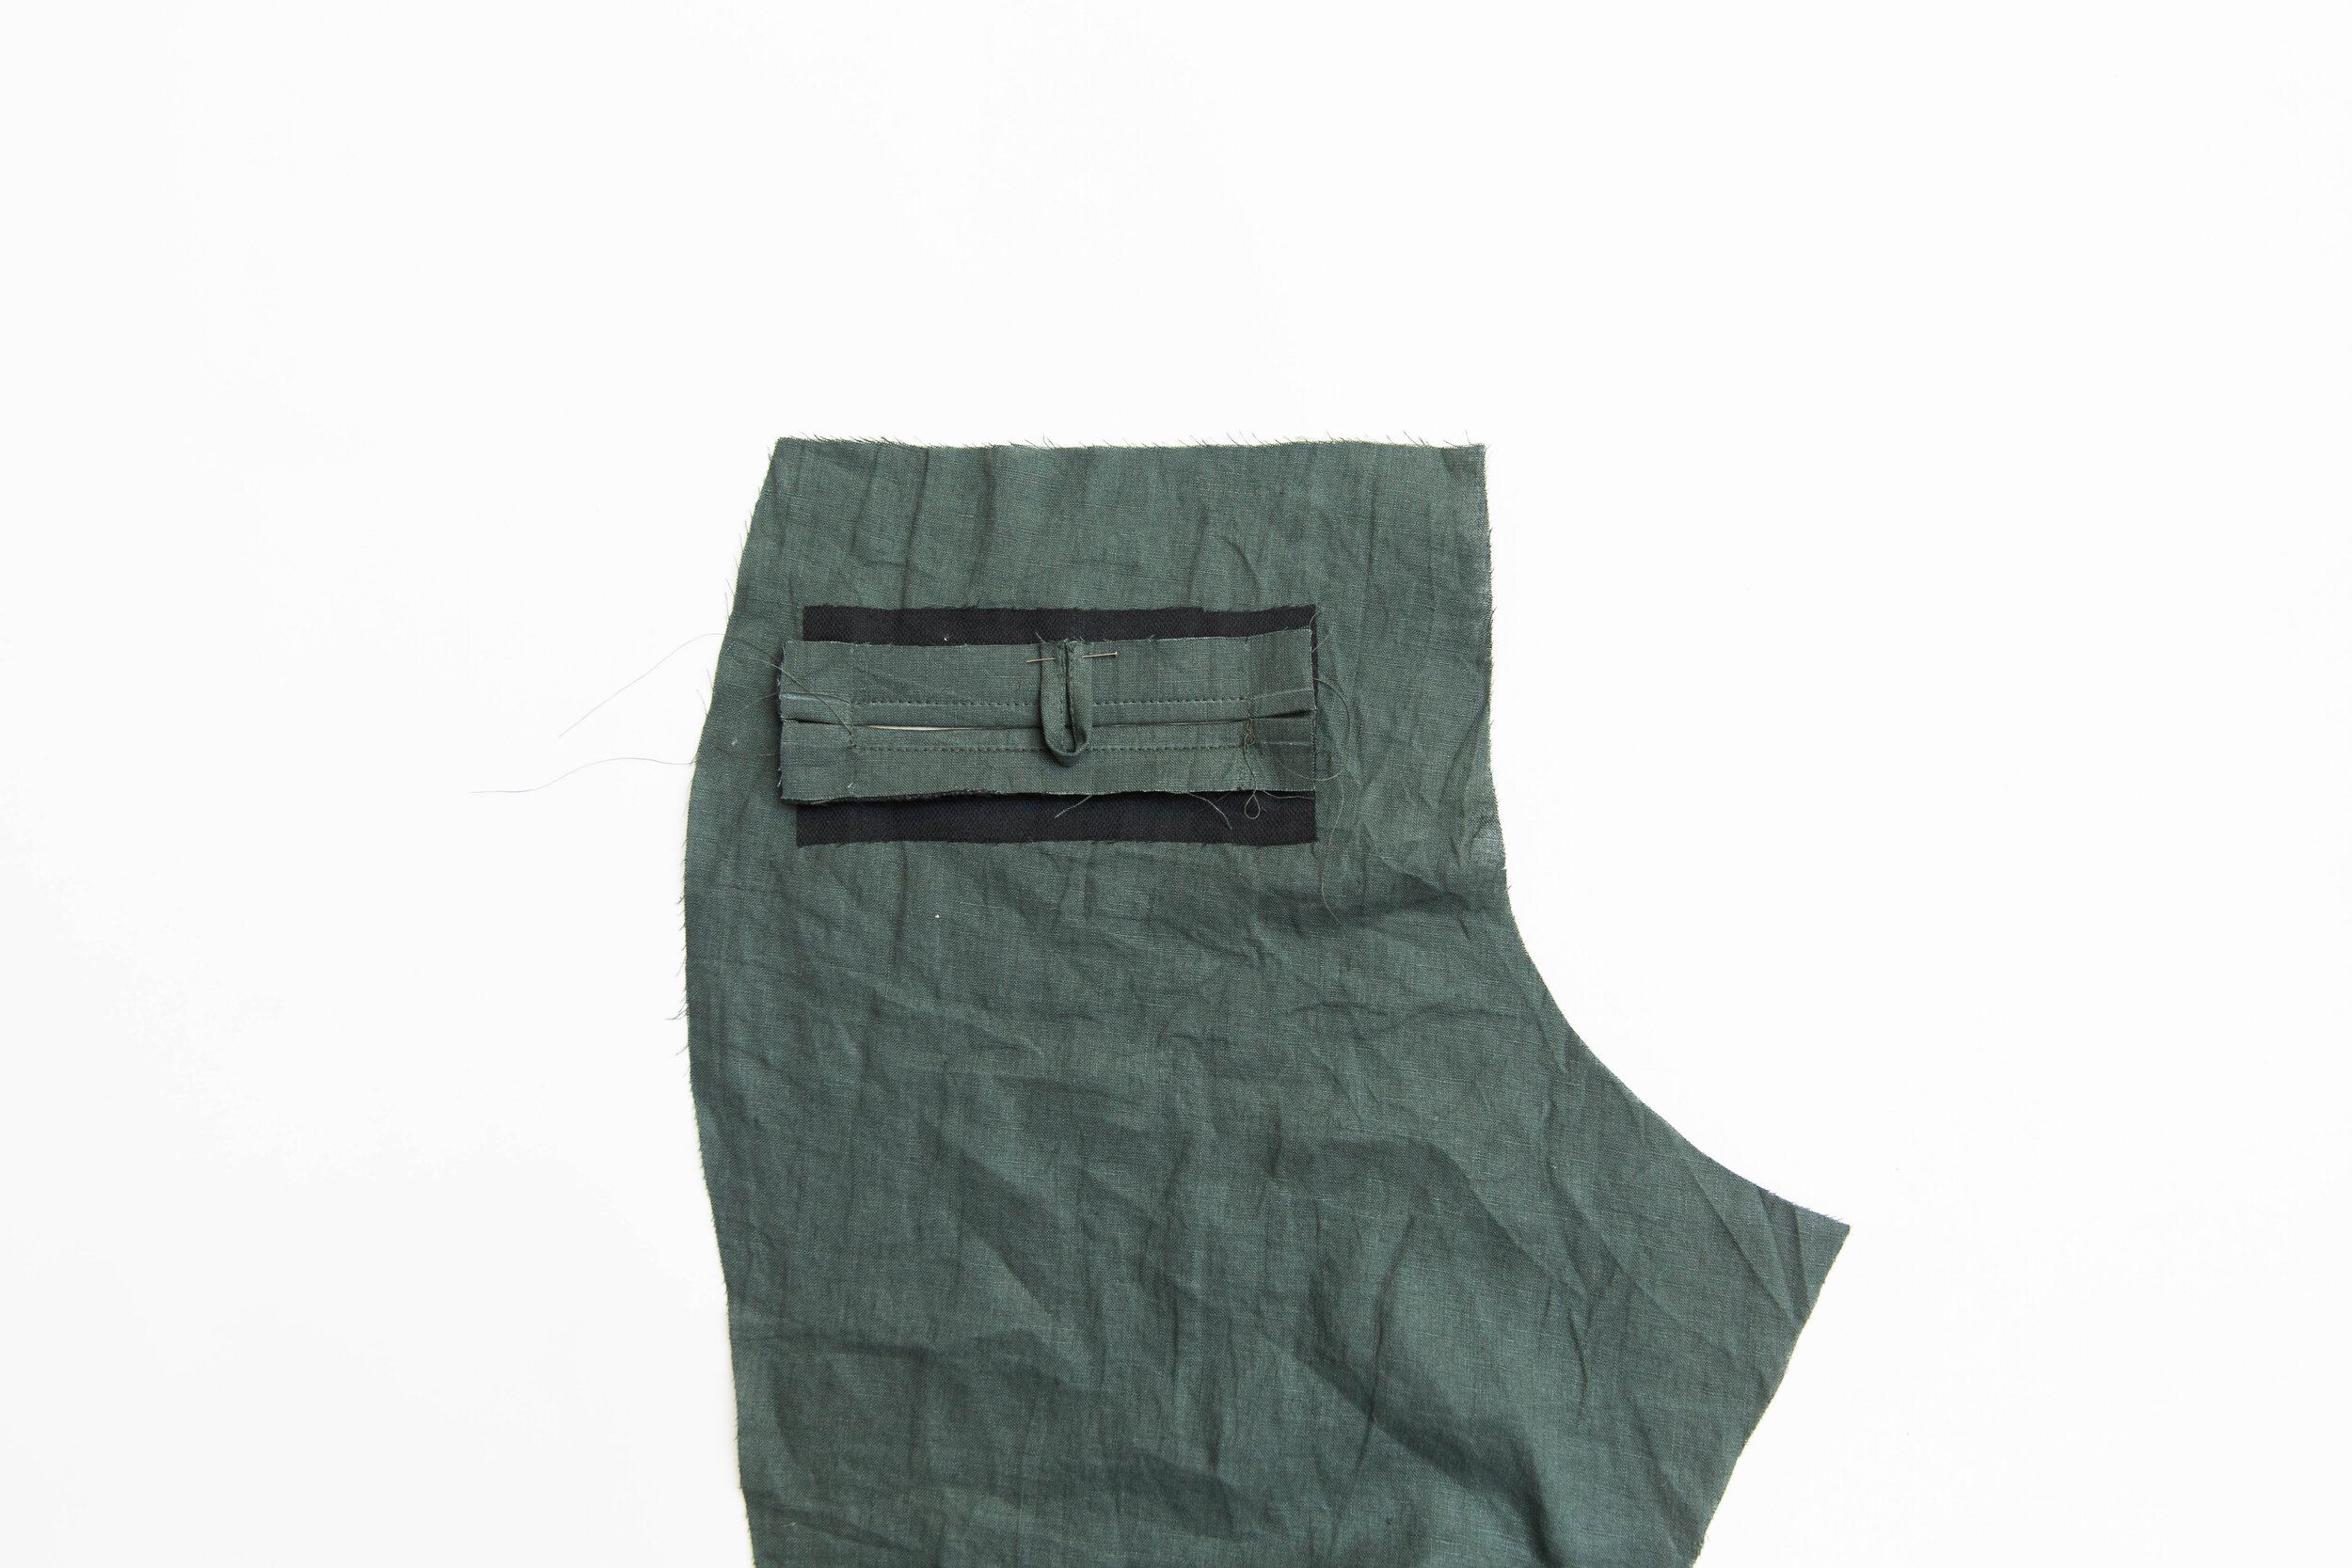
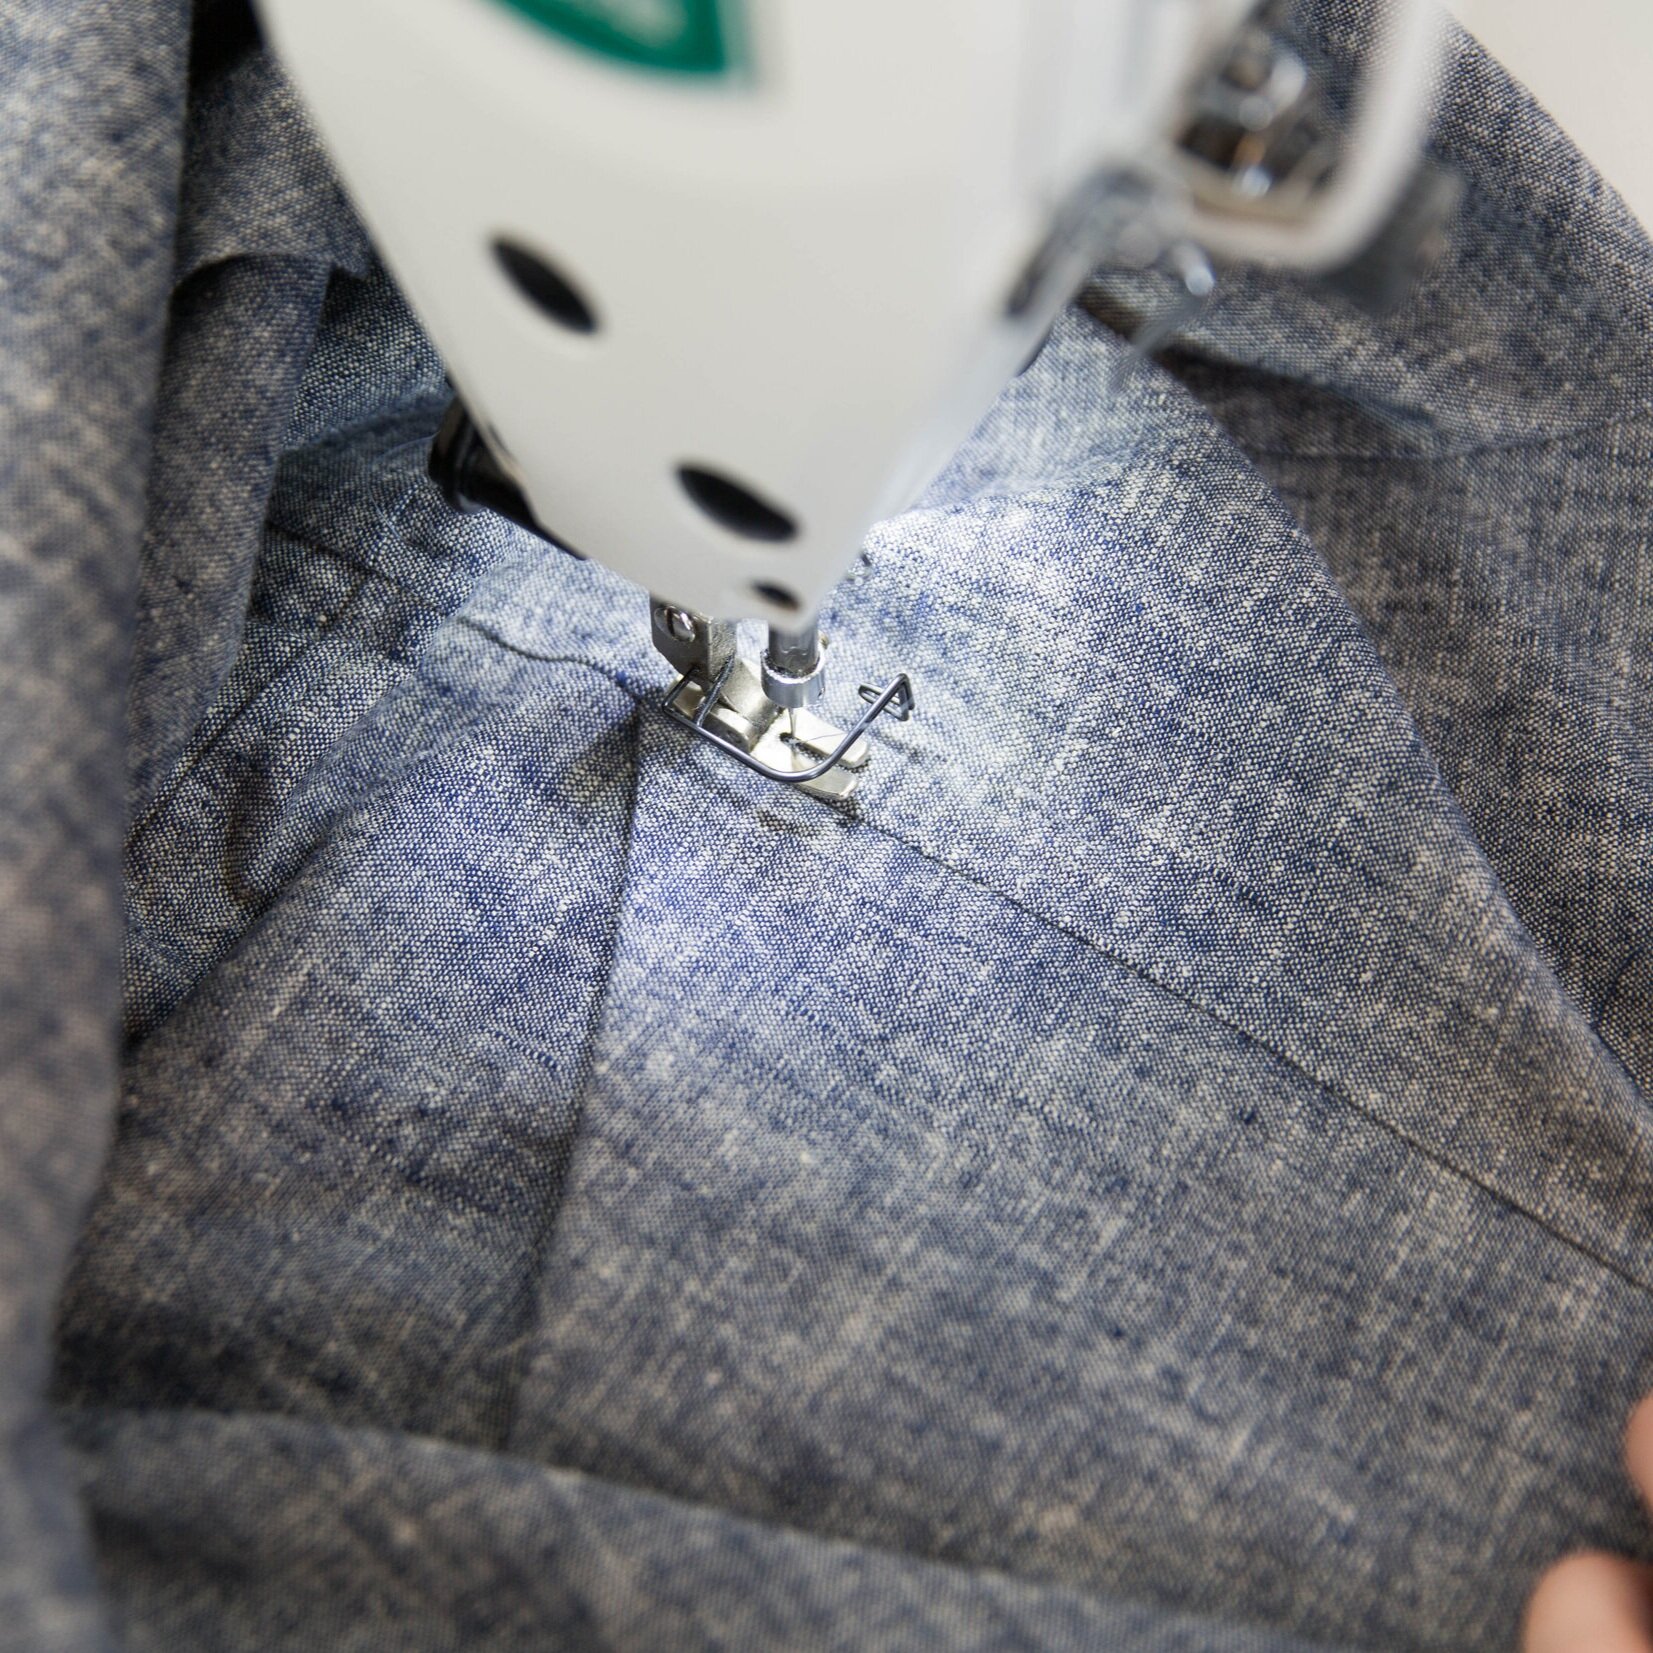
With right sides facing, stitch centre fronts together around faux fly and front crotch. Neaten seam.
Stitch down a couple of stitches from the top at centre front notch to secure.

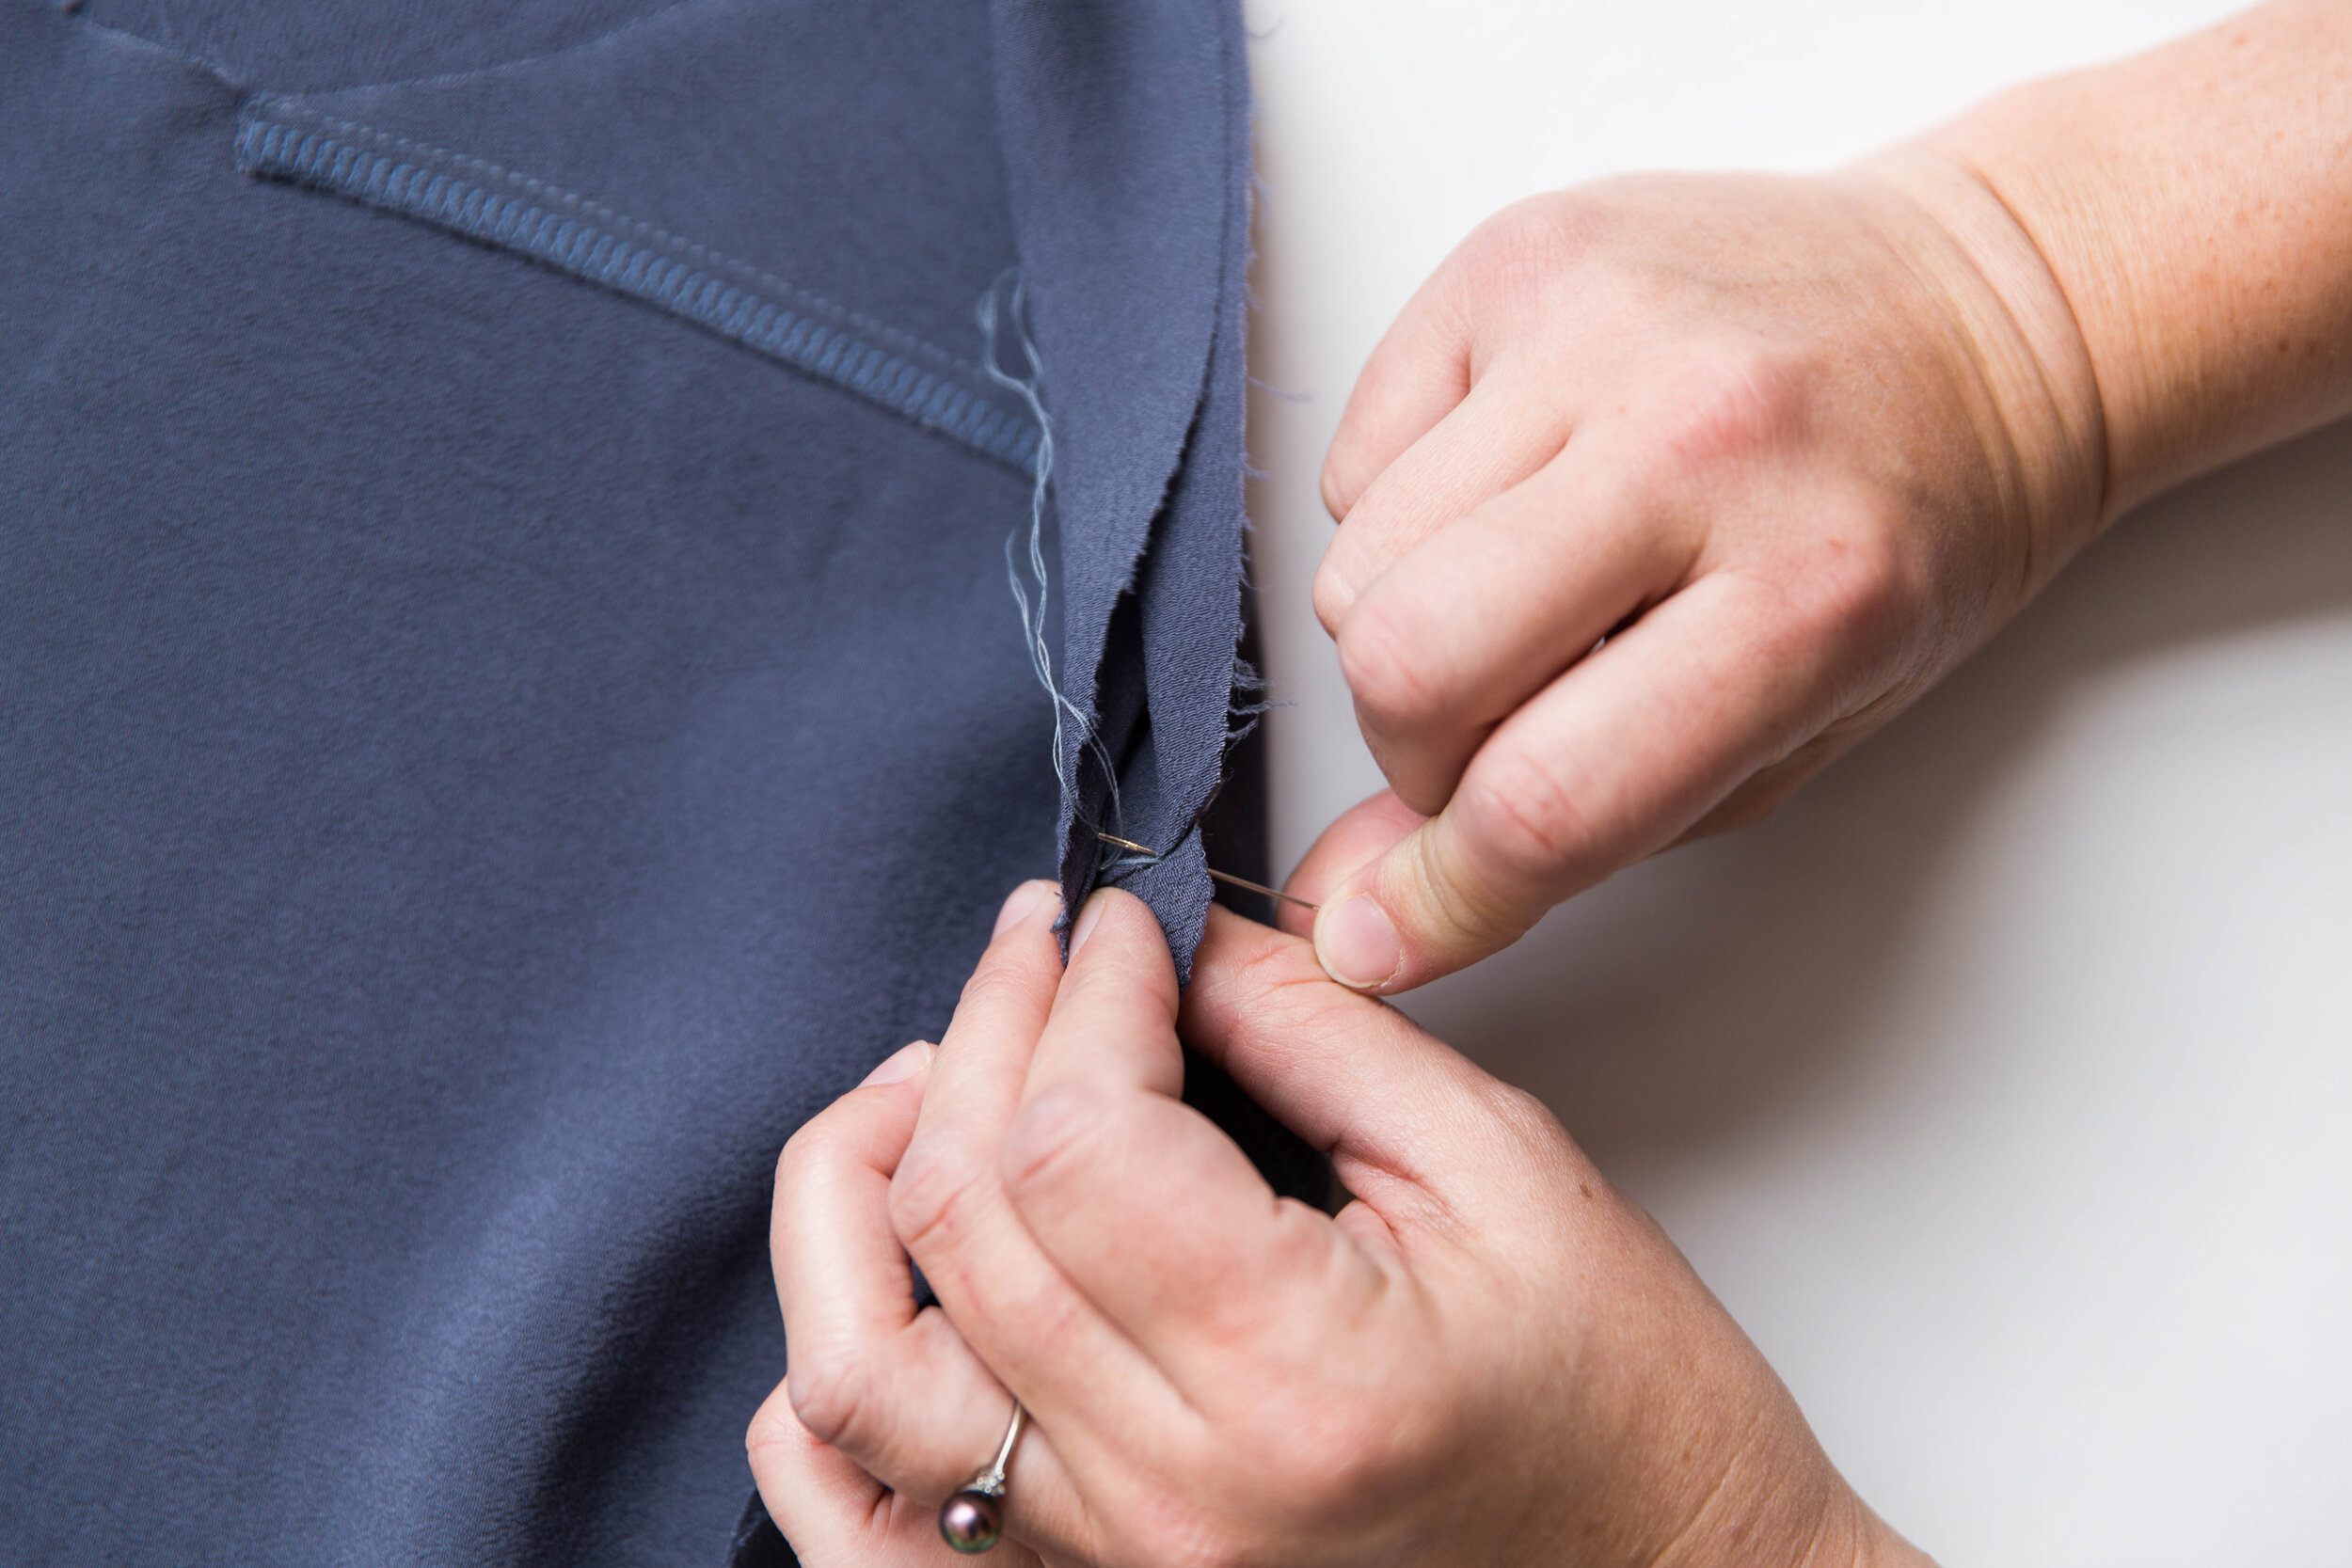
step 14
Unfold front section so it sits flat. Fold the fly facing towards the side you fused and press in place. Pin the layers together at centre front so that it all stays in place.

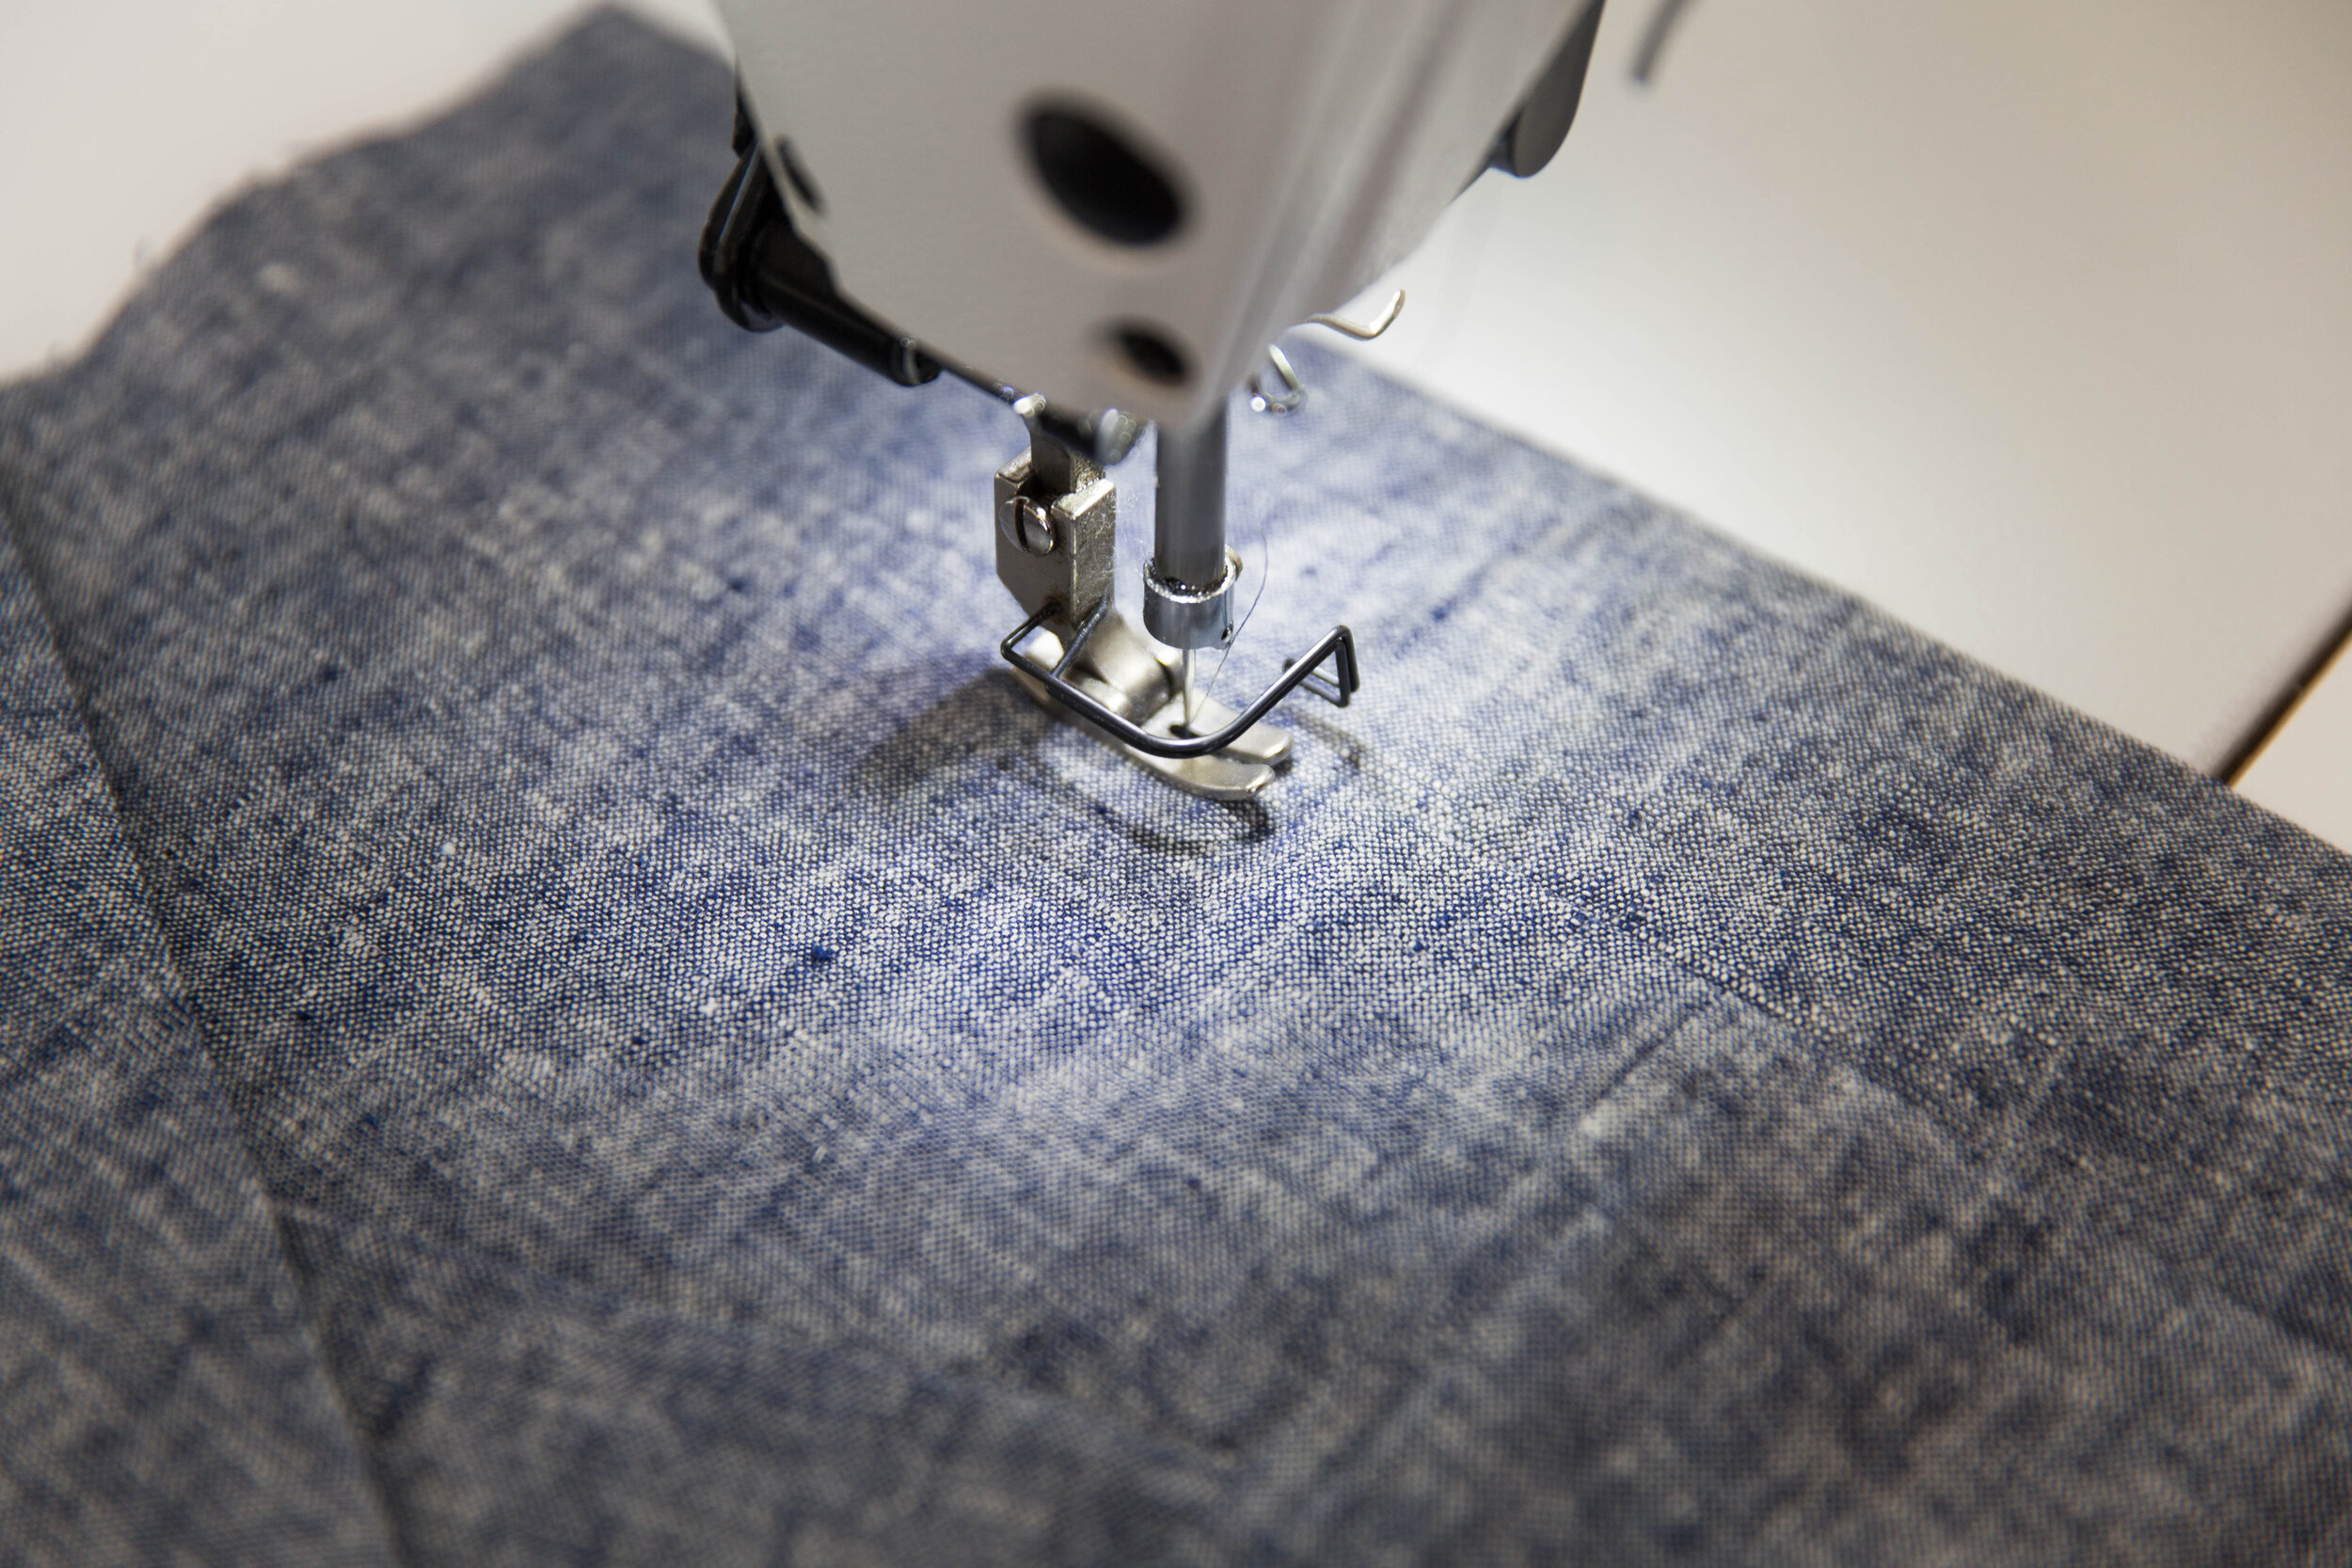
step 15
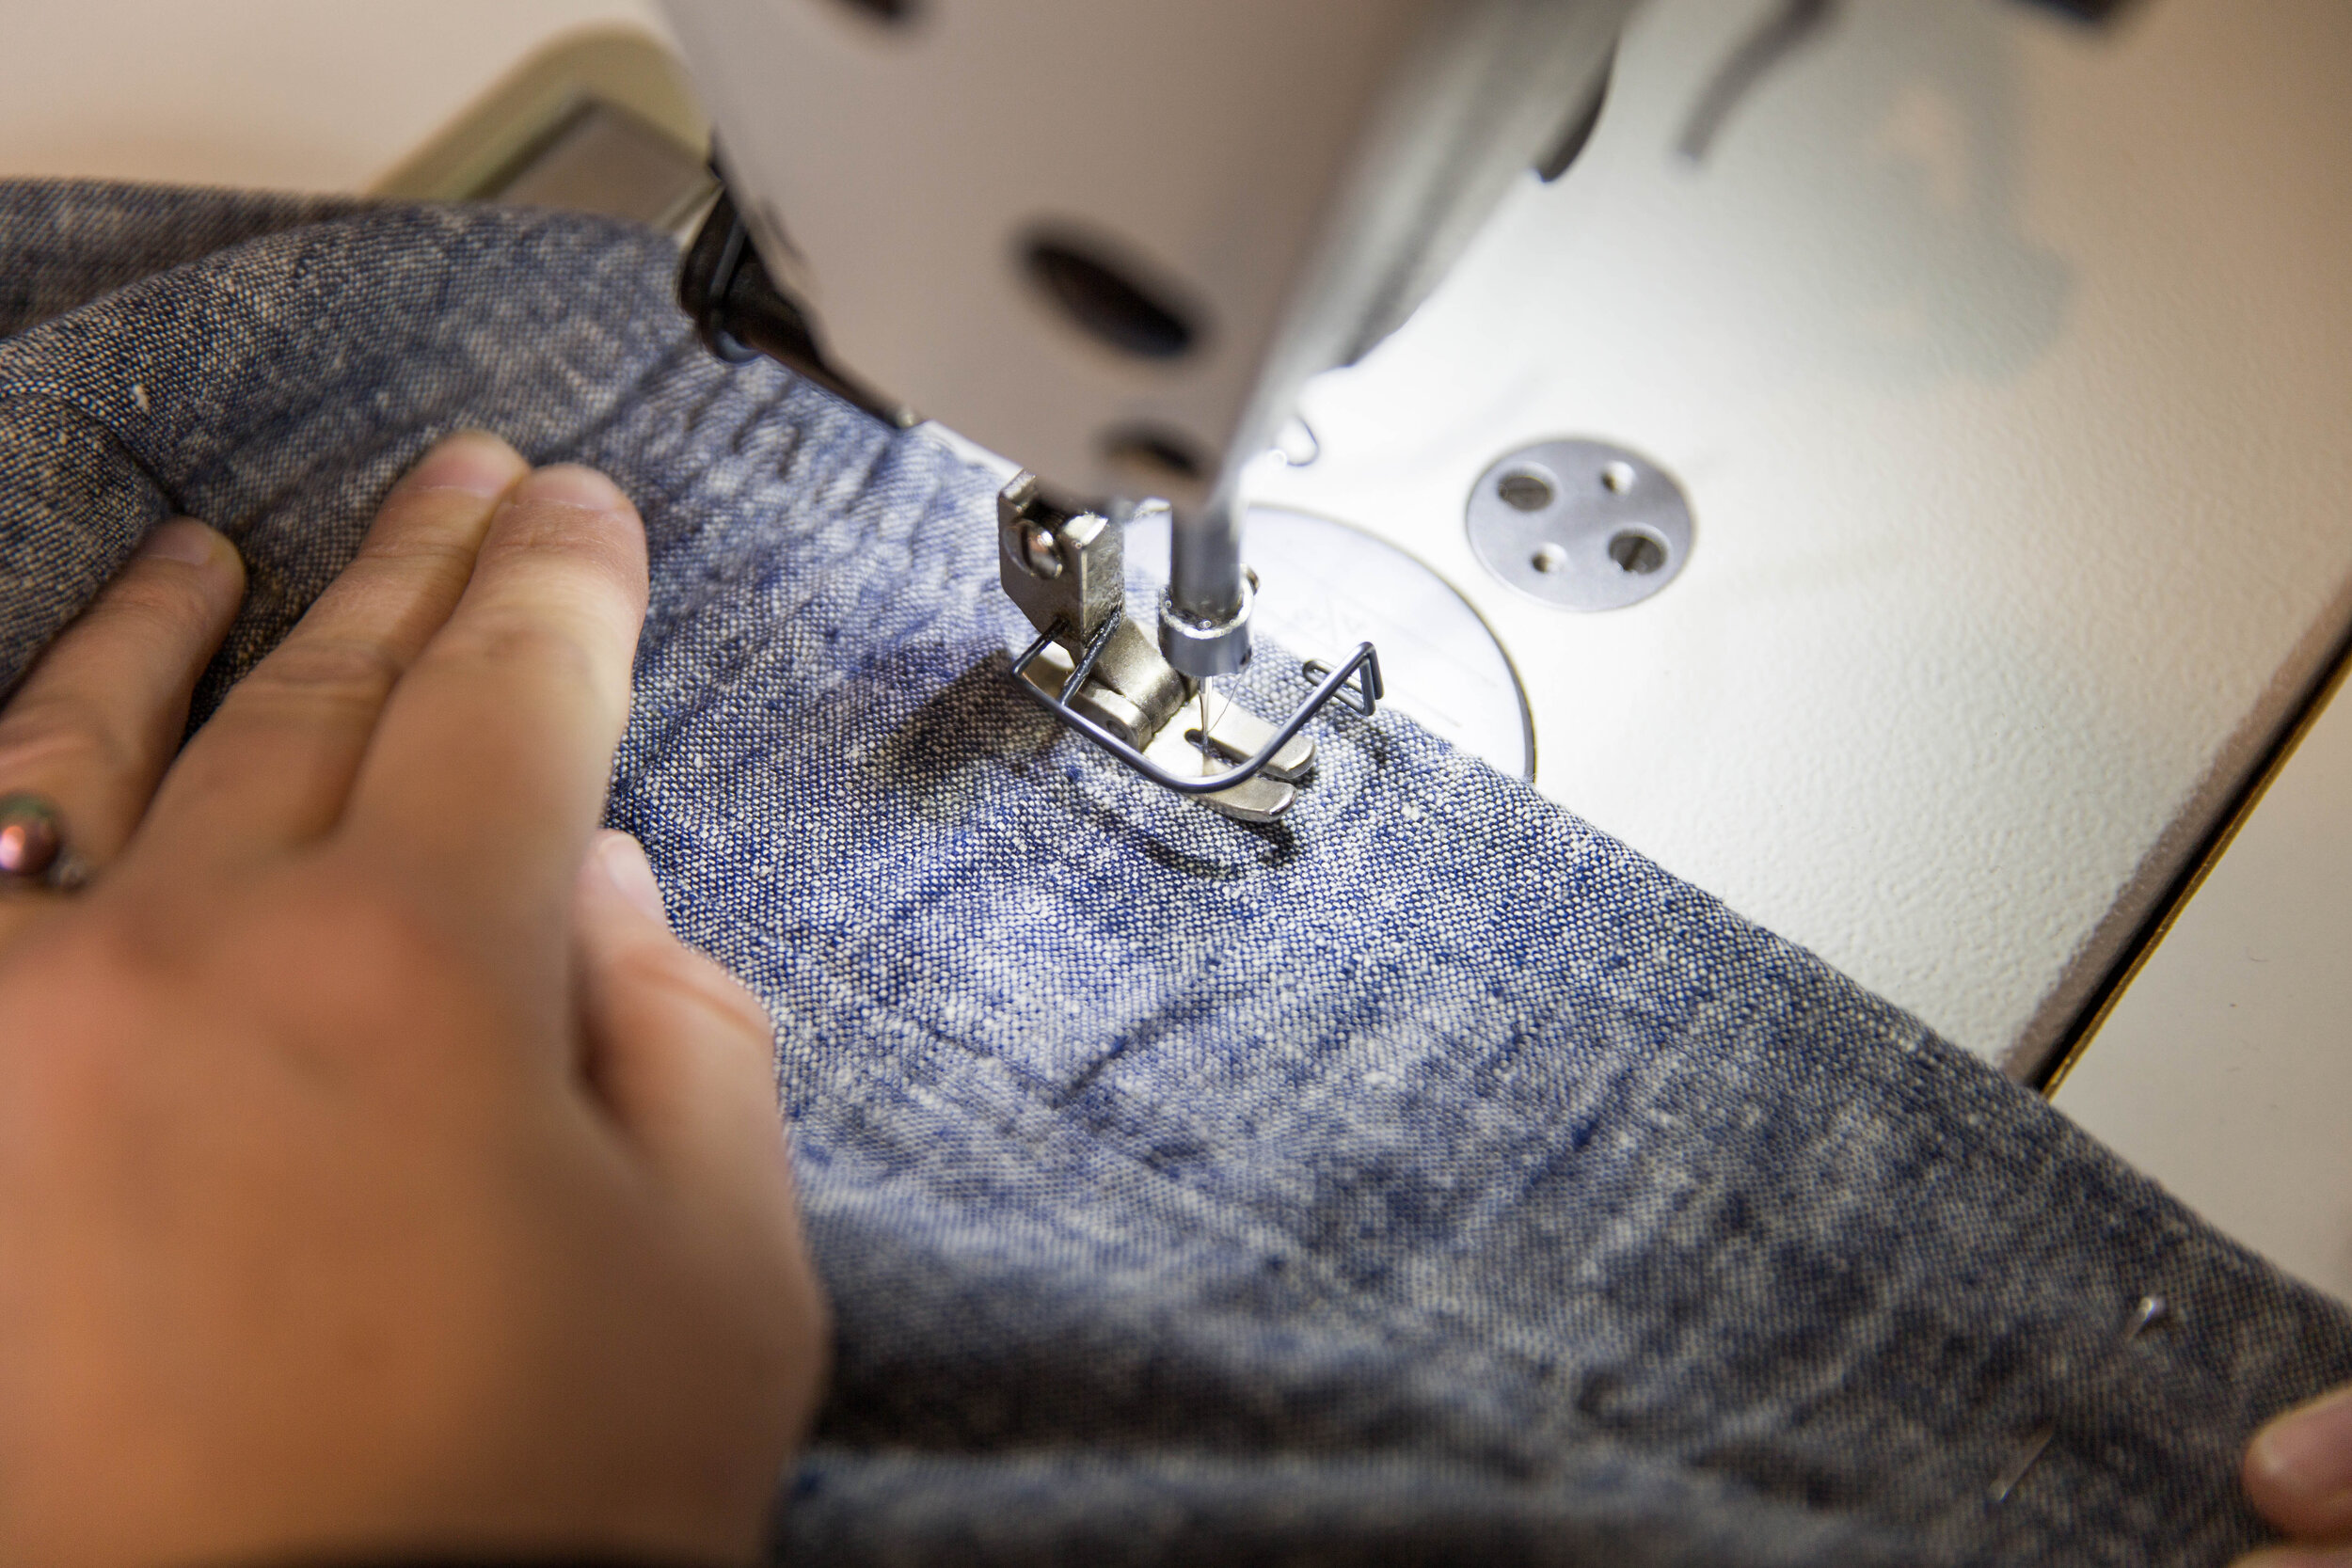
From the wrong side, topstitch down through fly facings and front panel, around edge of facing until you get to your crotch seam. Press.
step 16
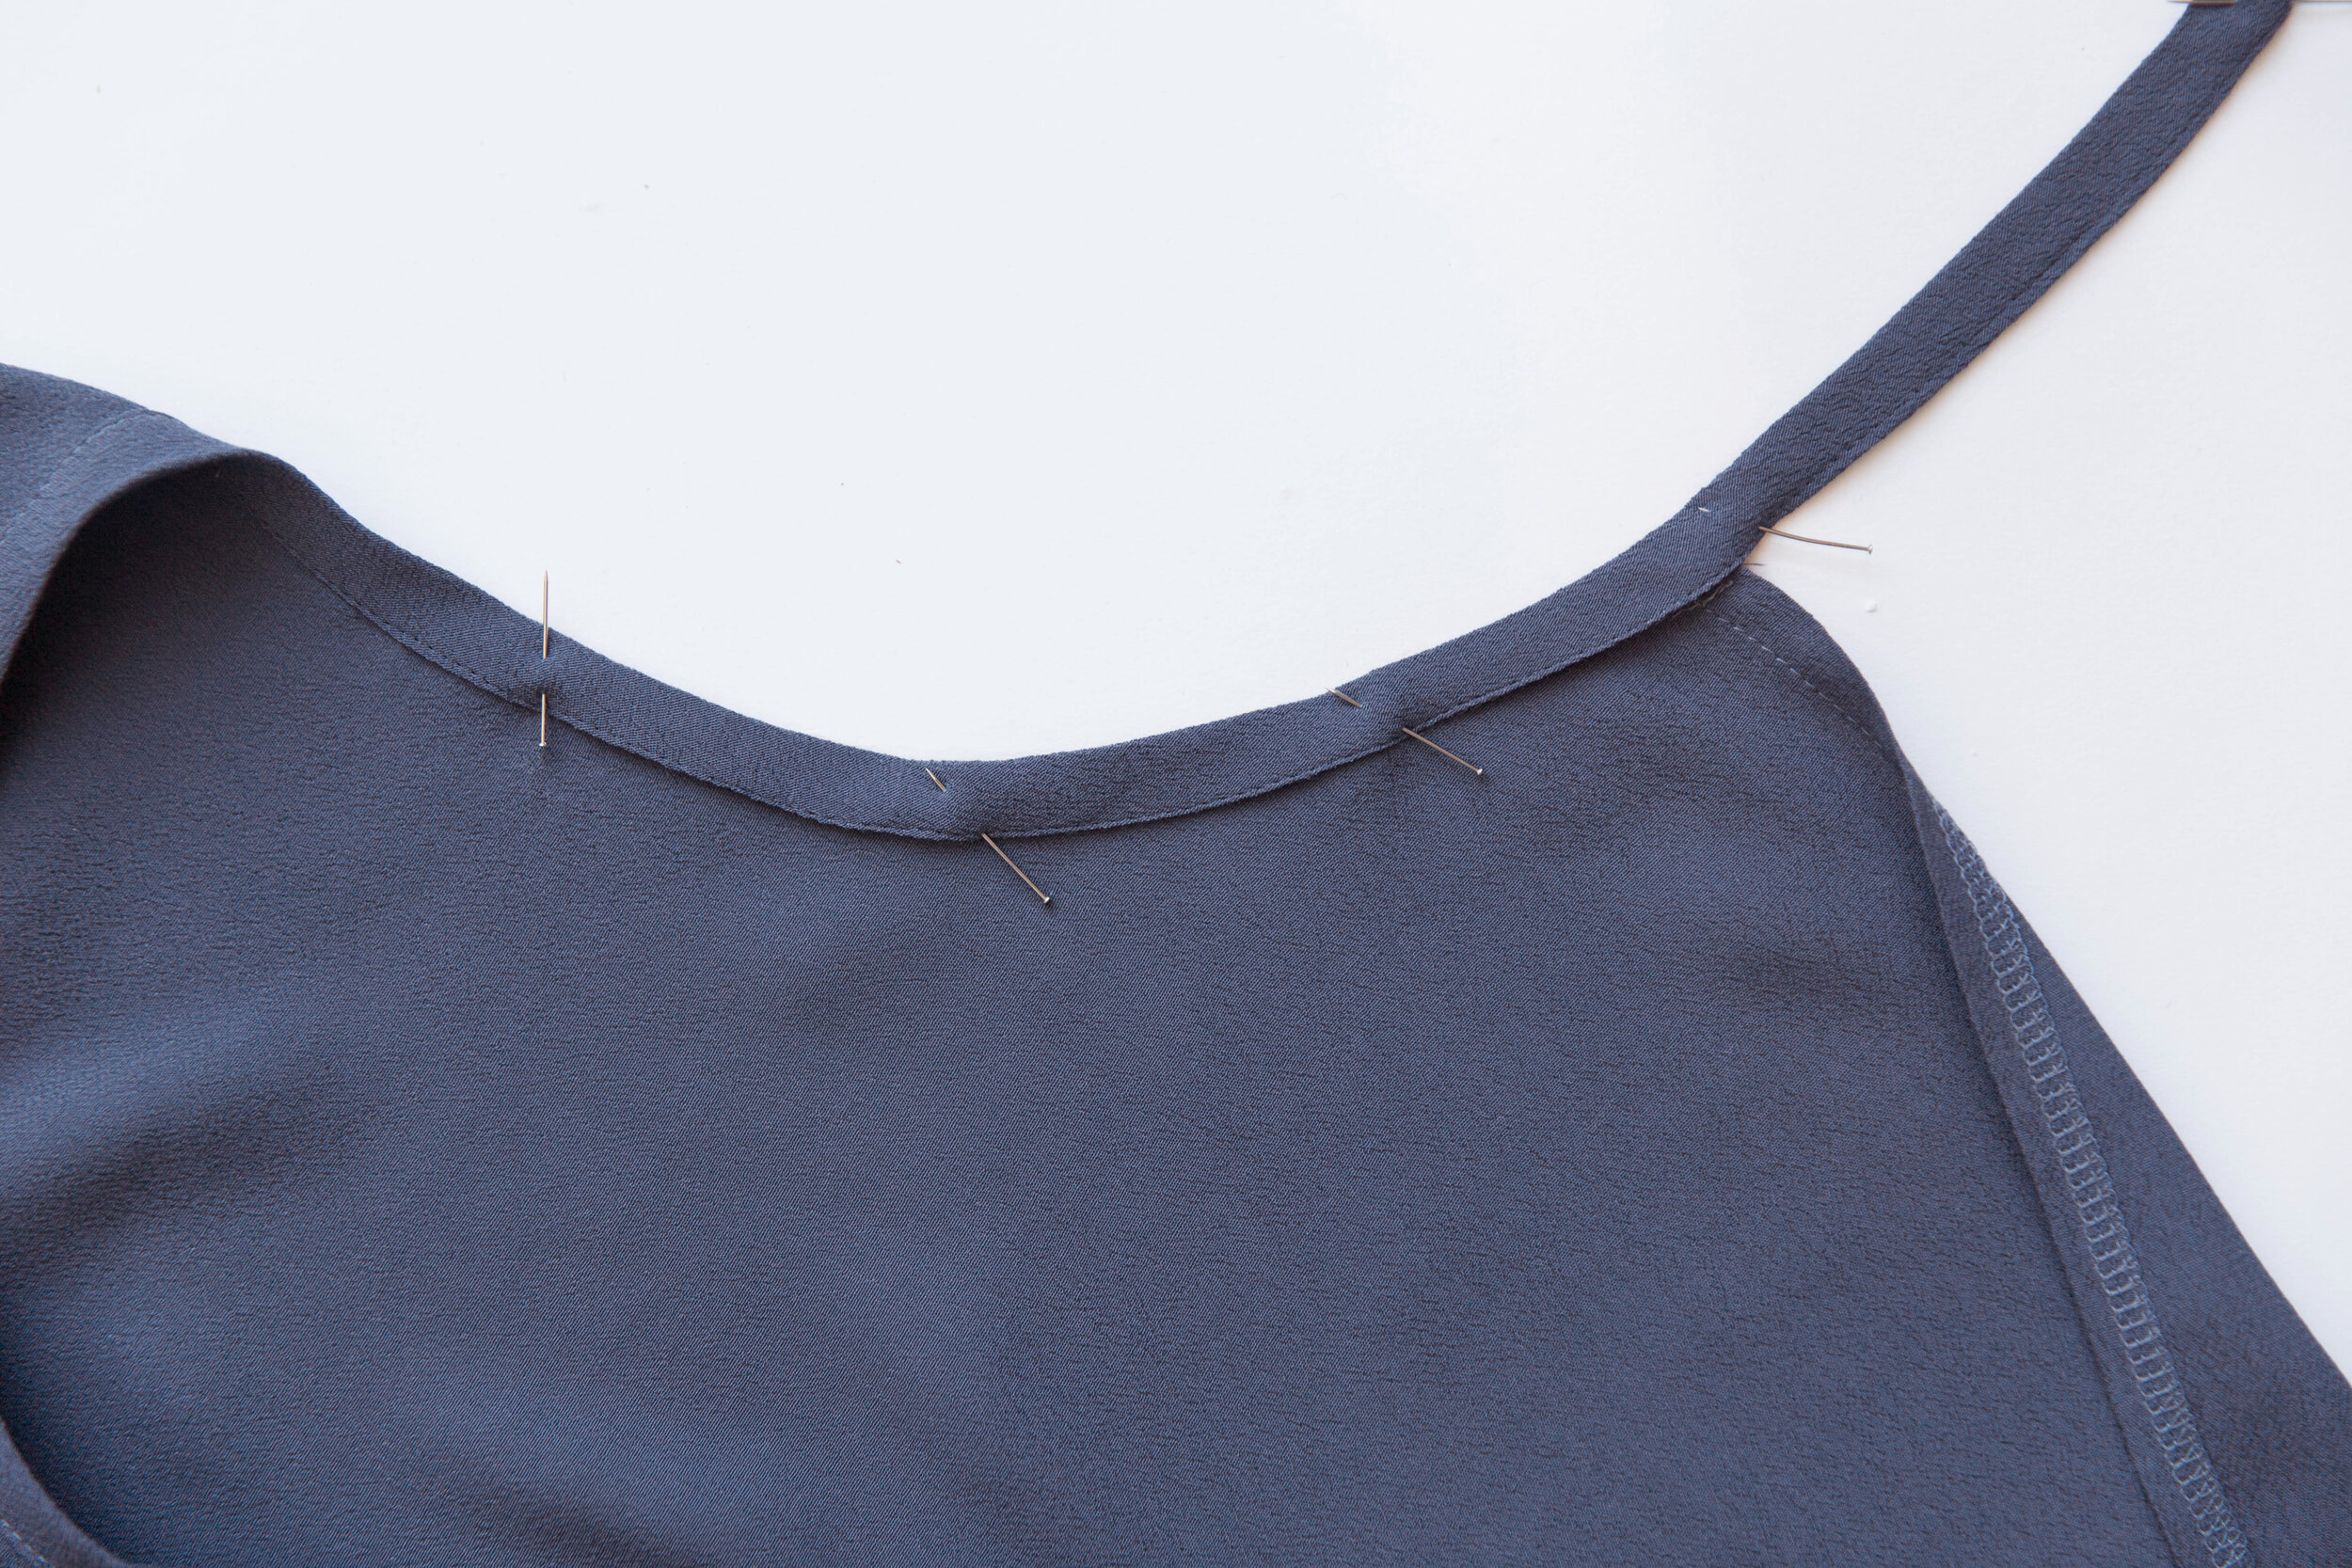
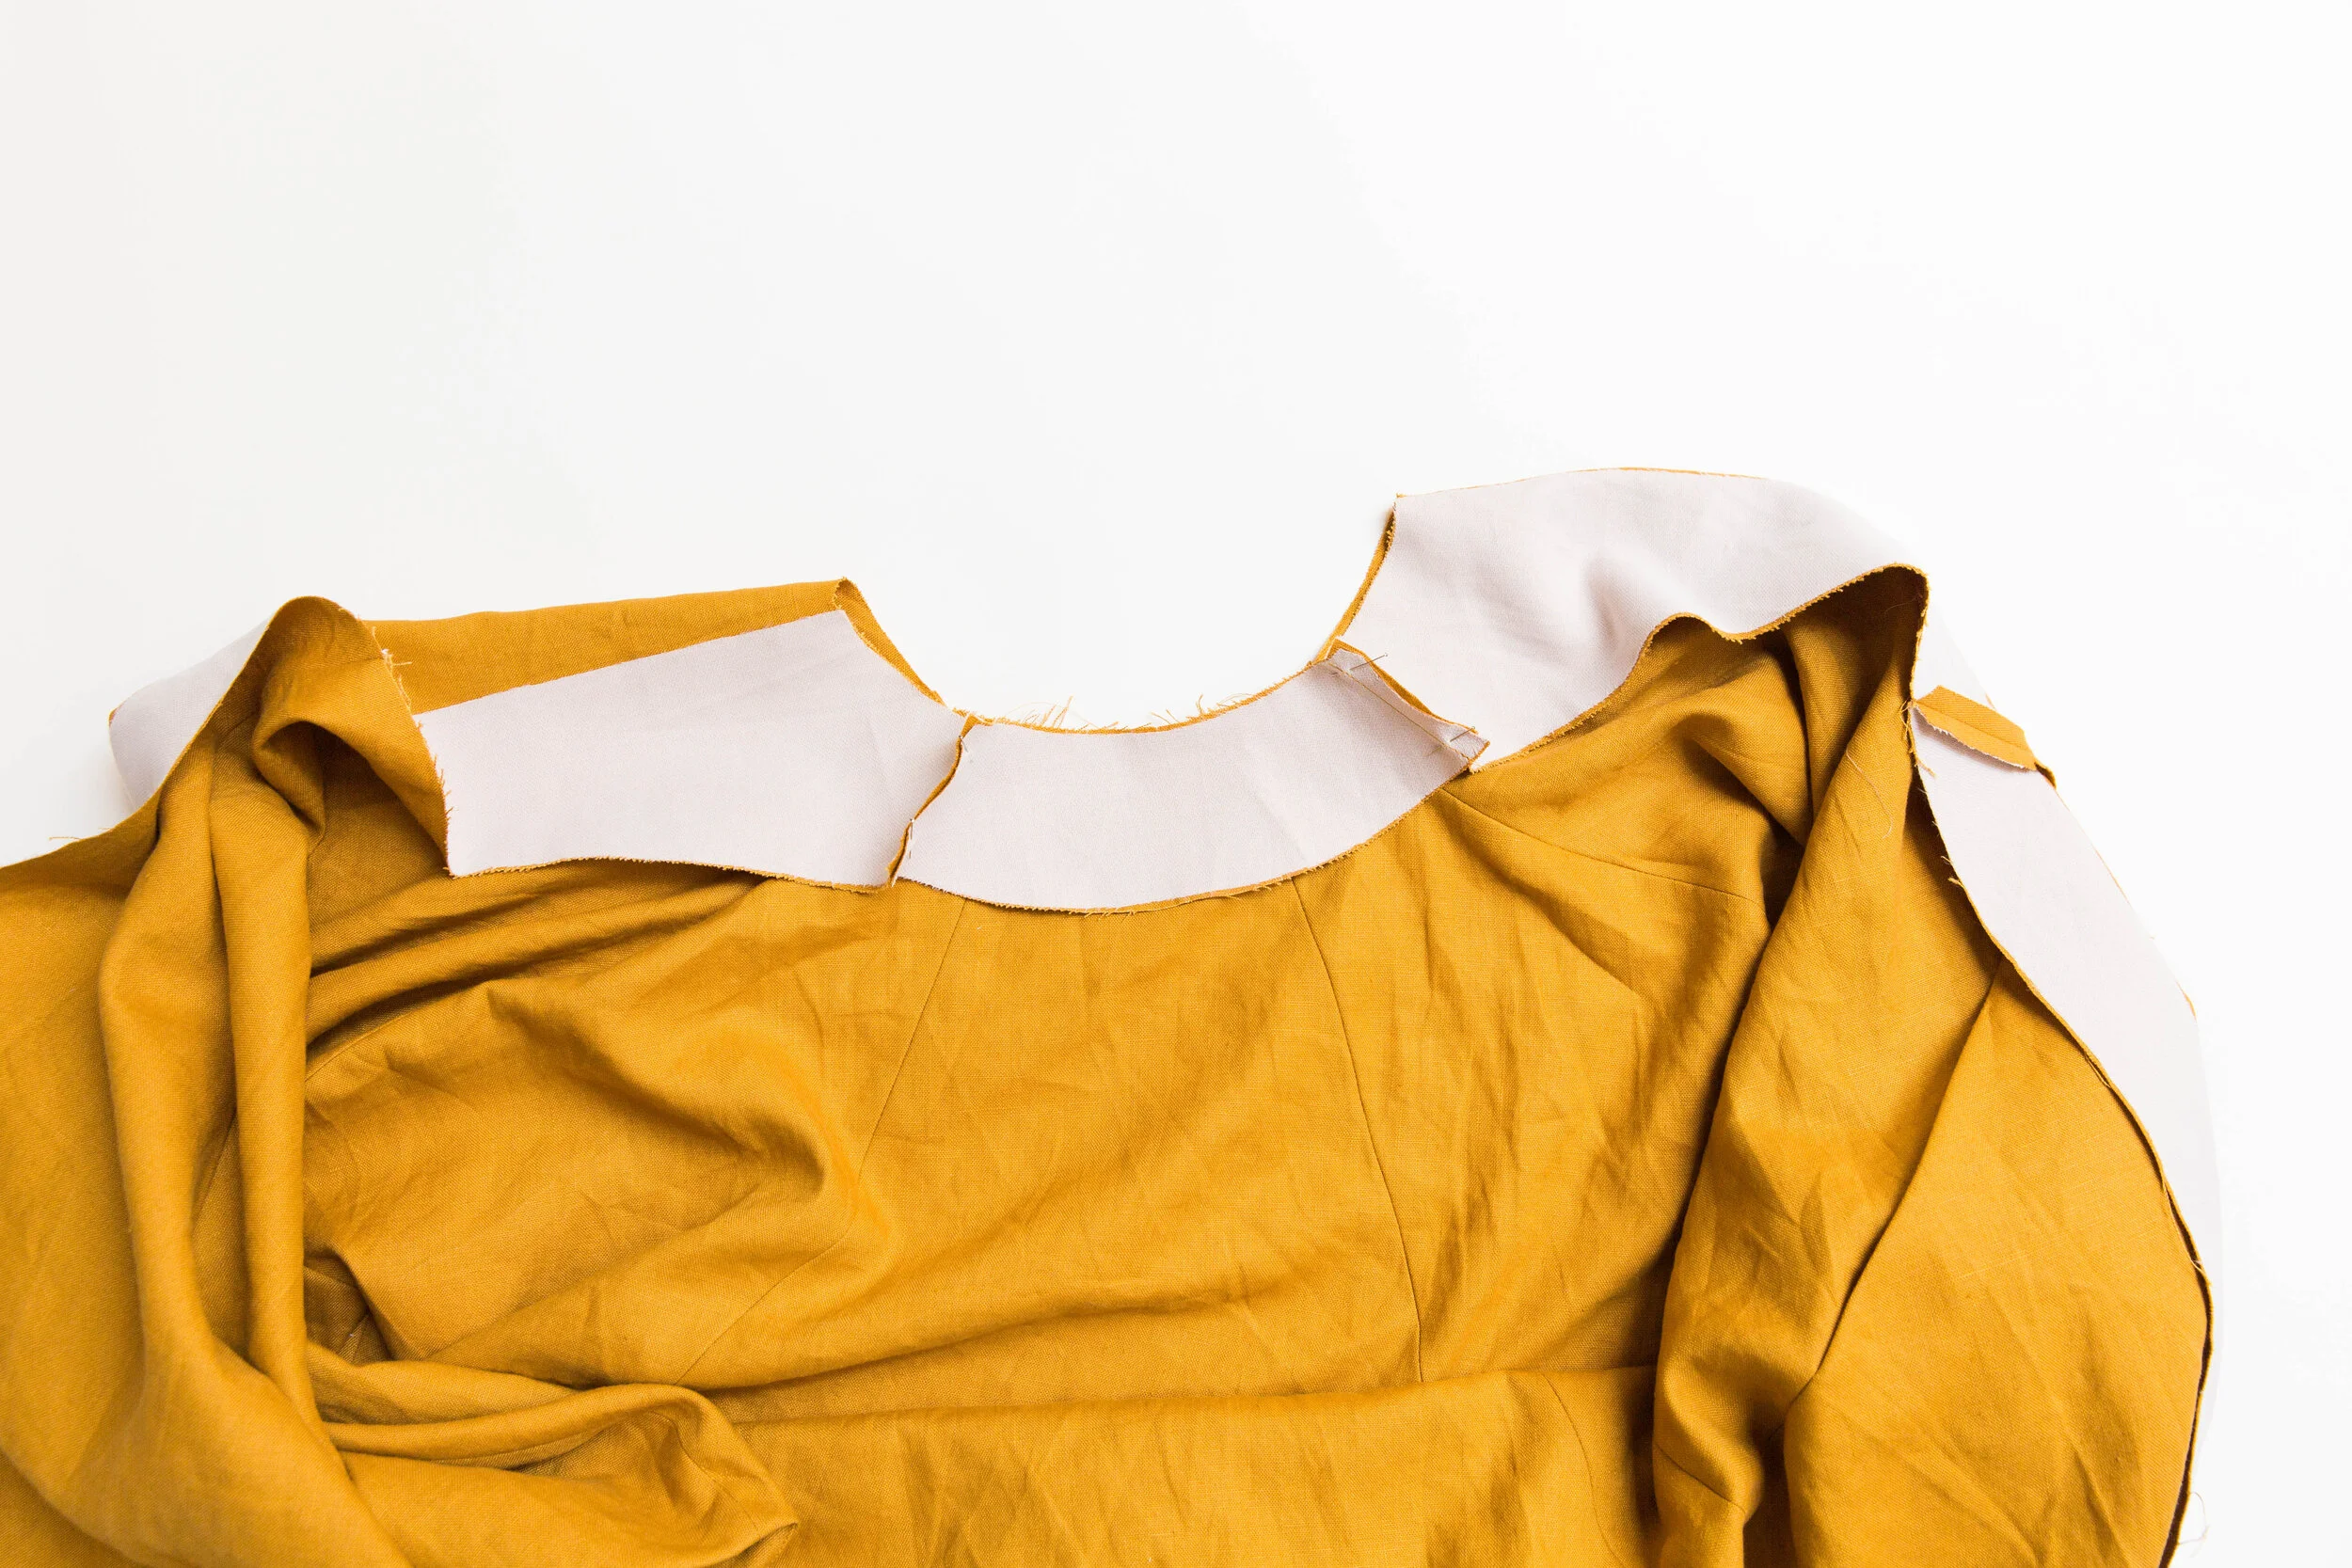
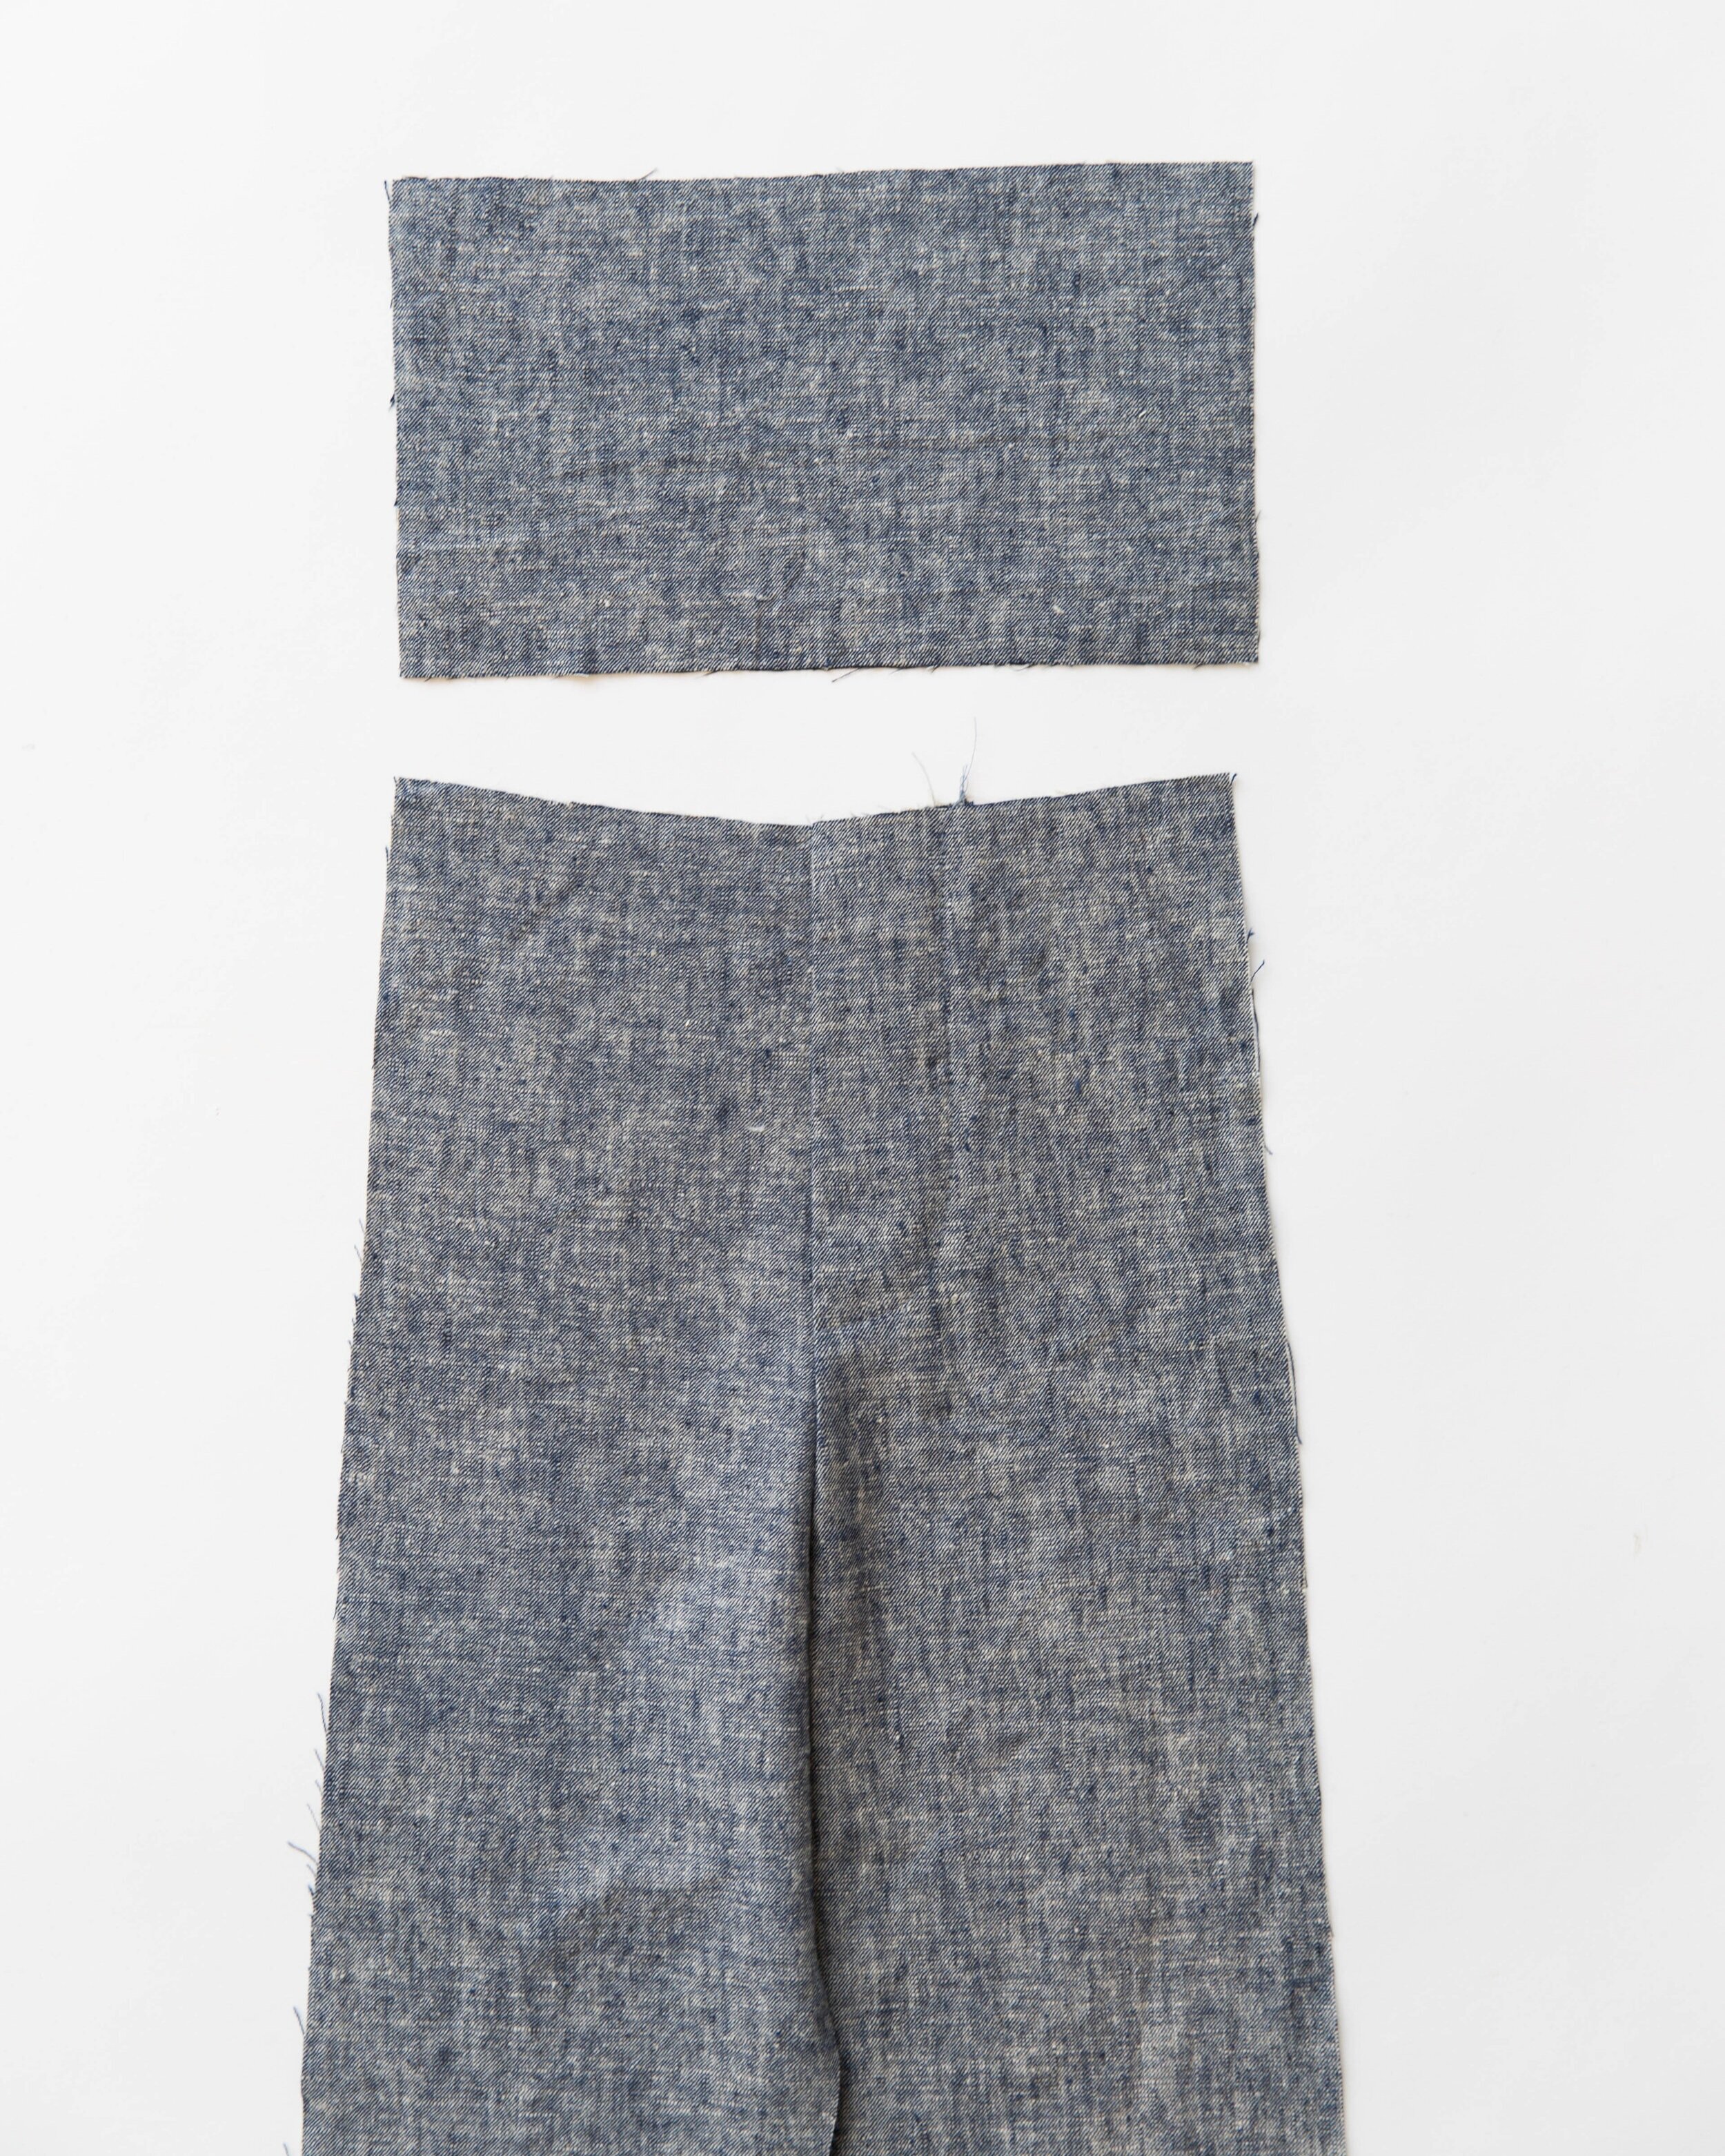
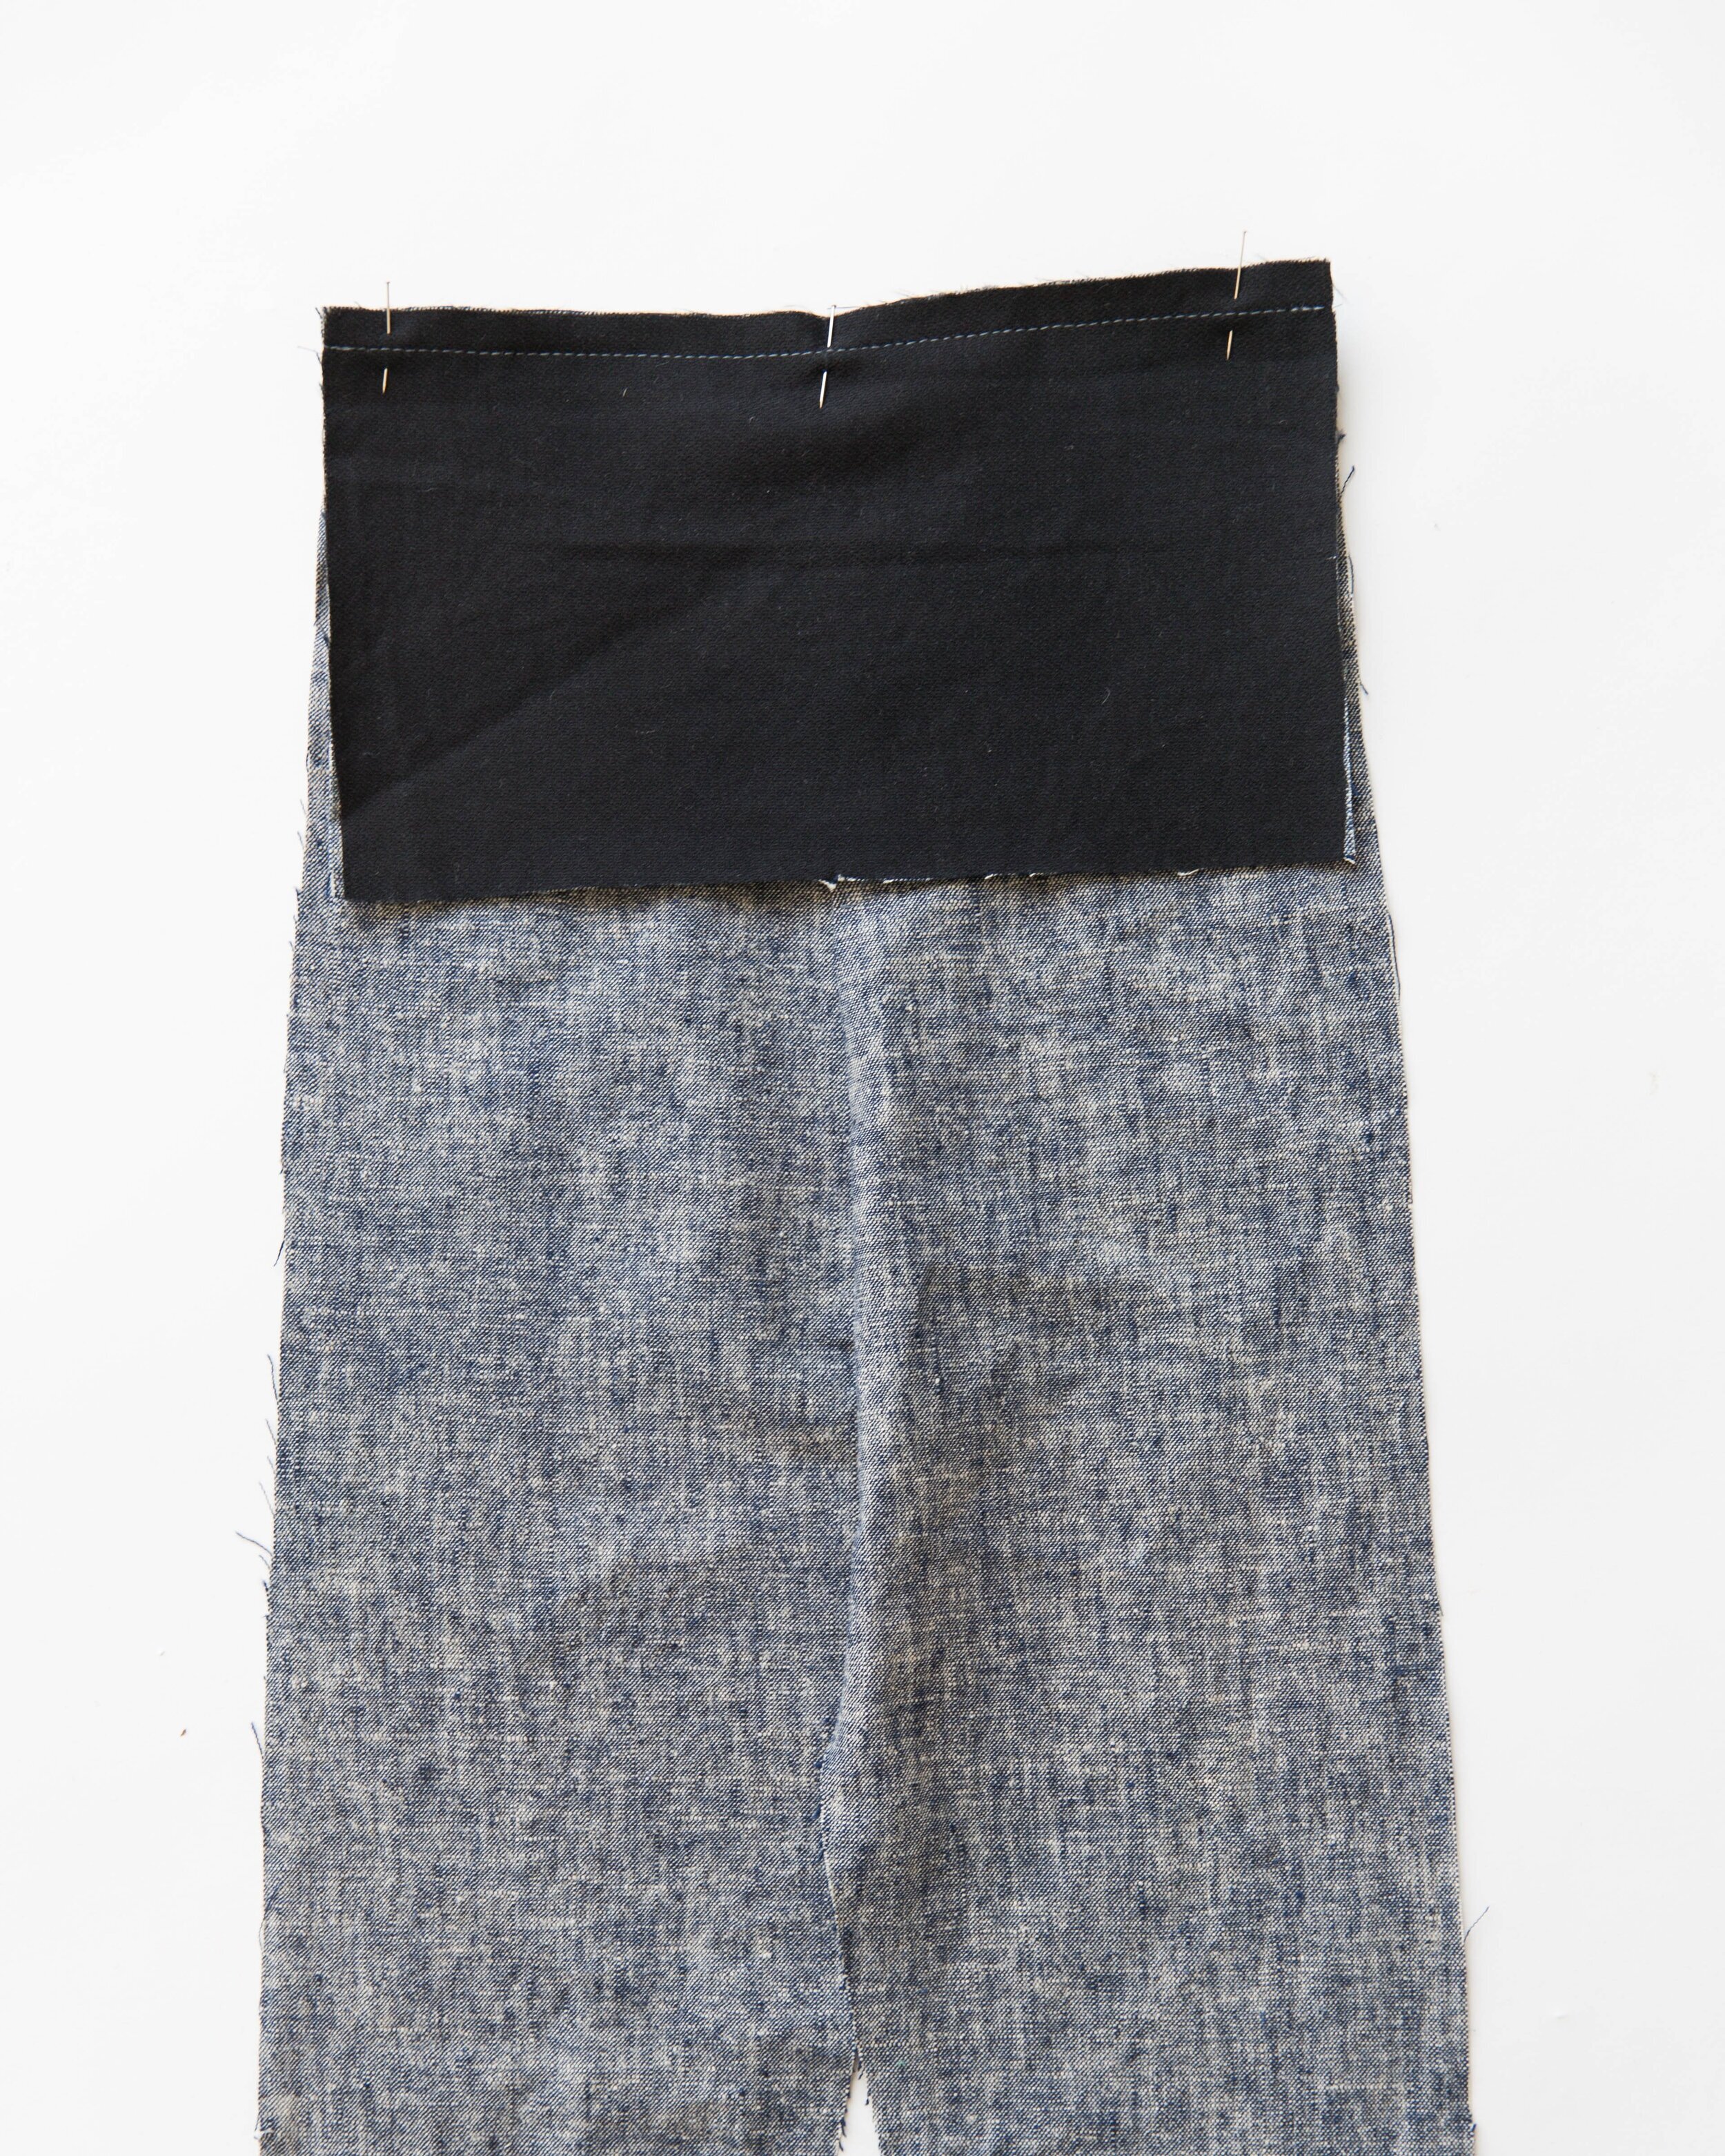
Pin front waistband to top edge of front panel with right sides facing. Stitch. Press seam allowance up toward waistband. Neaten open edge of waistband.
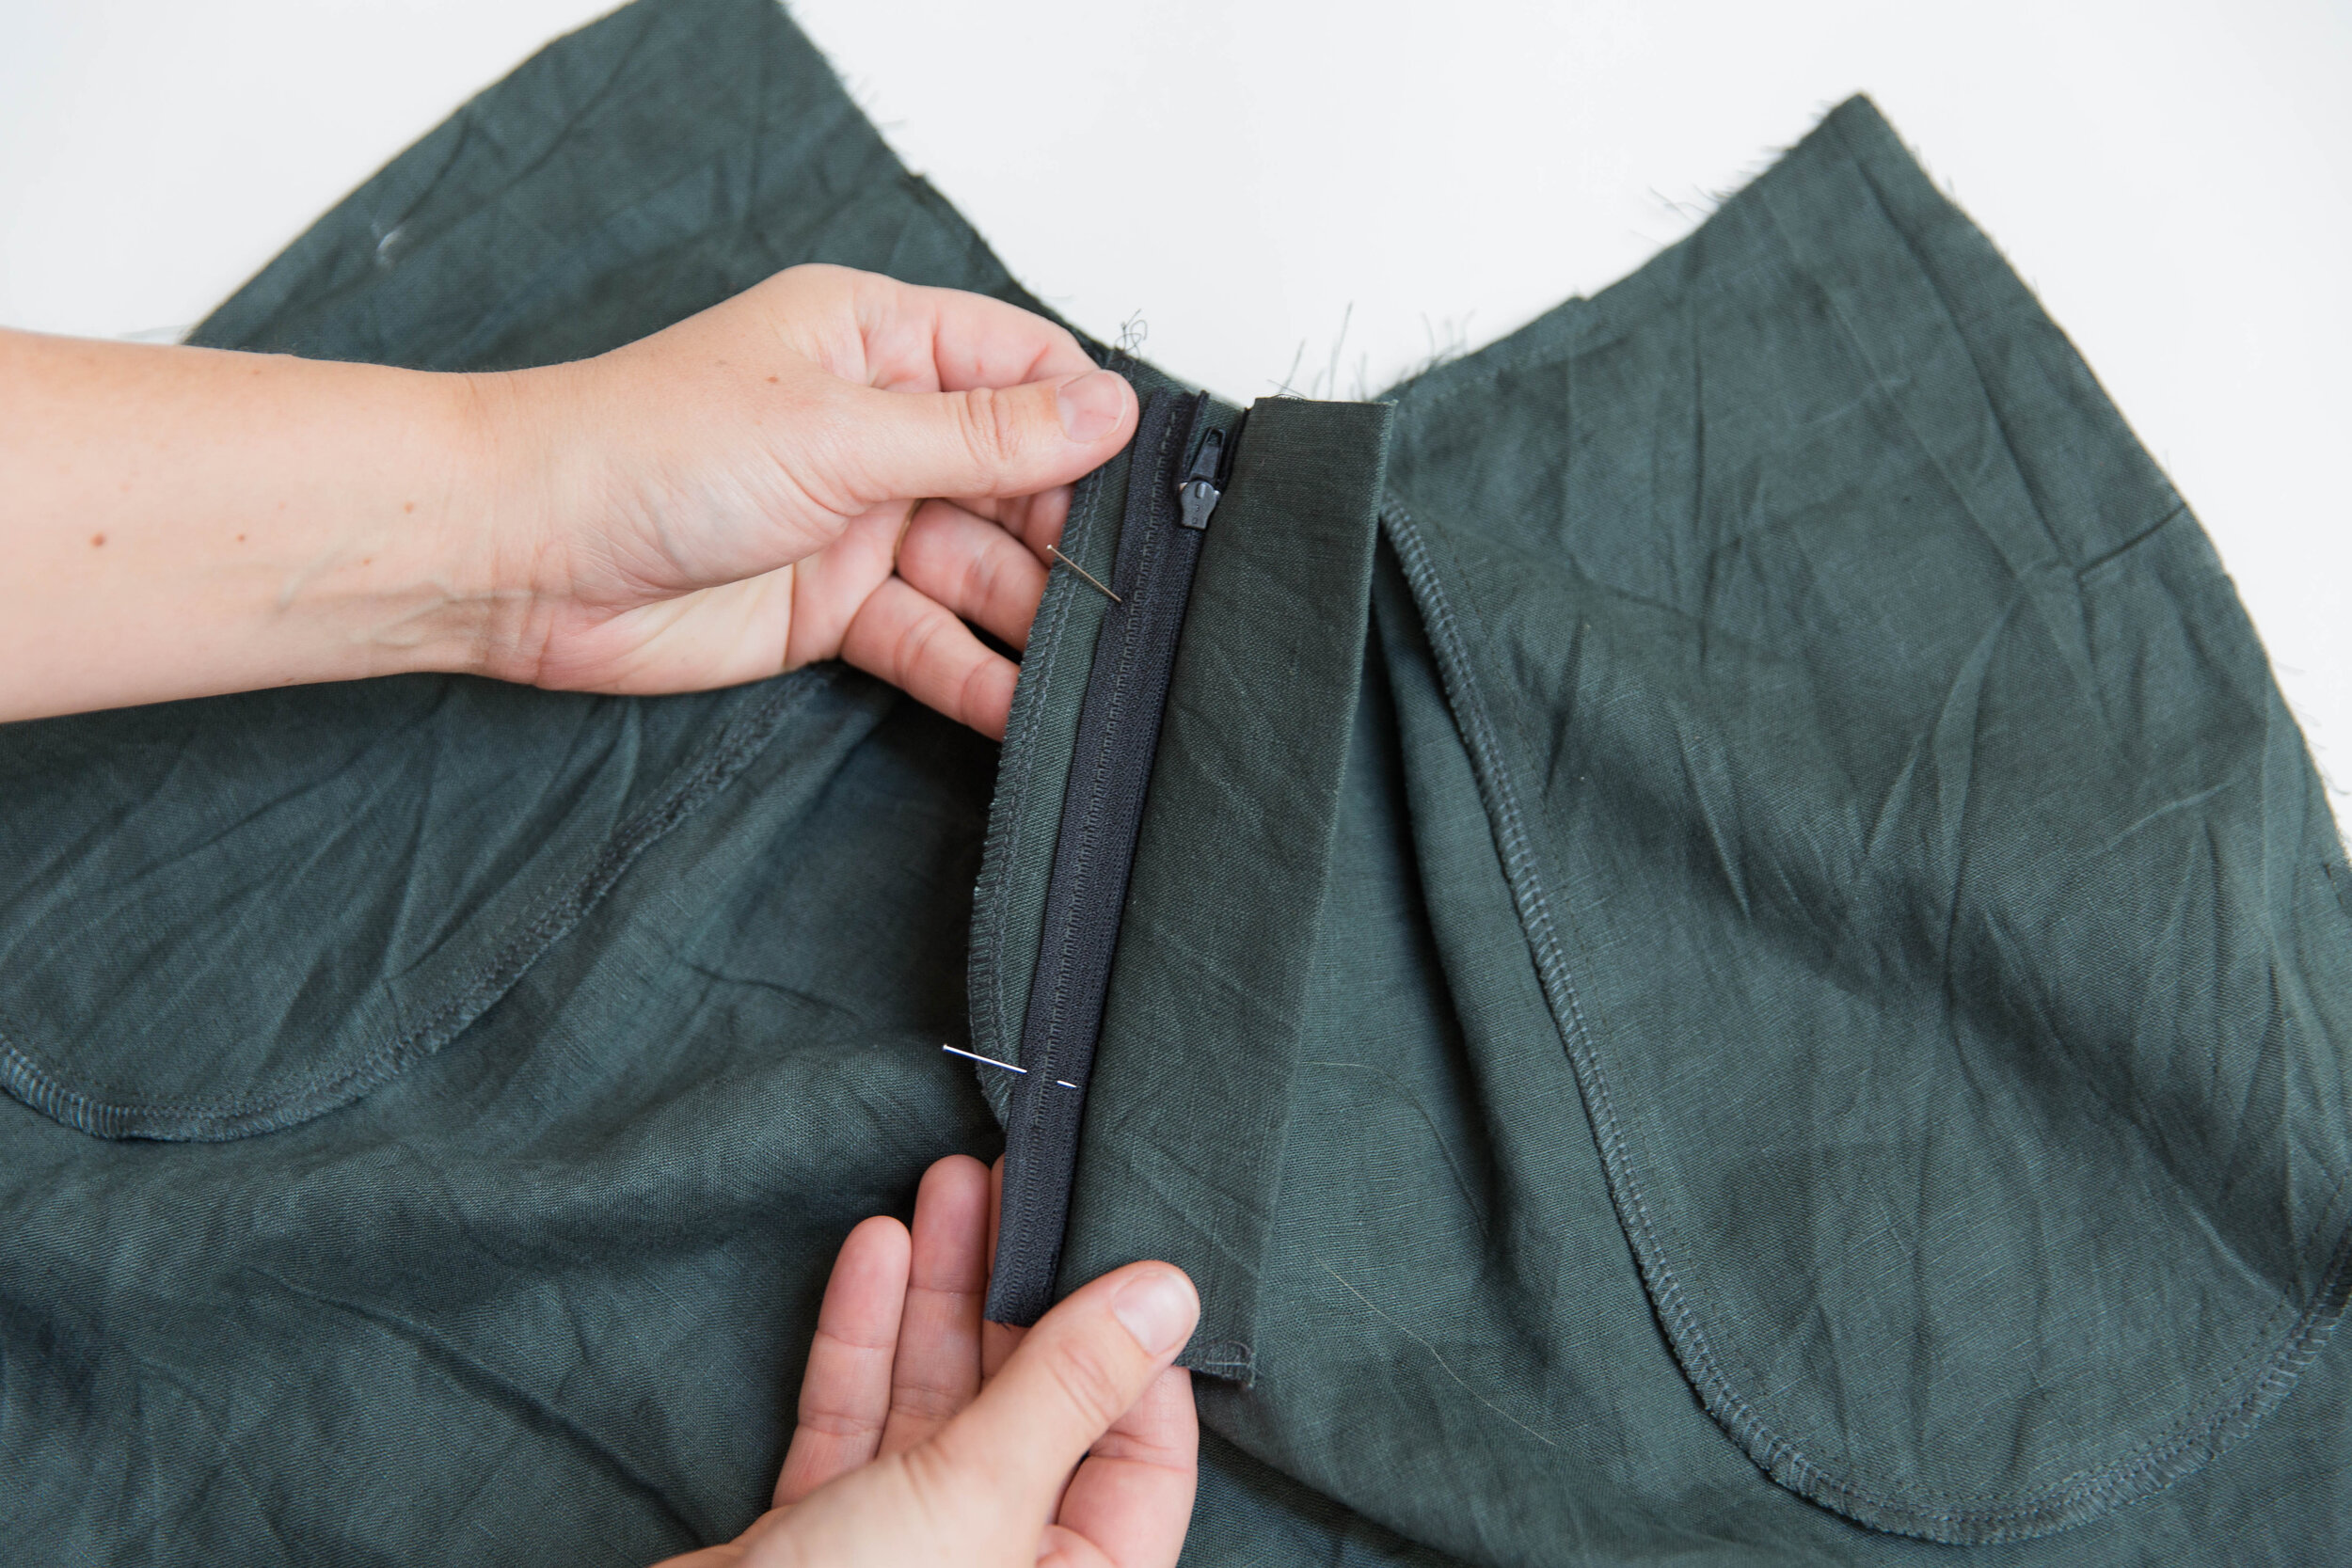
step 17
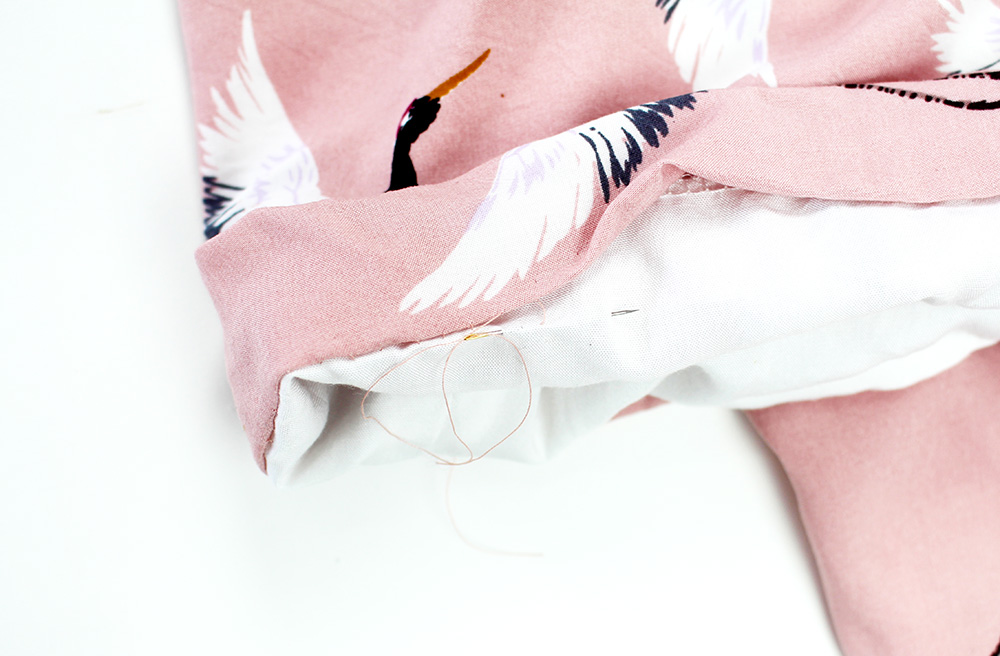
Starting on the side of waistband that has the elastic stitched in, pin front and side leg panels together, lining up the top of back waistband with centre notch of front waistband. Fold the remainder of front waistband over the back waistband with wrong sides out, so that the open edge of front waistband meets the bottom edge of back waistband. Stitch together. Neaten seam. Press seam allowance toward front leg and topstitch down. Pin other side together then carefully try on and adjust elastic length until happy with the fit around the waist. Once happy, secure elastic then repeat this step for the other side.

step 18
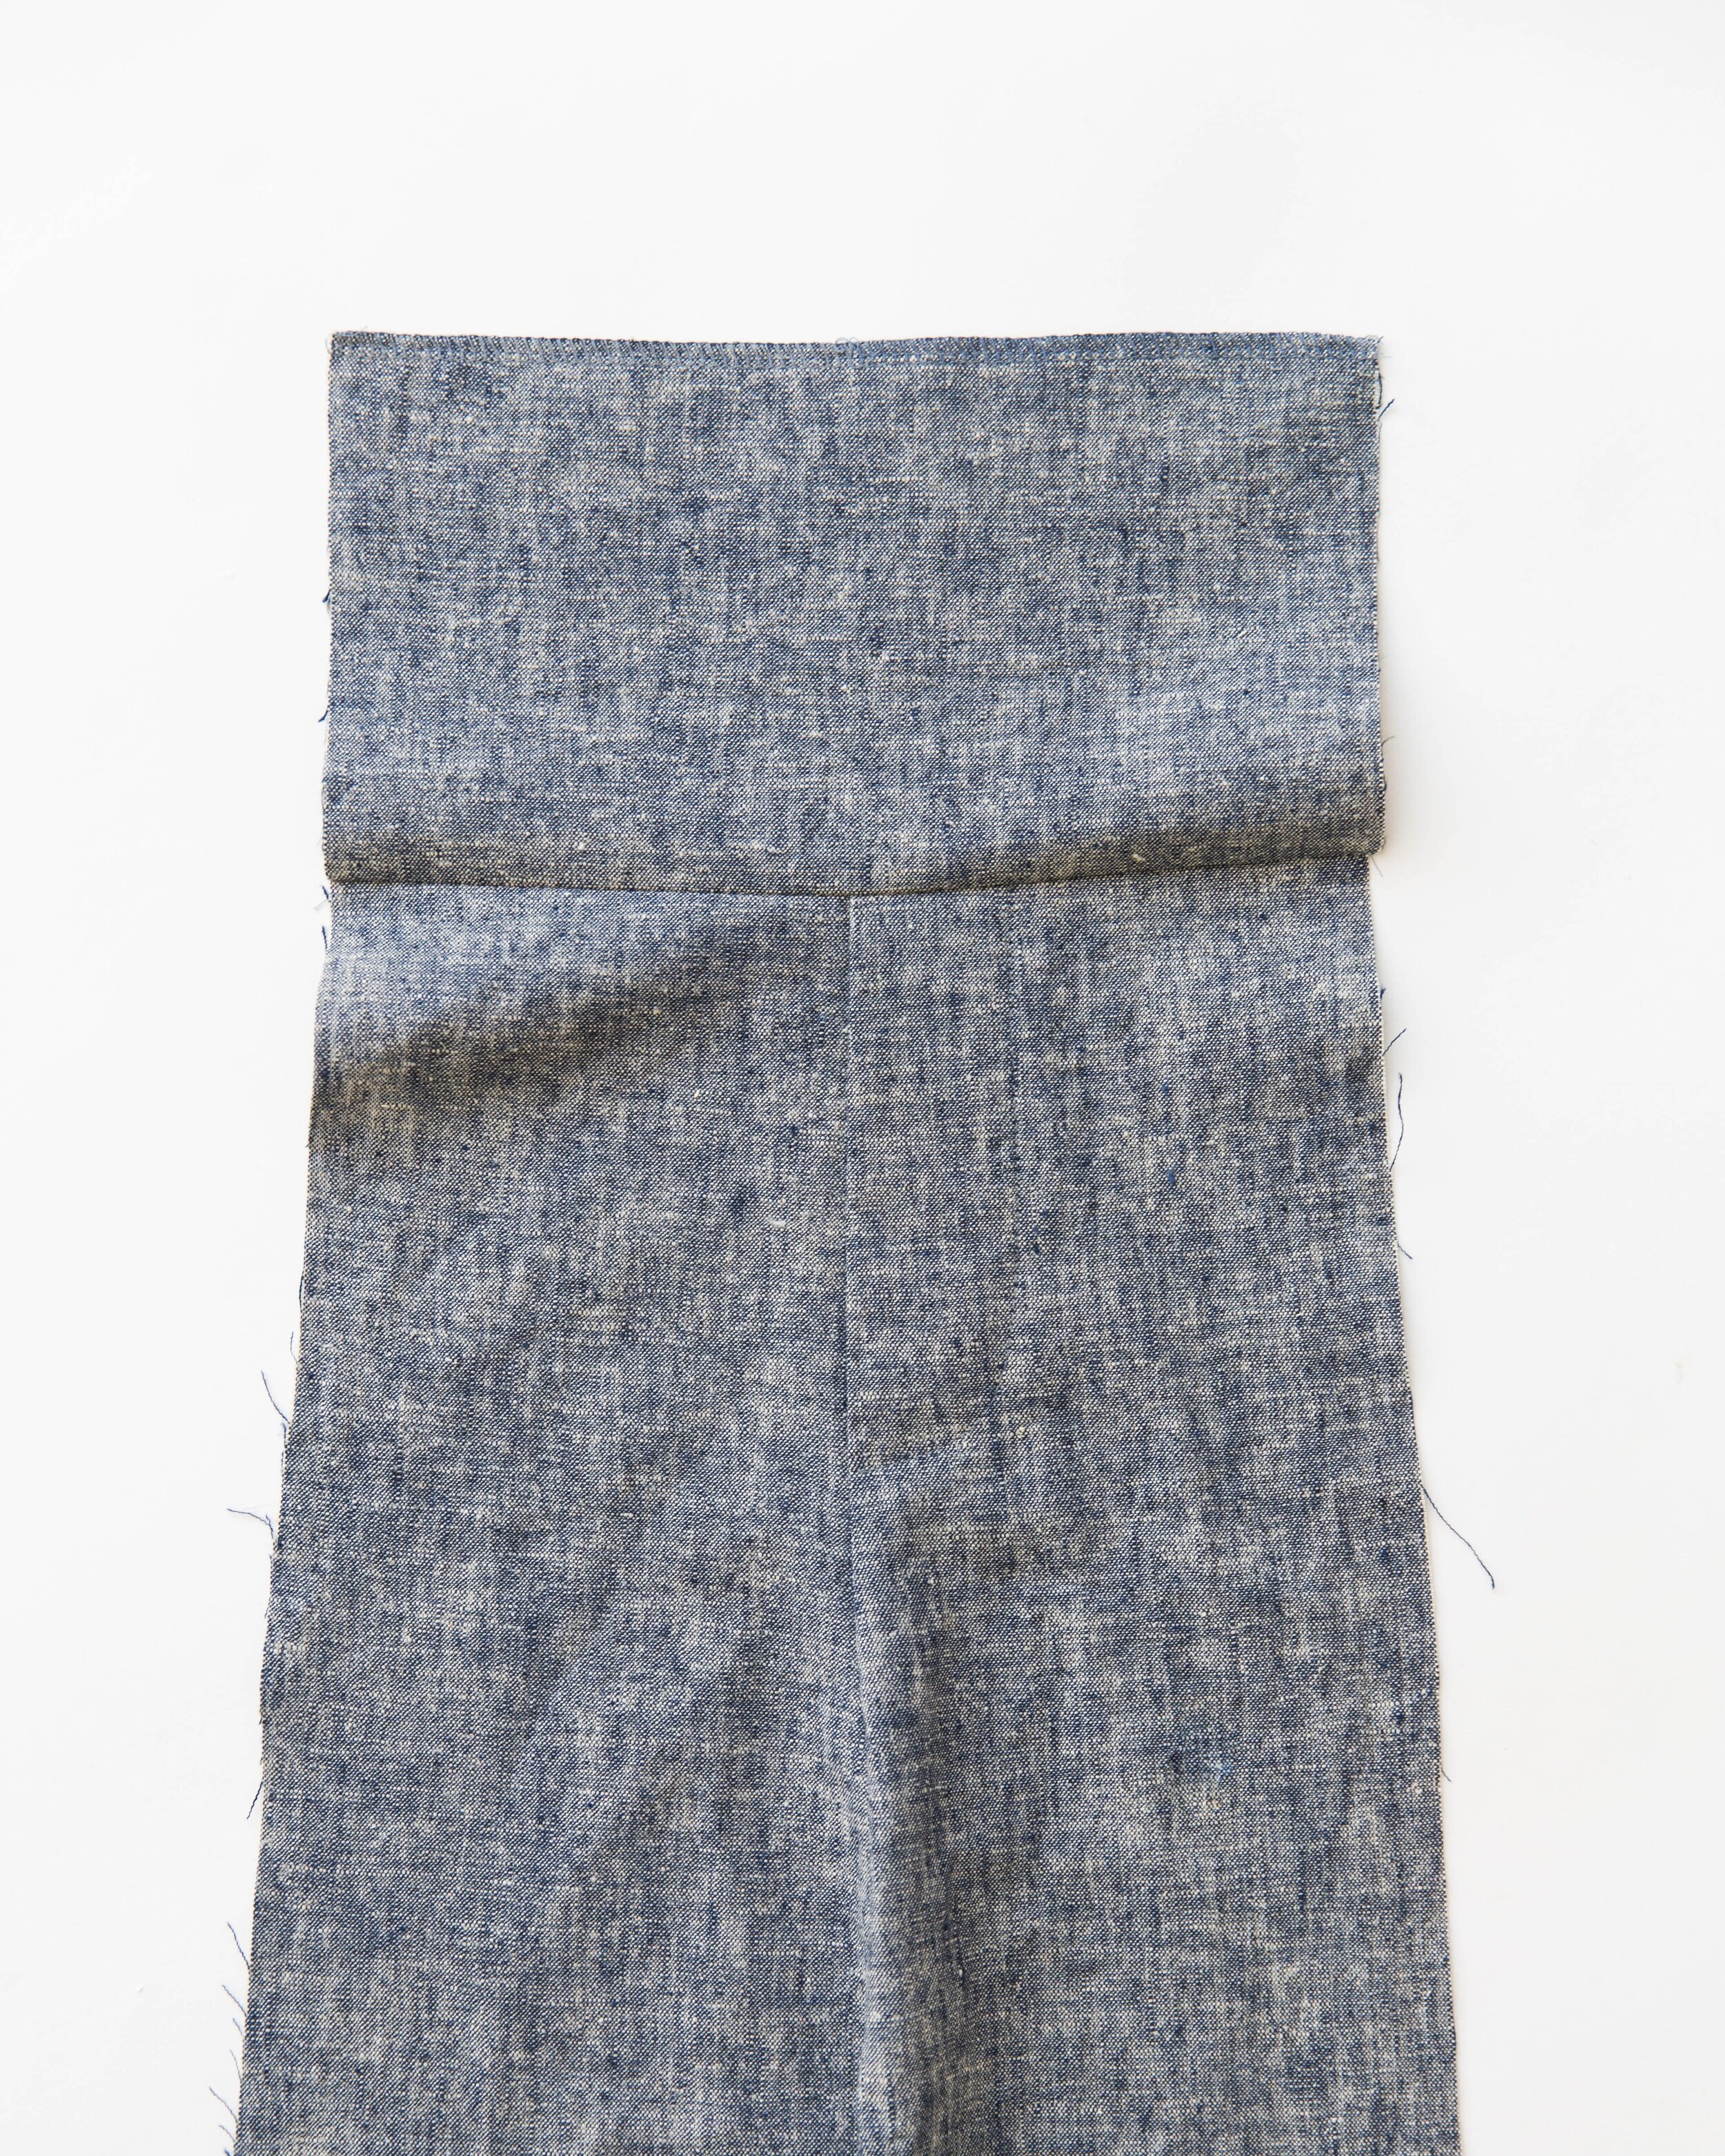
“Stitch in the ditch” the remainder of front waistband, catching the underside of waistband. Press.
OPTIONAL EXTRA
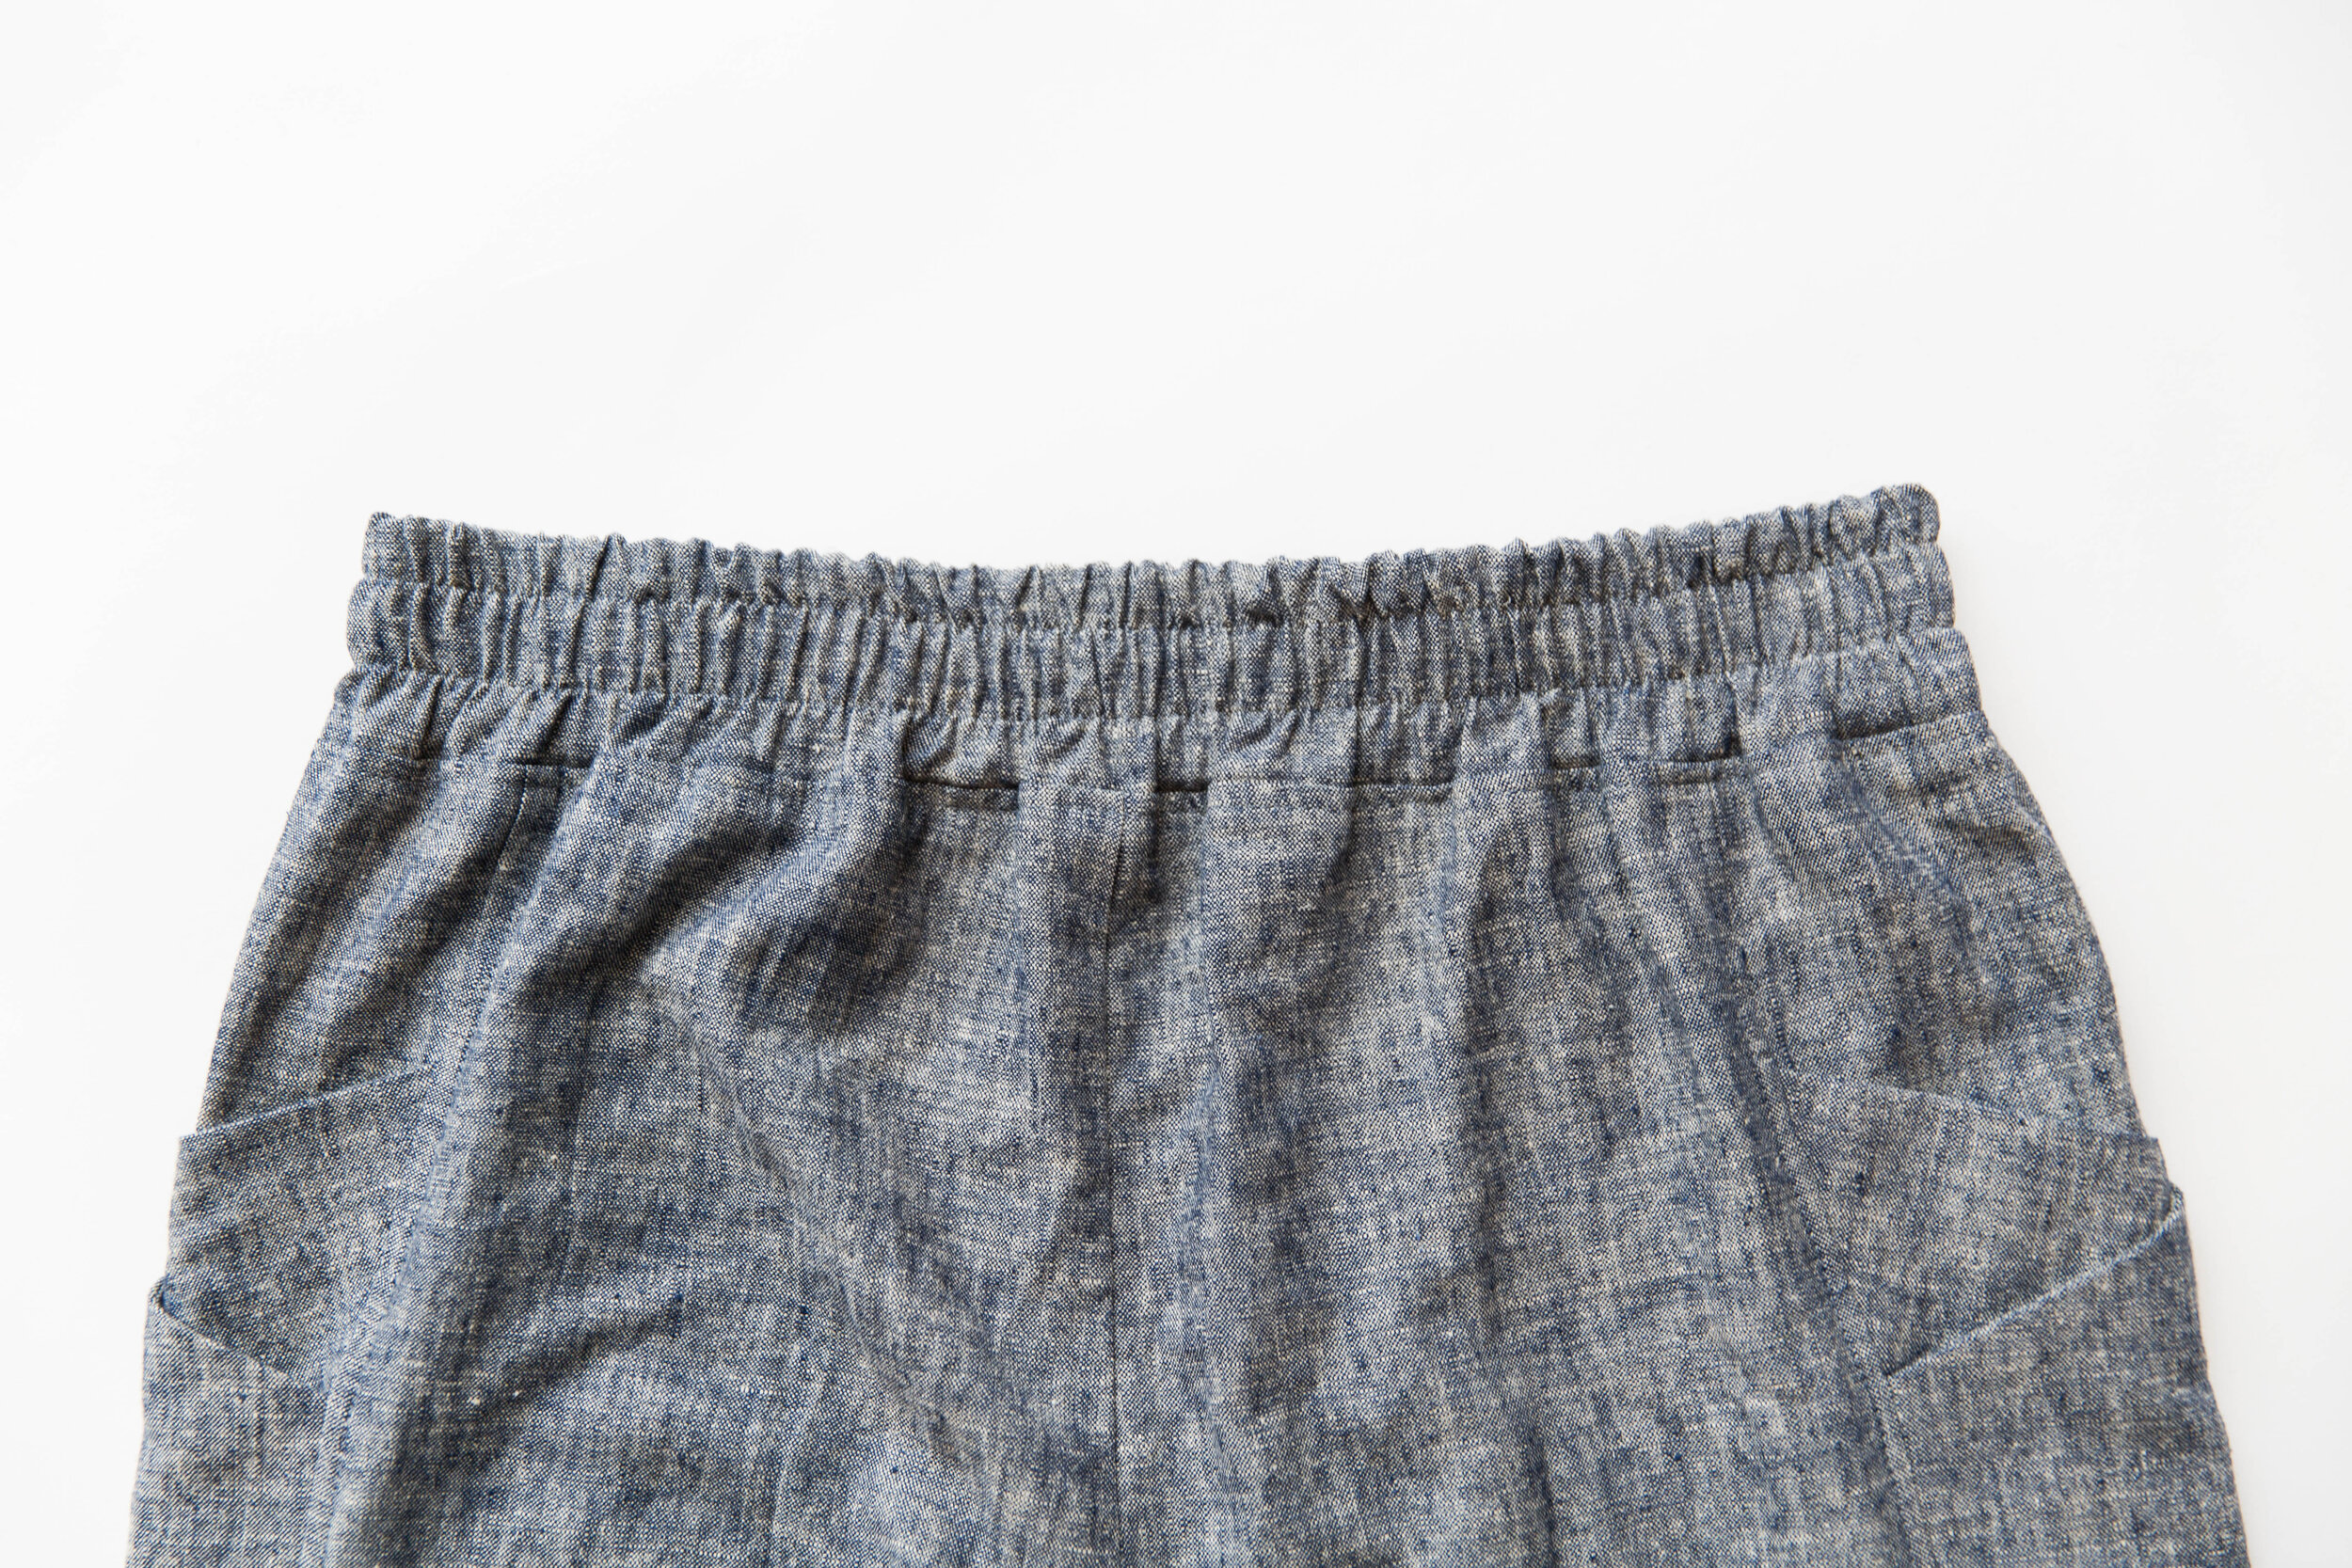
Stitch two rows of stitching through all layers of your waistband and elastic, all the way around, stretching waistband out to fit as you sew.

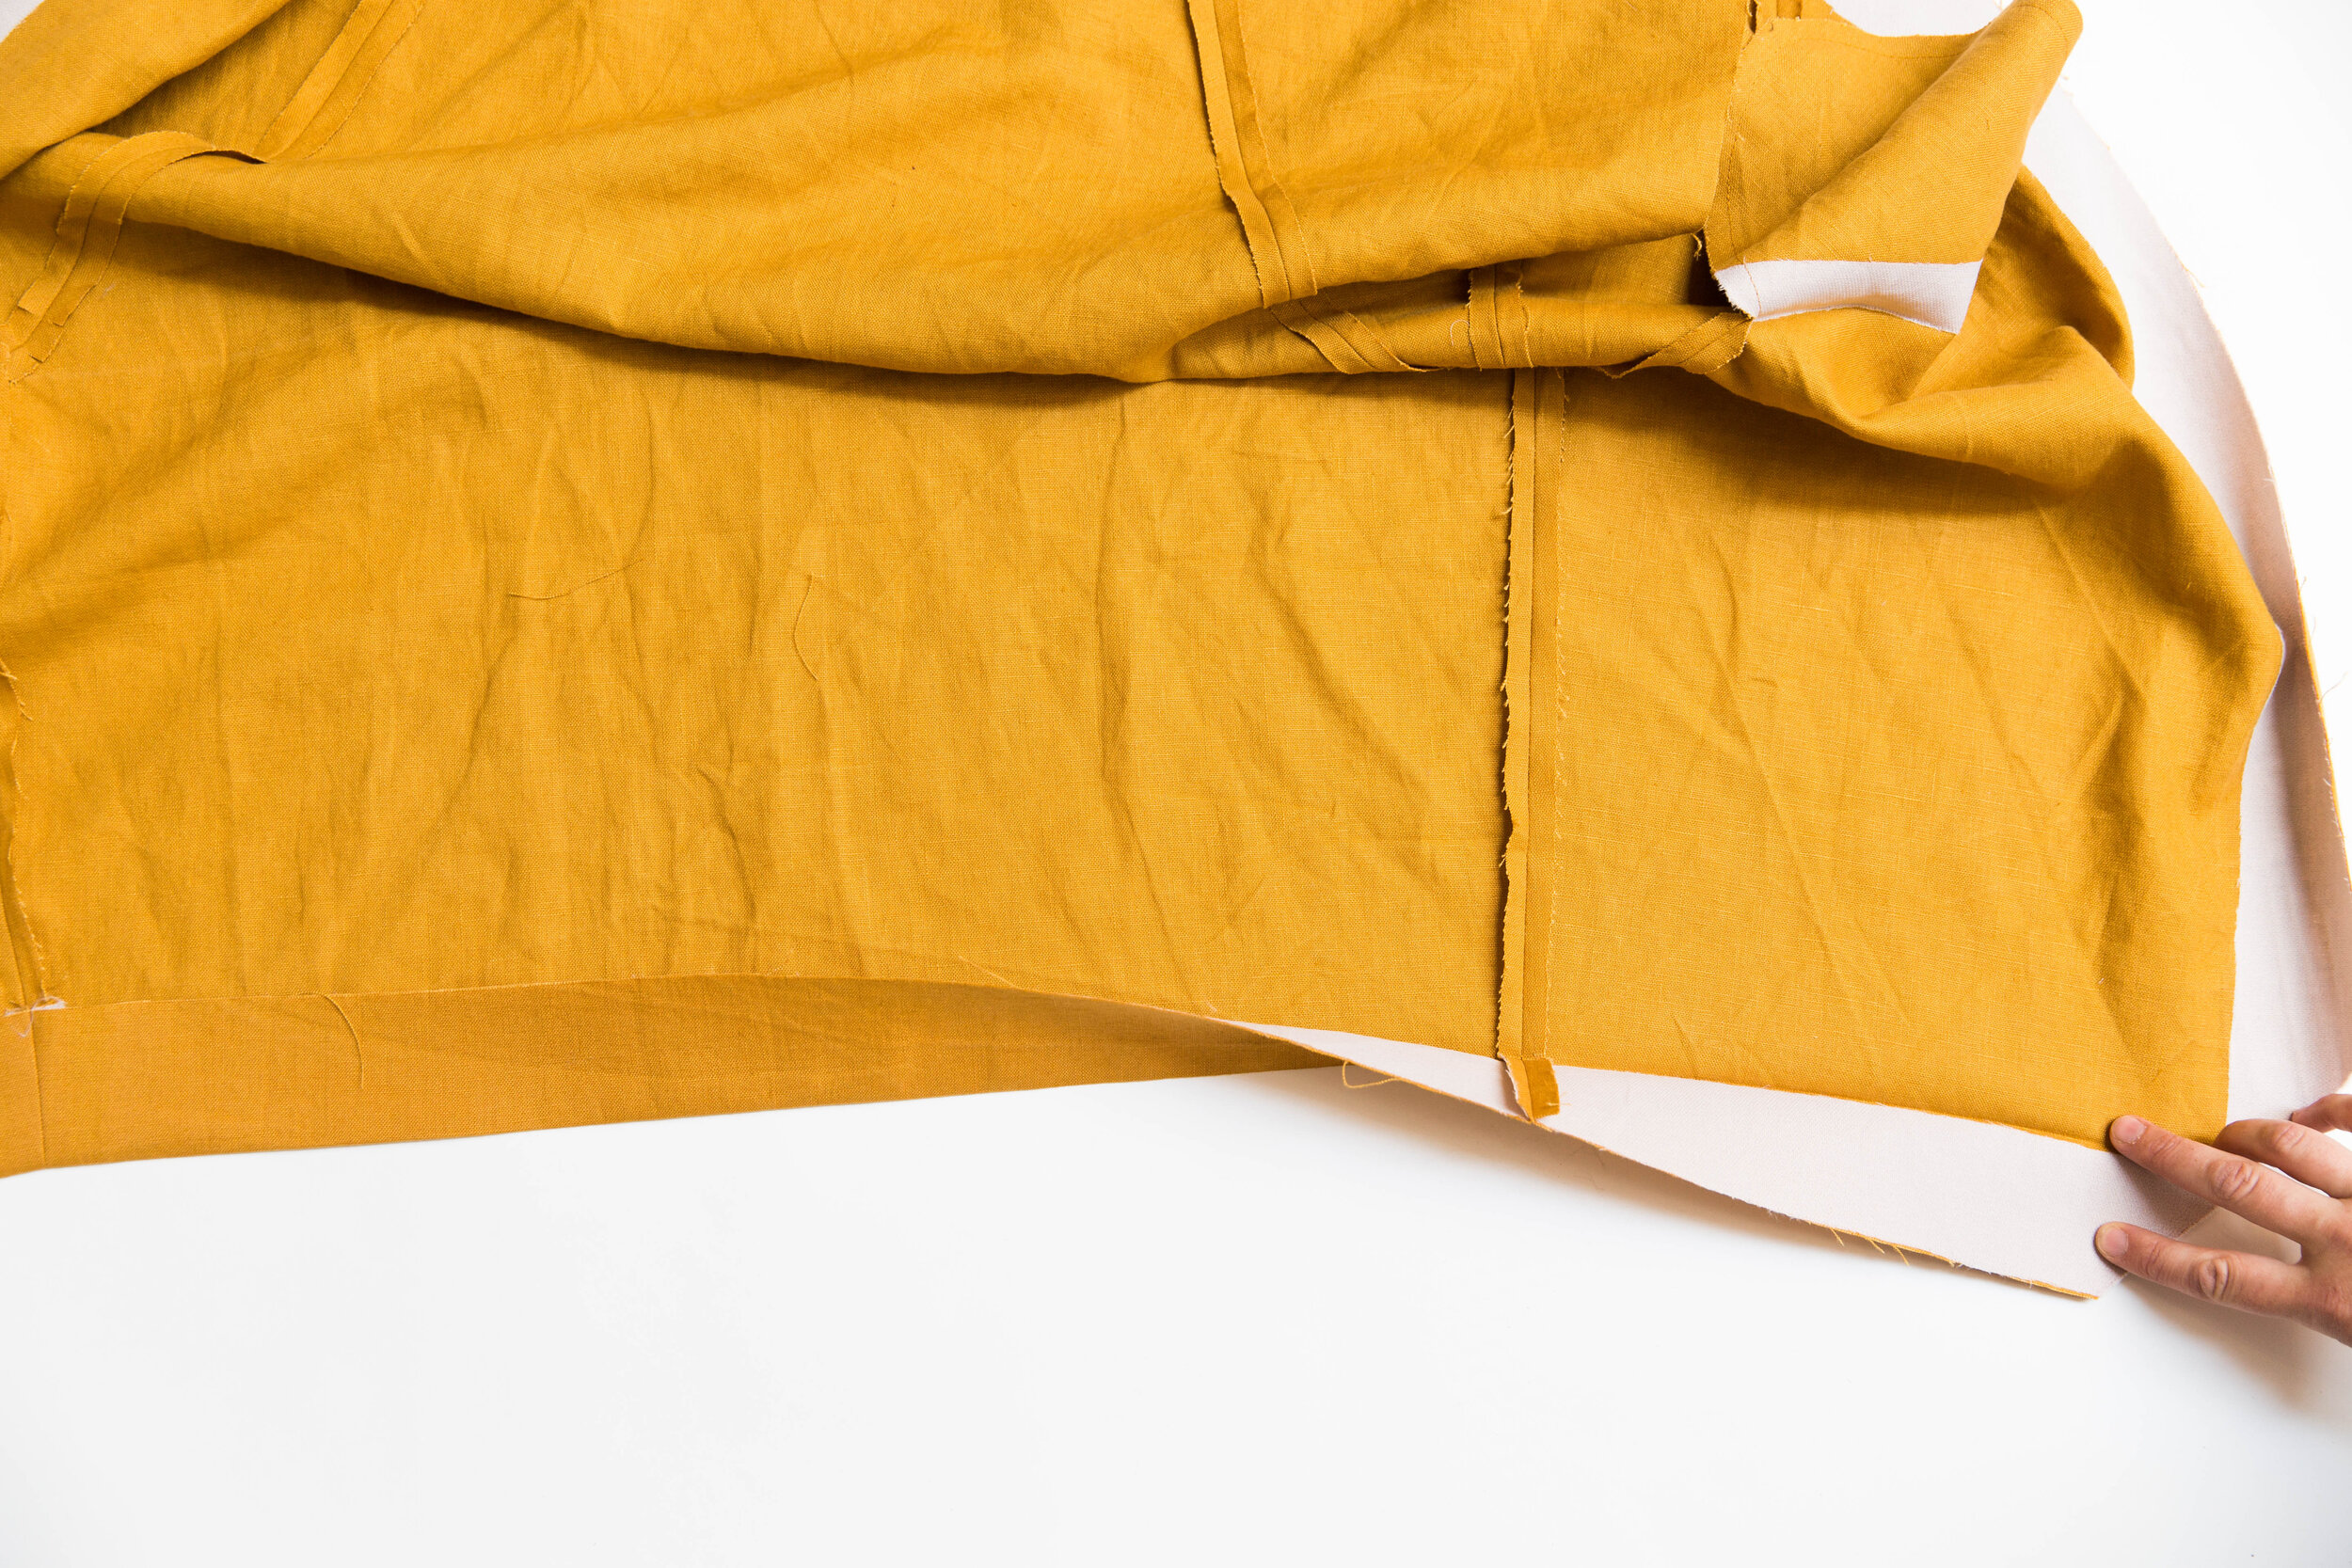
step 19
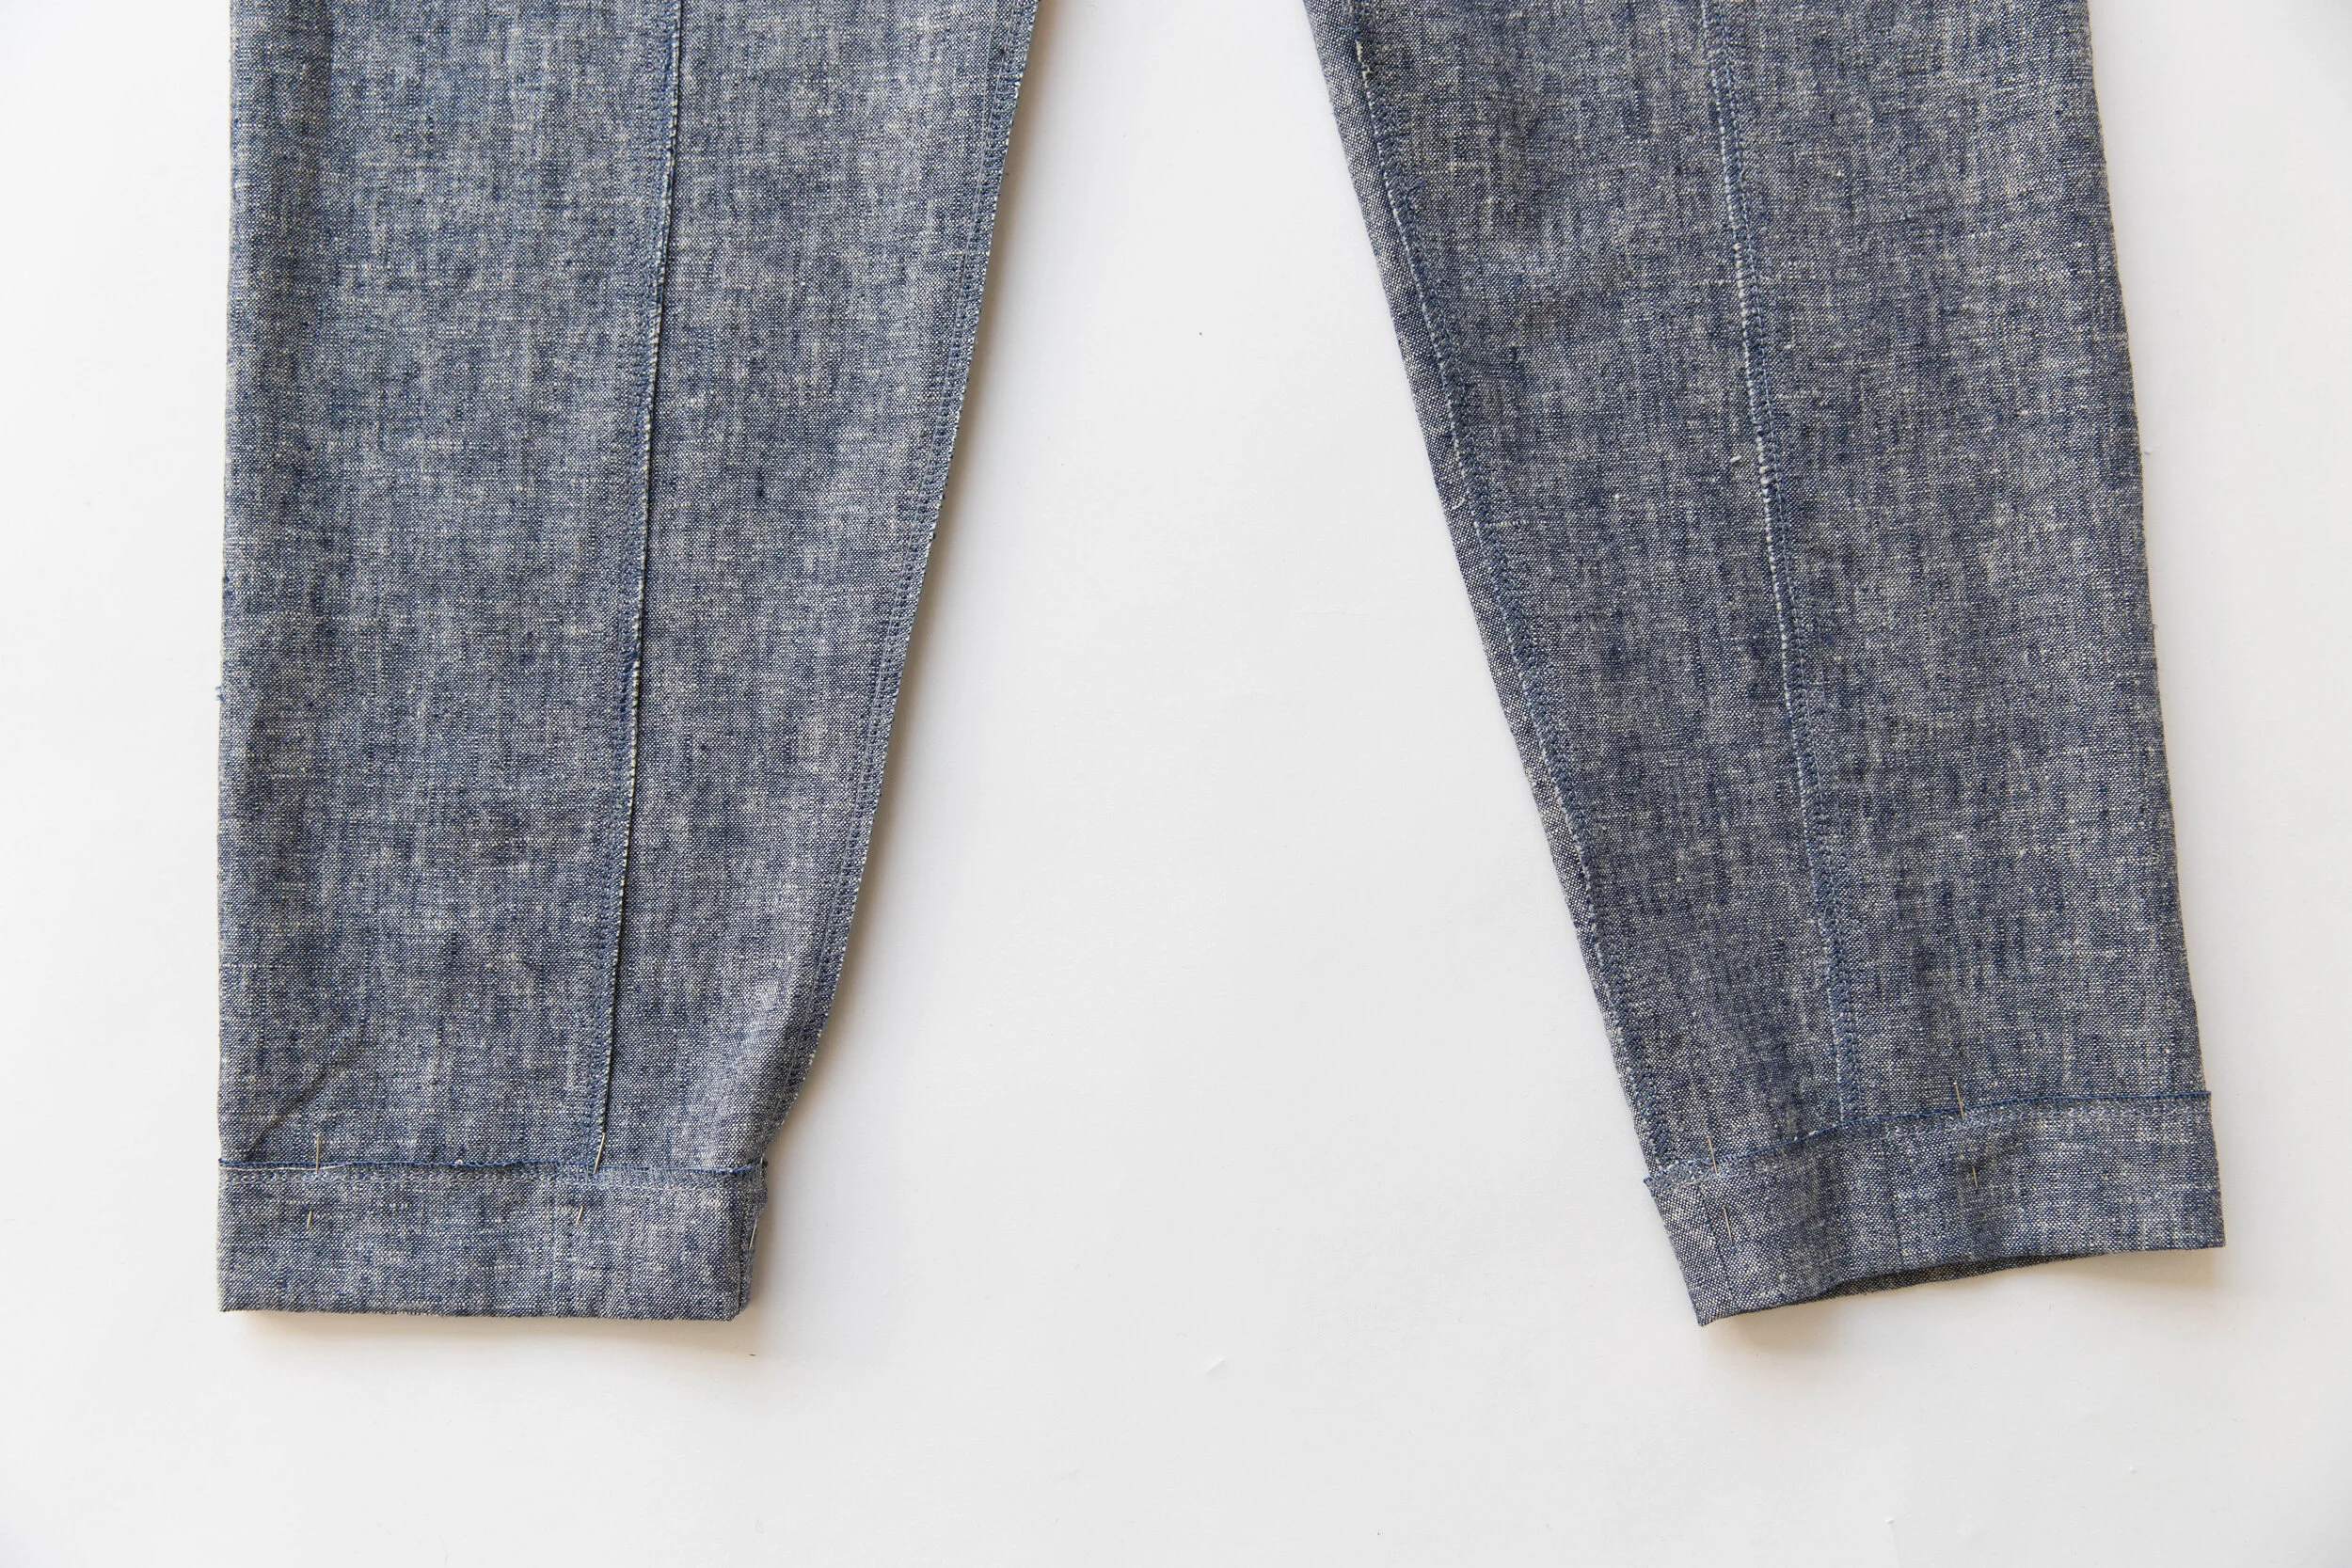
Pin inside leg seams together with right sides facing. Stitch. Neaten seam and press seam allowance towards back.
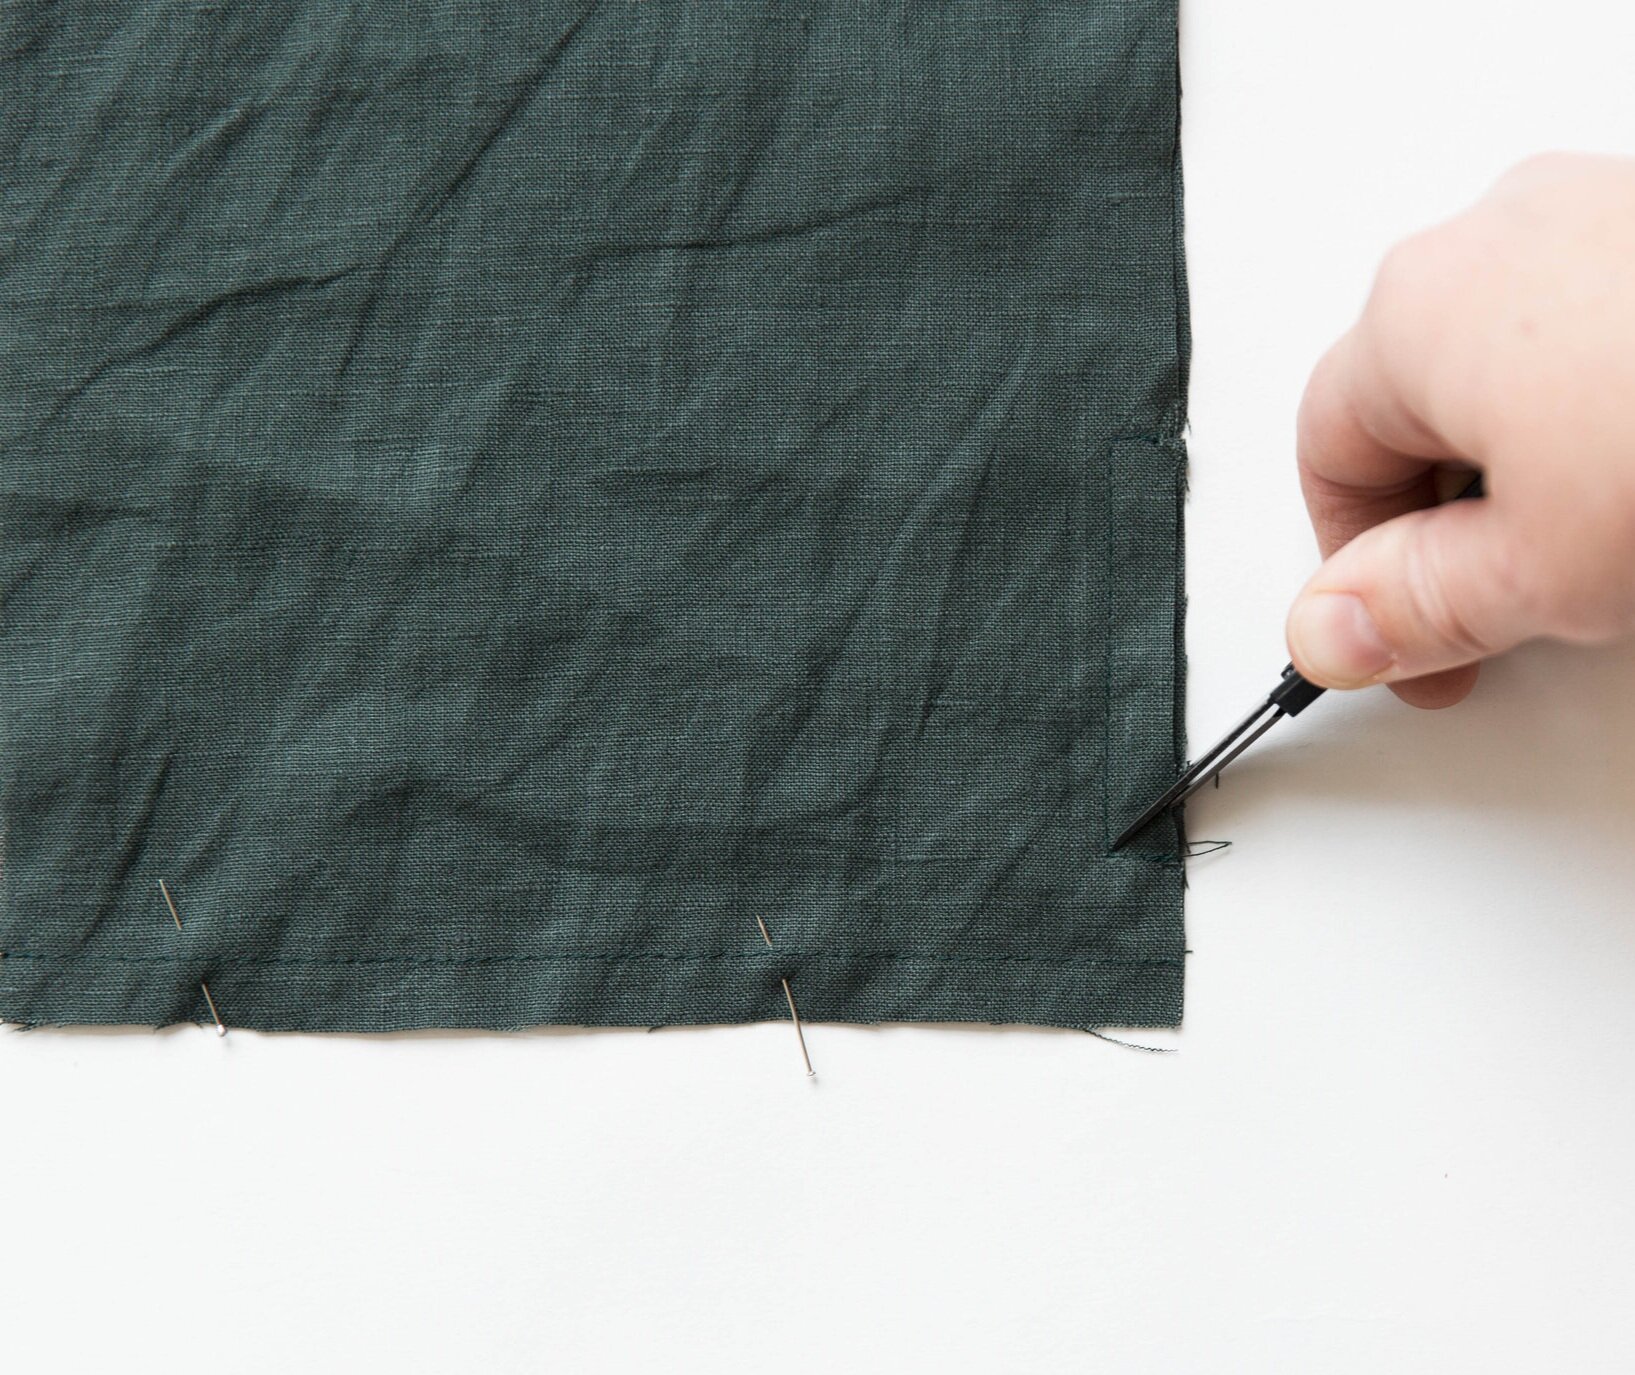
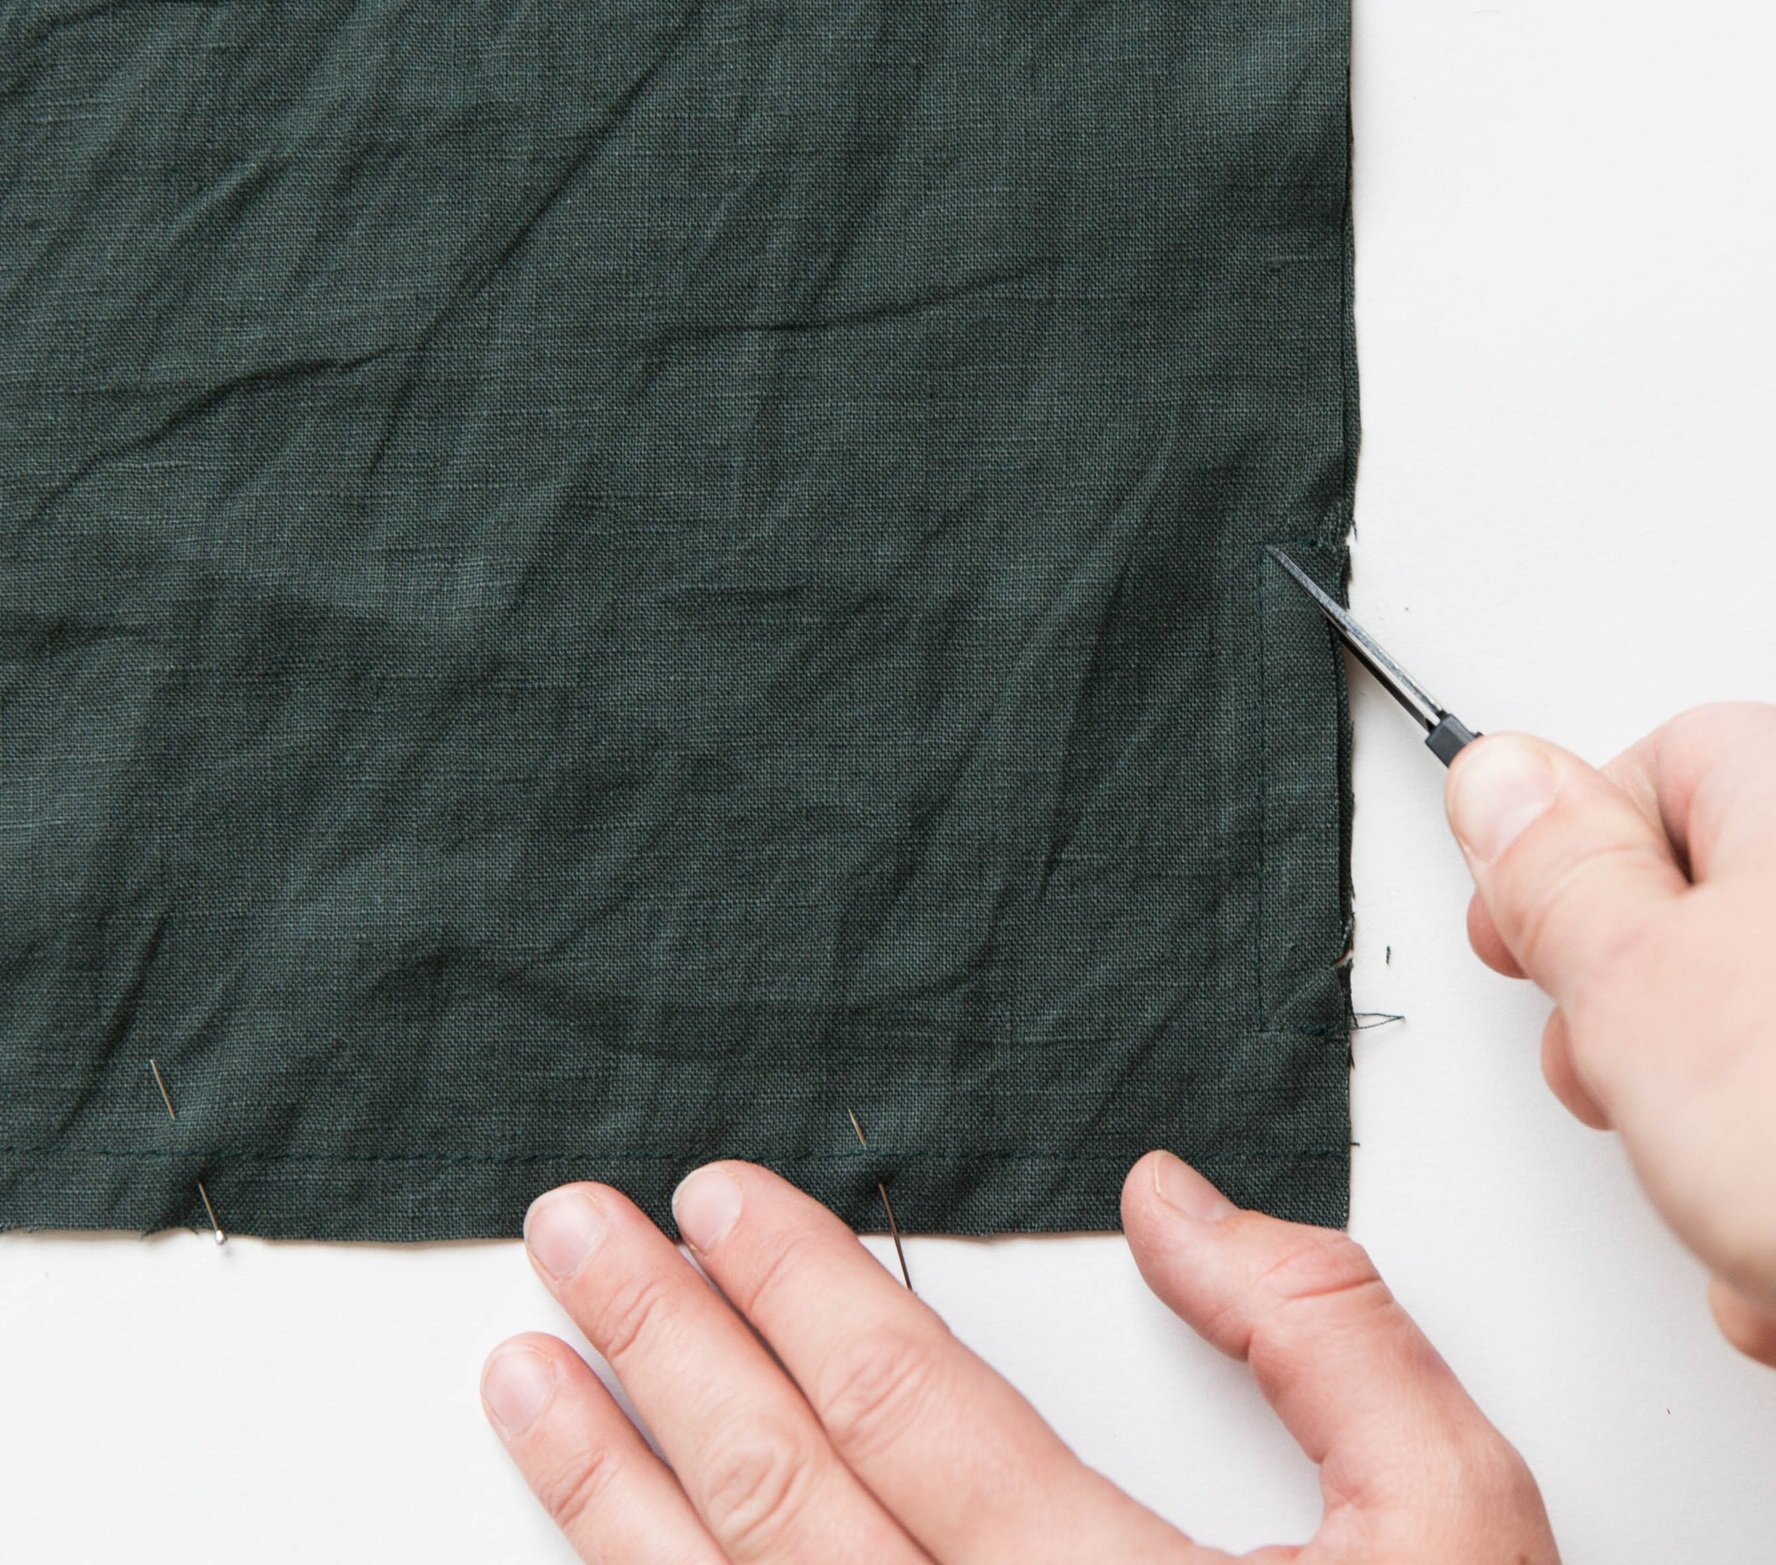
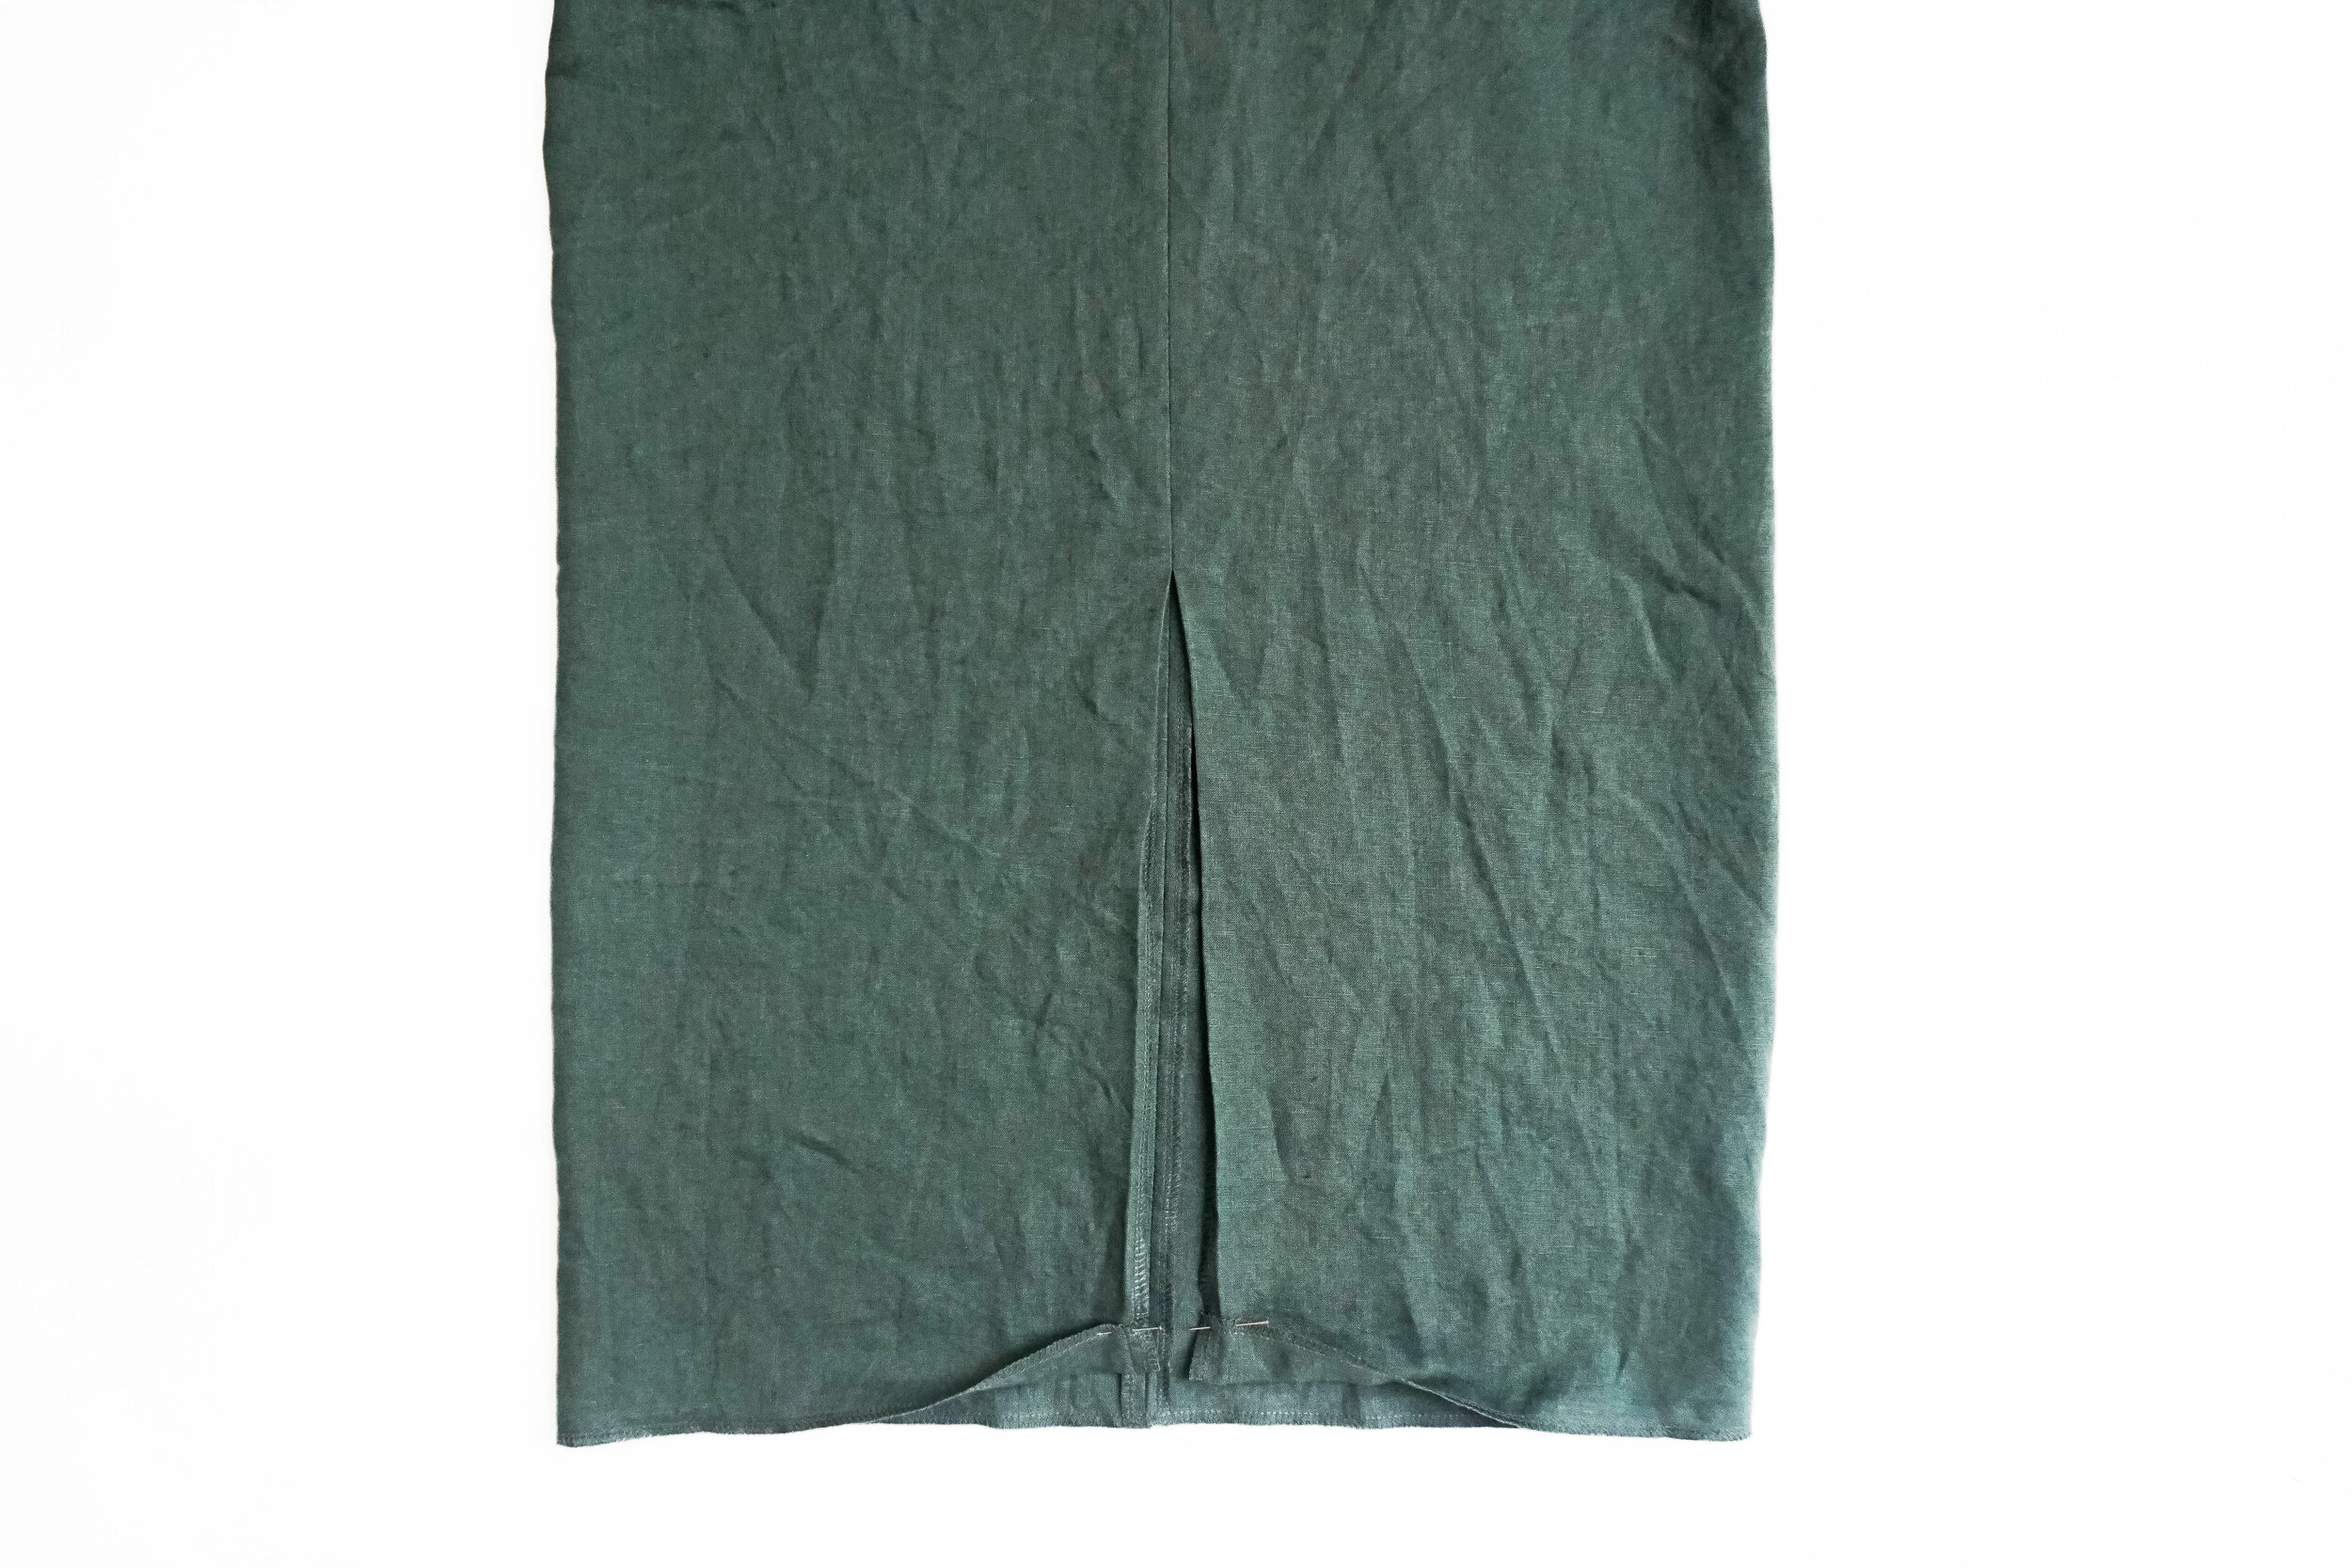
step 20
Neaten hem edges. Fold hems up to desired length, pin in place and stitch.

voila!