Fusing
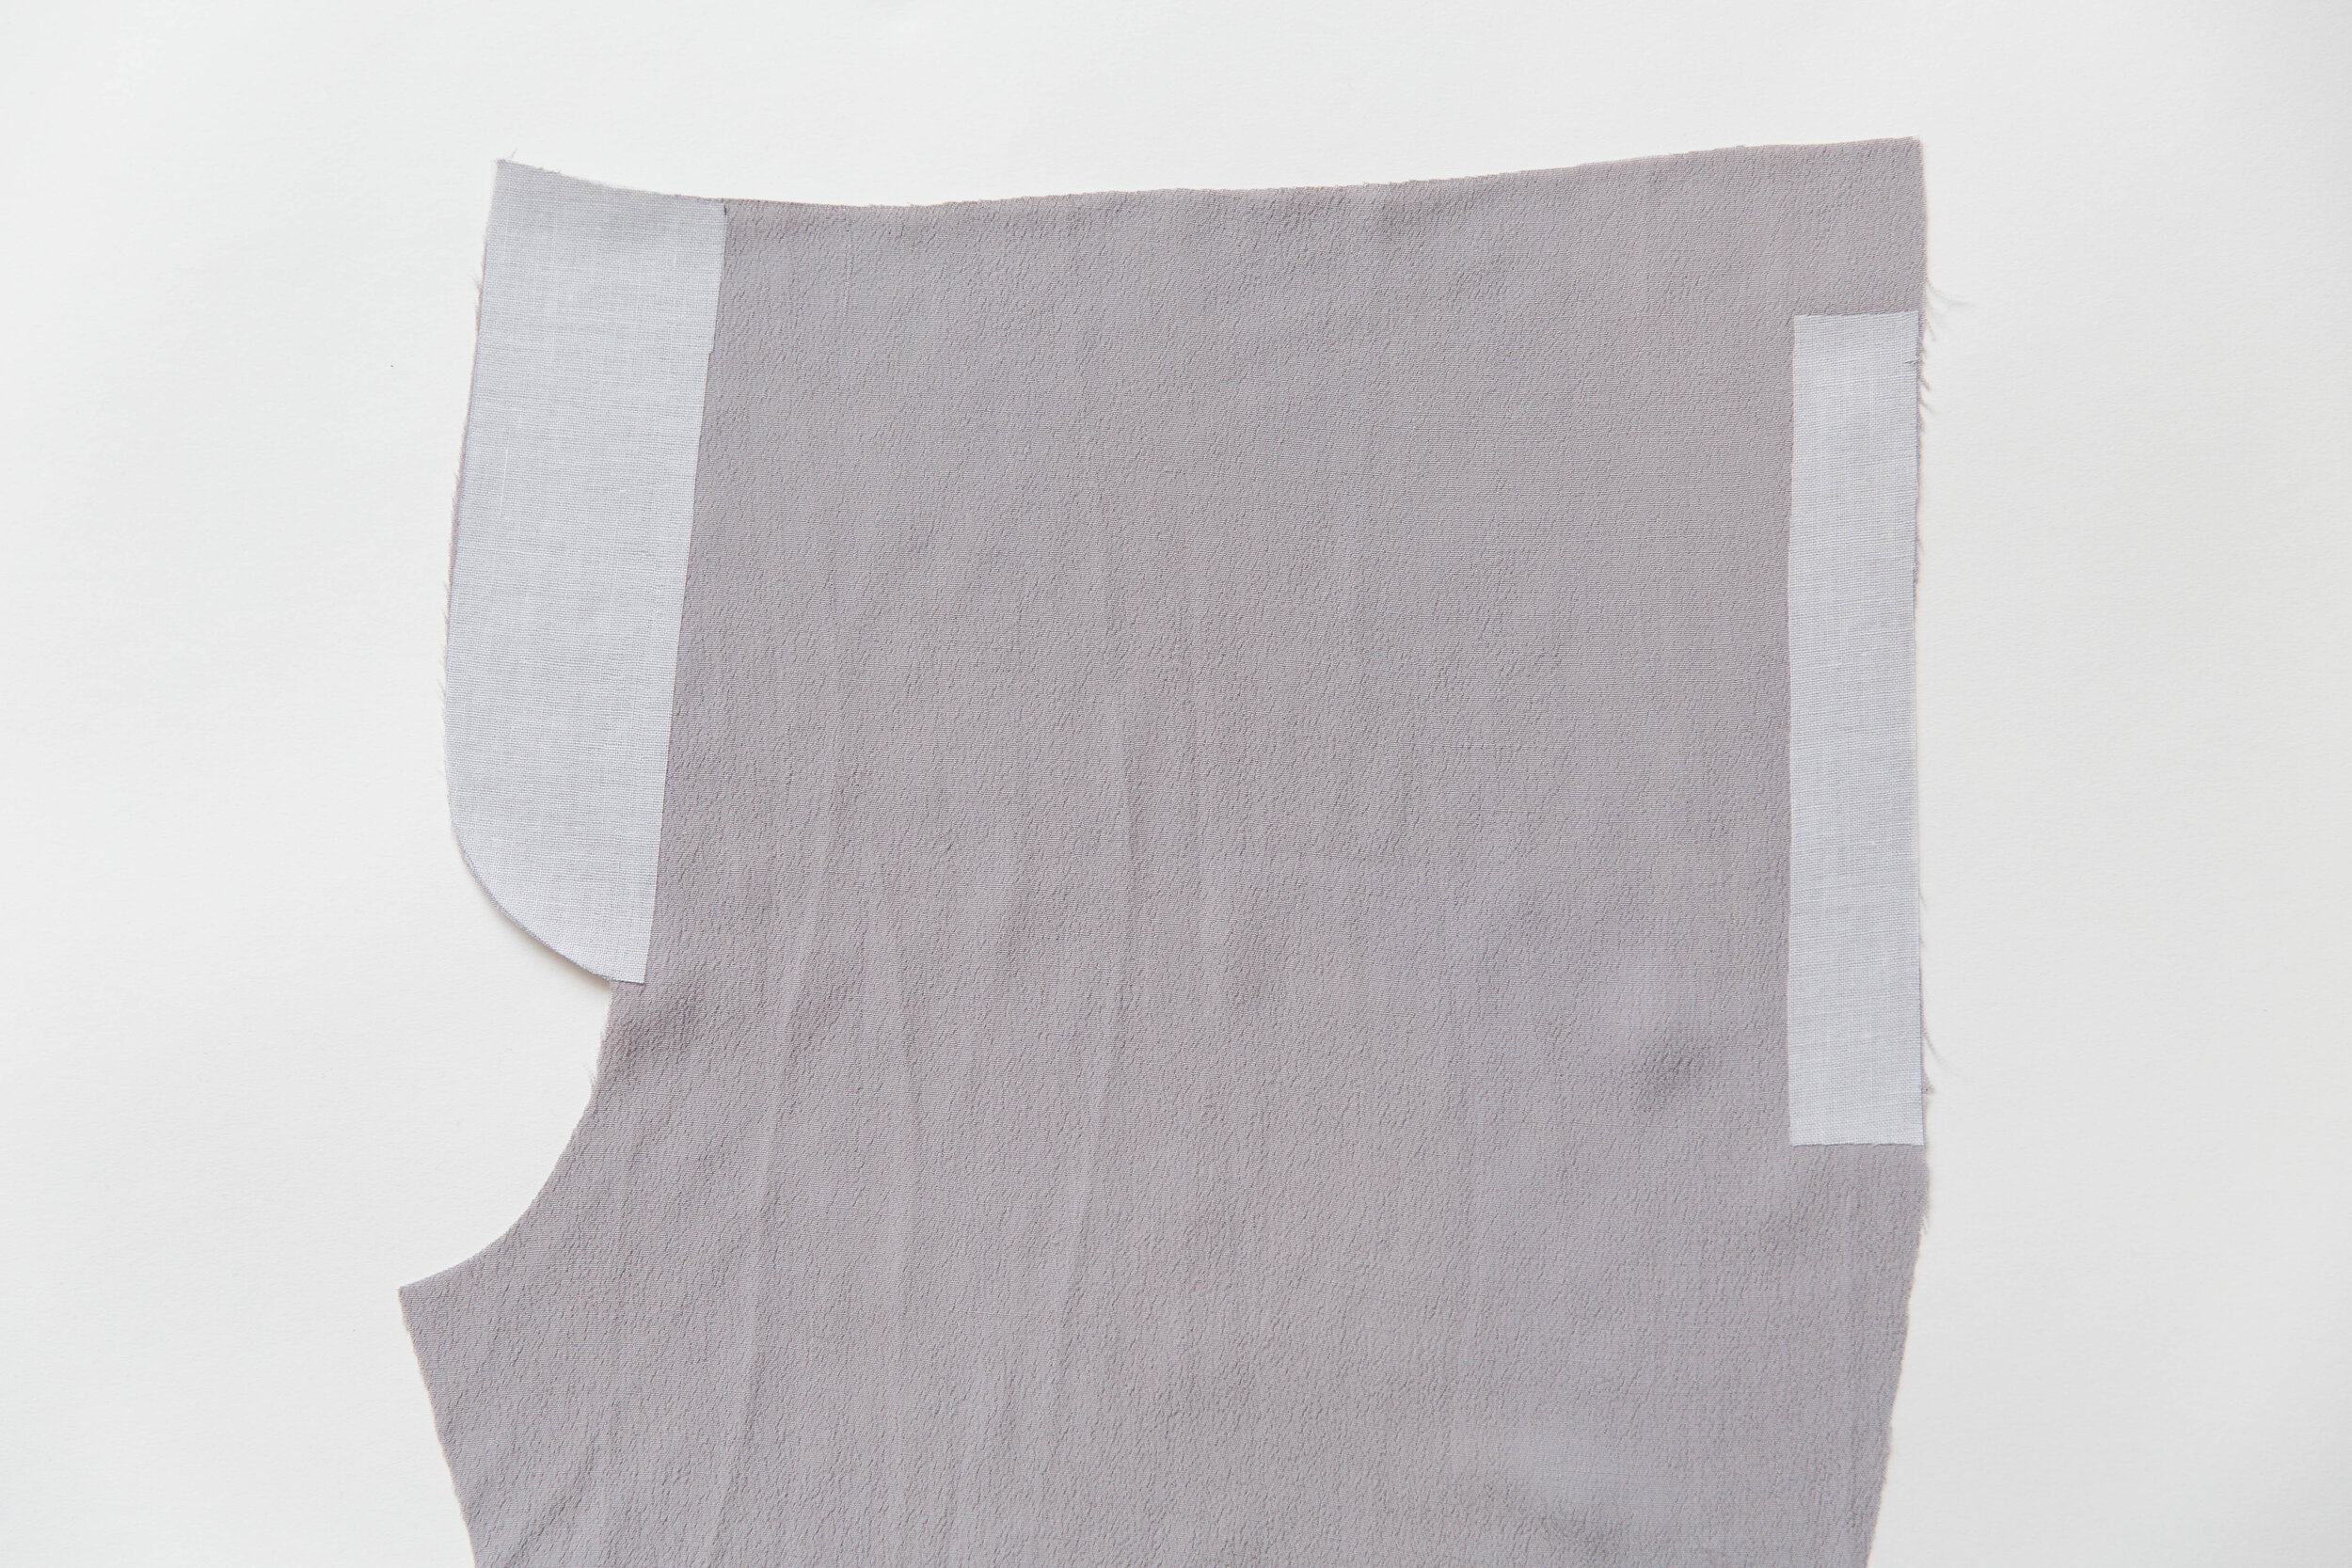
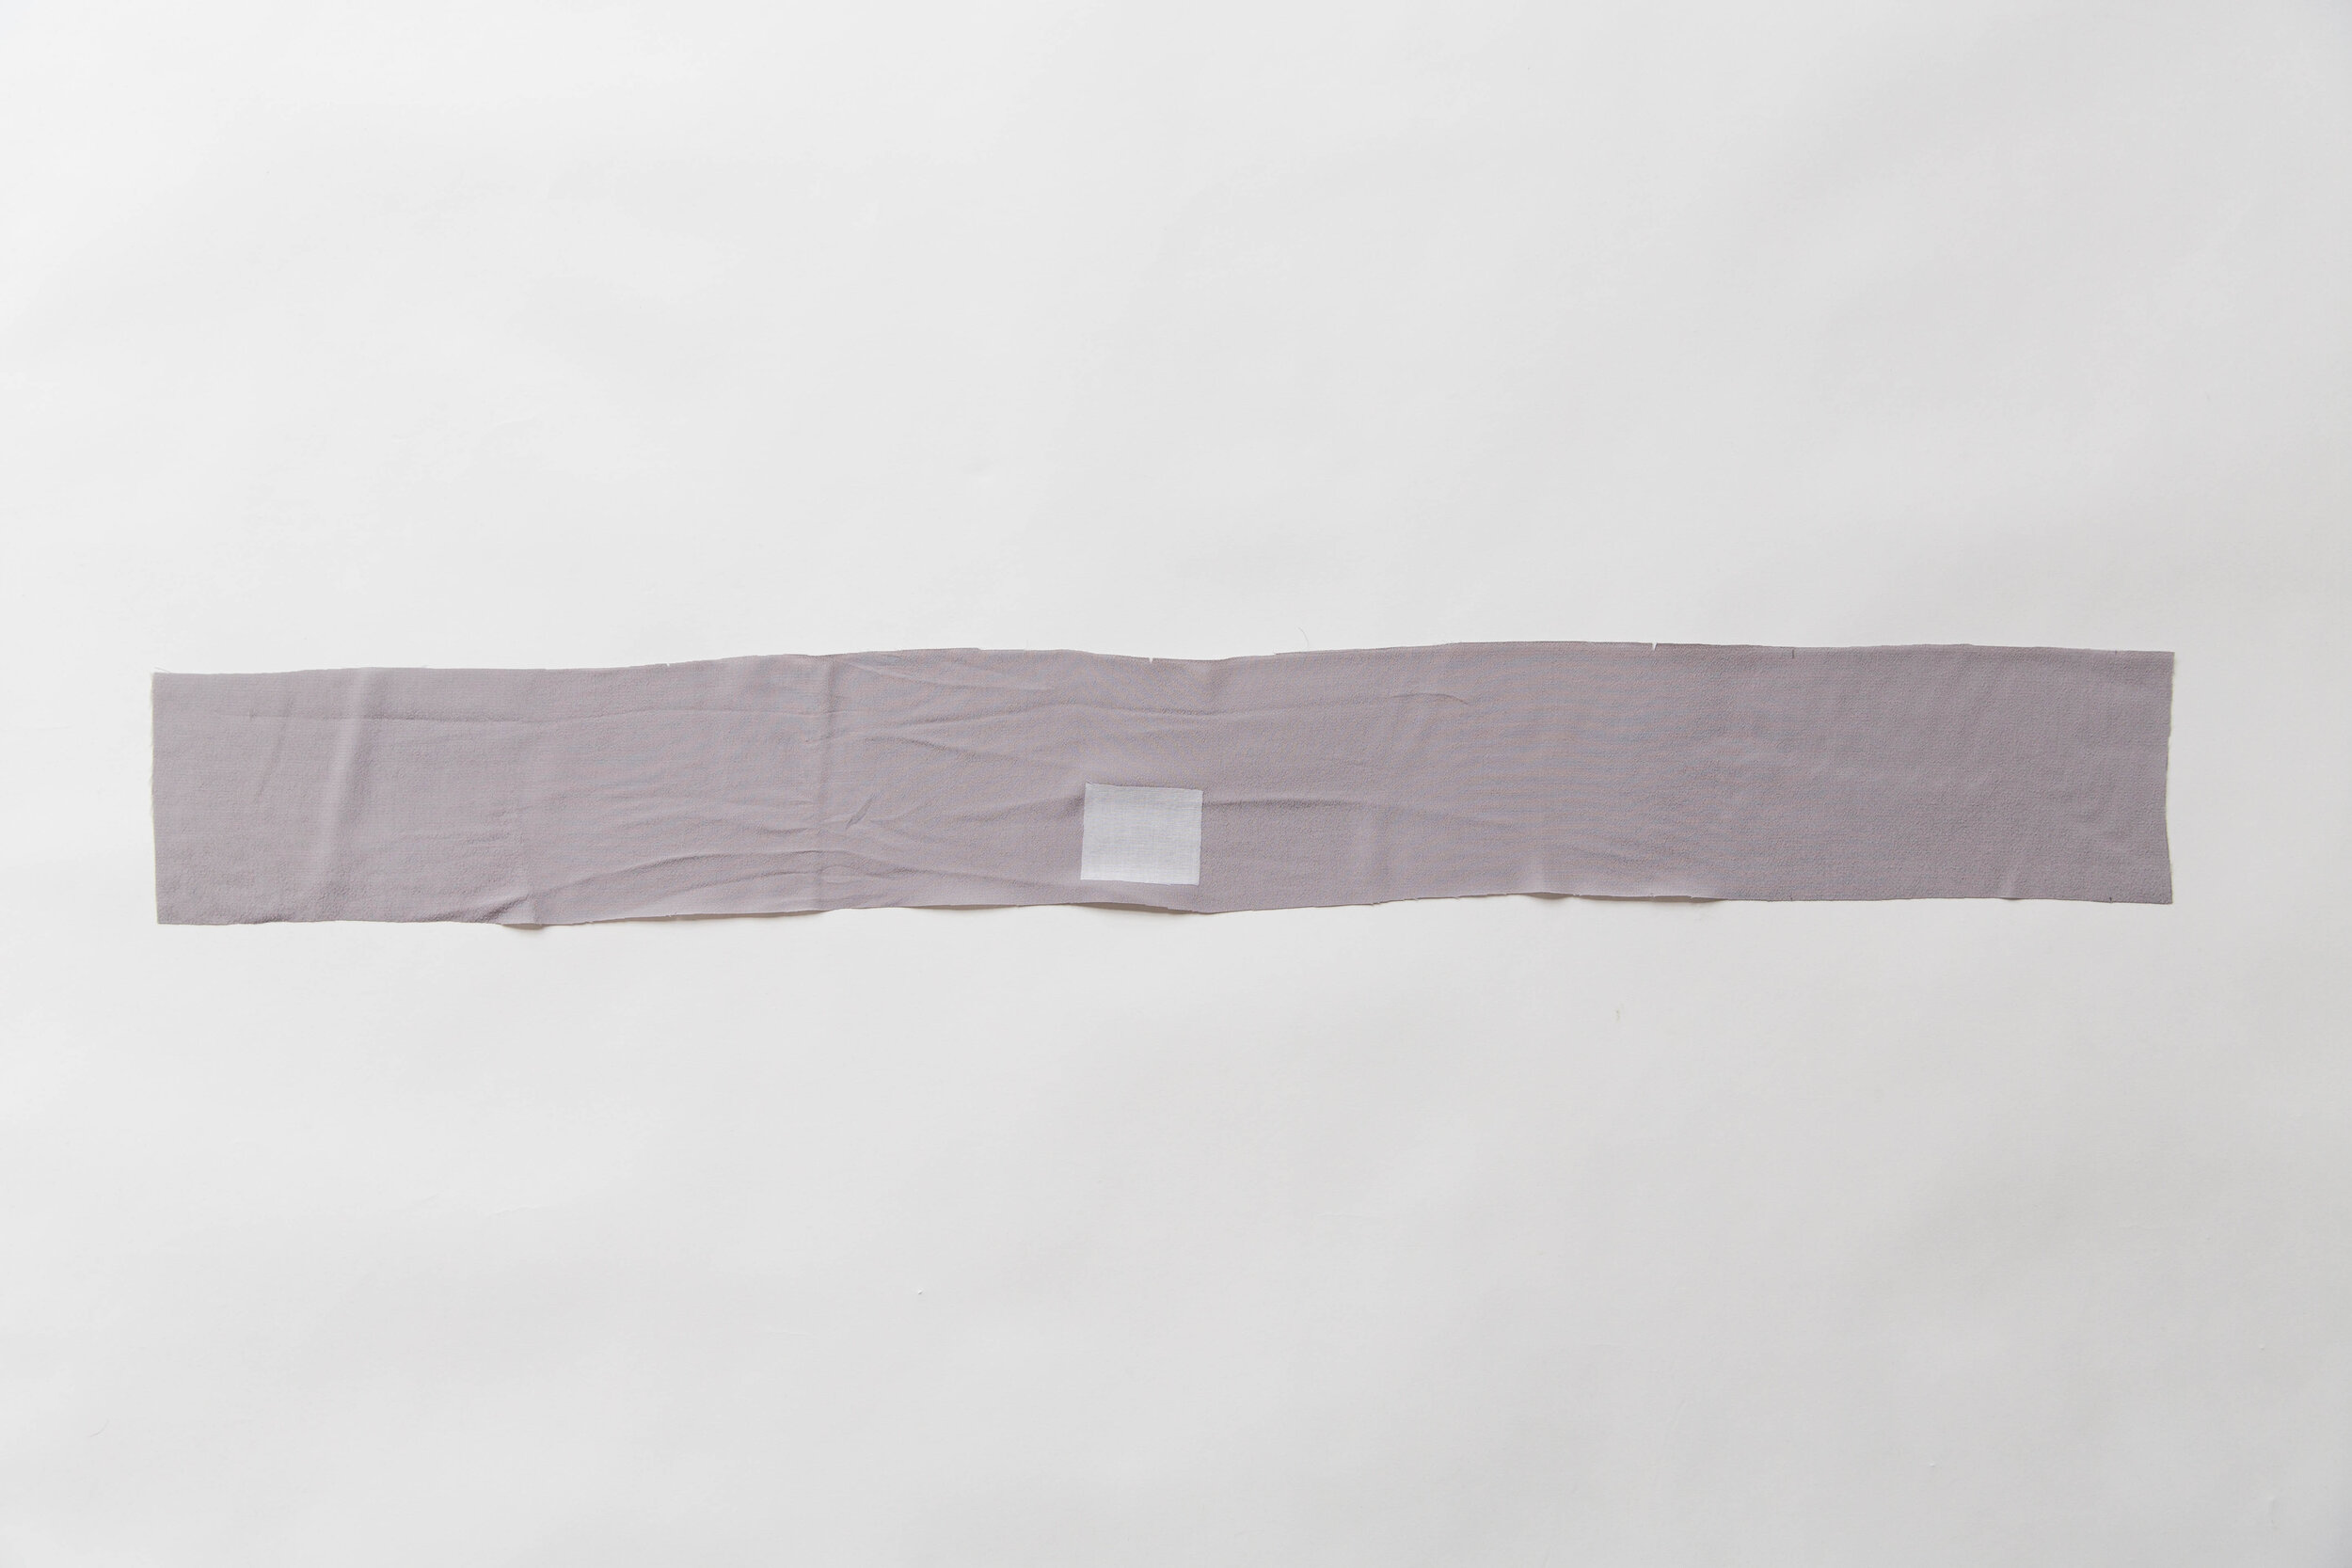
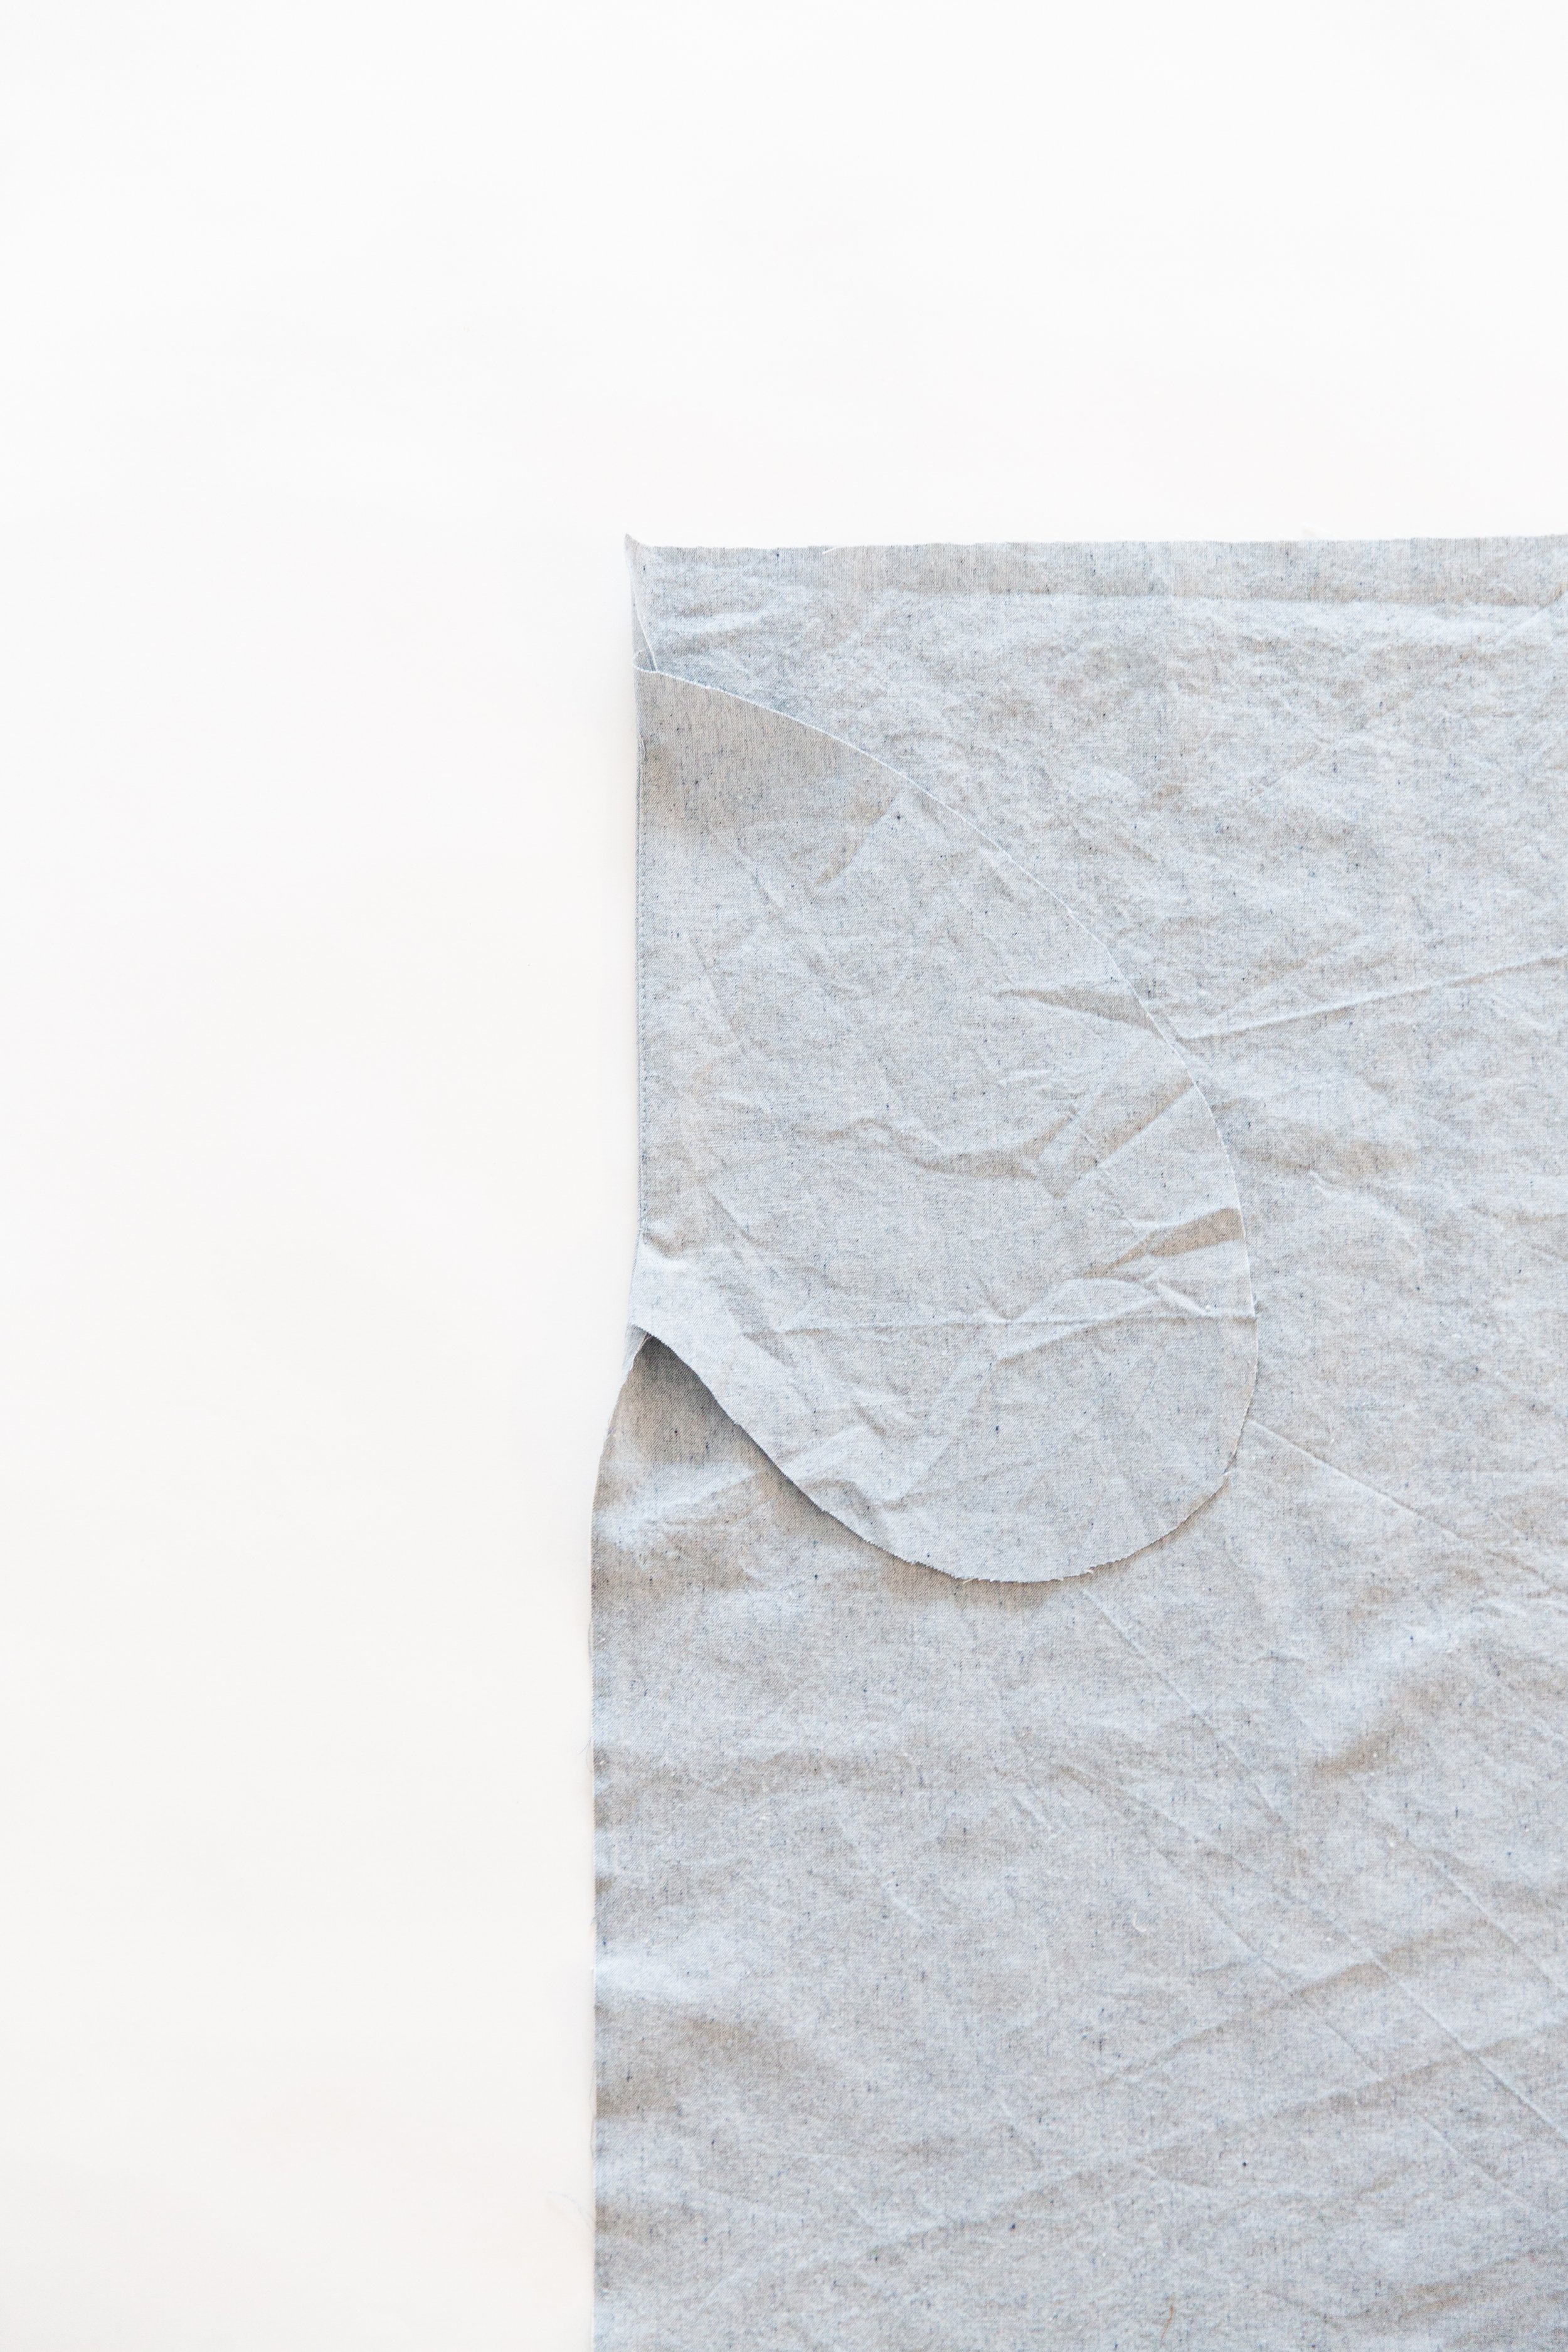
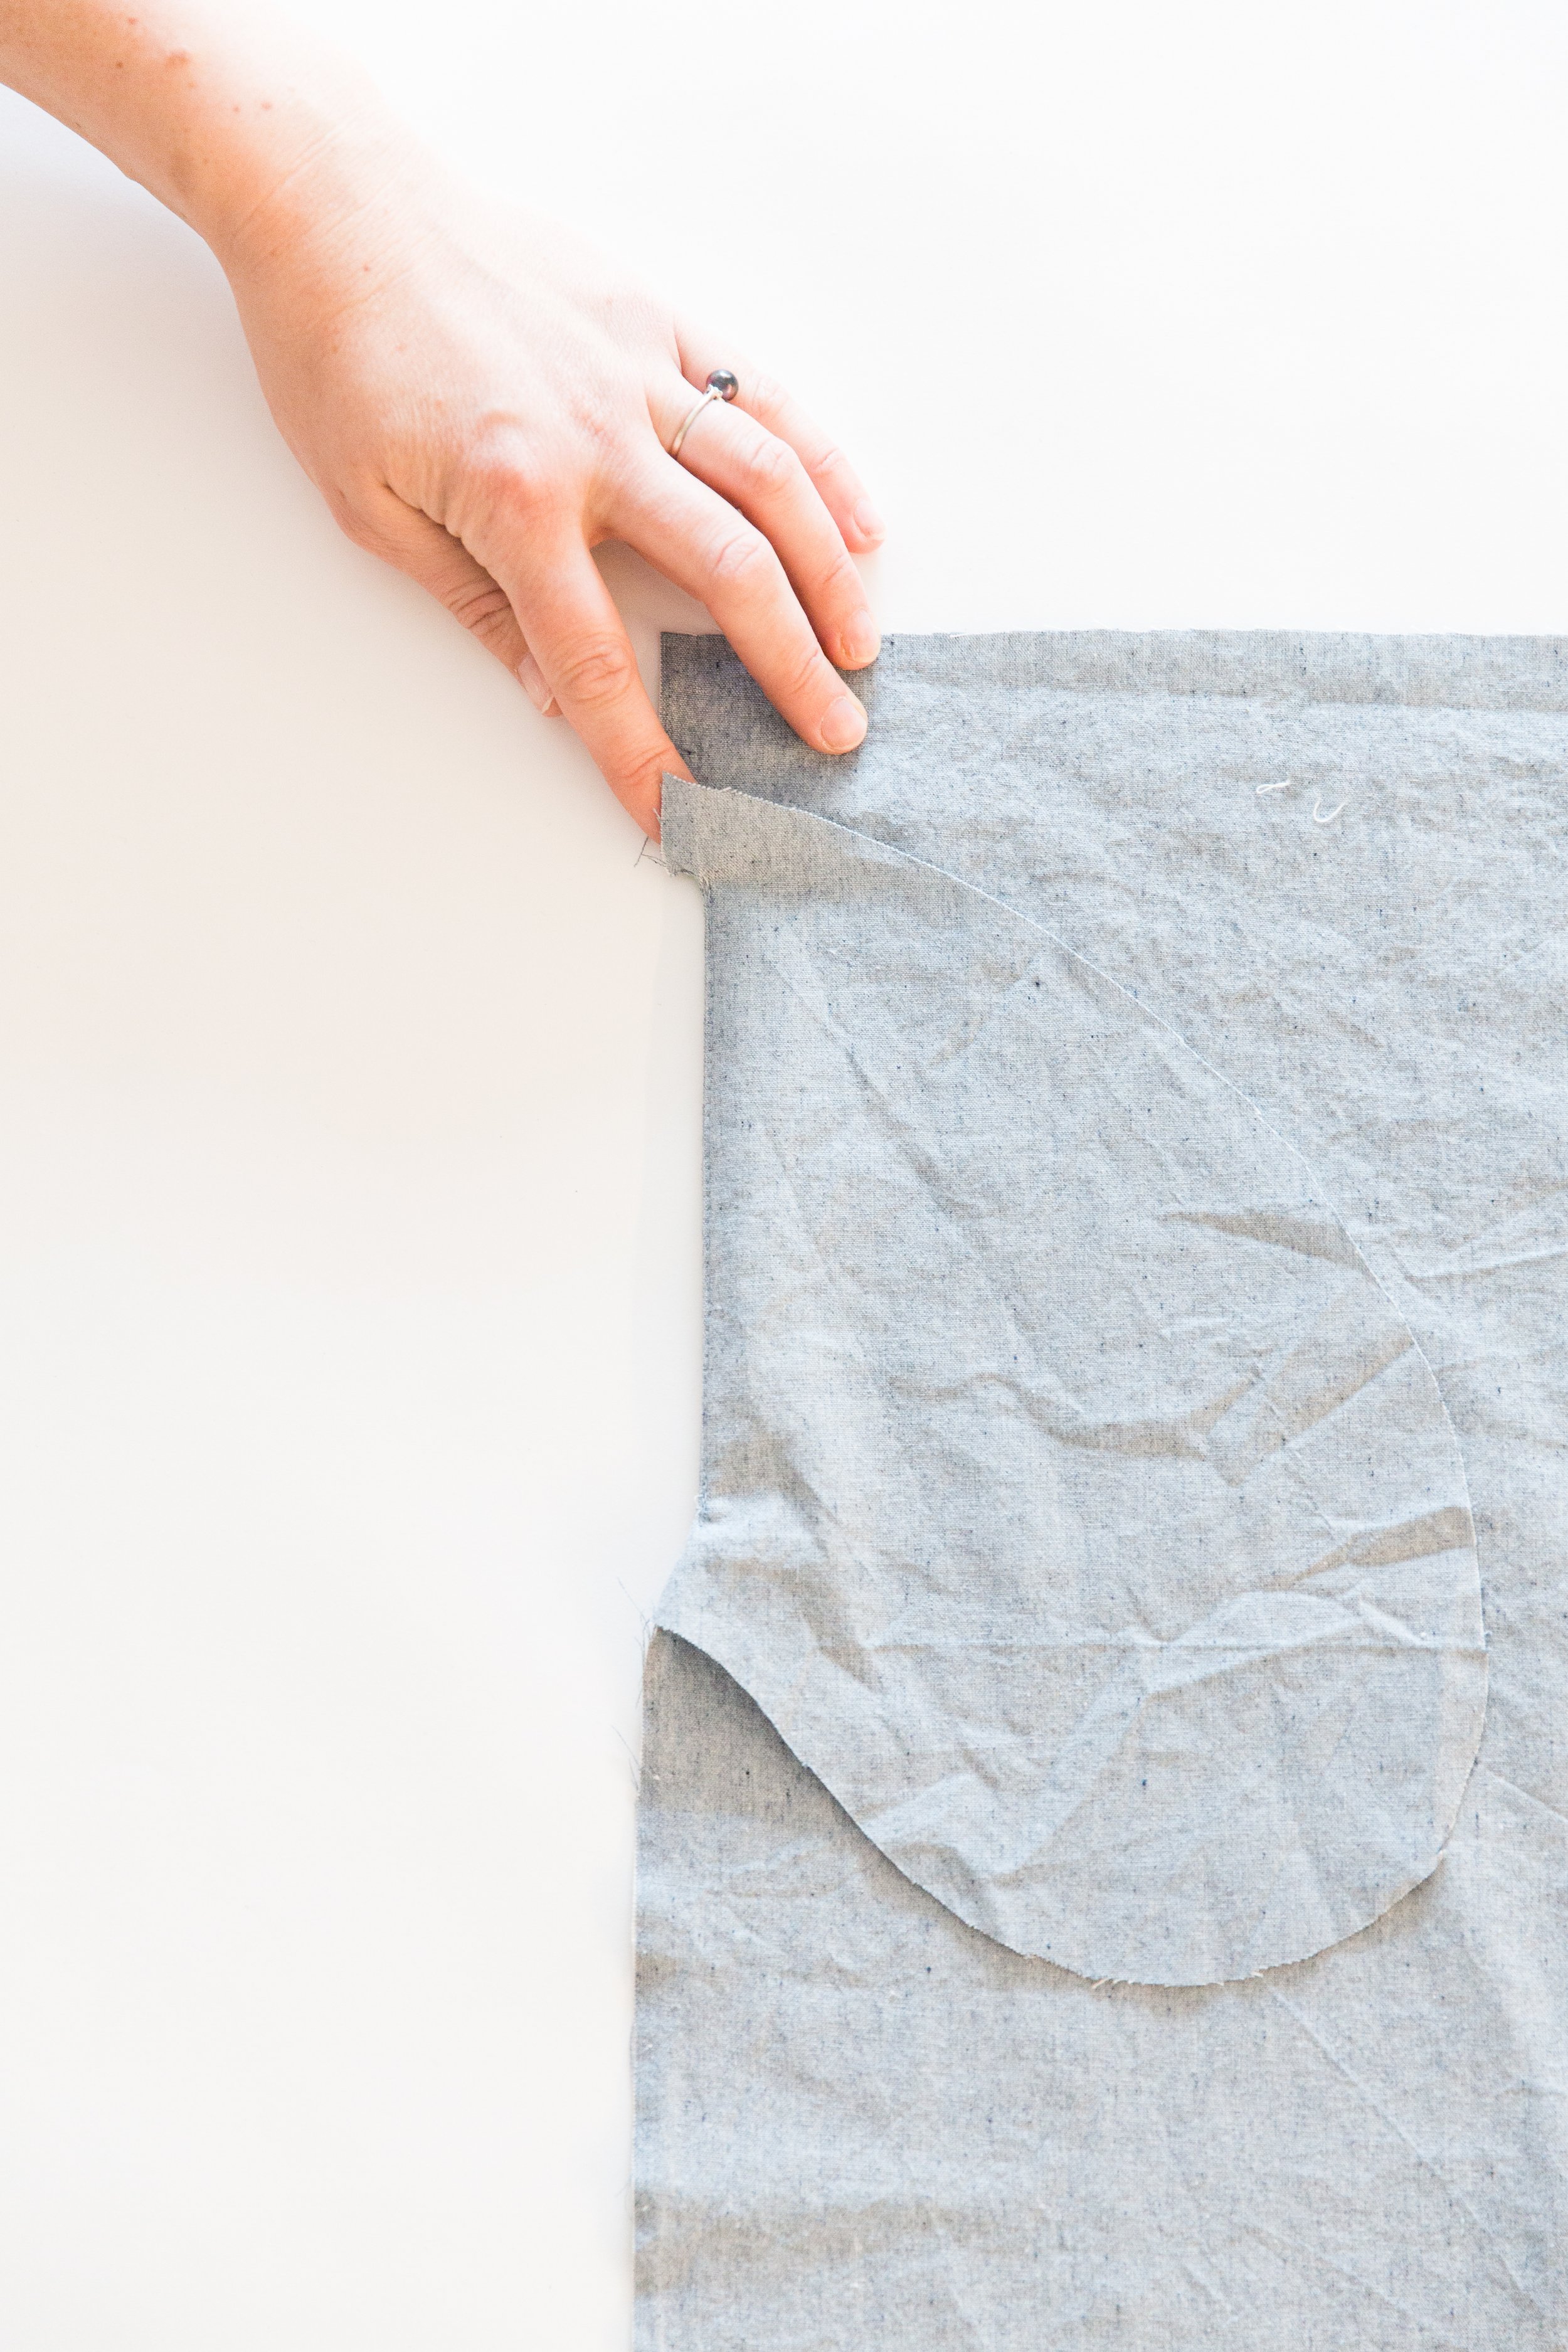
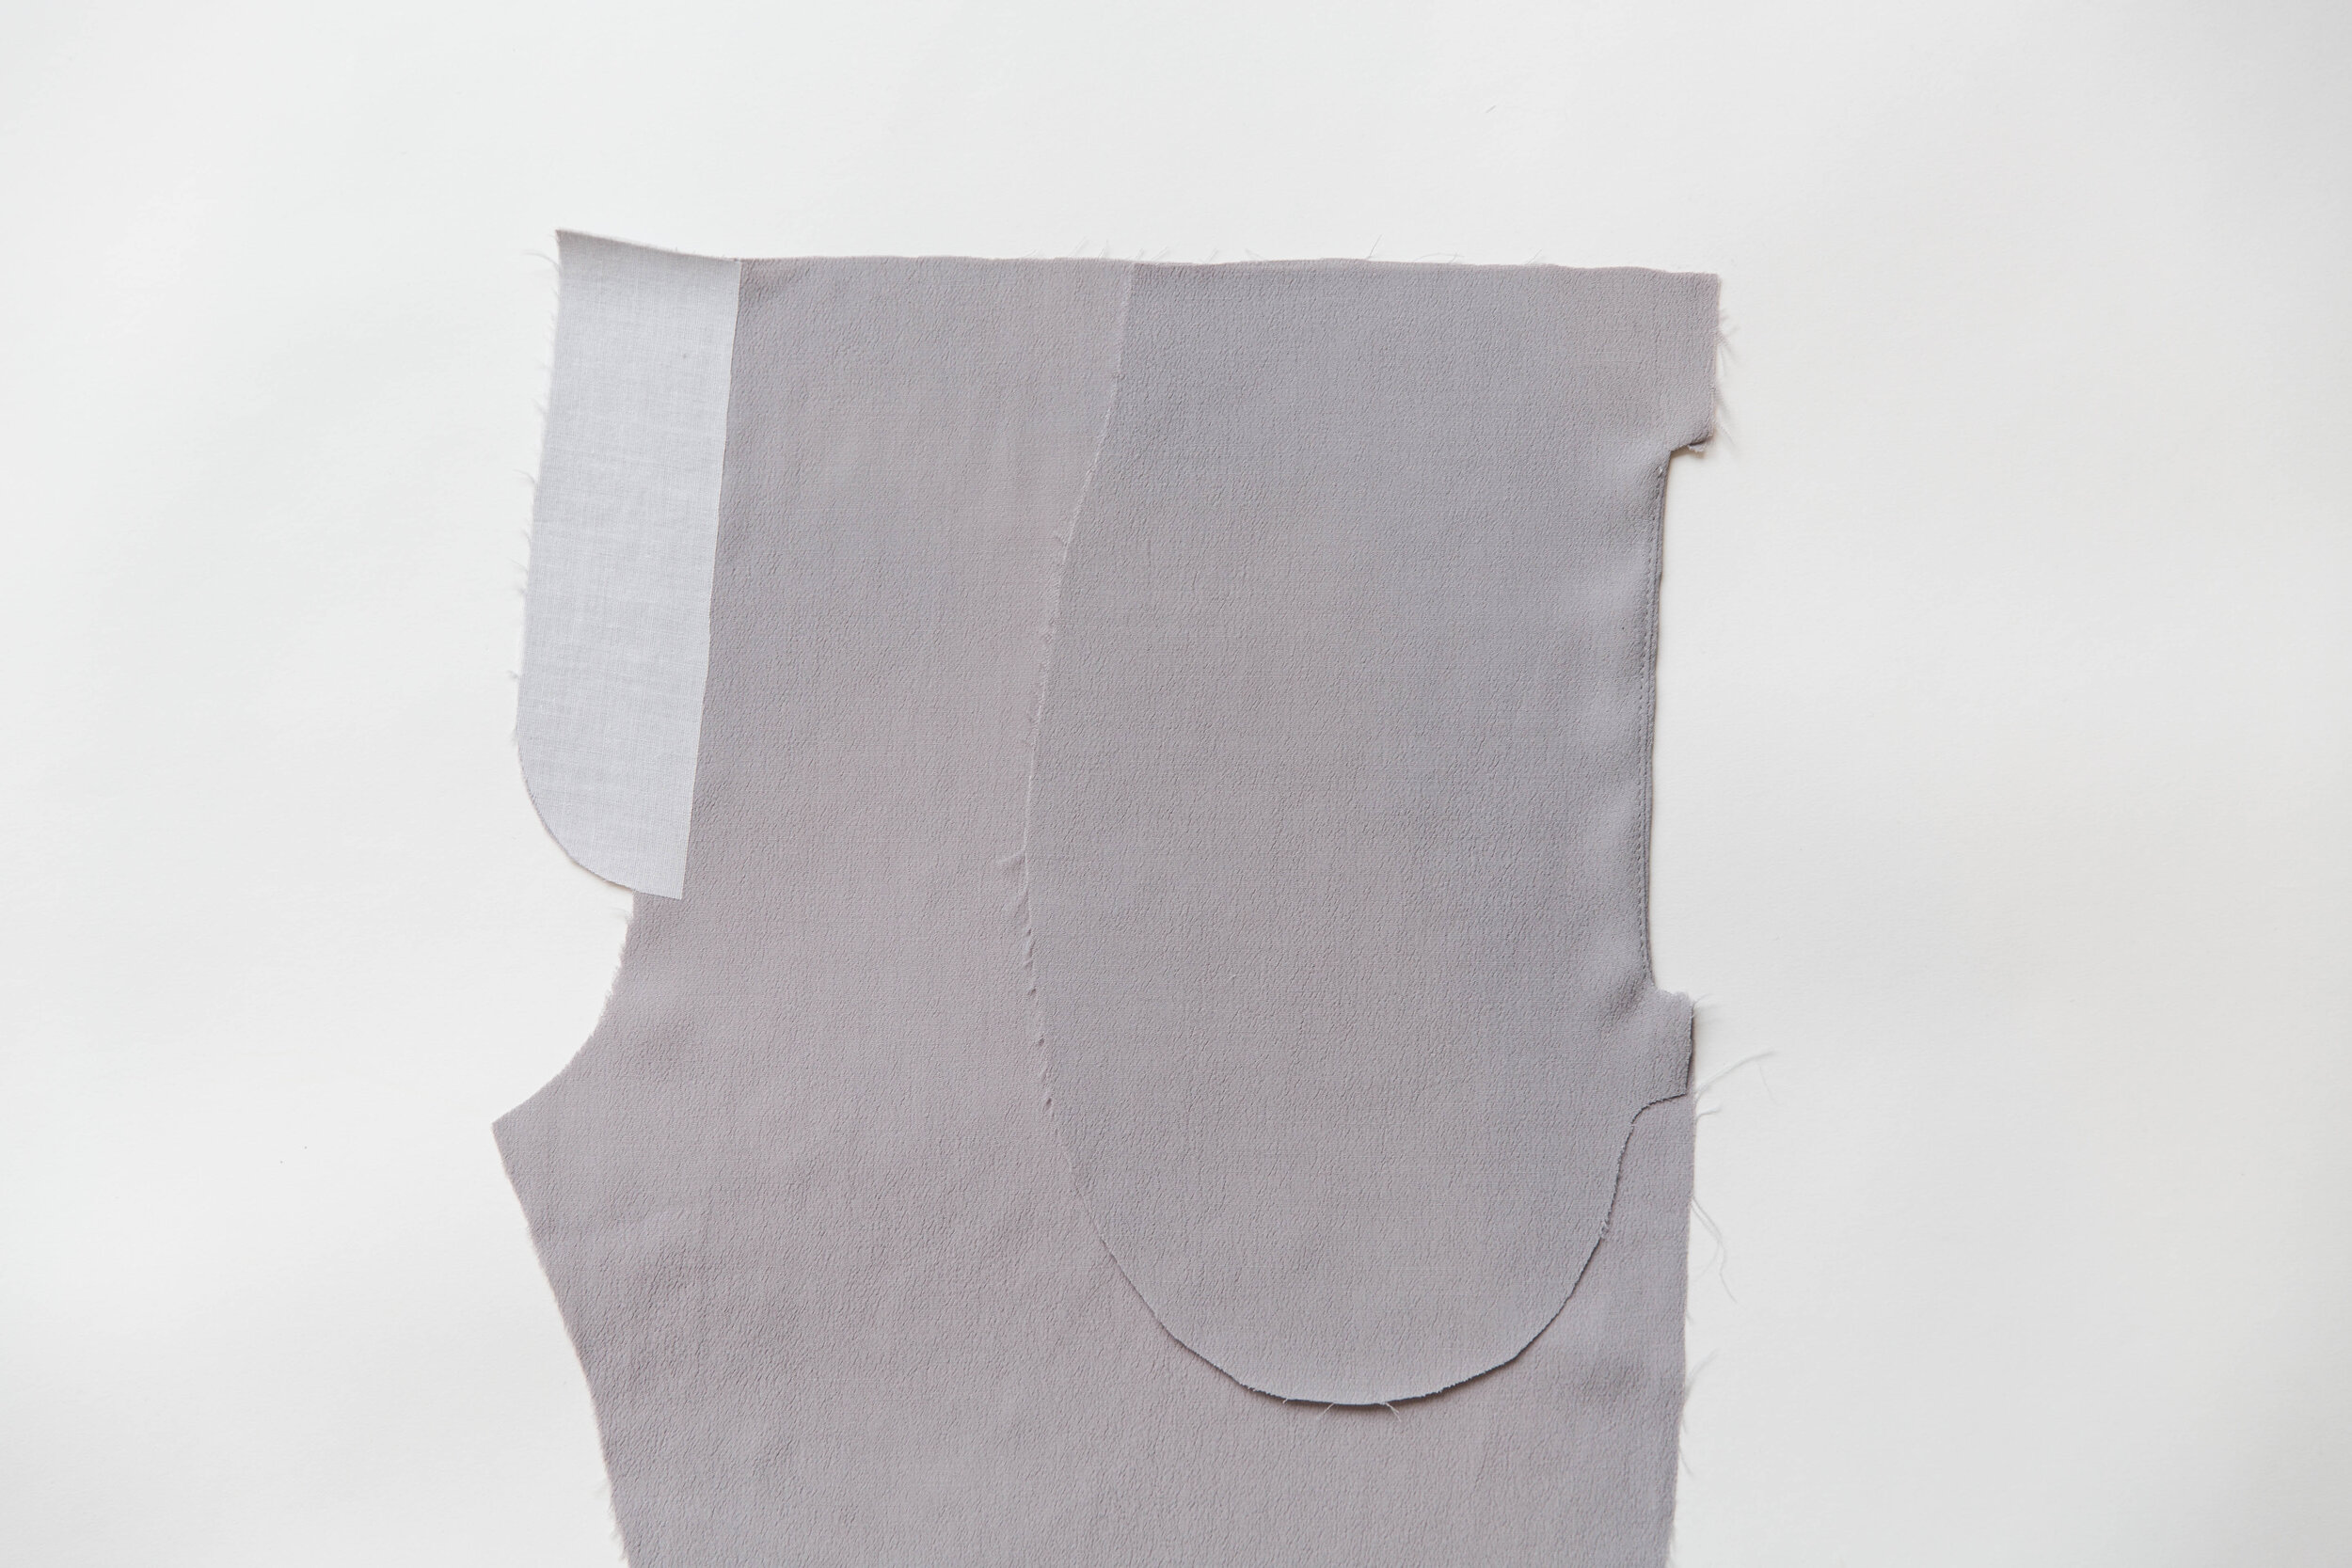
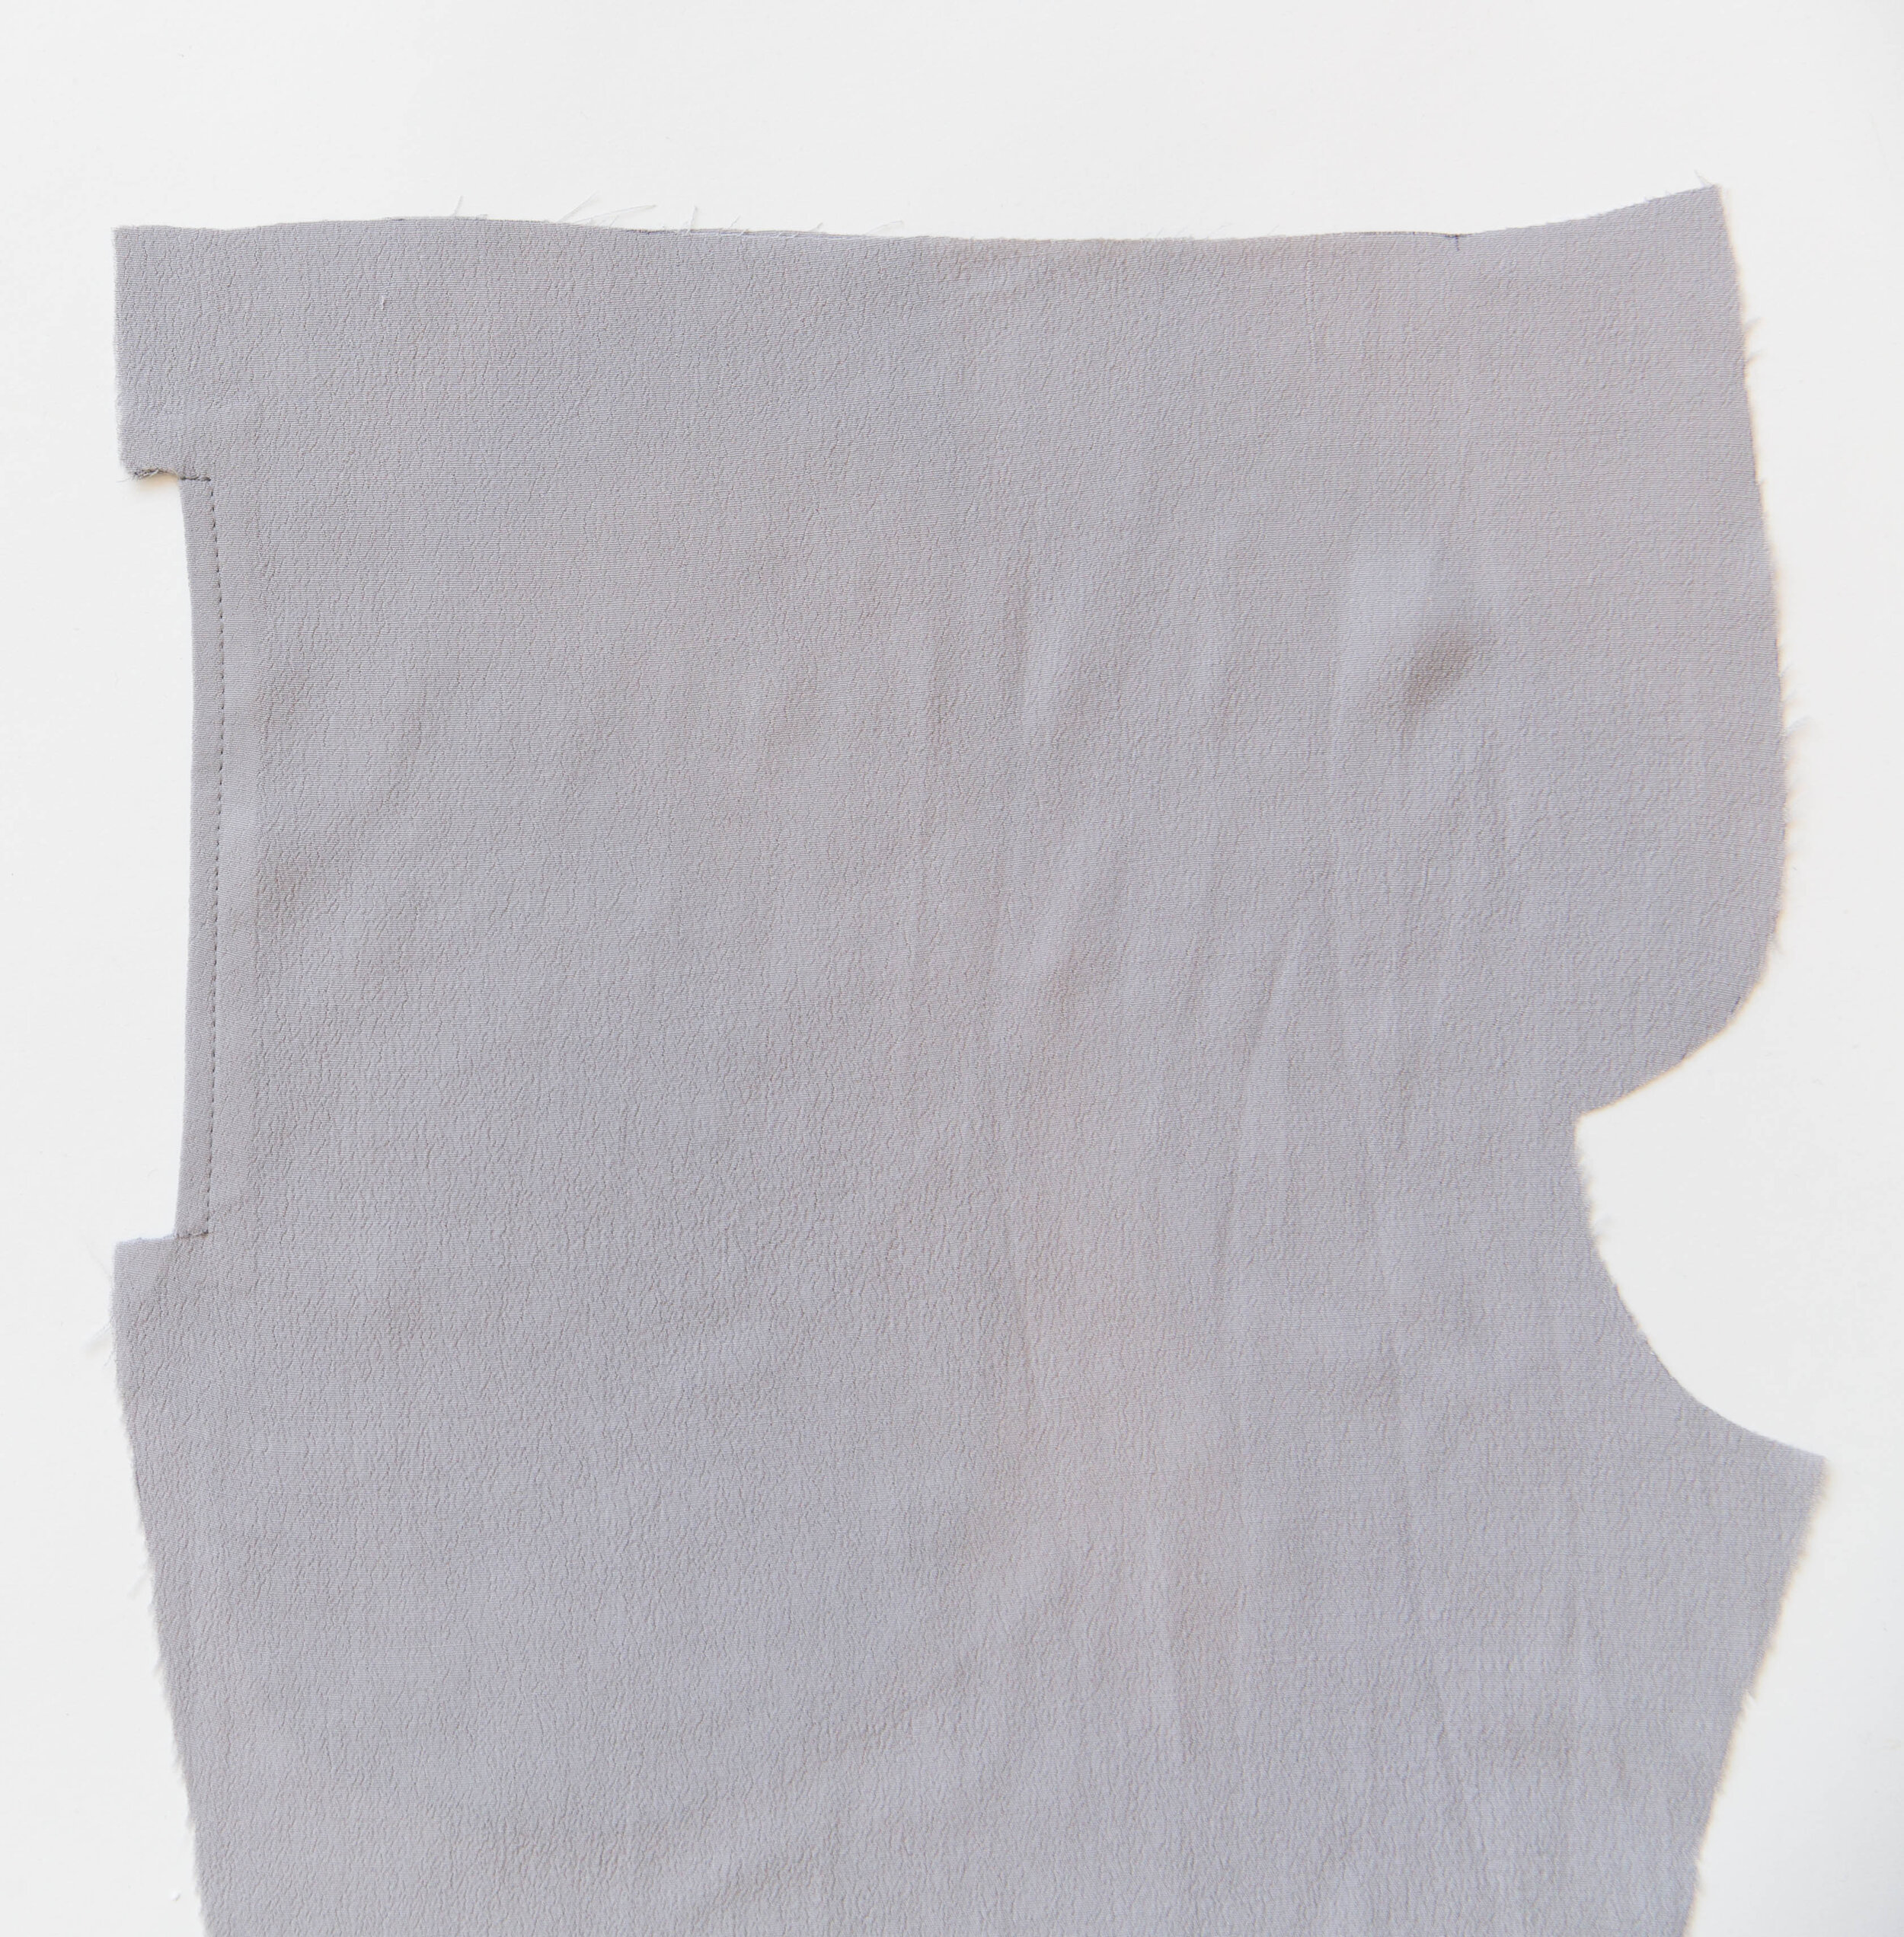
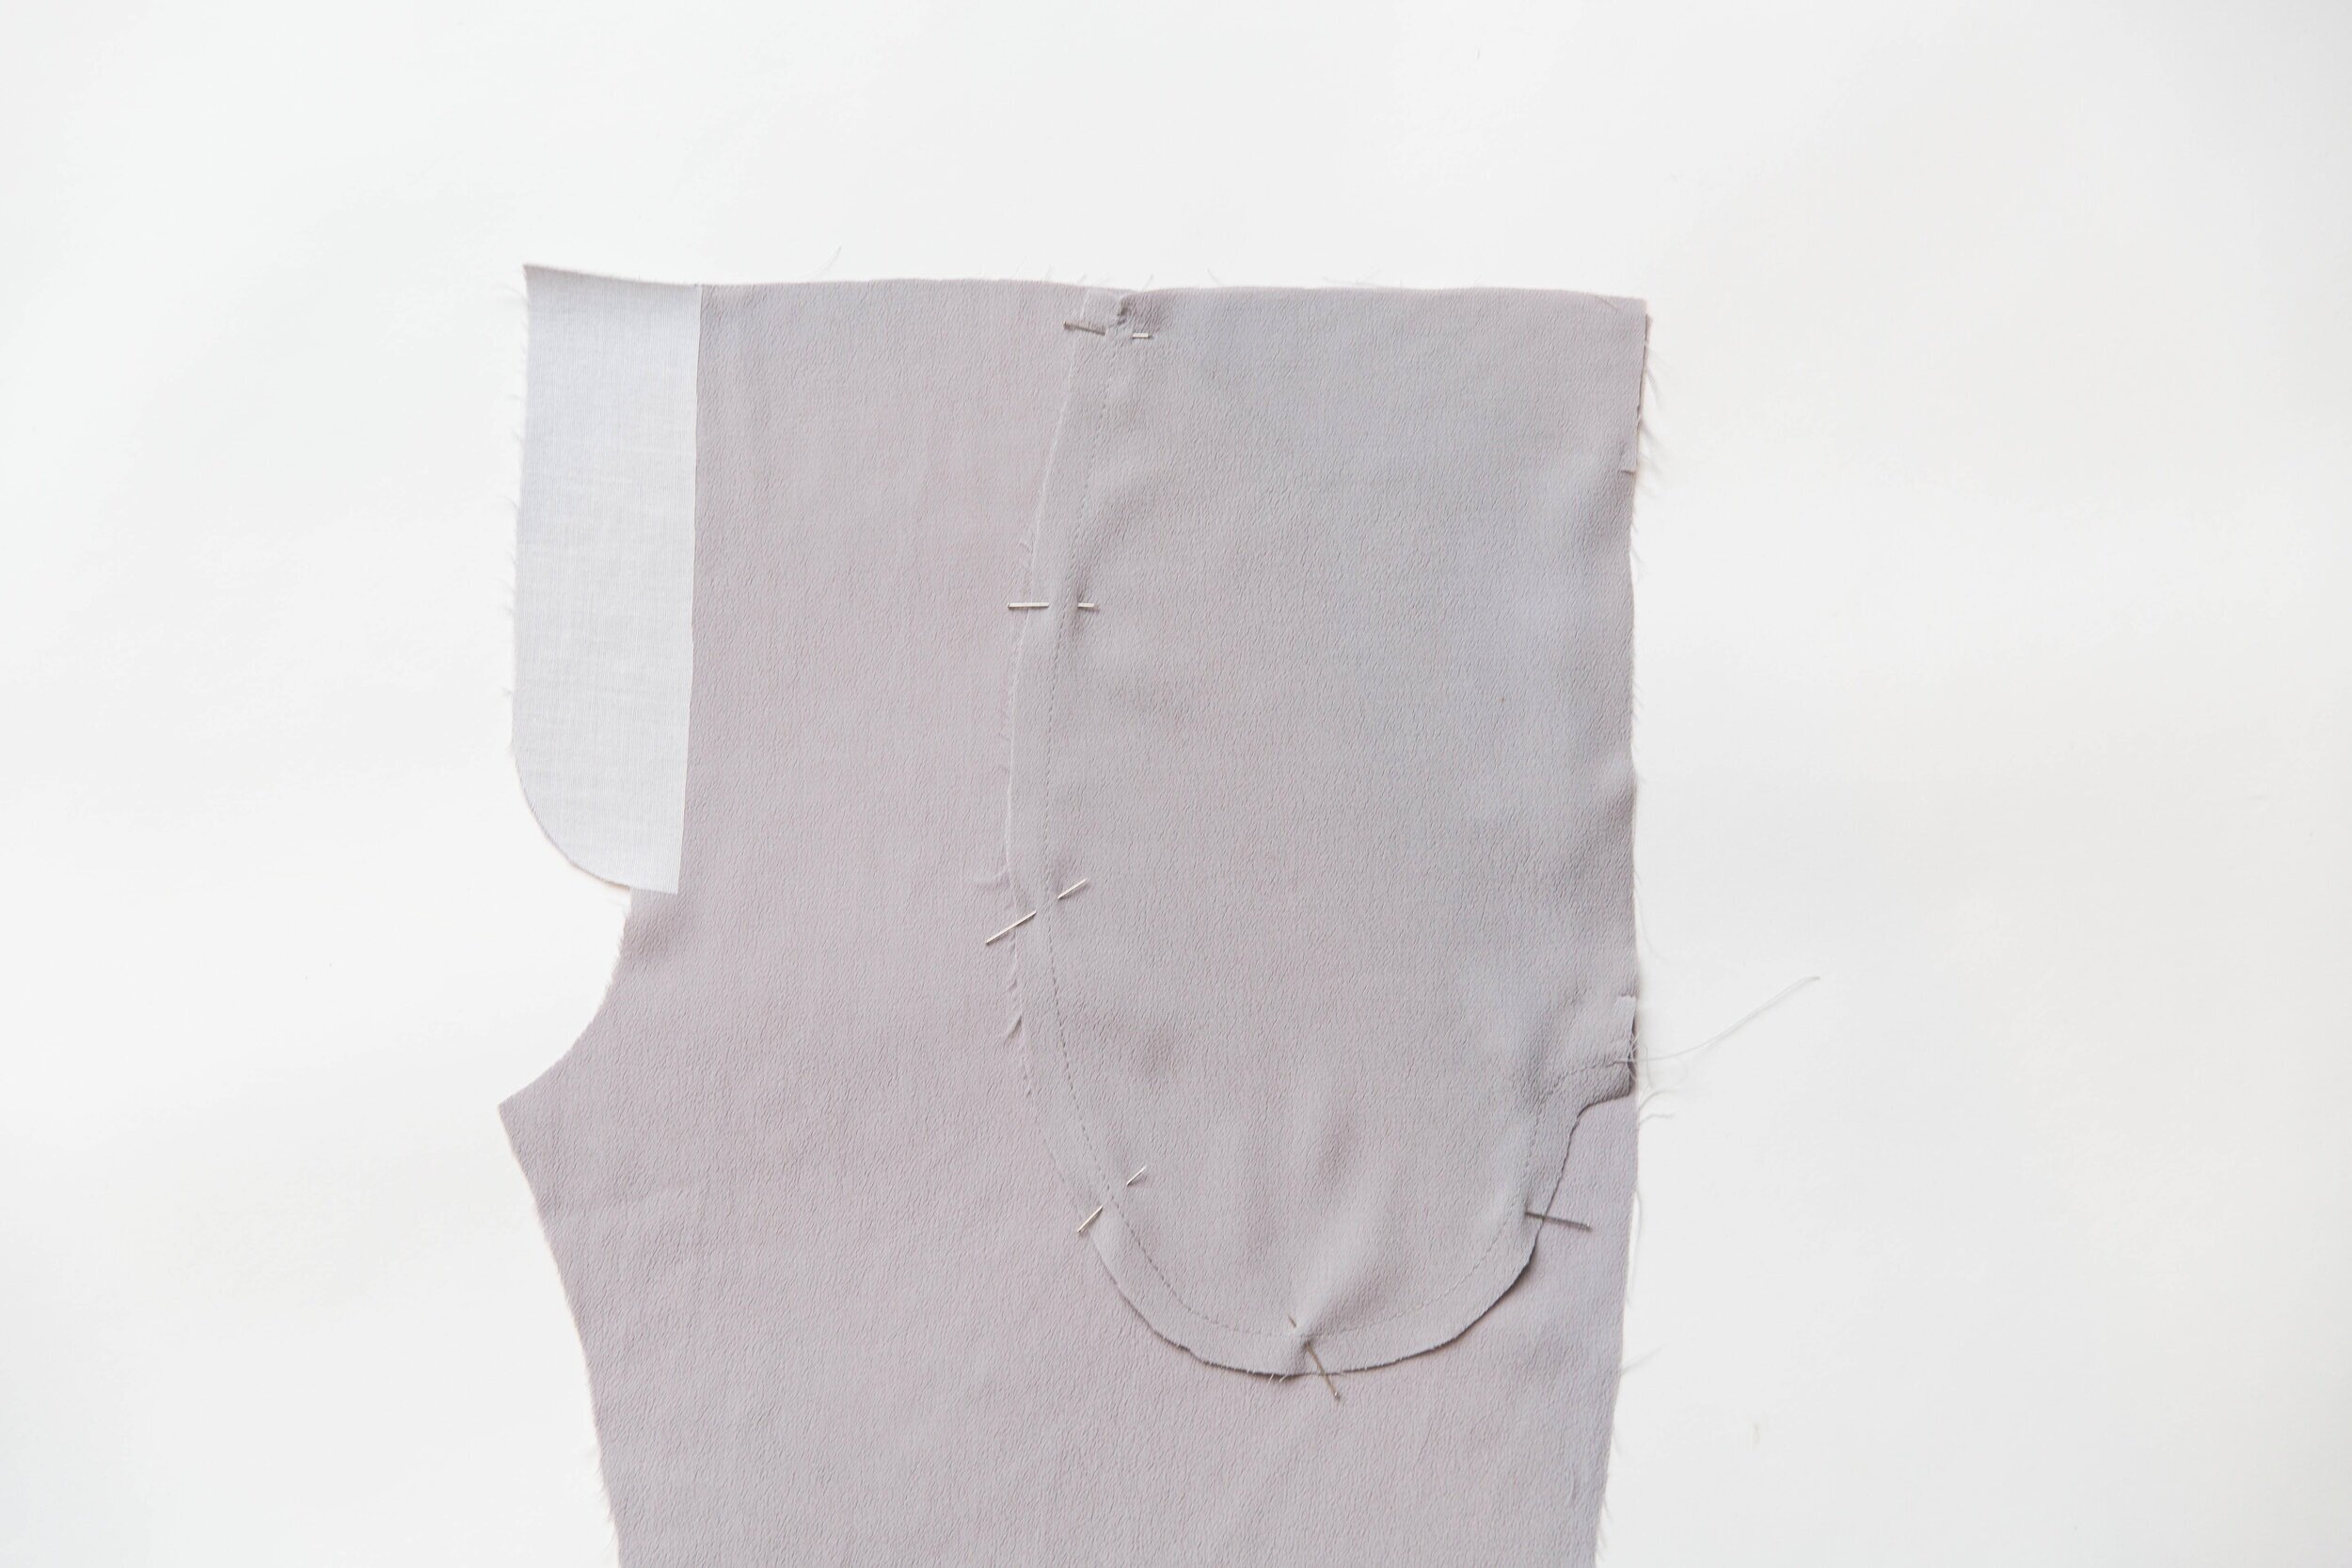
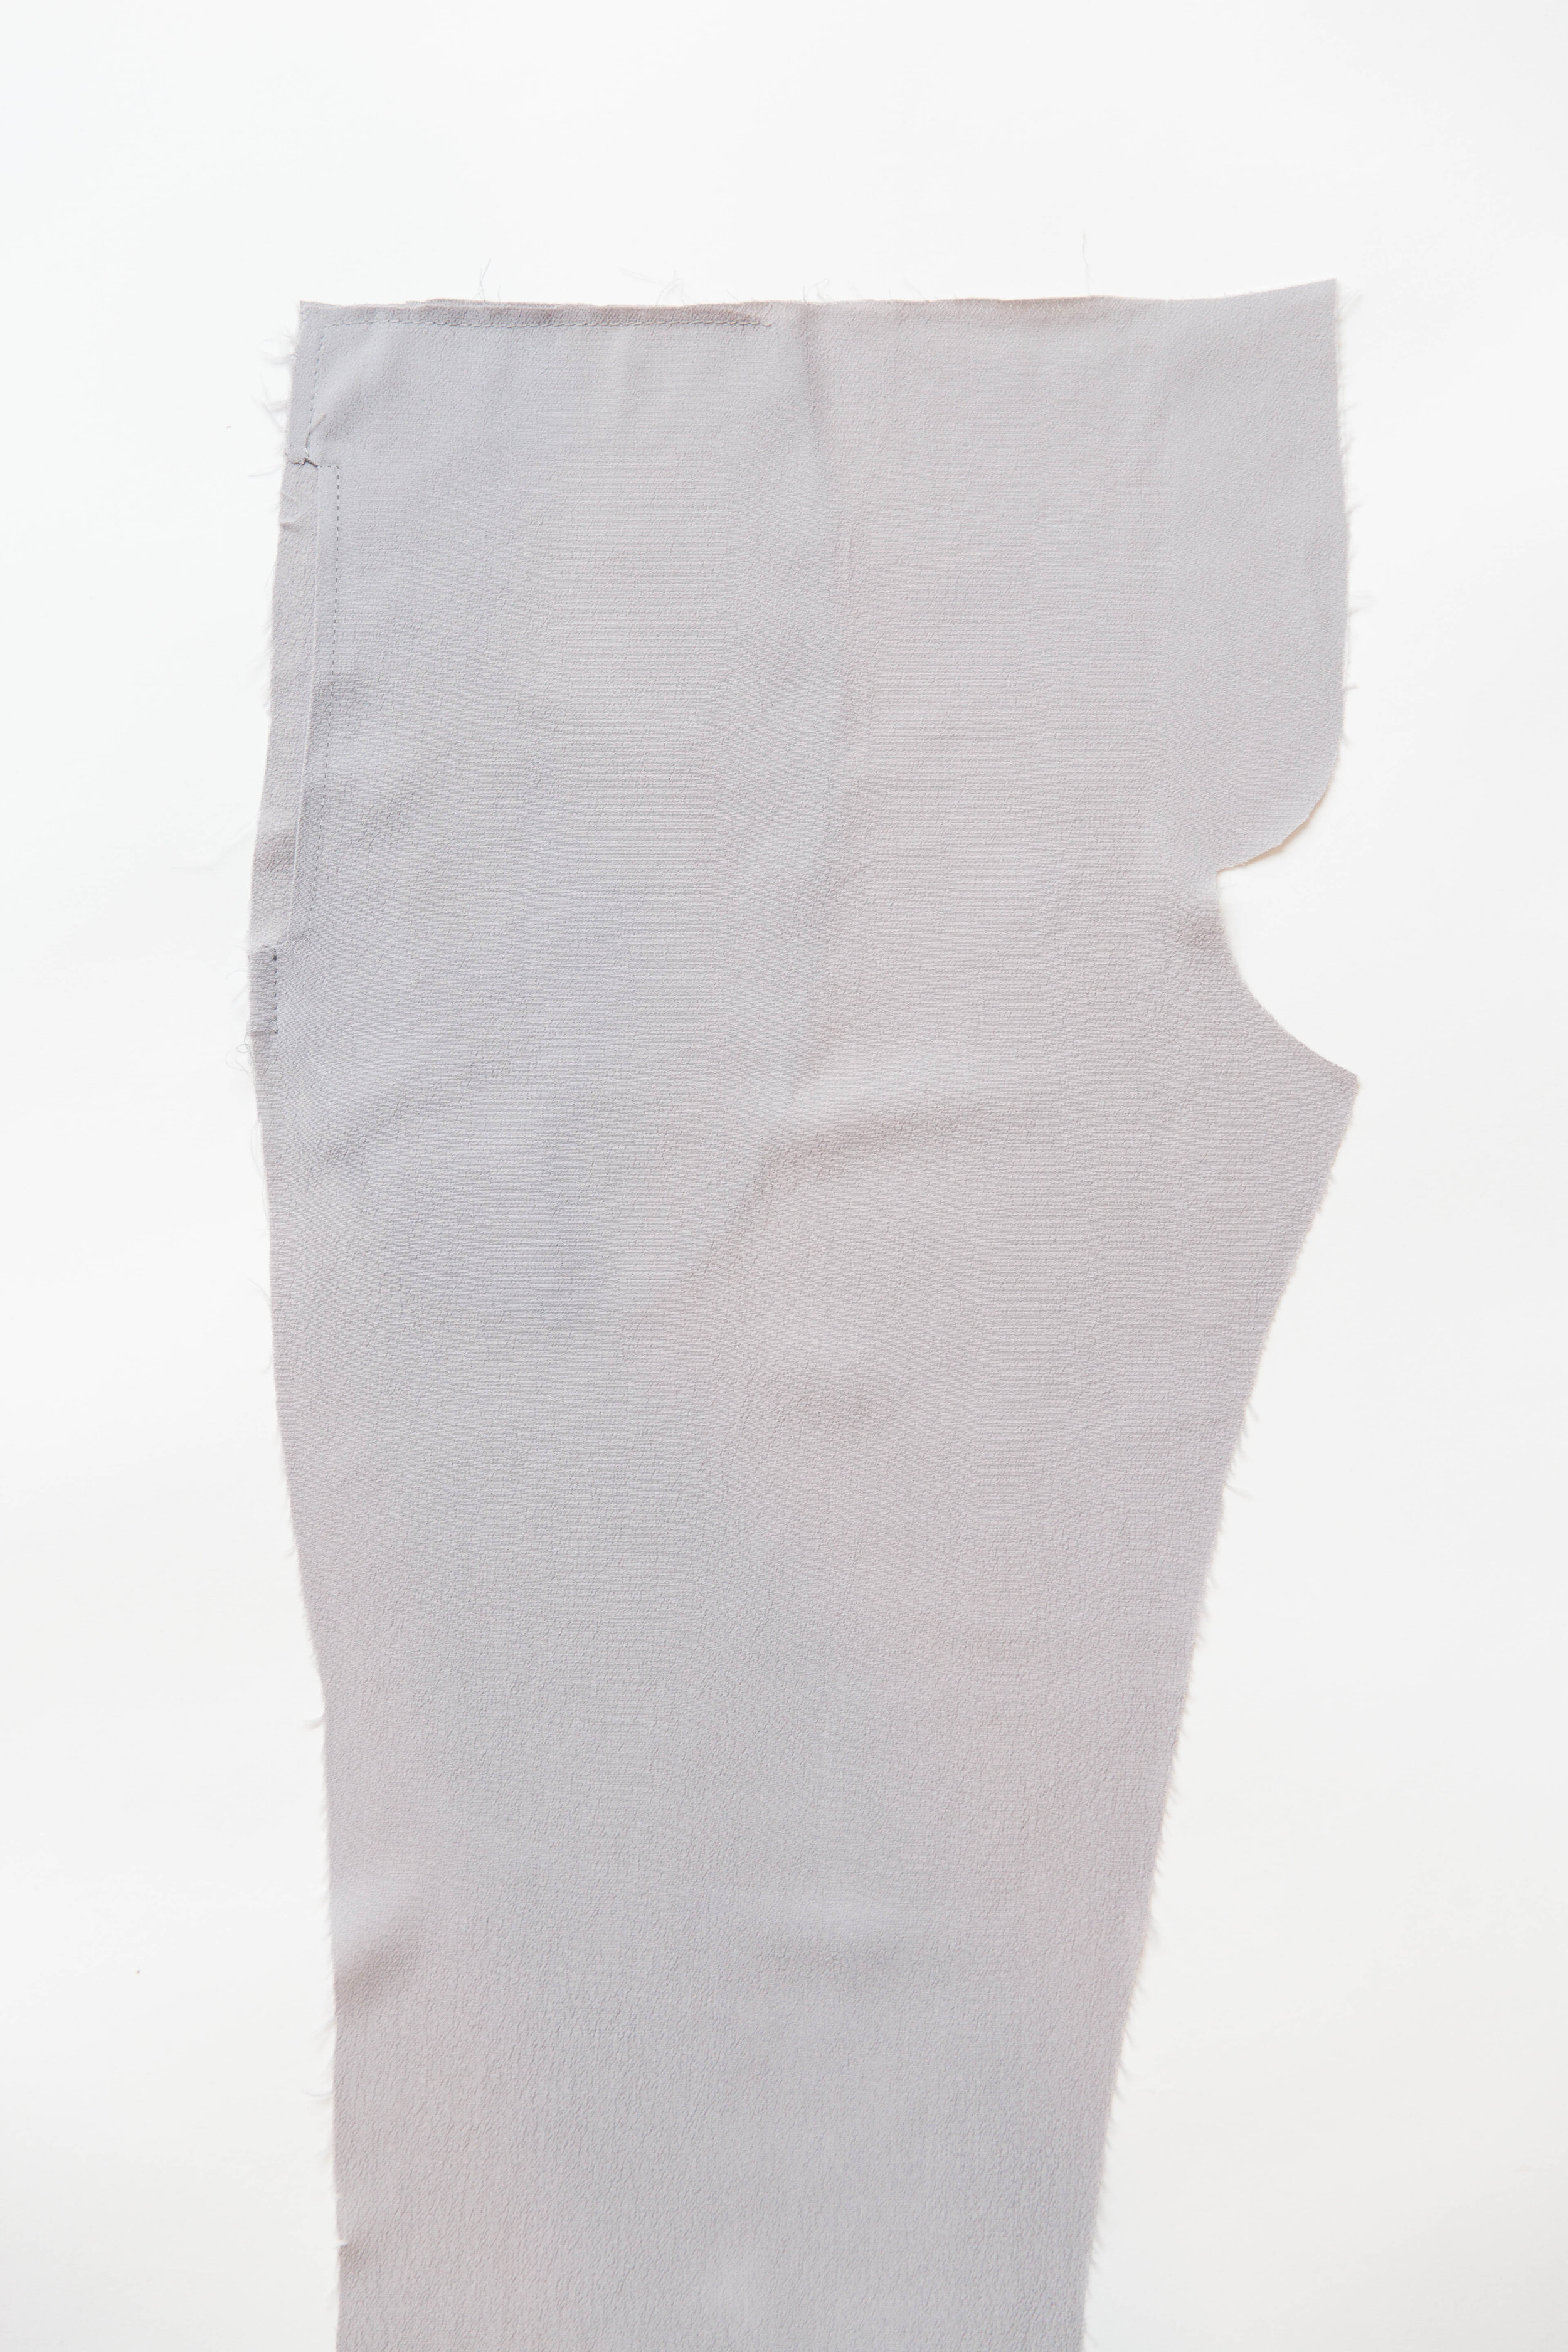
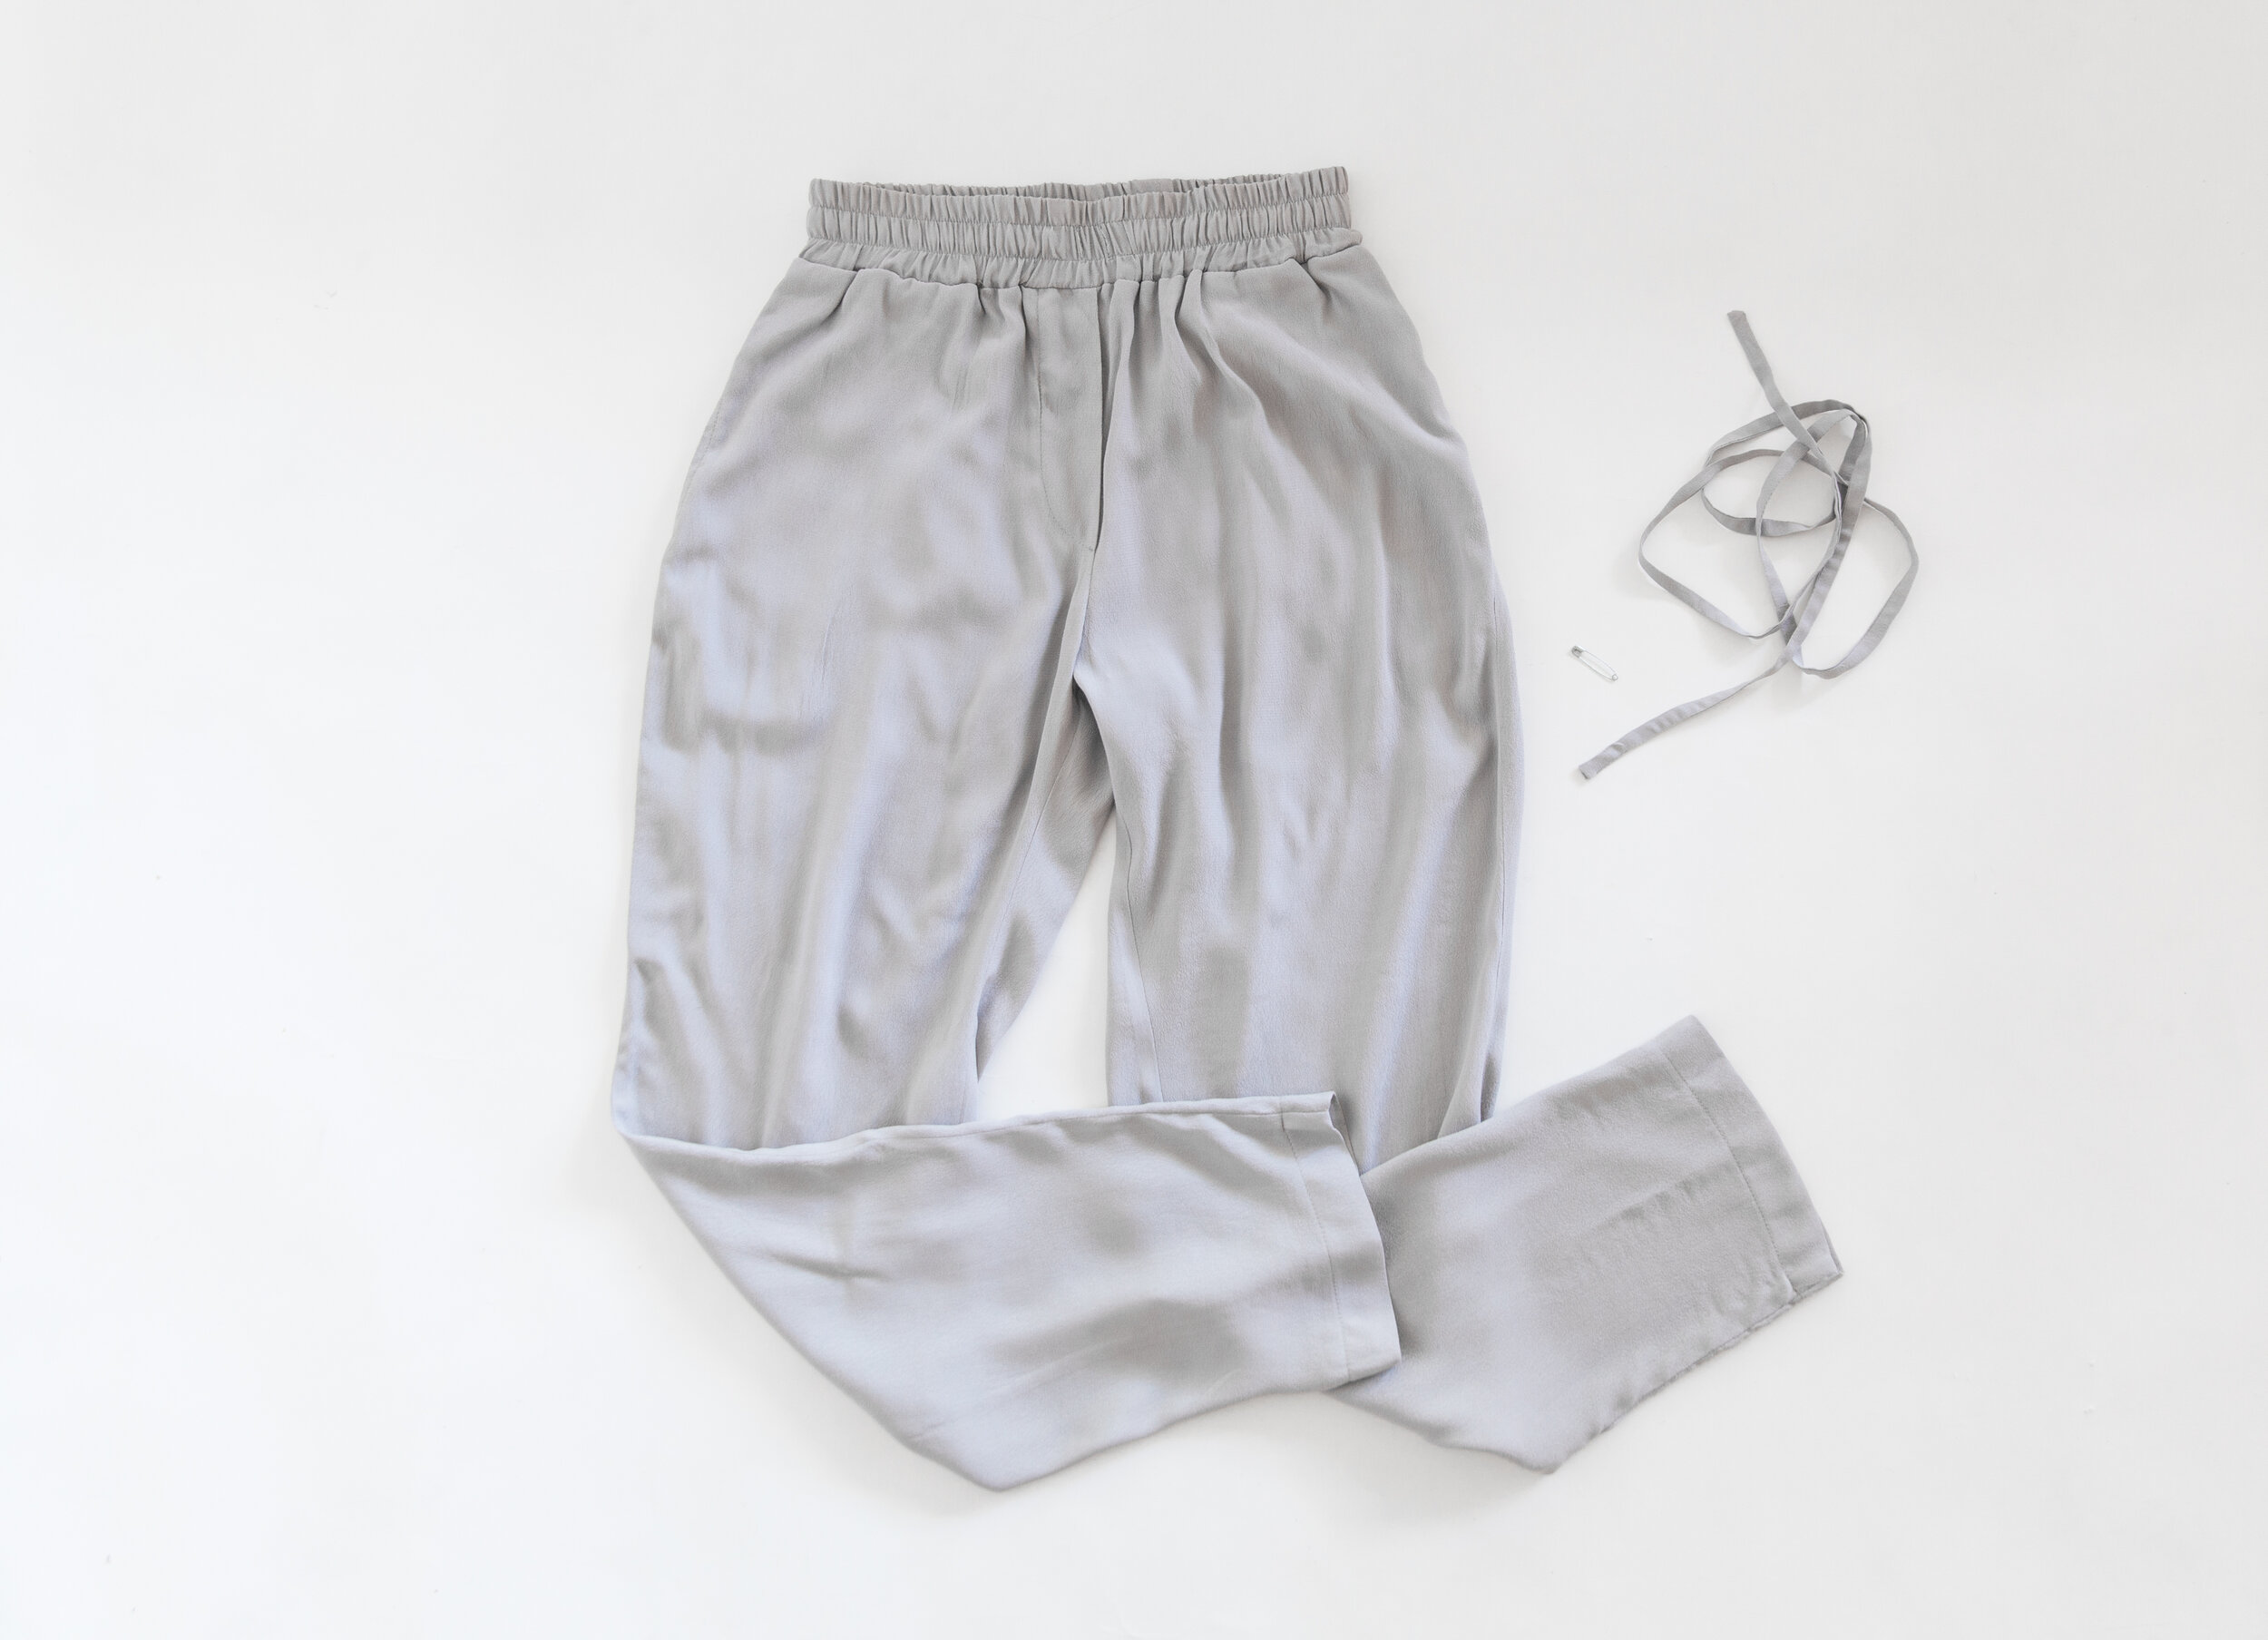
On the wrong side of your front pant piece, fuse the fly with fly fusing piece. Fuse the edge of pocket opening with pocket fusing piece. Place a small square of fusible interfacing over the buttonhole markings on the wrong side of waistband and press in place.
Step 1
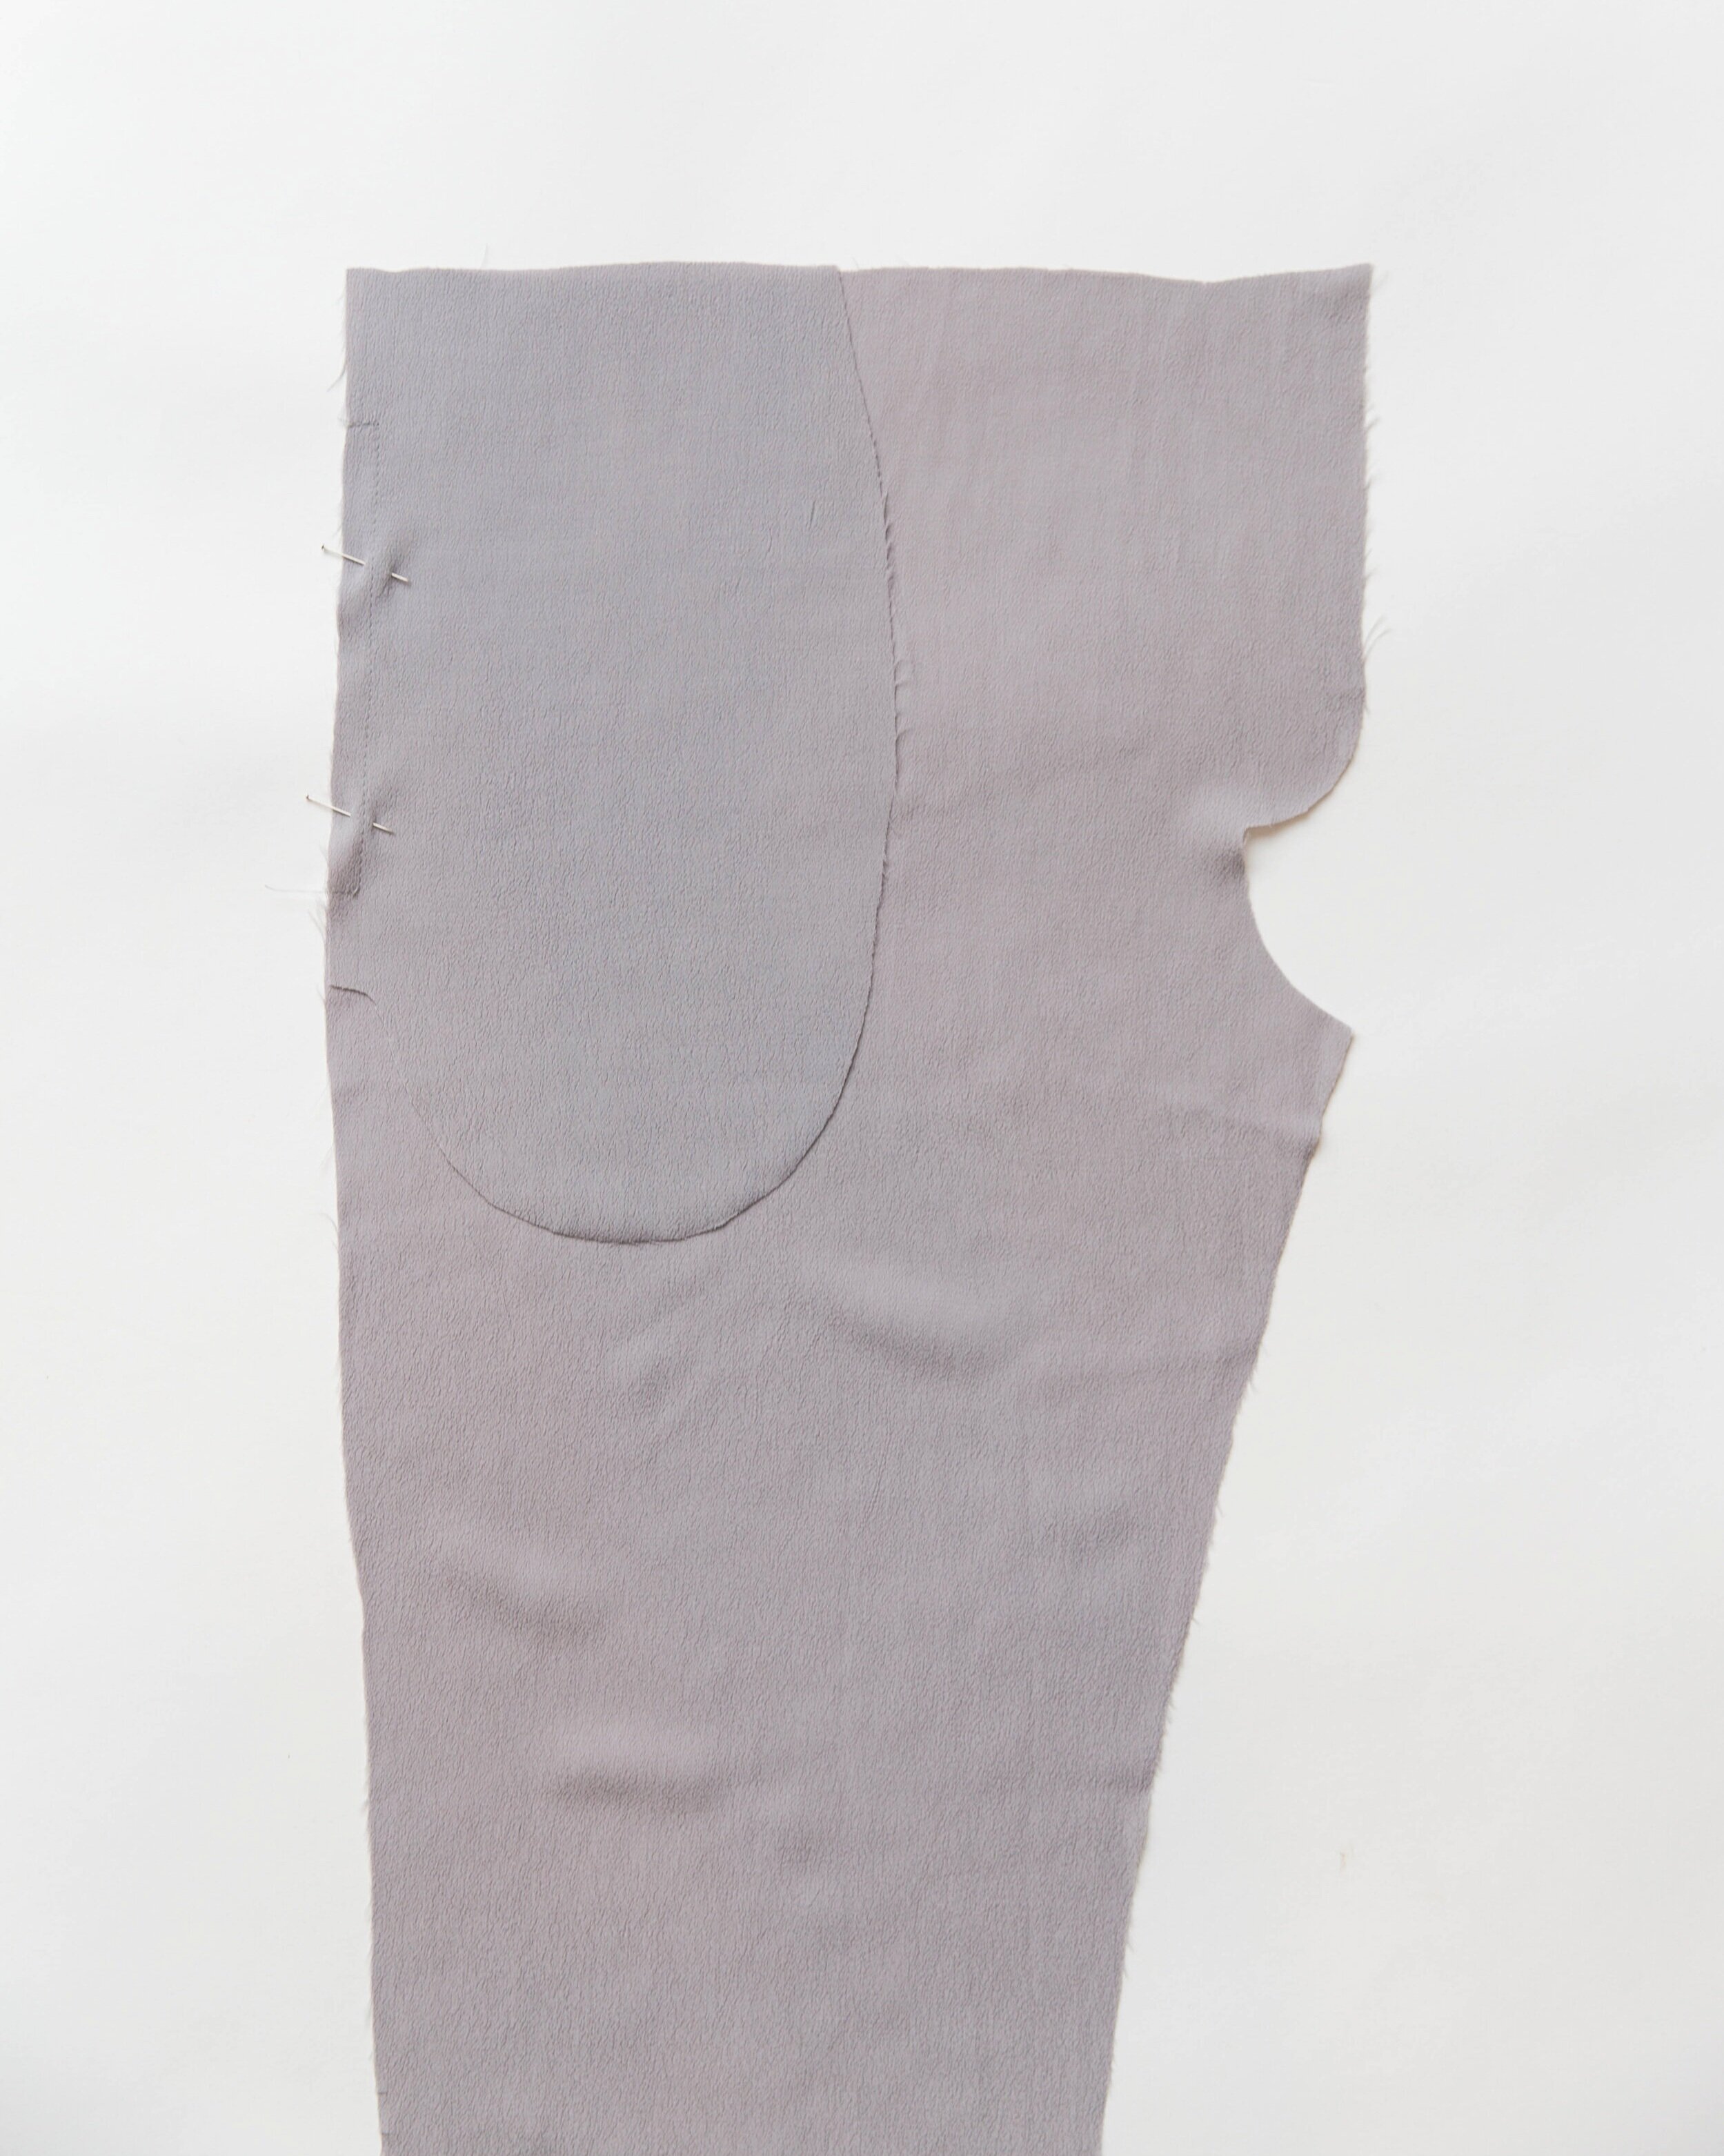
Place pocket bag on to front pant with right sides facing and match up notches. At the top notch on one side seam, stitch in 1.2cm/0.5”. With needle down, pivot your foot and stitch down to the second notch, then pivot your foot again and stitch out to the side seam. Clip into corners, being careful not to cut through your stitches. Understitch seam allowance toward pocket bag along pocket opening. Press.
Step 2
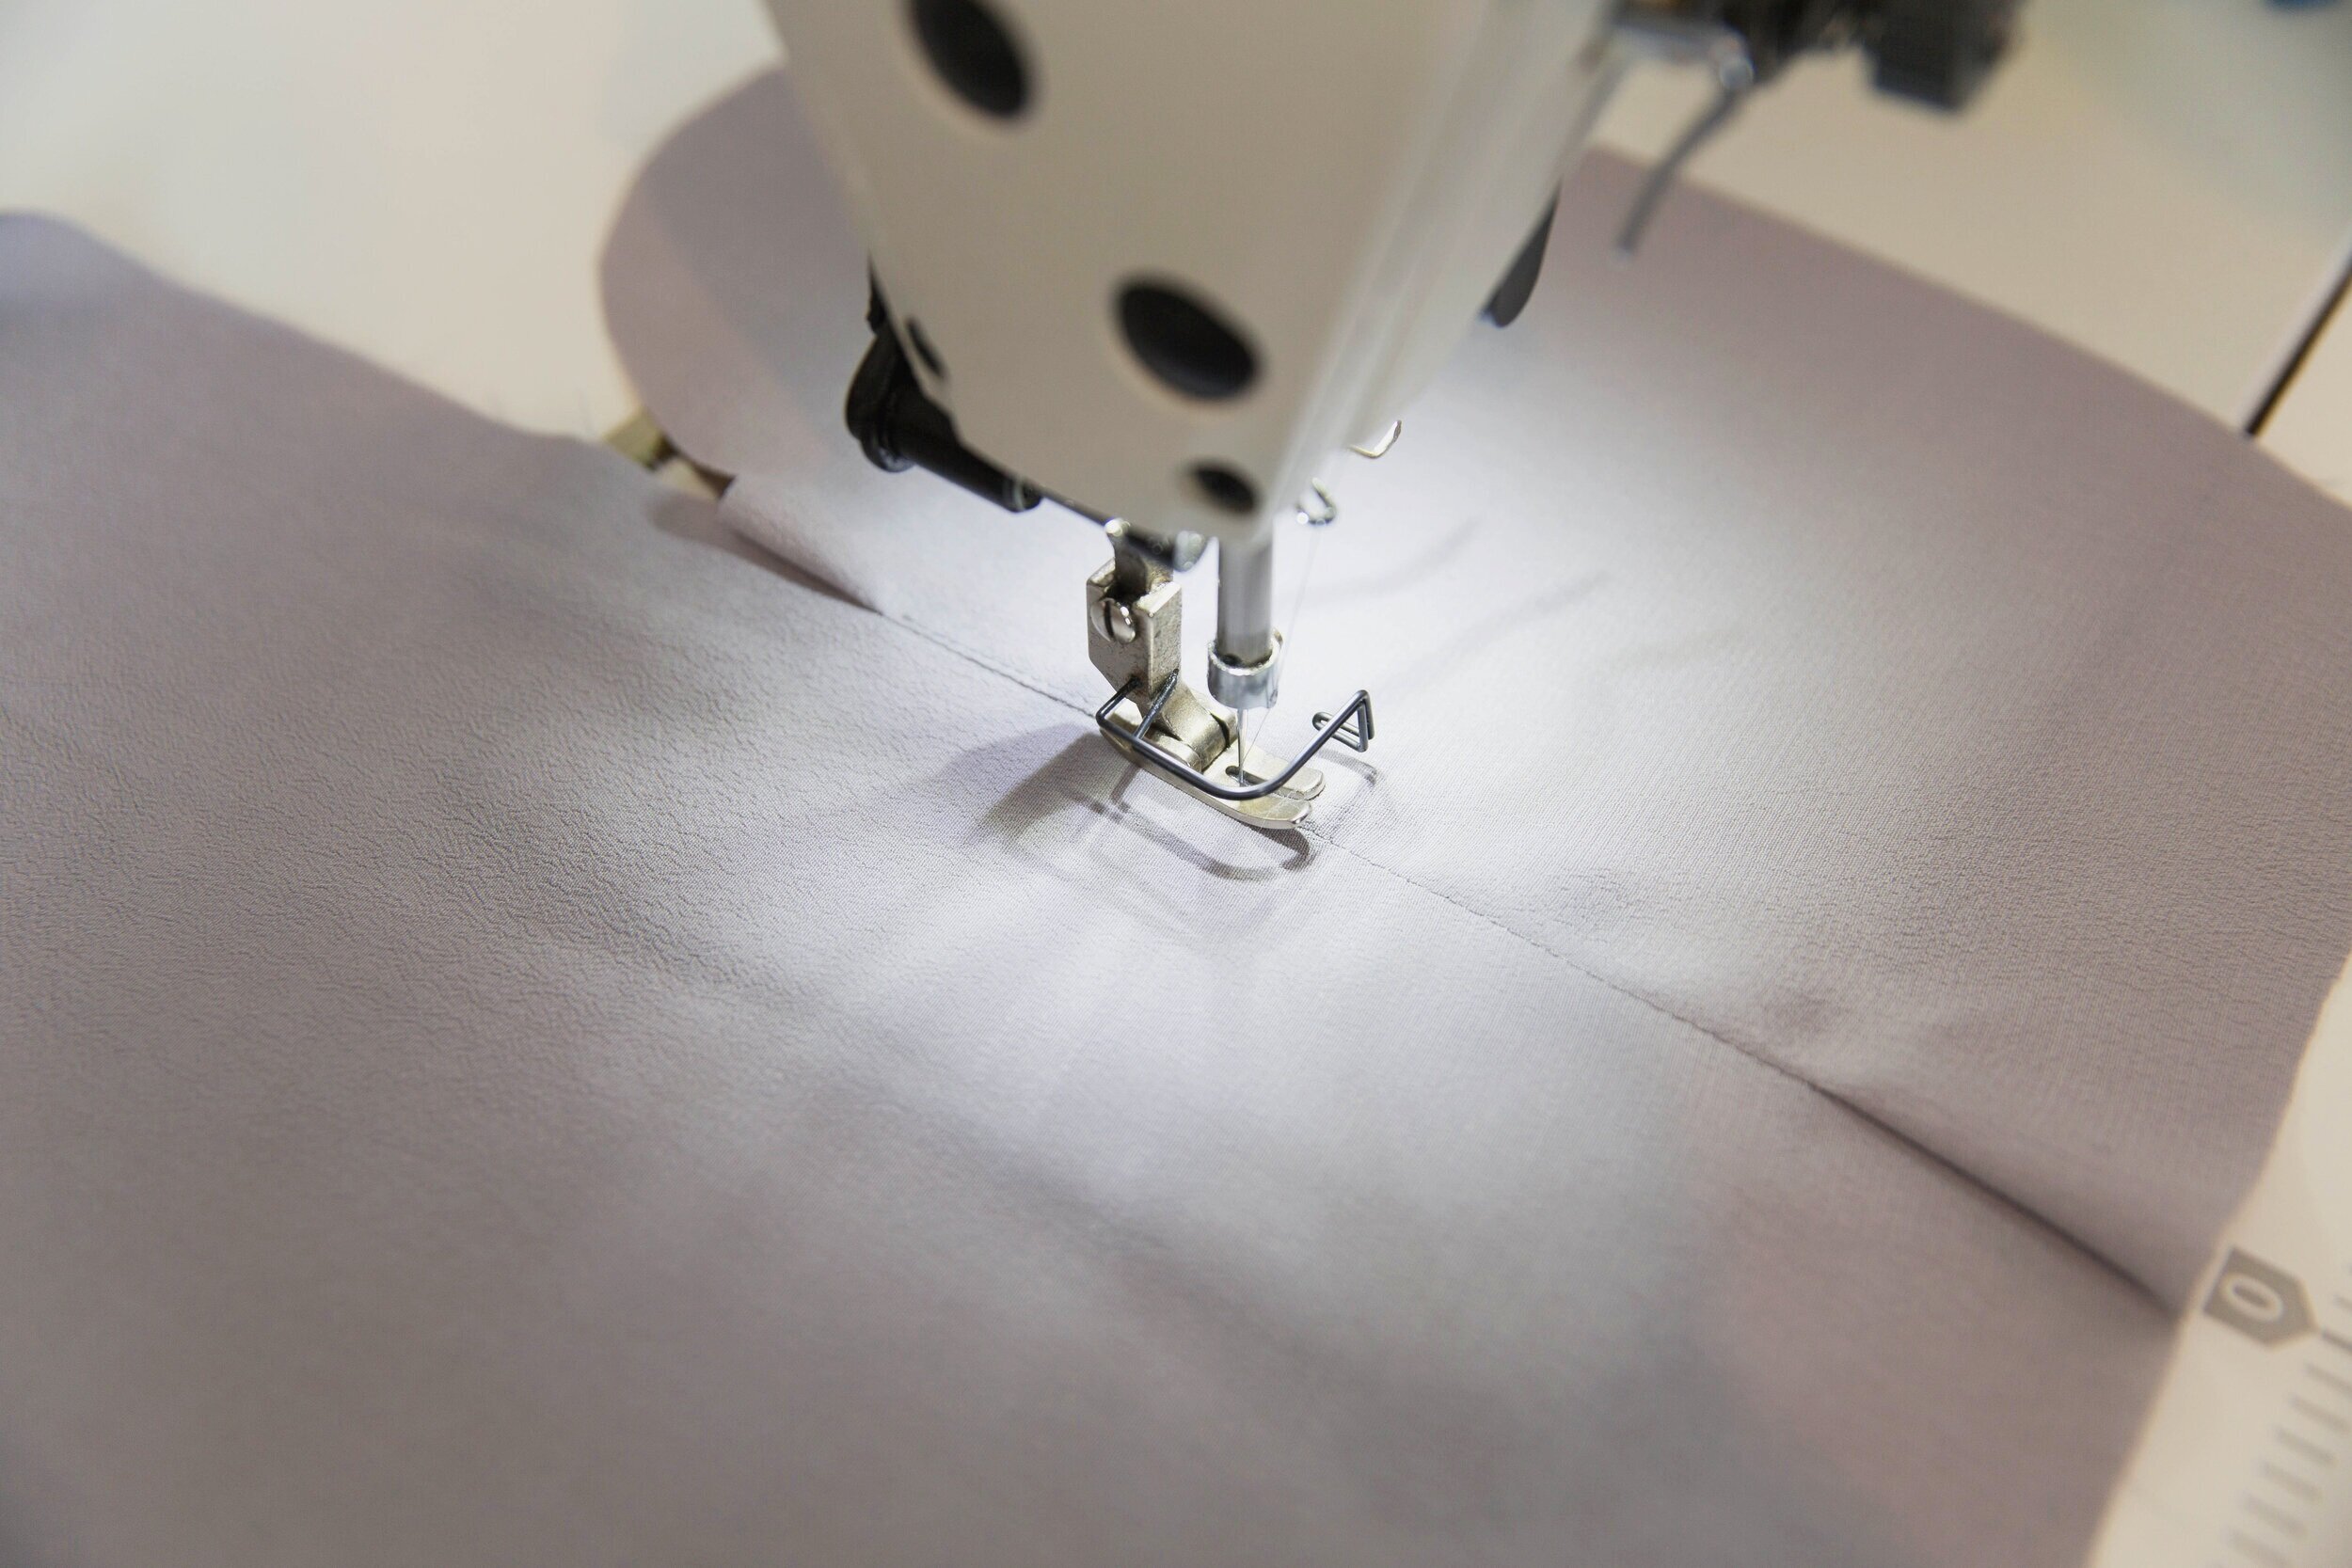
Press pocket bag to wrong side of pant, matching the top and bottom edges. Topstitch pocket opening 6mm/0.2” from edge through all layers.
Step 3
Place another pocket bag on top with right sides facing and stitch together around edges. Neaten seam. With pocket bag pressed in place behind front pant panel, edgestitch in place at top and bottom of pocket opening to secure. Repeat steps 1 - 3 for other side.
Step 4
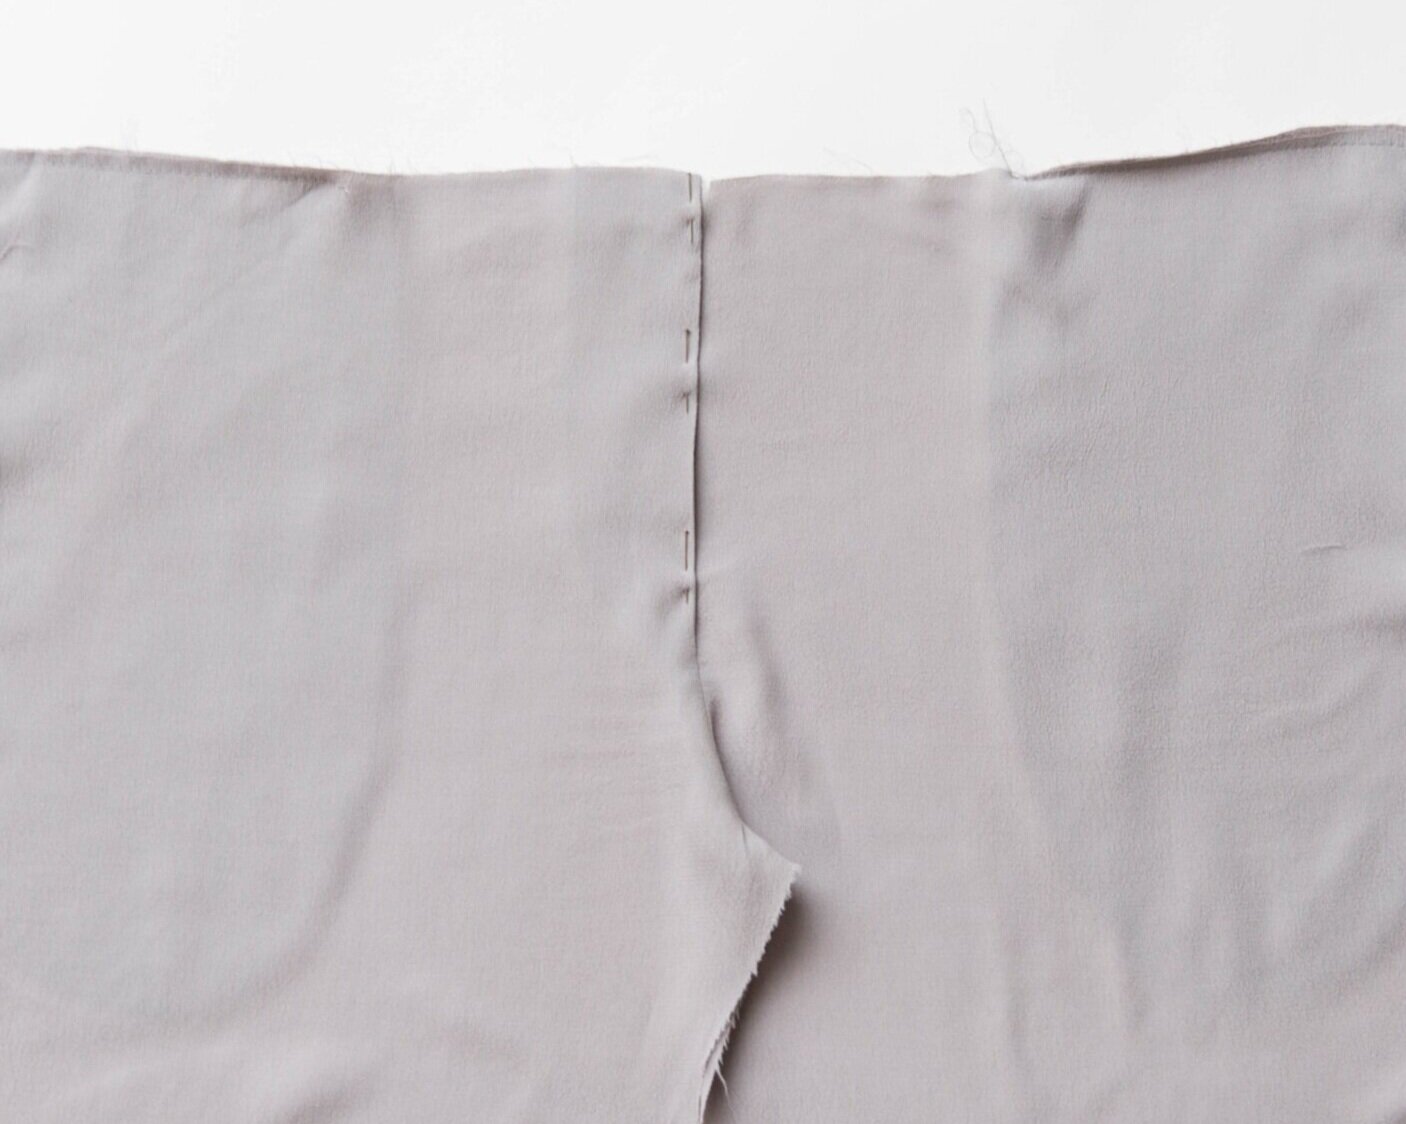
With right sides facing, stitch centre fronts together around faux fly facings and front crotch. Neaten seam. Stitch down a couple of stitches from the top at centre front notch to secure.
Step 5
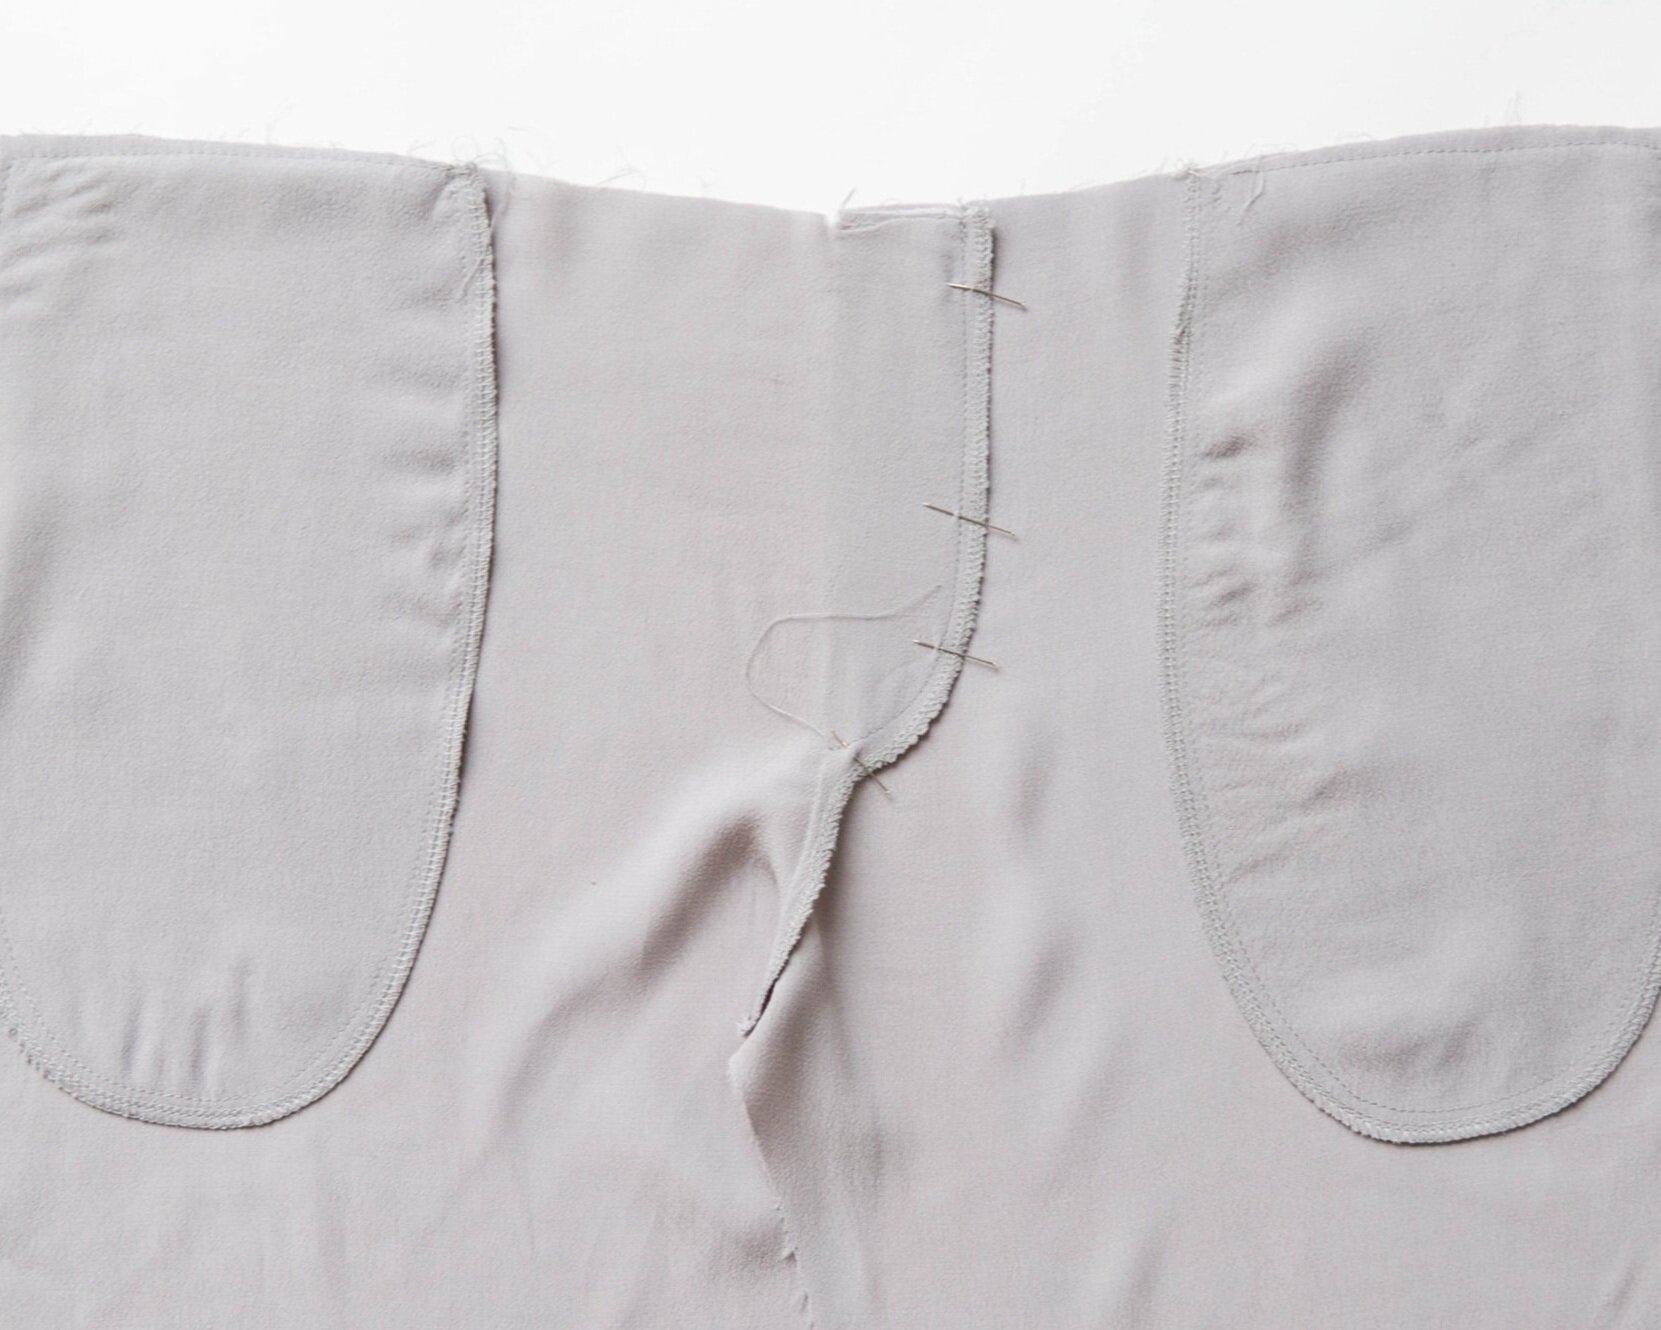
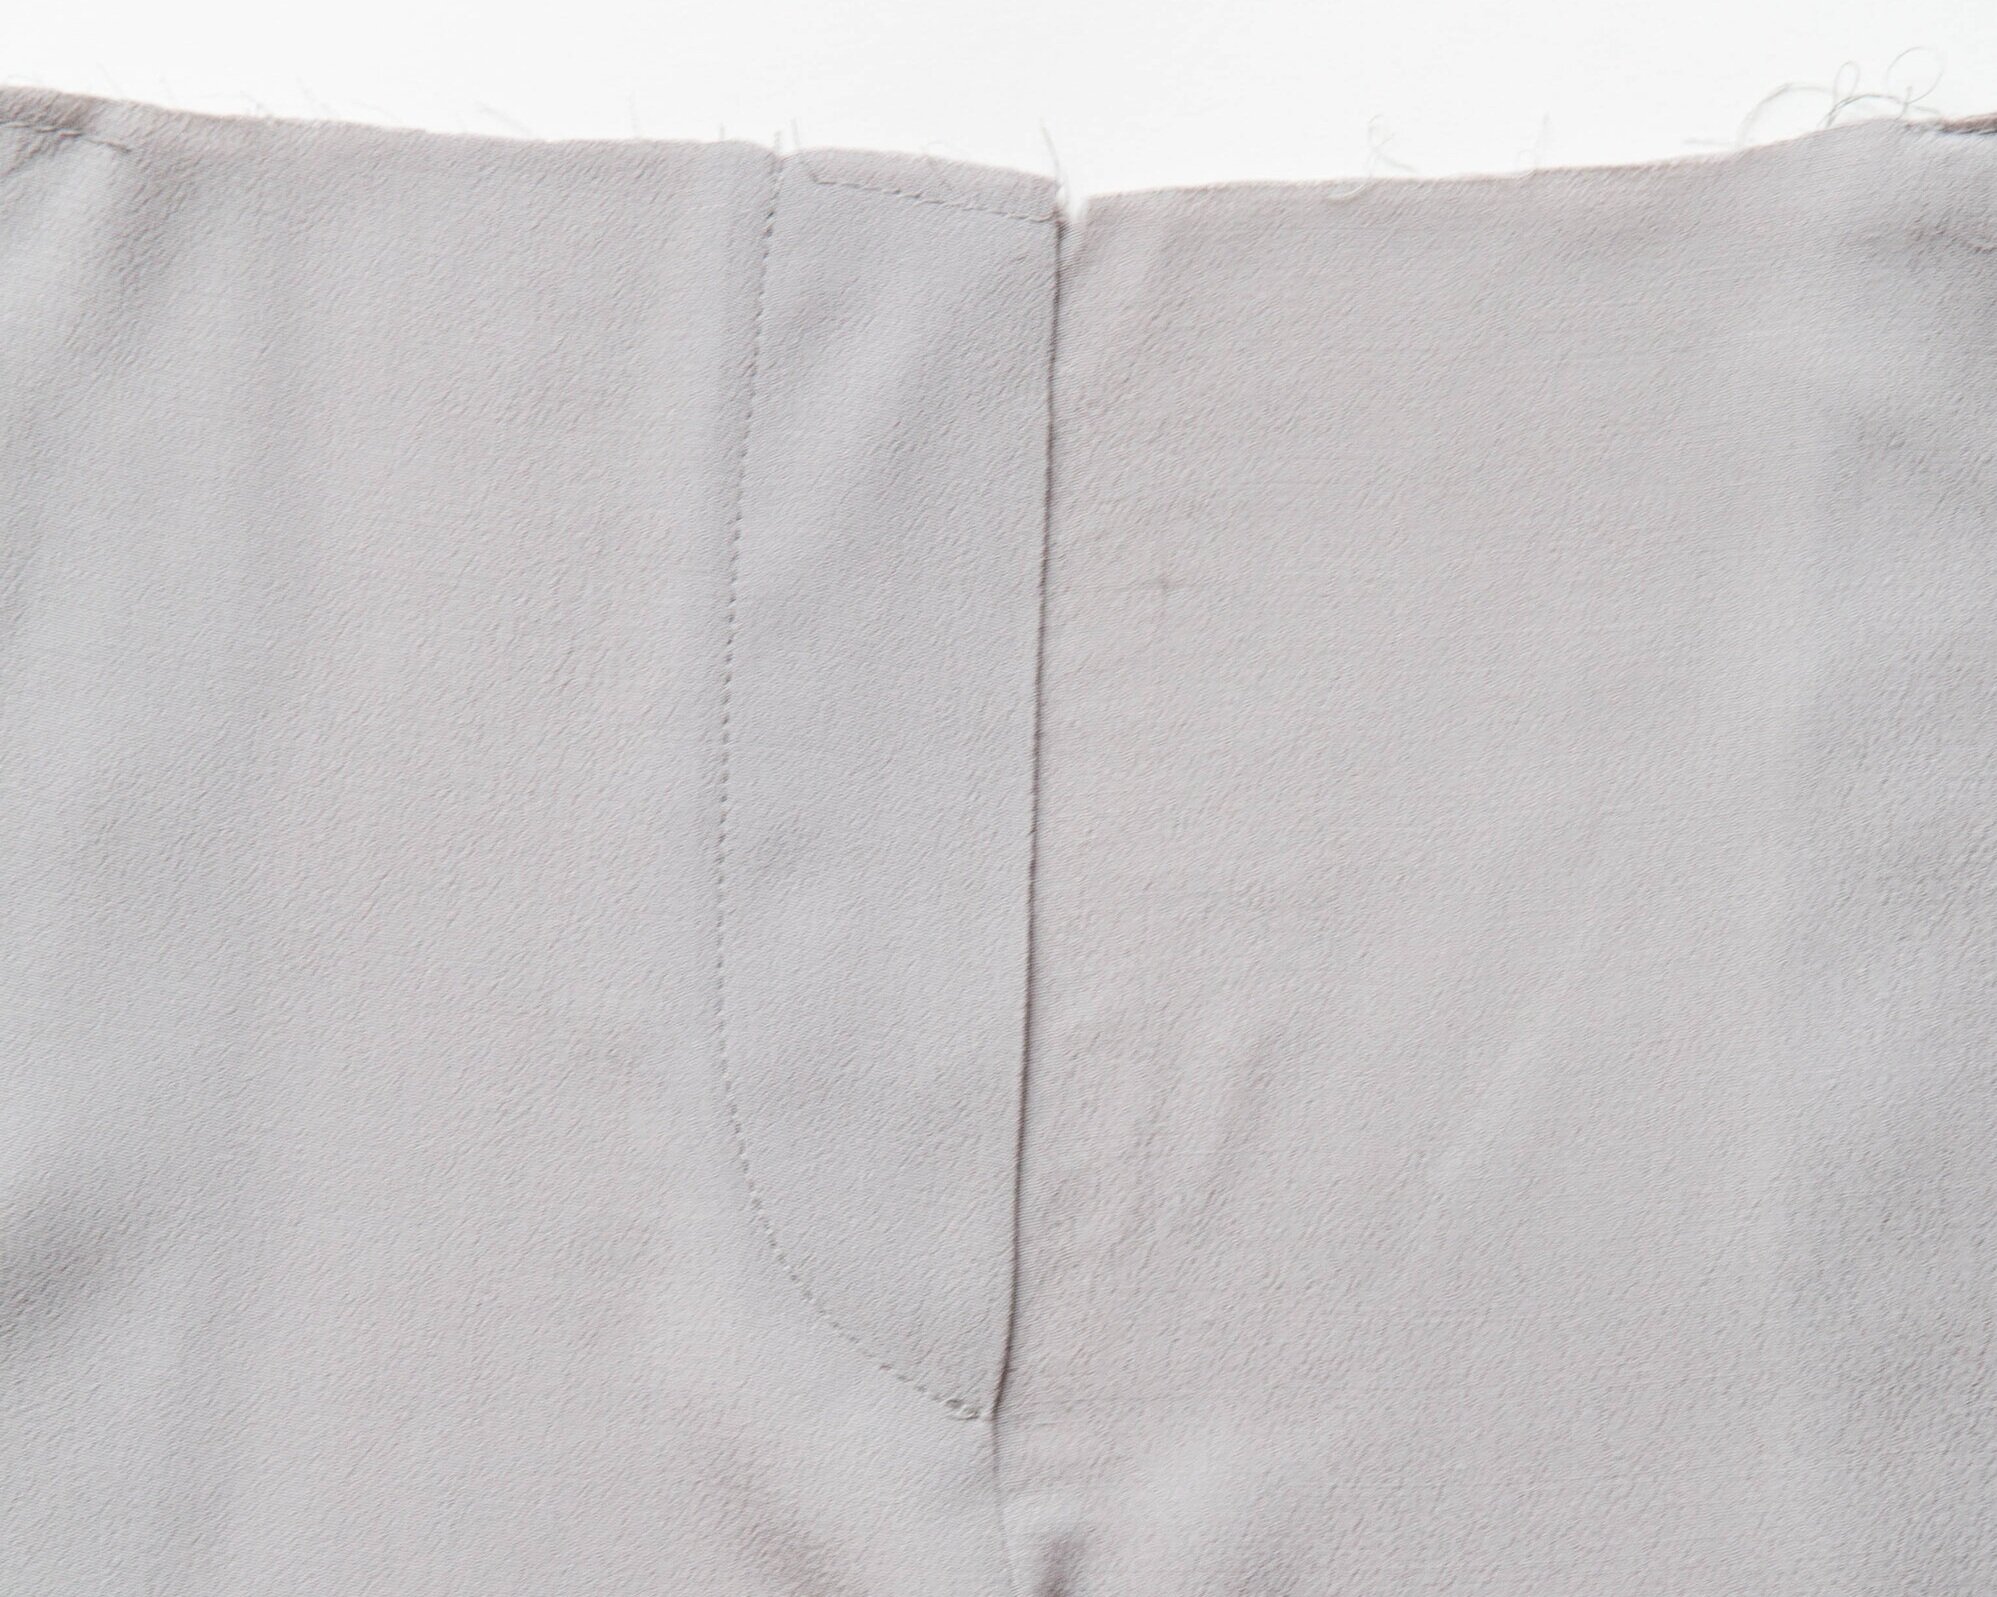
Unfold front sections so it sits flat. Fold the fly facing toward the fused side and press in place. Pin the layers together at centre front so that it all stays in place. From the wrong side, topstitch down through fly facings and front panel, around edge of facing until you get to your crotch seam. Press.
Step 6
With right sides facing, pin back pant pieces together along back crotch. Stitch. Neaten seams. Press.
Step 7
With right sides facing, pin front and back pant pieces together at side seams. Stitch together, being careful not to stitch your pocket openings closed. Neaten and press seam allowance toward back.
Step 8
With right sides facing, pin inside leg seams together, matching front and back crotch seams and notches. Stitch. Neaten and press seam allowance toward back.
Step 9
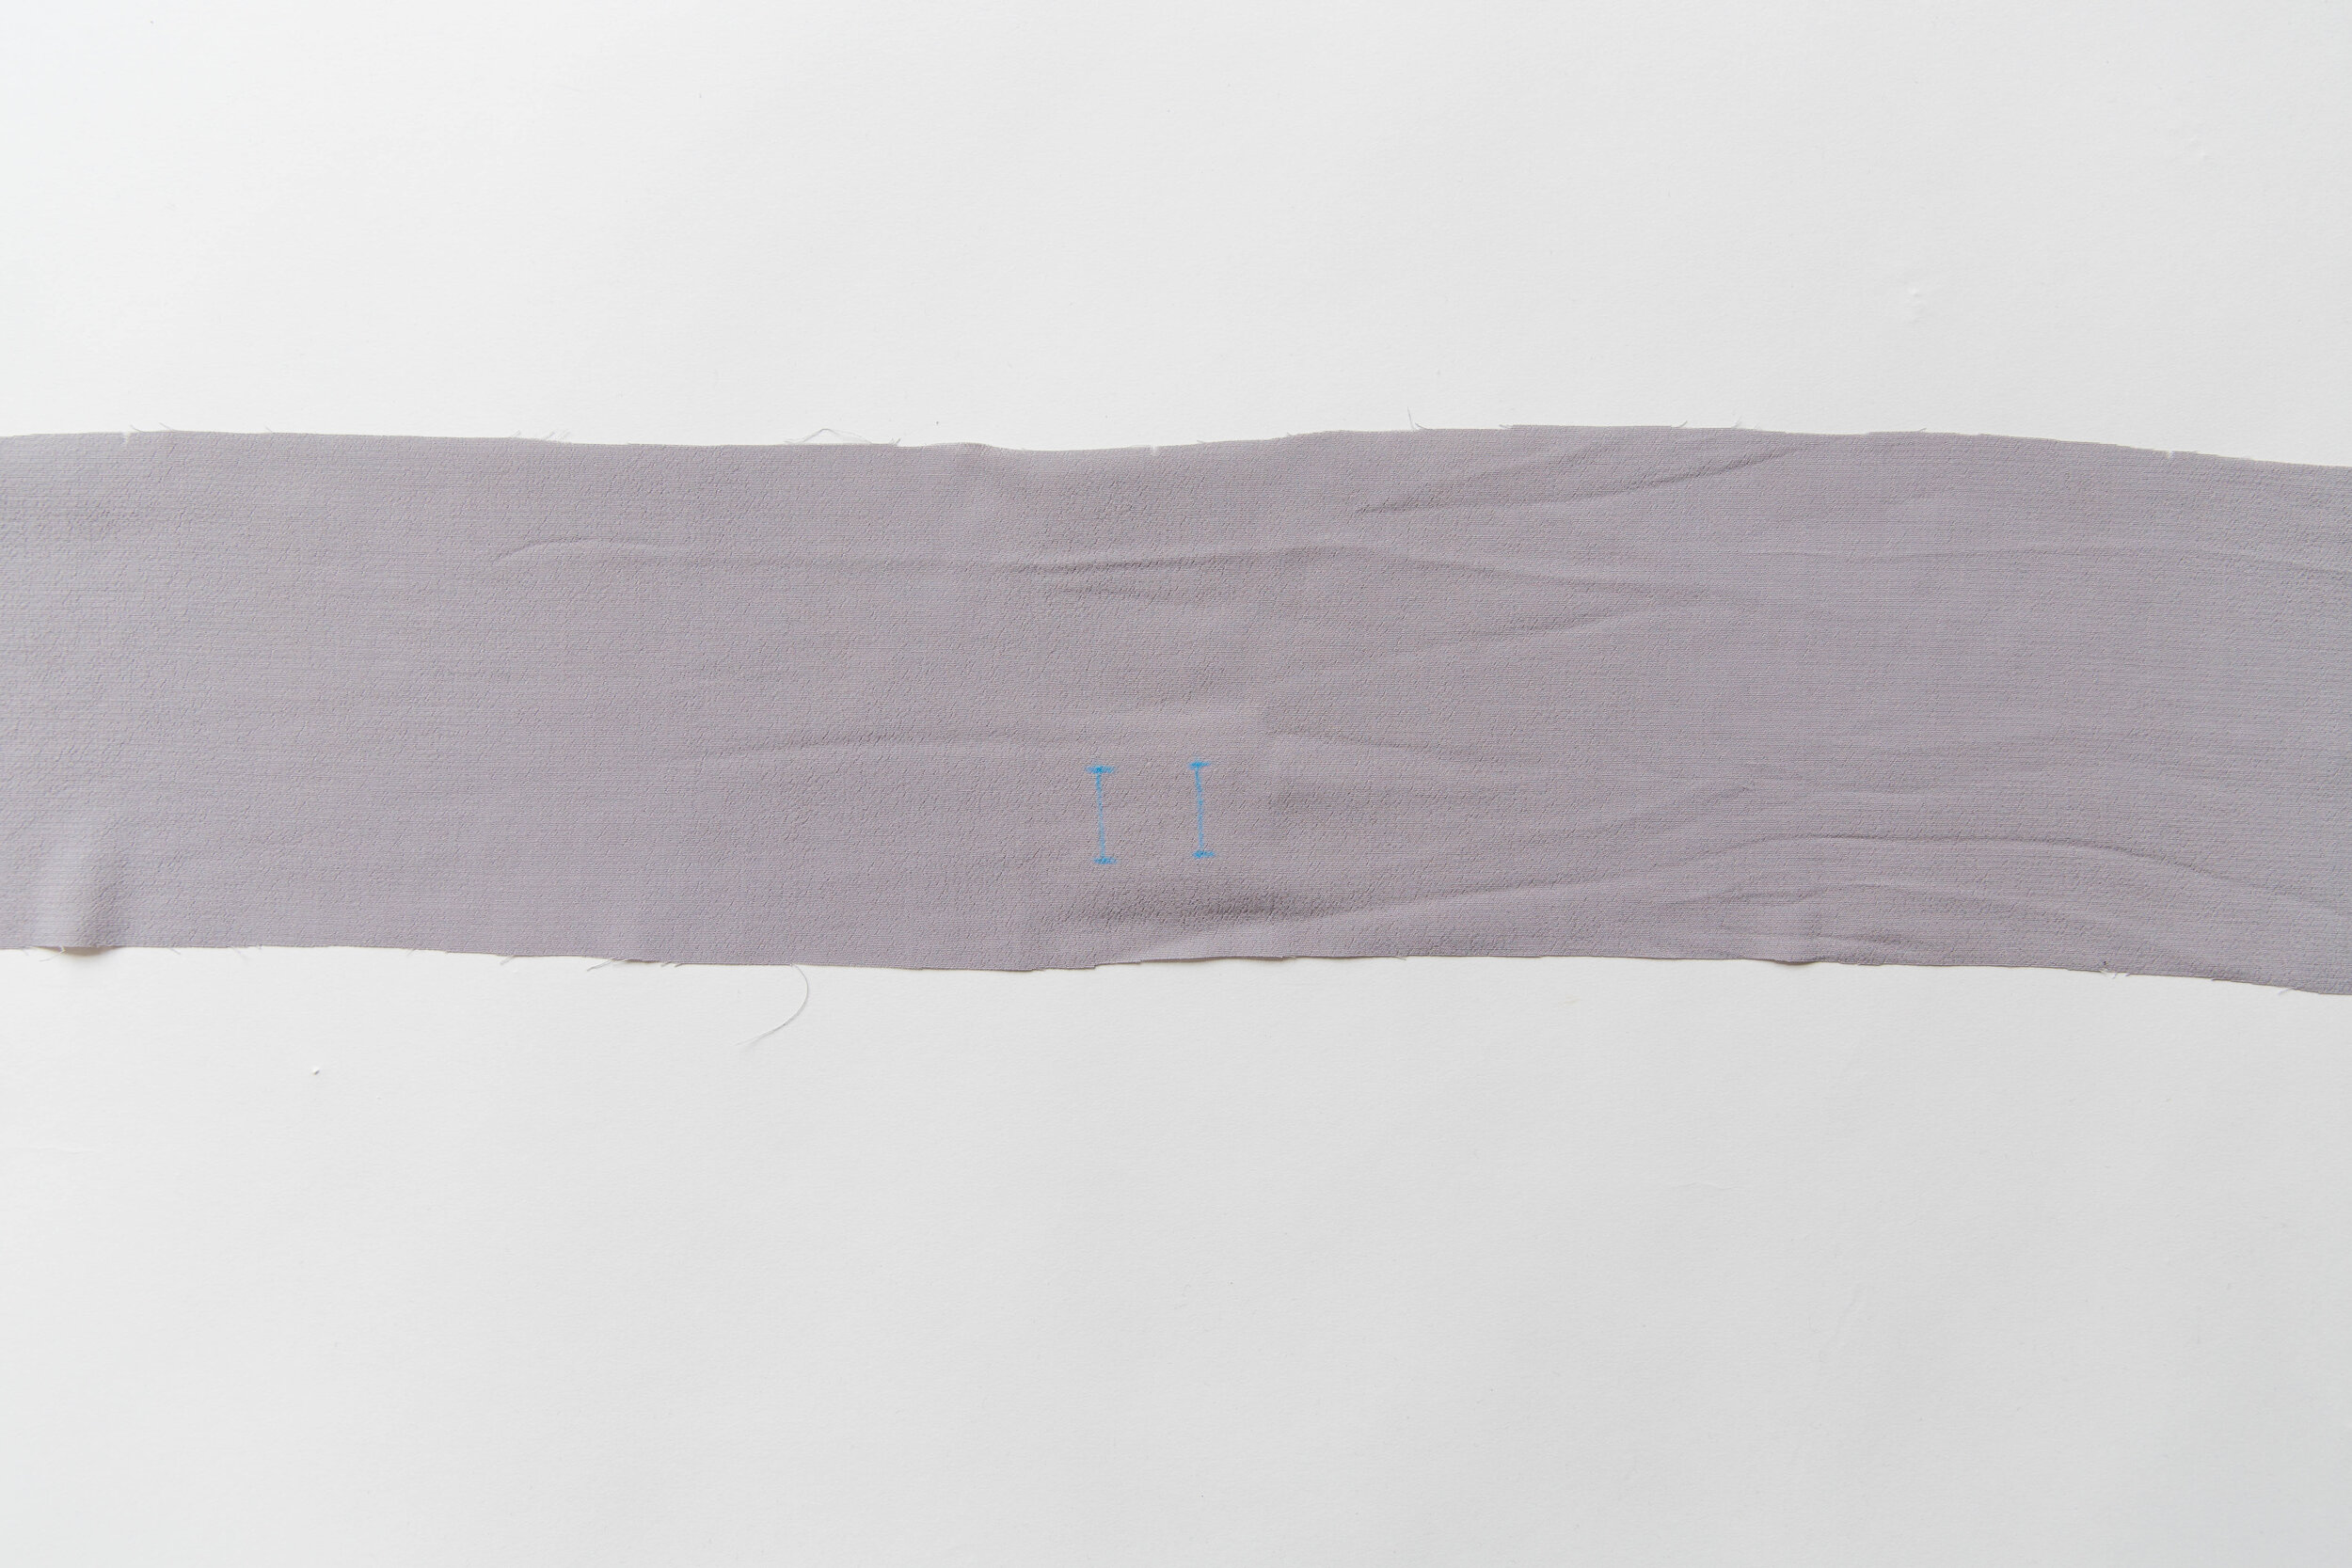
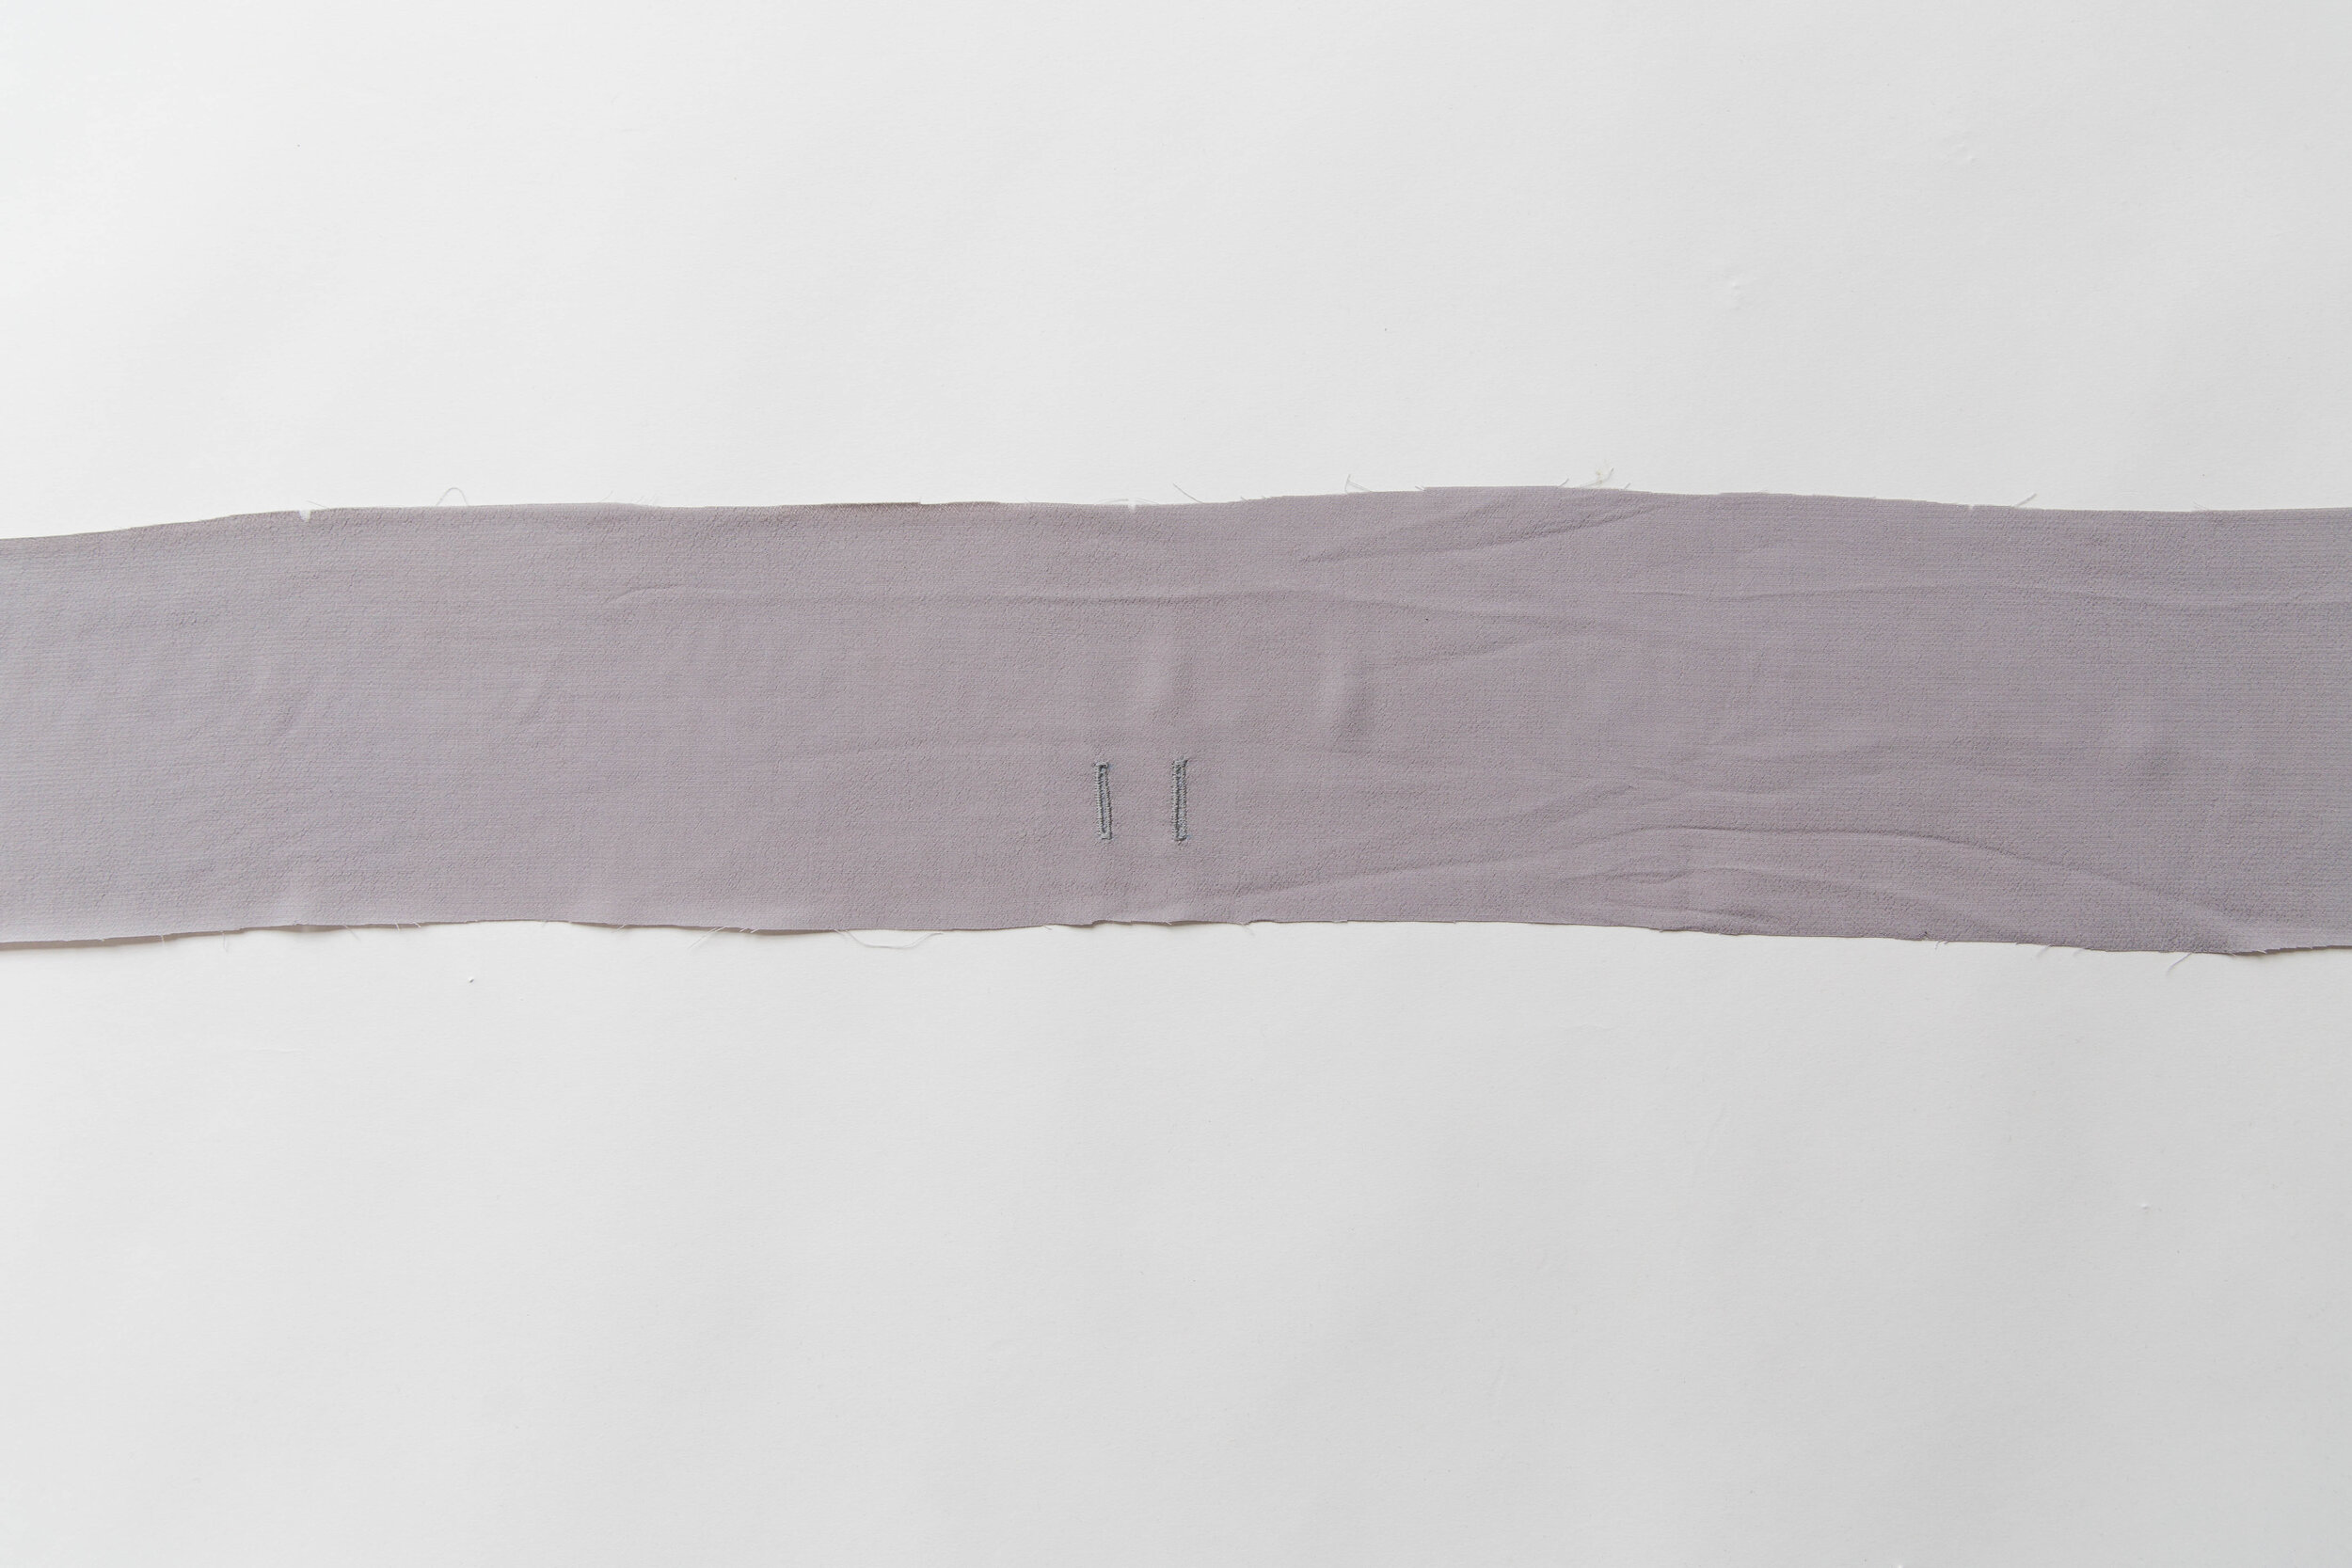
From the right side of waistband, mark in buttonhole placement. Stitch buttonholes in place. Cut buttonholes open.
Step 10
Fold waistband in half with right sides facing. Pin the short ends together and stitch. Press seam allowance open.
Step 11
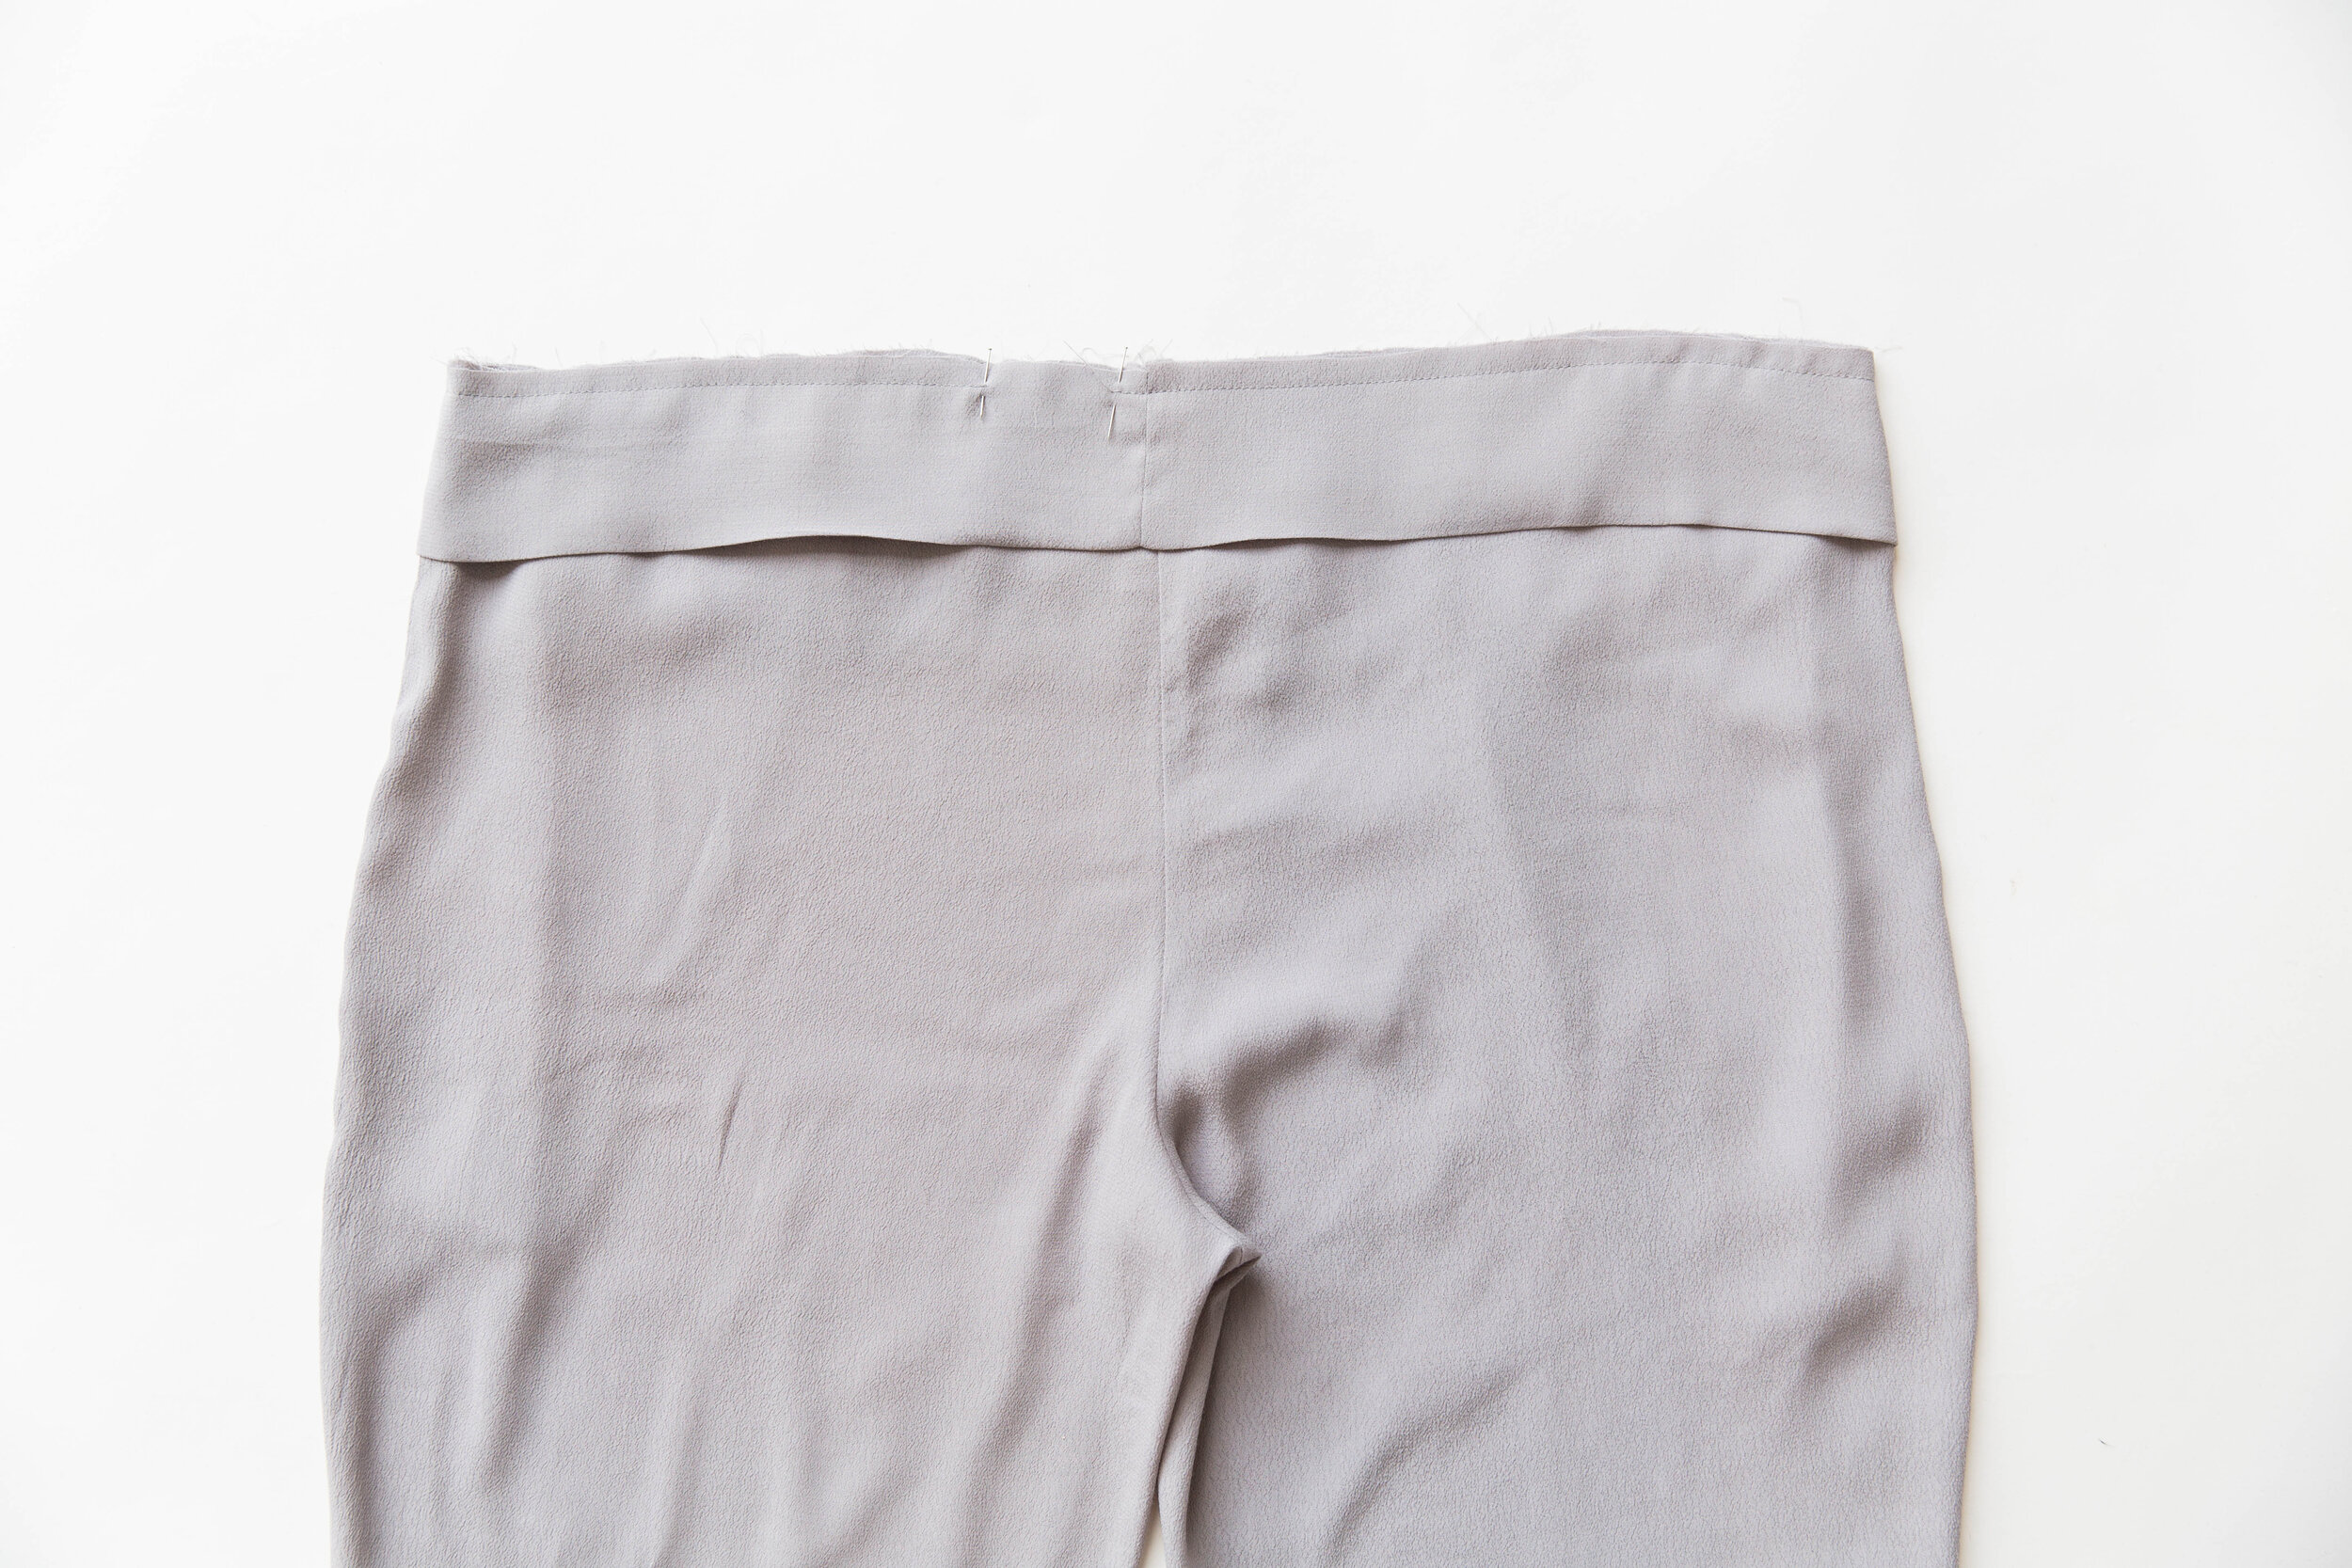
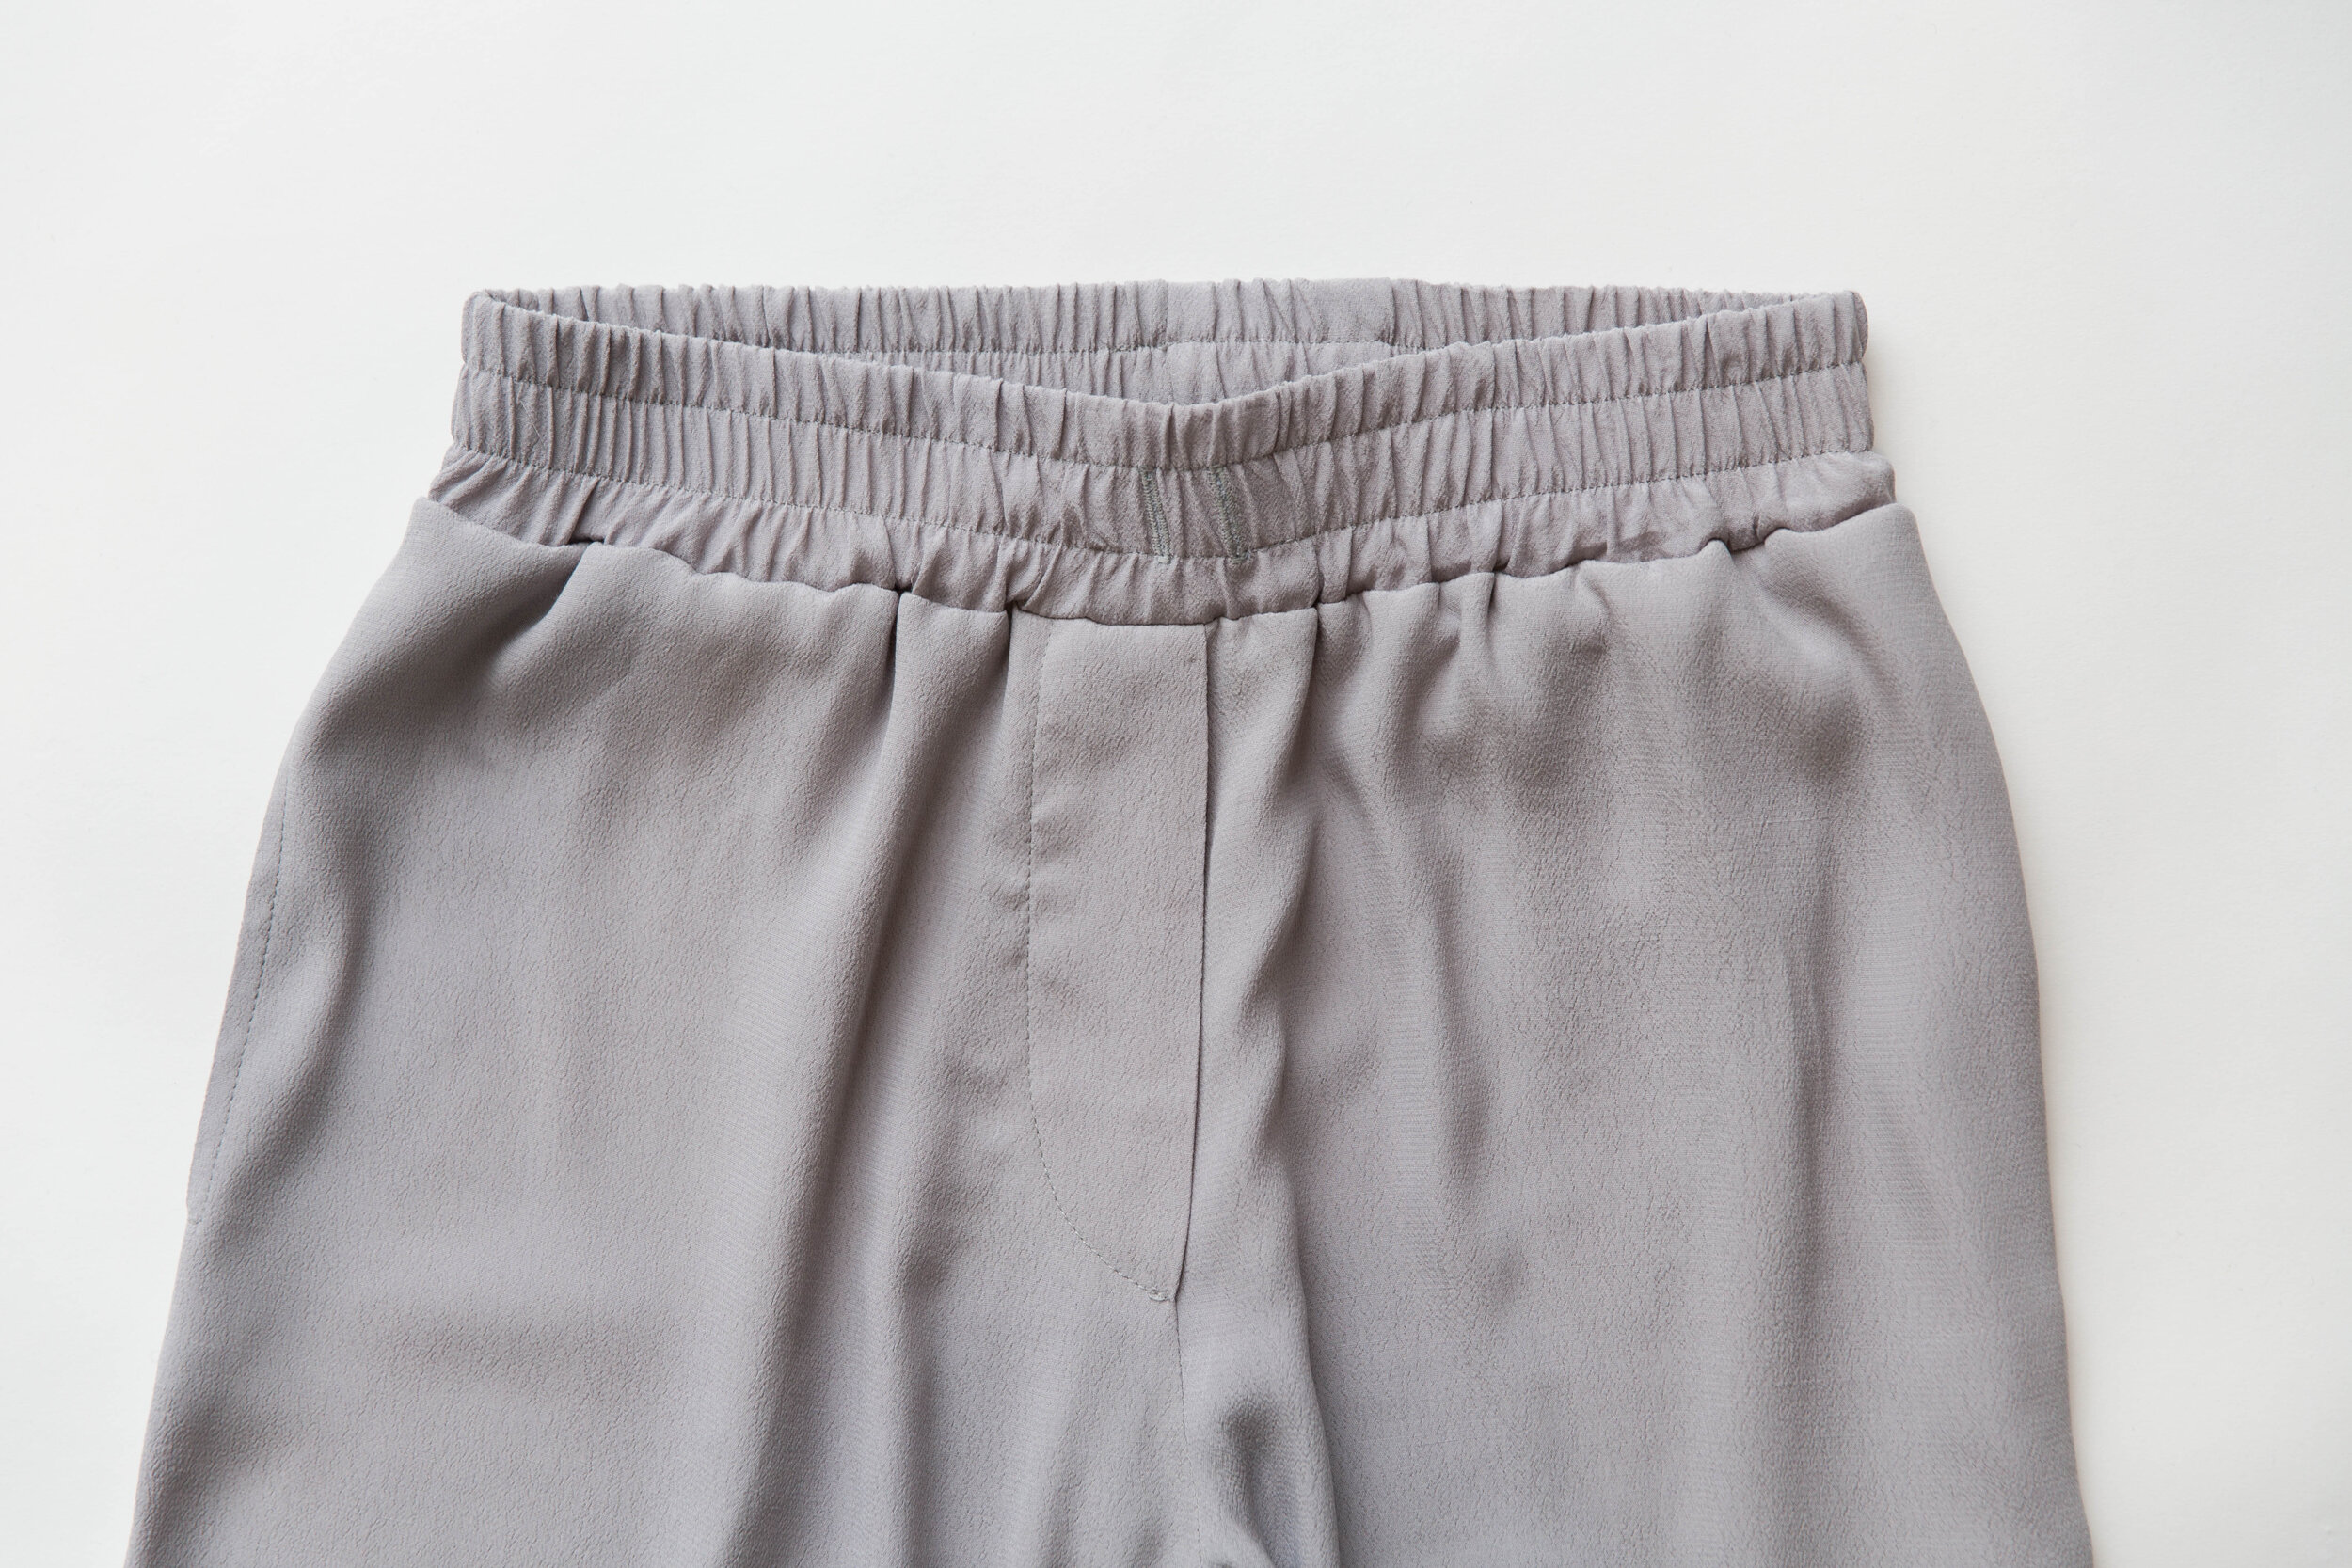
With wrong sides together, press the waistband in half so raw edges meet. Pin both raw edges of the waistband to the top edge of the pants with right sides facing. Match the side seams of pants to notches, centre back seams together and centre front of pants to centre front of waistband. Stitch together through all layers, leaving a 5cm/2” opening at the centre back.
Step 12
Cut your elastic according to the chart in your instruction booklet.
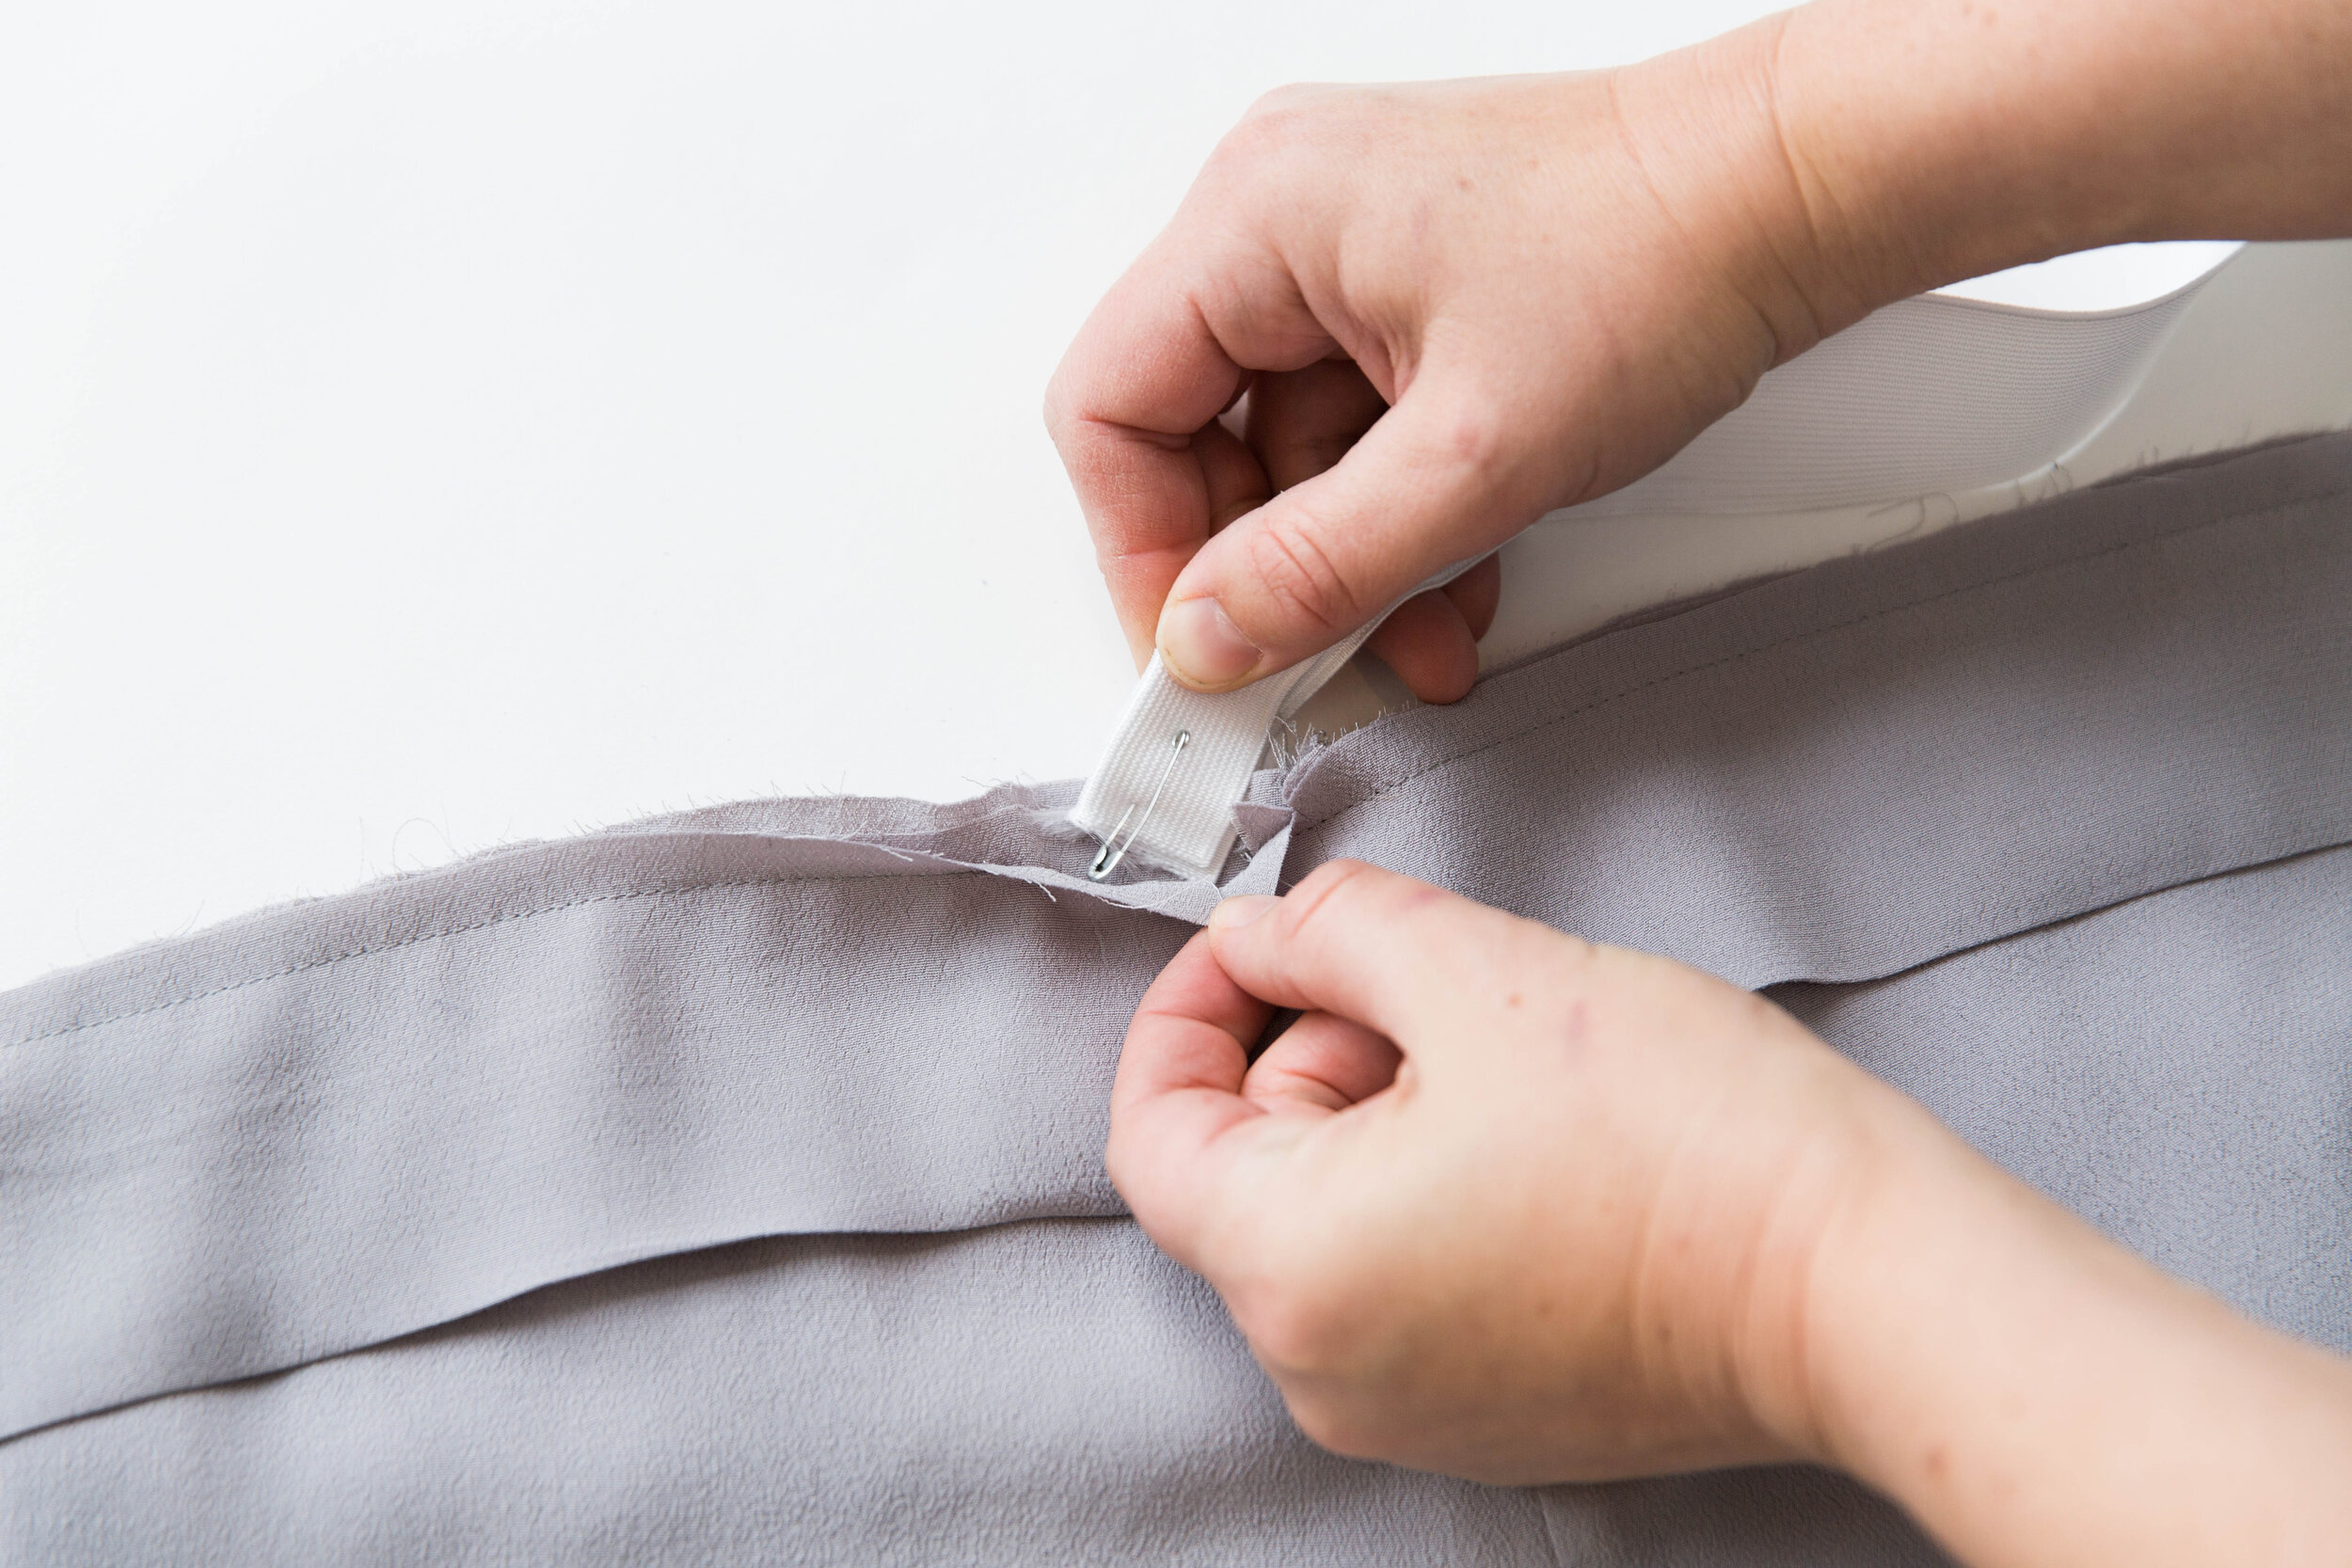
Attach a safety pin to one end of your elastic and thread safety pinned edge through the gap, threading through until it returns out the same hole.
Remove the safety pin, overlap the two open ends of elastic and safety pin them together. Try the pants on to check the fit of the elastic at waist. Adjust accordingly. Stitch ends of elastic securely together. Stretch out the waist casing until the stitched part of the elastic is sitting within the casing, then stitch the gap closed. Neaten seam allowance.
Please note: If you’re planning on topstitching the waistband, make your elastic a bit firmer to allow for any stretching that may happen while you’re topstitching.
Step 13
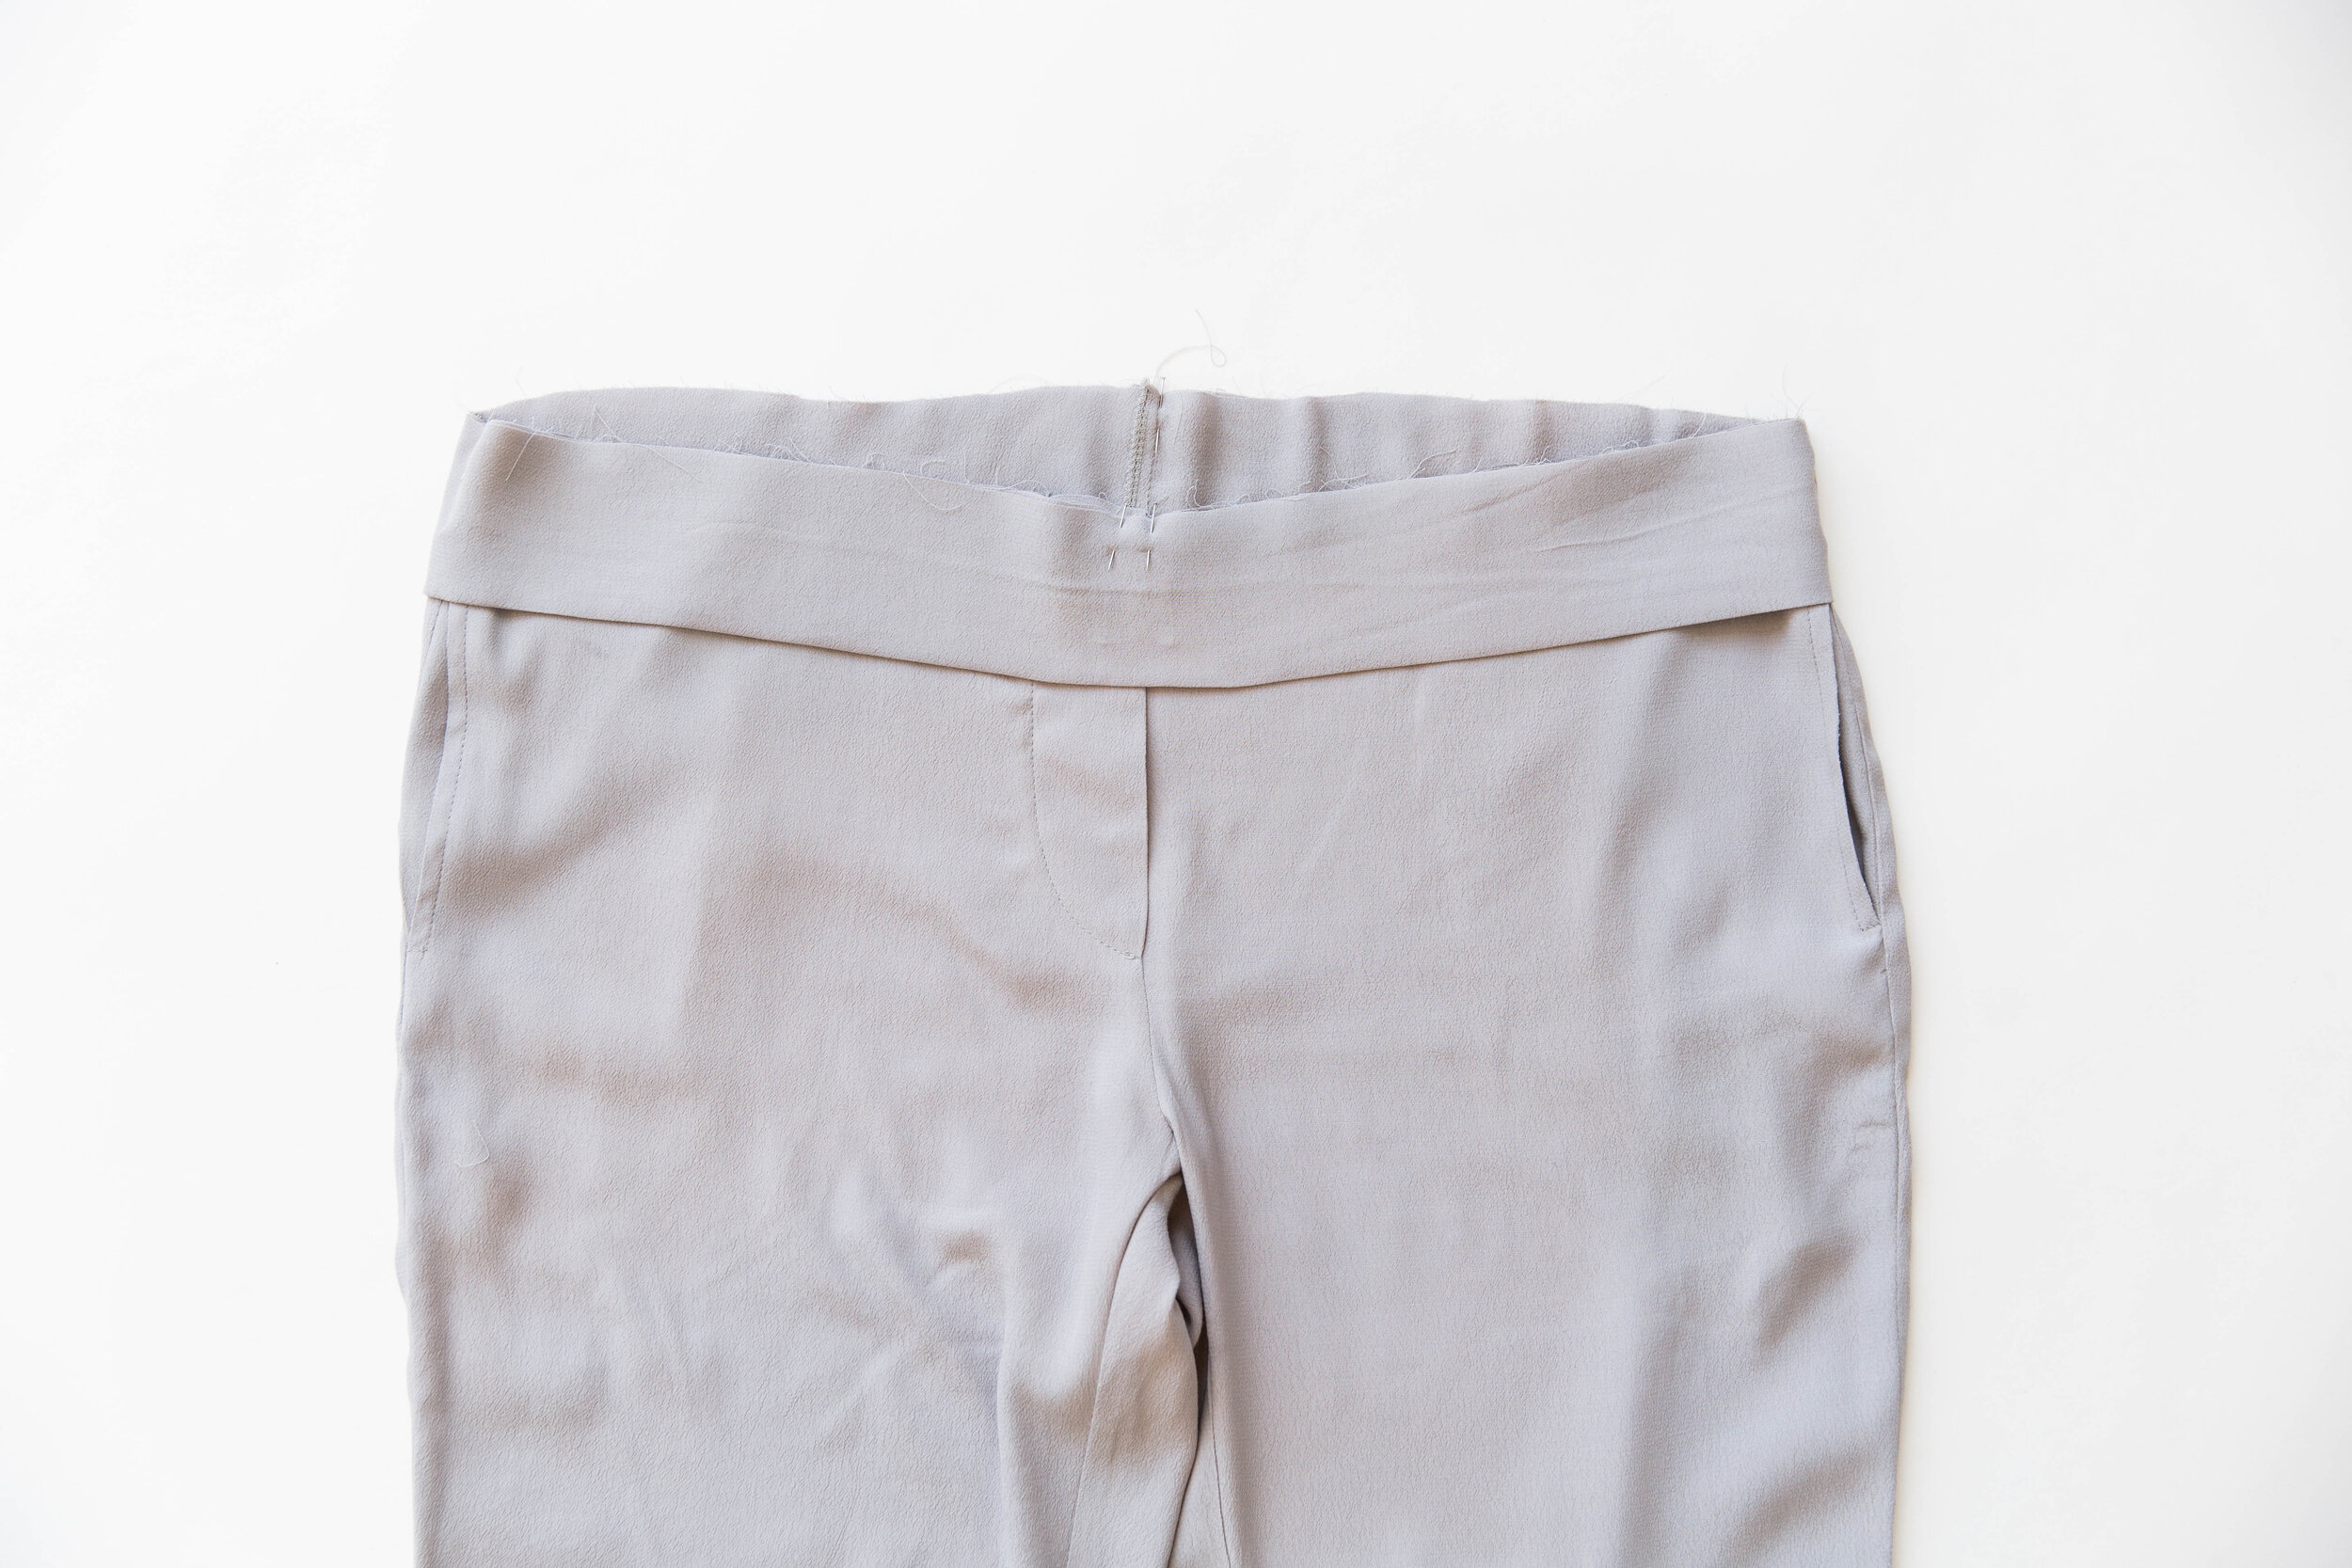
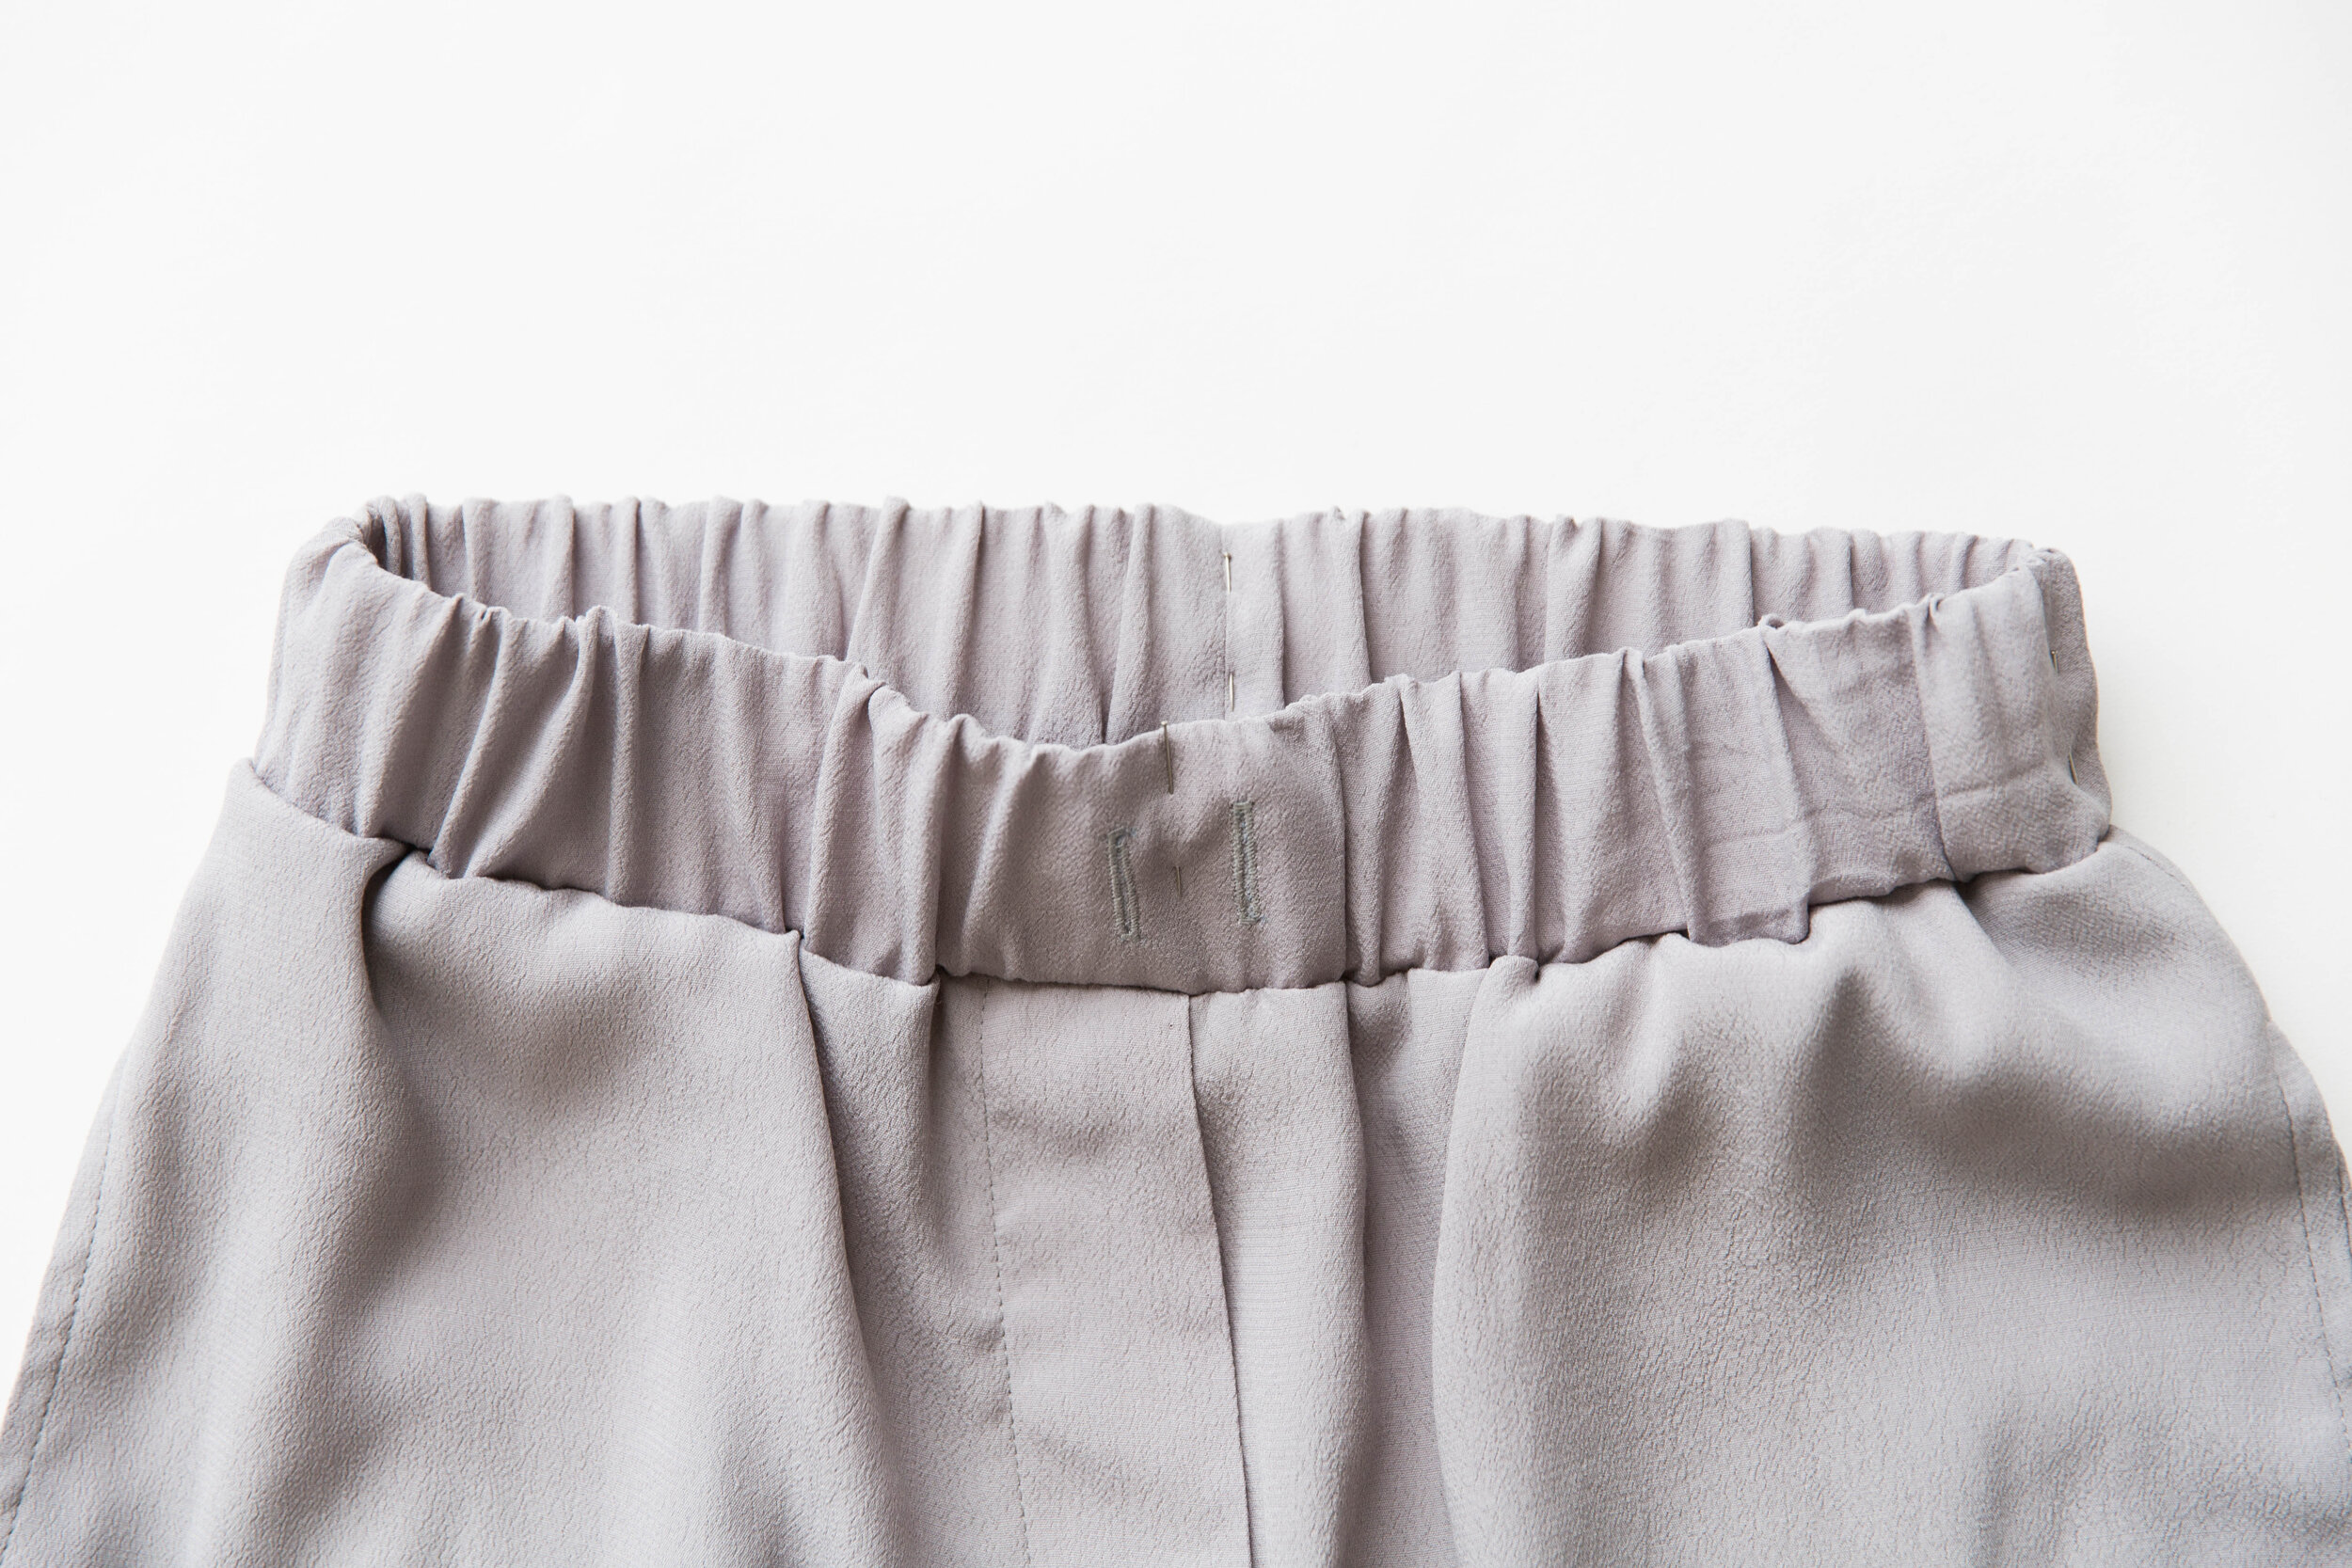
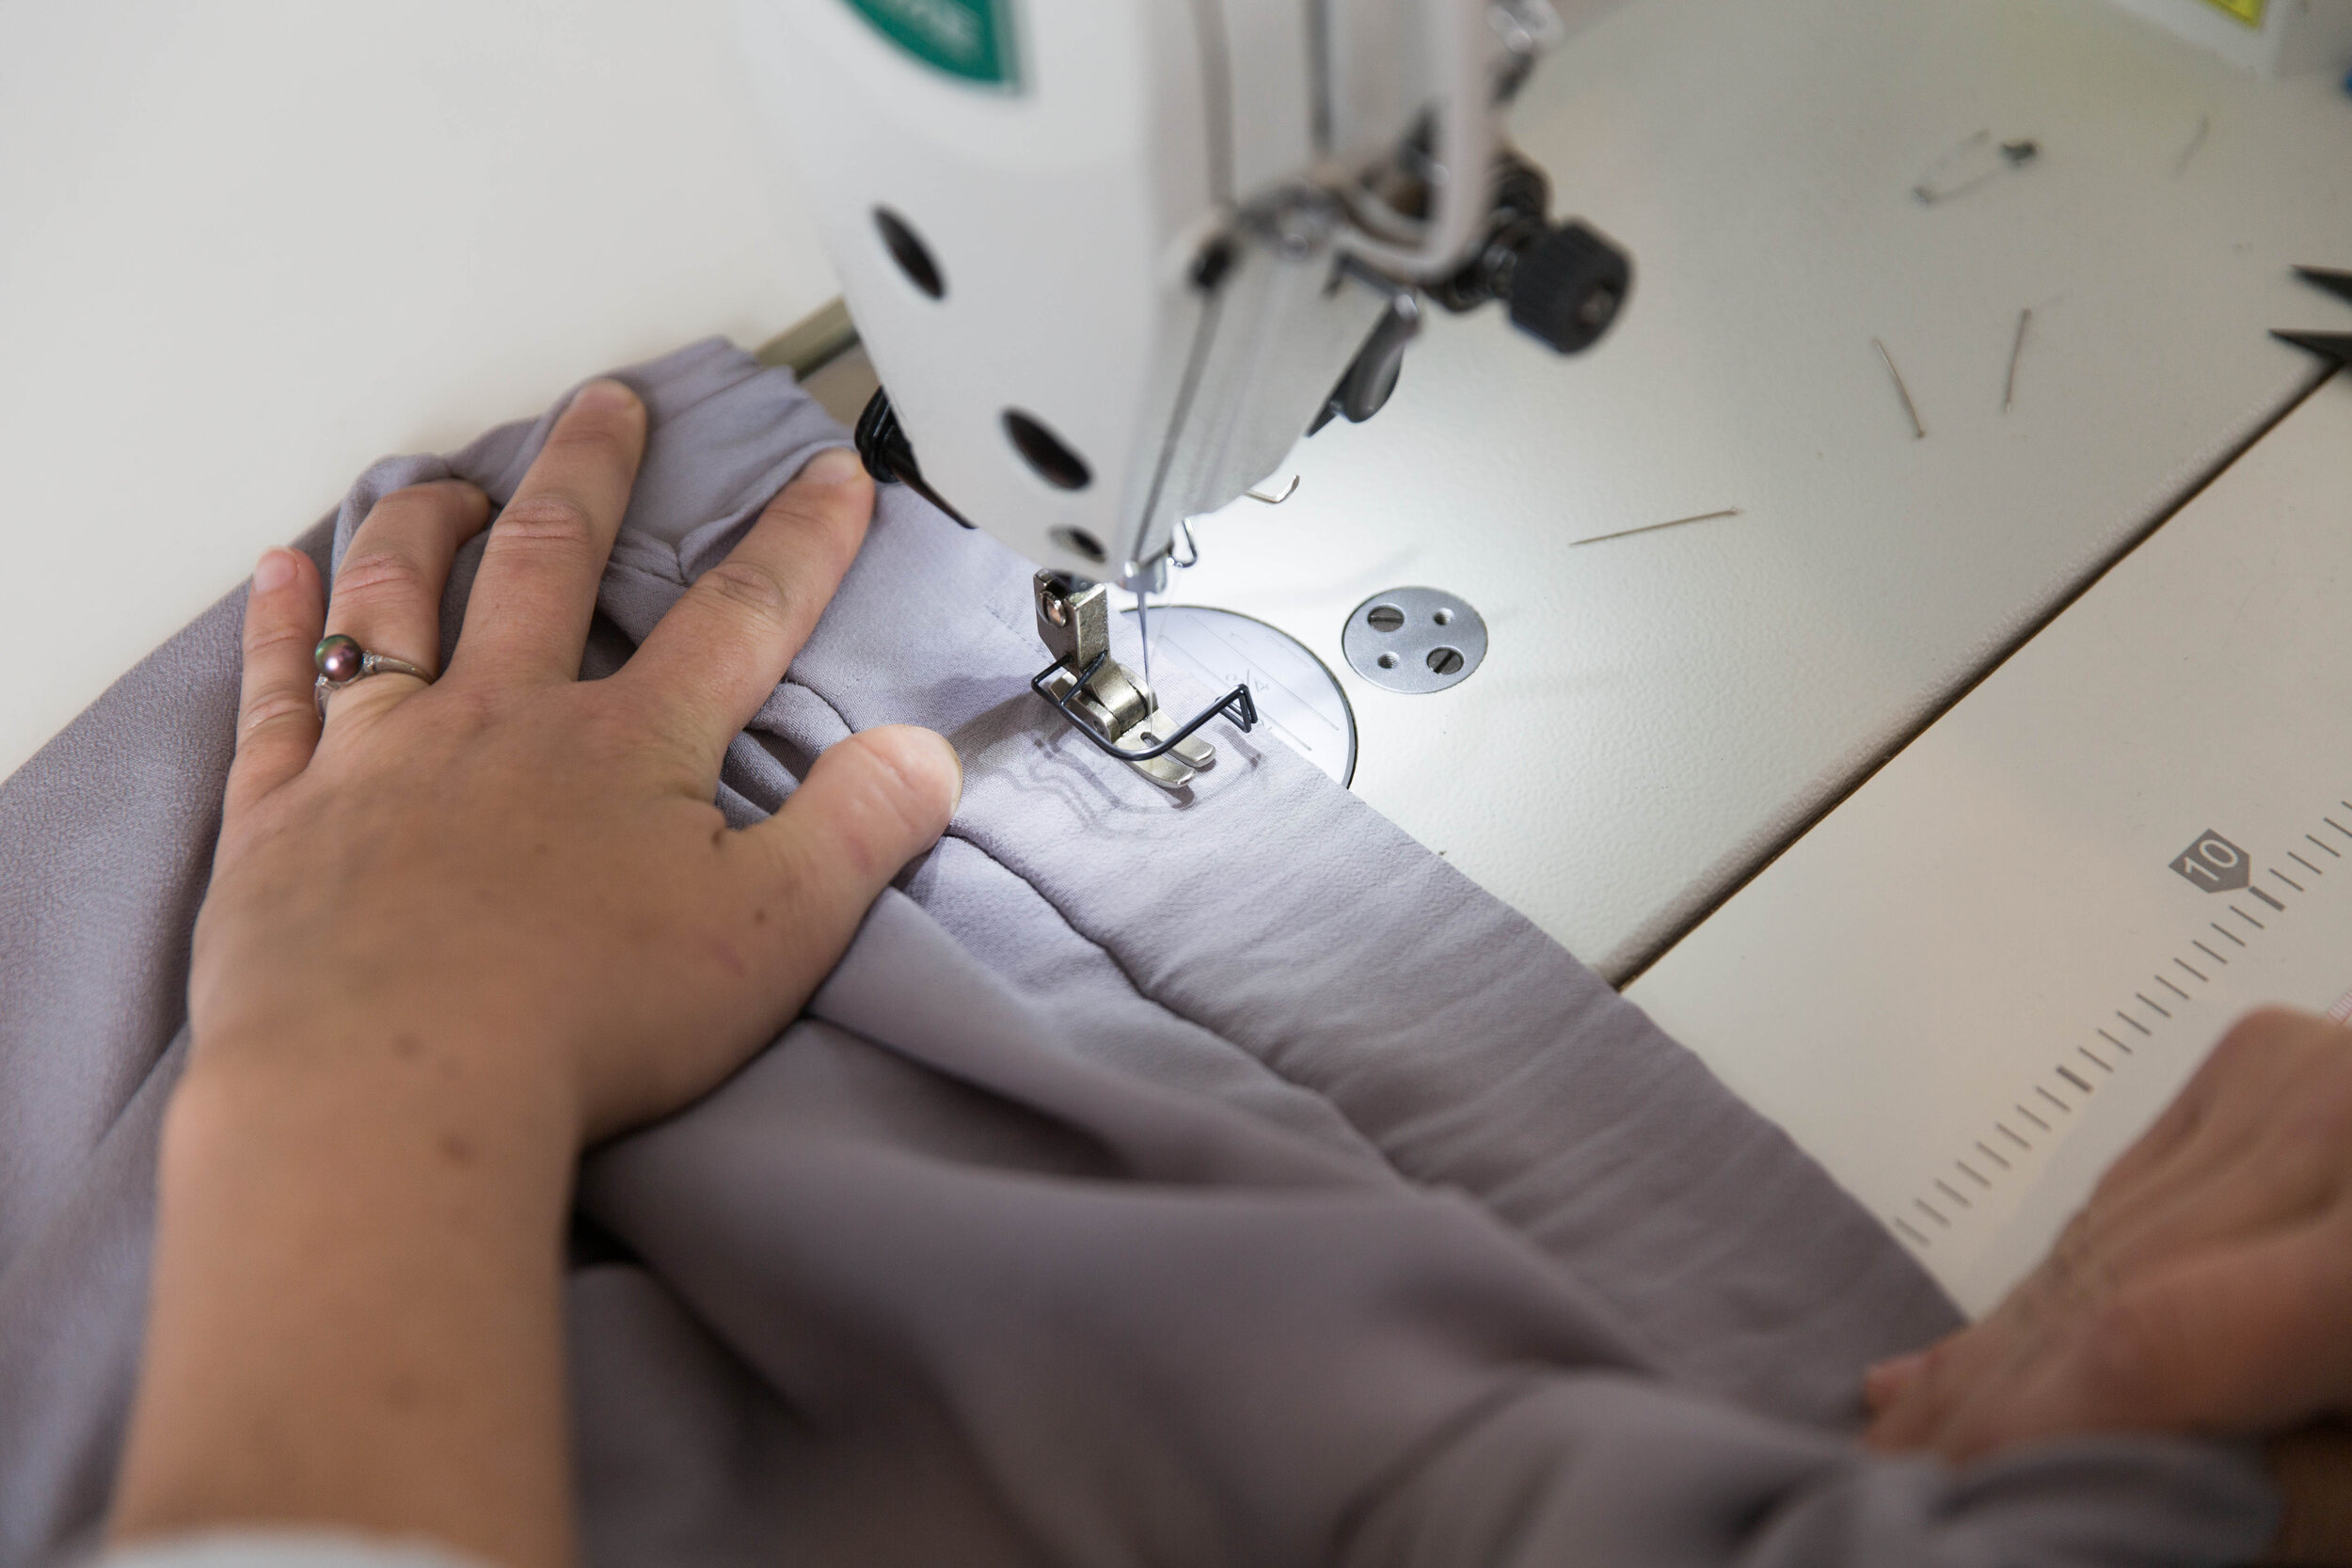
Place a pin at the centre front, centre back and side seams to hold the elastic in place. Stitch through all layers of your waistband, all the way around on either side of buttonholes (as marked on your waistband pattern piece), stretching waistband out to fit as you sew.
Step 14
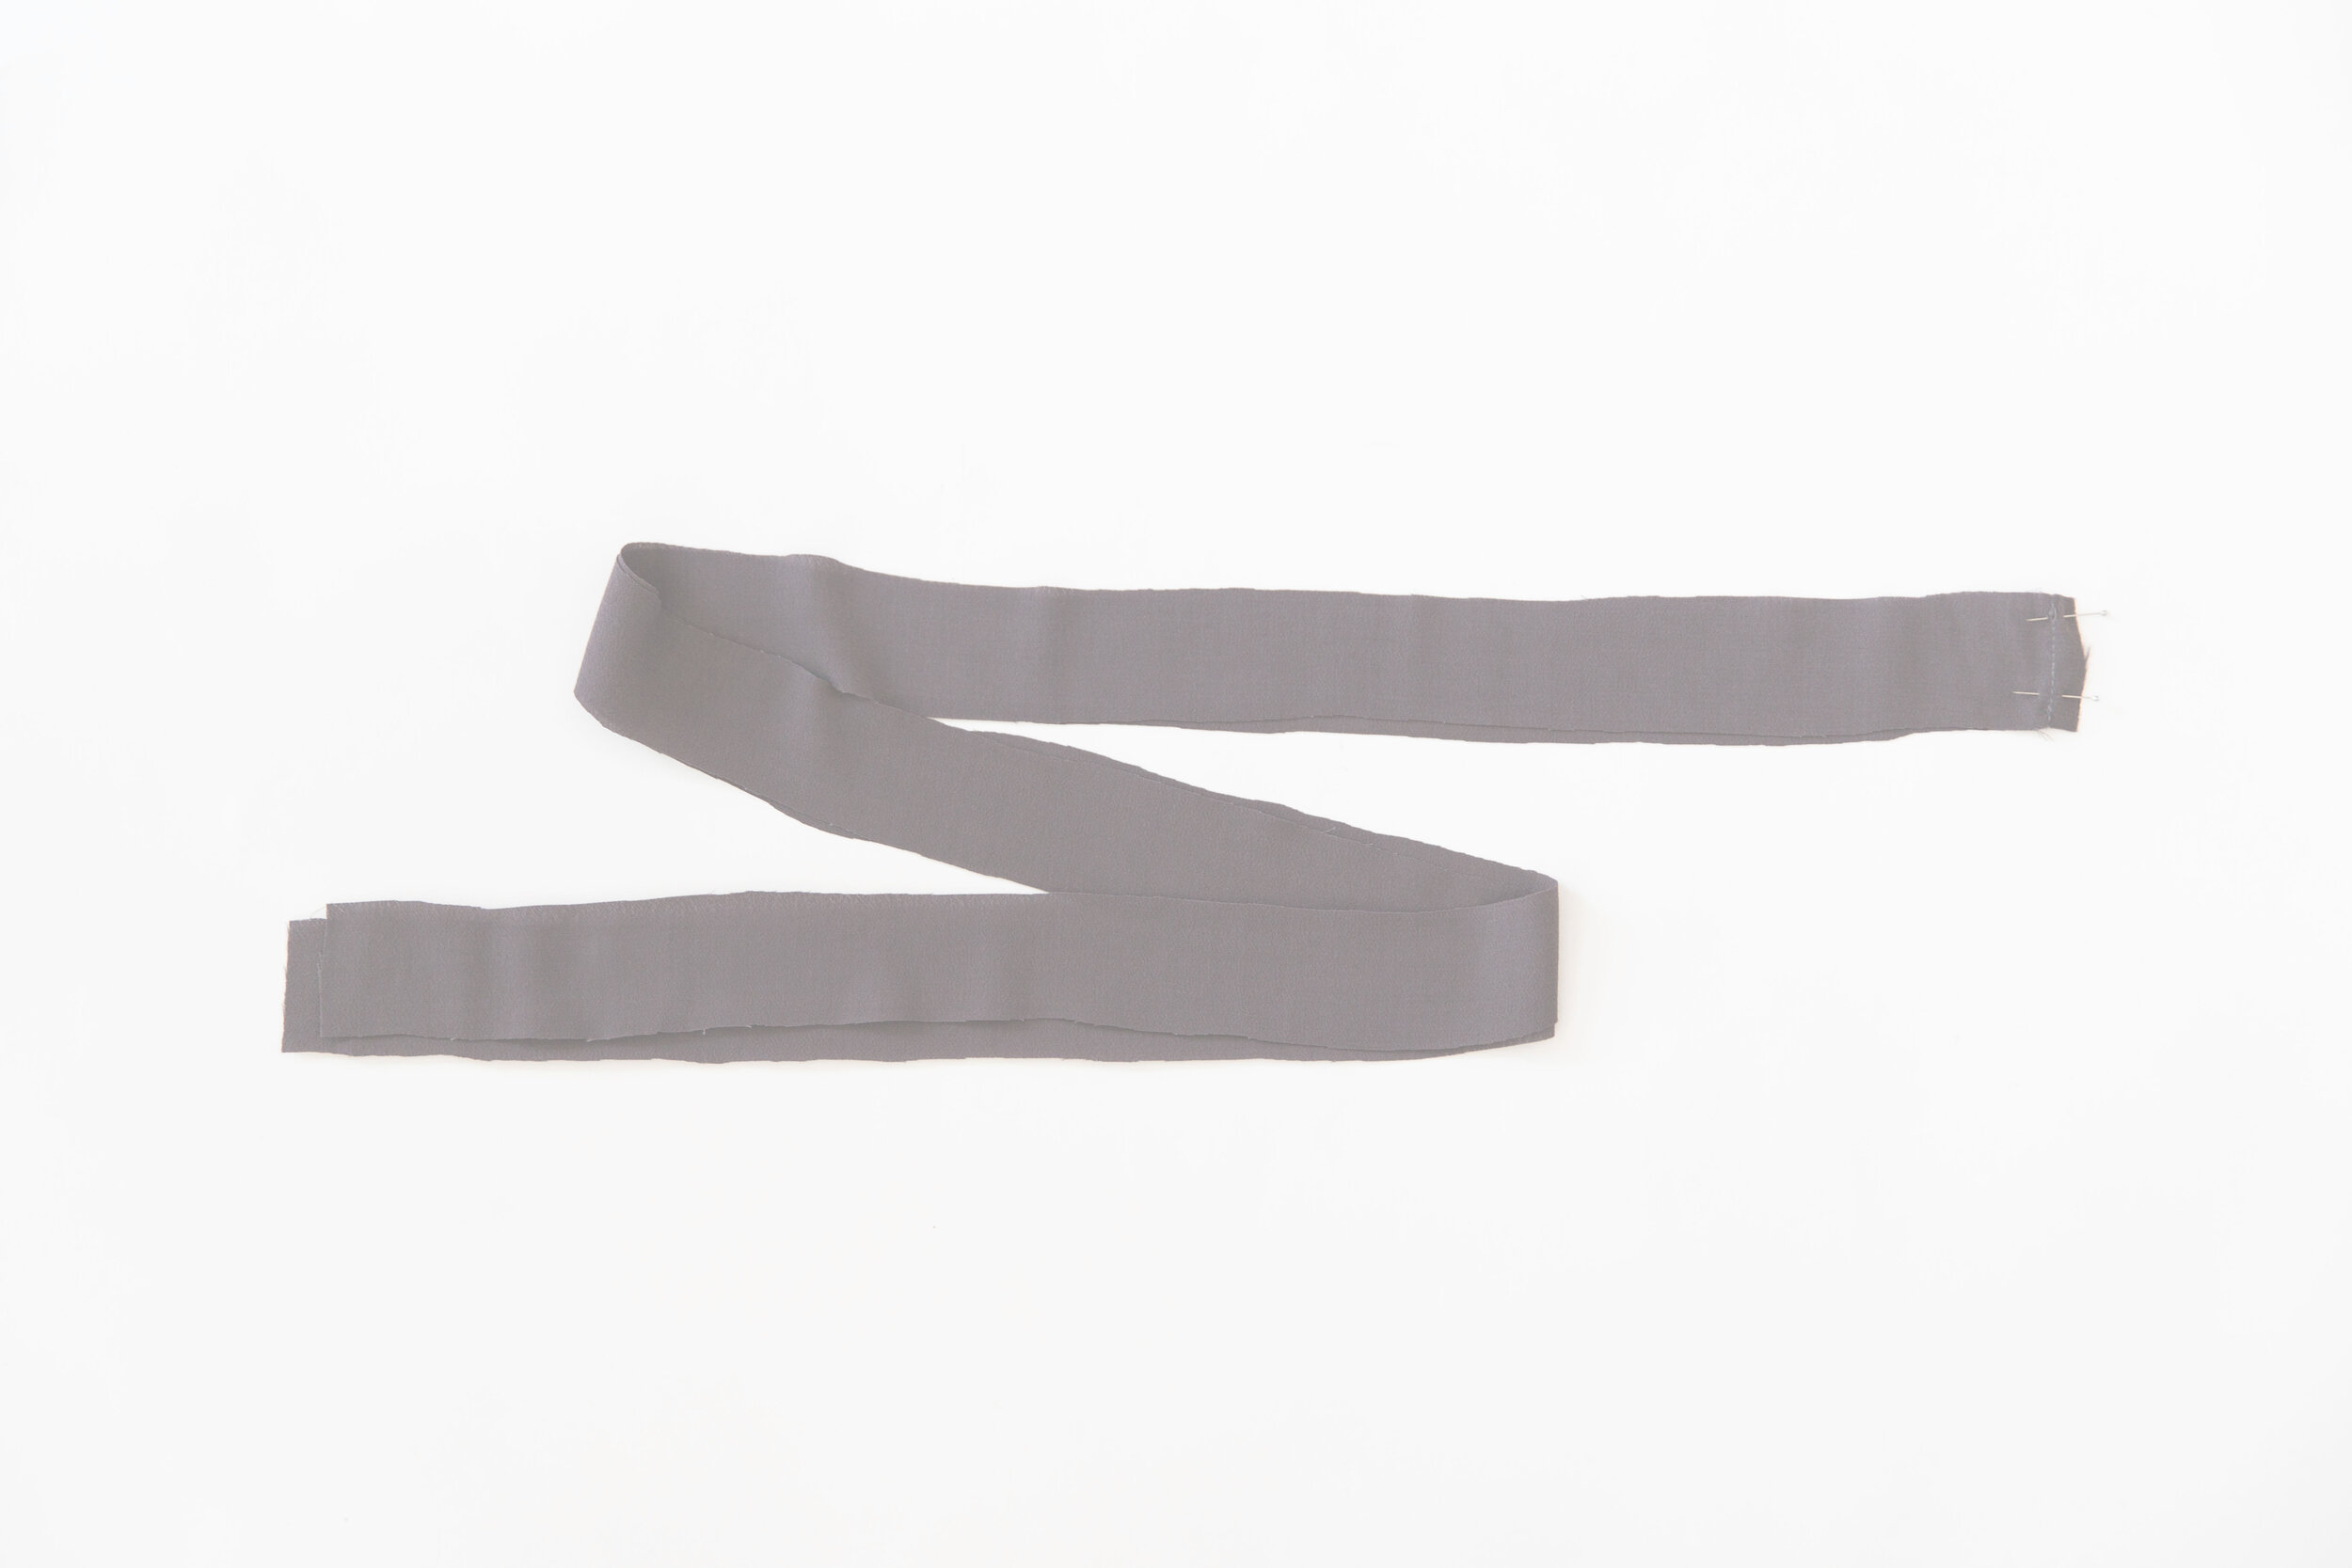
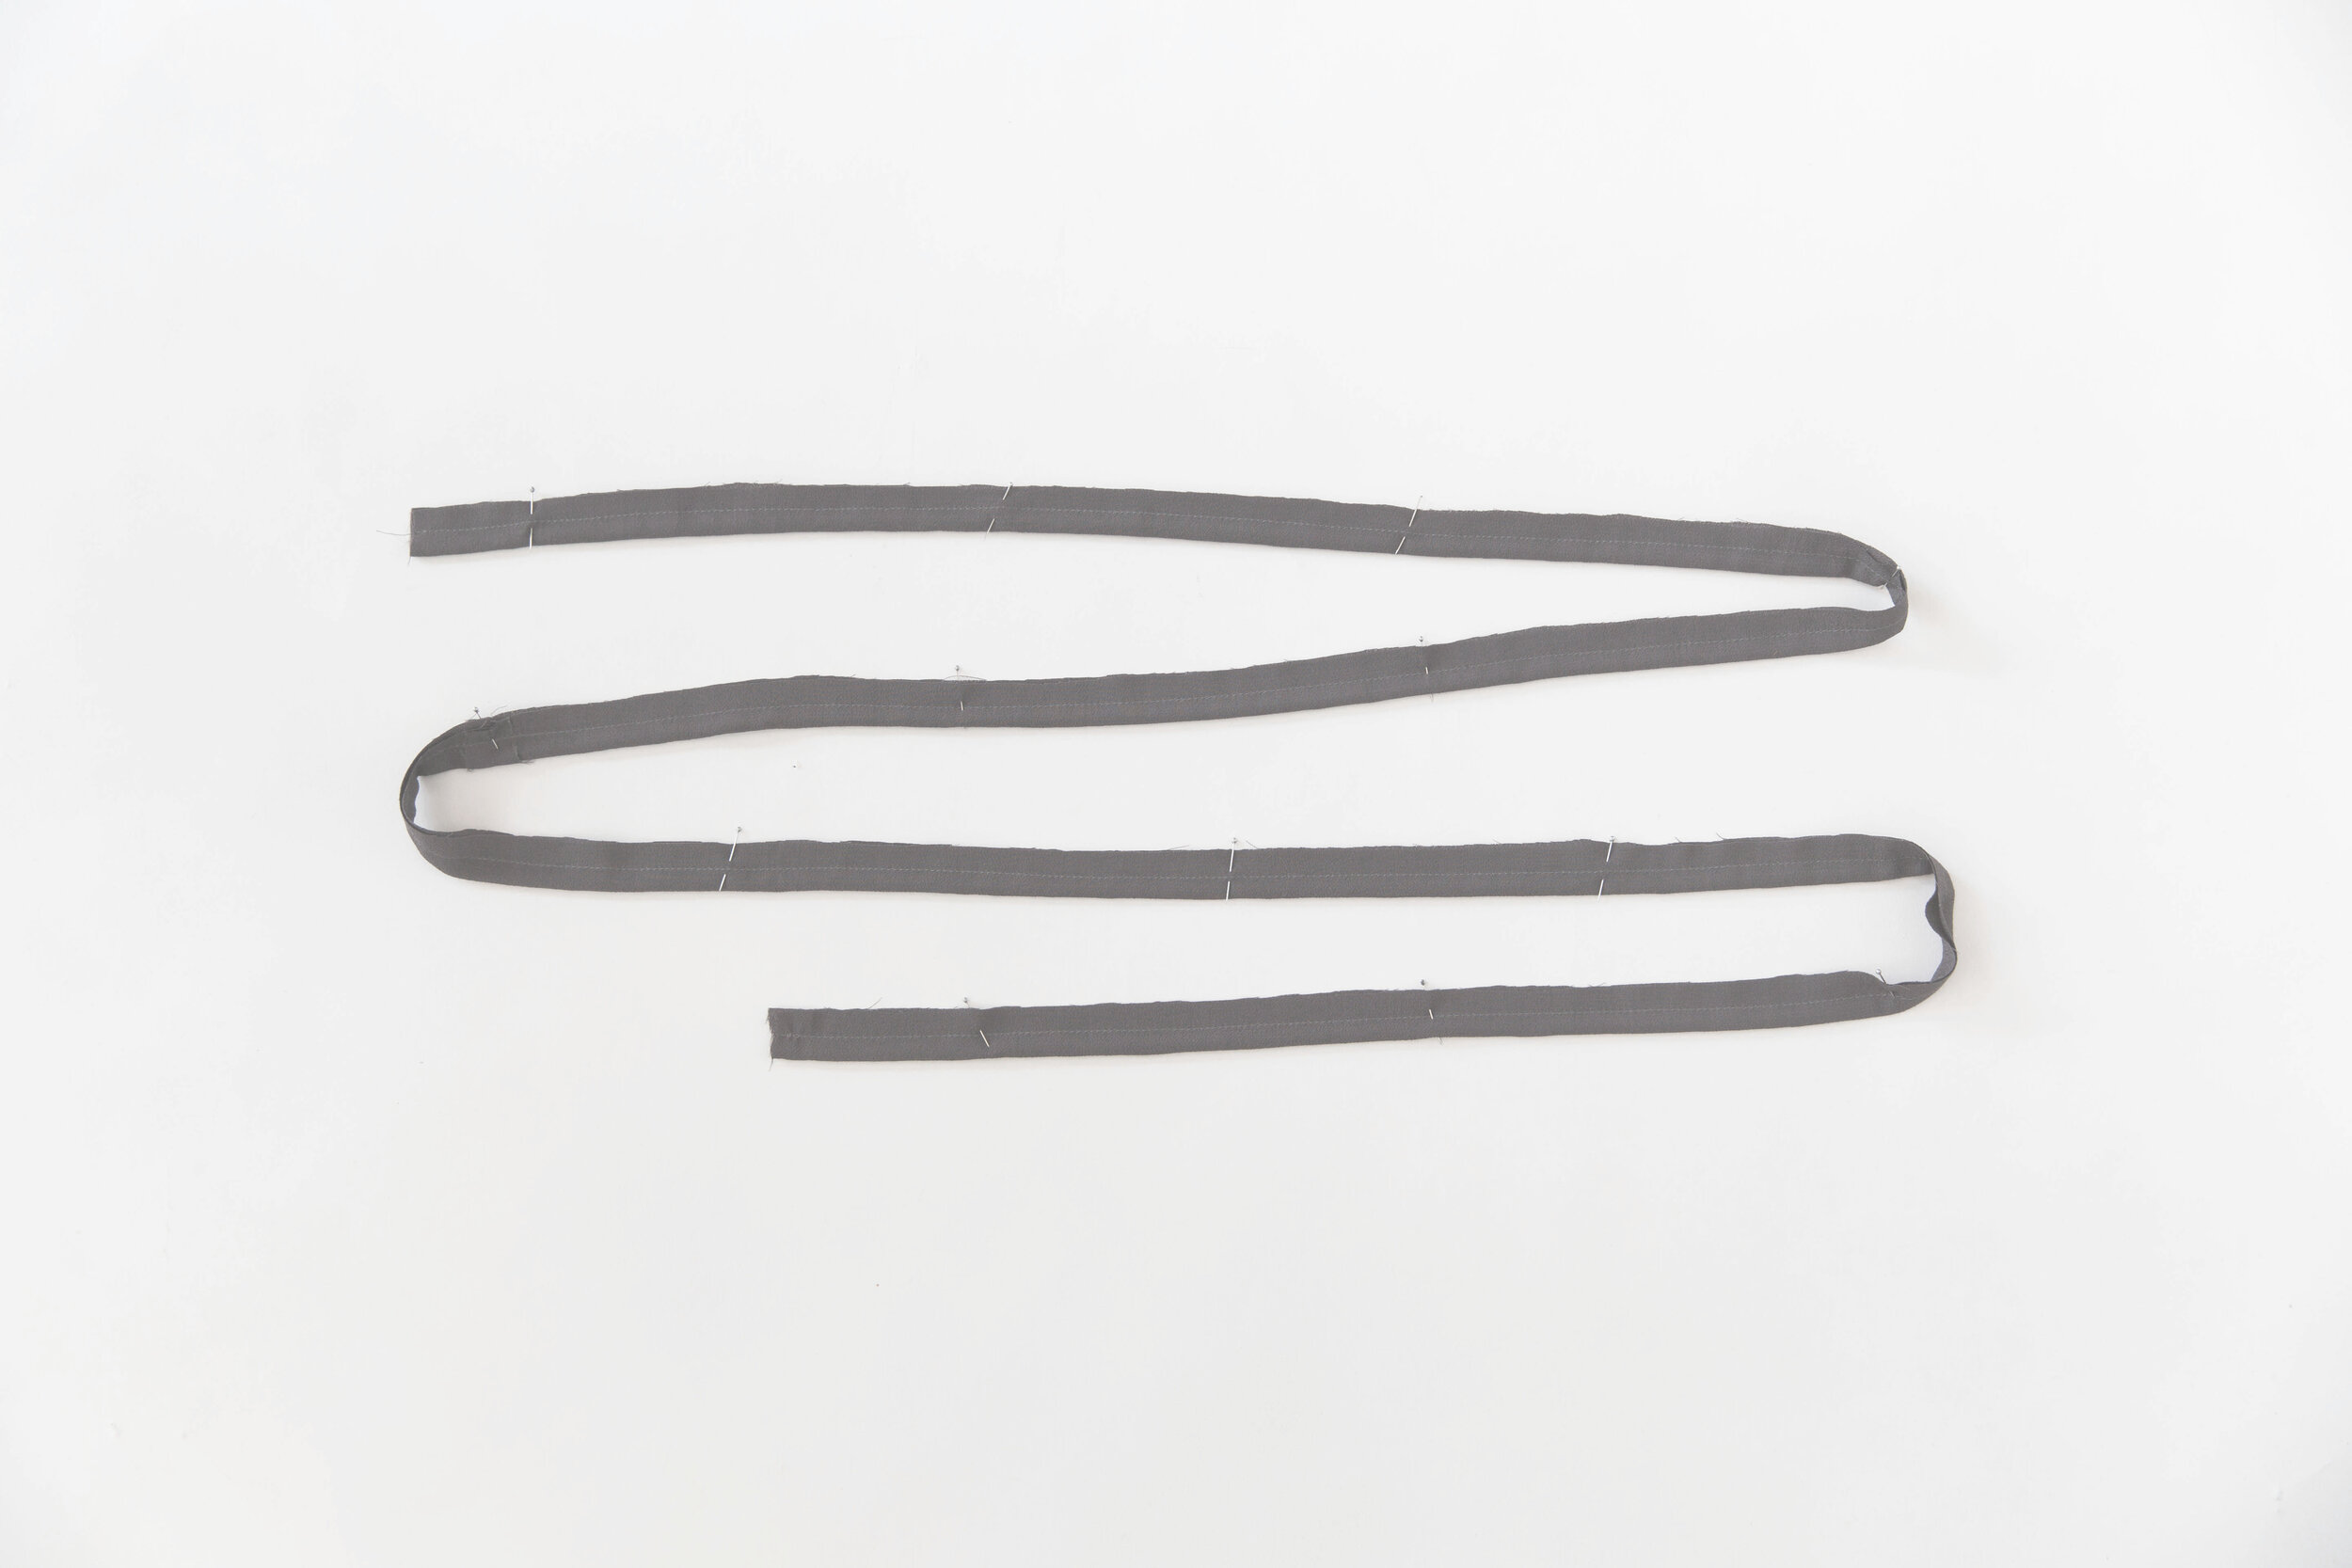
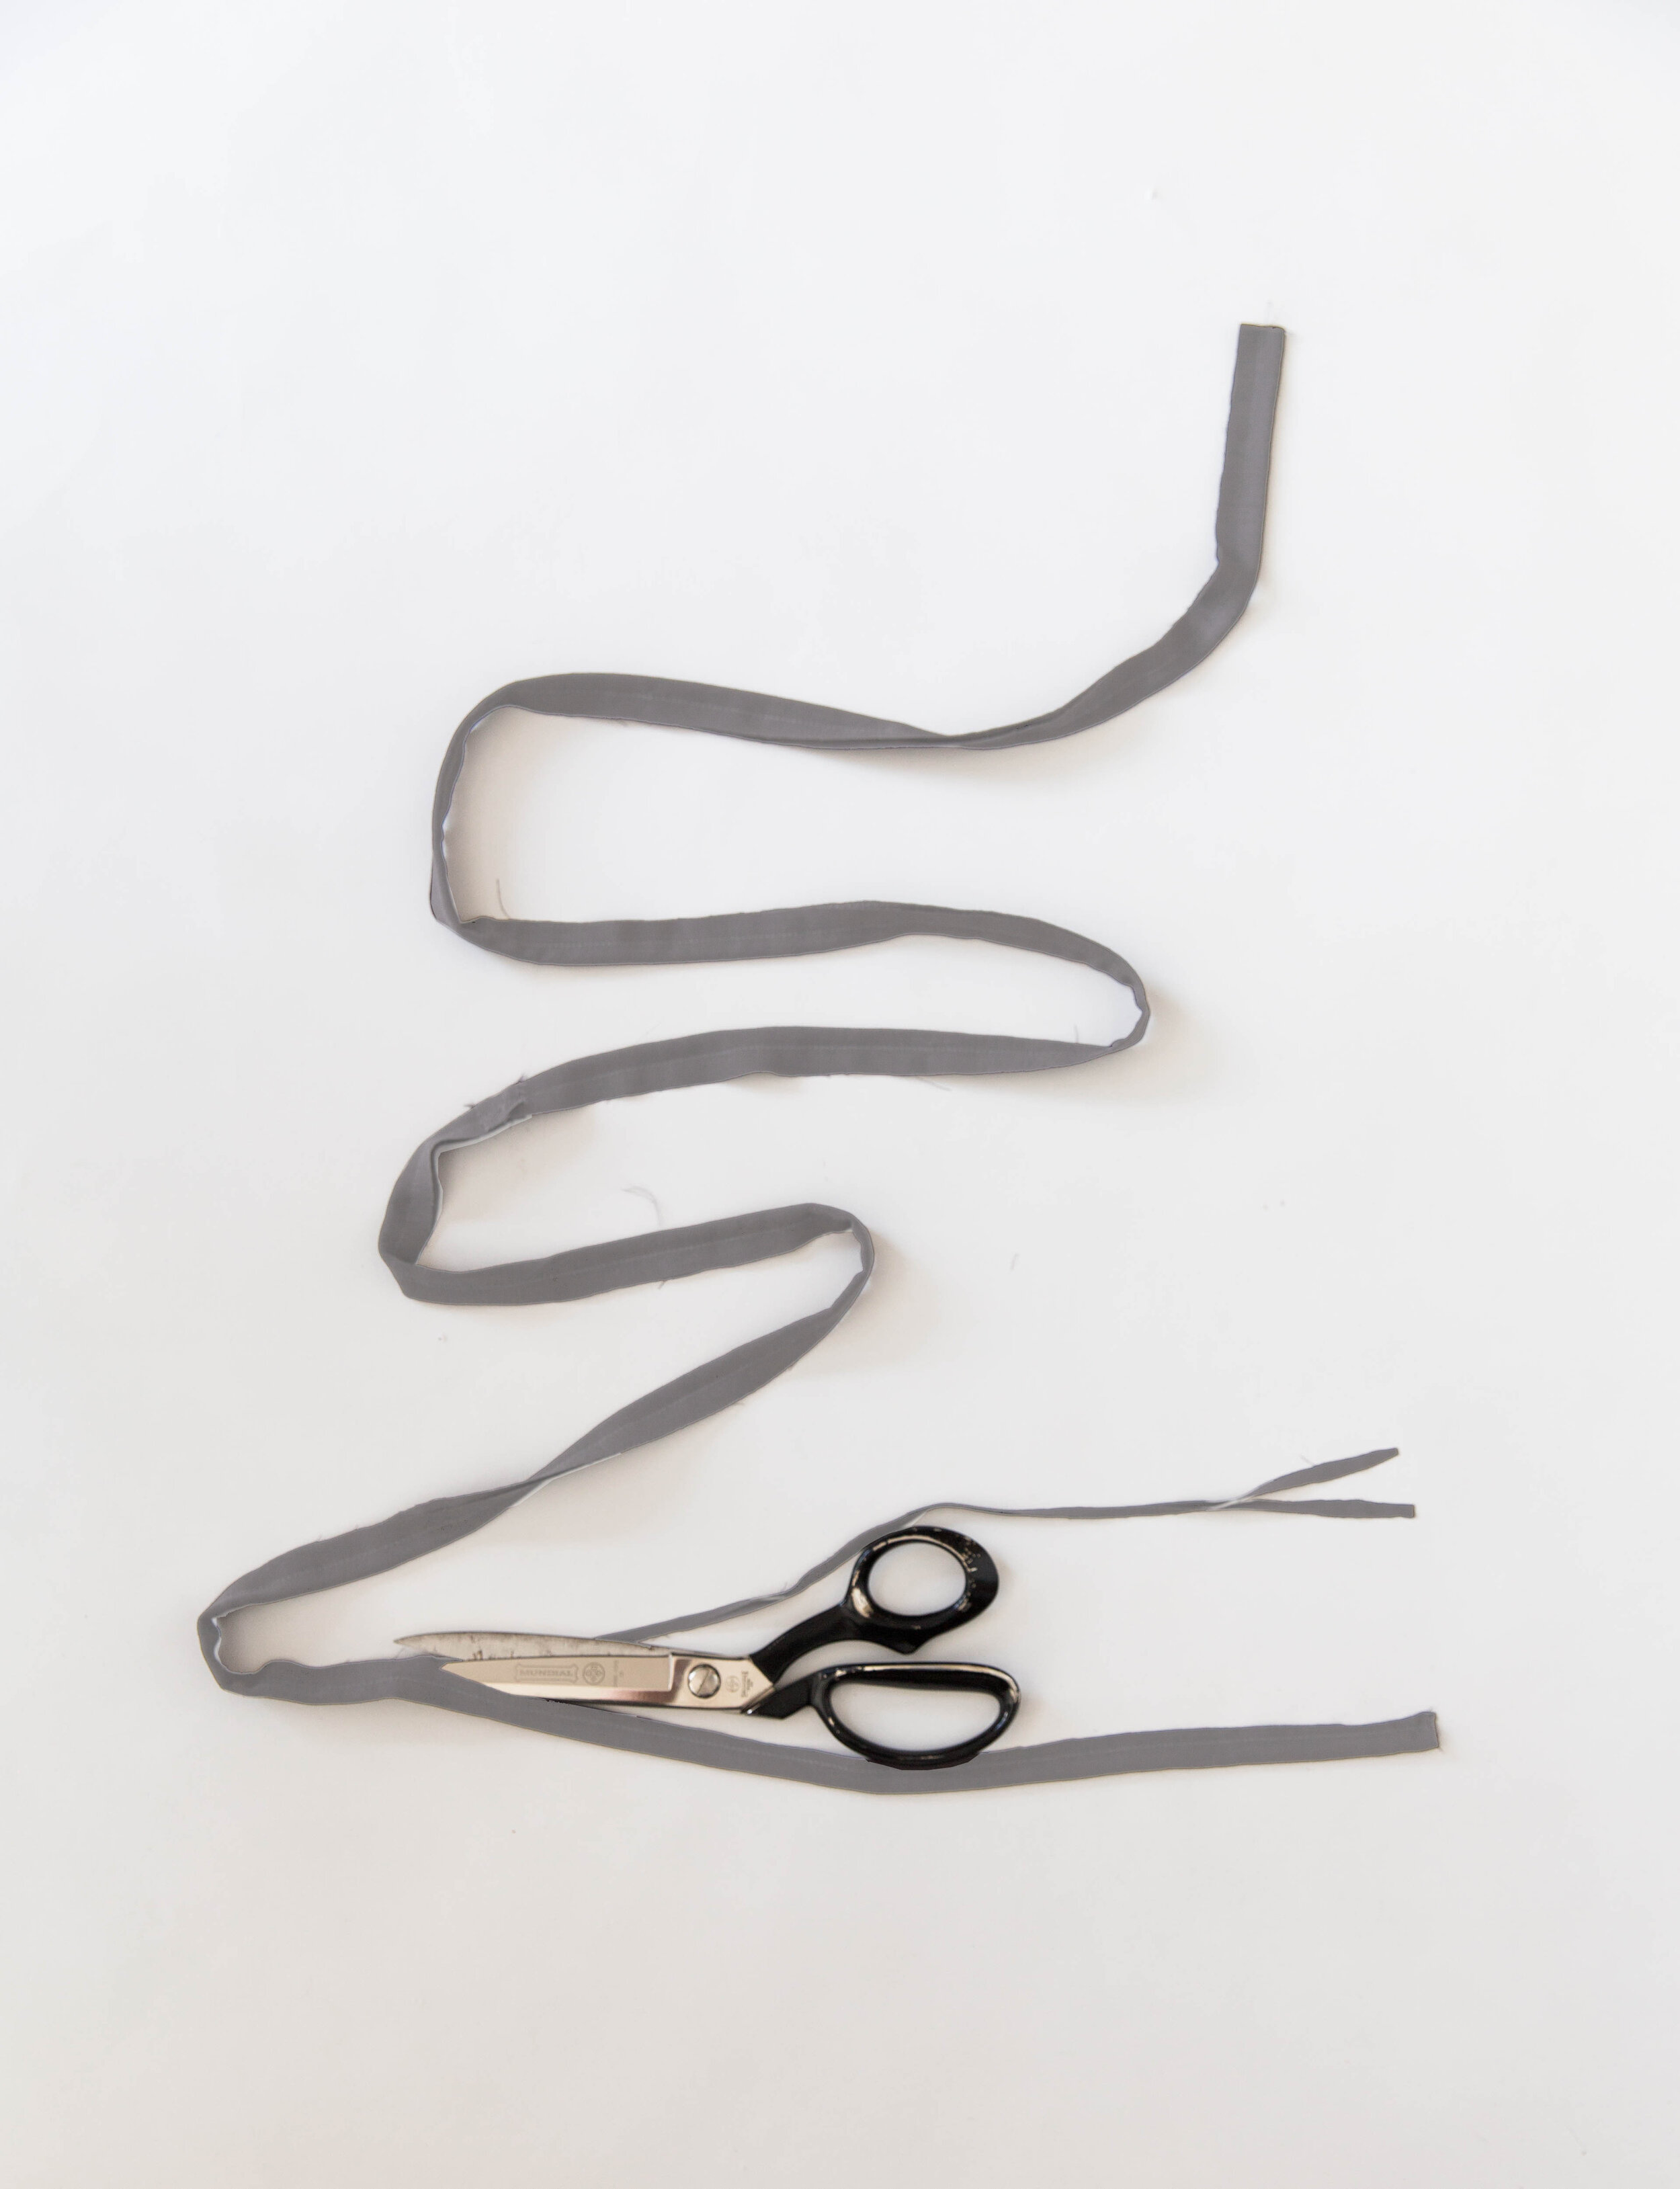
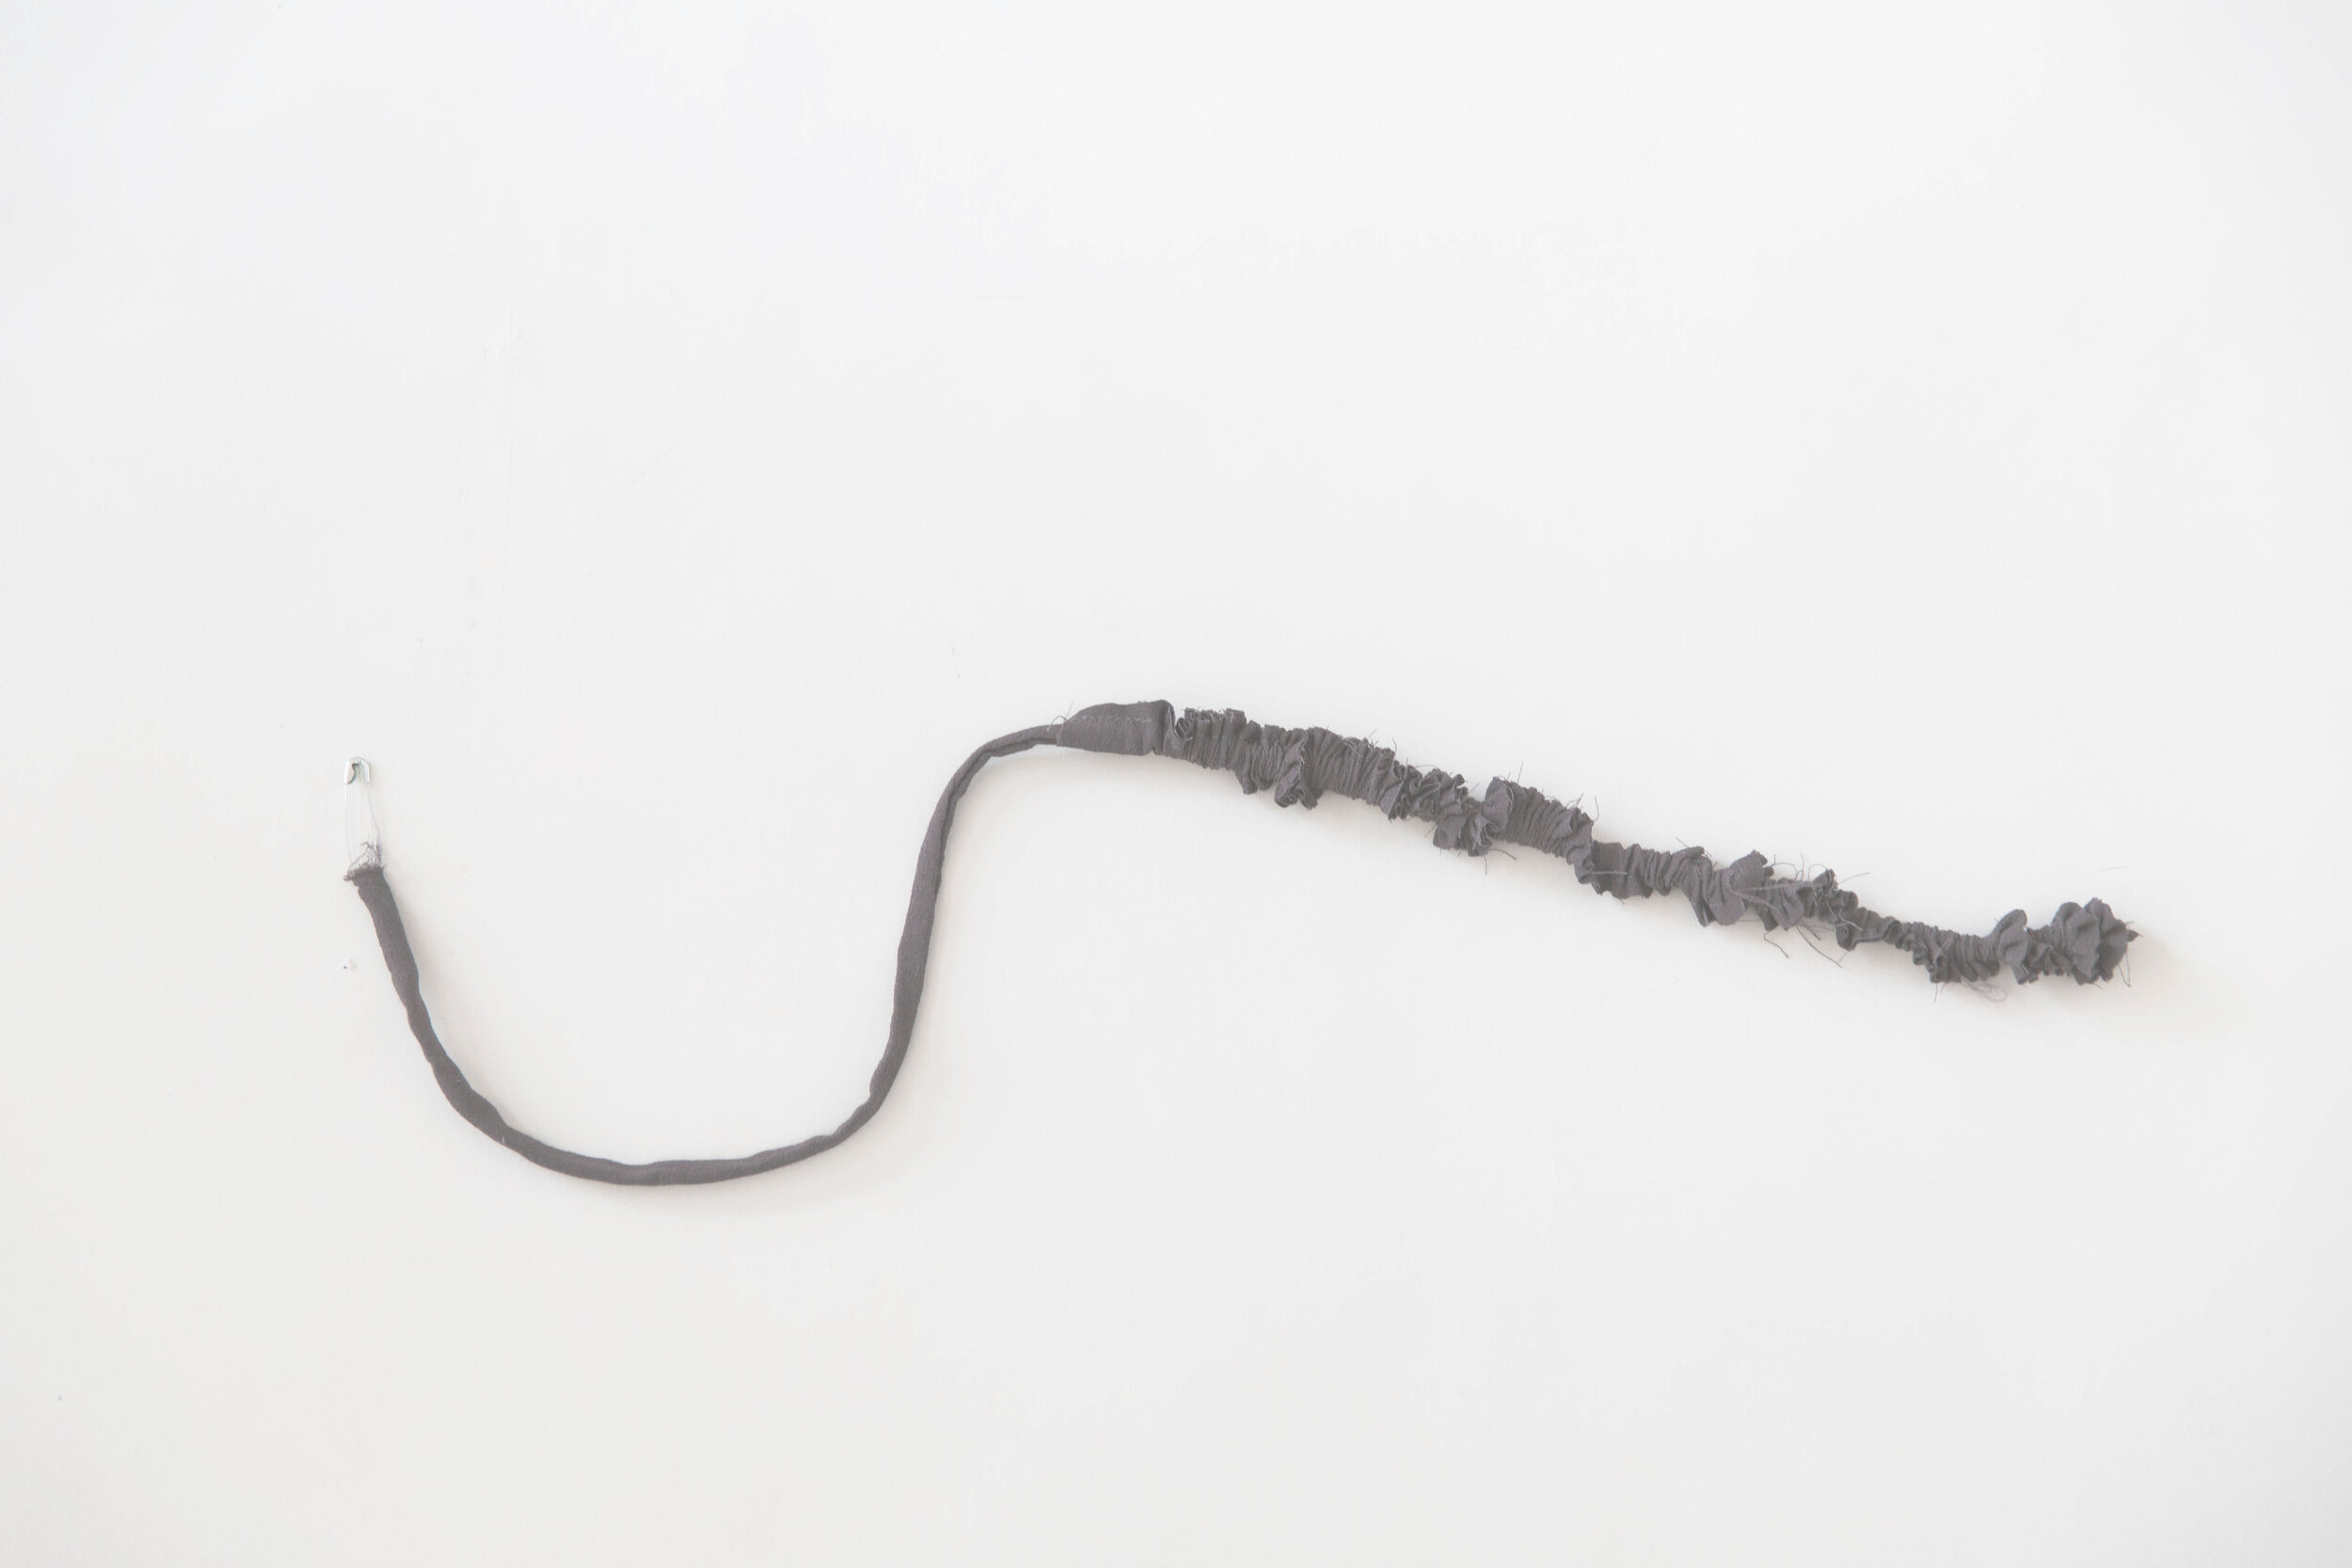
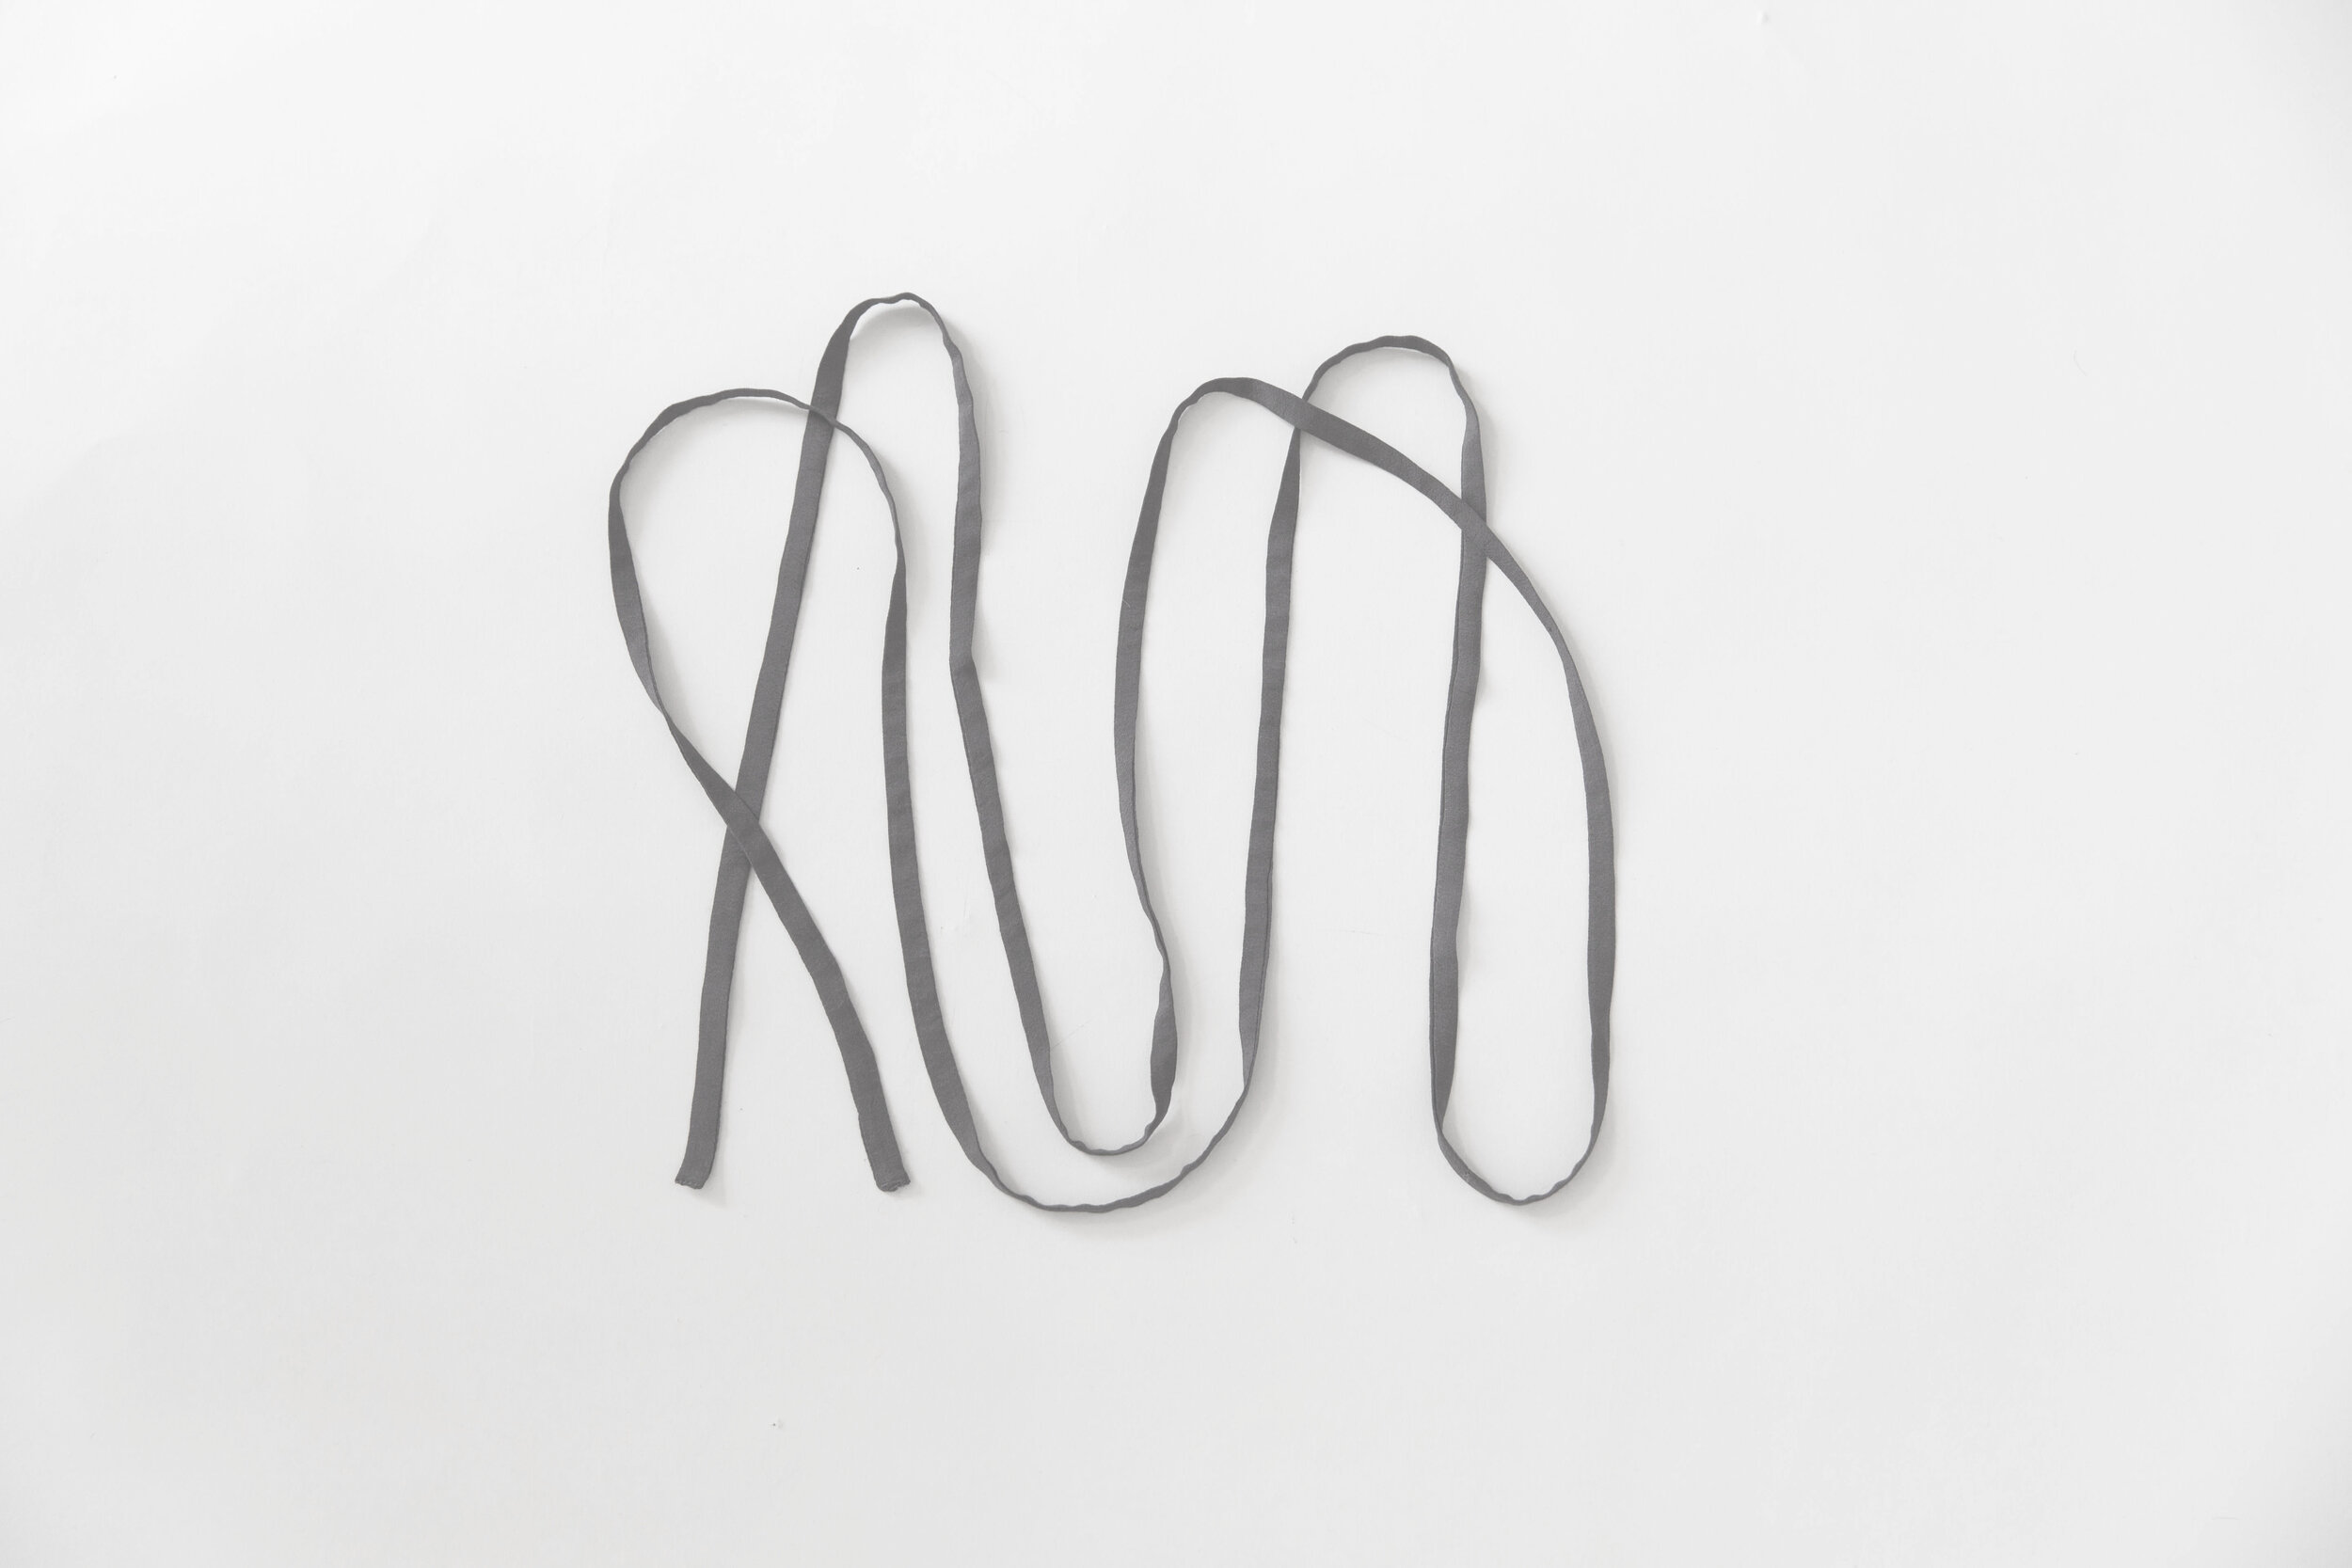
Stitch together the short ends of drawstring pieces with right sides facing. Press seam allowance open, then fold in half the other way with right sides facing and stitch the long ends together. Trim seam allowance in half. Attach a safety pin to one end of tie and thread the tie through itself until it comes out the other end through the right way. Press. Tuck the ends of tie inwards and edgestitch closed.
Step 15
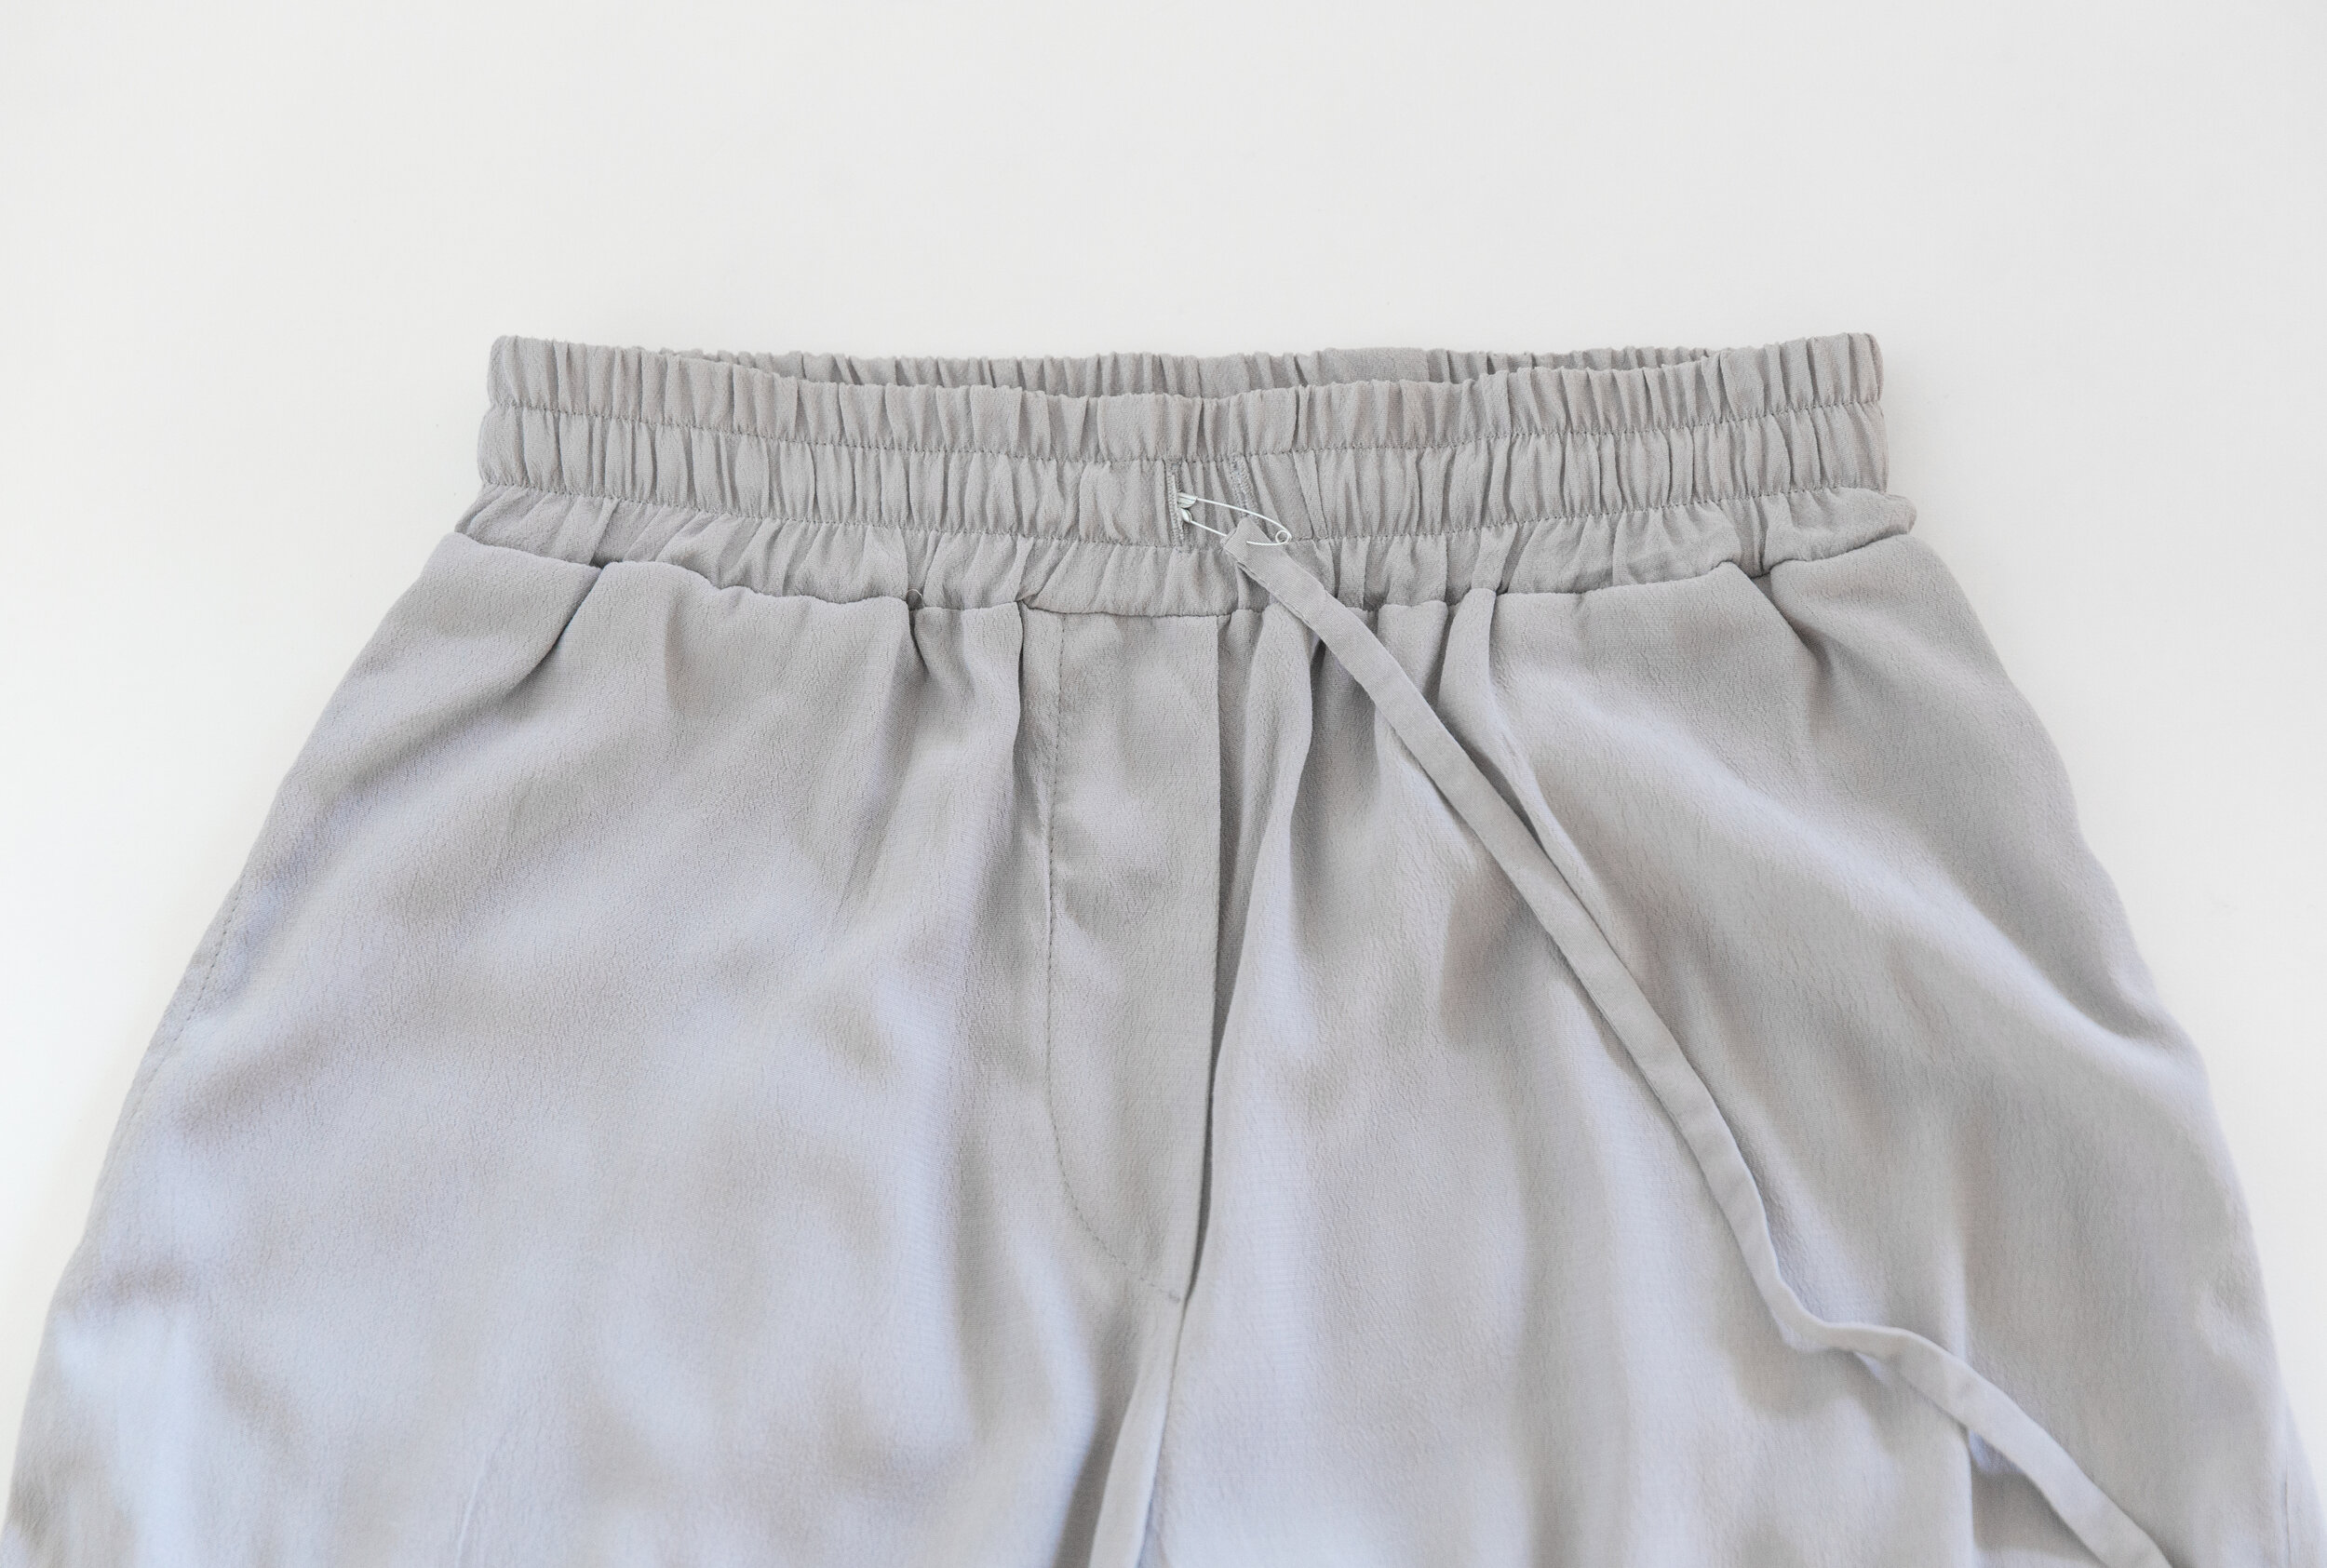
Attach a safety pin to one end of your drawstring. Thread through casing from one buttonhole and coming out the other. If using a pre-made cord drawstring, tie a knot at the very end of each tie to stop it unravelling.
Step 16
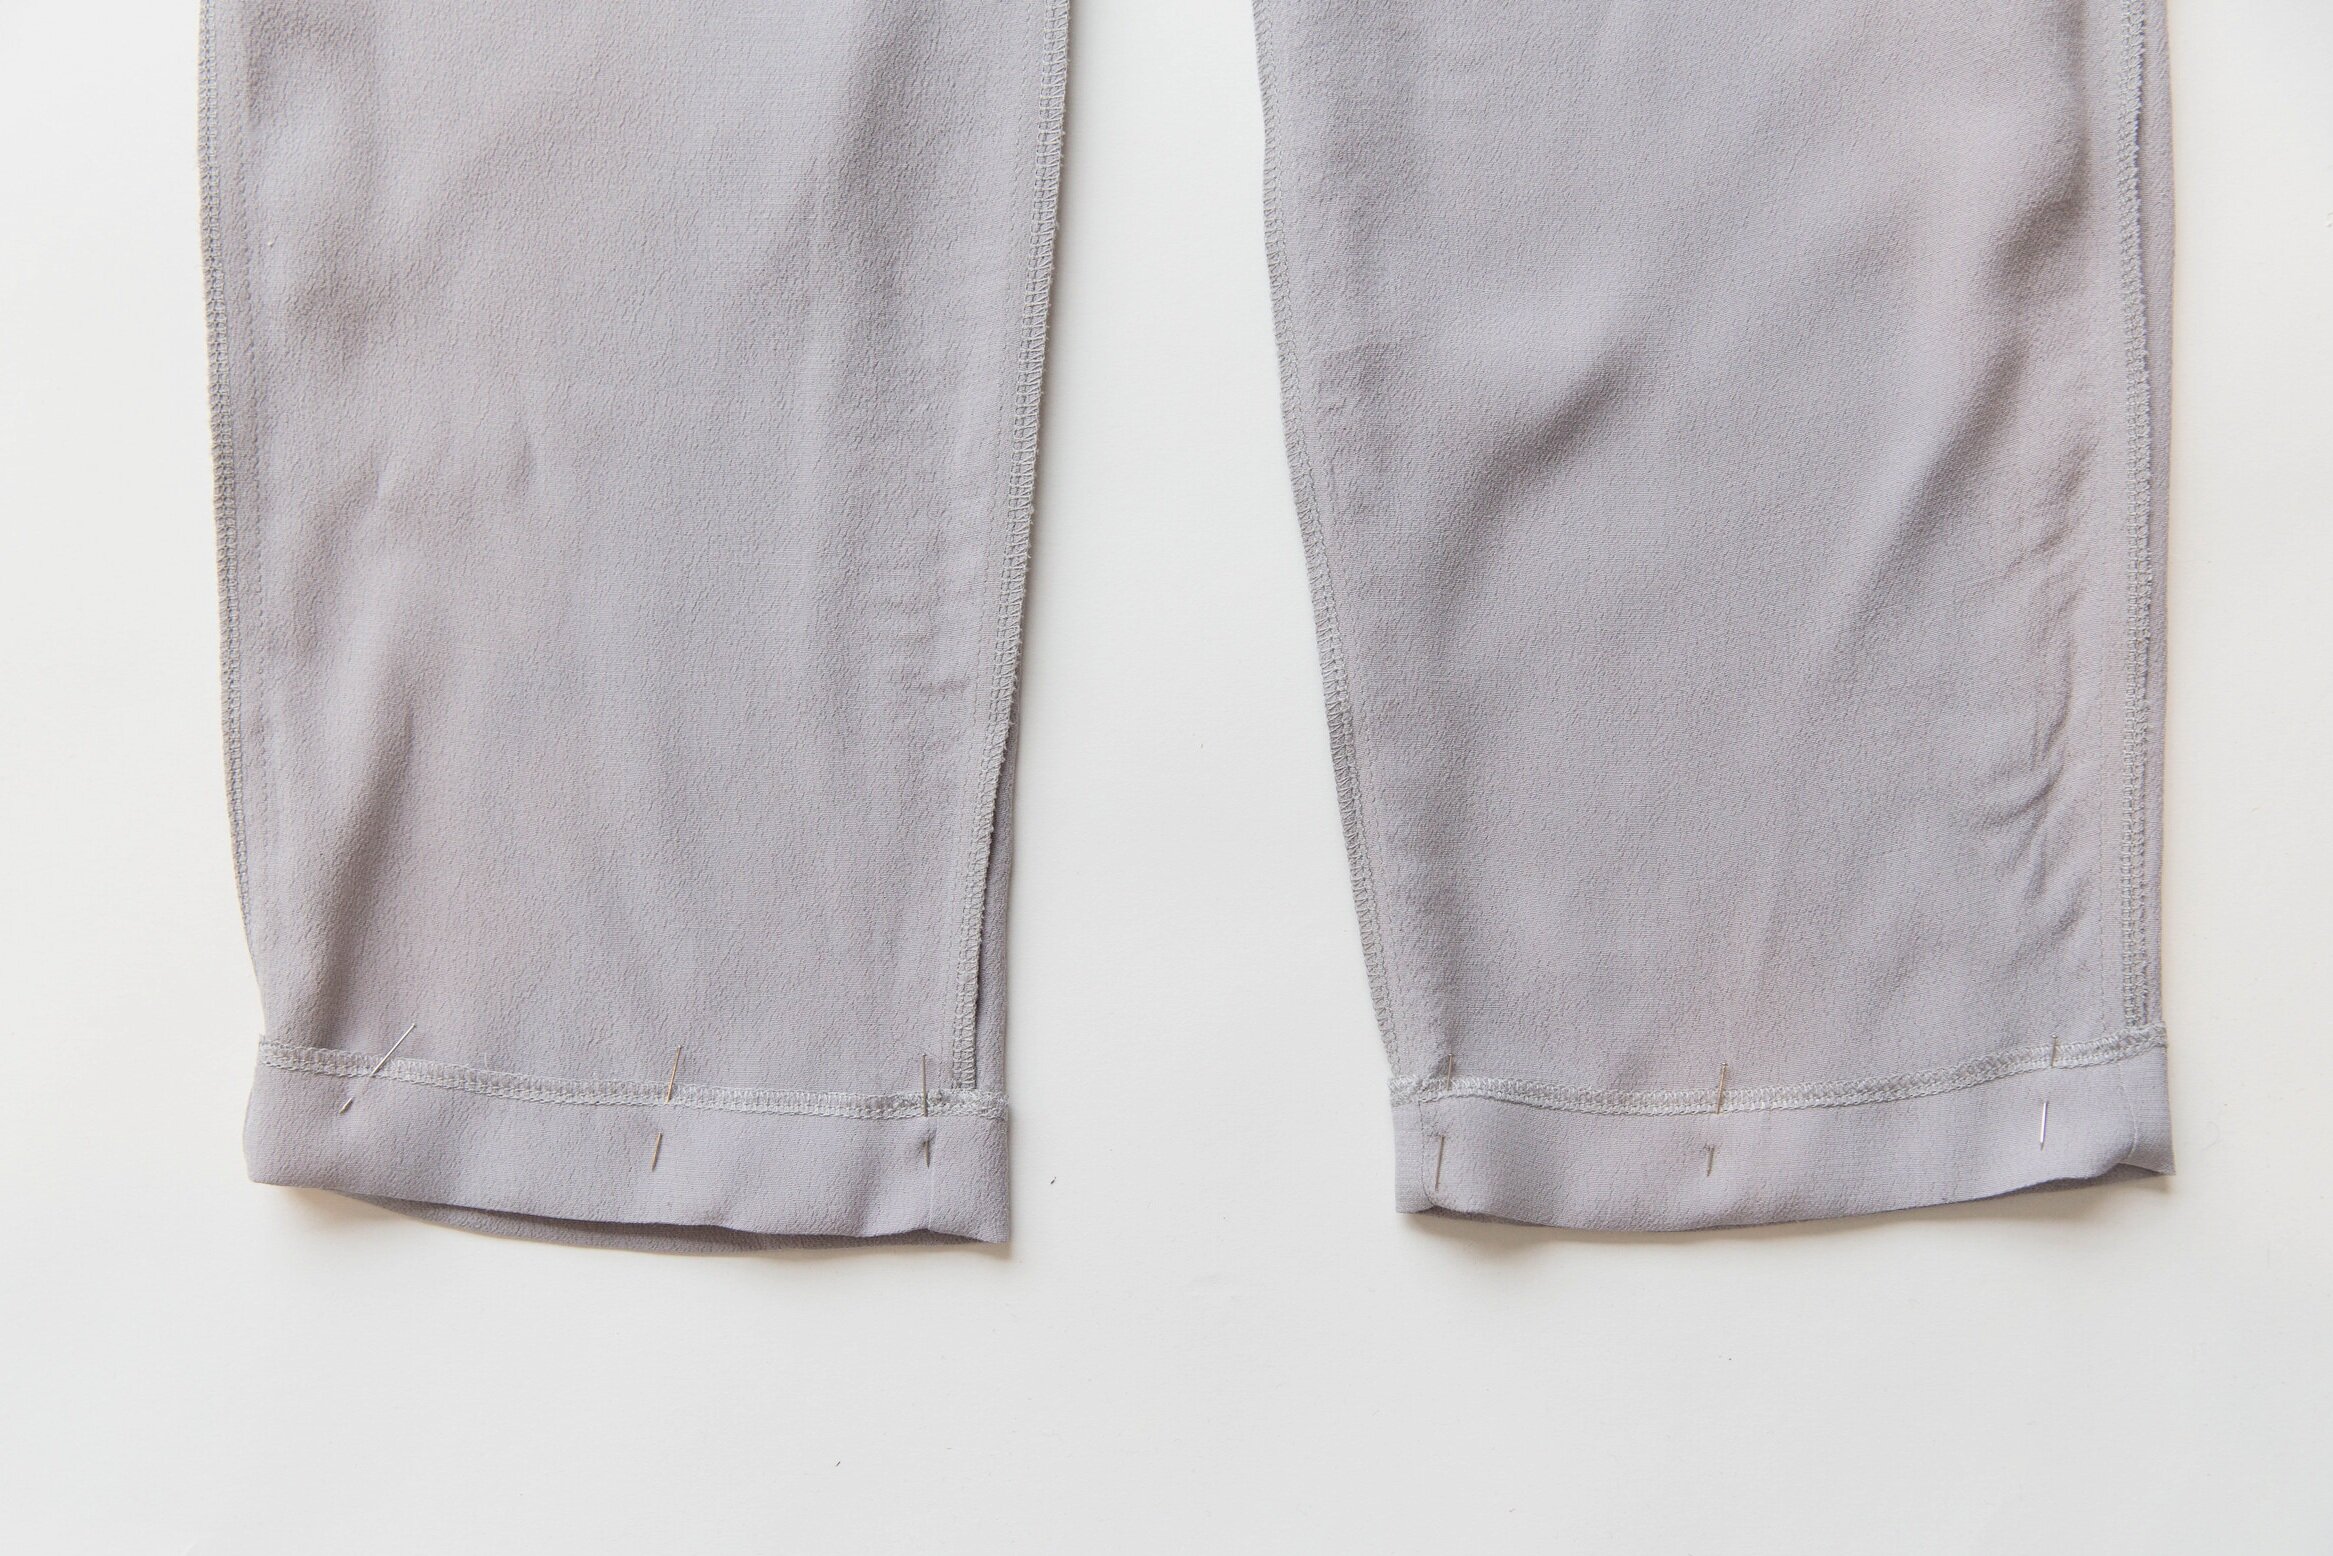
Neaten hem edges. Turn hem up at notches, towards the inside of the pants /shorts and pin in place. Stitch.
Voilà!


