We are so excited to share our new Nova Coat/Jacket with you - we've updated the construction method, added in a new length as well as a new sleeve option. We have added in two smaller sizes and one larger size. If you have our first edition Nova (Sapporo) and would like to upgrade to the new version PDF, you can find the details here.
Here's a step-by-step tutorial to take you through the construction of your soon-to-be favourite coat. We've used a heavy-weight linen and a cotton-silk lining from The Fabric Store.

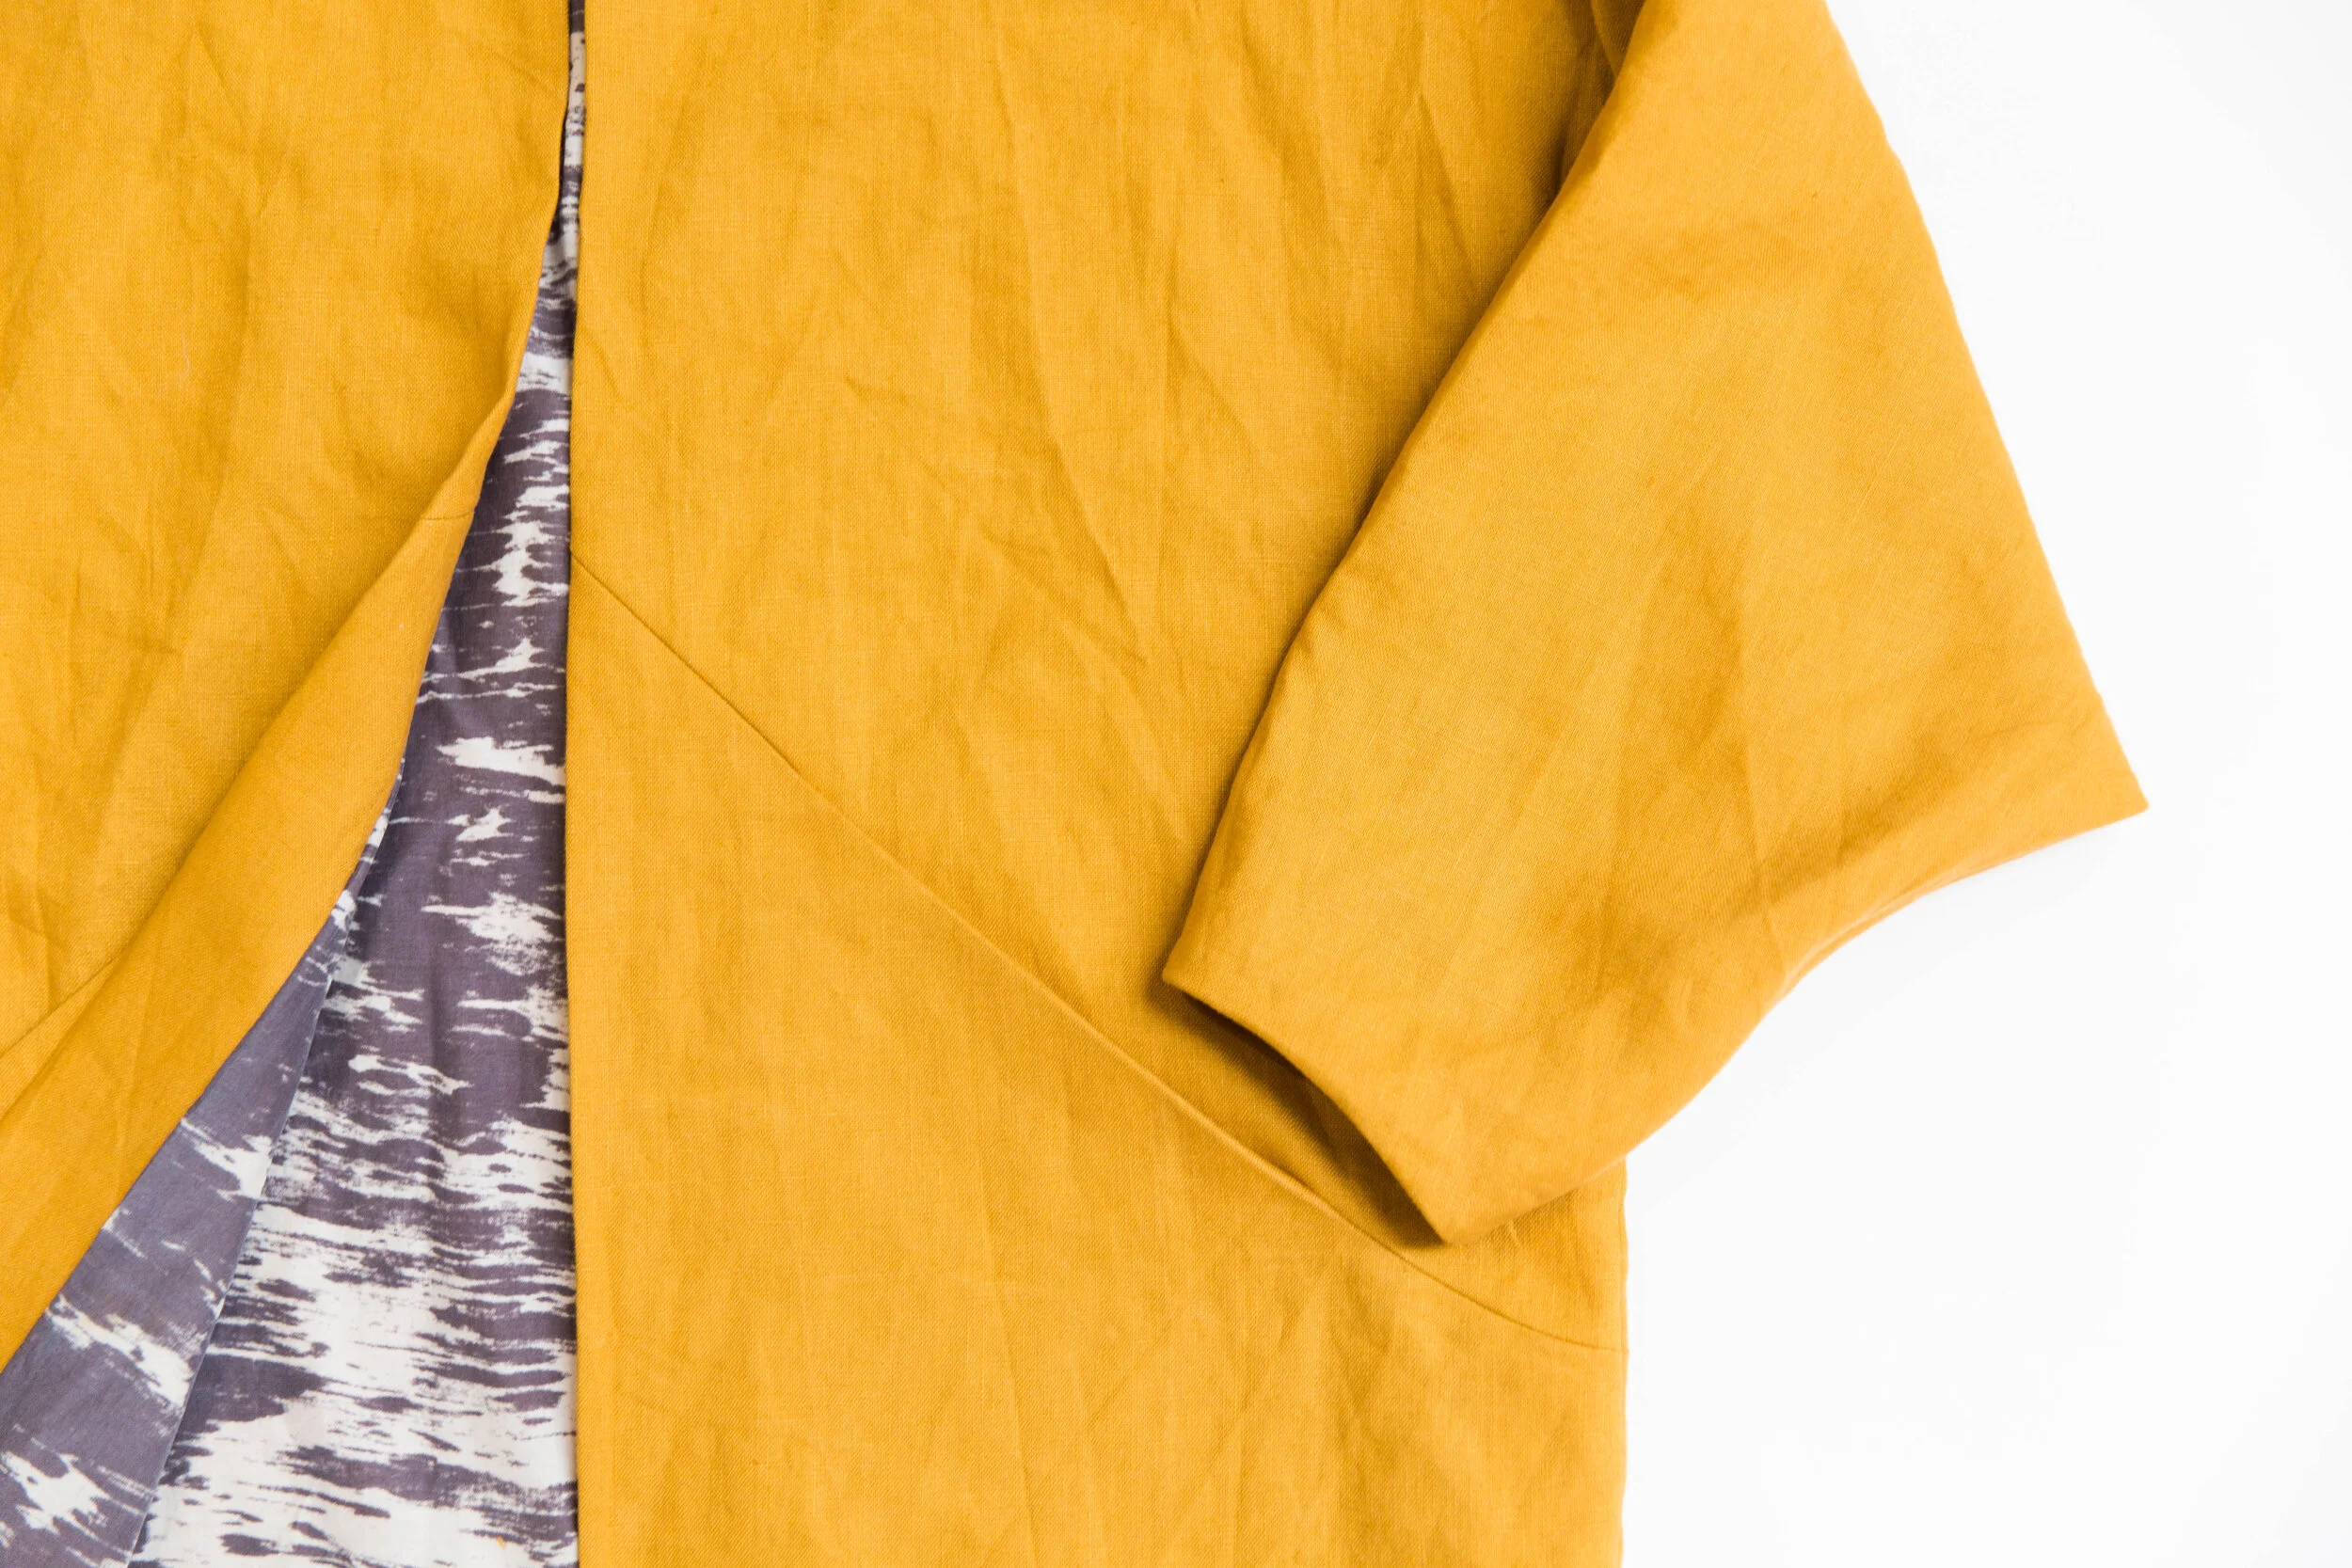
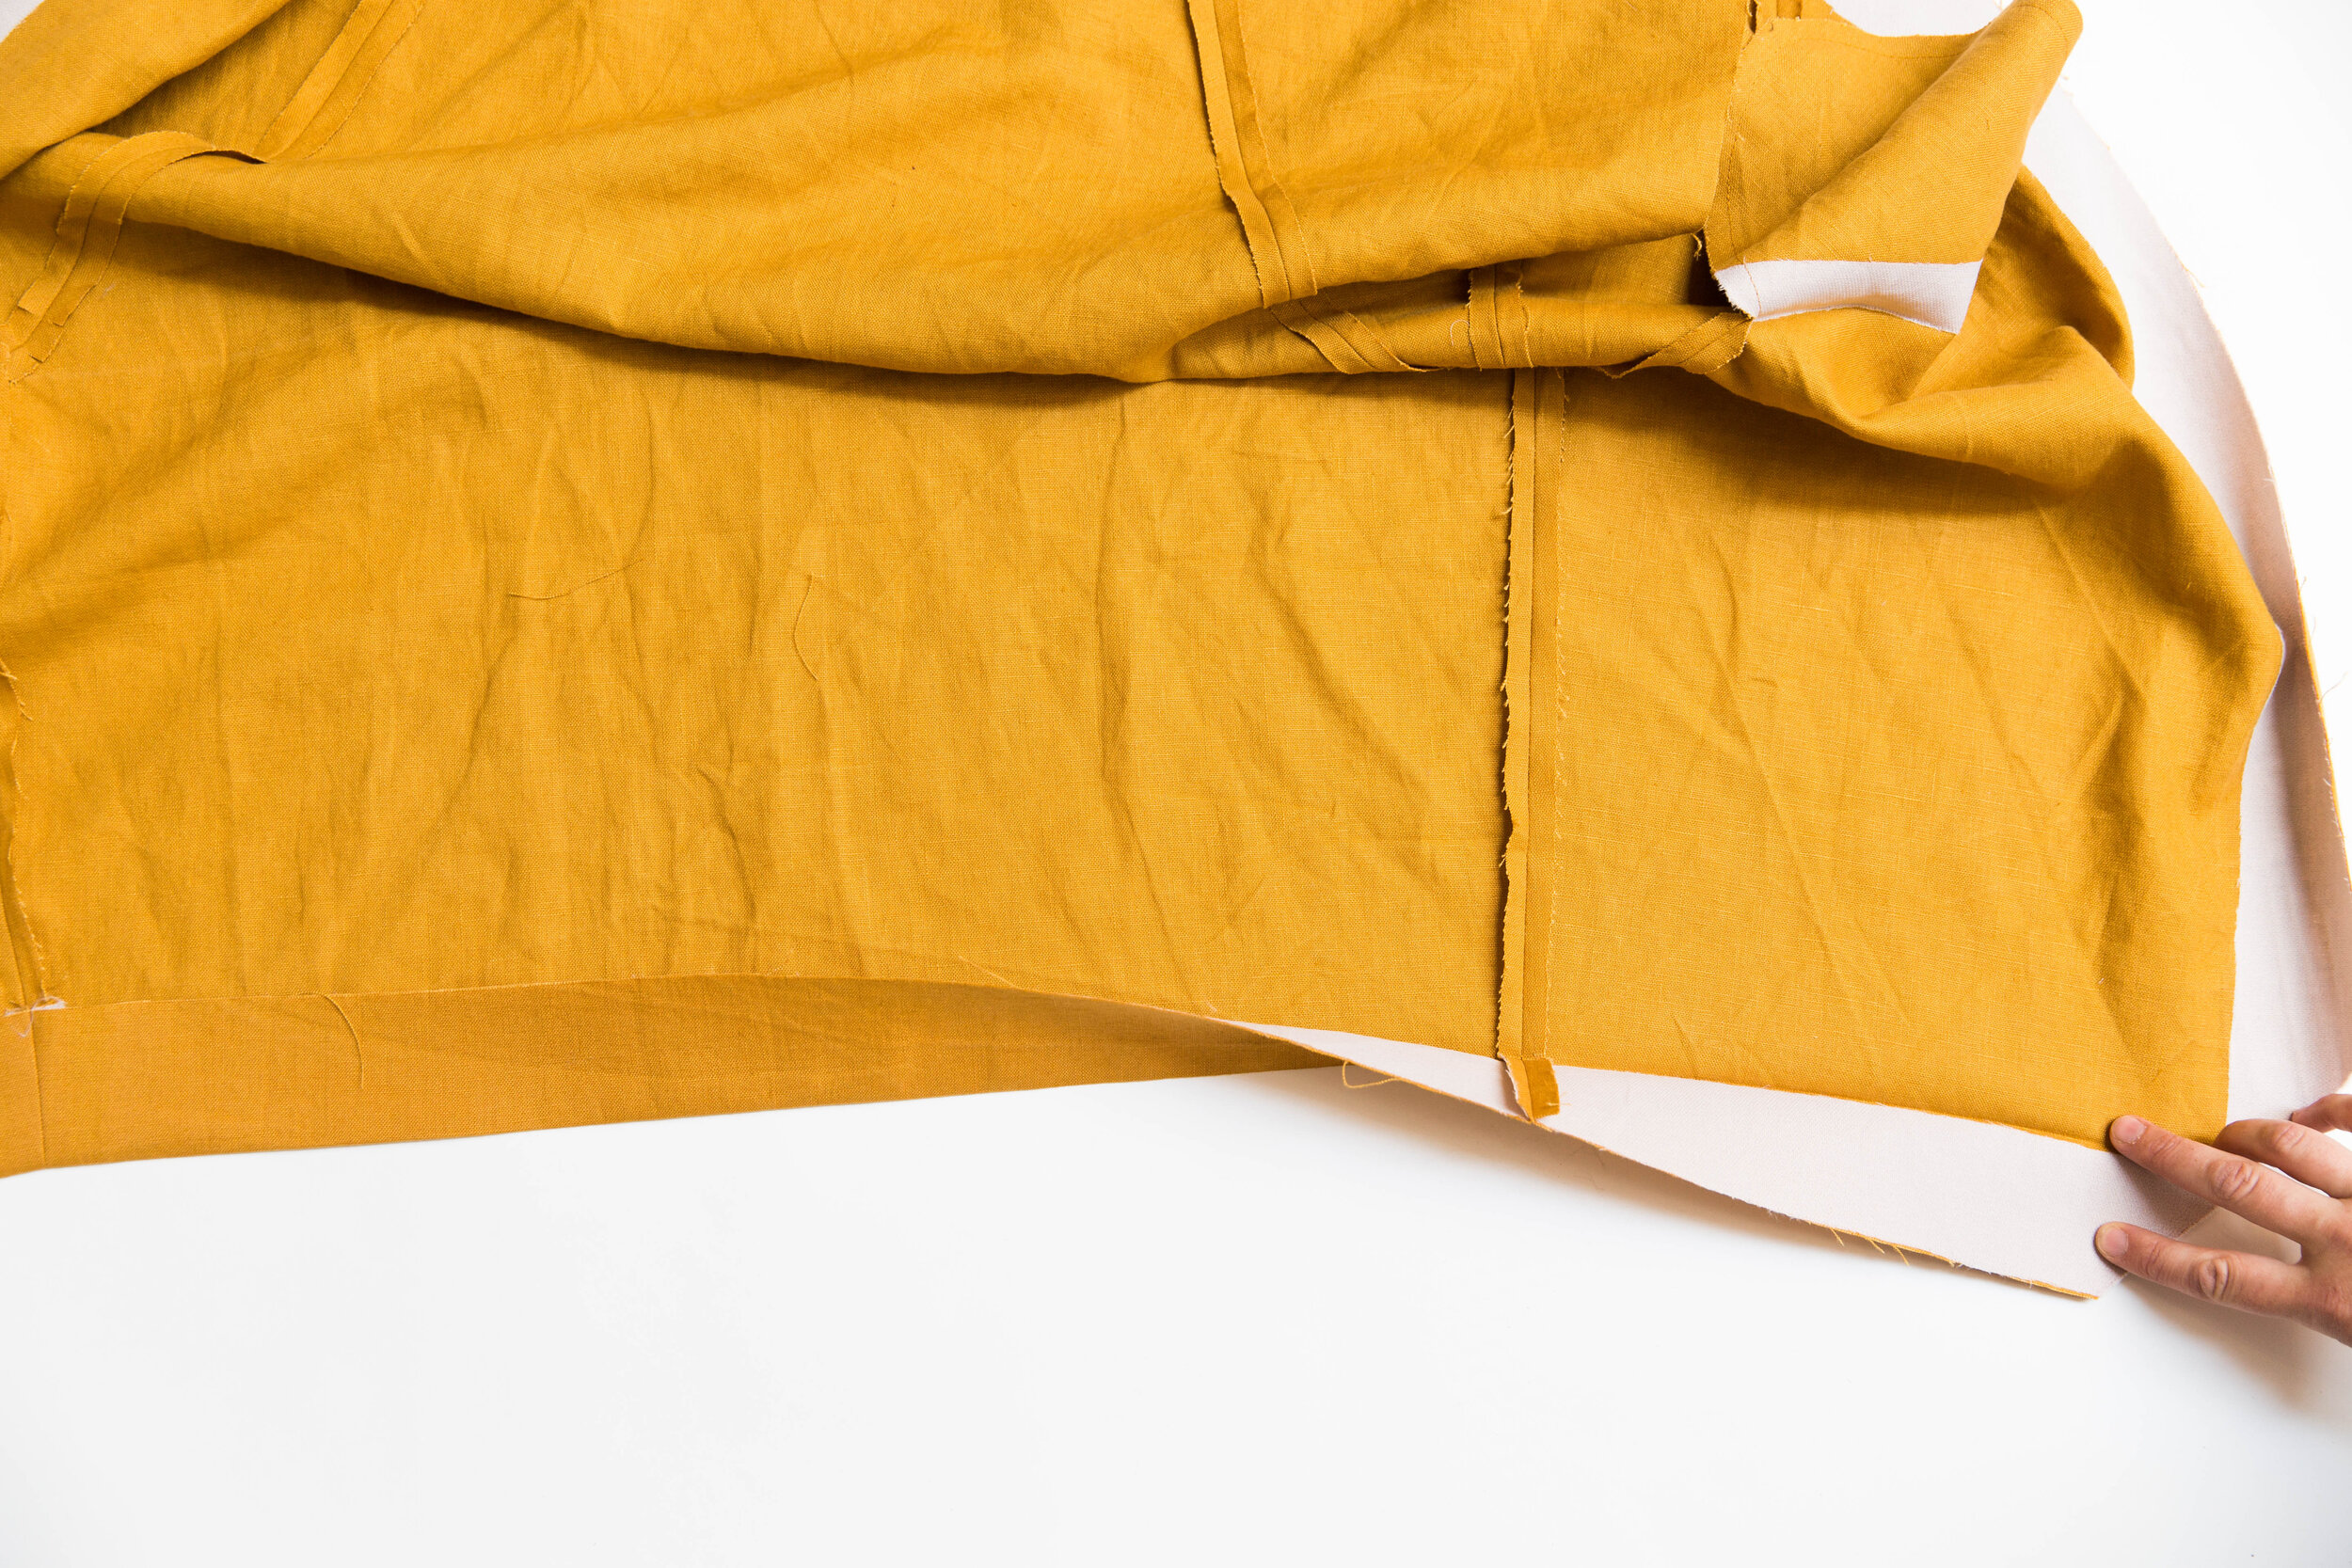
Step 1
This is what your lower front pieces should look like once your fusing is in place.

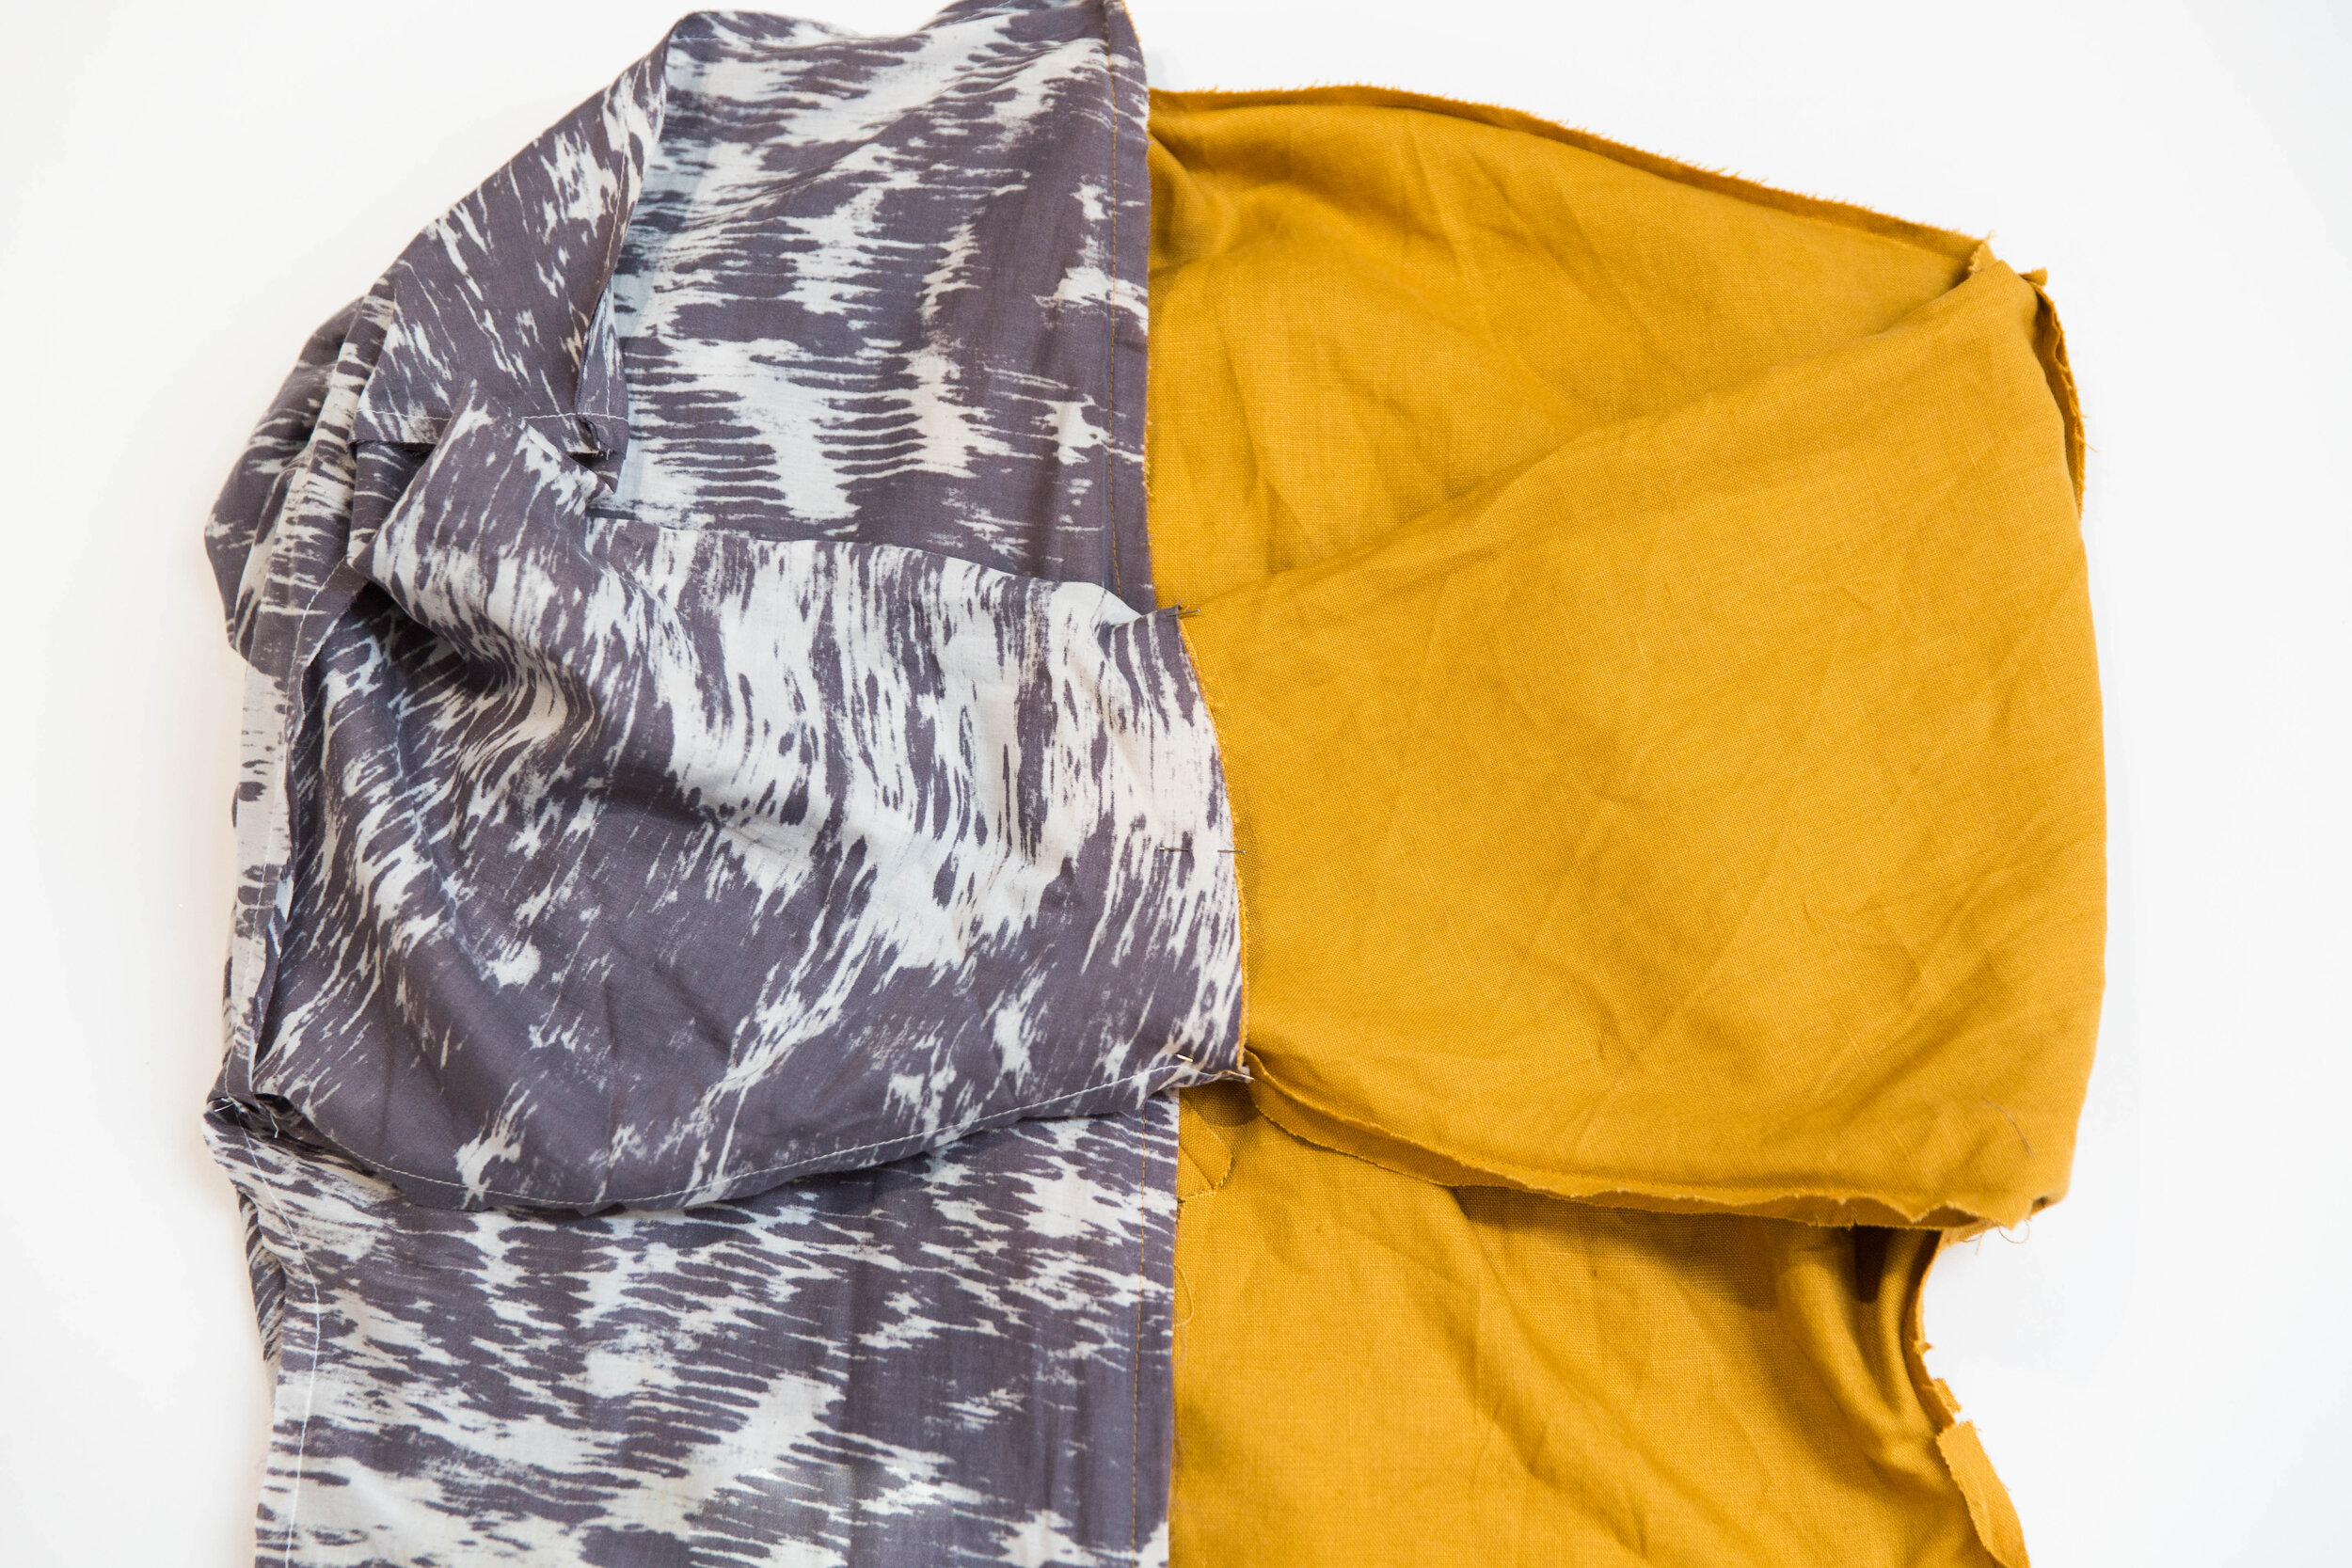
Step 2
Pin upper and lower front pieces together where pocket bags meet with right sides facing and stitch together.

Step 3
Clip into corners on each side of pocket bag. Depending on what fabric you're using, you may also want to clip curved seam. Press seam allowances open either side of the pocket bag. Fold pocket bag down toward lower front and from the right side, press along fused edge.

(Showing pressed pocket bag from right side).

Step 4
Pin side back to back piece with right sides facing, matching notches. Stitch together.

Step 5
Clip around curved part of seams being careful not to clip through your stitch line then press seam allowances open.

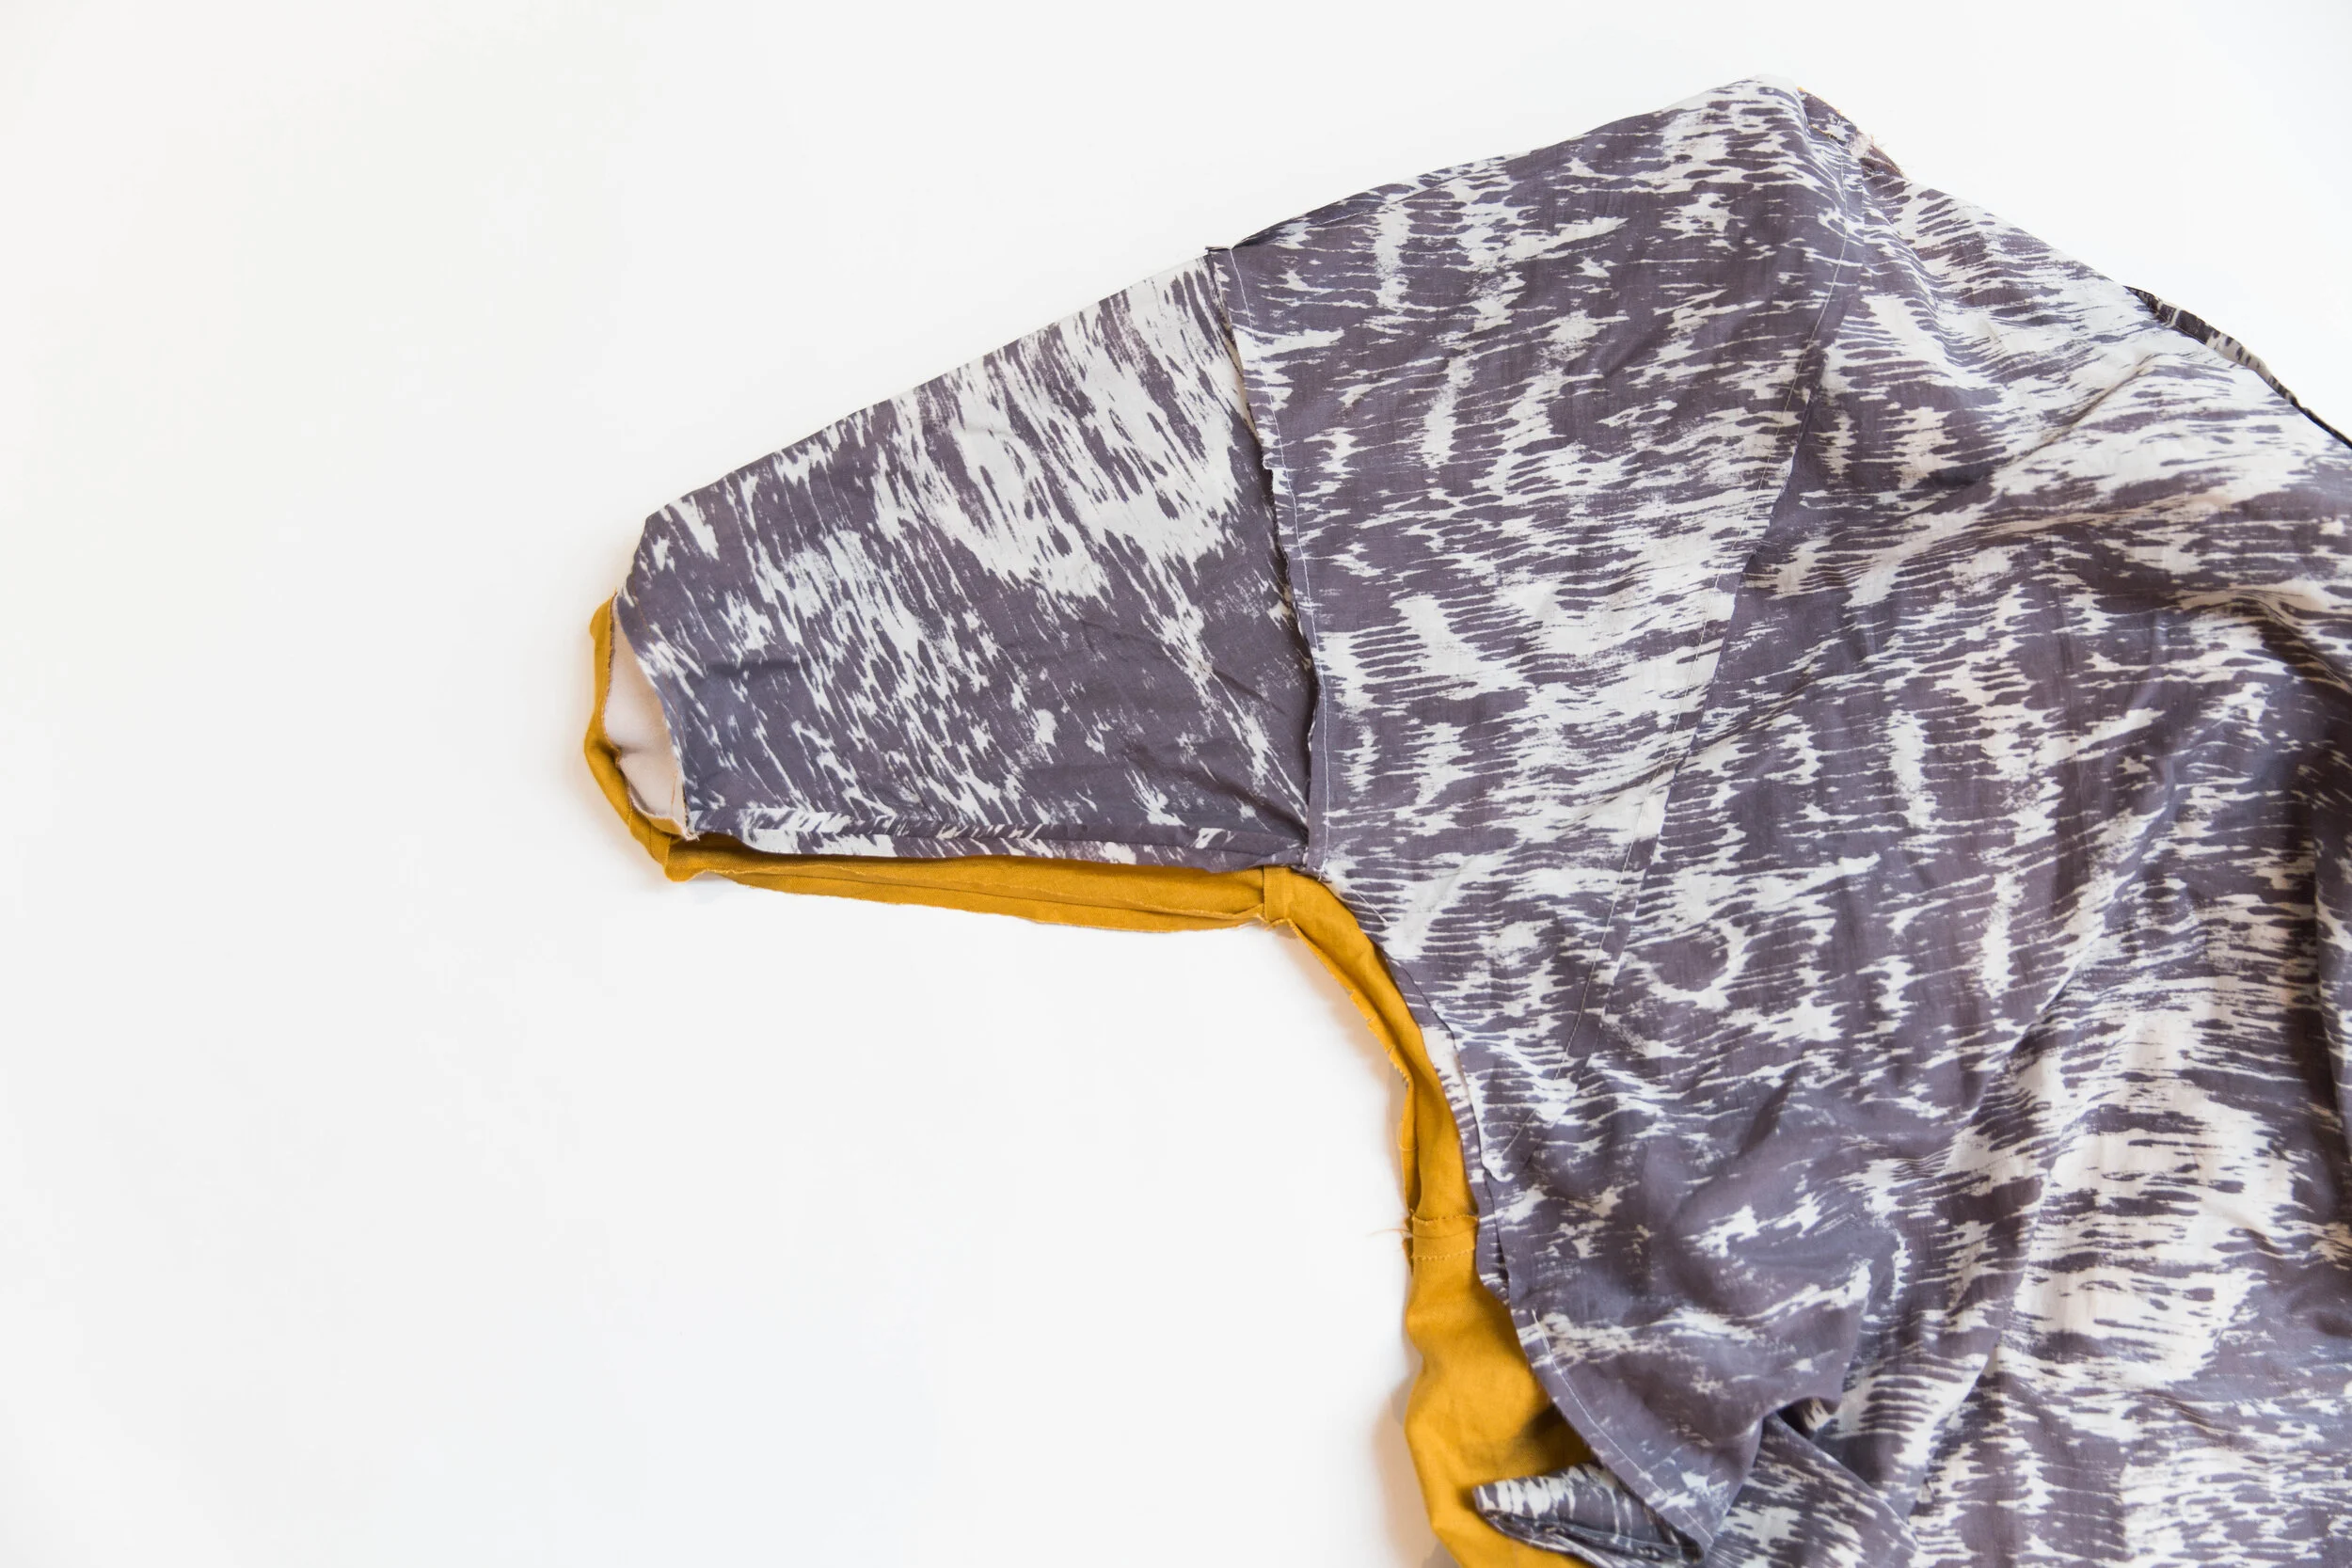
Step 6
Pin front and back pieces together at the shoulder and side seams with right sides facing. Stitch. Clip around underarm curve. Press seams open. Repeat for other side.

Step 7
Fold sleeves in half with right sides facing, matching the notches. Stitch. Press seams open.

Step 8
Fold sleeve facings in half with right sides facing. Stitch. Press seams open.
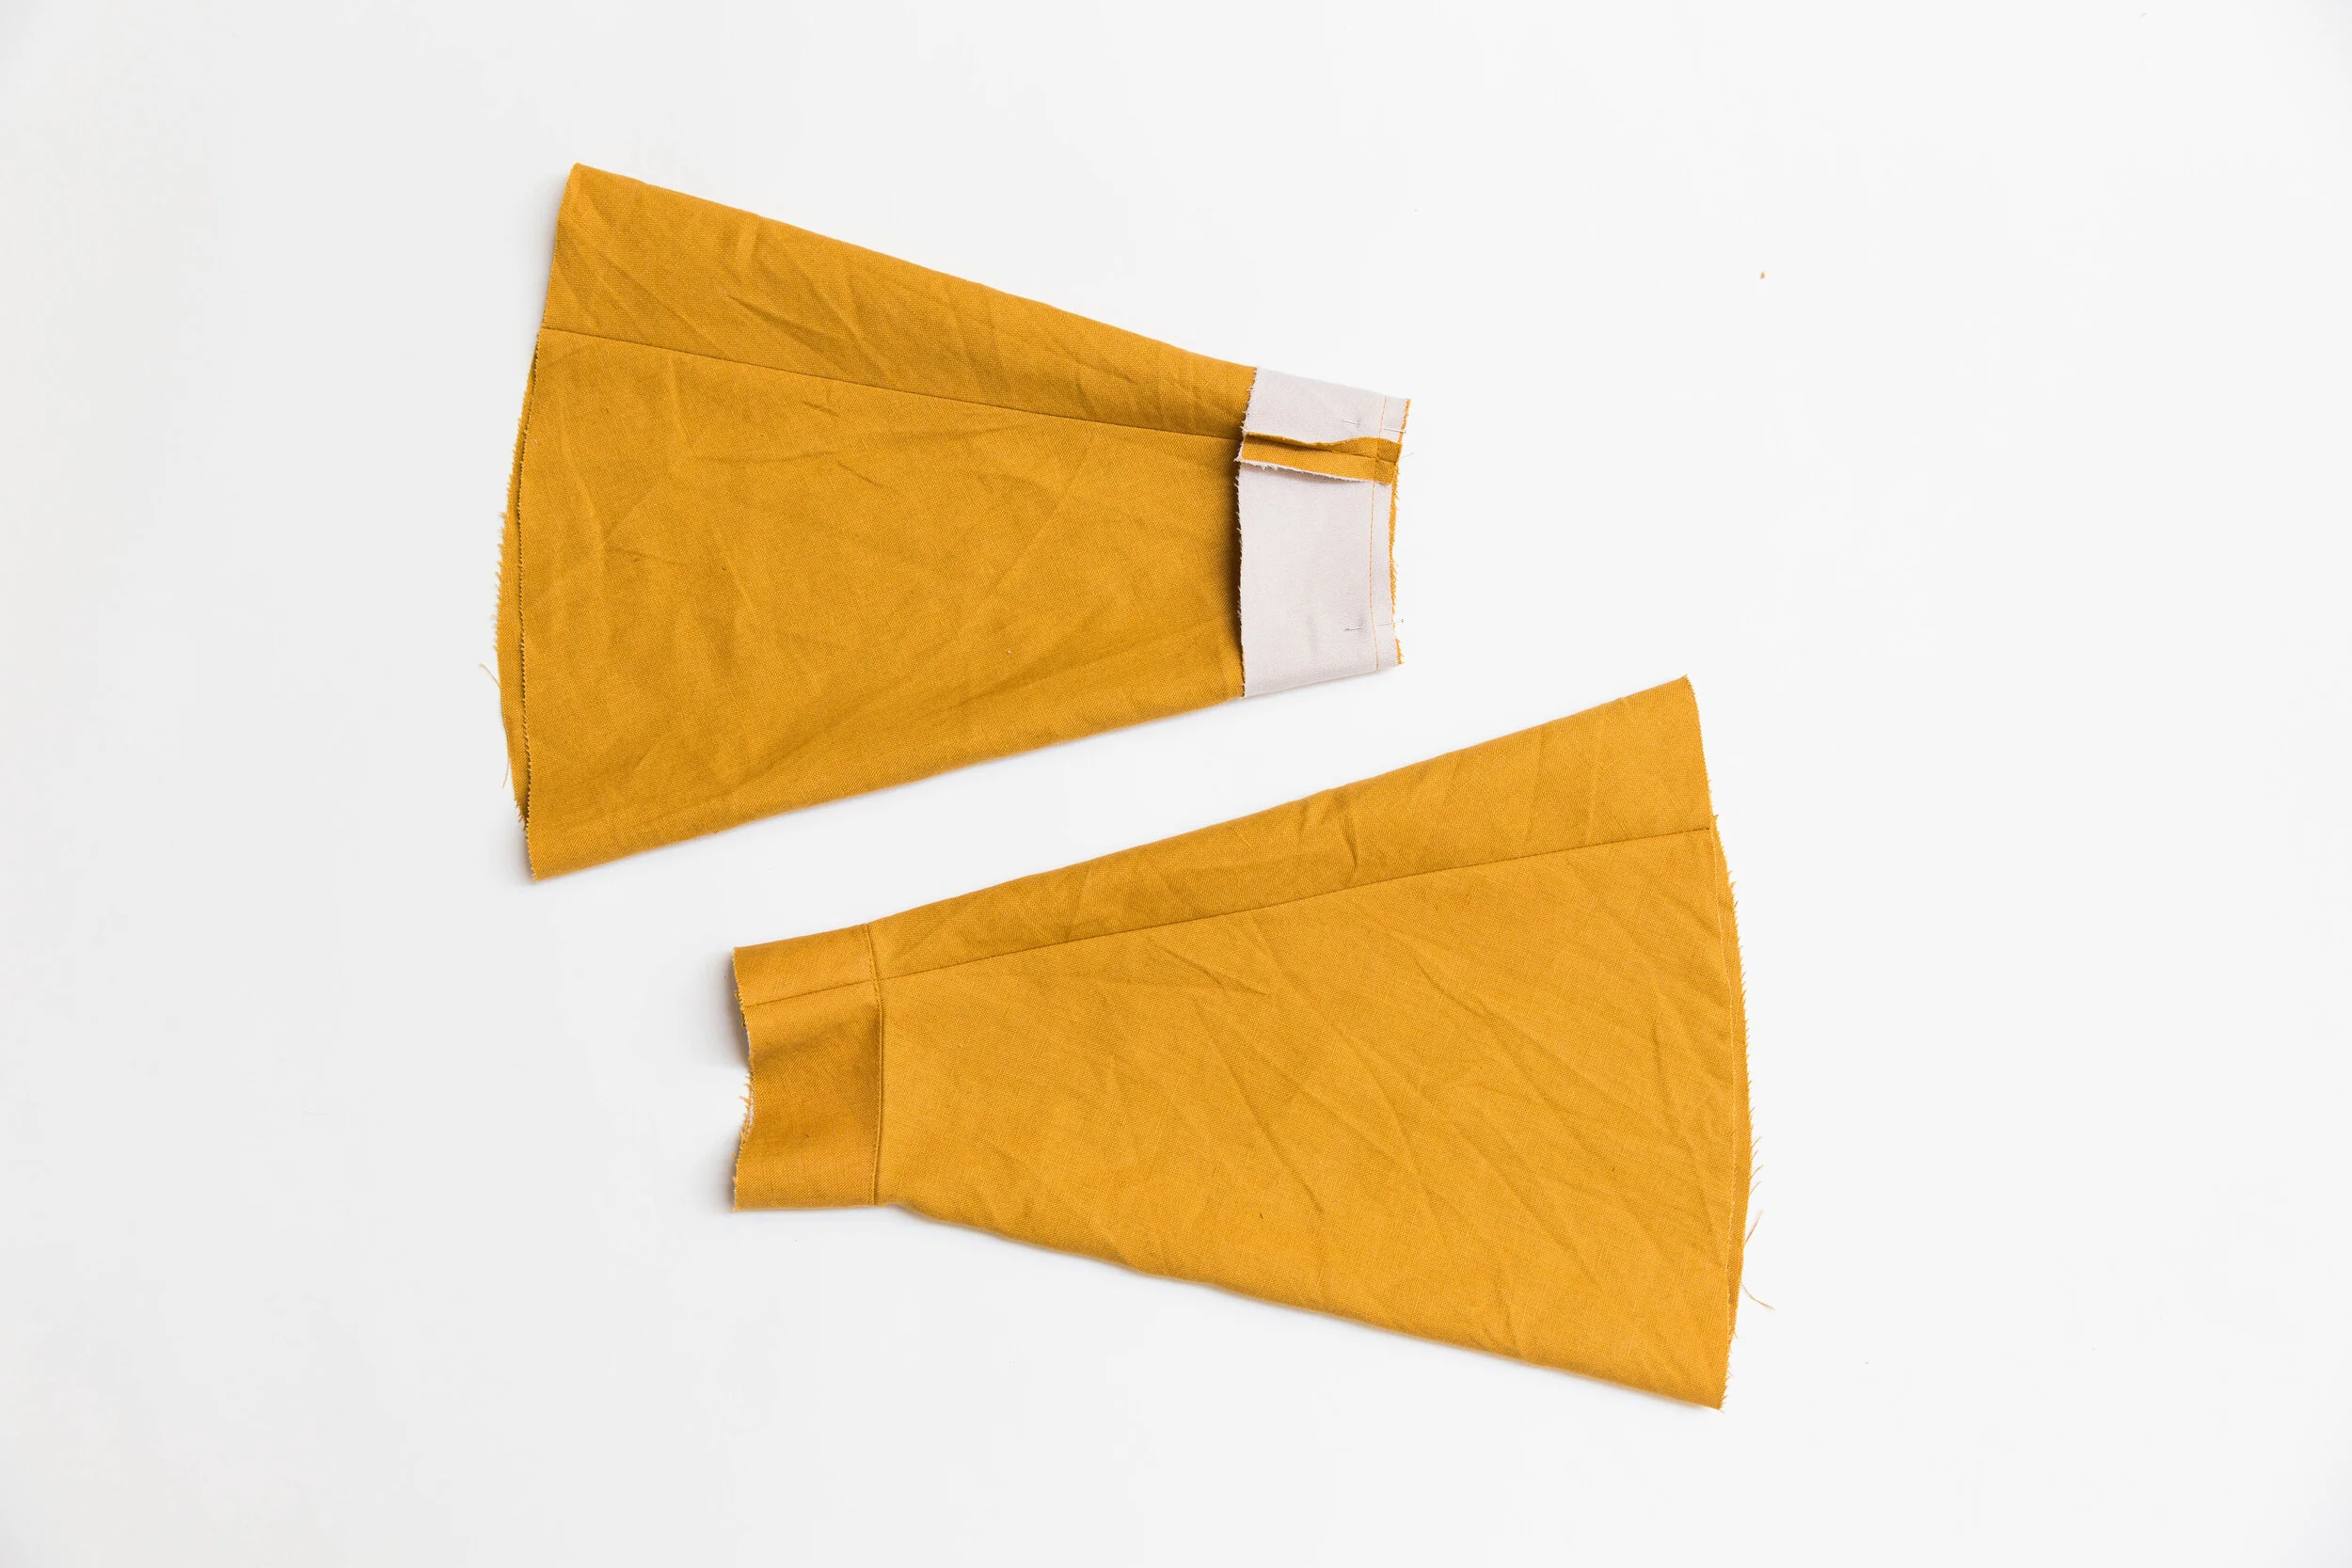
Step 9
Place narrow edge of sleeve facing over the narrow end of sleeve with right sides facing and seams aligned. Stitch together. Trim seam allowance in half. Pull sleeve facing to the right side and under stitch seam allowance toward facing. Fold facing to the inside and press in place. Repeat for other sleeve.
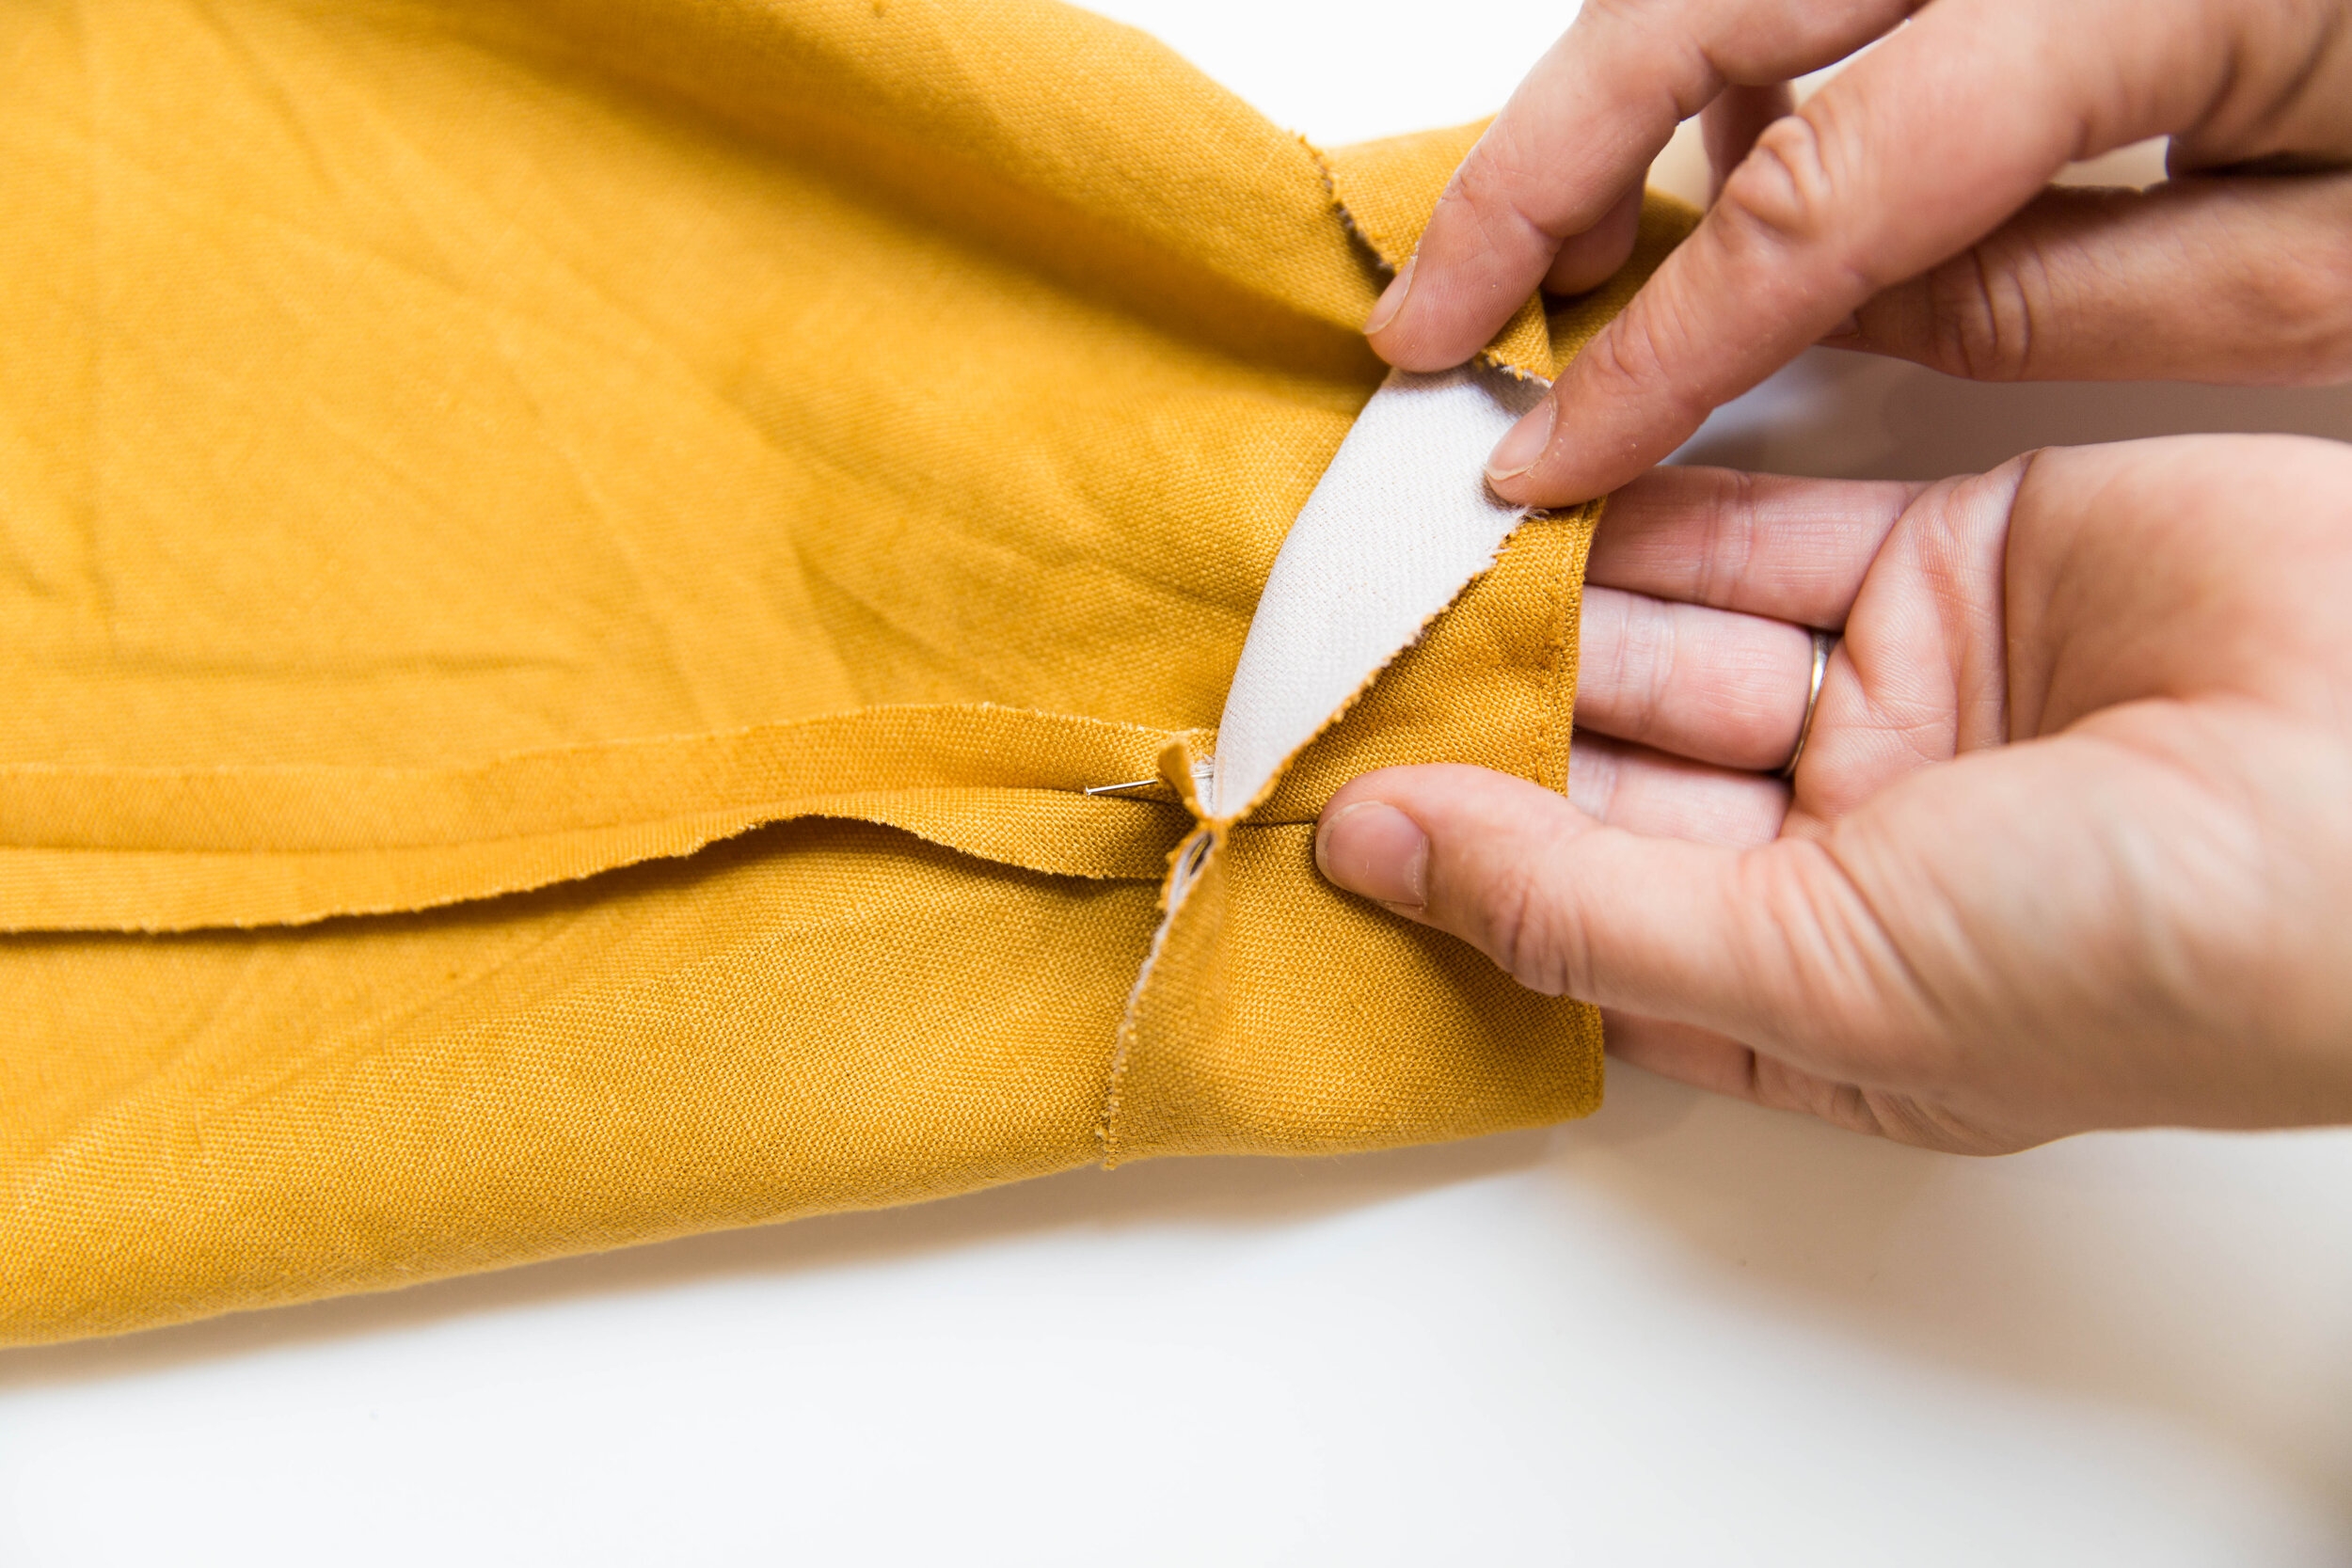
Step 10
Holding facing and sleeve matching seam lines. Pull facing back 2cm down and stitch the seam allowances together.


Step 11
Pin sleeve inside armhole with right sides facing, aligning underarm sleeve seam to coat side seam and matching sleeve notch to shoulder seam. Stitch together. Press seam allowance open. Pull sleeve out to the right side. Repeat on other side.

Step 12
Stitch fused neck facing to front neck edge with right sides together.
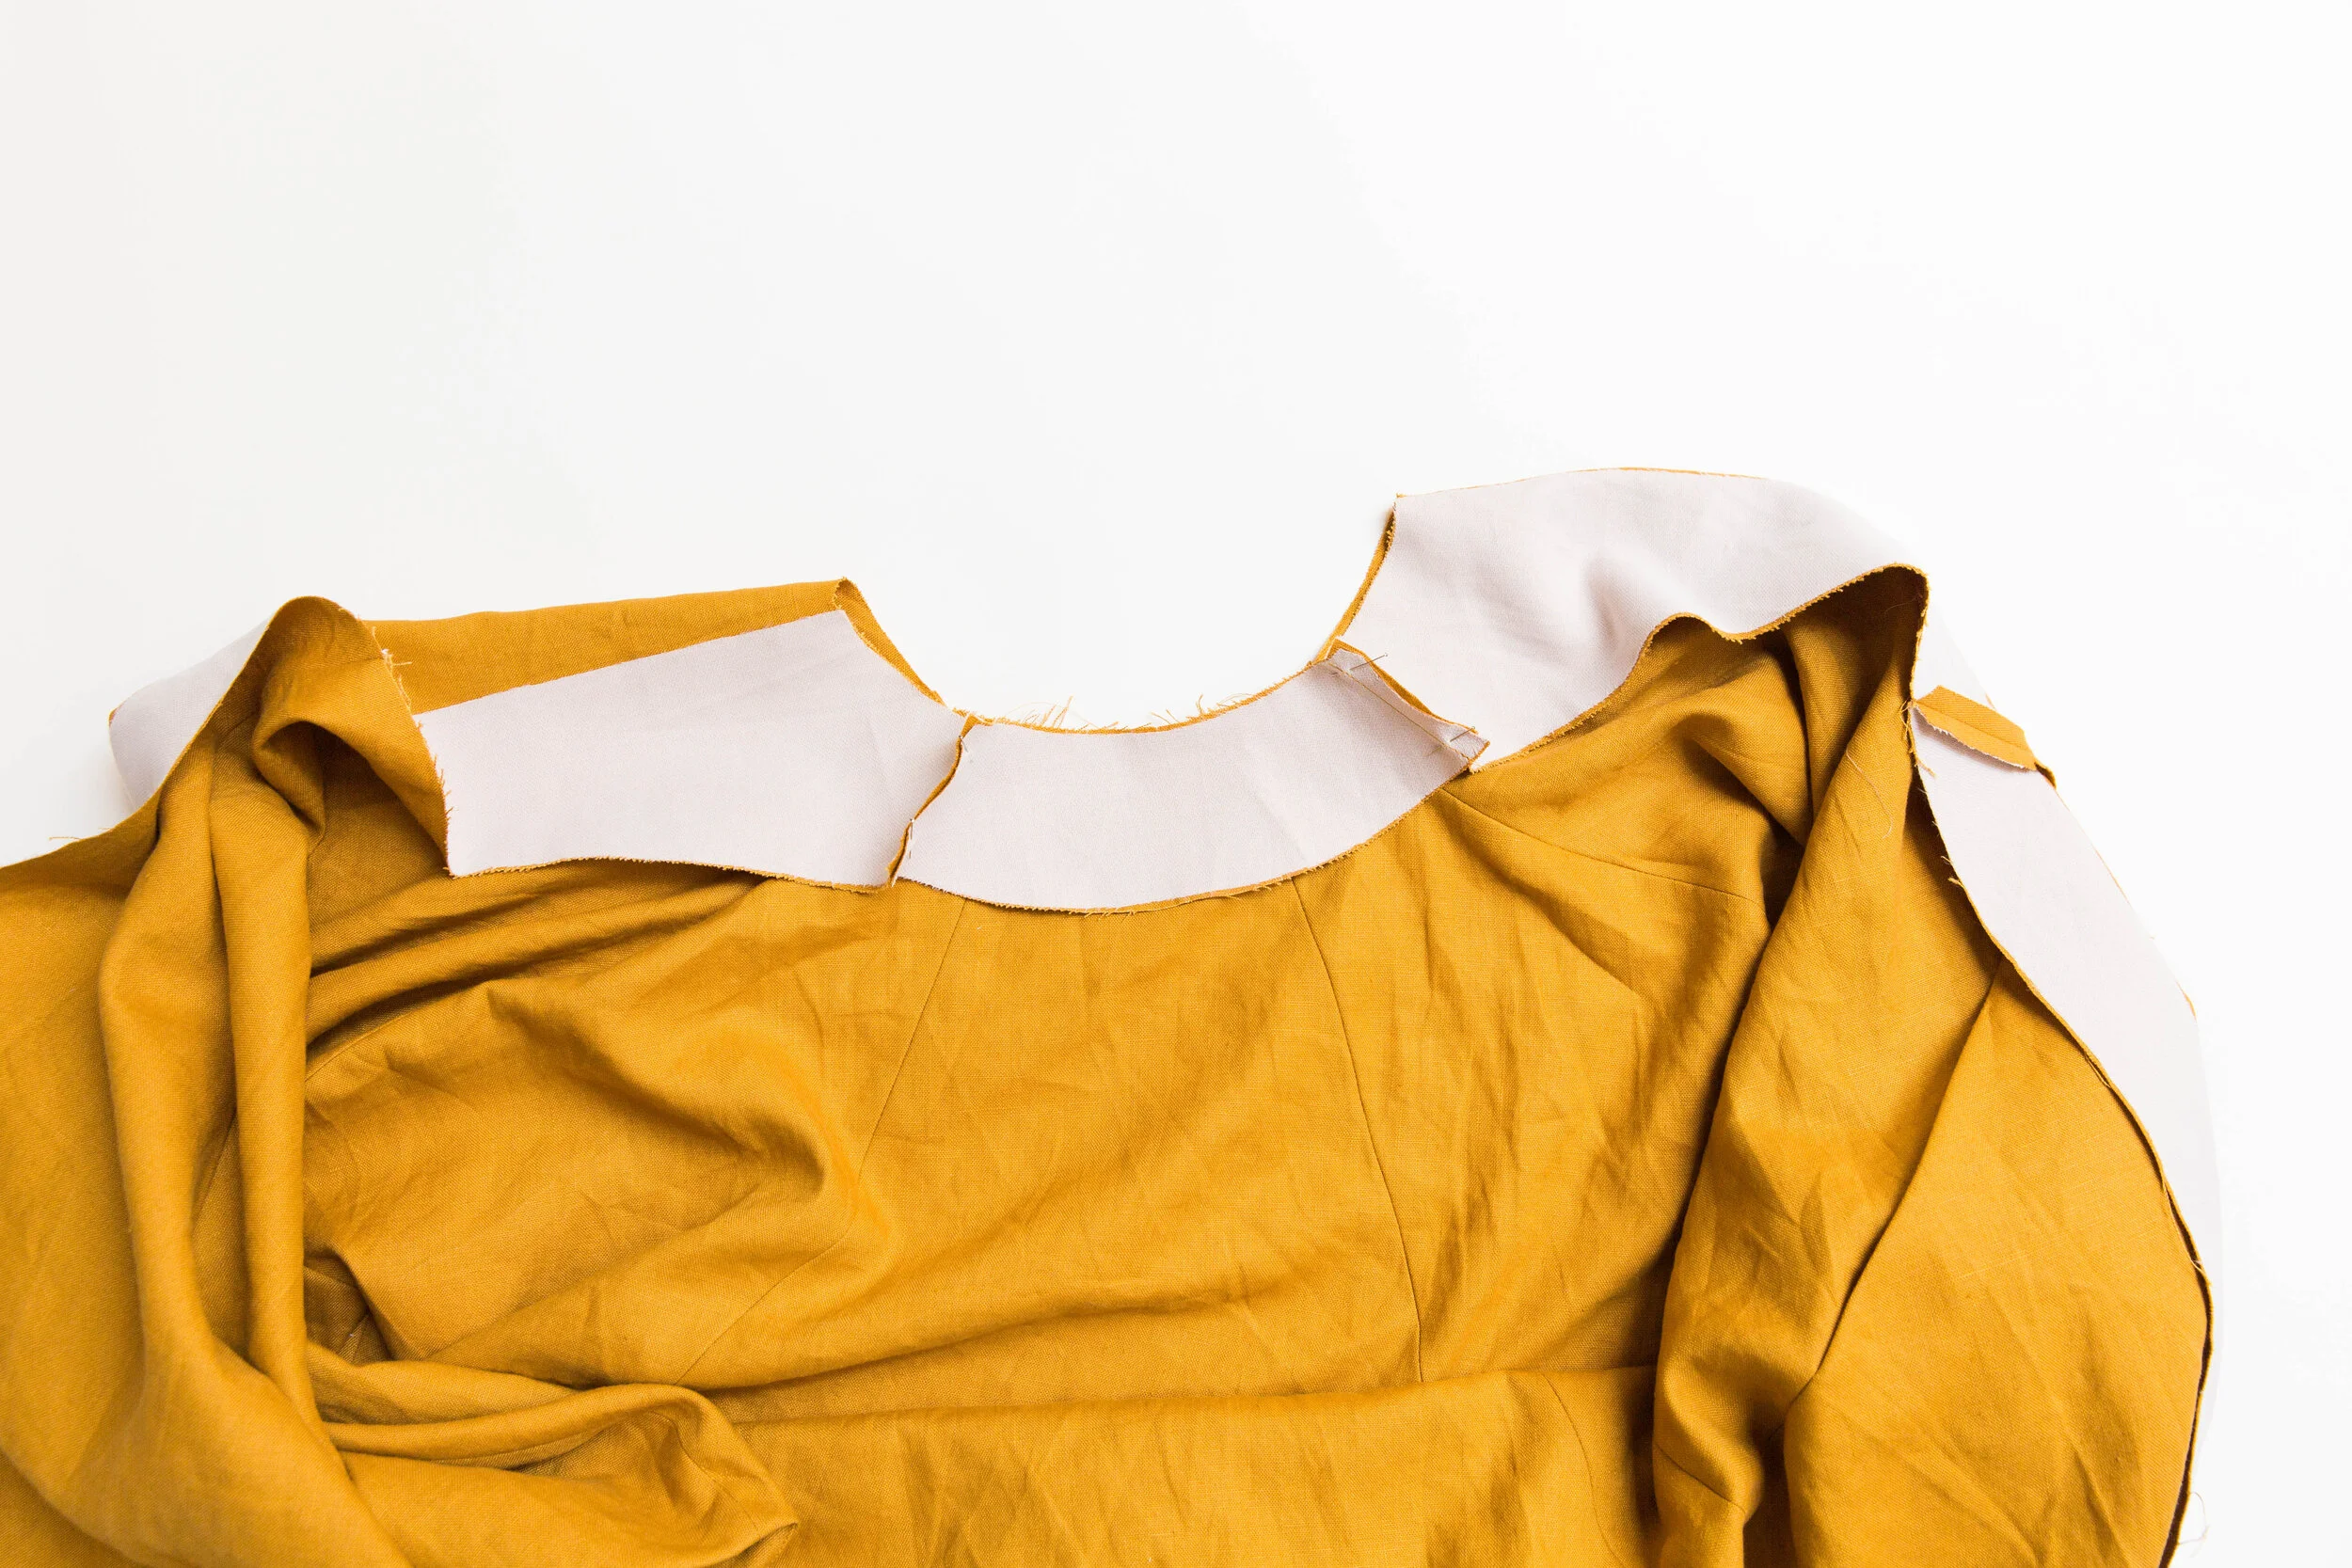
Step 13
Pull the facing around the neck line and stitch to the other end of the opposite front neck edge. Press seams open.

Step 14
Fold back the centre front along fused edge with right sides together and wrap facing around neckline. Stitch all the way around the top edge of neckline. Trim the seam allowance in half, clip seam allowance and corners. Under stitch seam allowance toward facing.
Step 15
From the inside, fold all facing edges in at fold-line (fused edge) and press well in place.


Step 16
Fold the top 2cms of hem edge back and pin securely in place about 3cms up from fold-line.

Step 17
Slipstitch folded edge to outer layer between side seams to secure hem in place.

Step 18
Fold lining pleat in place, bringing the top notch down to meet the bottom notch, folding the excess upward. Edge stitch in place. Repeat on other side.

Step 19
Pin back lining to side back lining piece with right sides facing. Stitch. Press. Repeat on other side.

Step 20
Pin front and back lining together with right sides facing at the shoulders and side seams. Stitch together leaving a gap between notches on one side seam only. Press seams open.

Step 21
Fold sleeve lining in half with right sides facing, matching the notches. Stitch. Press seam open. Repeat for other sleeve.

Step 22
Pin lining sleeves inside armholes with right sides facing, aligning underarm sleeve seams to side seams and matching sleeve notches to shoulder seams. Stitch together. Press seam allowances toward sleeves. Pull sleeves out so that the whole lining is inside out.

Step 23
With your coat and lining right sides facing together, pin together along facing edges at centre fronts and around back of neckline. Stitch, starting and stopping your stitch line 1cm from bottom edge of lining. Press seam allowance toward lining.

Step 24
Pull your lining to one side and your shell to the other with wrong sides out.

Step 25
Fold your sleeves in to the centre to meet each other.

Step 26
Overlap your sleeve lining over sleeve facing.
Step 27
Stitch edges of lining and sleeve facing together. Repeat for other sleeve.
Step 28
Cut a small strip of lining about 3cm/1.2” in length and stitch to the underarm/armhole seam allowance of both the coat and lining to stop the lining shifting when turned through to the right side. Repeat on other side.


Step 29
With right sides facing, pin bottom hem of lining to the raw edge of hem facing. Stitch together starting and stopping your stitch line 1cm from each end.

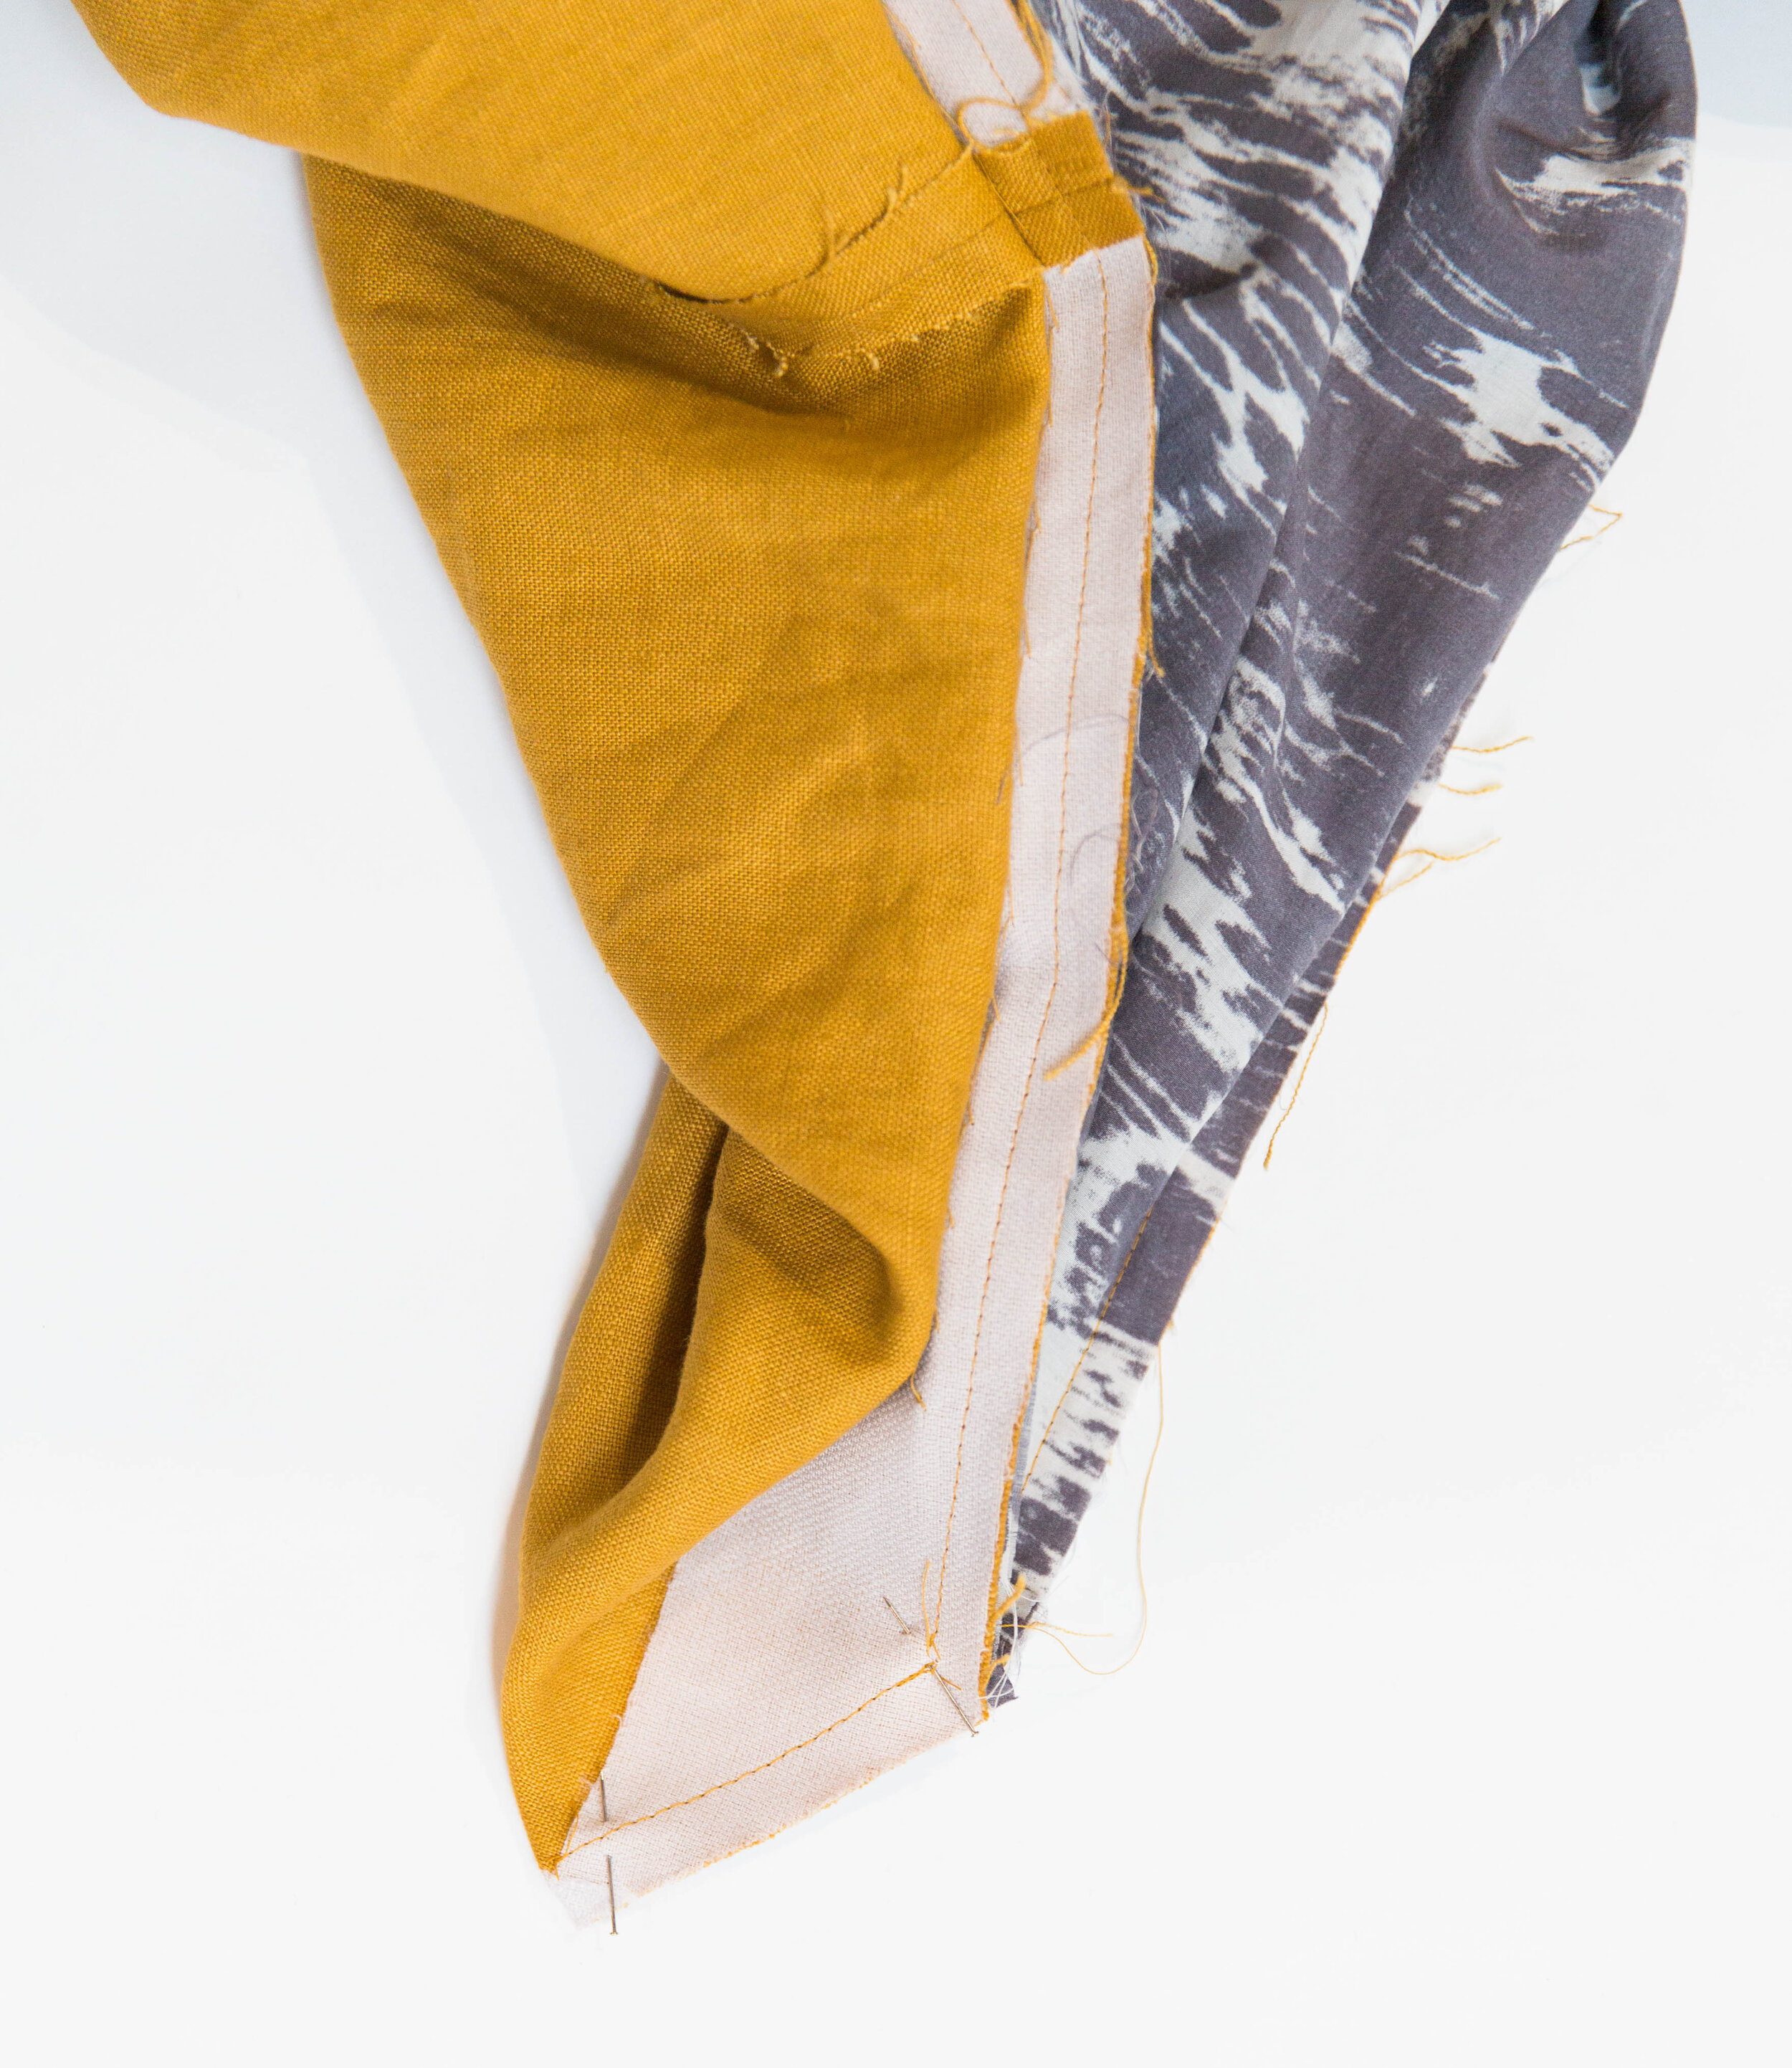
Step 30
Pinch together the remaining 1cm excess of facing and hem. Stitch together.
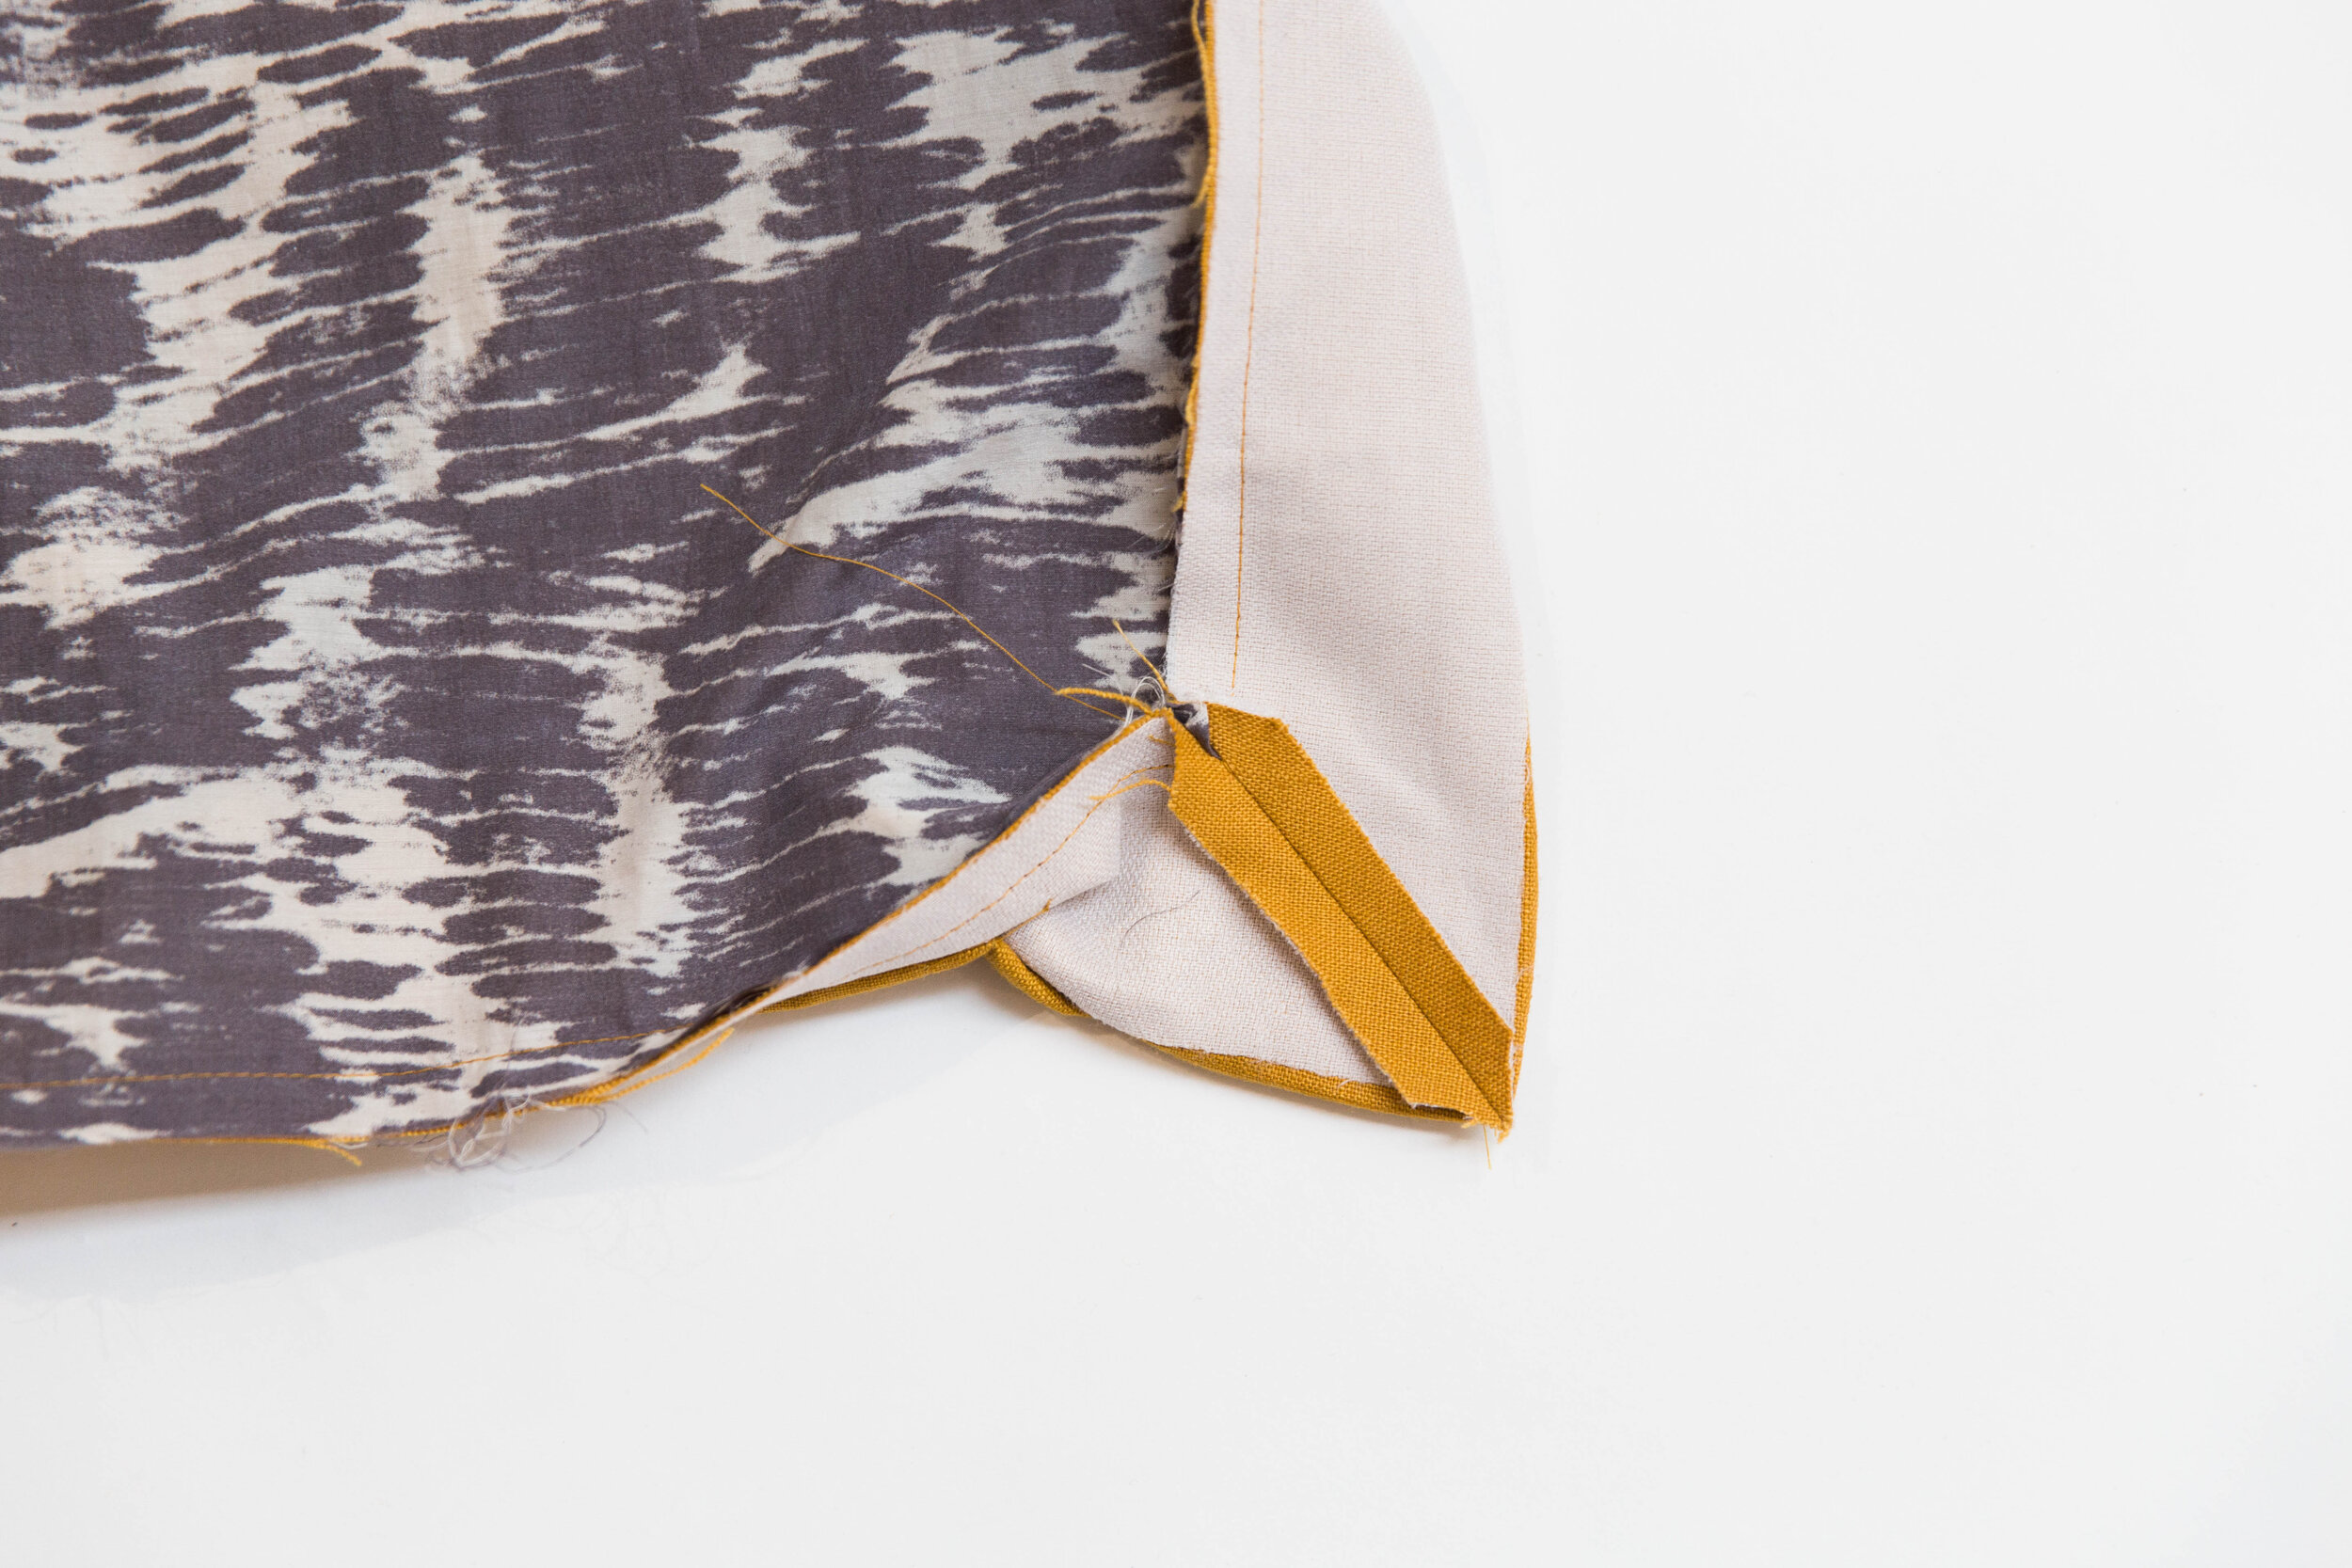
Step 31
Clip outer corner and press seam open.
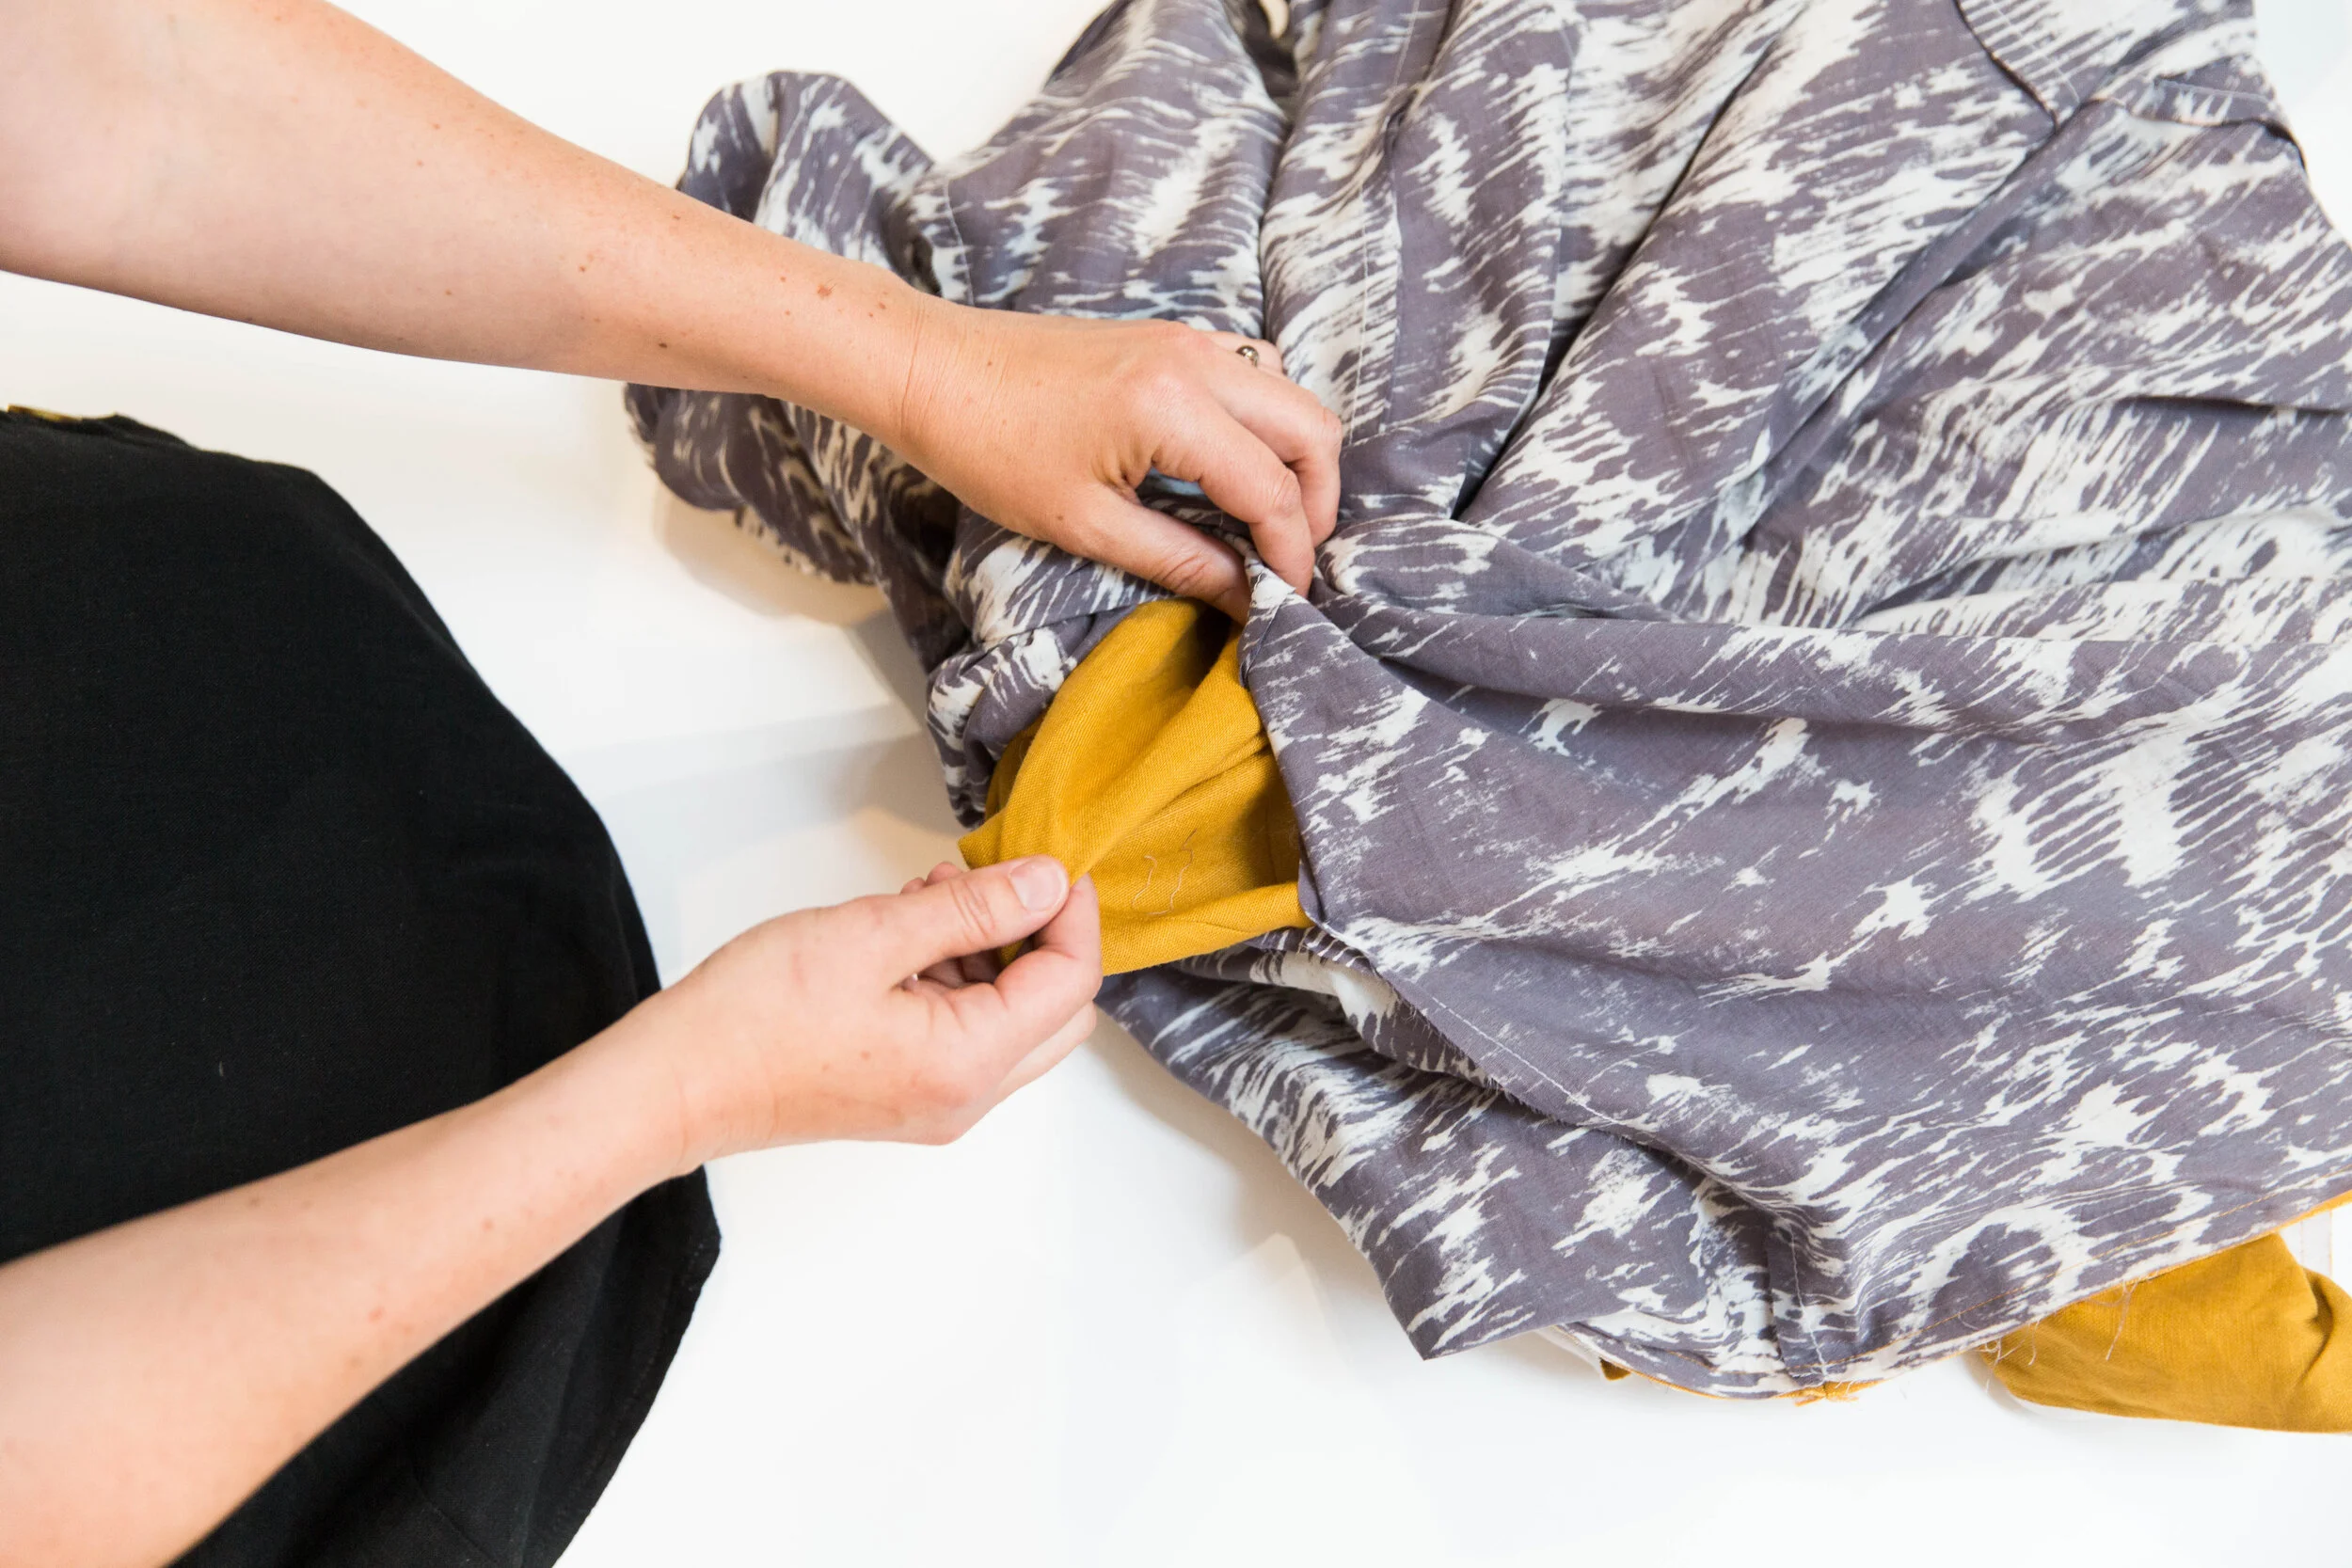
Step 32
Carefully pull coat through the opening in side seam until its the right way out. With coat lining side out, hand sew side seam gap closed.

Step 33
Give your Sapporo a final press. Voilà!