Pattern adjustments:
Use the Solar sleeve pattern piece as it is, then apply the following instructions to your front and back pieces, and to create your tie piece.

Step 1
Lengthen hemline to new desired length on front and back pattern pieces. We added 60cm for this green sample pictured.

Step 2
Mark in a notch on the side seams for the split. We chose to go up 33cm from hem for our split height, and 2.5cm for our hem depth.

Step 3
- Draw a rectangle 60cm x 9cm.
- Curve one end of the rectangle to make a point.
- Add a 1 cm seam allowance around the new pointed shape.
- Cut out your new tie piece and write the cutting instructions; Cut 2 pairs.
Sewing instructions
Follow steps 1-8 as per Solar tee instruction booklet, then follow these remaining steps.
Step 1
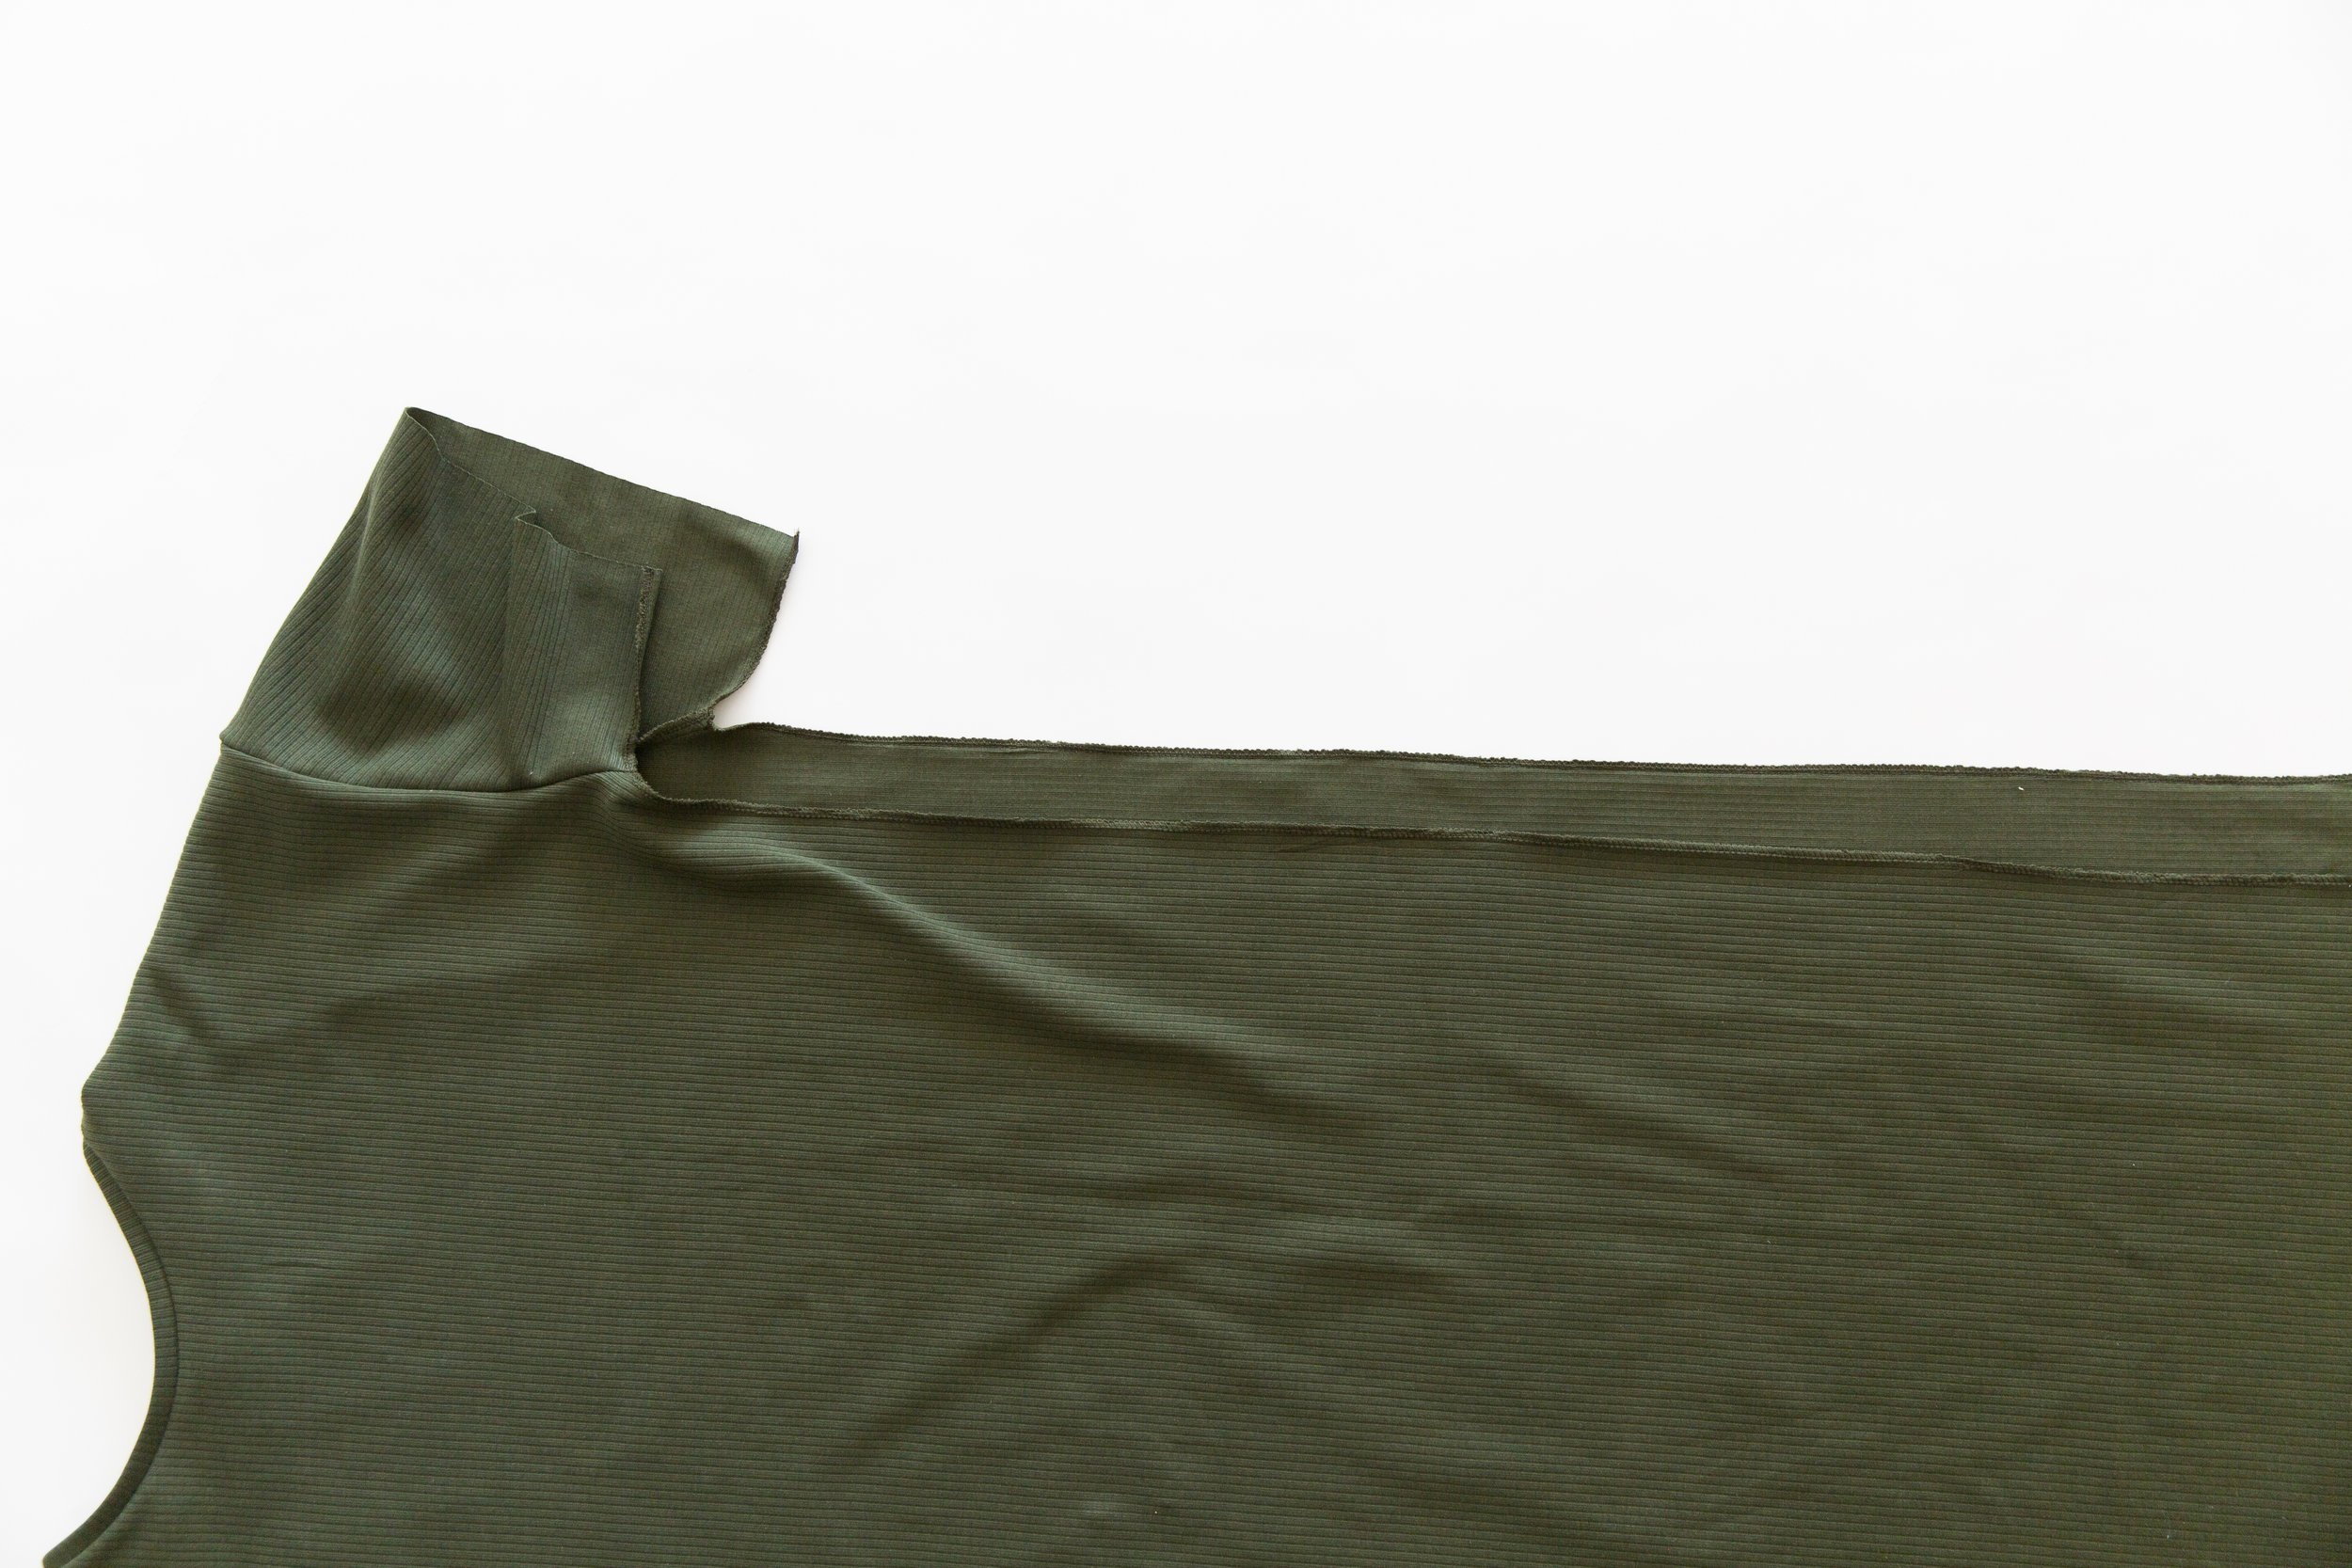
Neaten dress front side edges, from sleeve edge down to dress hem.
Repeat for back side seam edges.
Step 2
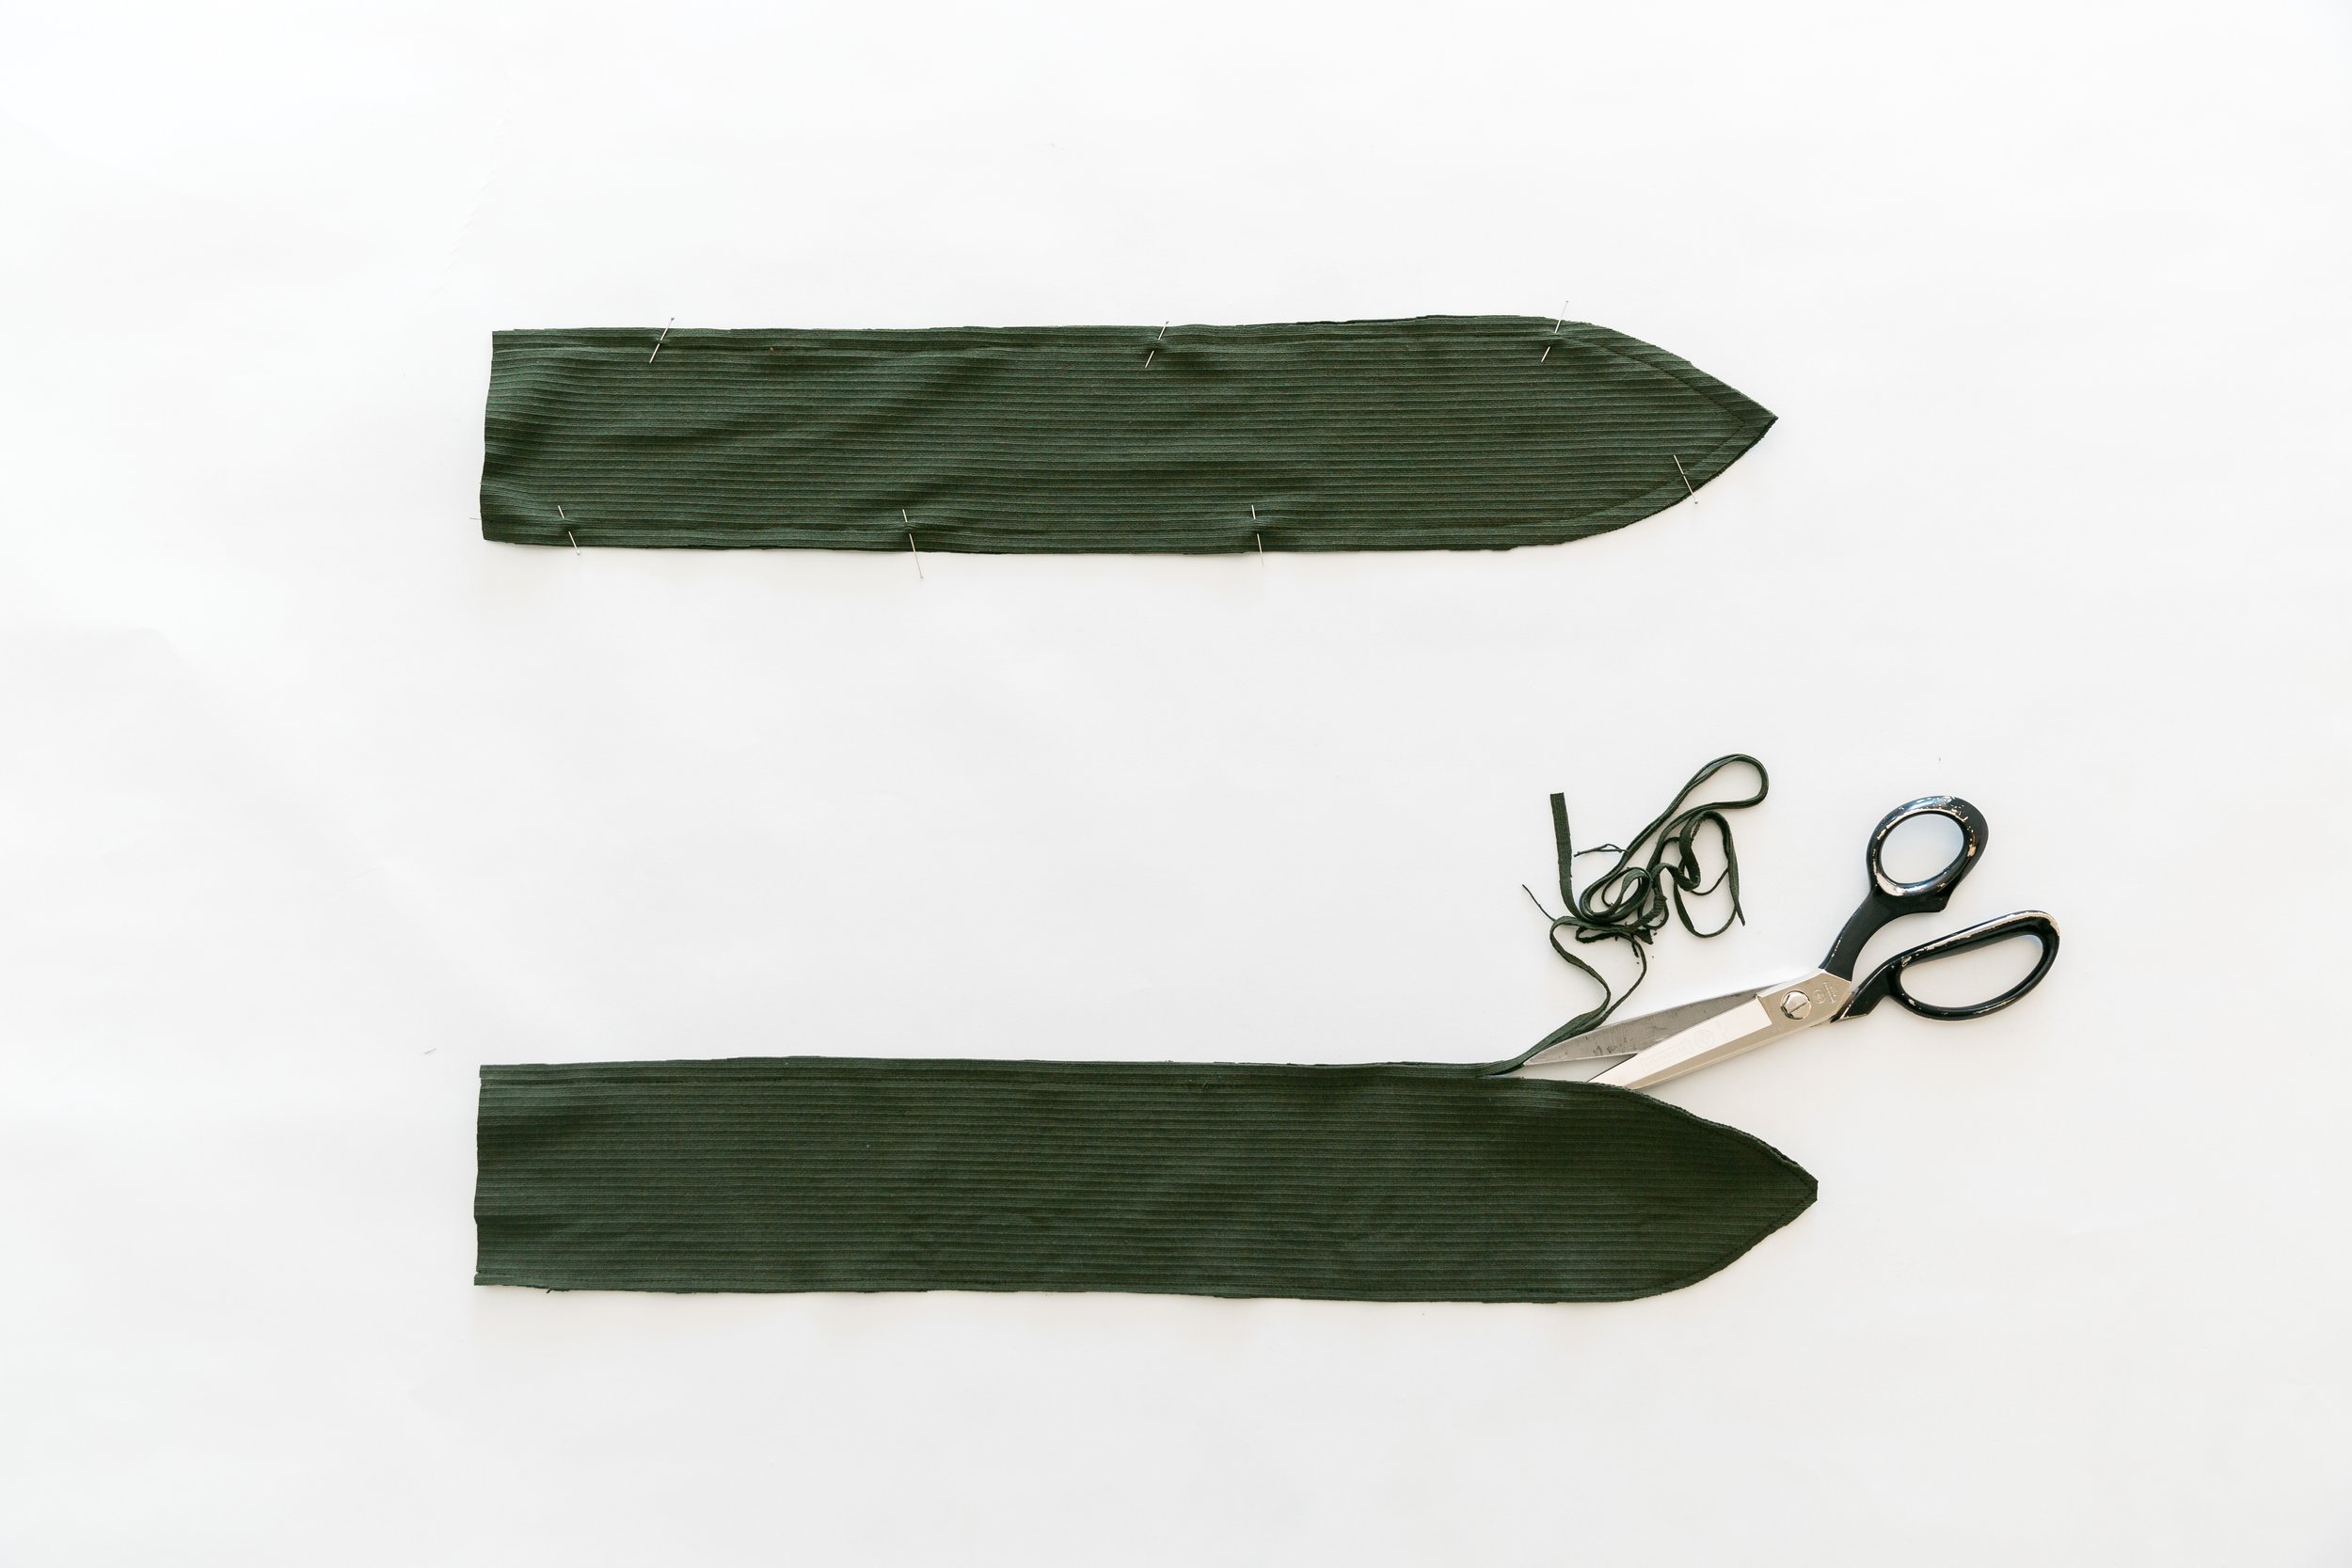
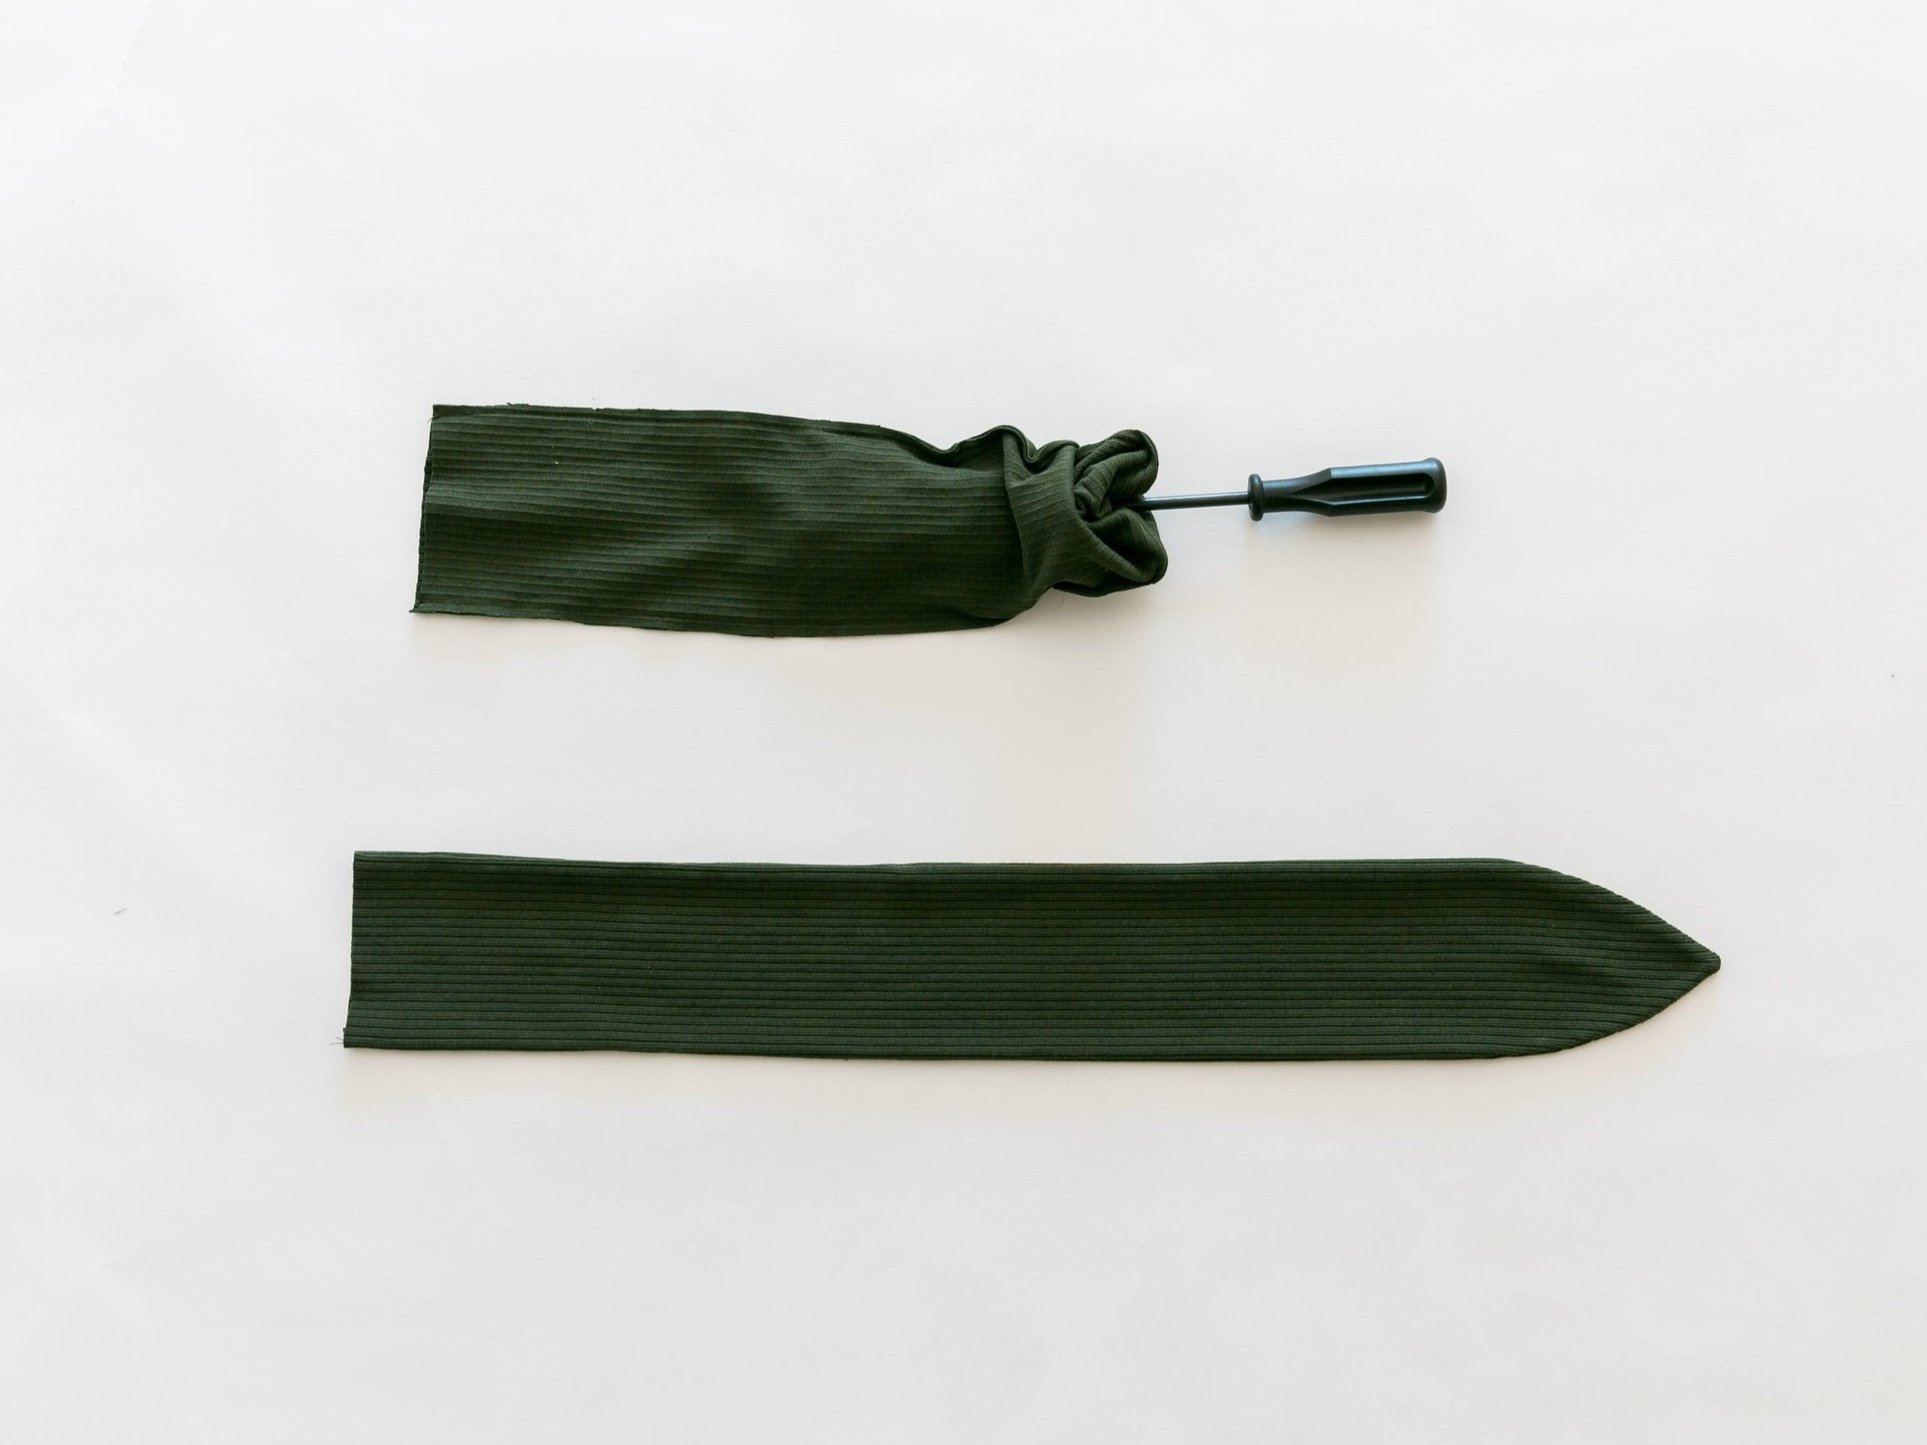
Place 2 tie pieces together with right sides facing and pin together all the way around, leaving the short straight edge open. Stitch around tie edge leaving the short end open. Trim seam allowance in half and clip at point. Turn through to the right side and press well. Repeat steps for the other tie.

Step 3
Pin your ties to front side seams, at waist. Stitch in place with a 5mm seam allowance.

Step 4
With right sides together, place a pin where front and back underarm seams meet up. Pin down to split notch and out to sleeve hem.
Stitch together. Repeat for opposite side.

Step 5
Press side seams open. Also press the split seam allowance back 1cm.

Step 6
Fold the hems up at the hem notch toward the right side (wrong sides out) and stitch along the edge, clip the corners and turn through to the right side. Press. This bags out the split hem.
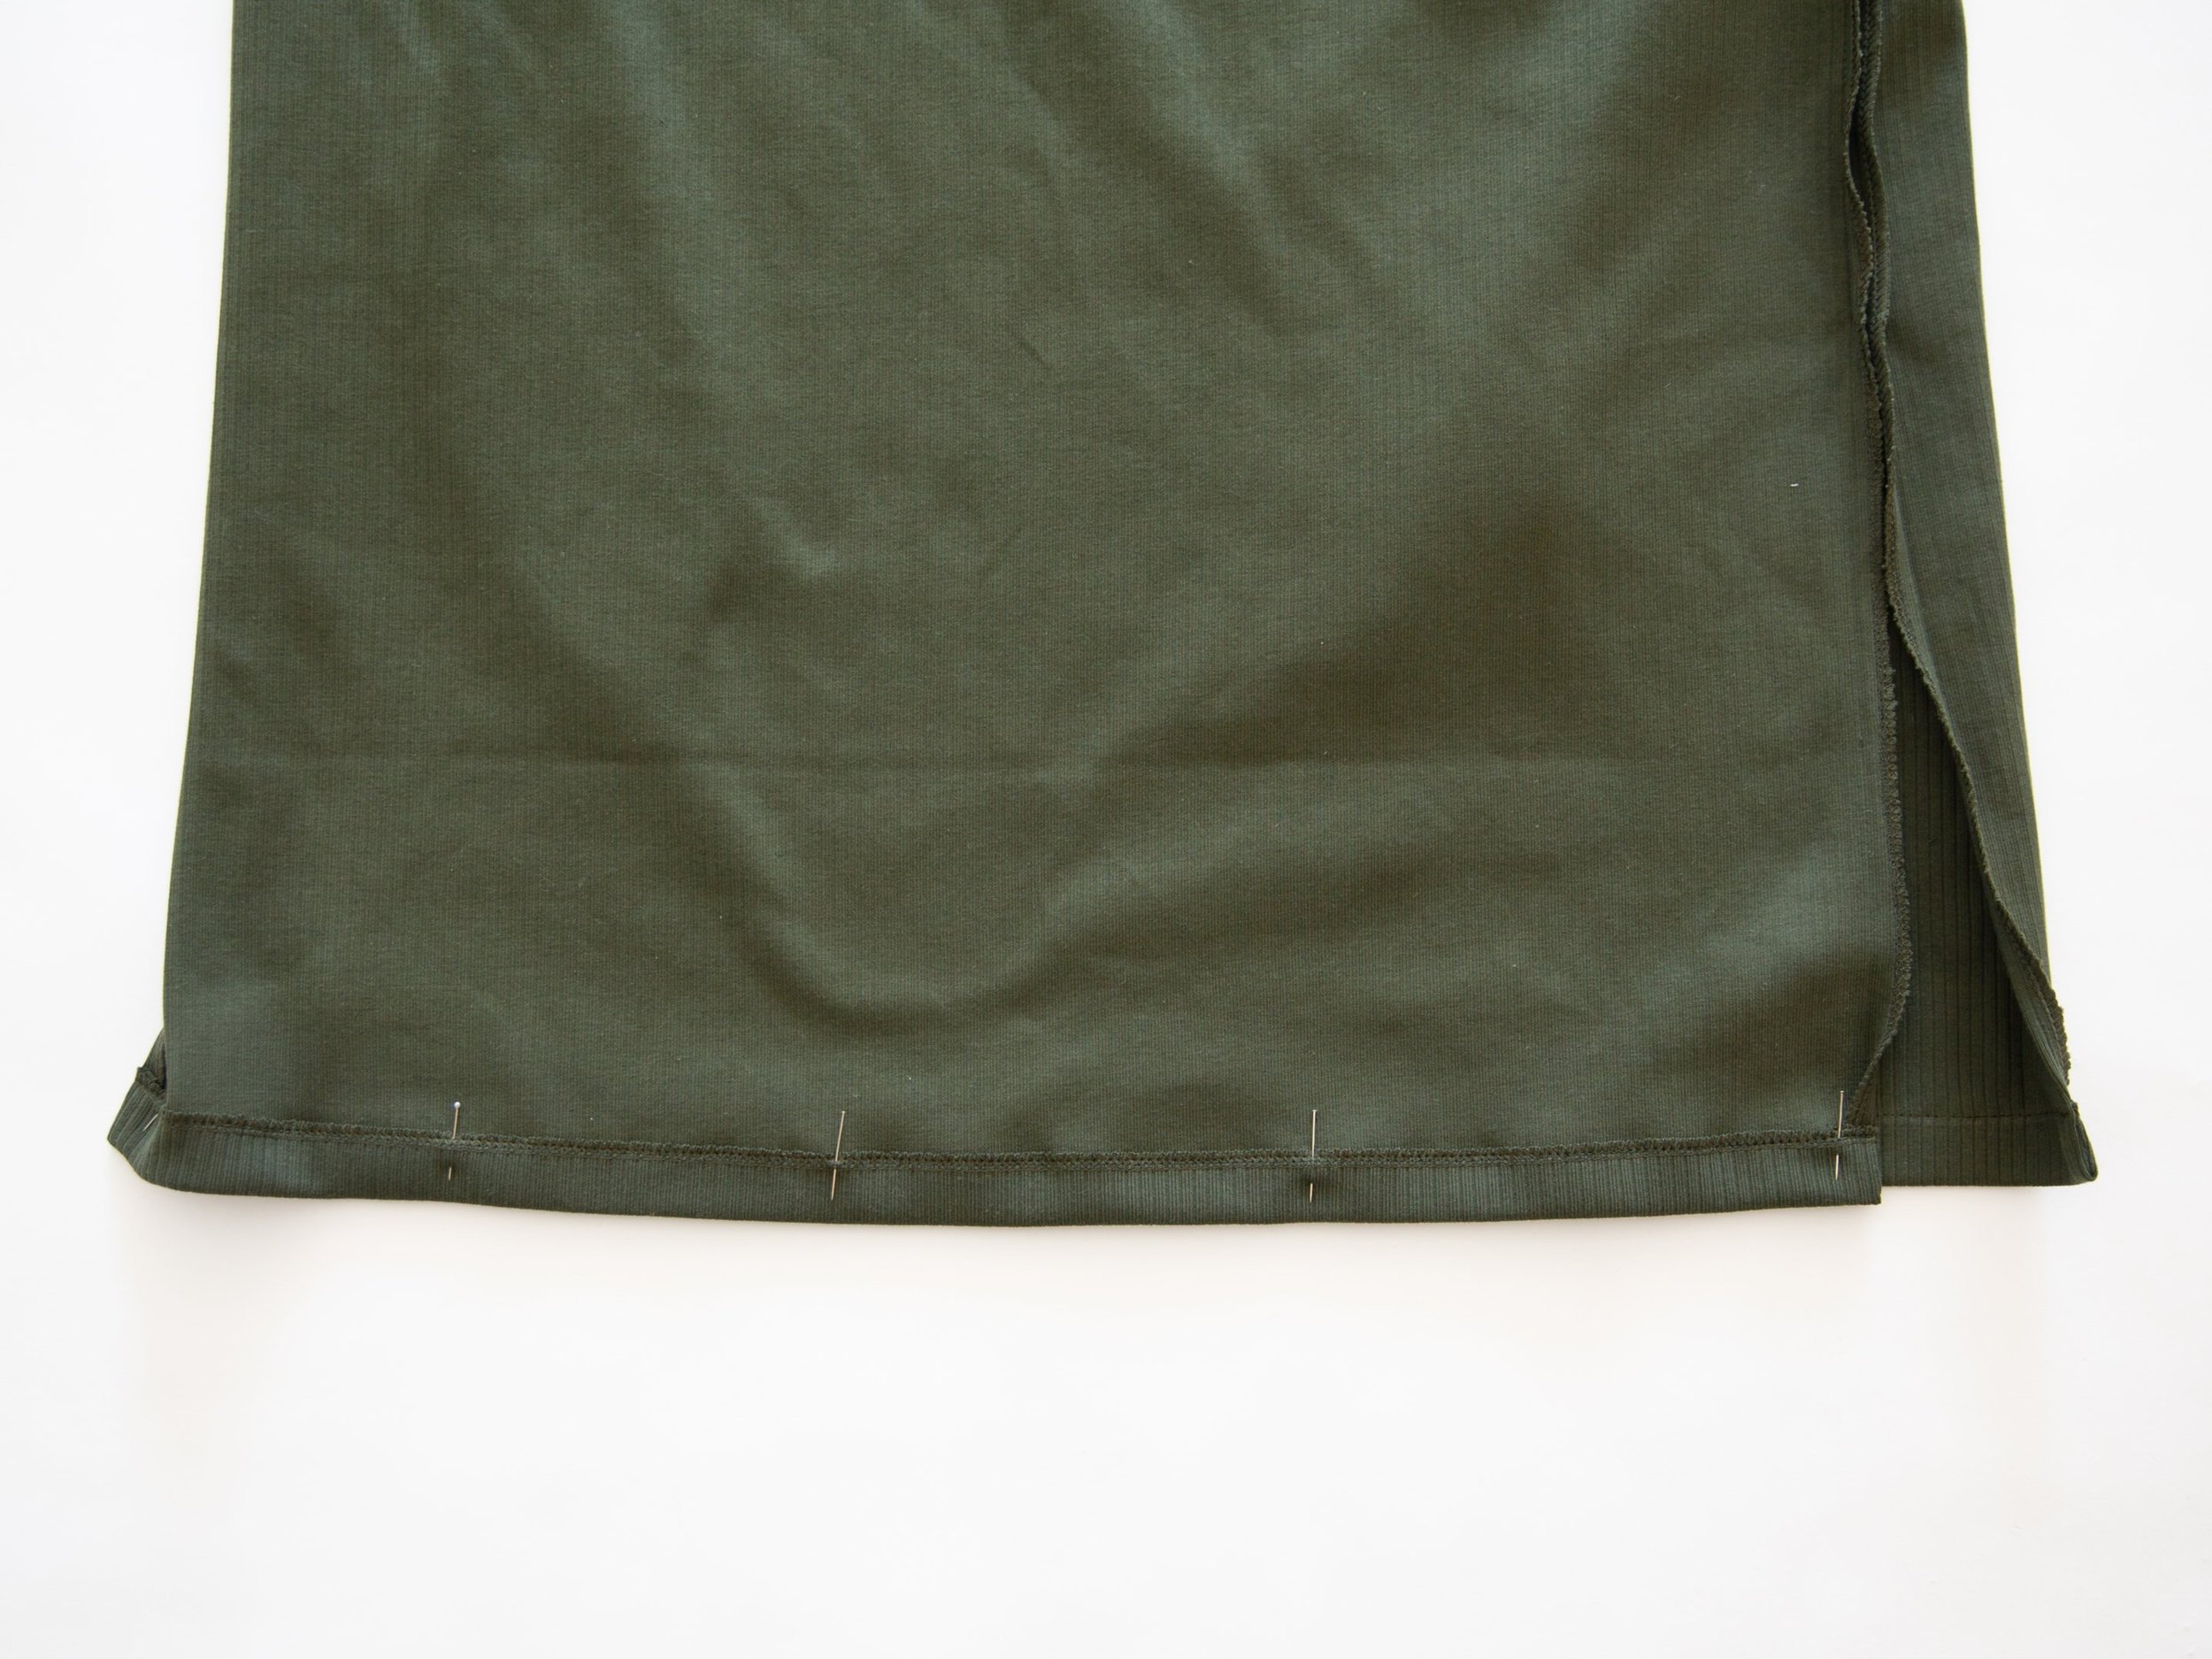

Step 7
From inside the garment, pin hem edges up 3cm. Stitch front and back hems.

Step 8
Topstitch around opening of split.

You did it!