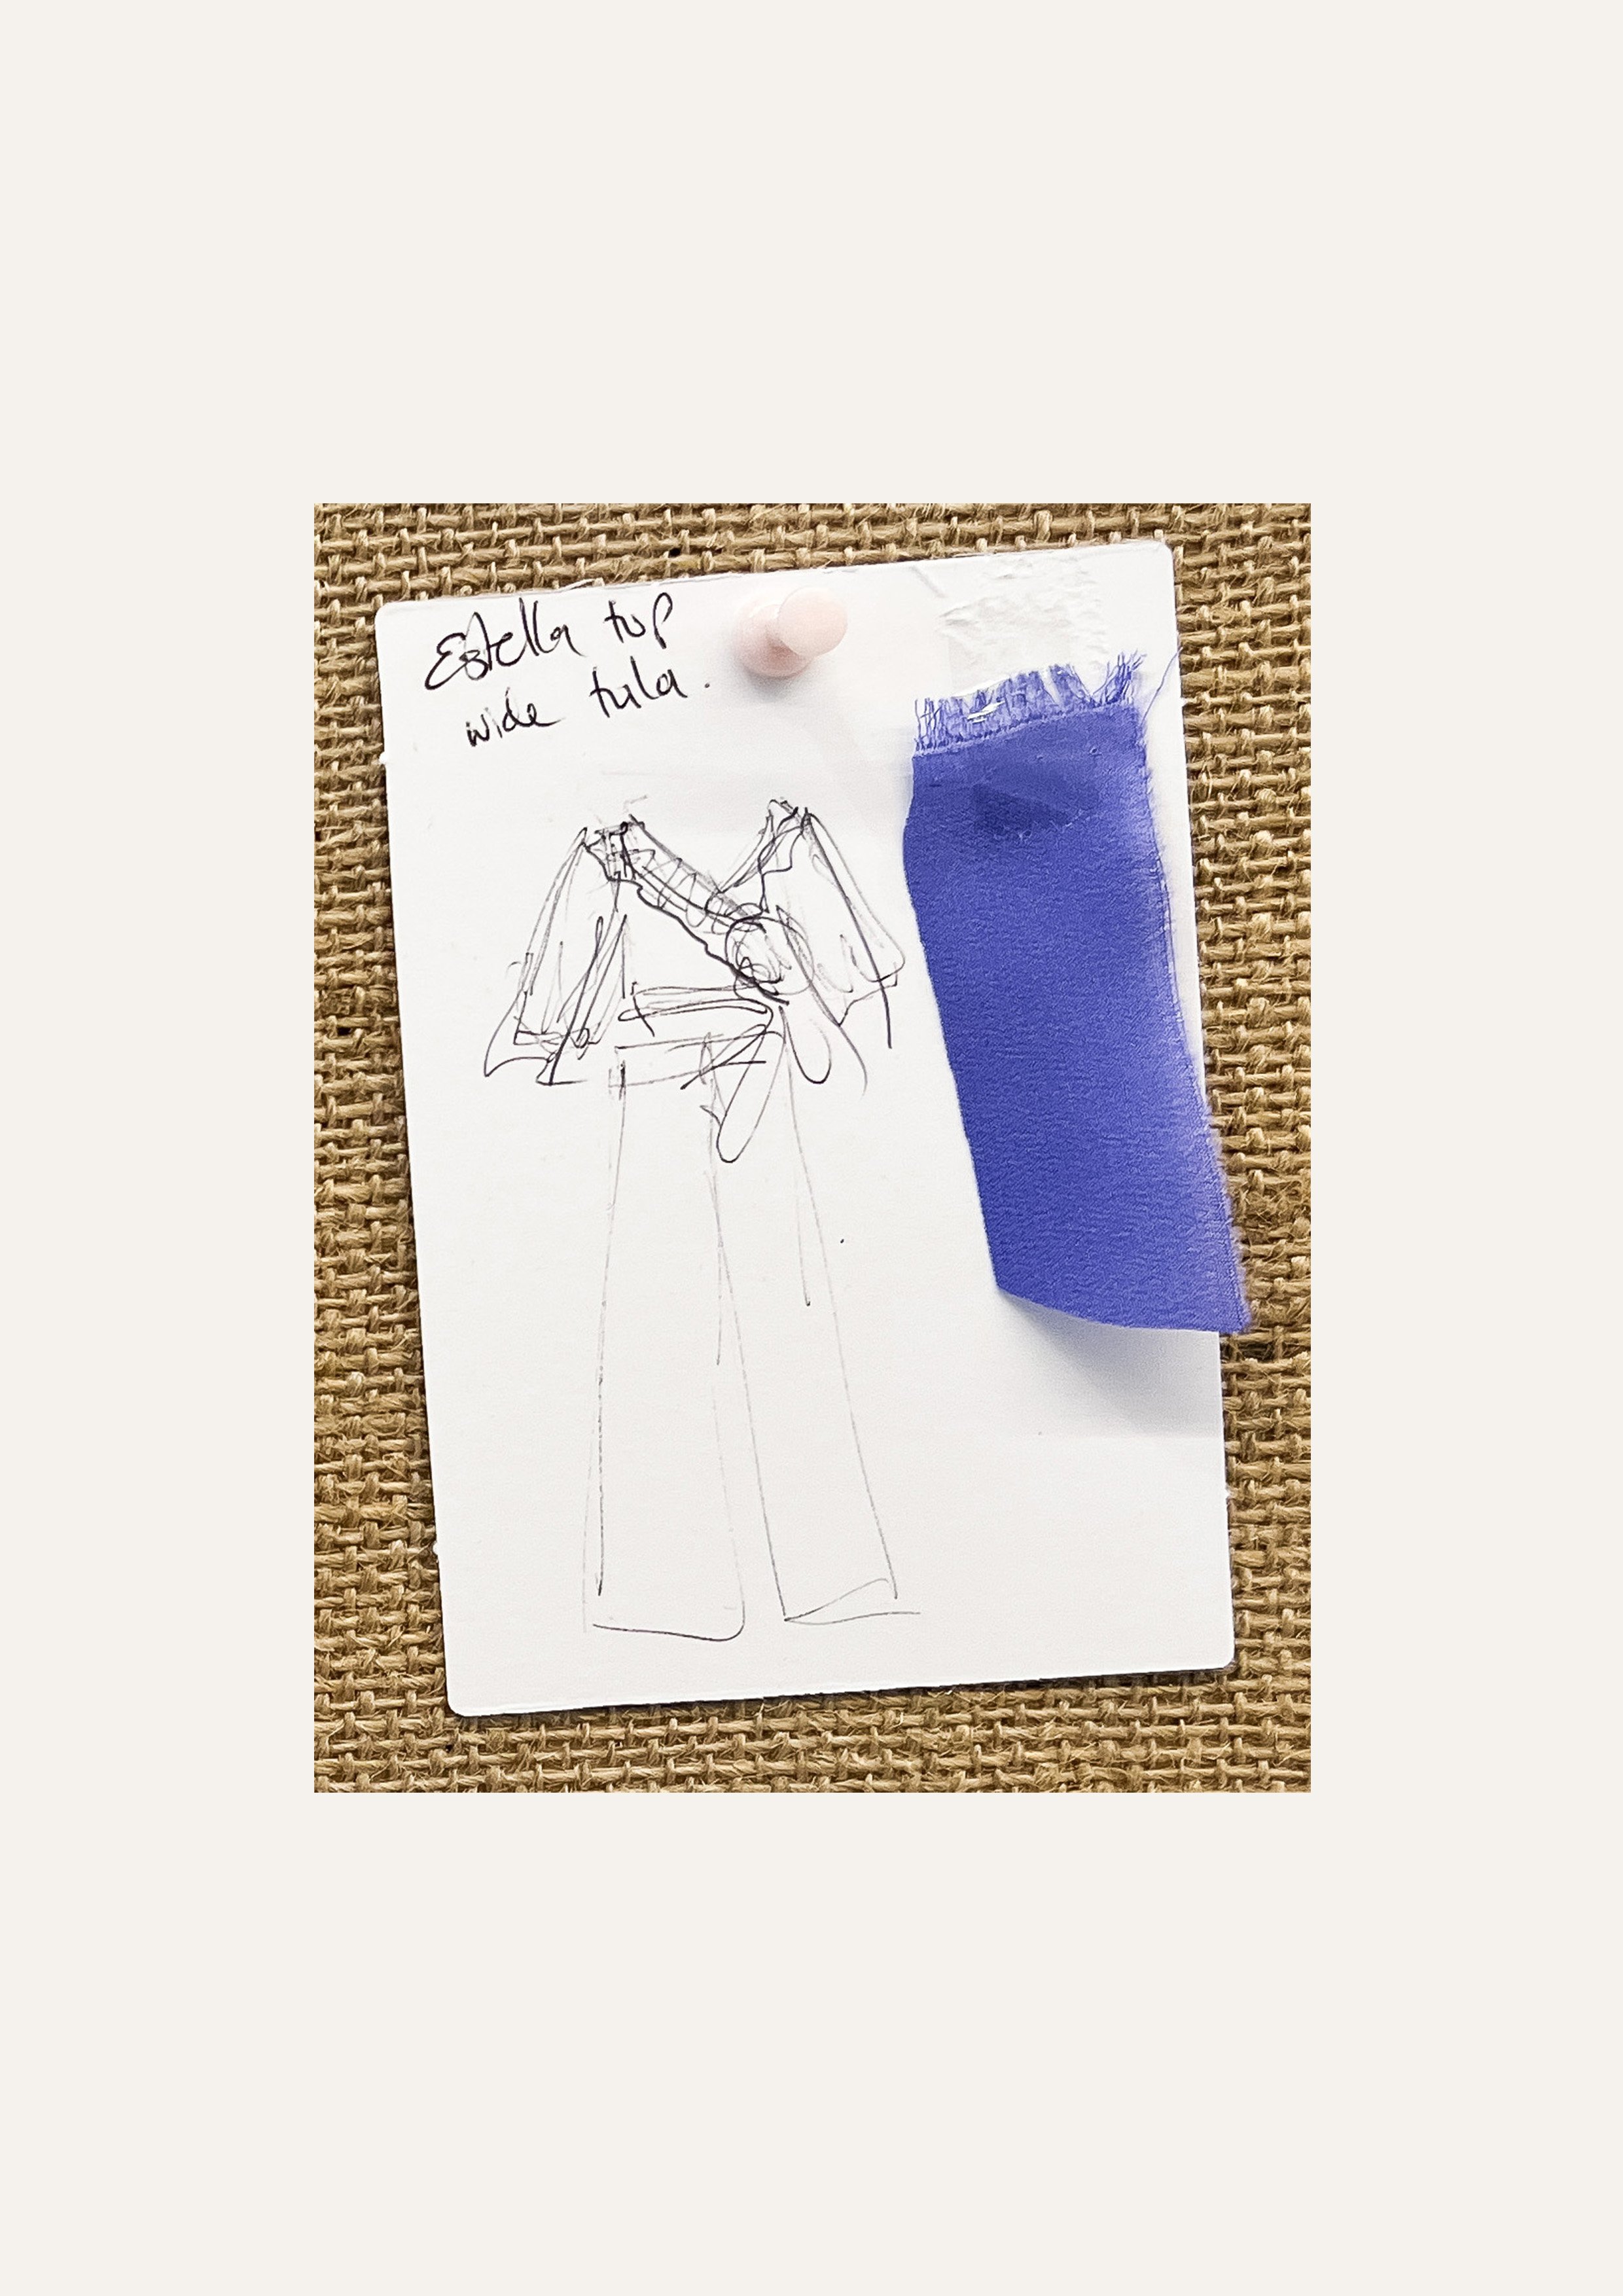
Pattern adjustment:
To create a pair of these drawstring waist Tula pants you will need the front, back and pocket bag pattern pieces.
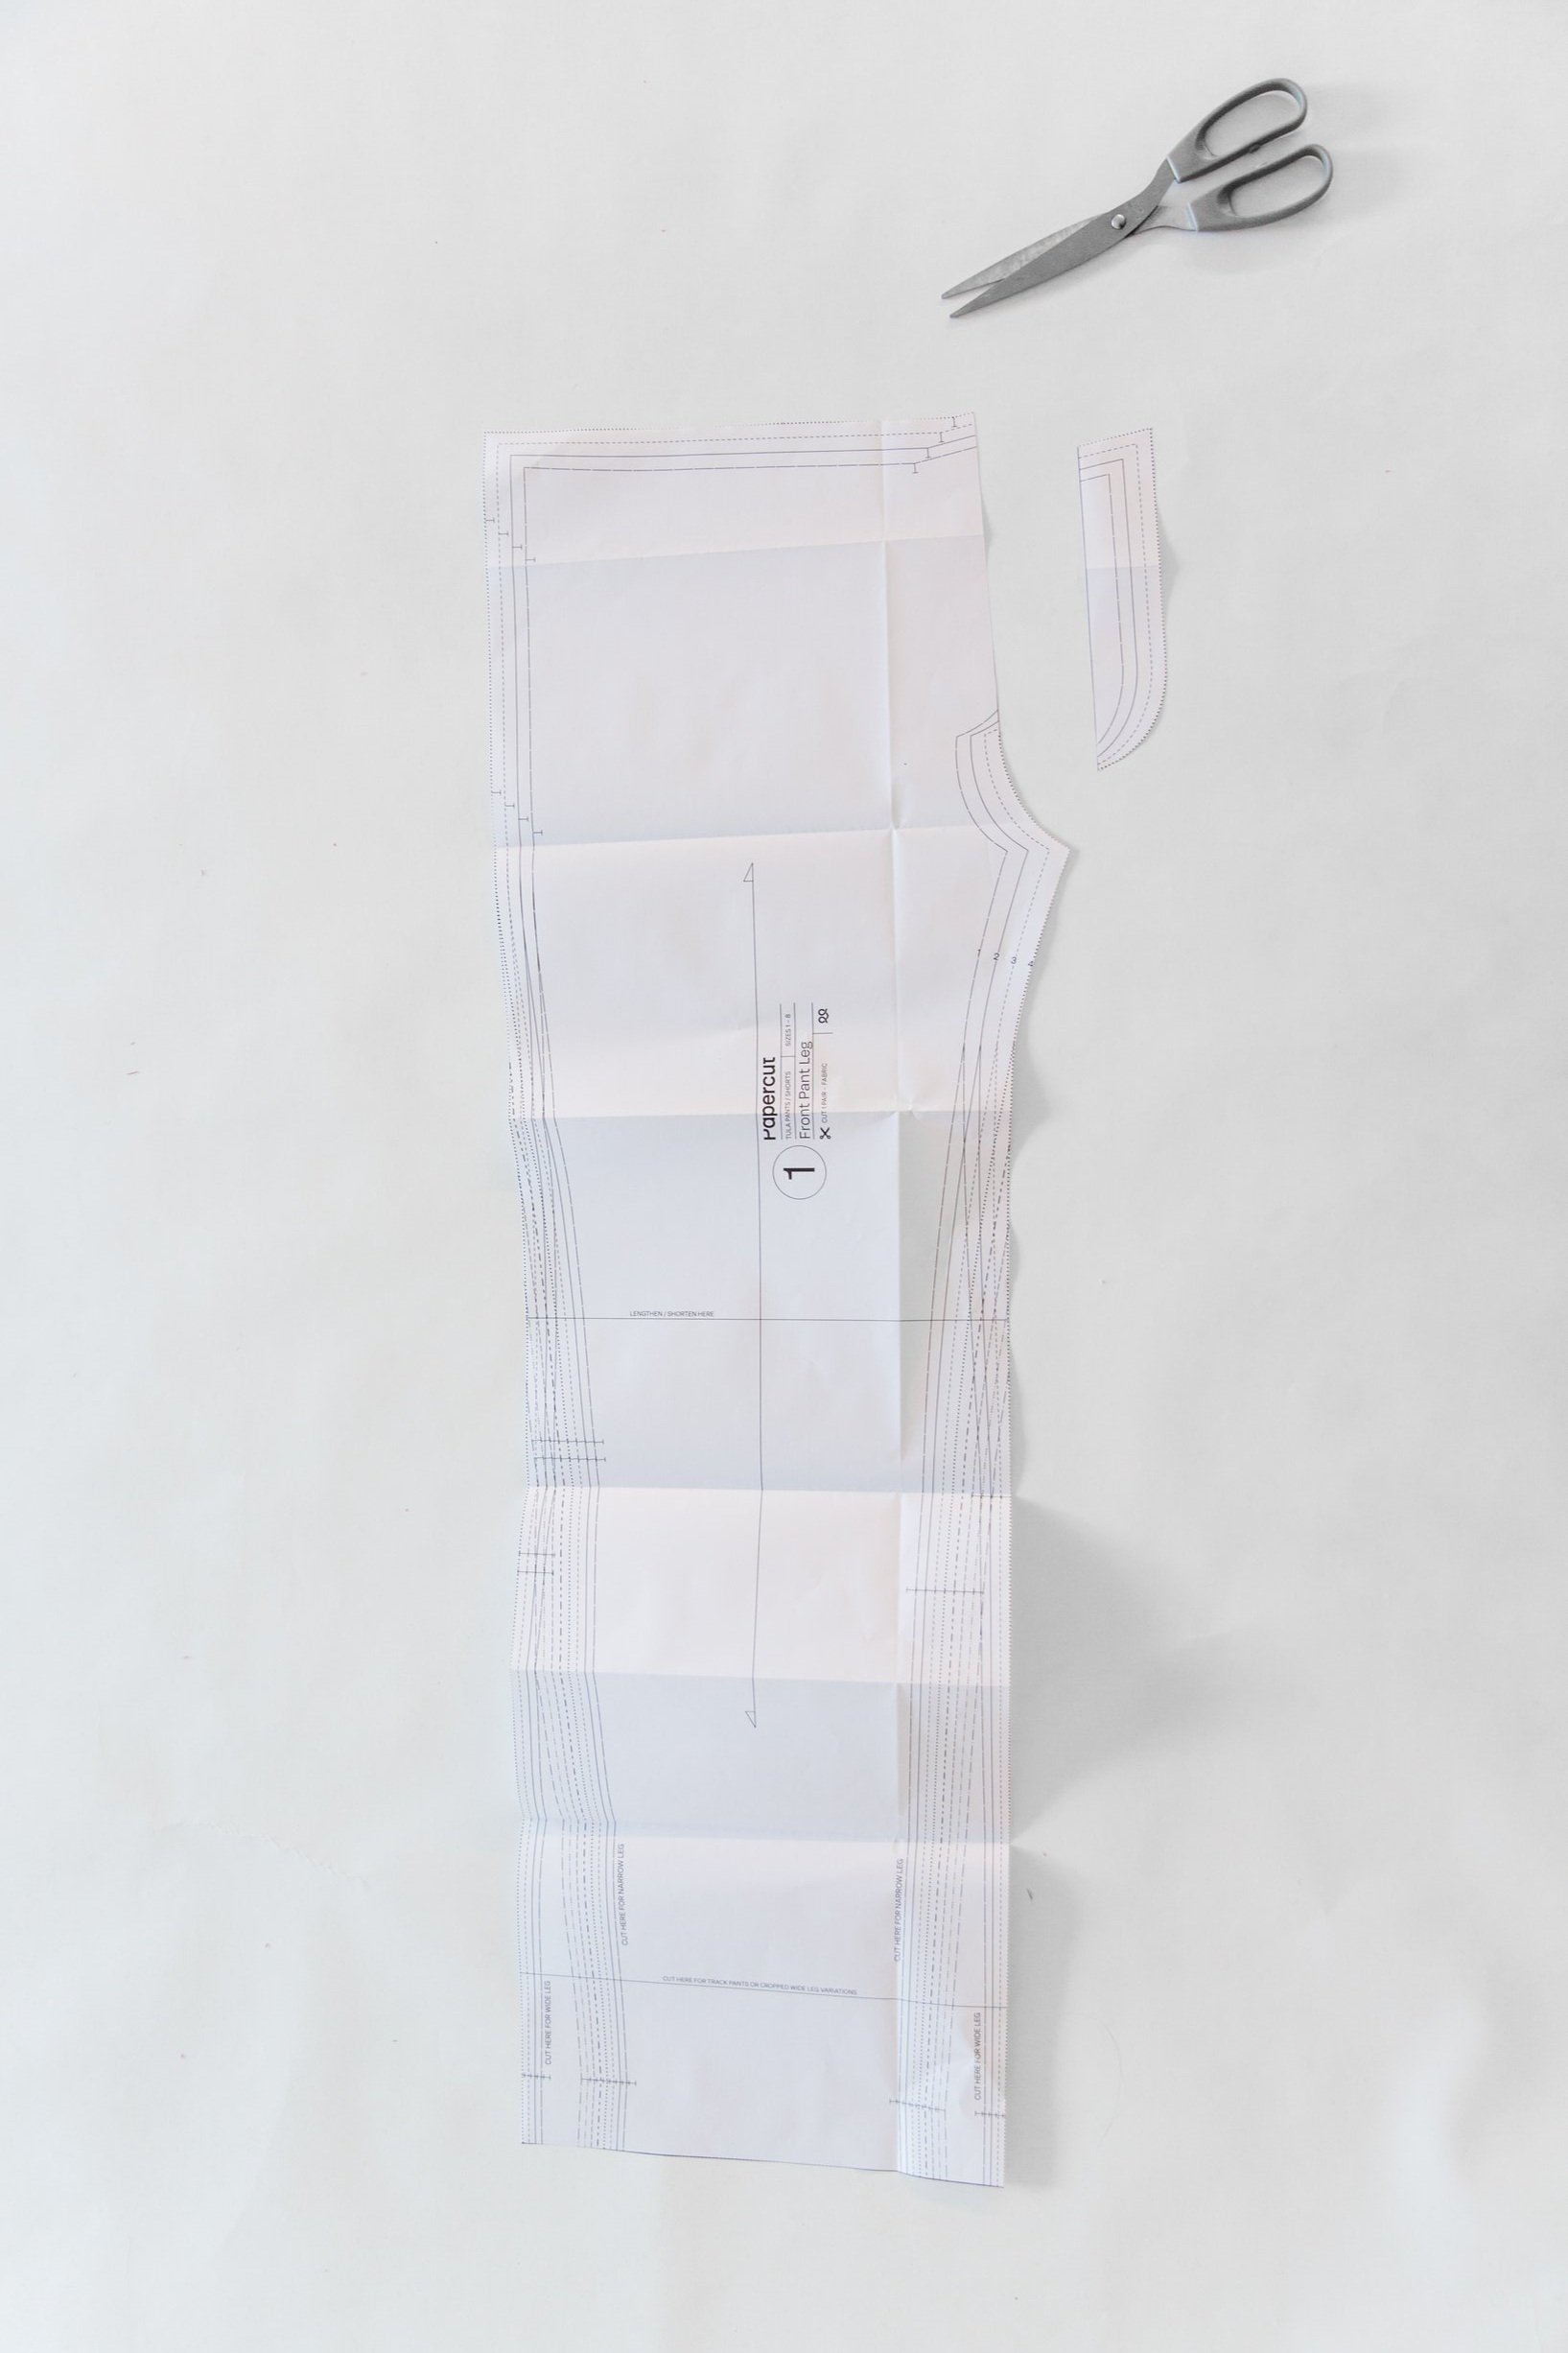
Step 1
Remove the faux fly front.
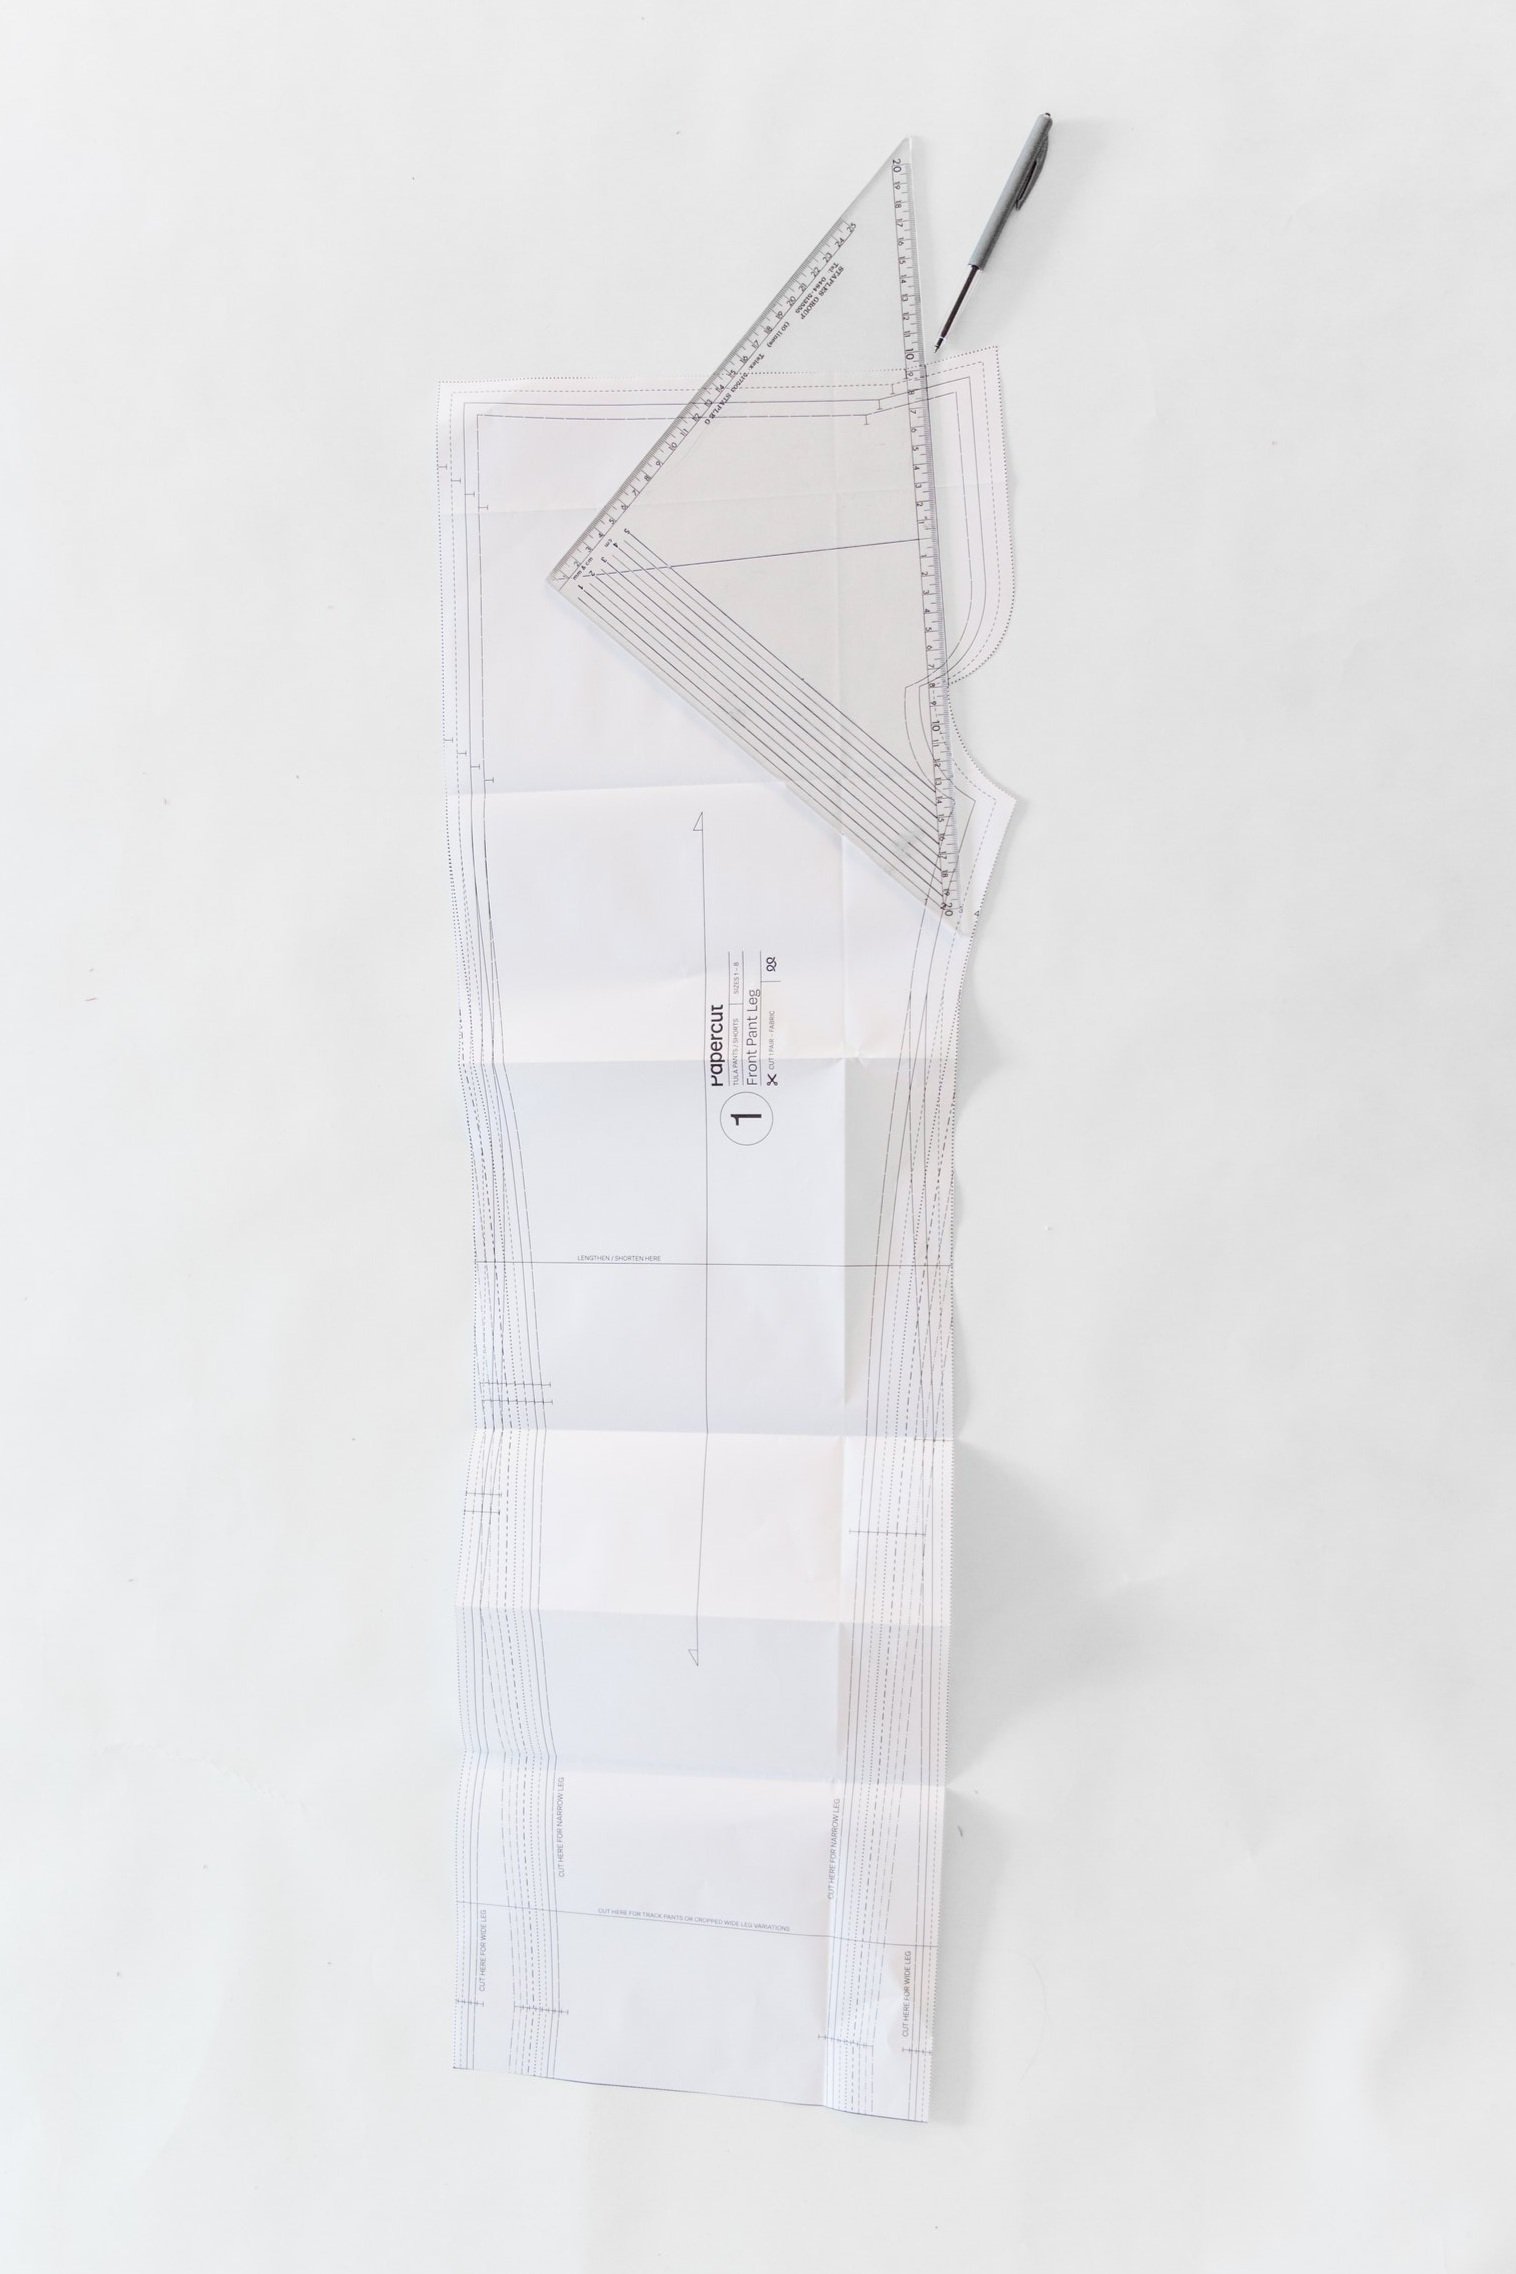
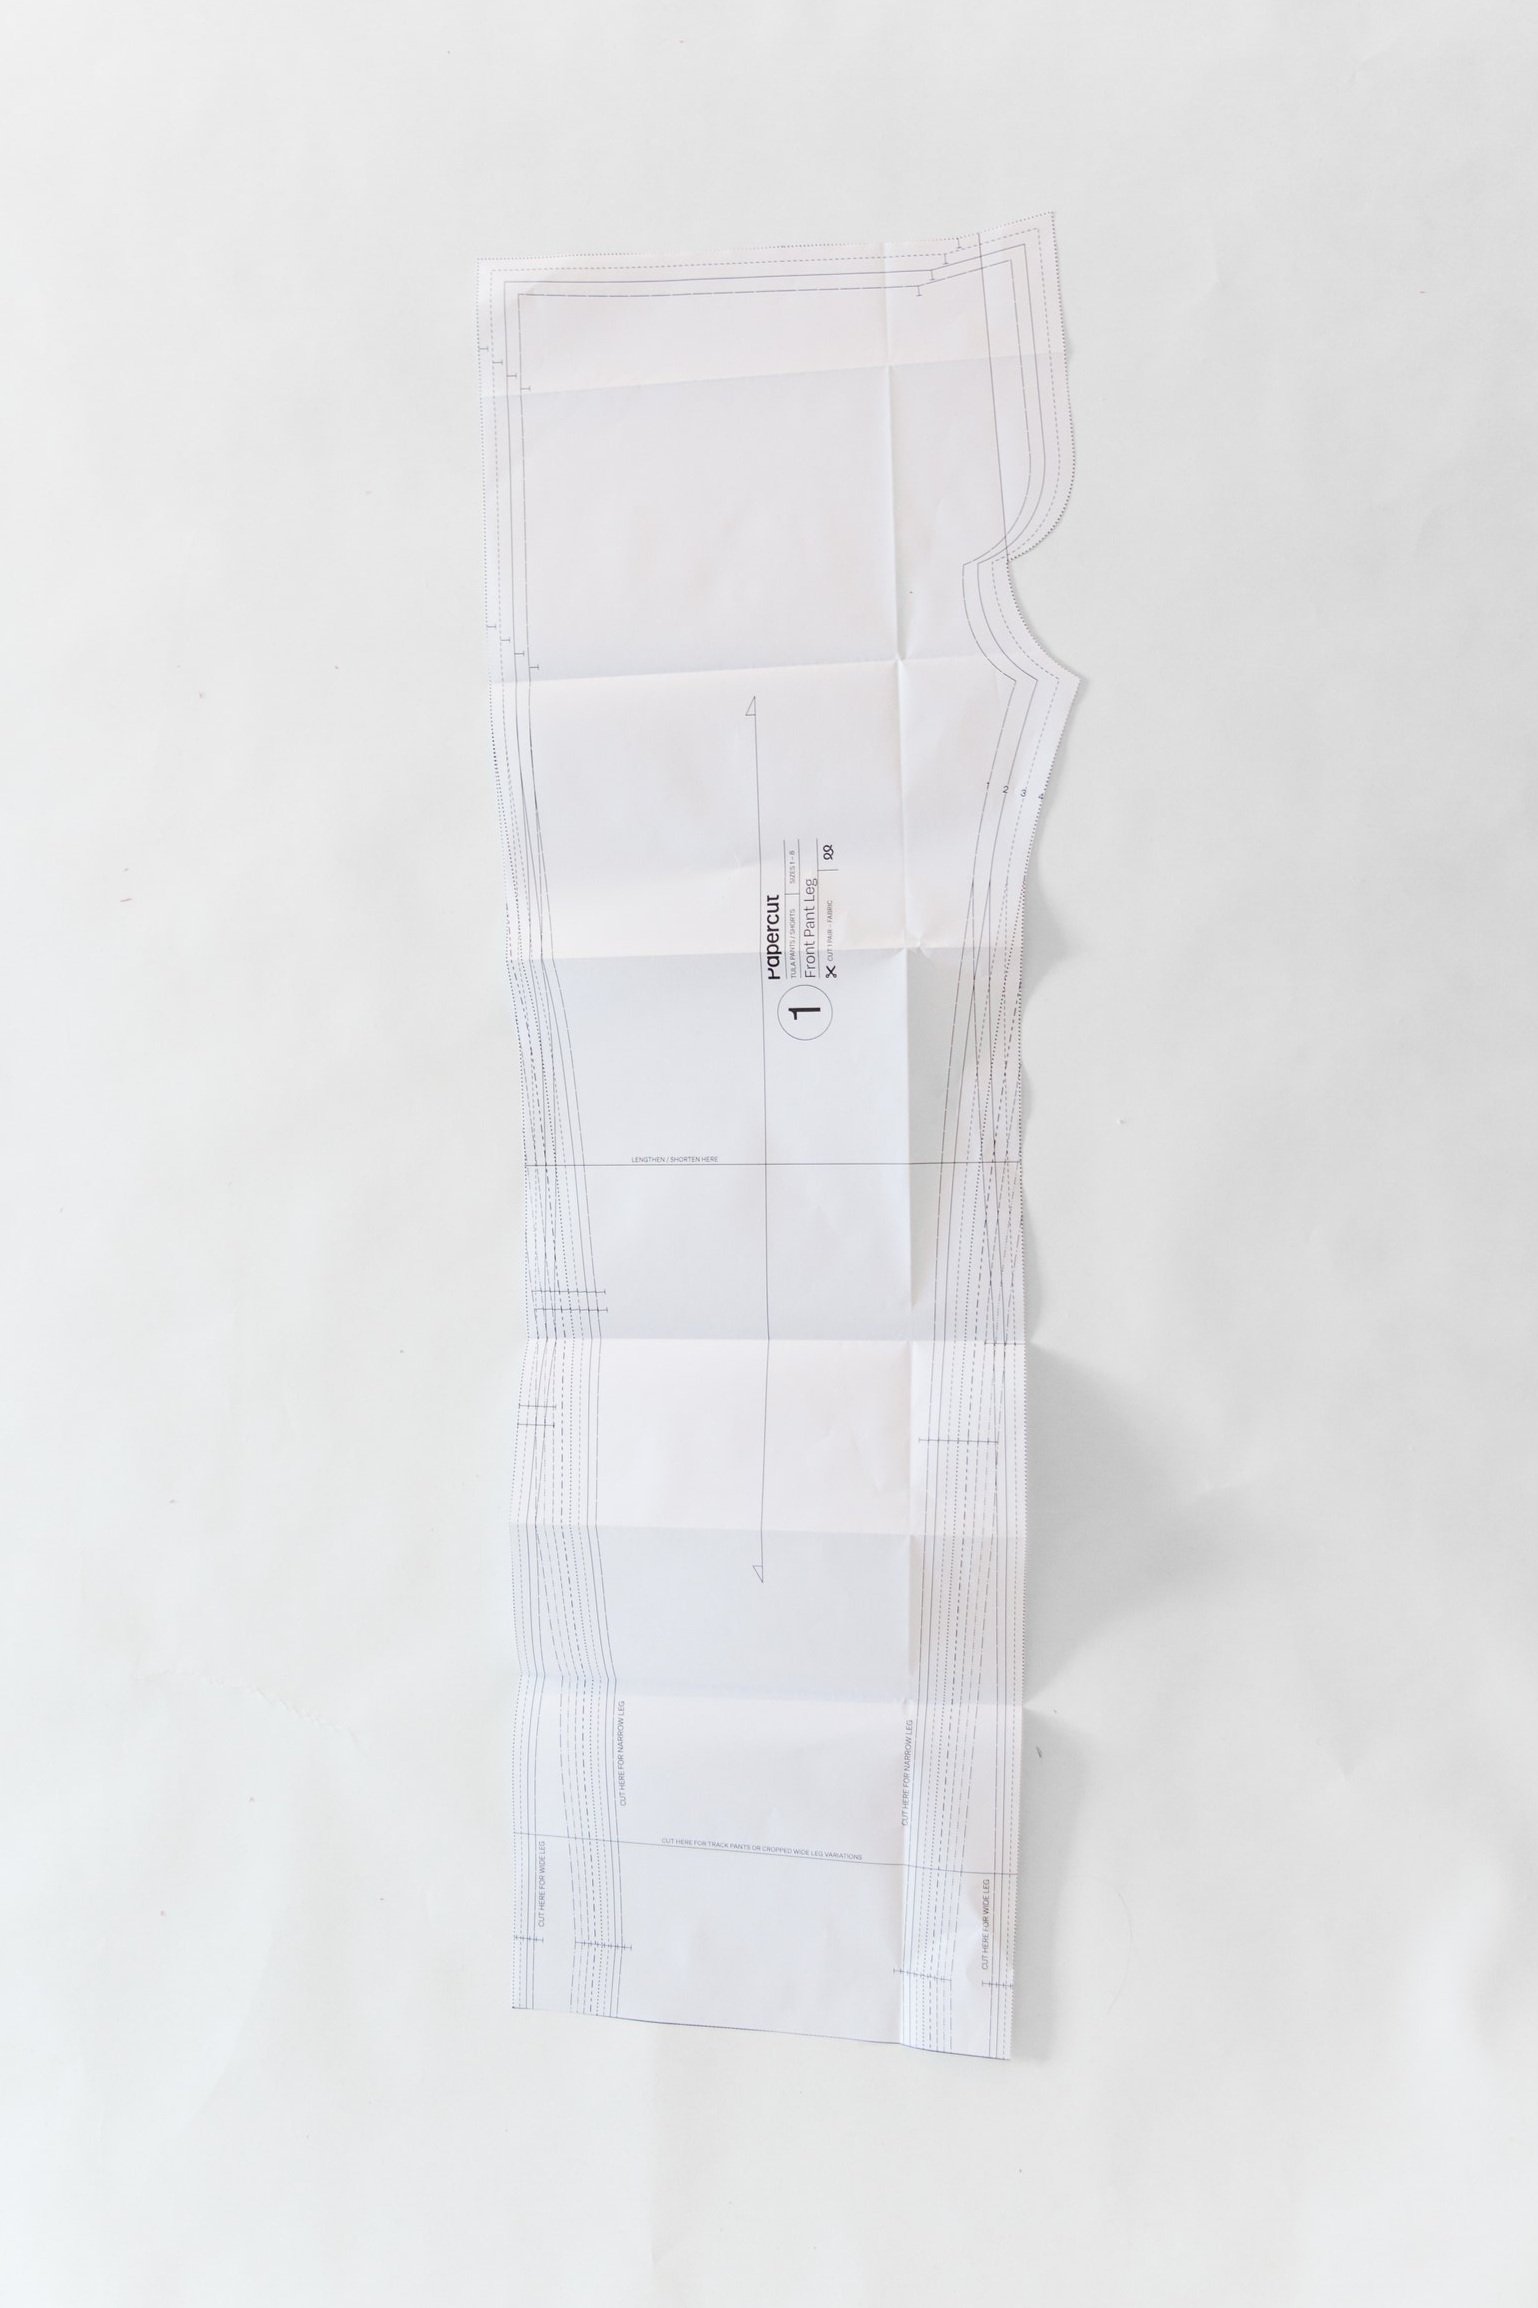
Working on you front pant leg pattern piece, make a mark 1cm from centre front notch (along the top edge). Draw a straight line from this mark to the point where the faux fly curve meets at the centre front crutch seam. Cut along this line to remove the fly.

Step 2
Attach a blank piece of paper under the top of your front pant leg.
Add 5cm in height to the waistline.

Step
Repeat for the back pant leg.
On the side seam, mark a notch 2cm from the top. This will be to indicate where to fold the top edge under to create the drawstring casing.
Step 3
Add the same amount of height to your pocket bag!


Sewing adjustments:
The sewing instructions for this hack of the Tula pants only varies from the Tula instruction booklet once it gets to the waistband details.
So, firstly follow the pocket steps 1, 2 and 3, the leg seams 4 (but straight up as there will be no fly), 6, 7, 8, the hem step 17, and the drawstring step 15.
Then follow the following steps for your drawstring finished waistband.

Step 1
Neaten waist edge of pants.
Turn waist back at notches, towards the inside of the pants.
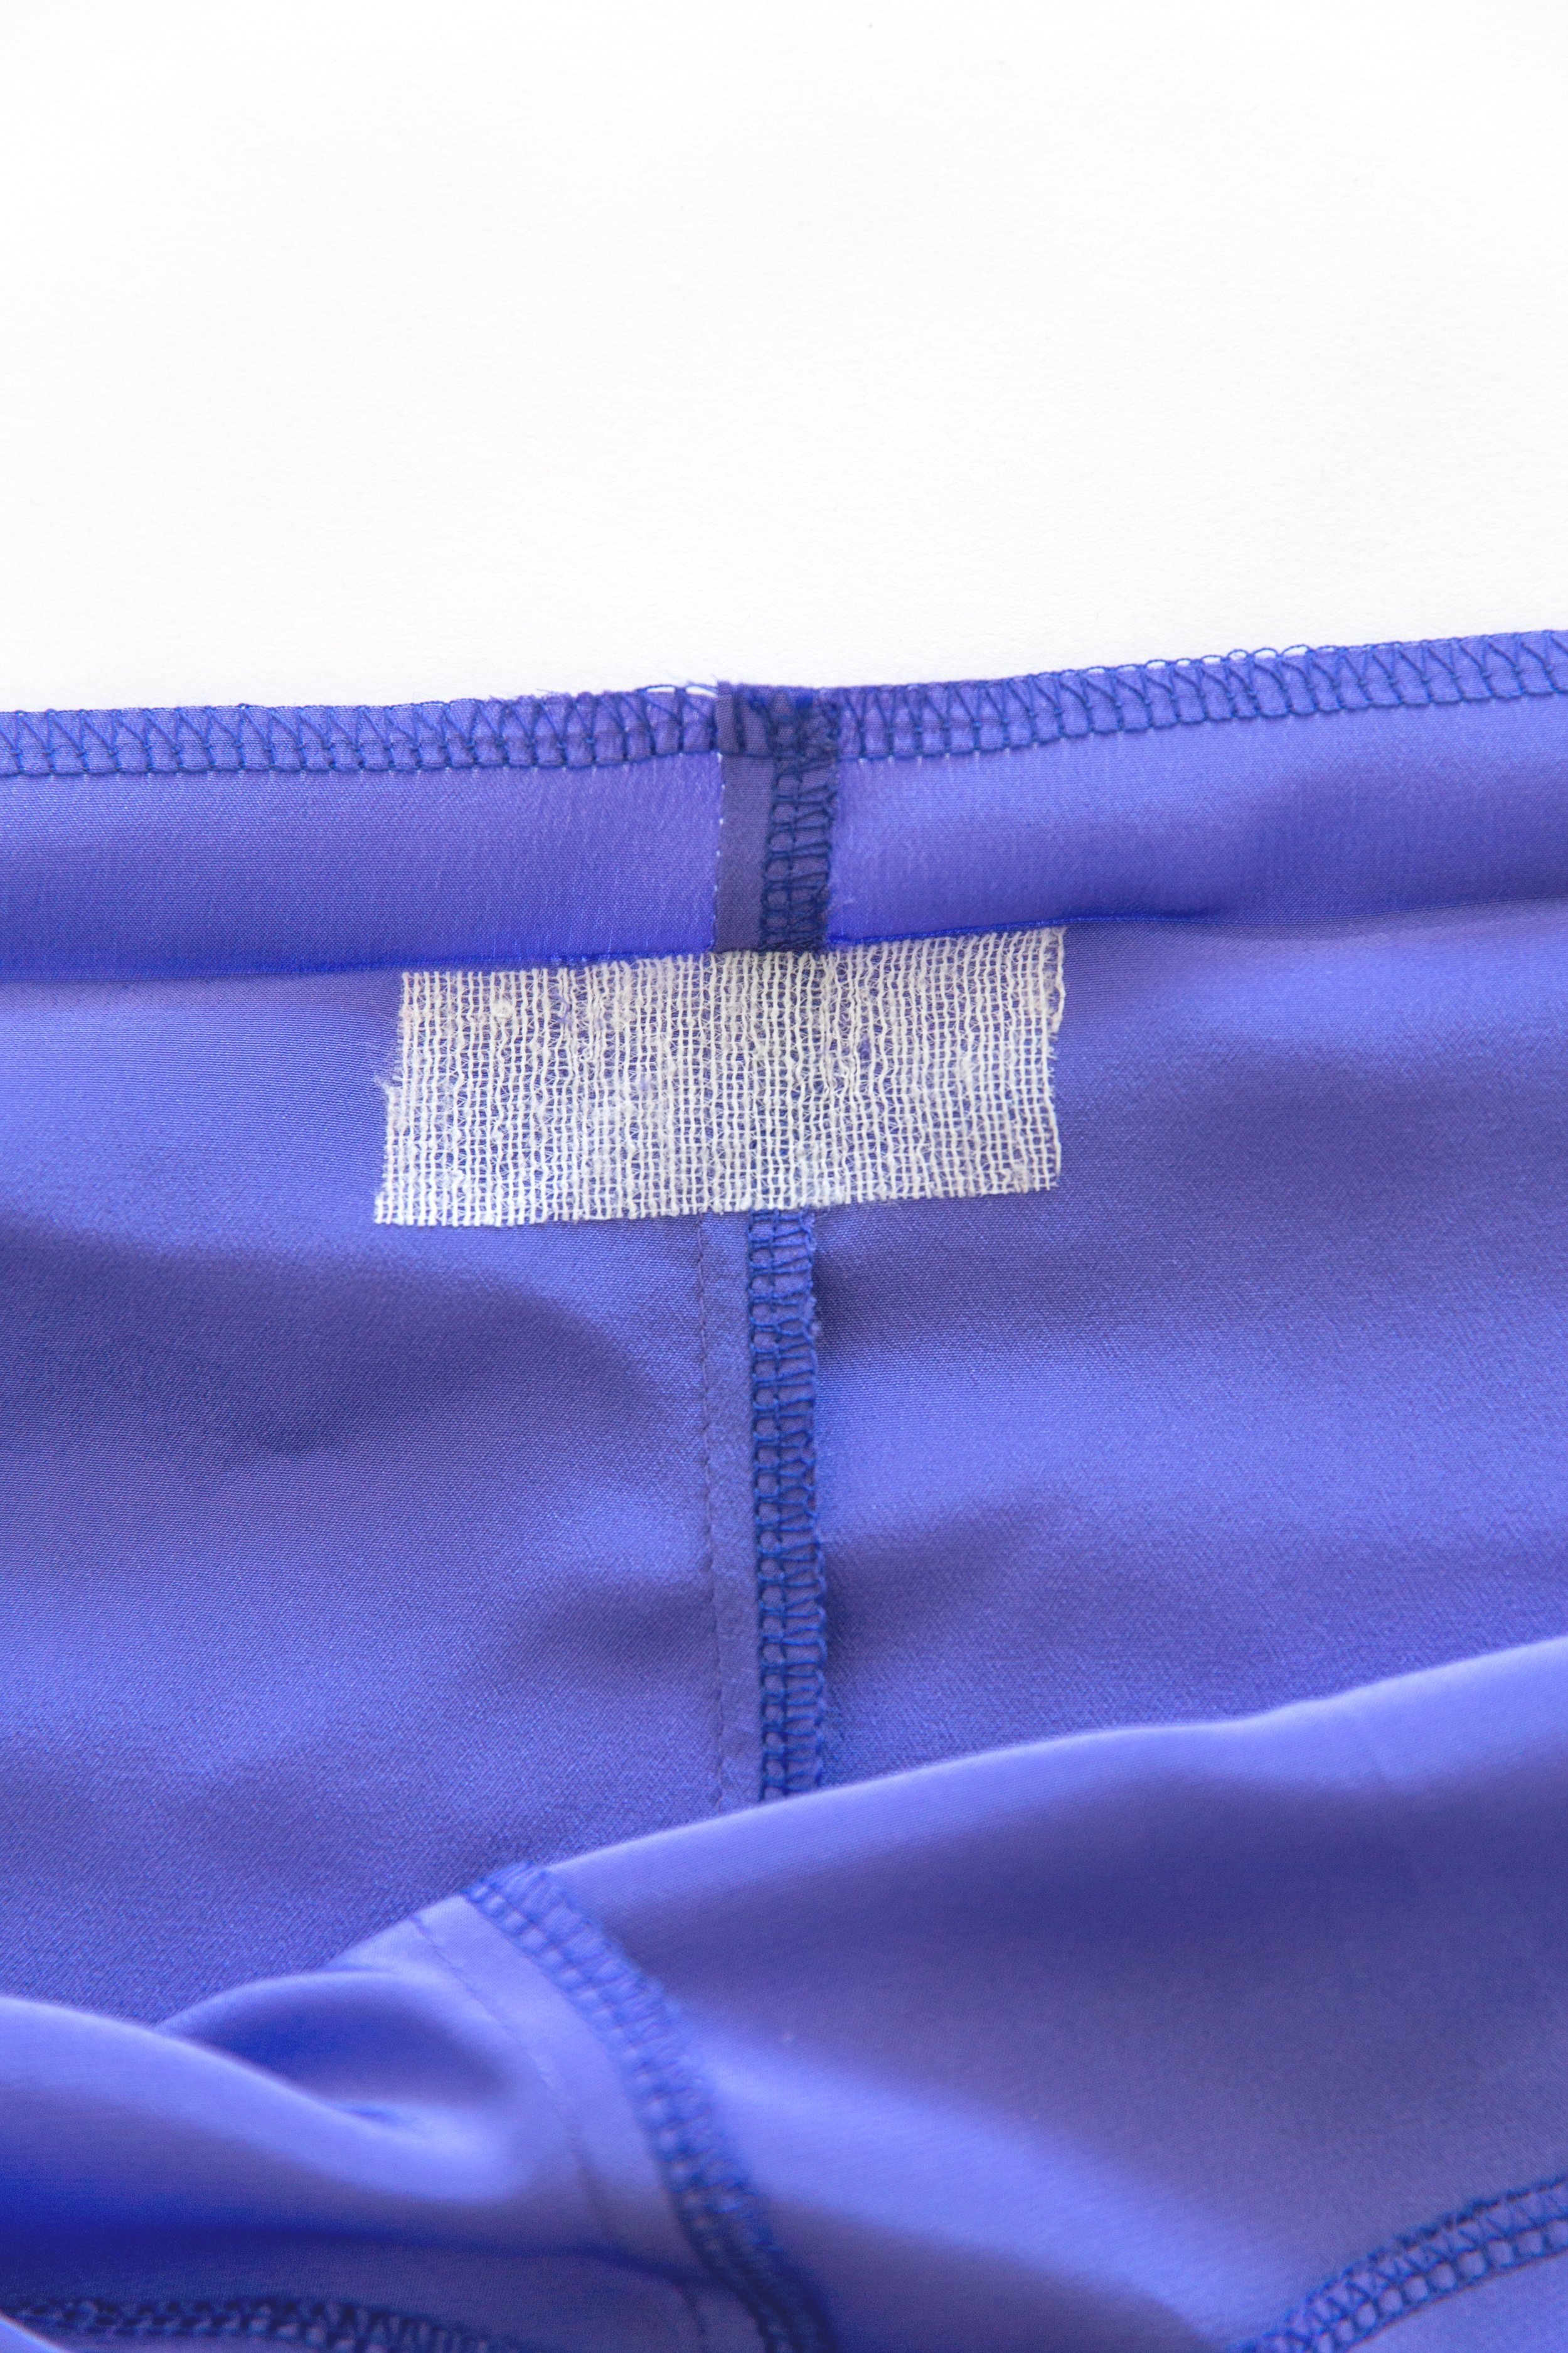
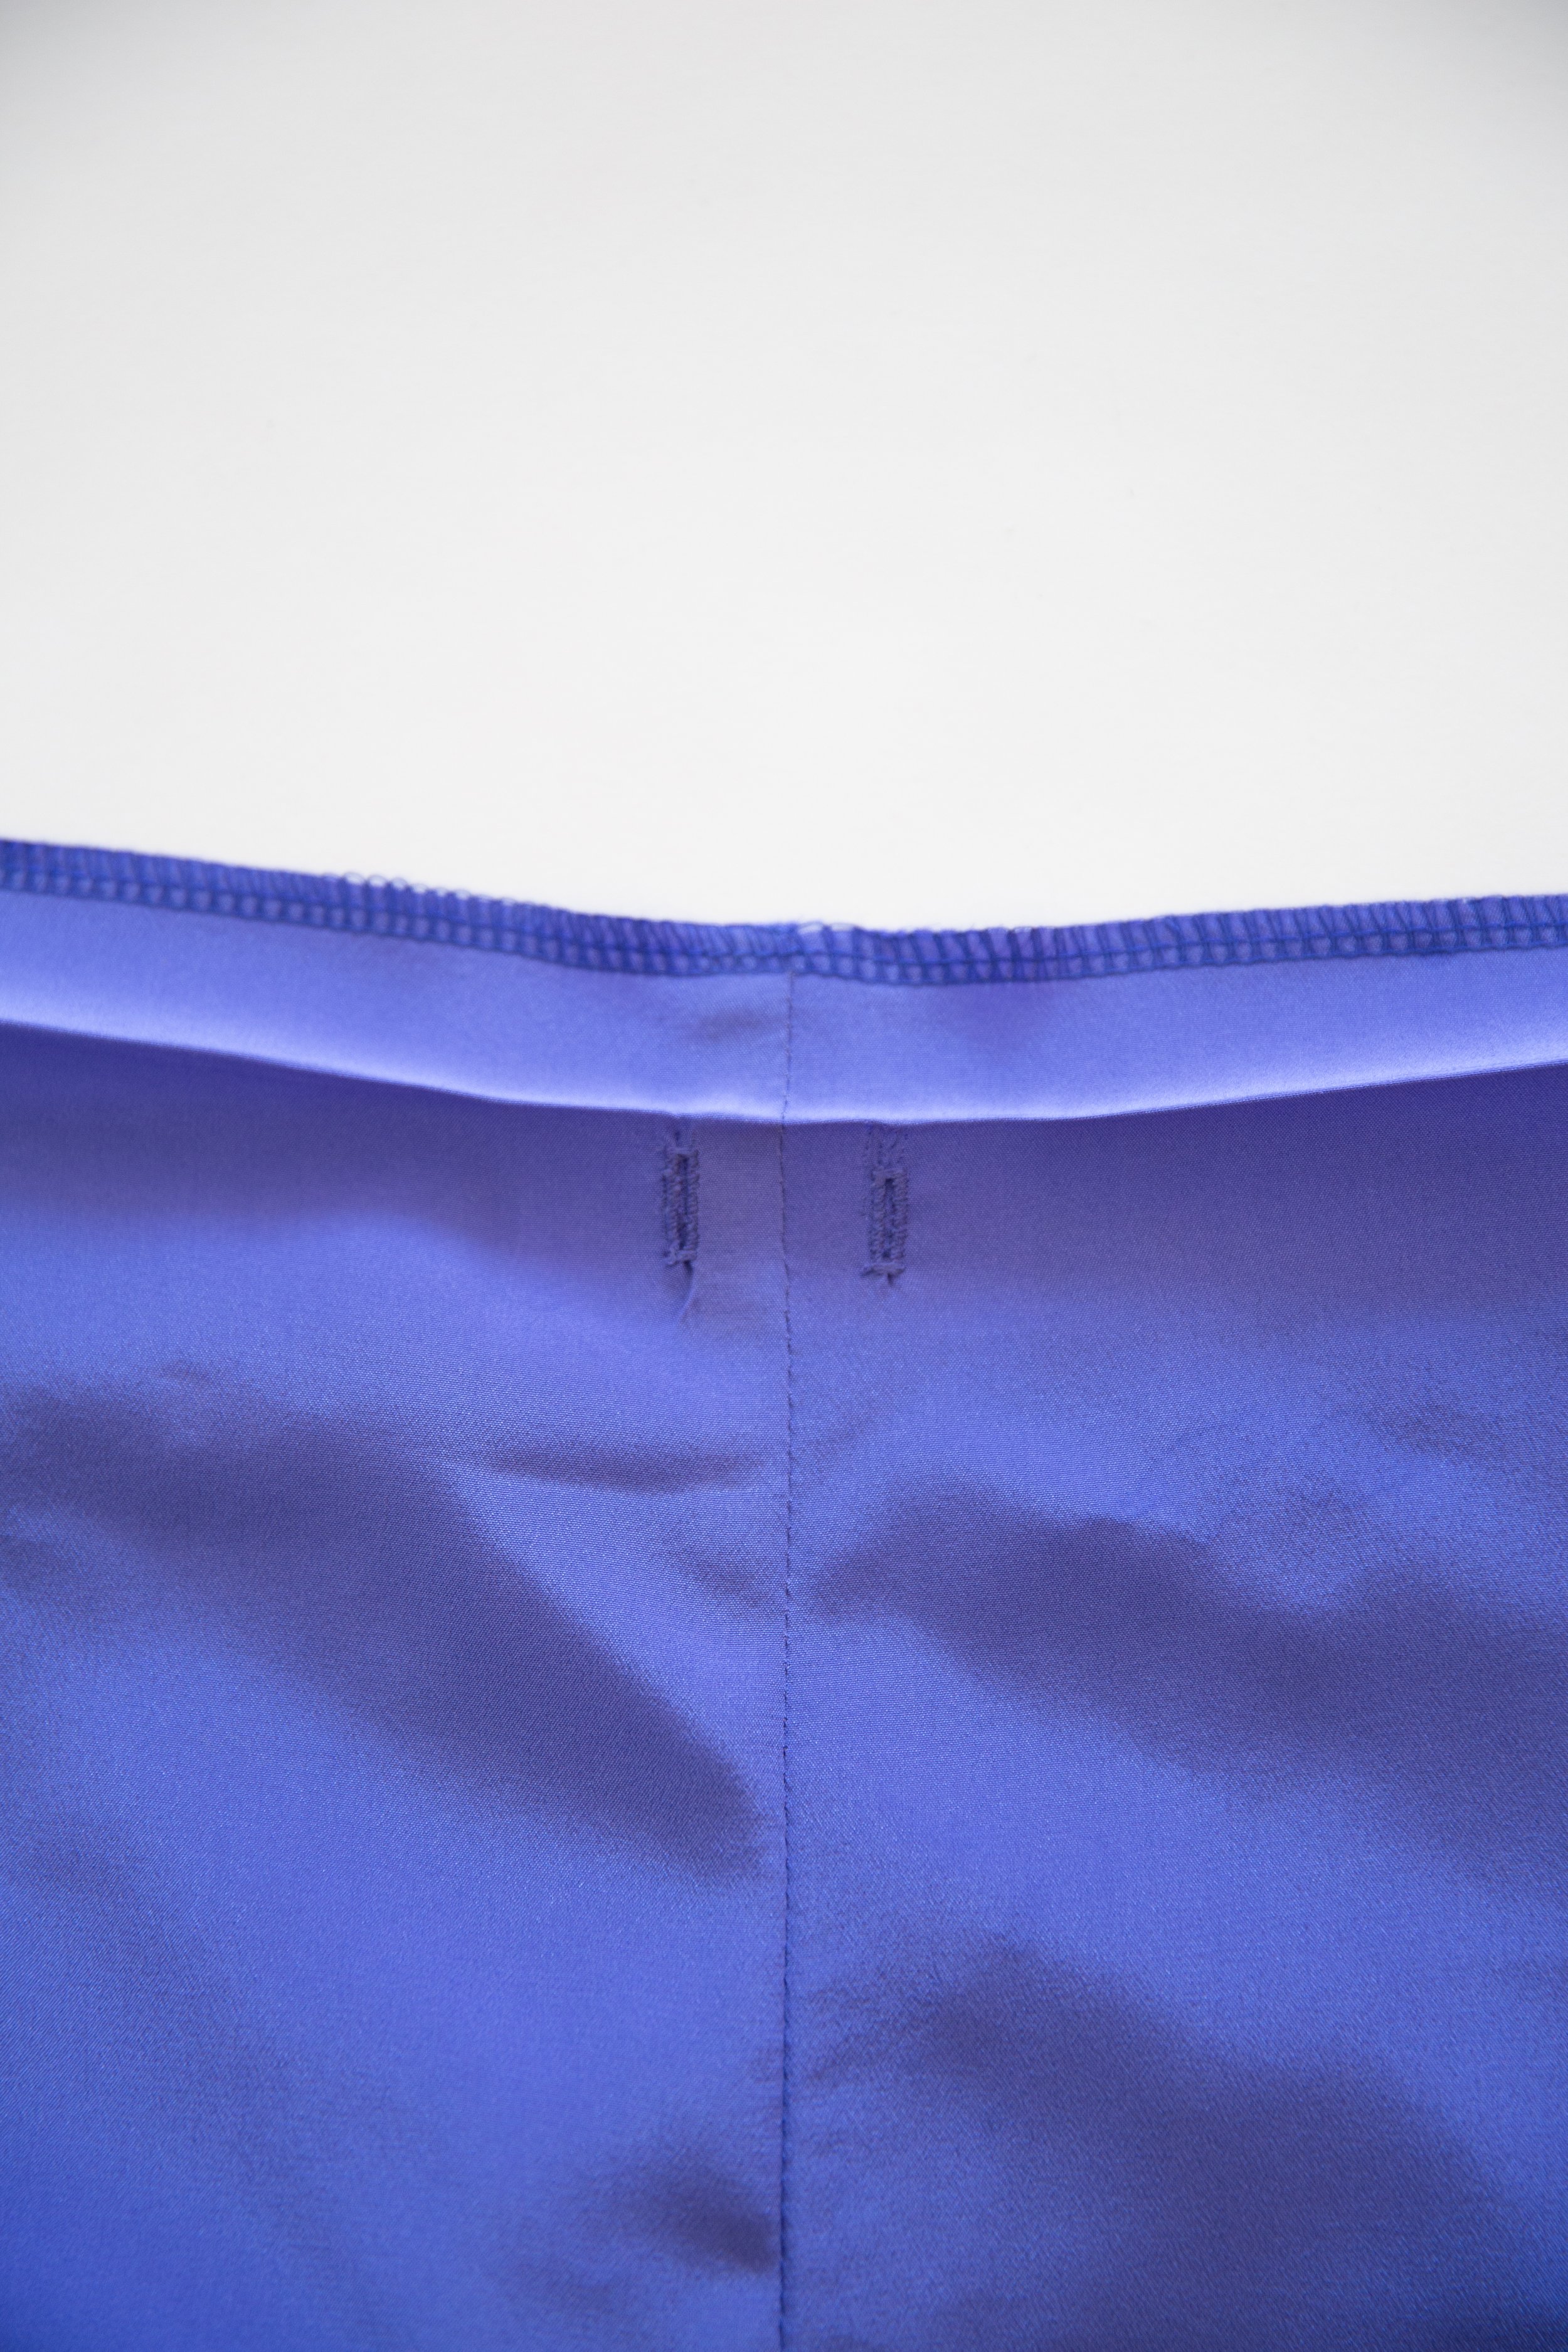
Step 2
On the wrong side of your pant front, lay your fabric flat to see the creased press mark, which will be your finished waist edge. Place a small square of fusible interfacing over the centre front seam, just under that crease. and press in place. This will give strength to your buttonholes. Turn your fabric over to the right side and stitch tow buttonholes, one on either side of the centre front seam.

Step 3
Turn waist edge back down towards the inside of the pants t notch and pin in place. Stitch.
Attach a safety pin to one end of your drawstring. Thread through casing from one buttonhole and coming out the other.

You did it!