Pattern adjustments:
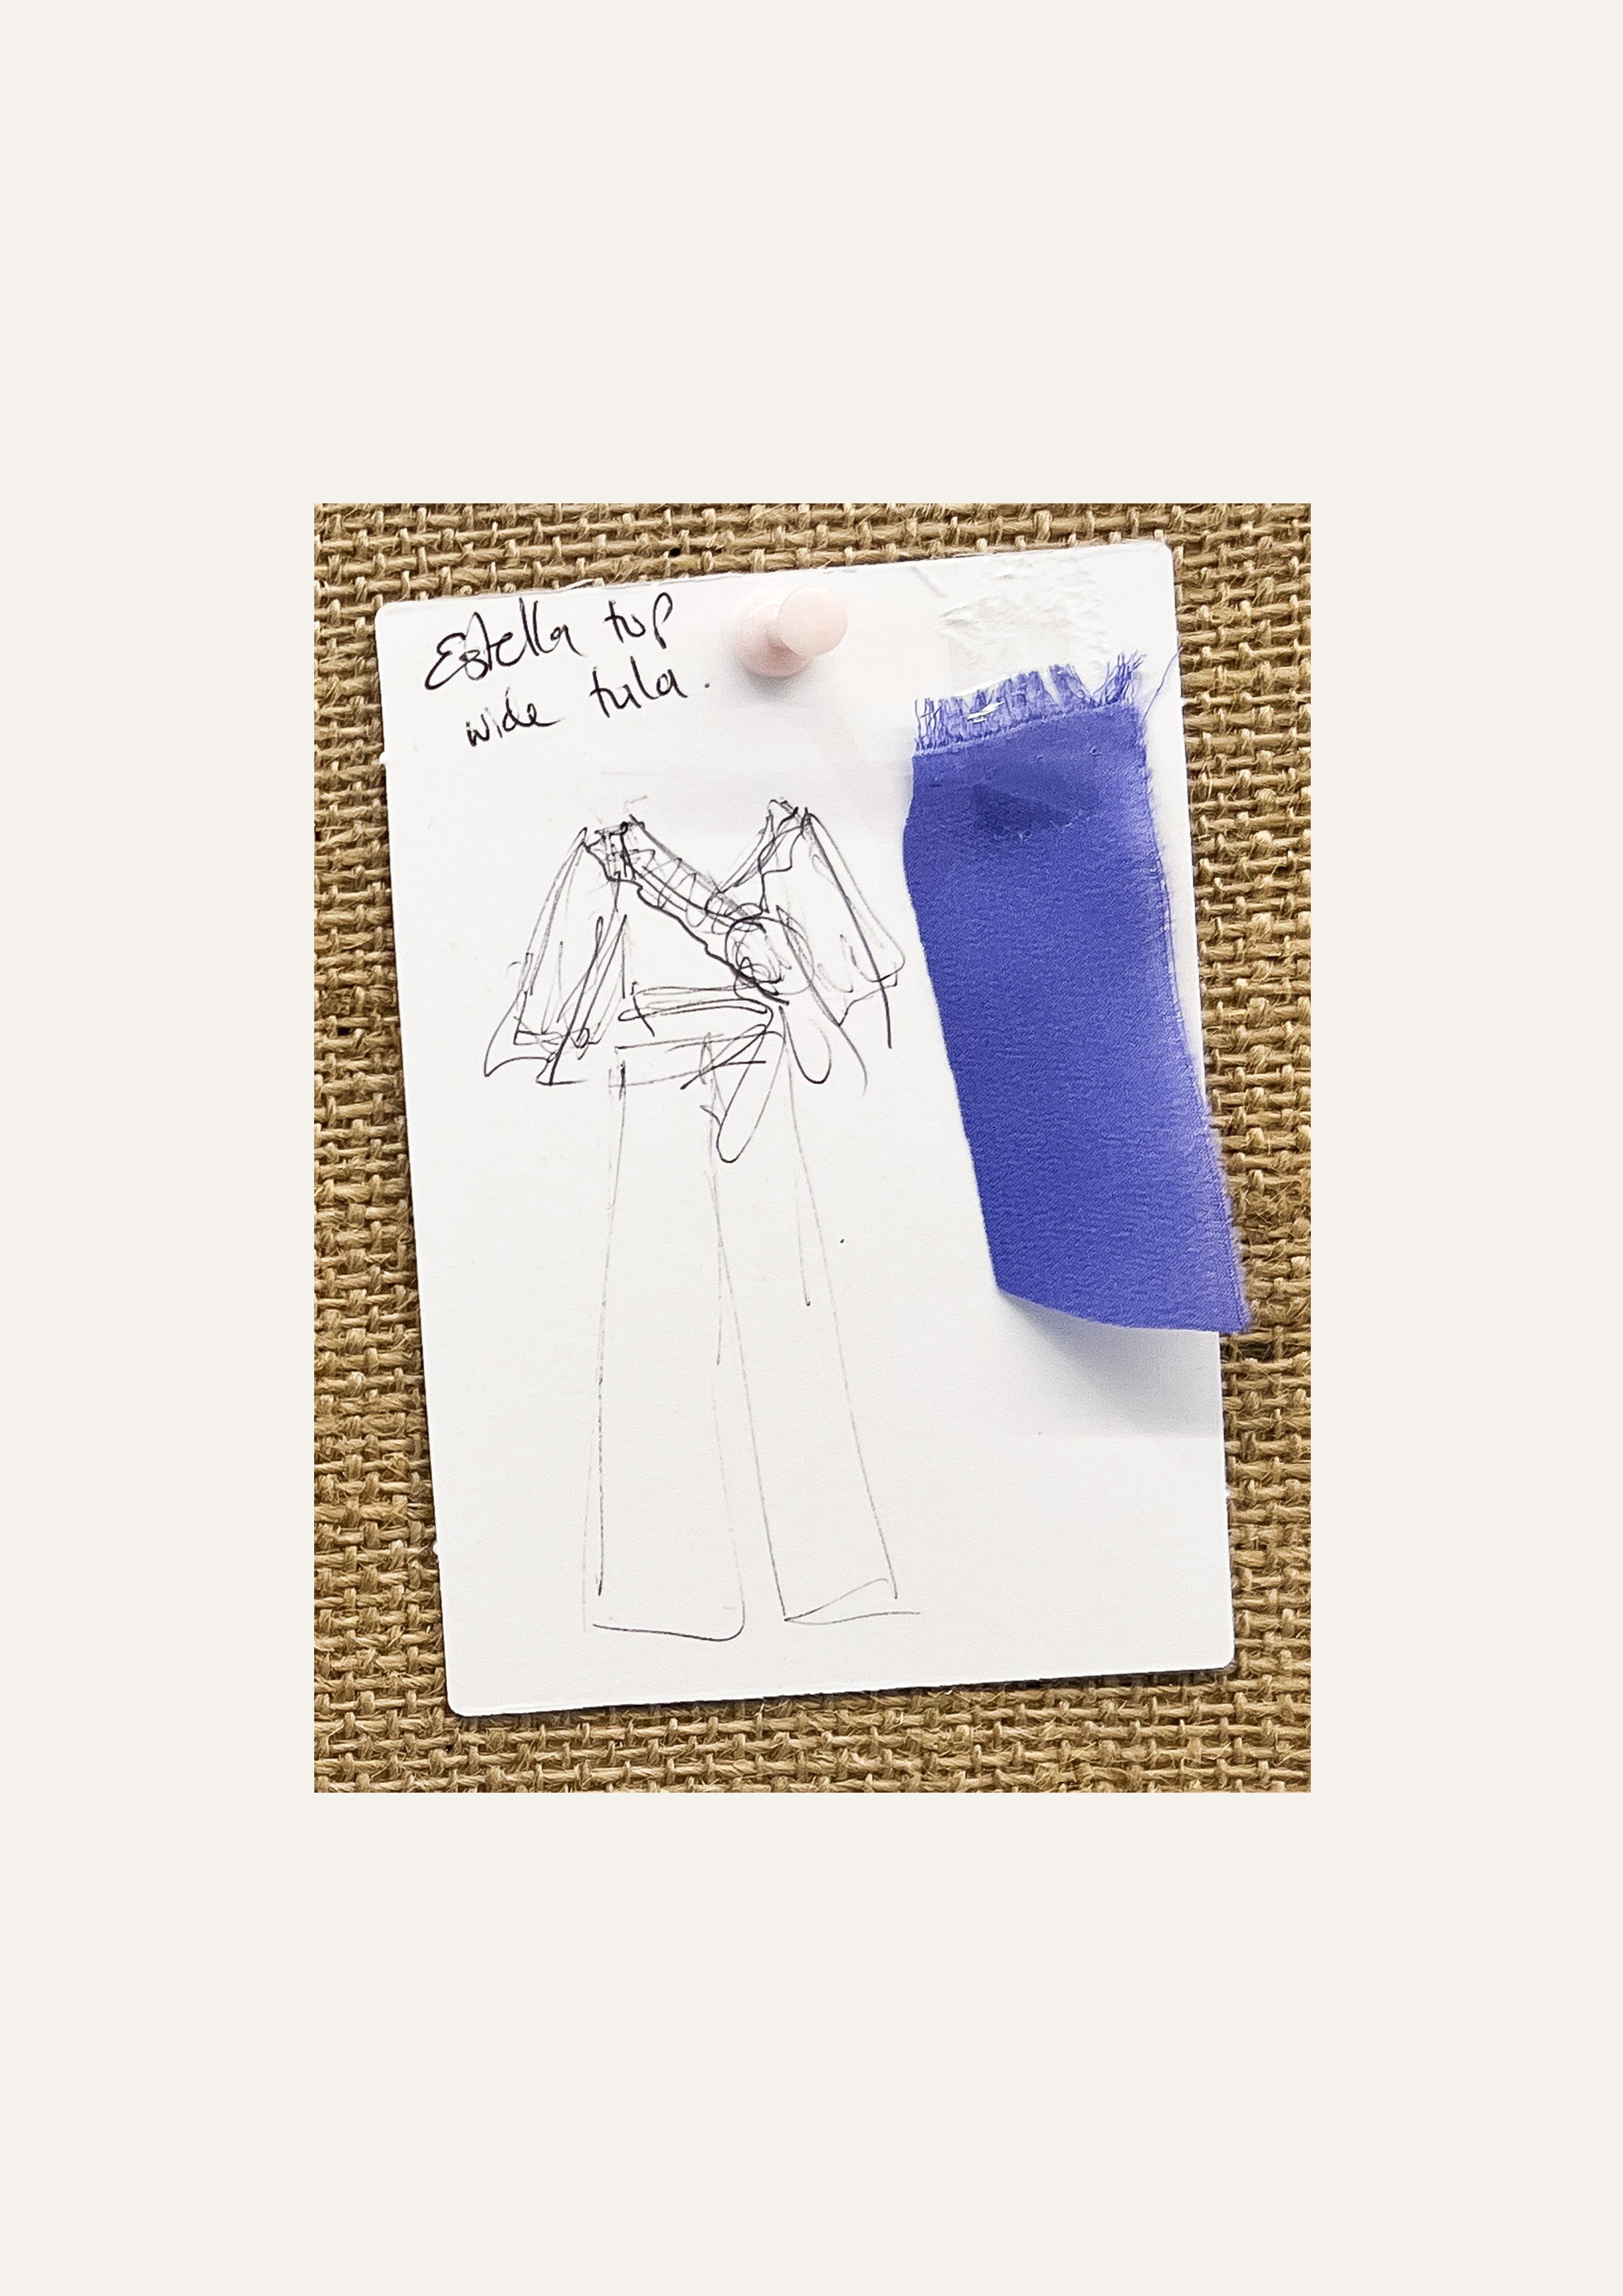
To create our version of the ‘added frills’ sequence hack, follow these steps to alter your bodice, wrap bodice and wrap bodice facing pattern pieces, and to create a new frill pattern piece. The sleeve, bodice neck facing and tie pattern pieces will also be needed (unaltered).

Step 1
Shorten your front and back pattern pieces by …cm from the blouse hemline.
This is to create a cropped length finish. You can alter the amount you chose to shorten the length by to suit your personal preference.

Step 2
Shorten the Wrap neck facing the same amount from hemline.

Step 3
Measure the length of the neckline on your wrap bodice front piece.

Step 4
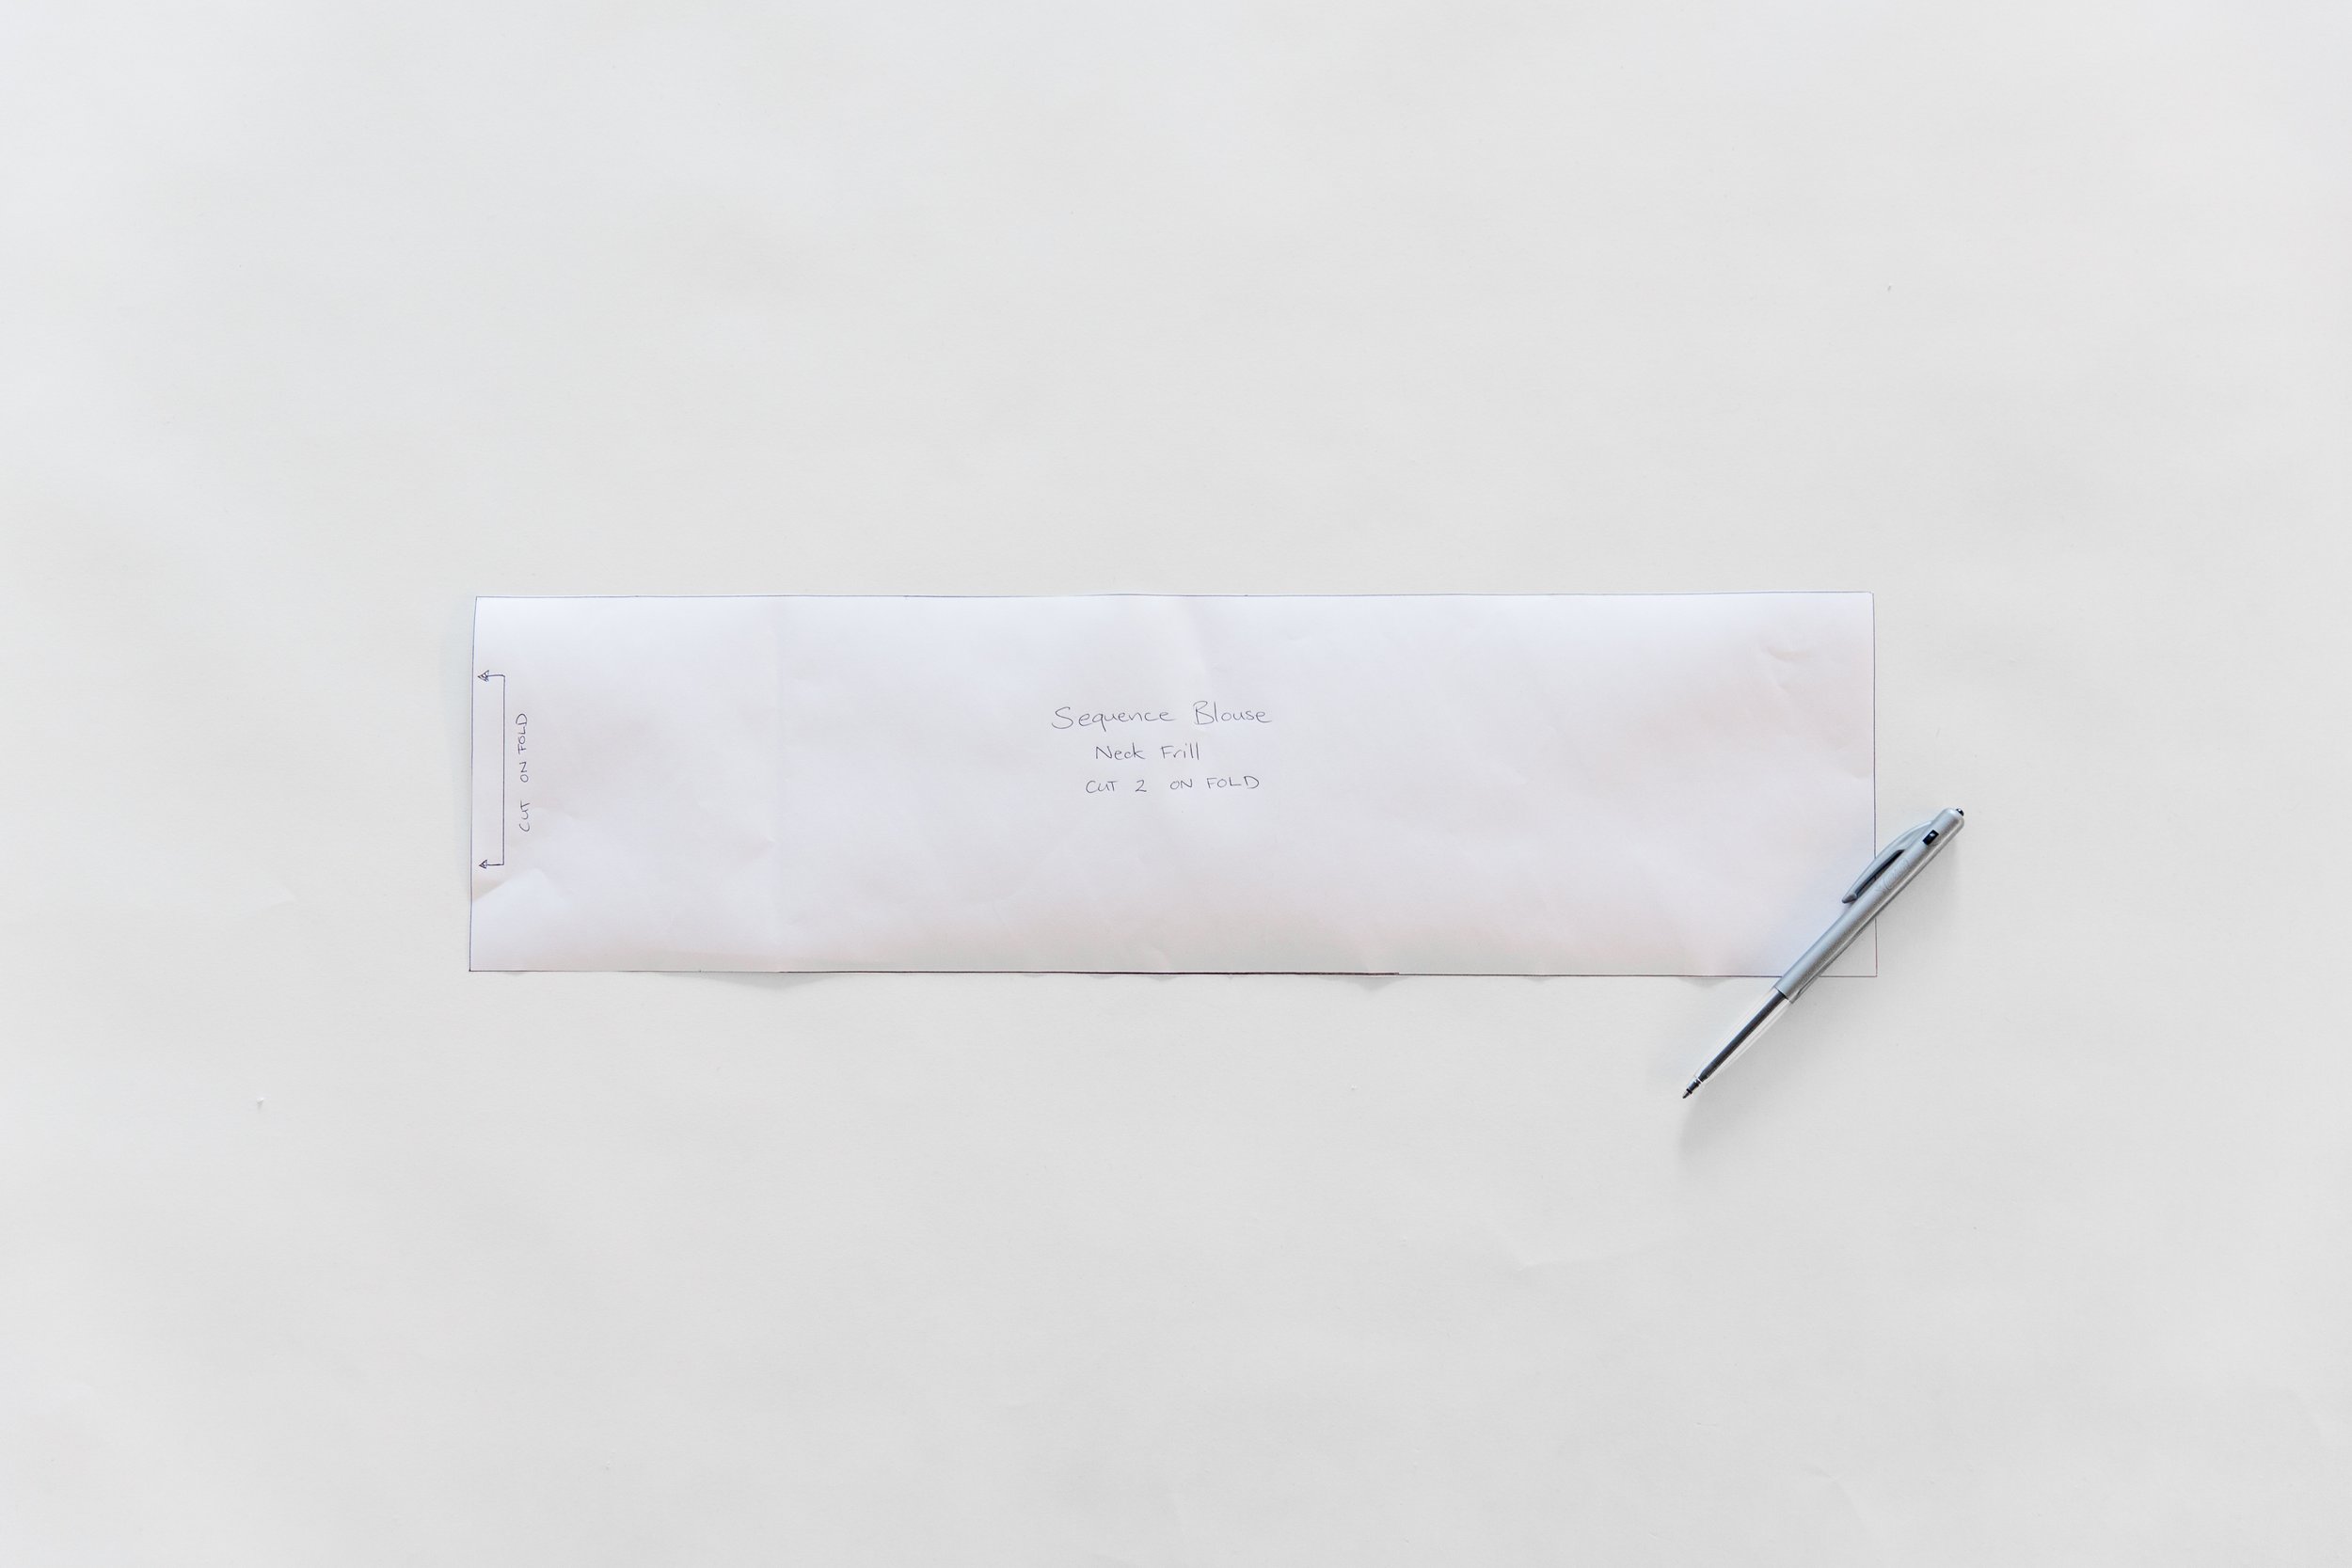
Draw a rectangle 15cm wide by the length of your wrap bodice neckline, as measured in previous step.
Cut out the rectangle and label your new pattern piece ‘Sequence Blouse Neck Frill’. On one of the short ends, (15cm) write Cut on fold, with the cut on fold arrow marking as seen in picture above. Write the cutting instructions Cut 2 on fold.
The reason for cutting this piece on the fold is to double the length of the neckline edge. This will create a long enough frill piece to gather back in nicely along the wrap neckline.


Sewing adjustments:

Step 1
Press neck frill piece in half lengthwise.
Stitch a row of gathering stitches (the longest stitch length on your machine) along the raw edge of frill, keeping it sitting within the 1cm / 0.39” seam allowance.

Step 2
Bast the neckline edge of your wrap bodice piece, to ensure it dosen’t stretch when attaching the frill.

Step 3
Pin neck frill along neck edge of your front wrap bodice with right sides facing. Pull the gathering threads and evenly distribute gathers until it fits the bodice. Pin securely in place then stitch together.

Step 4
With right sides facing, pin together shoulder seams. Stitch. Neaten.

Step 5
Follow the remaining steps as per you instruction booklet to finish your facing pieces (steps 1, 10 &11), your ties (step 6), your sides seams, sleeves and hems (steps 13, 14, 15 & 16).