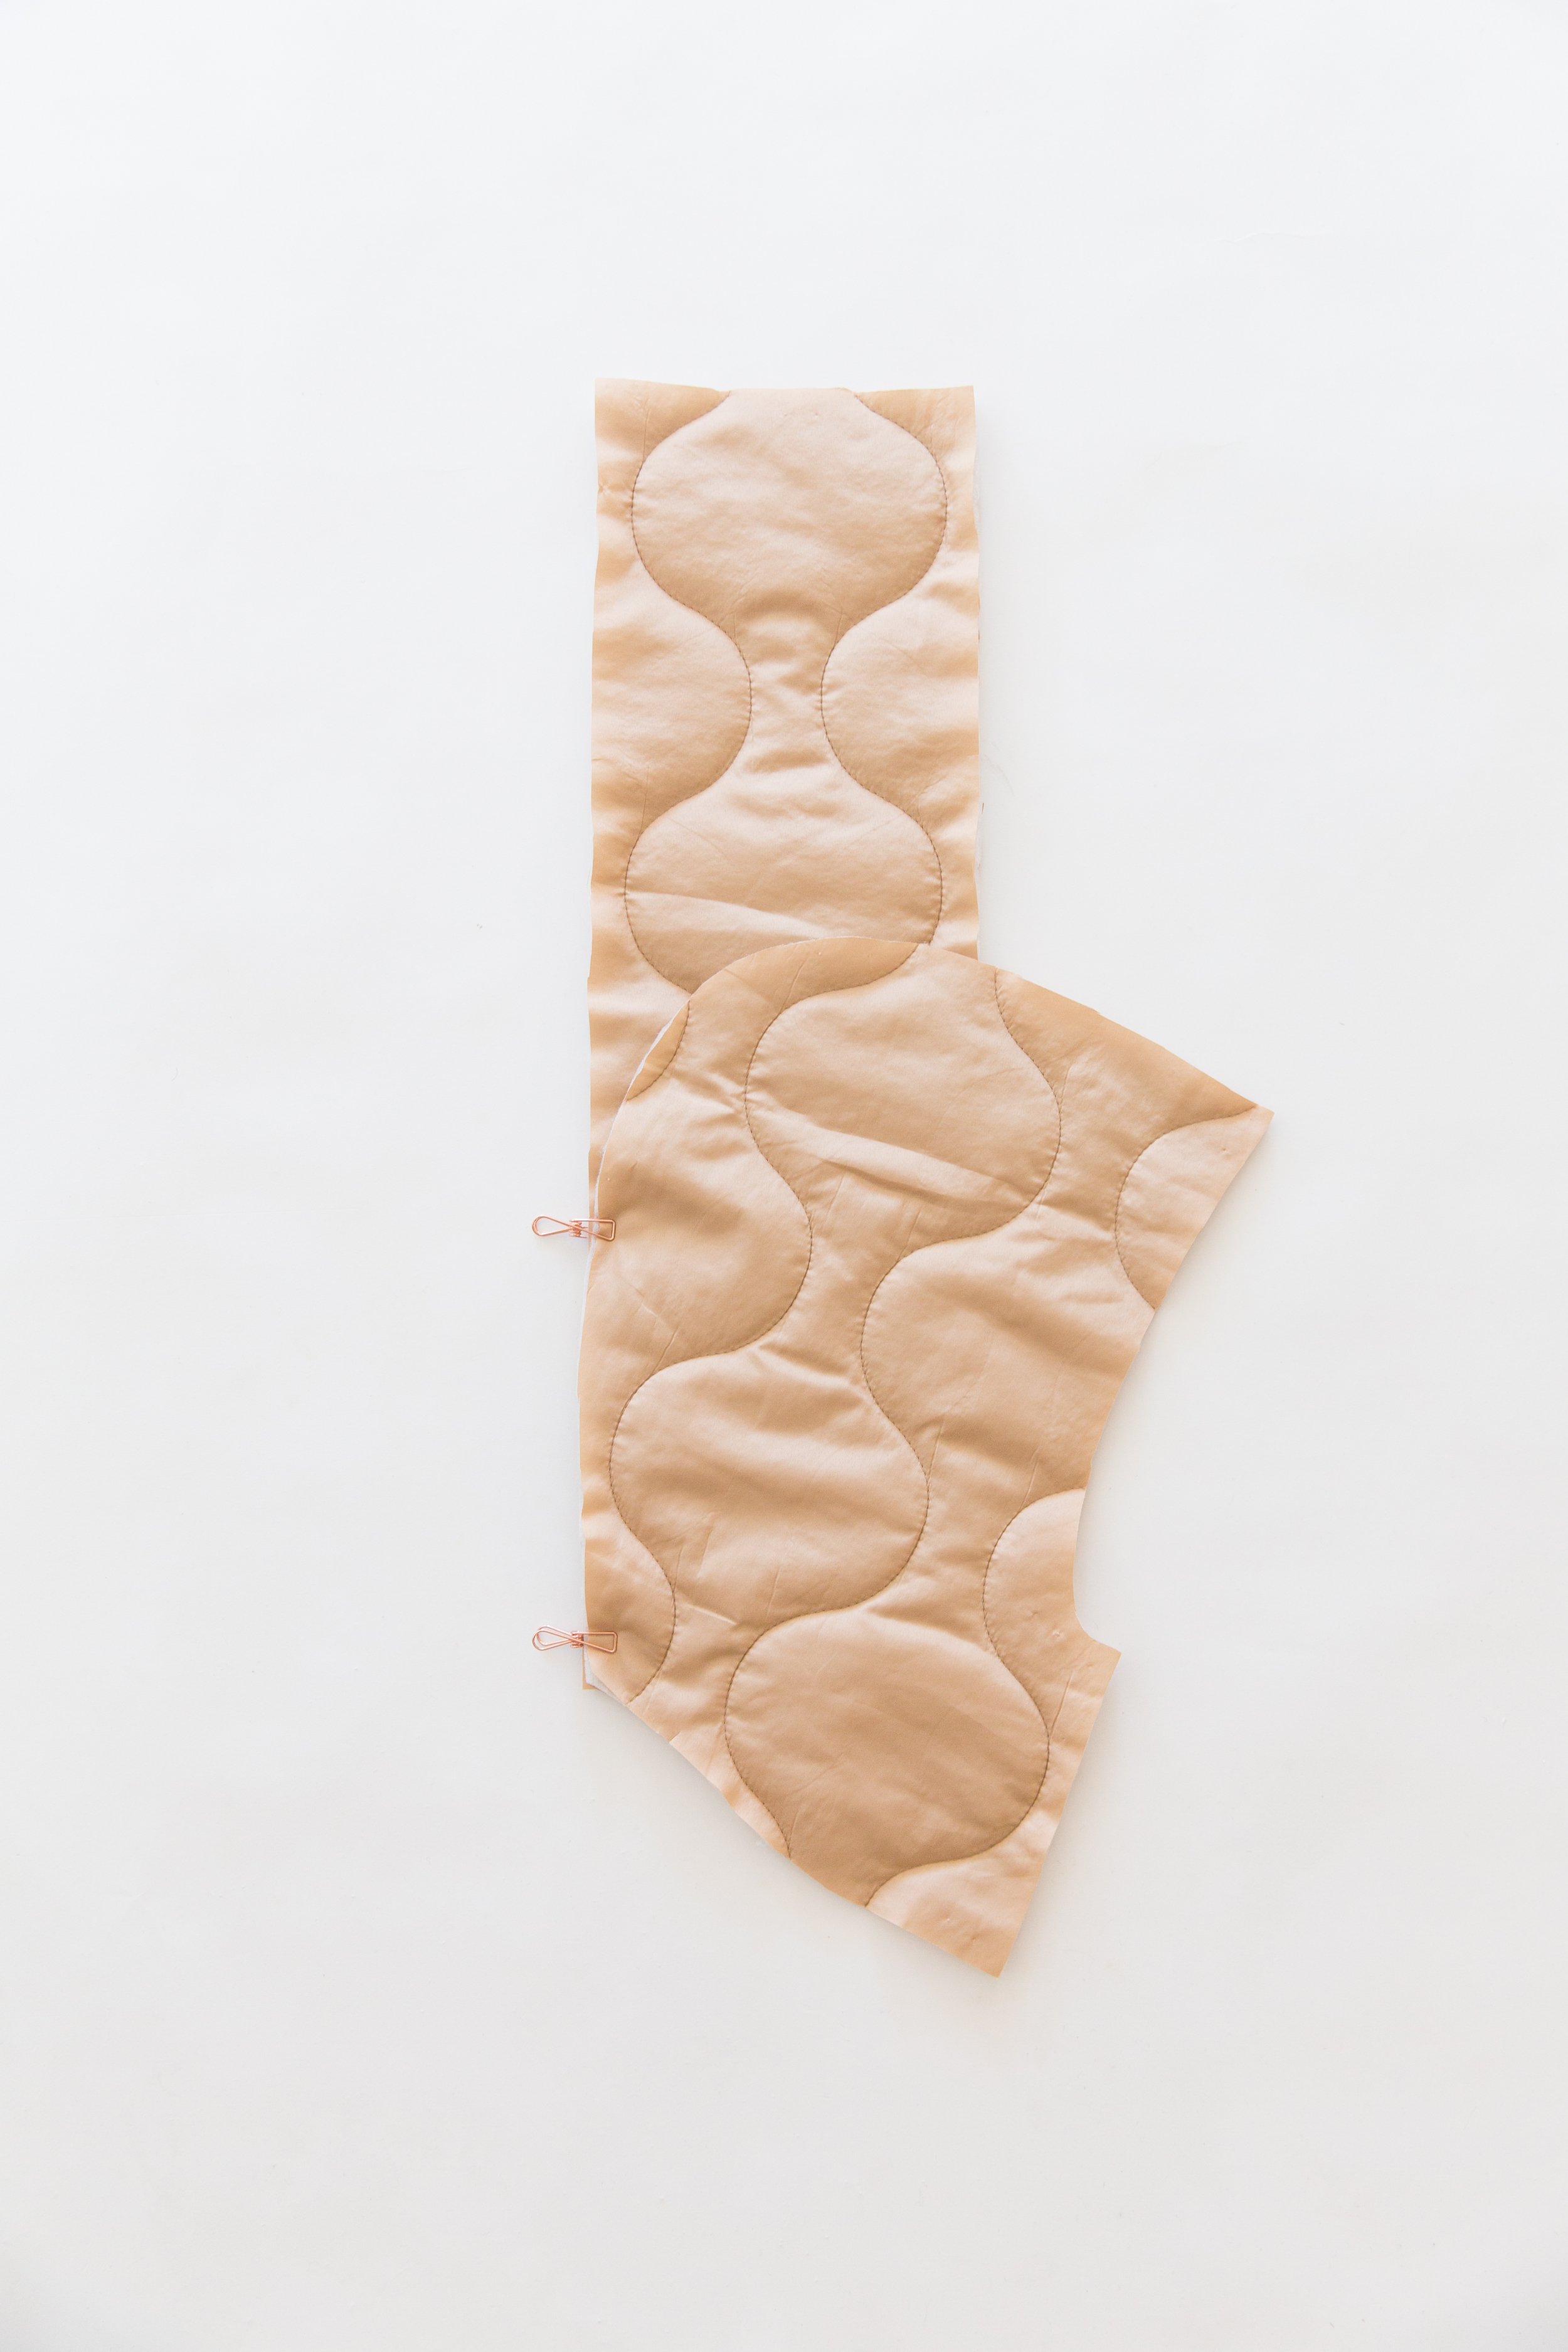
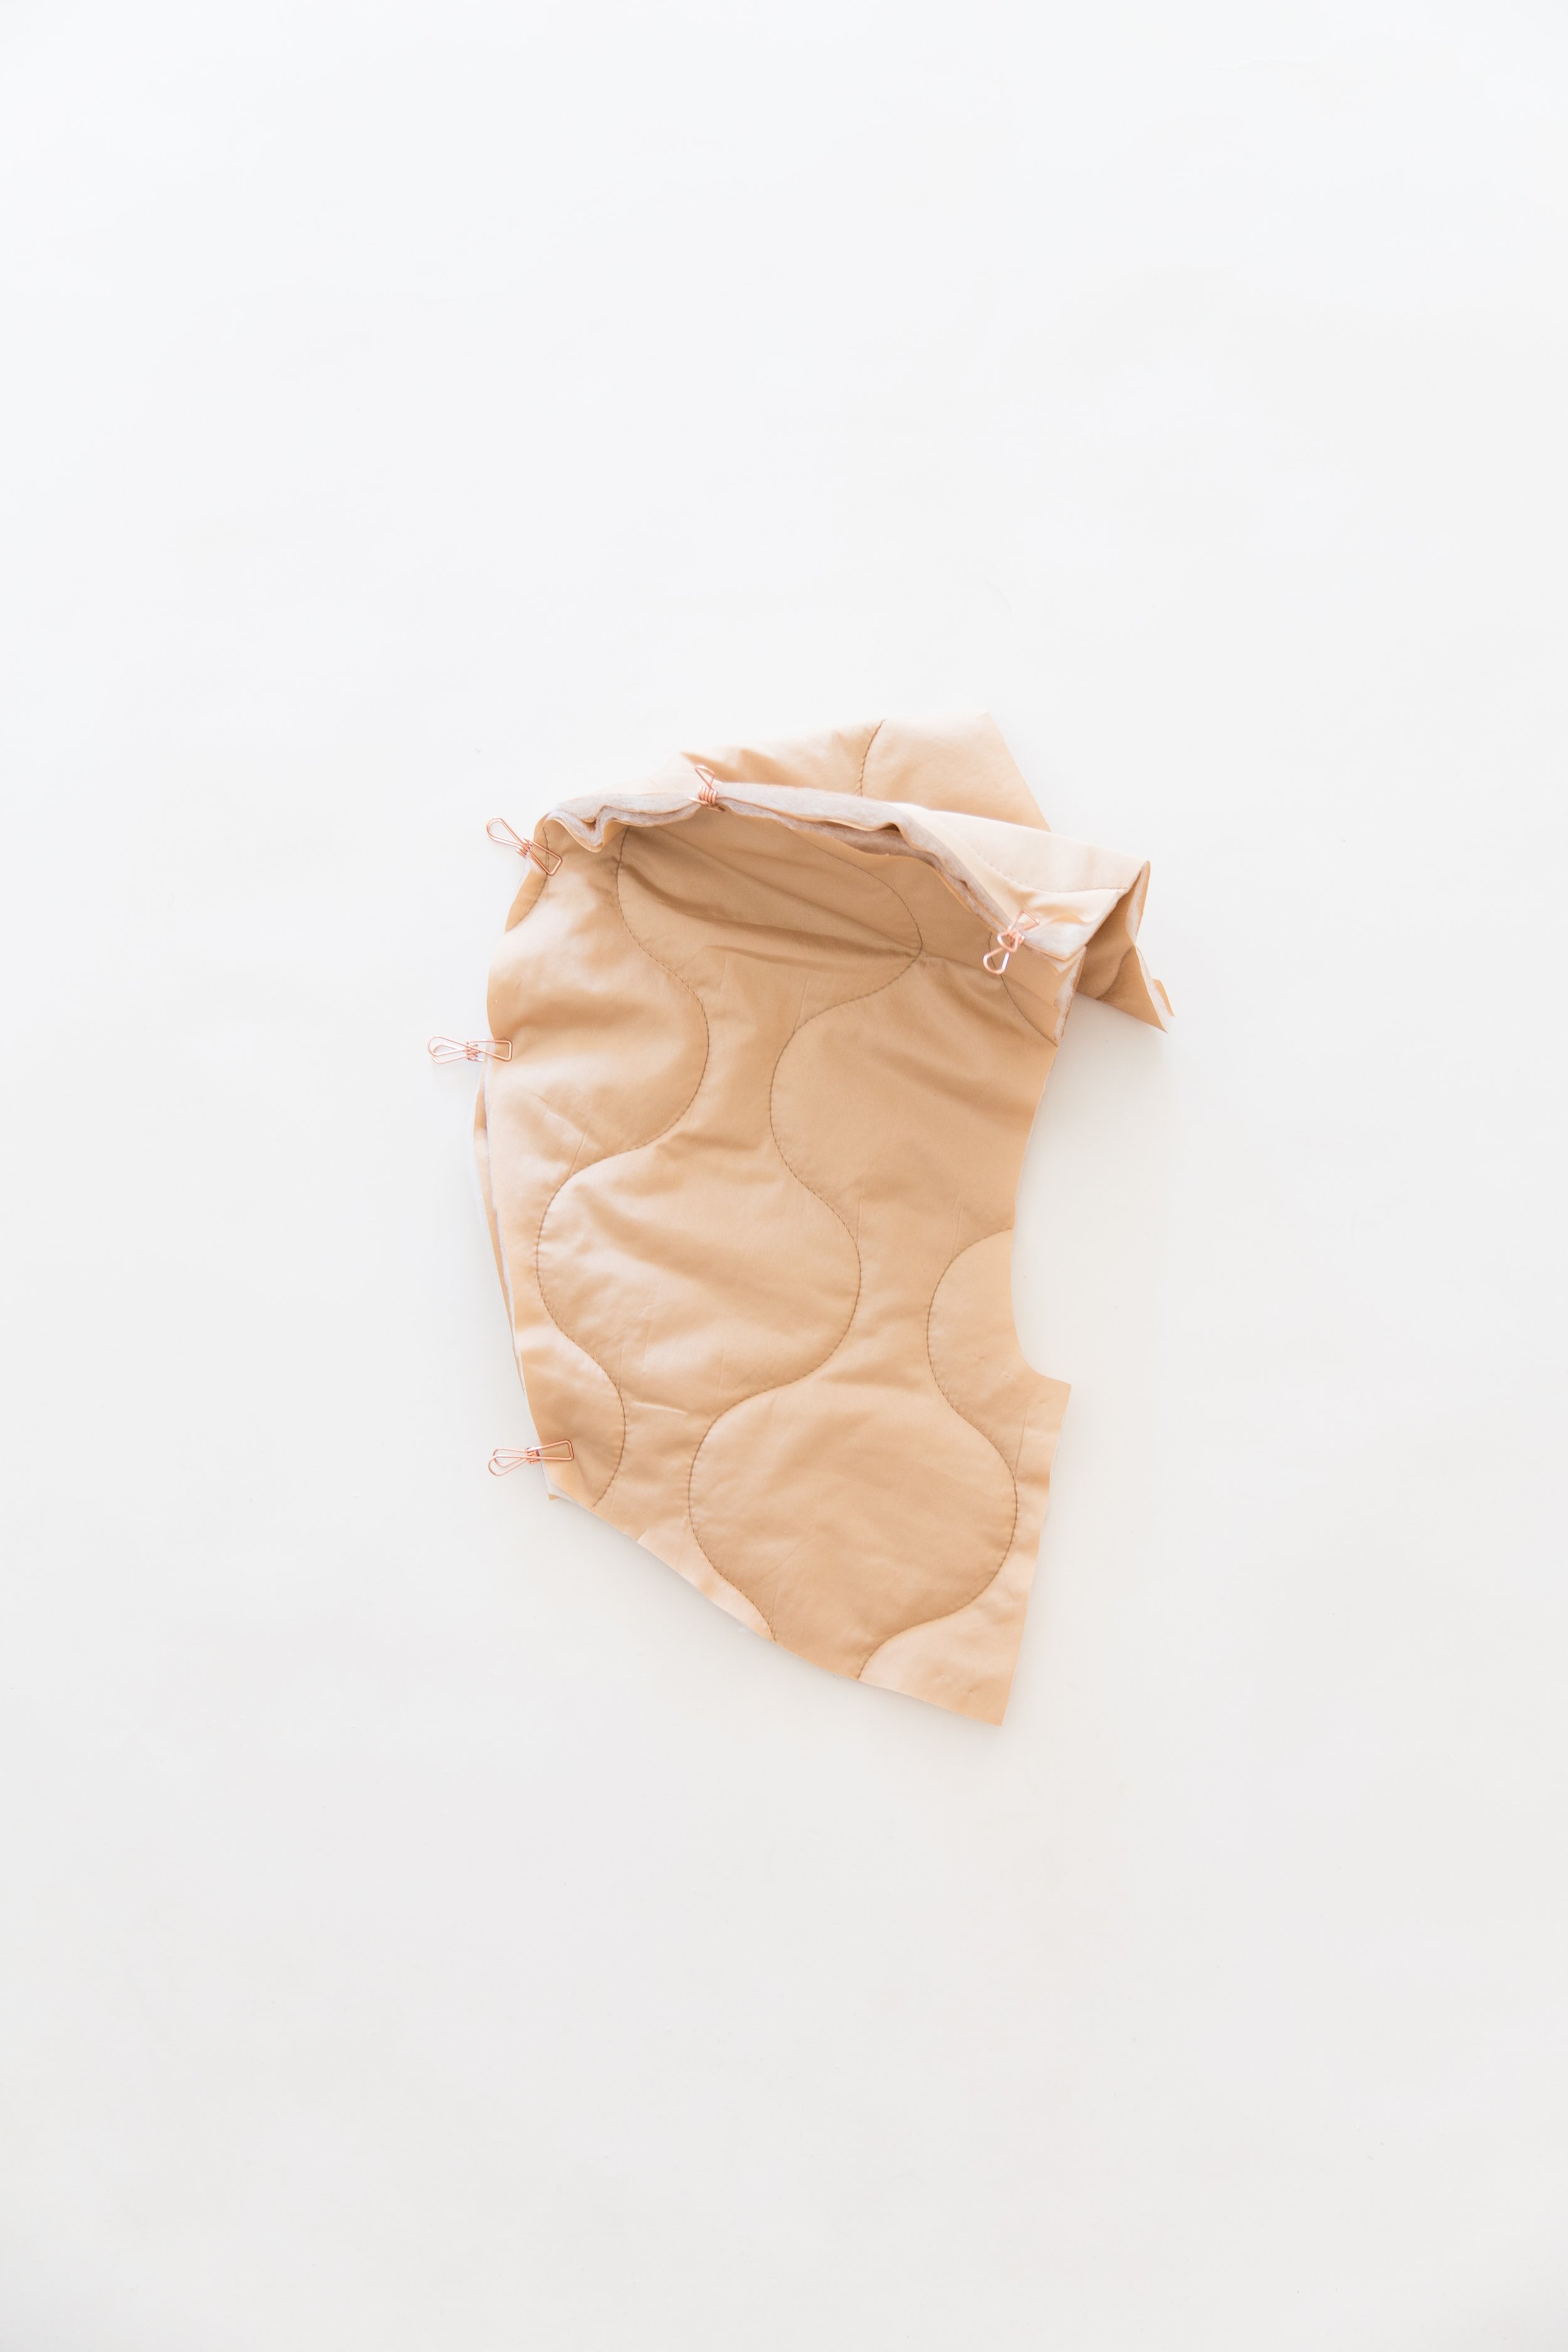
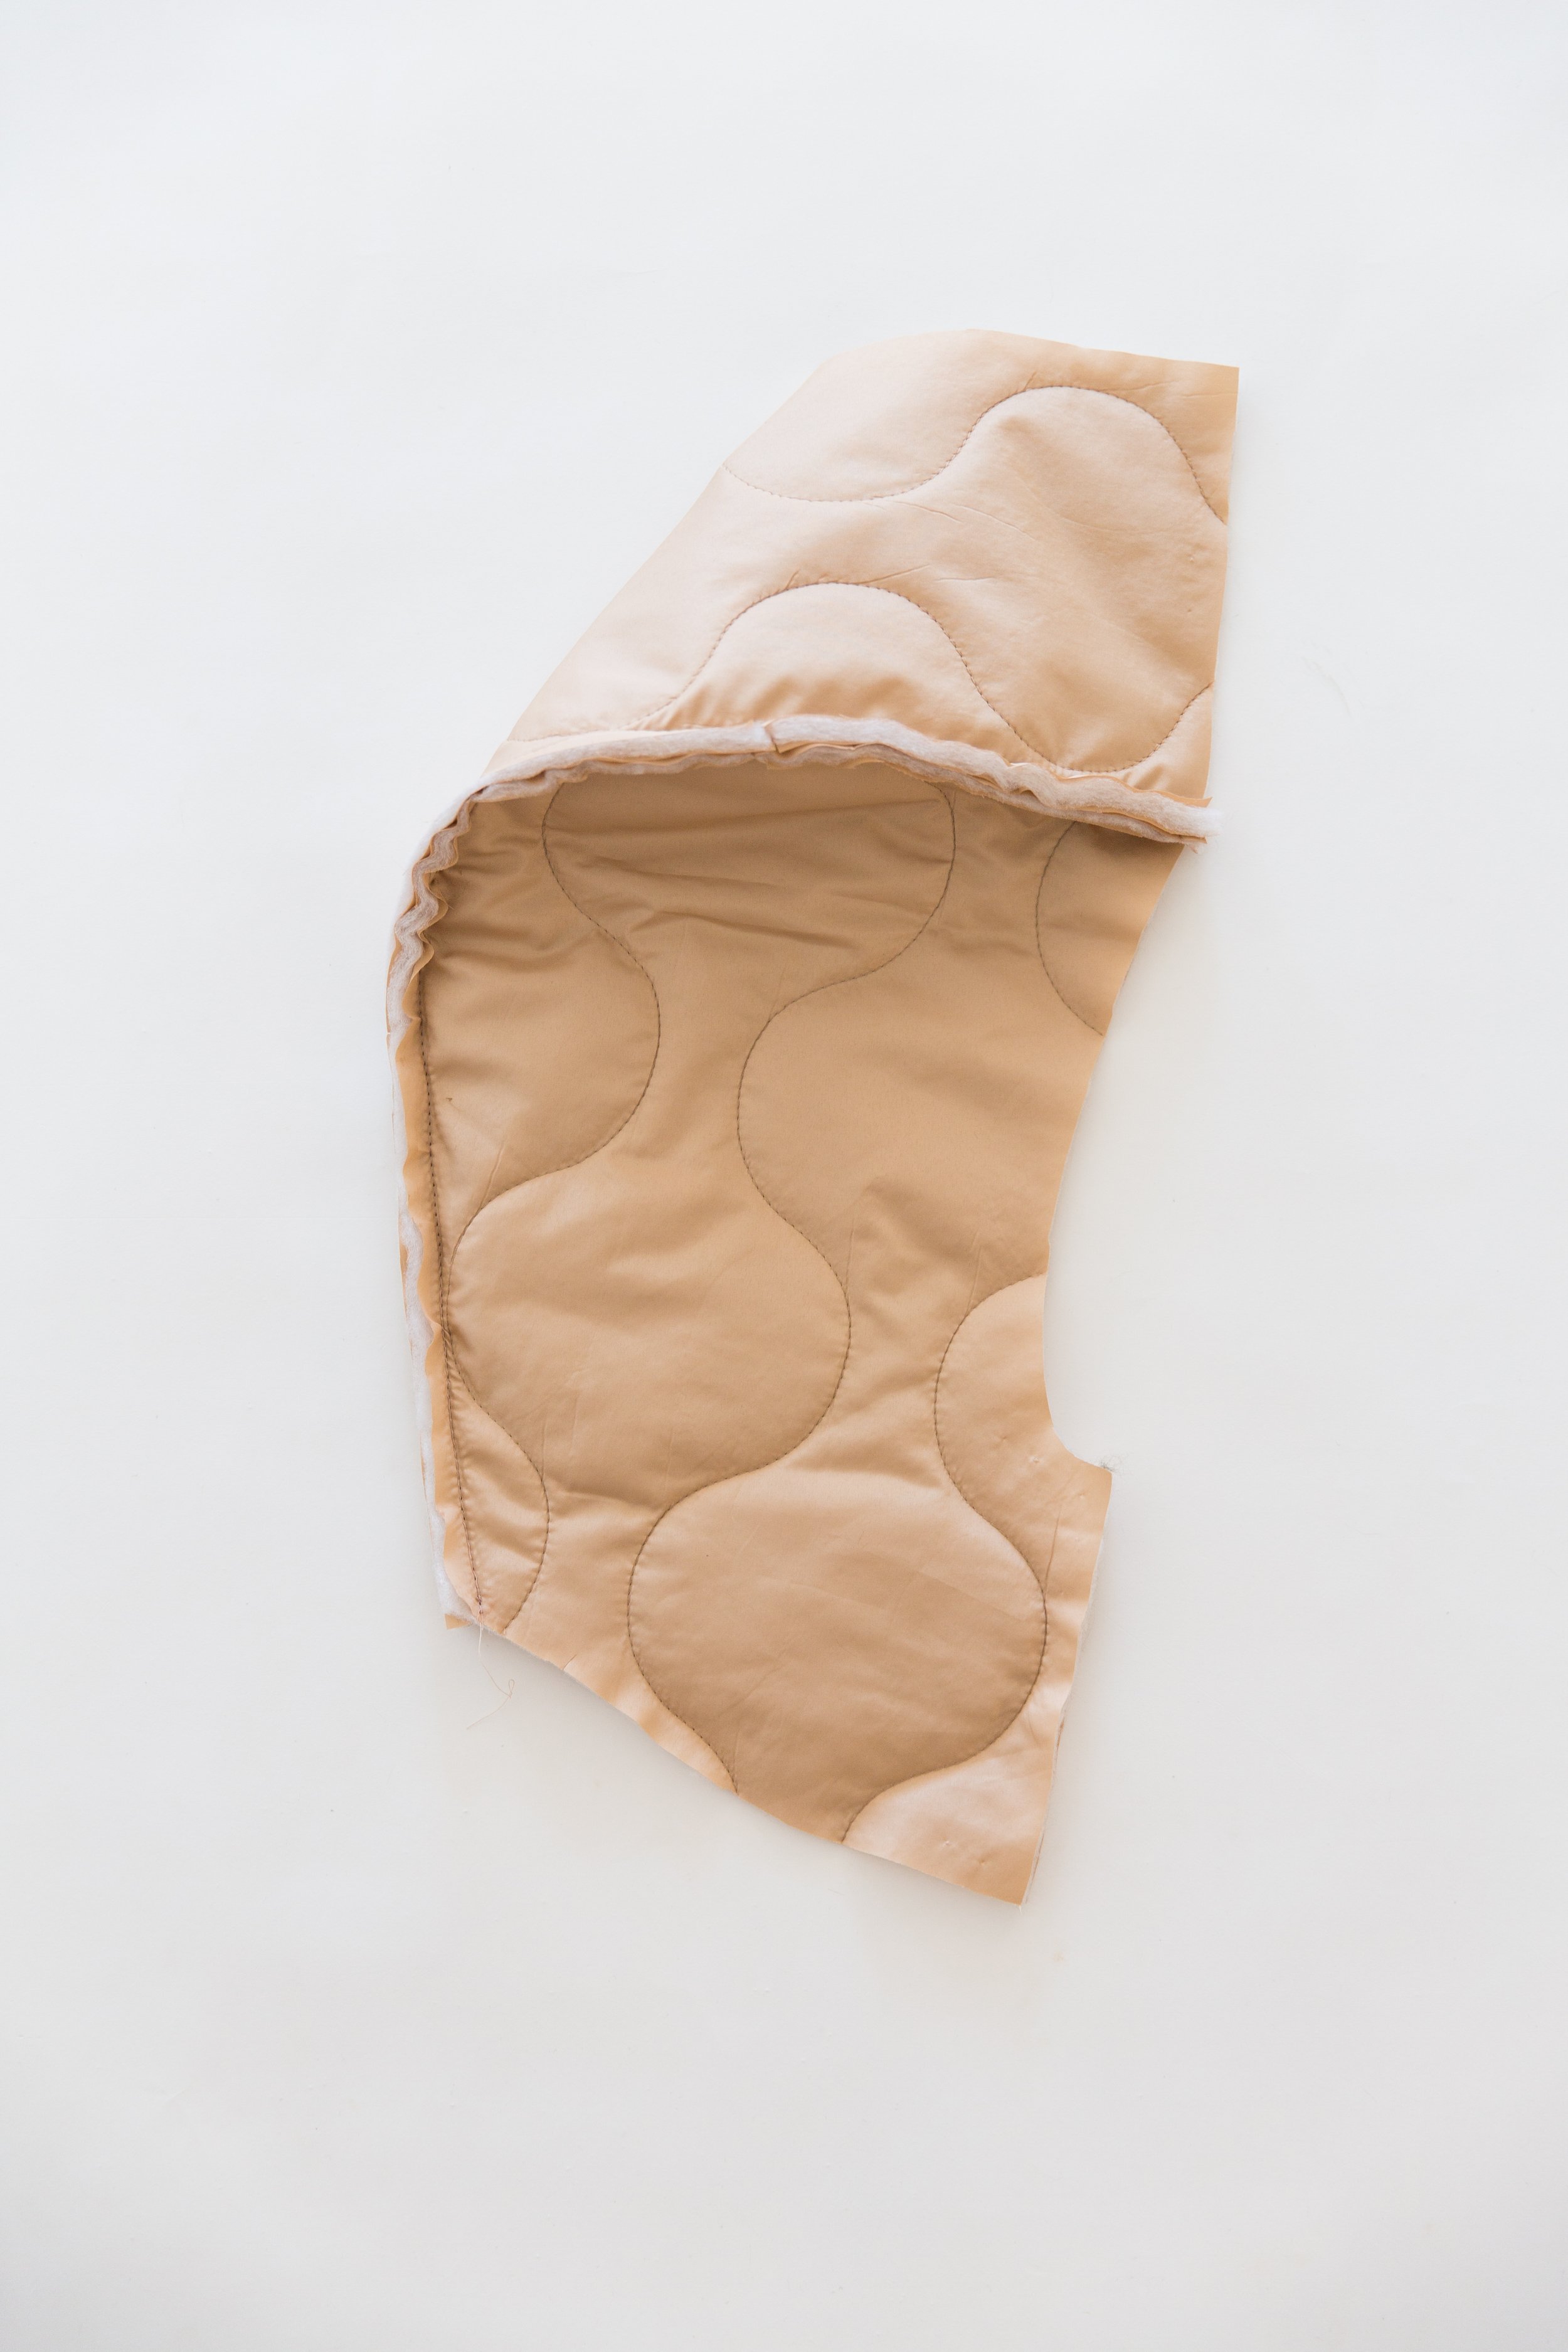
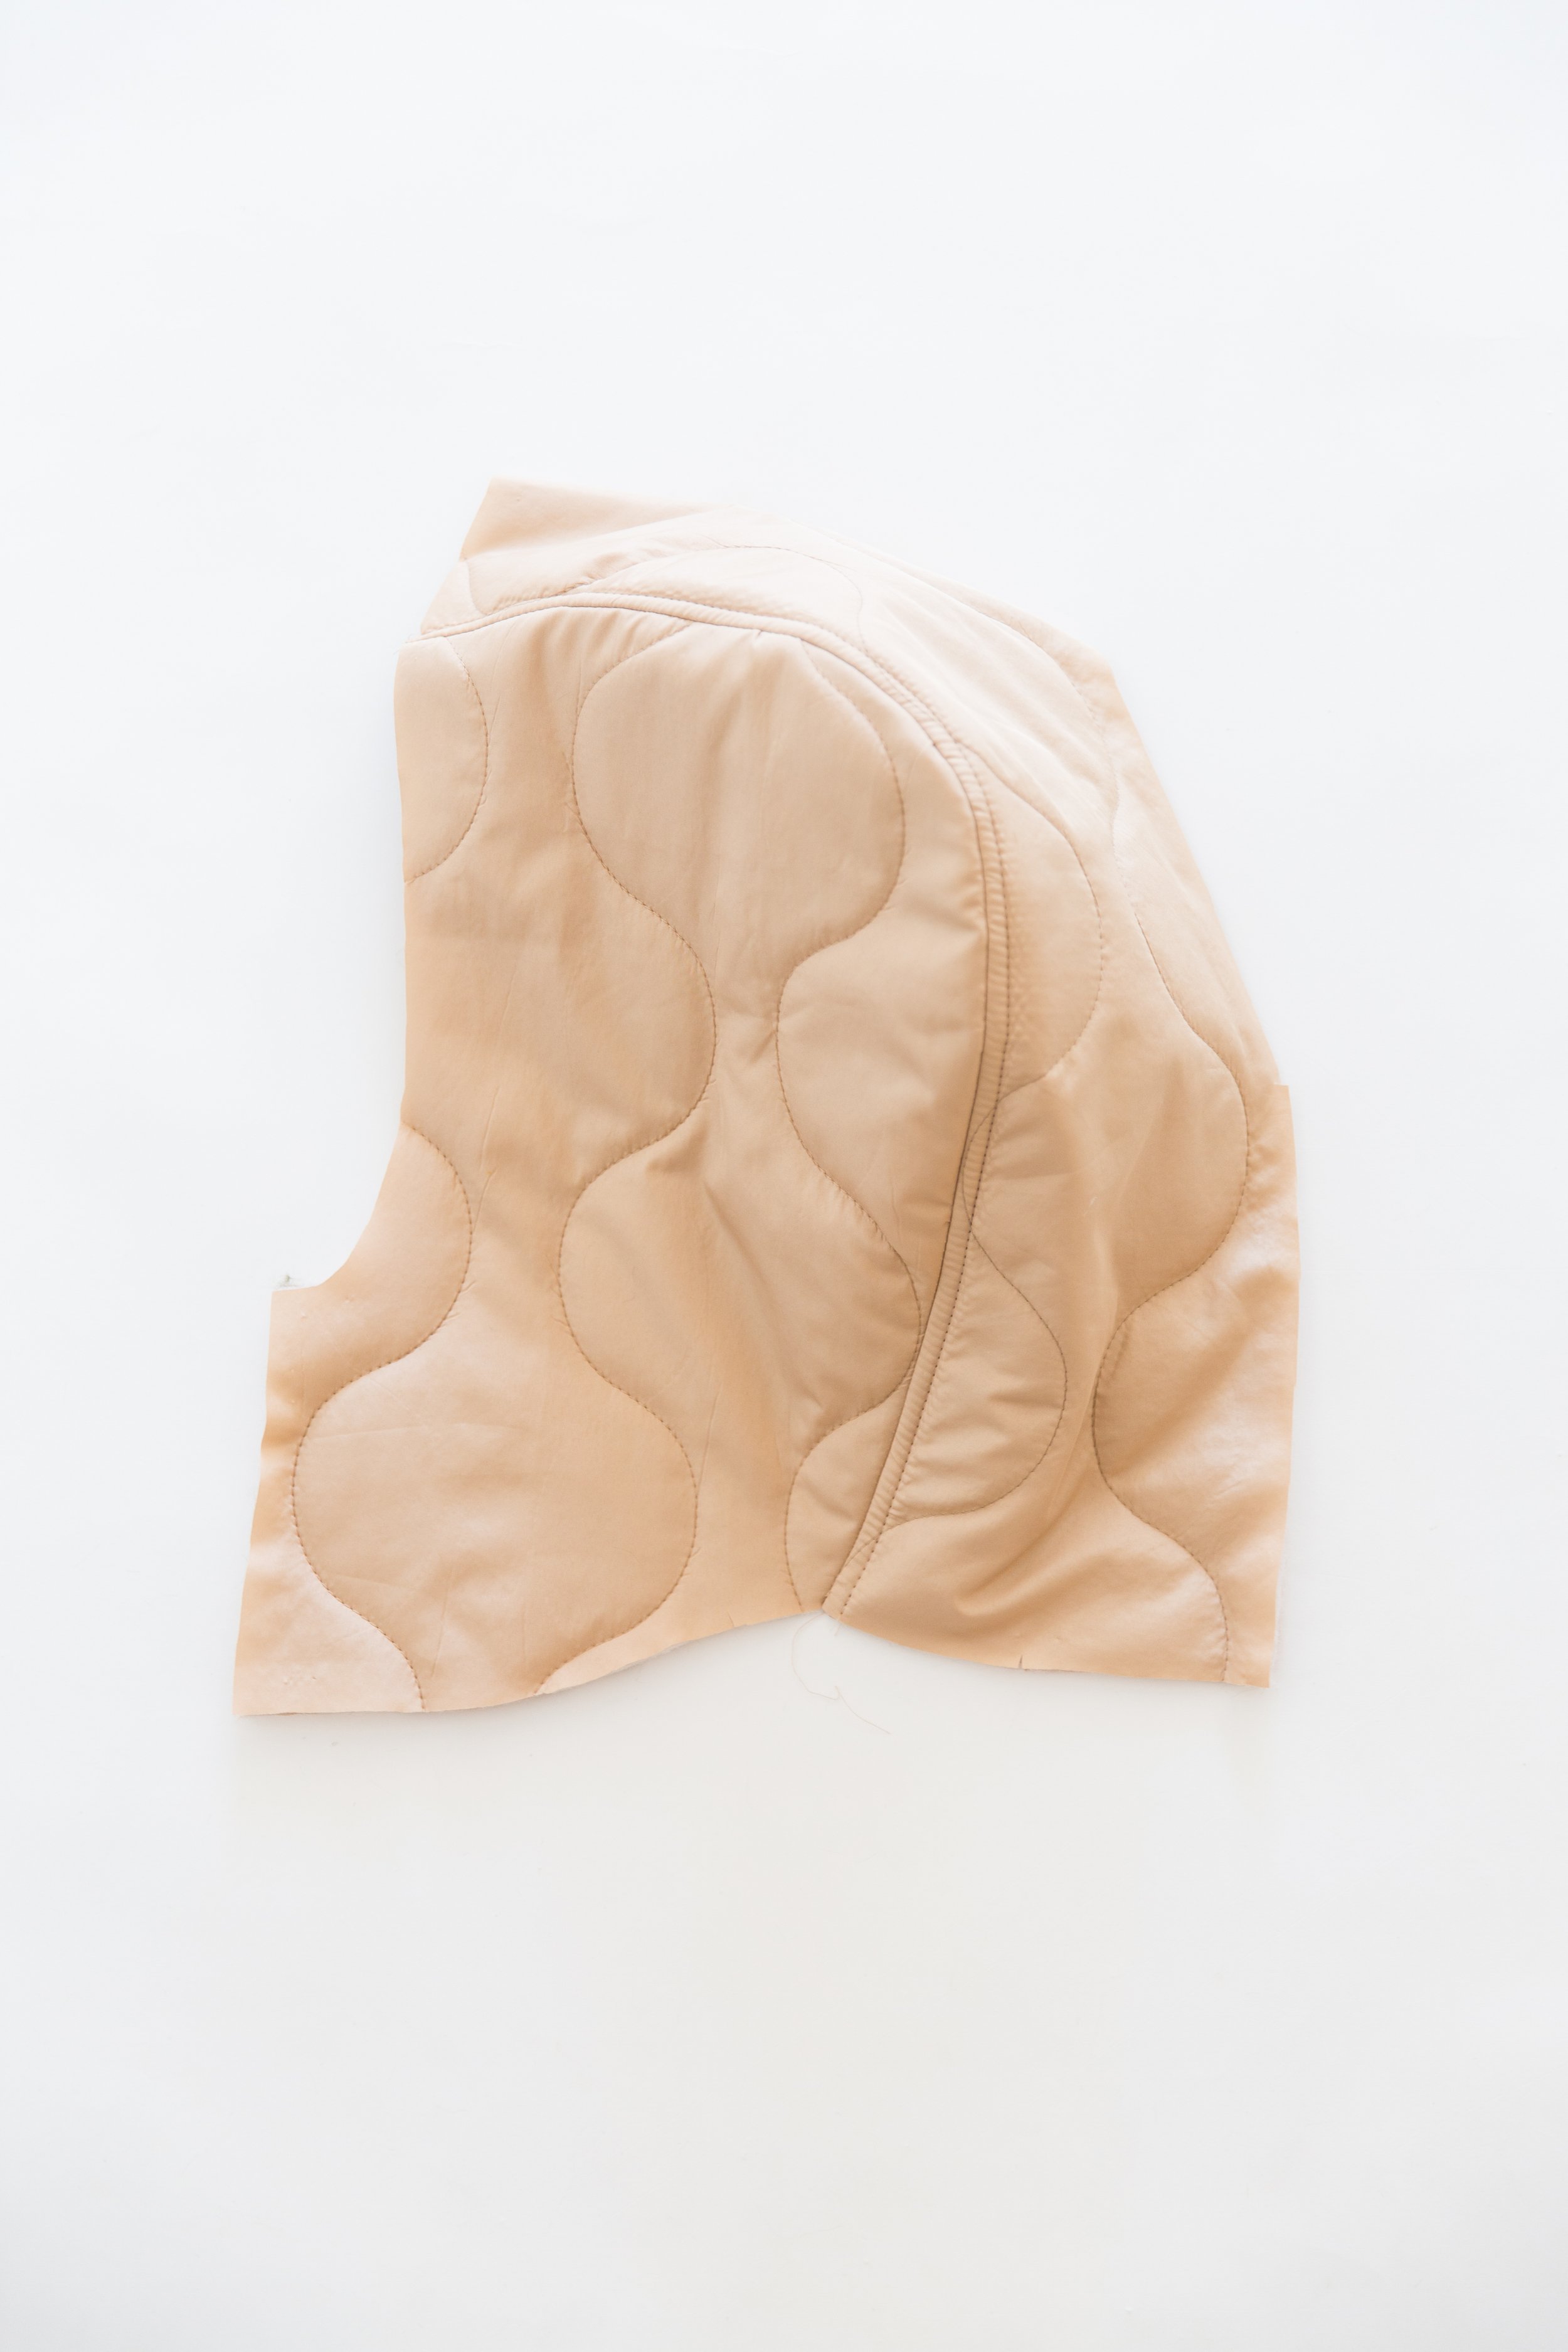
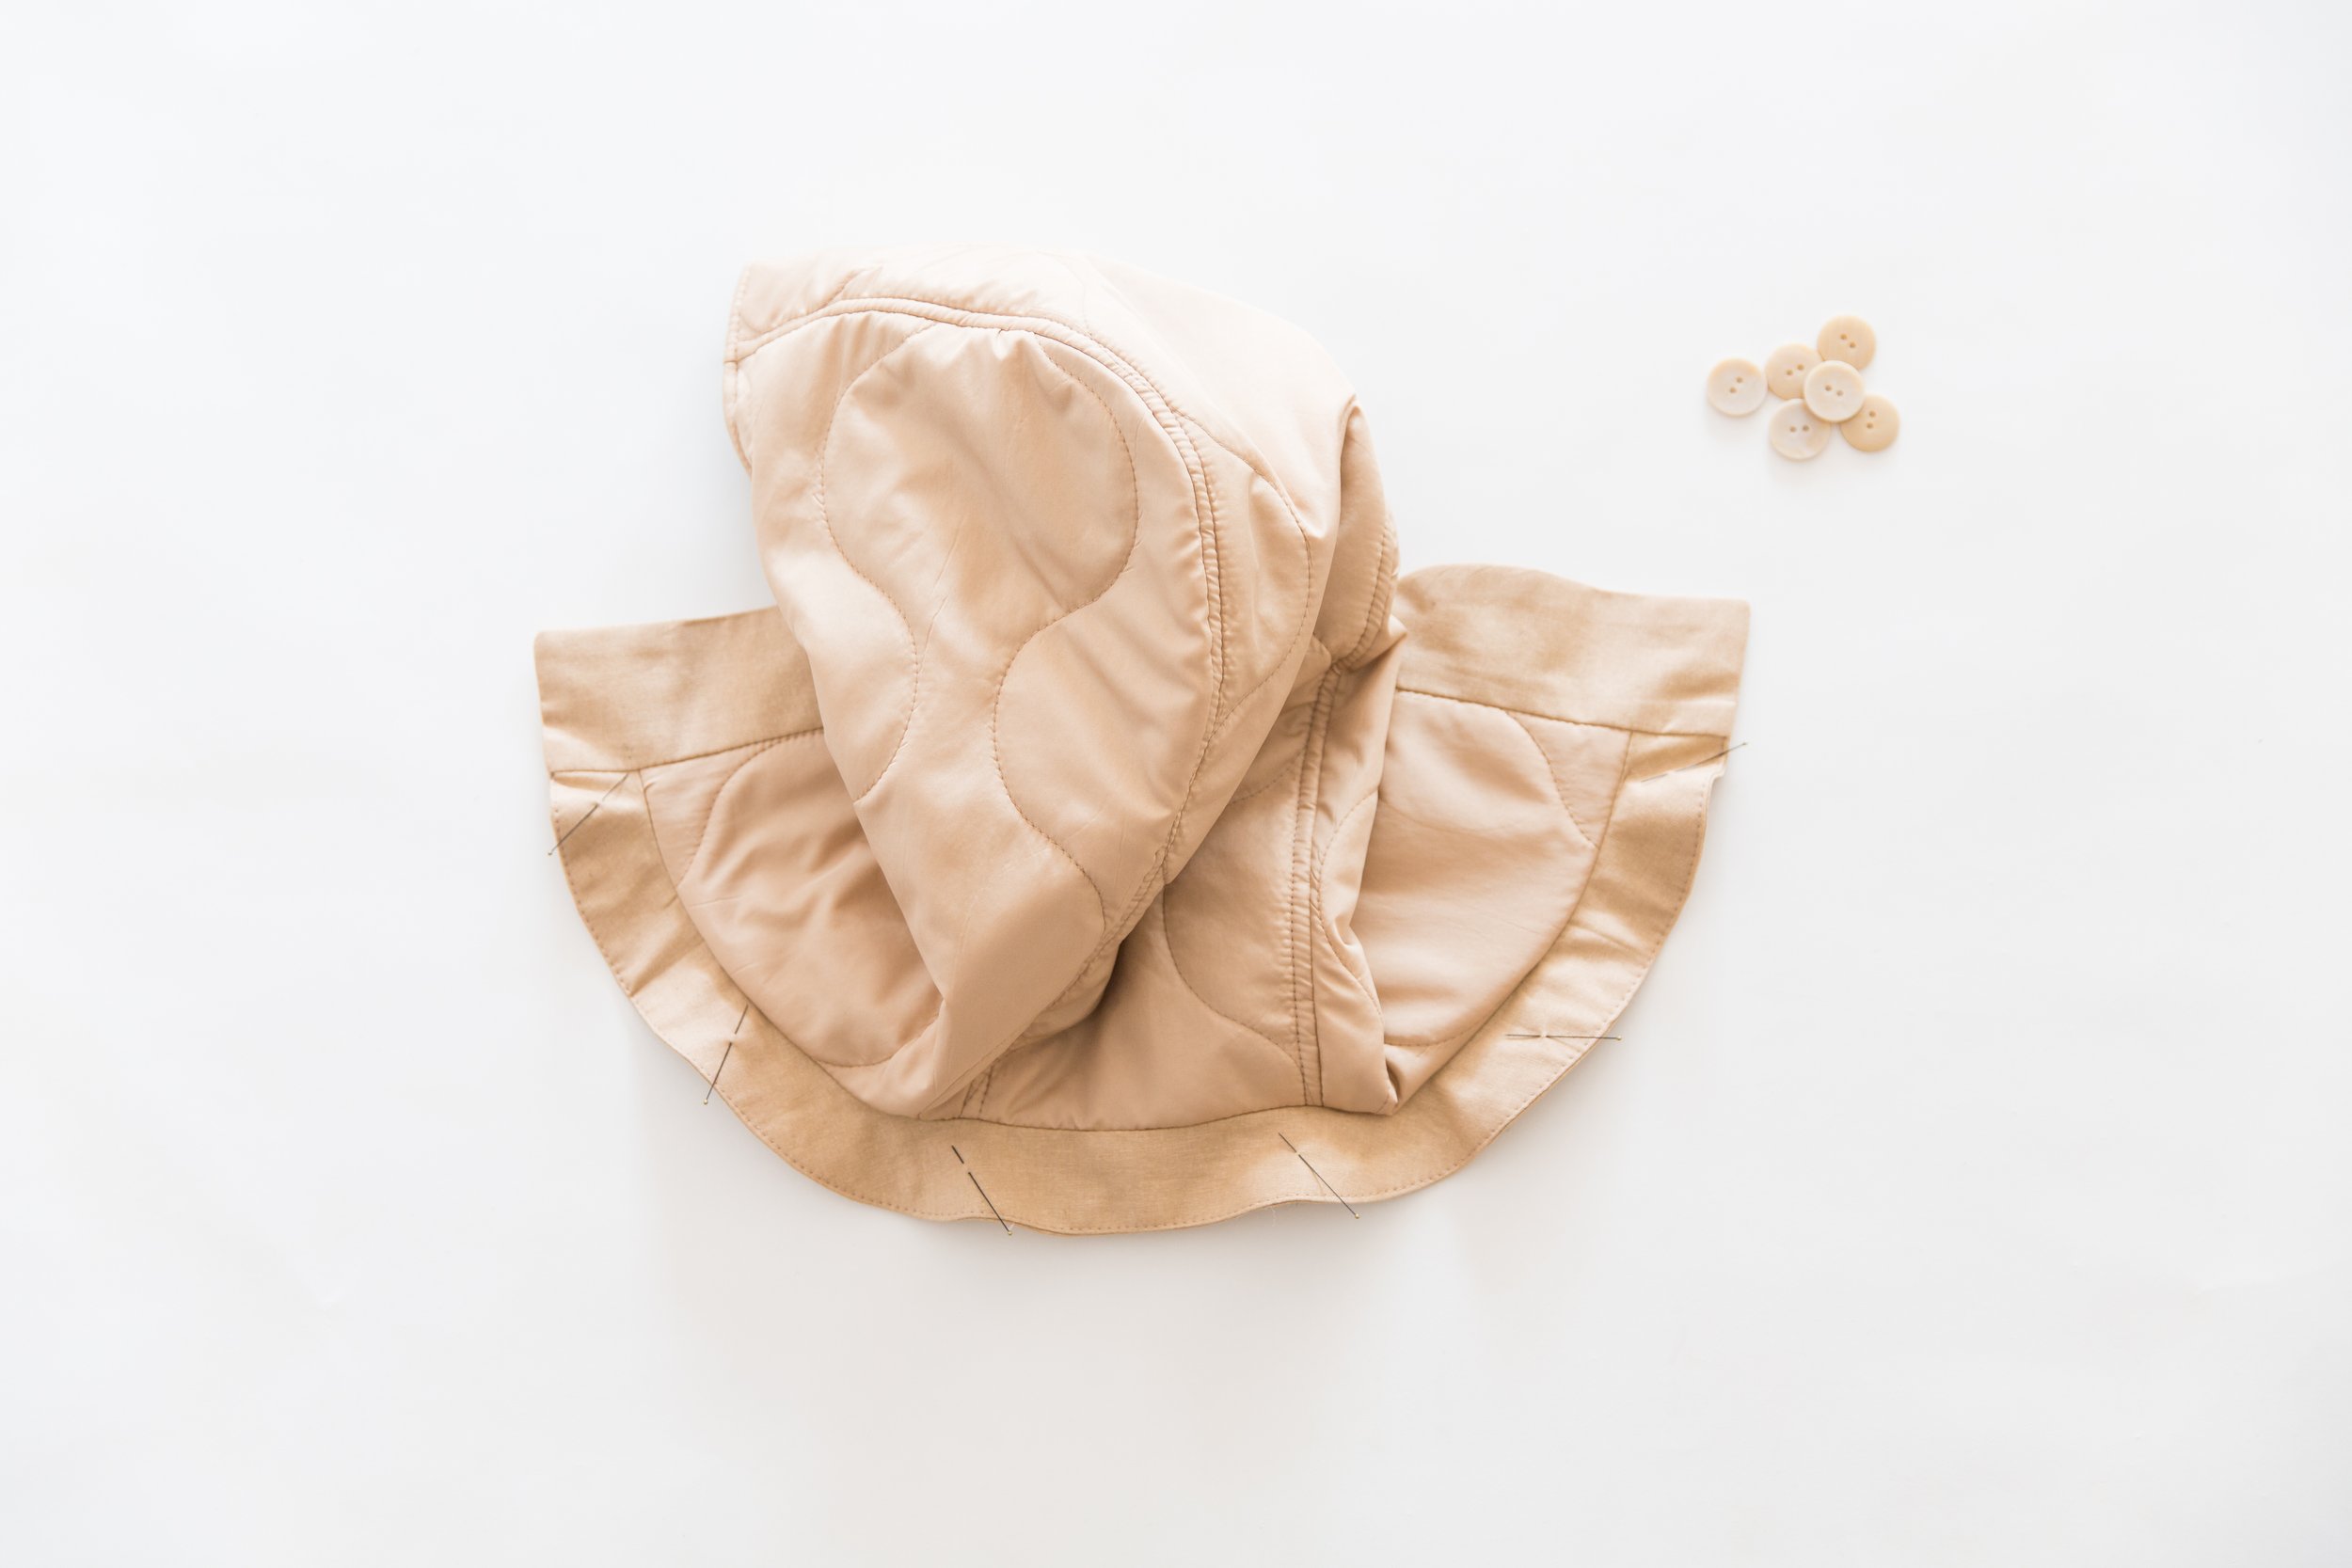
Step 1
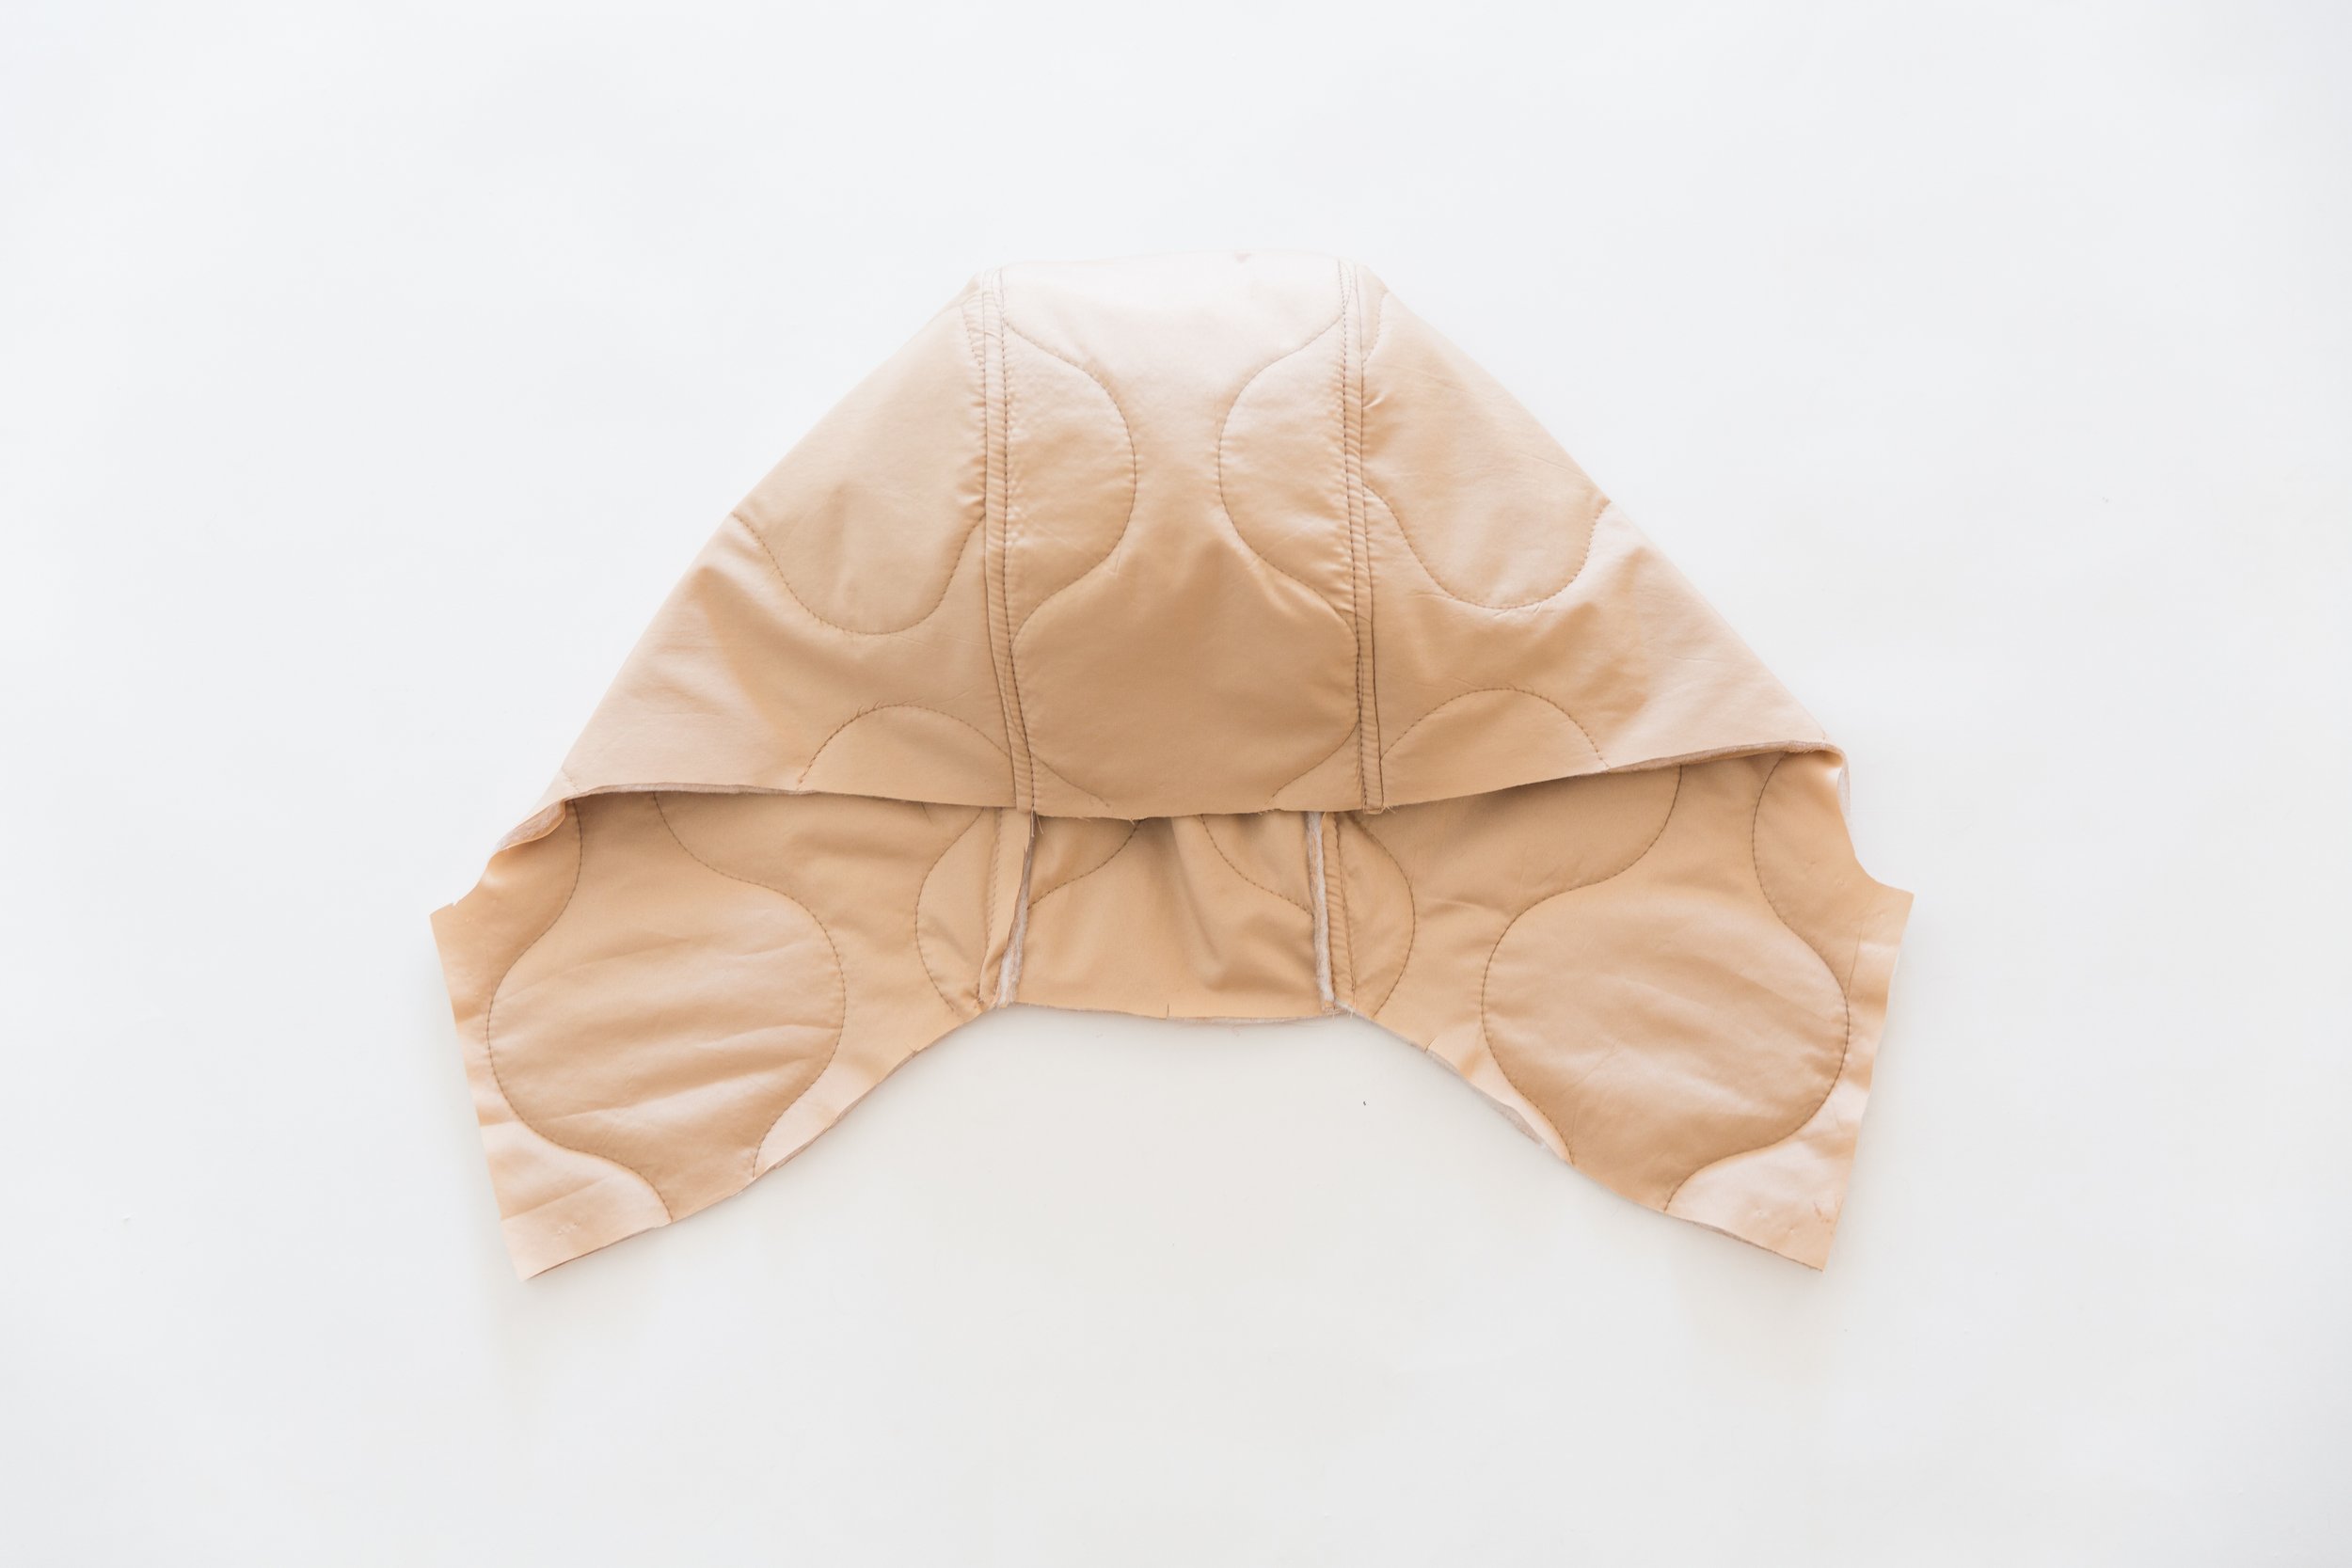
With right sides facing, pin the hood gusset around the curved edge of hood. Stitch together.
Topstitch seam allowance toward hood gusset. Now repeat the same steps to attach other side of hood to the other side of gusset.
Repeat all steps for reversible hood.
Step 2
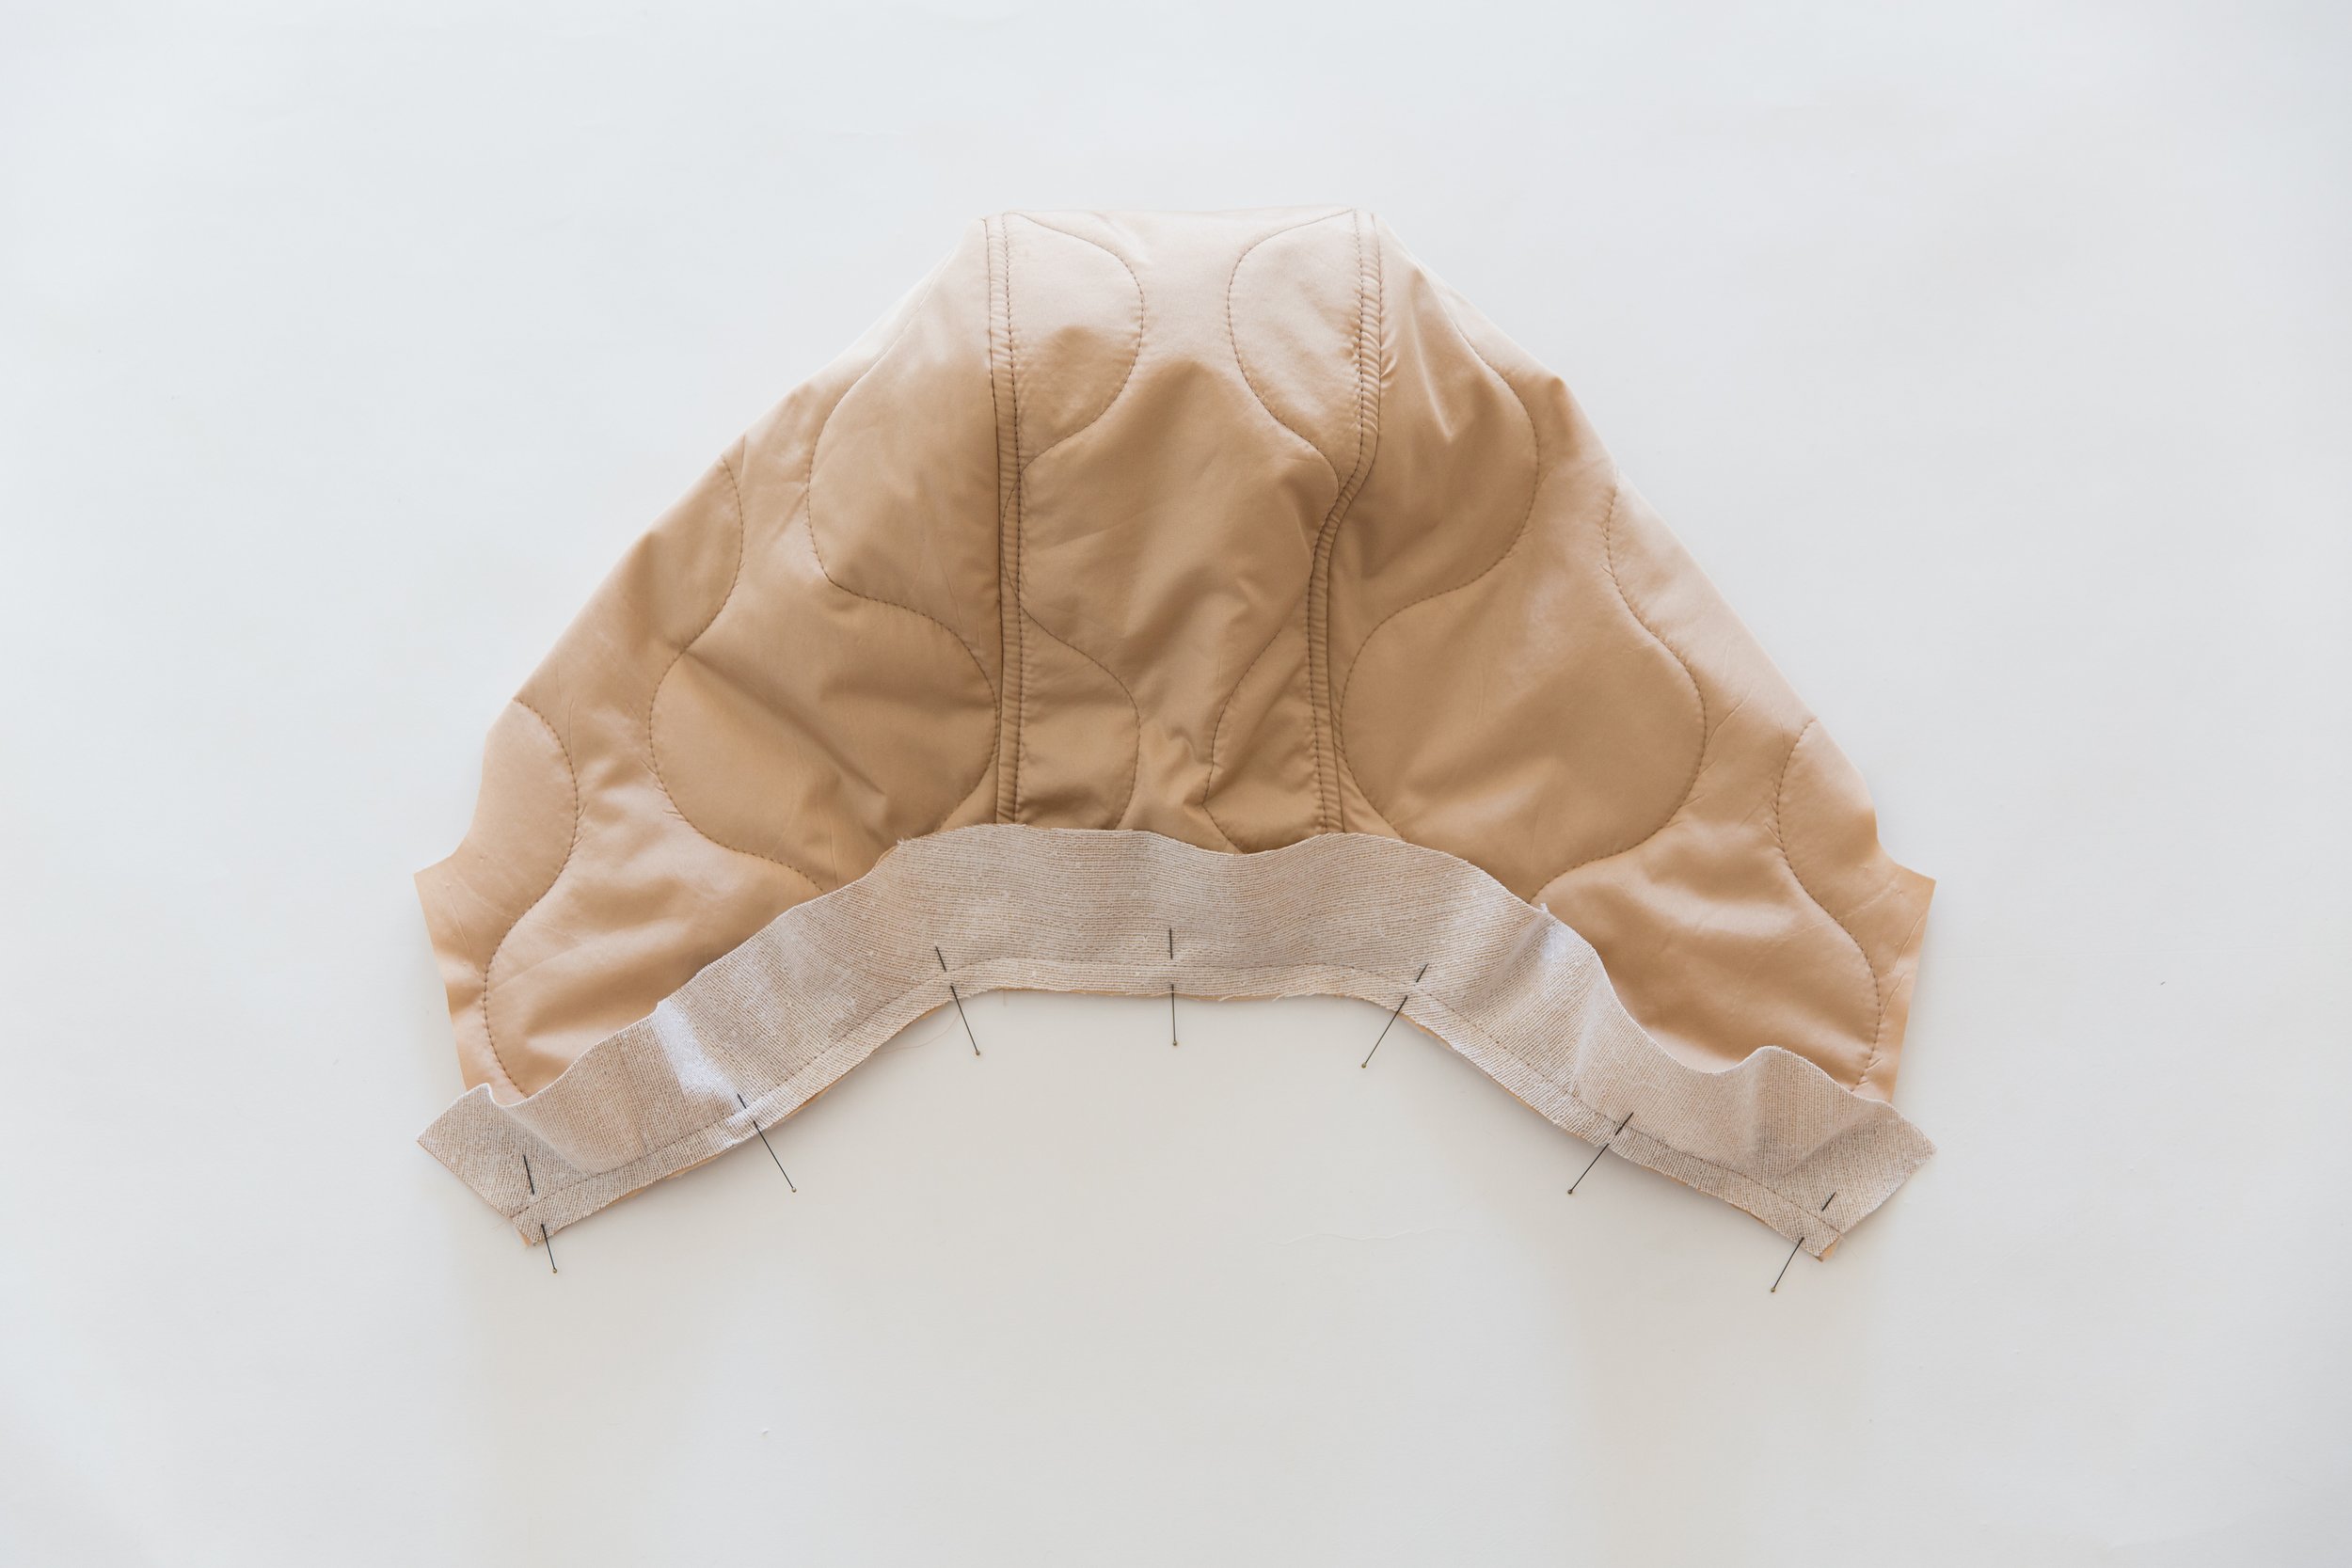
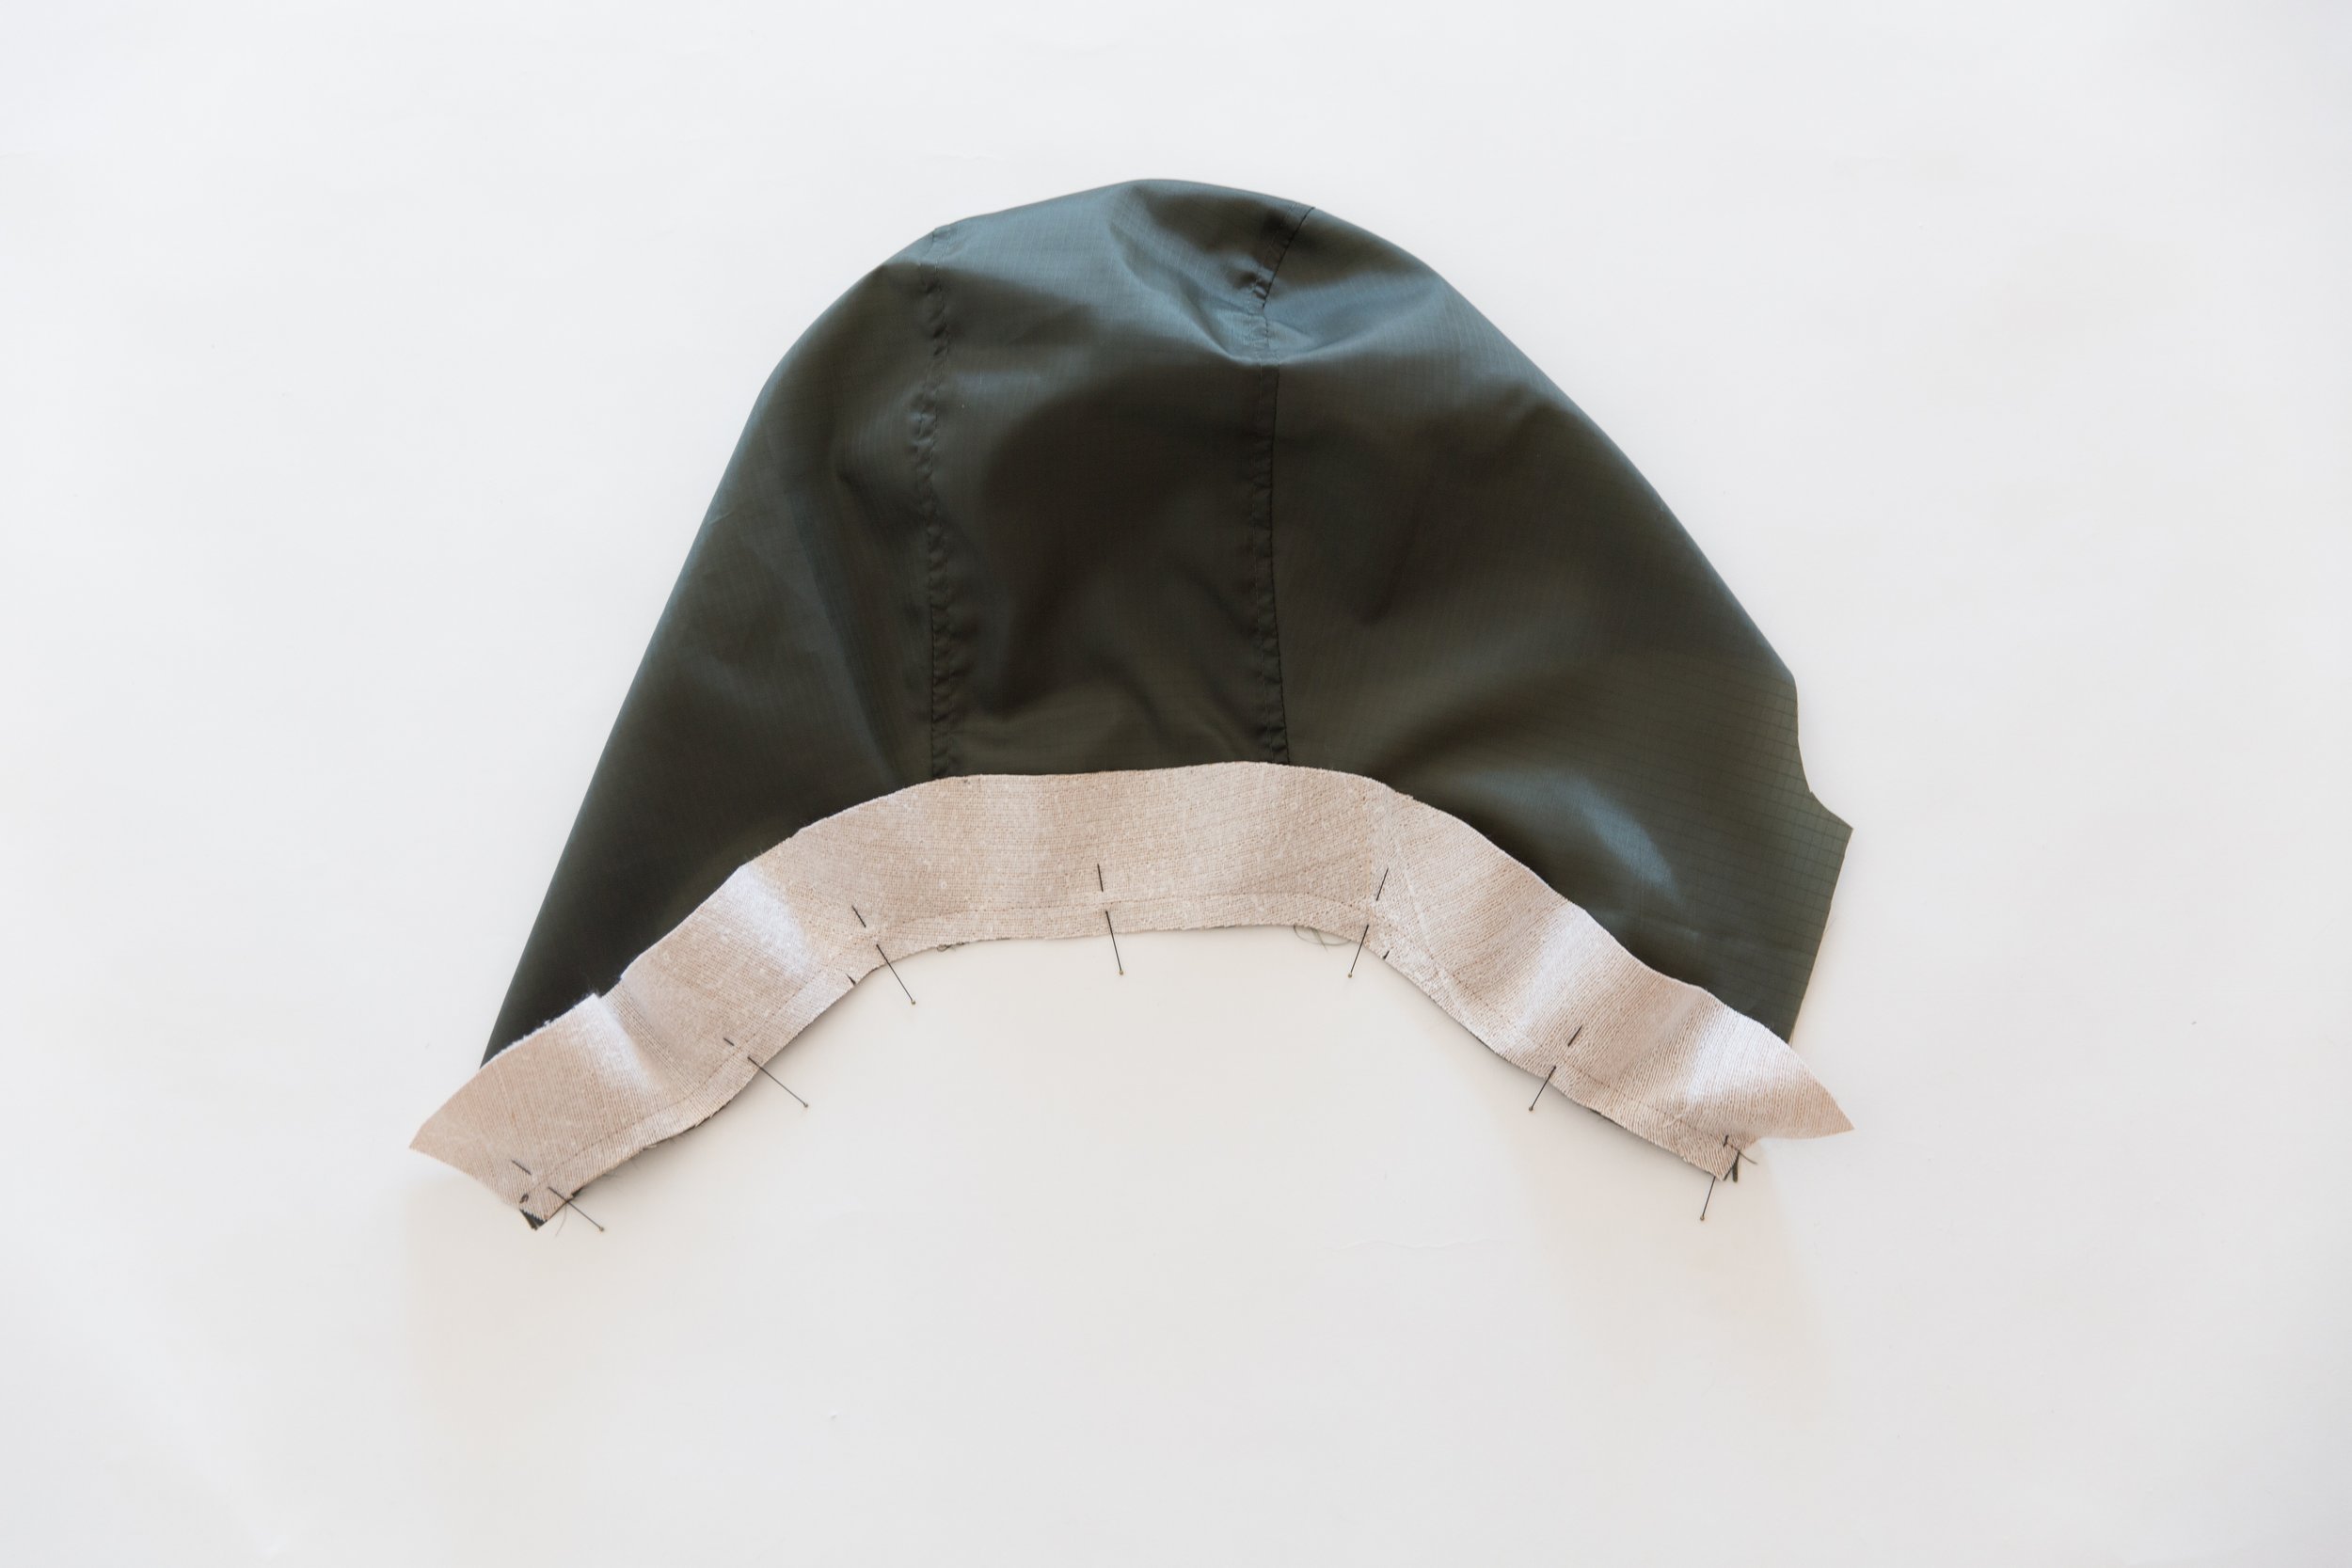
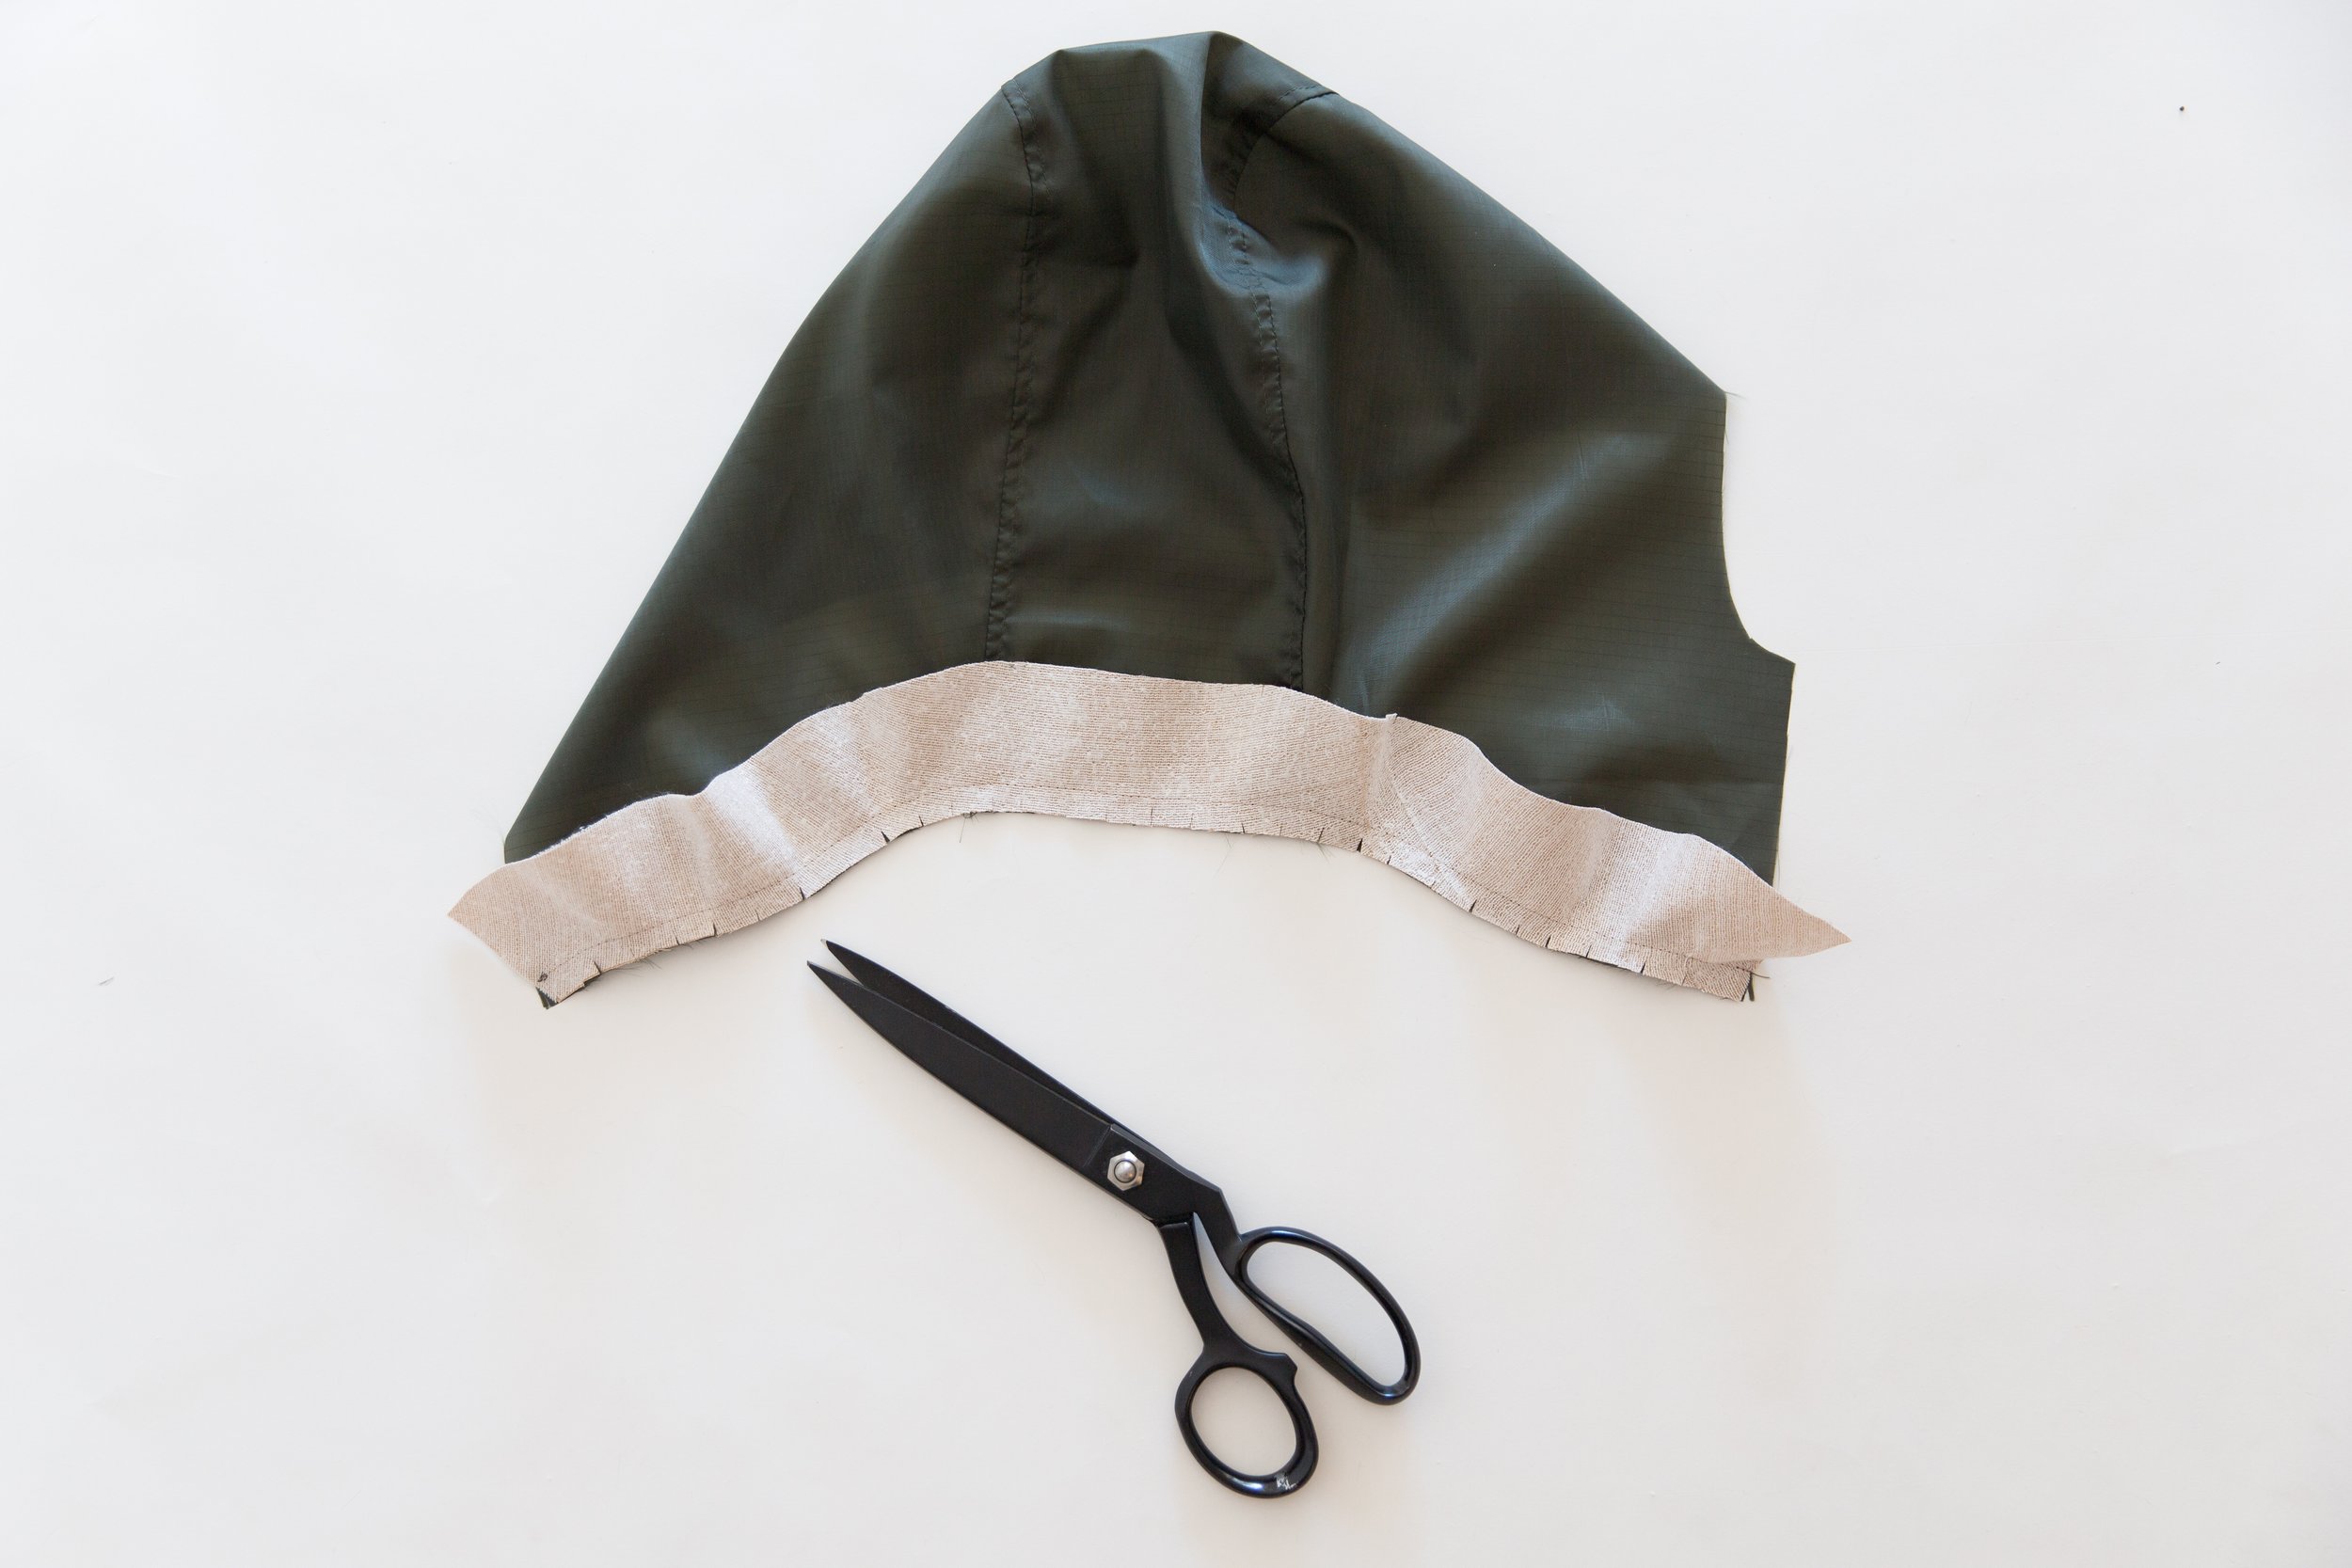
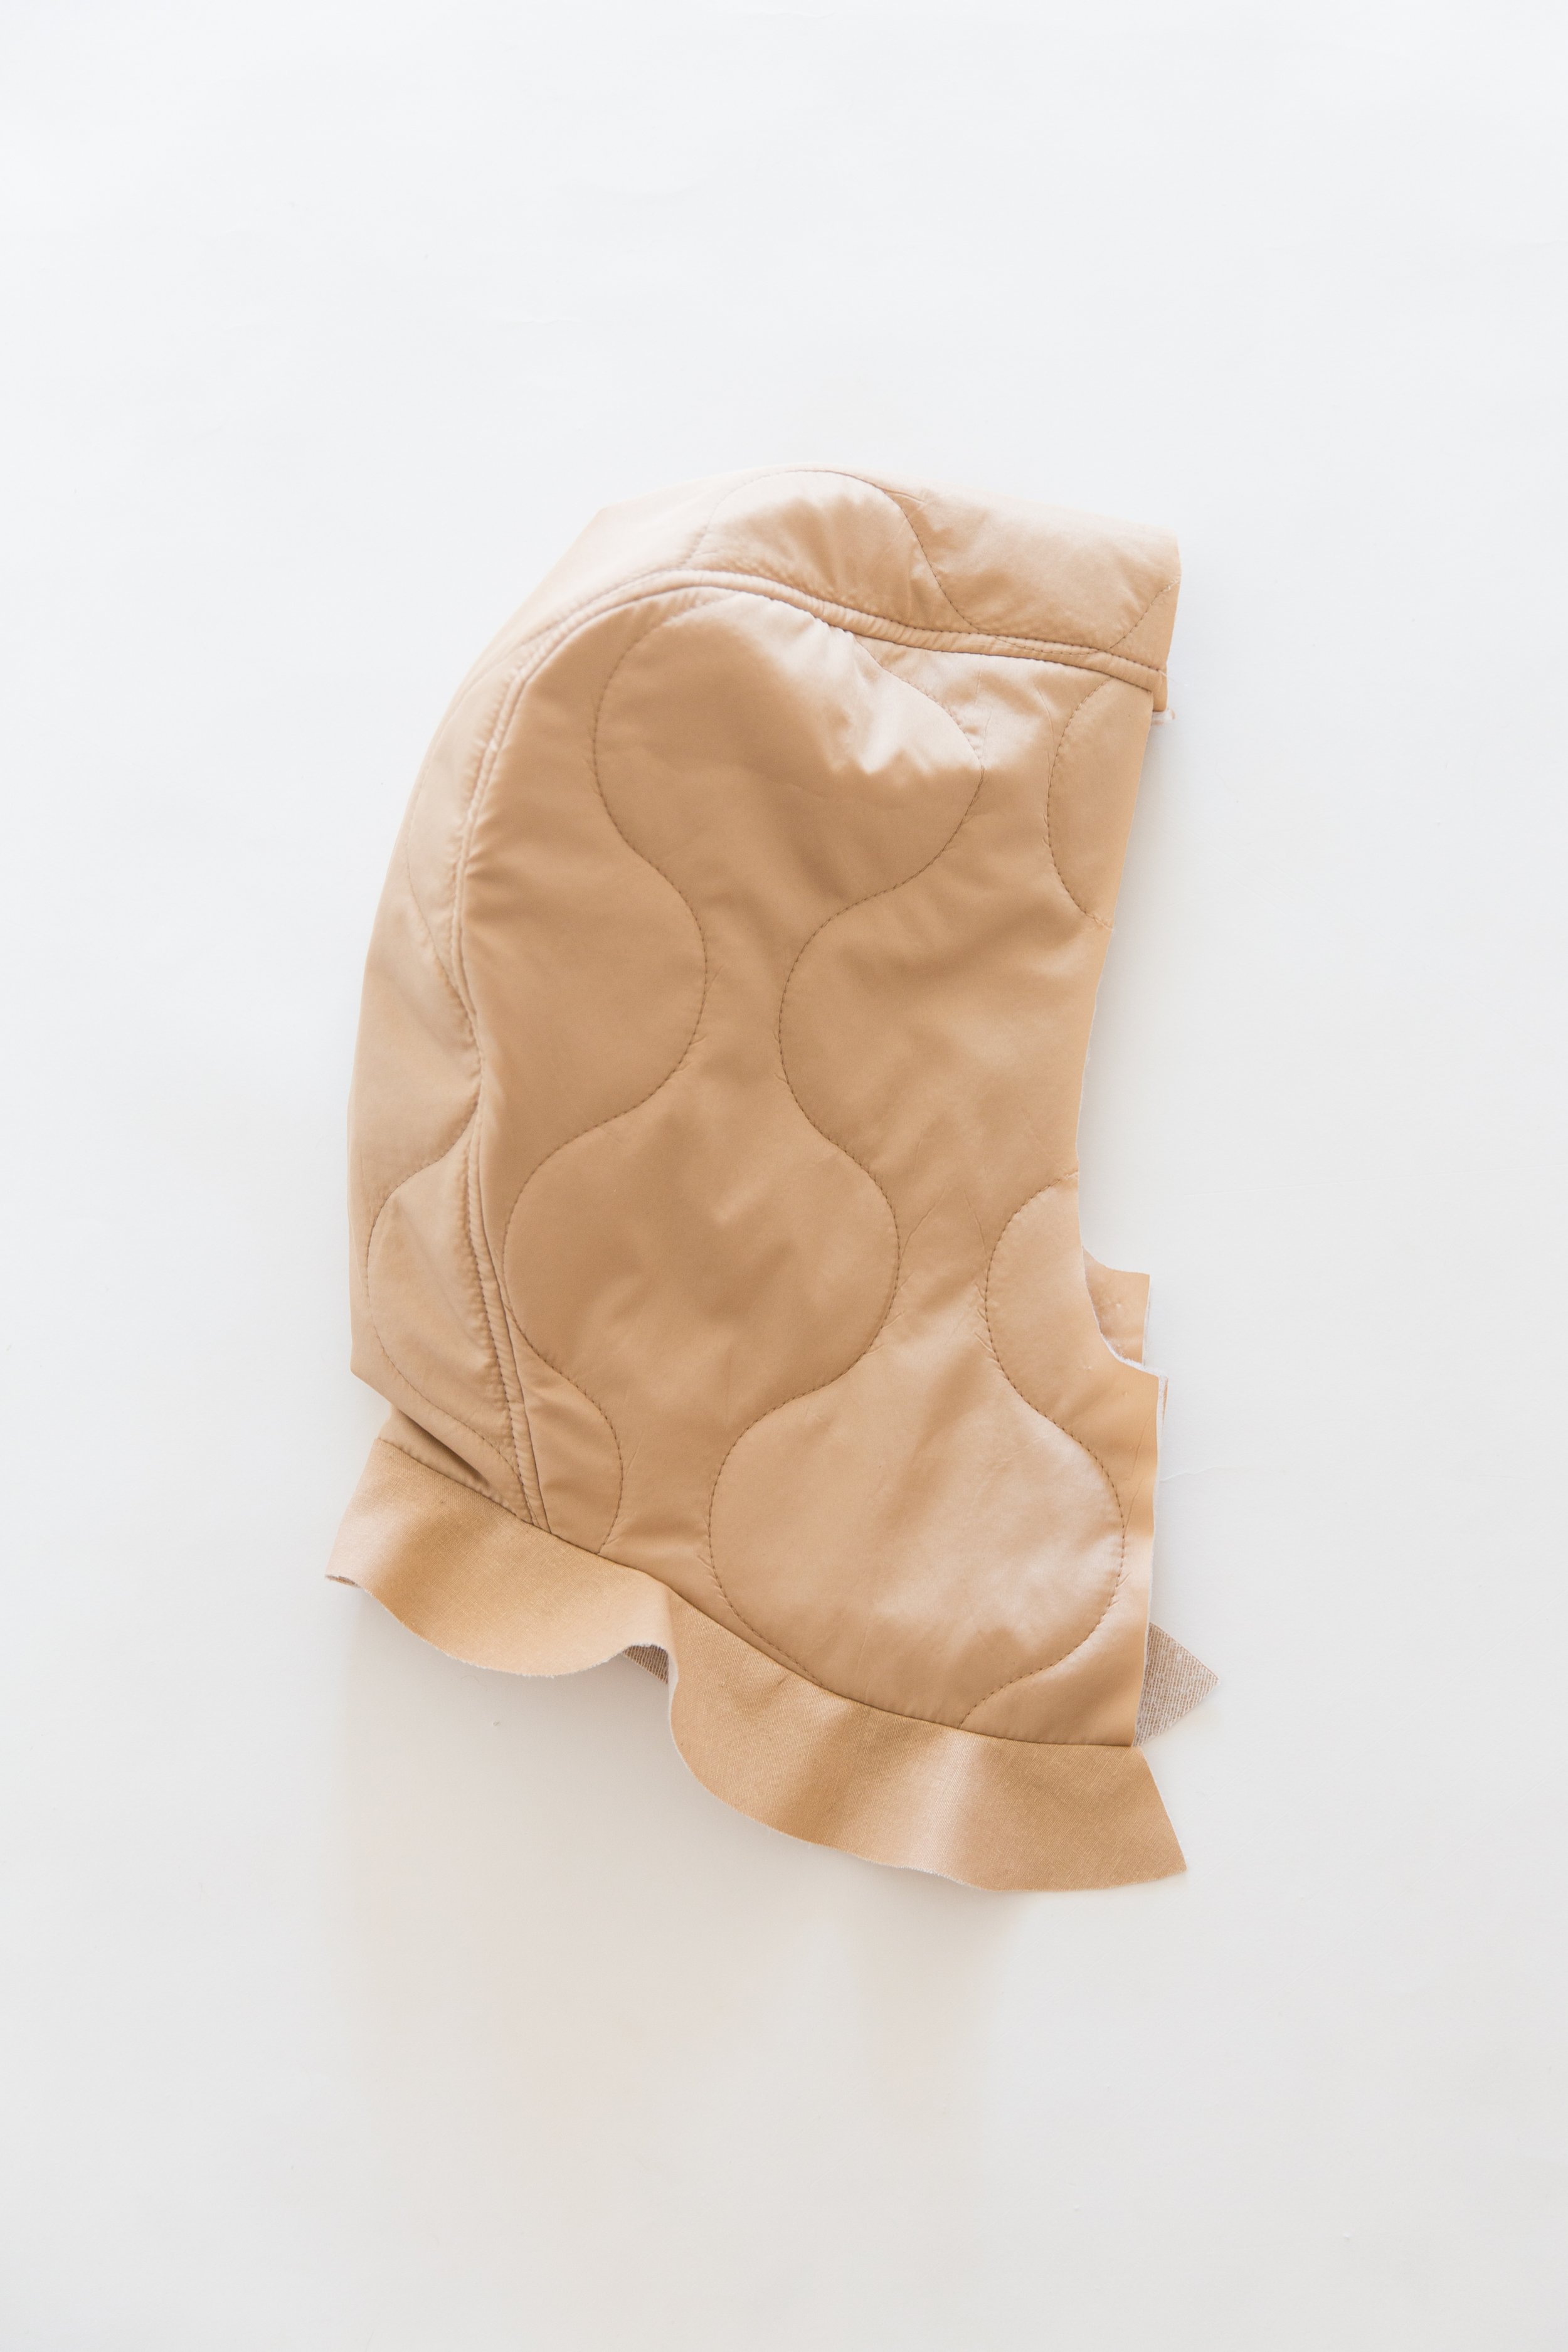
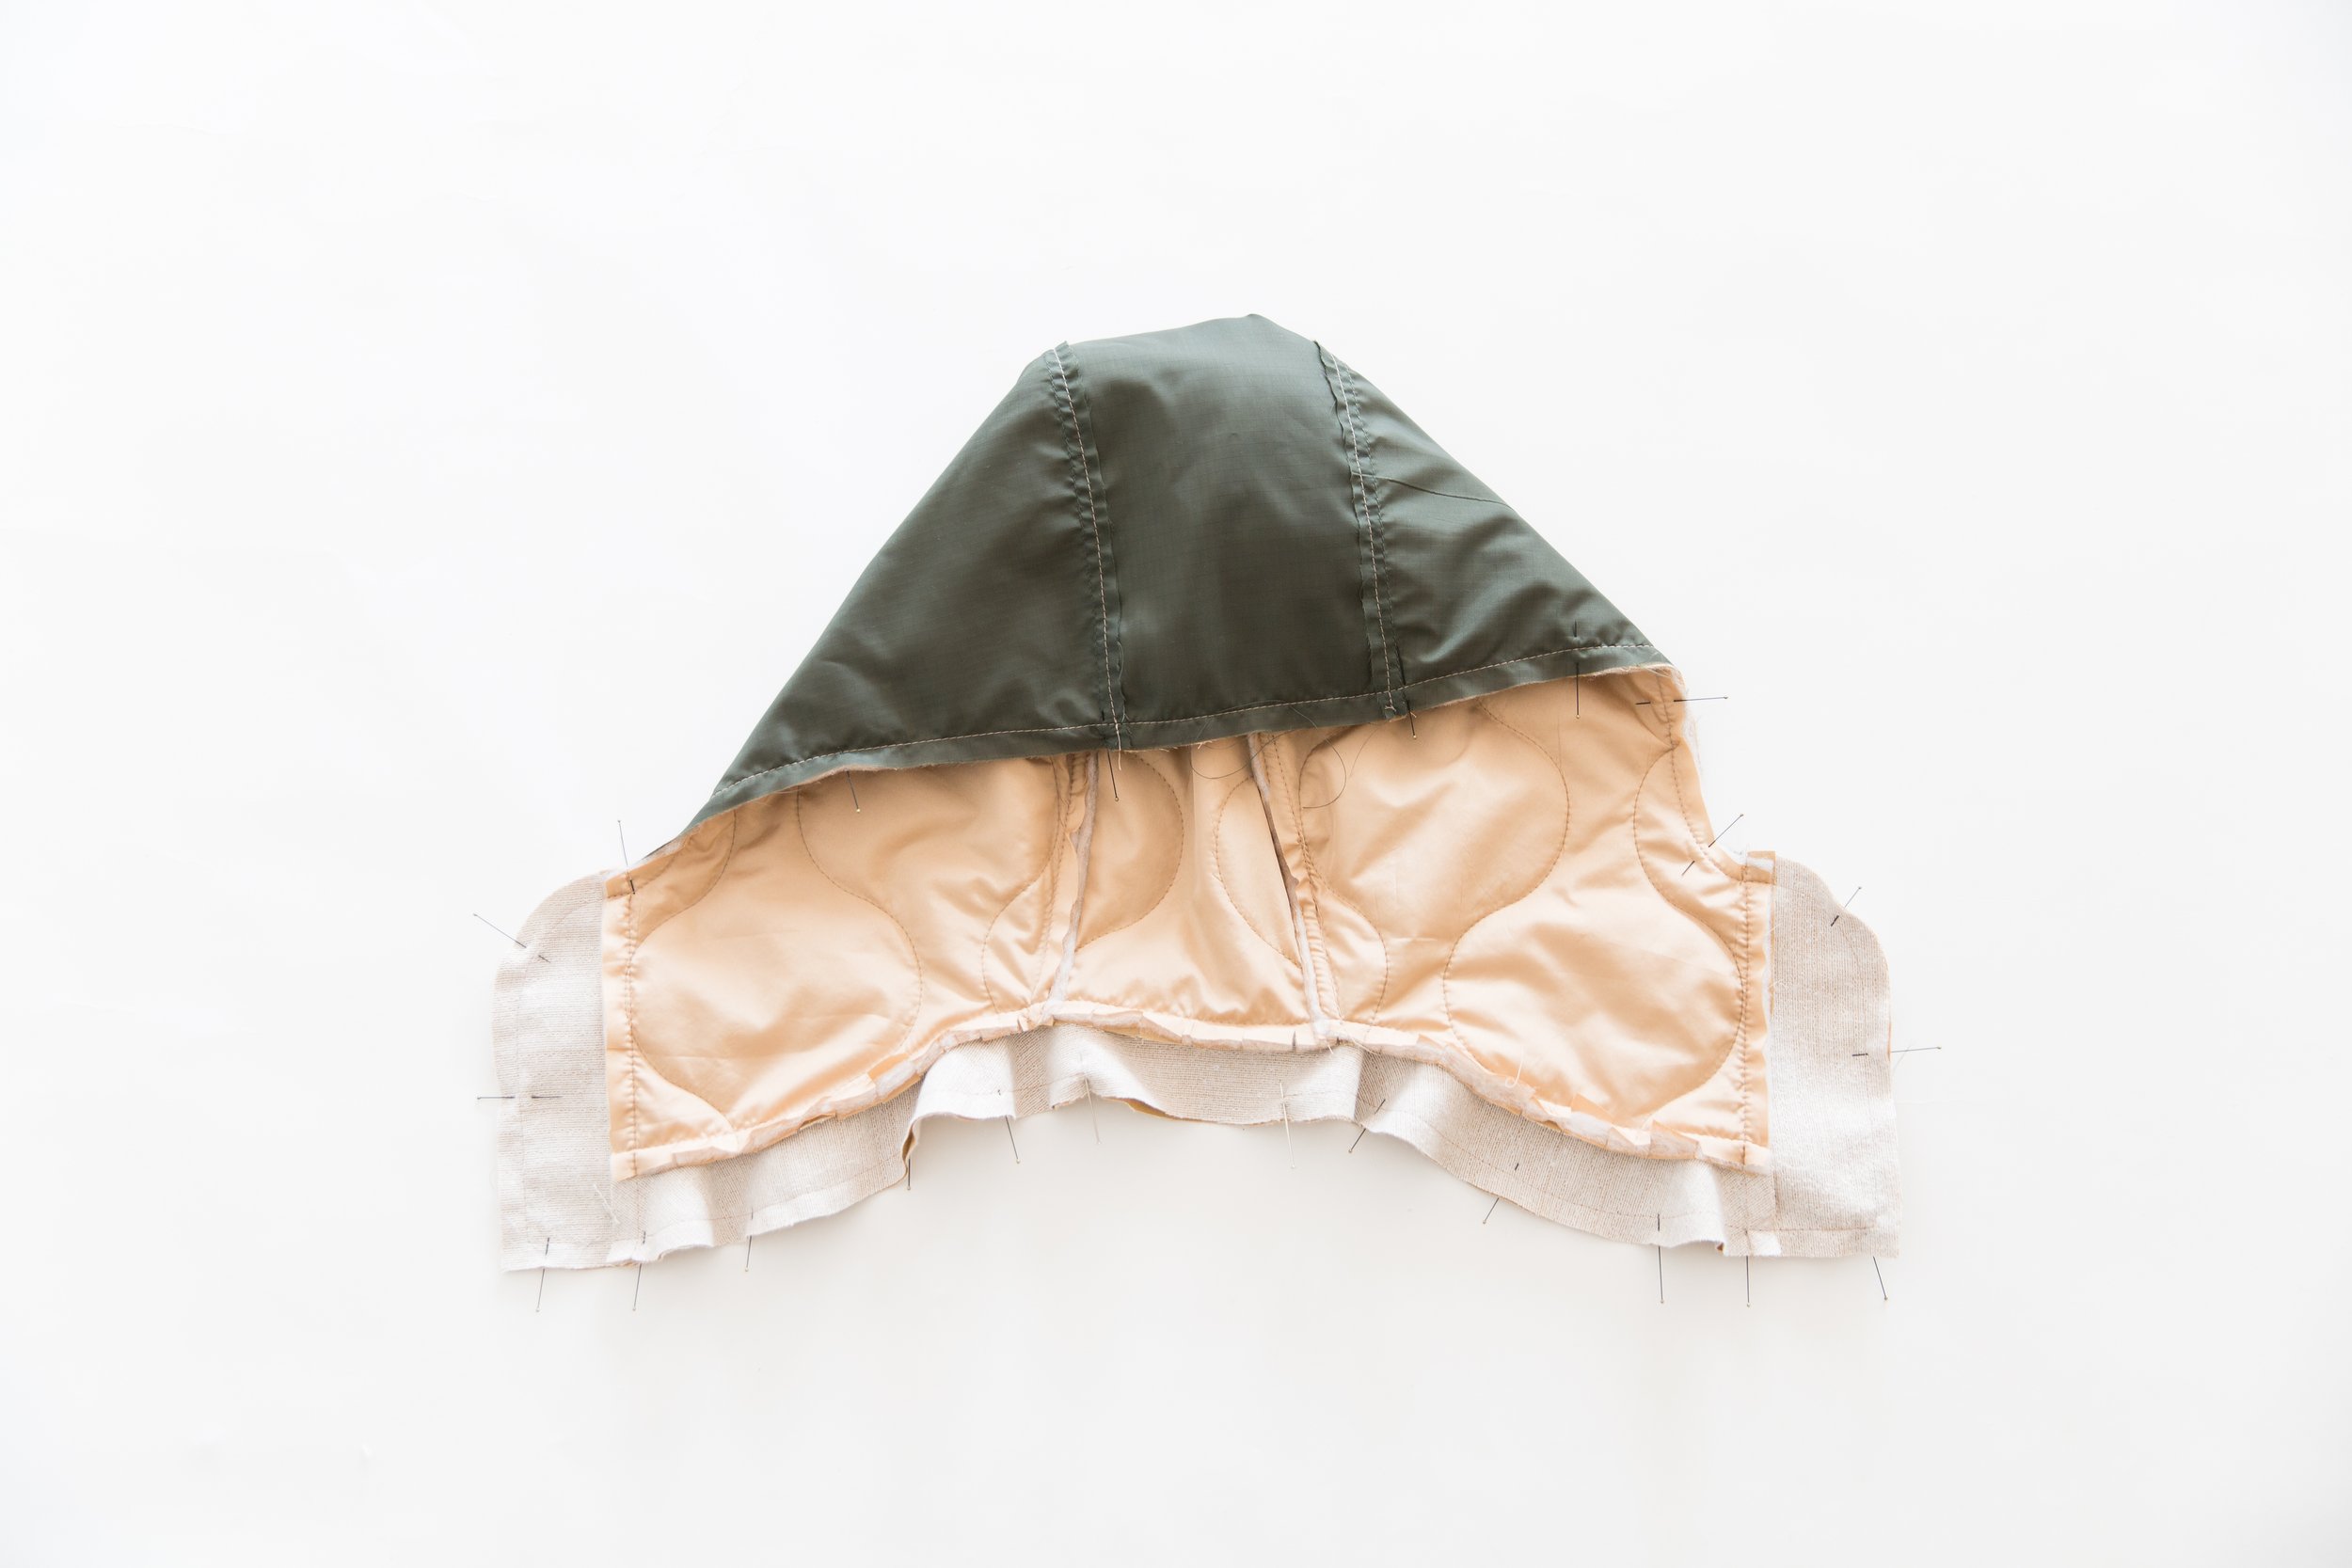
With right sides facing, stretch your fused collar stand out so that the inside curve meets the neck edge of hood. Pin in place, lining up notches. Stitch together.
Repeat for reversible hood.
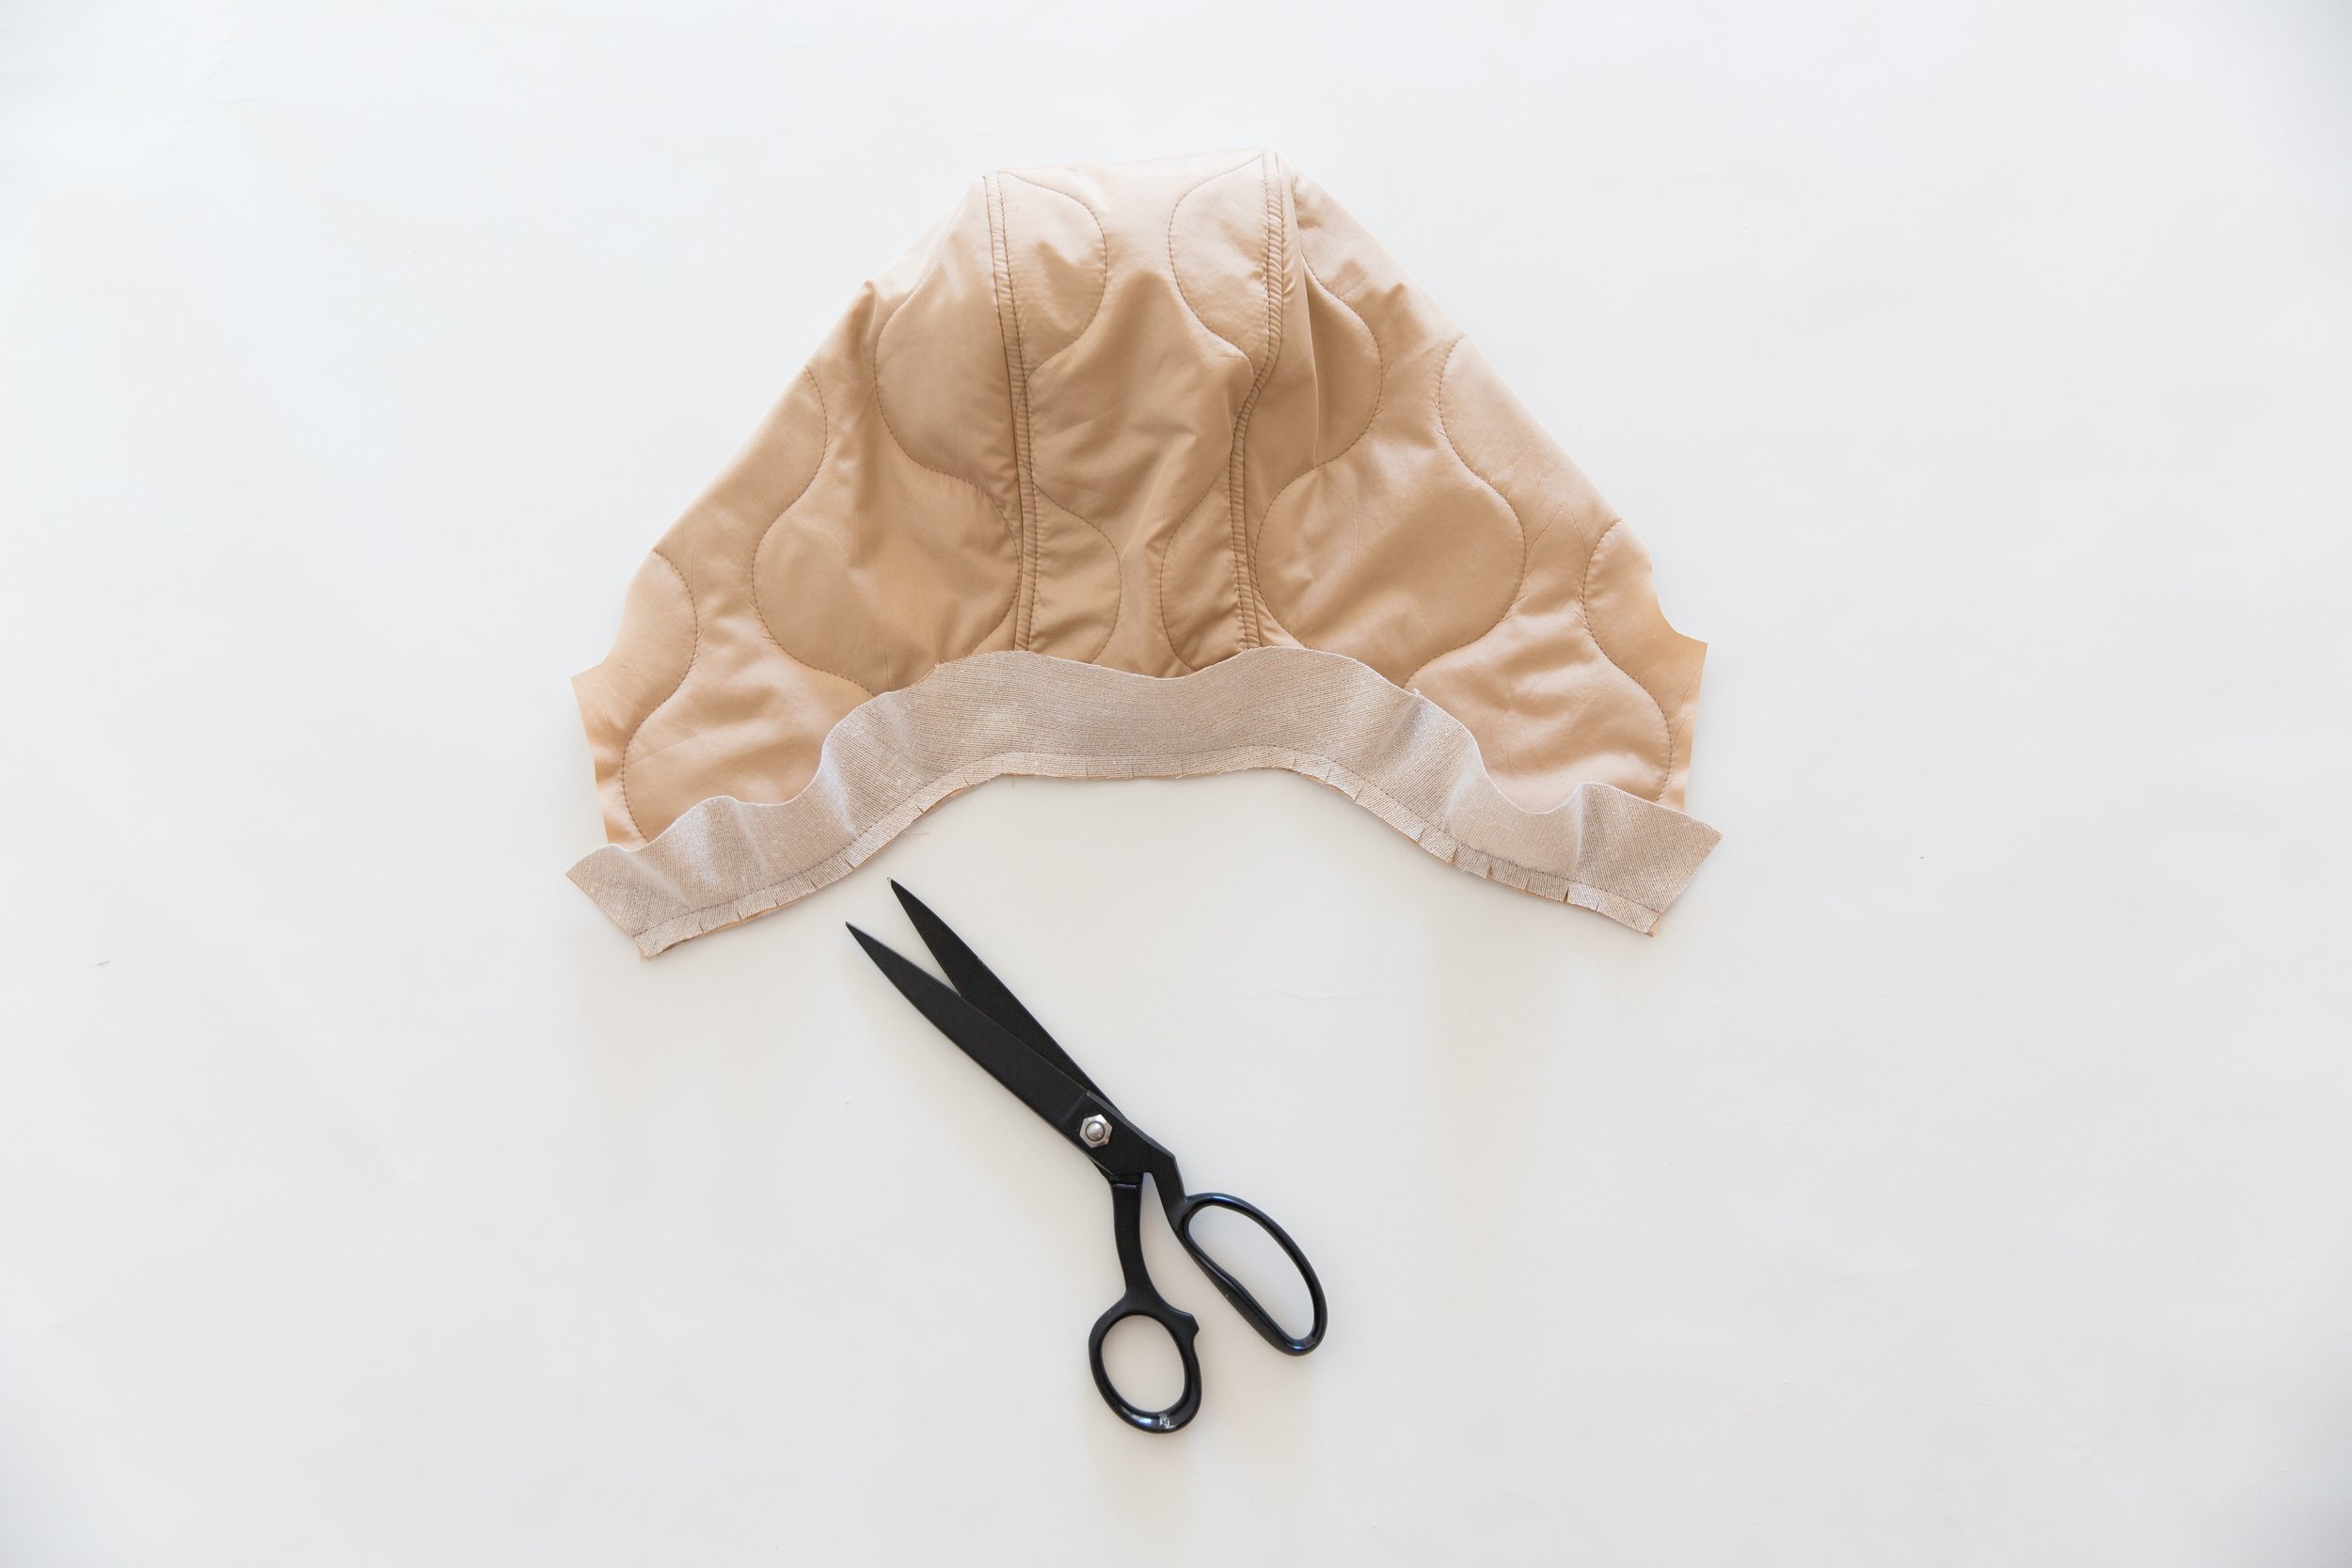
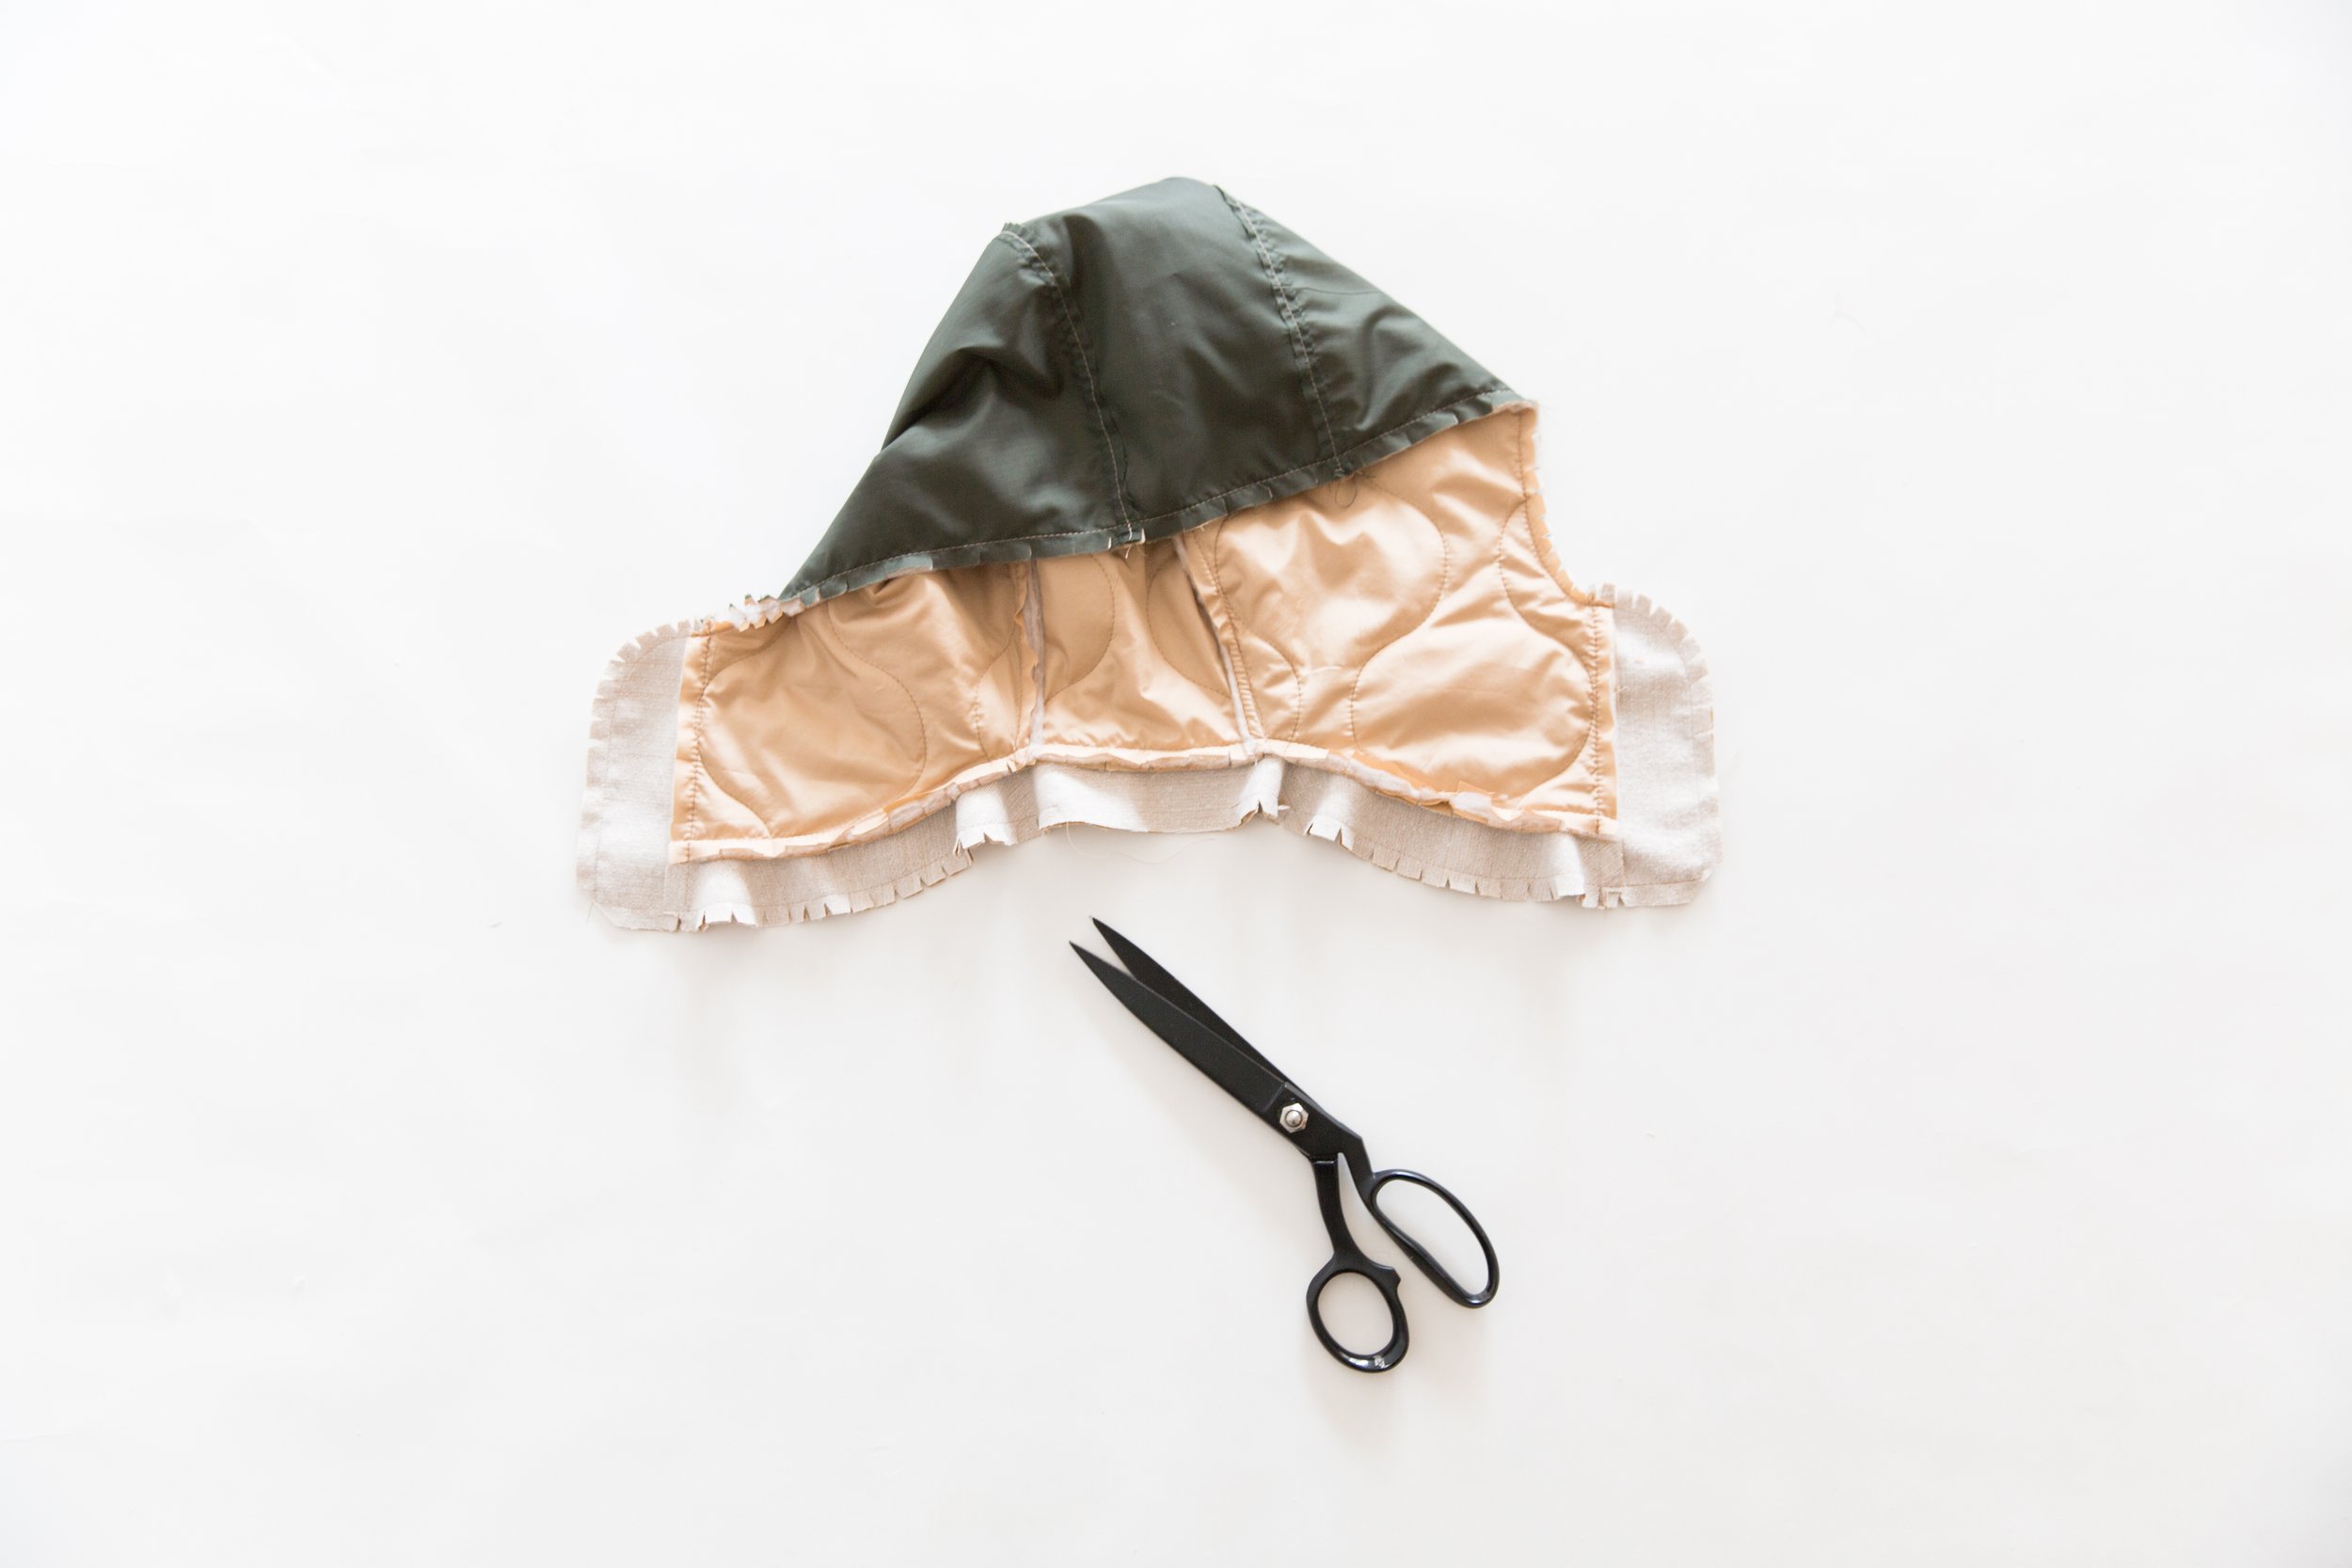
Trim seam allowance in half and clip around curve. Press seam allowance toward collar stand.
Repeat for reversible hood.
Step 3
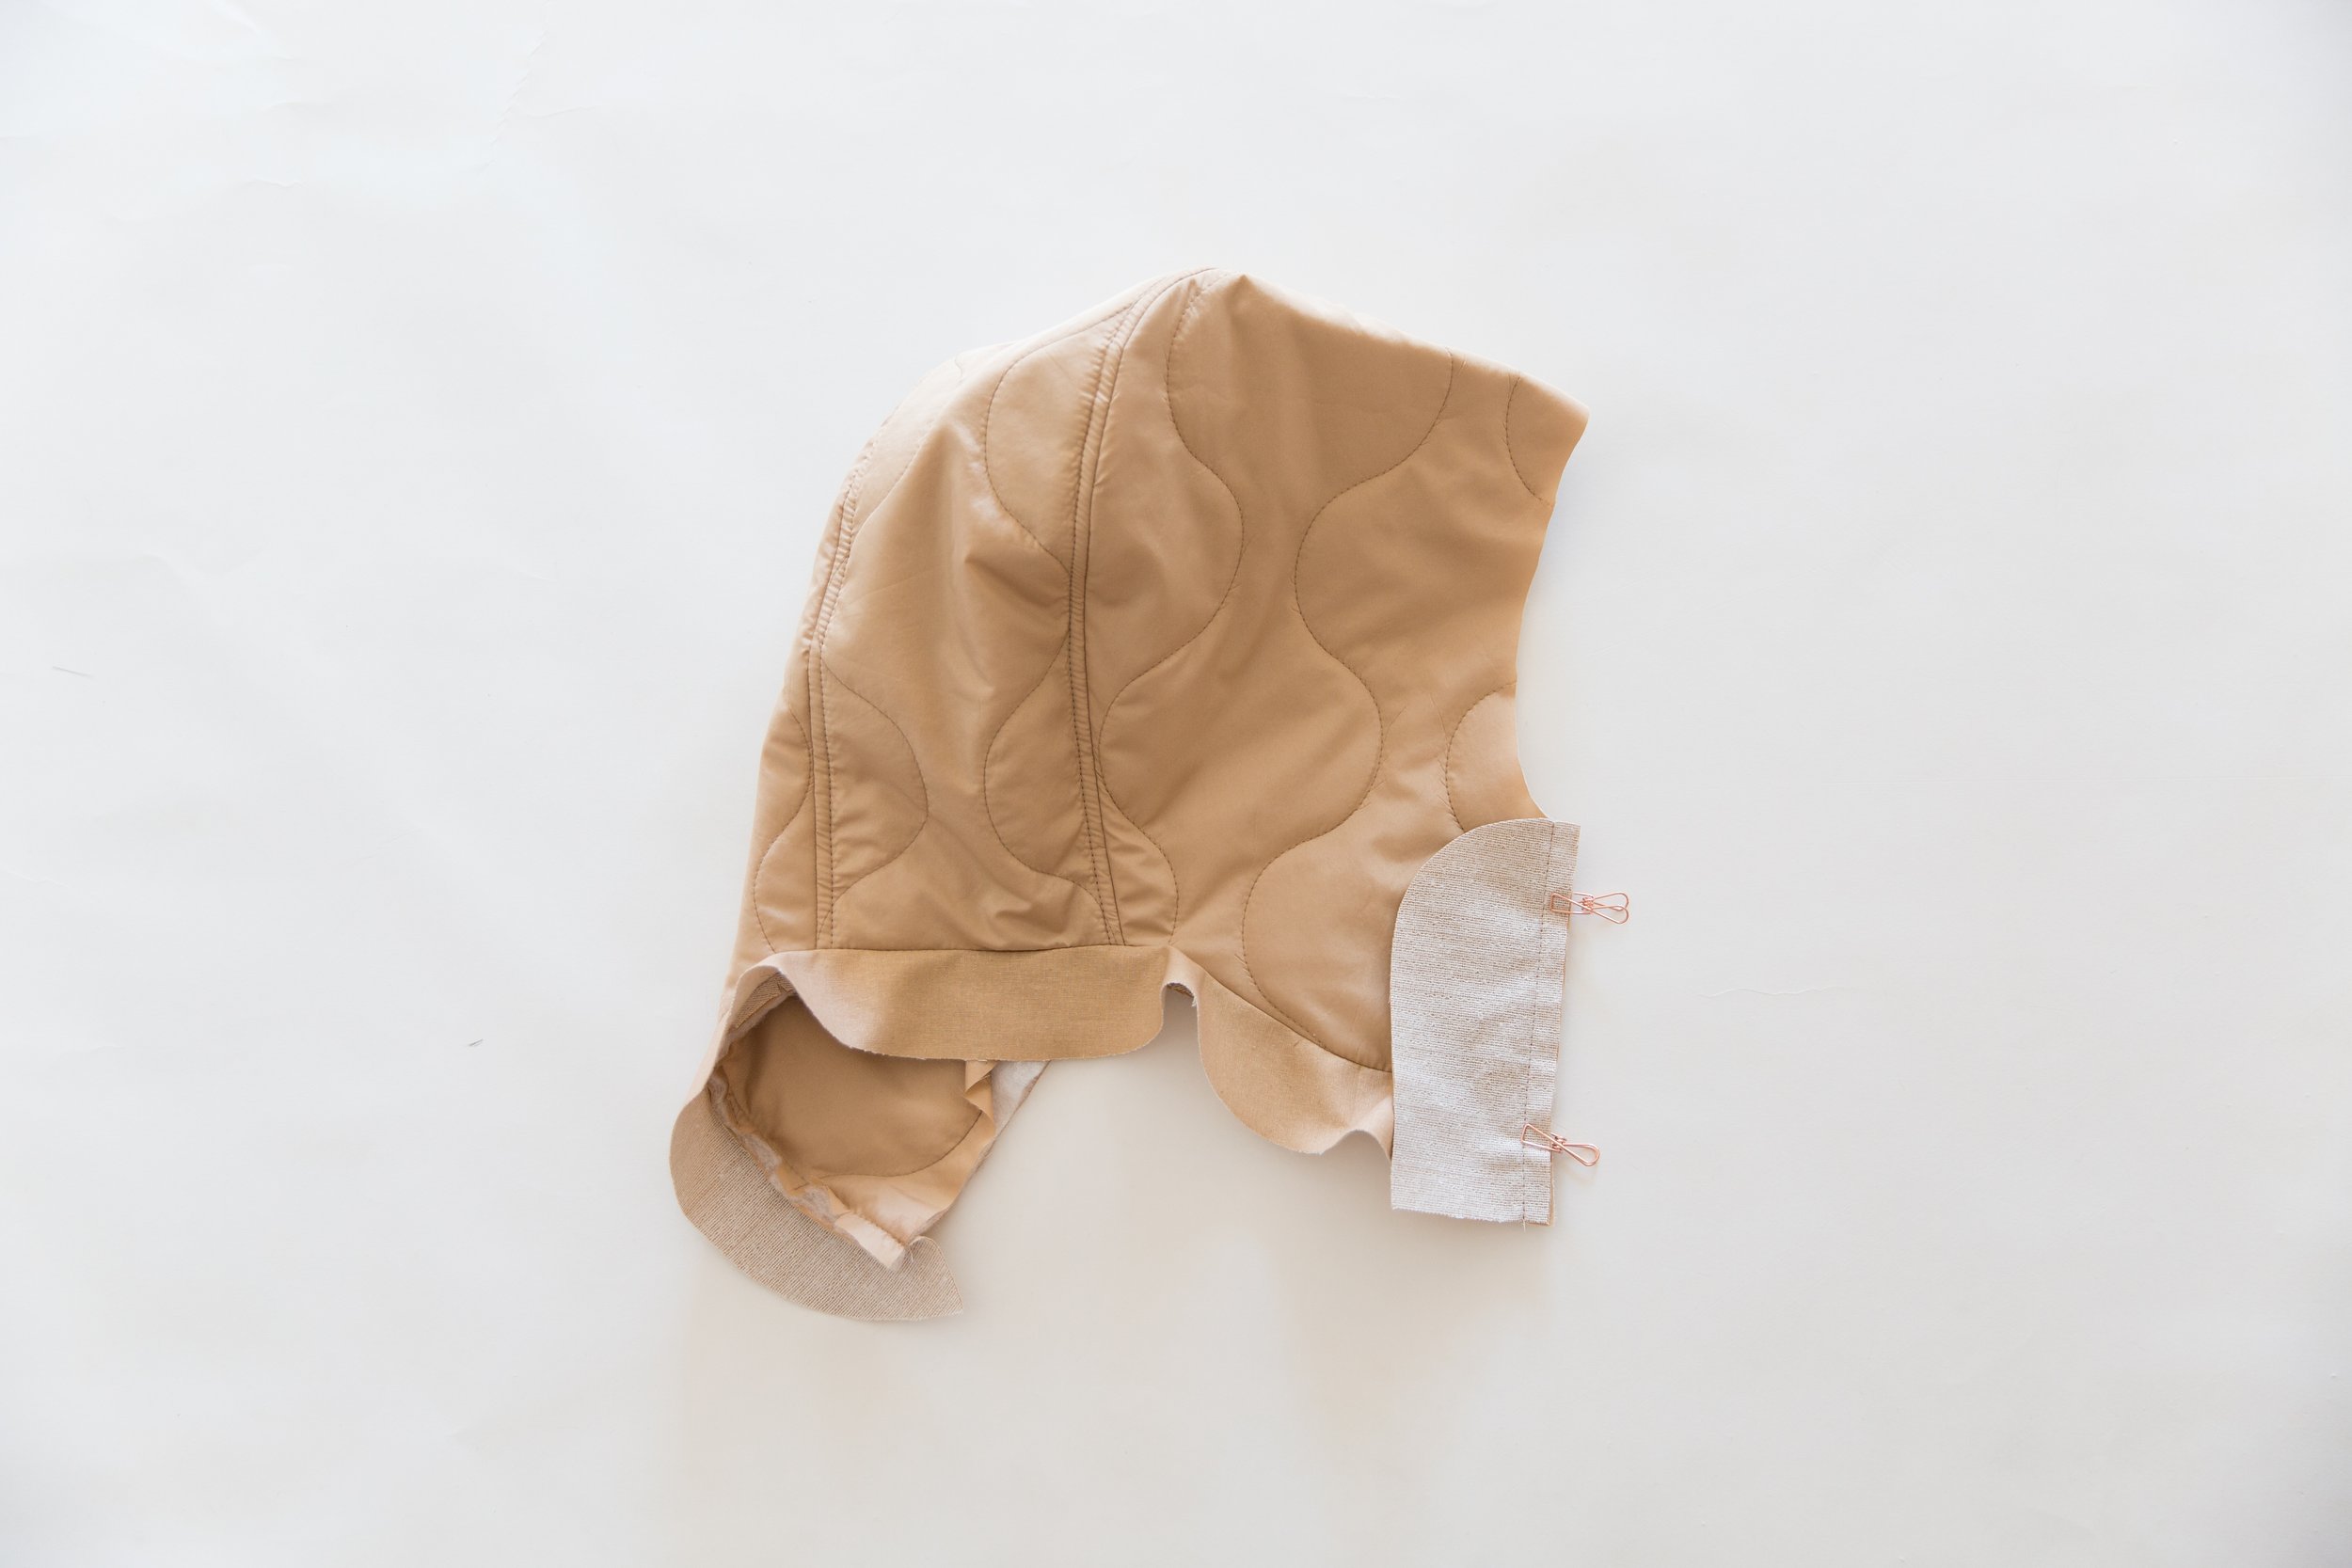
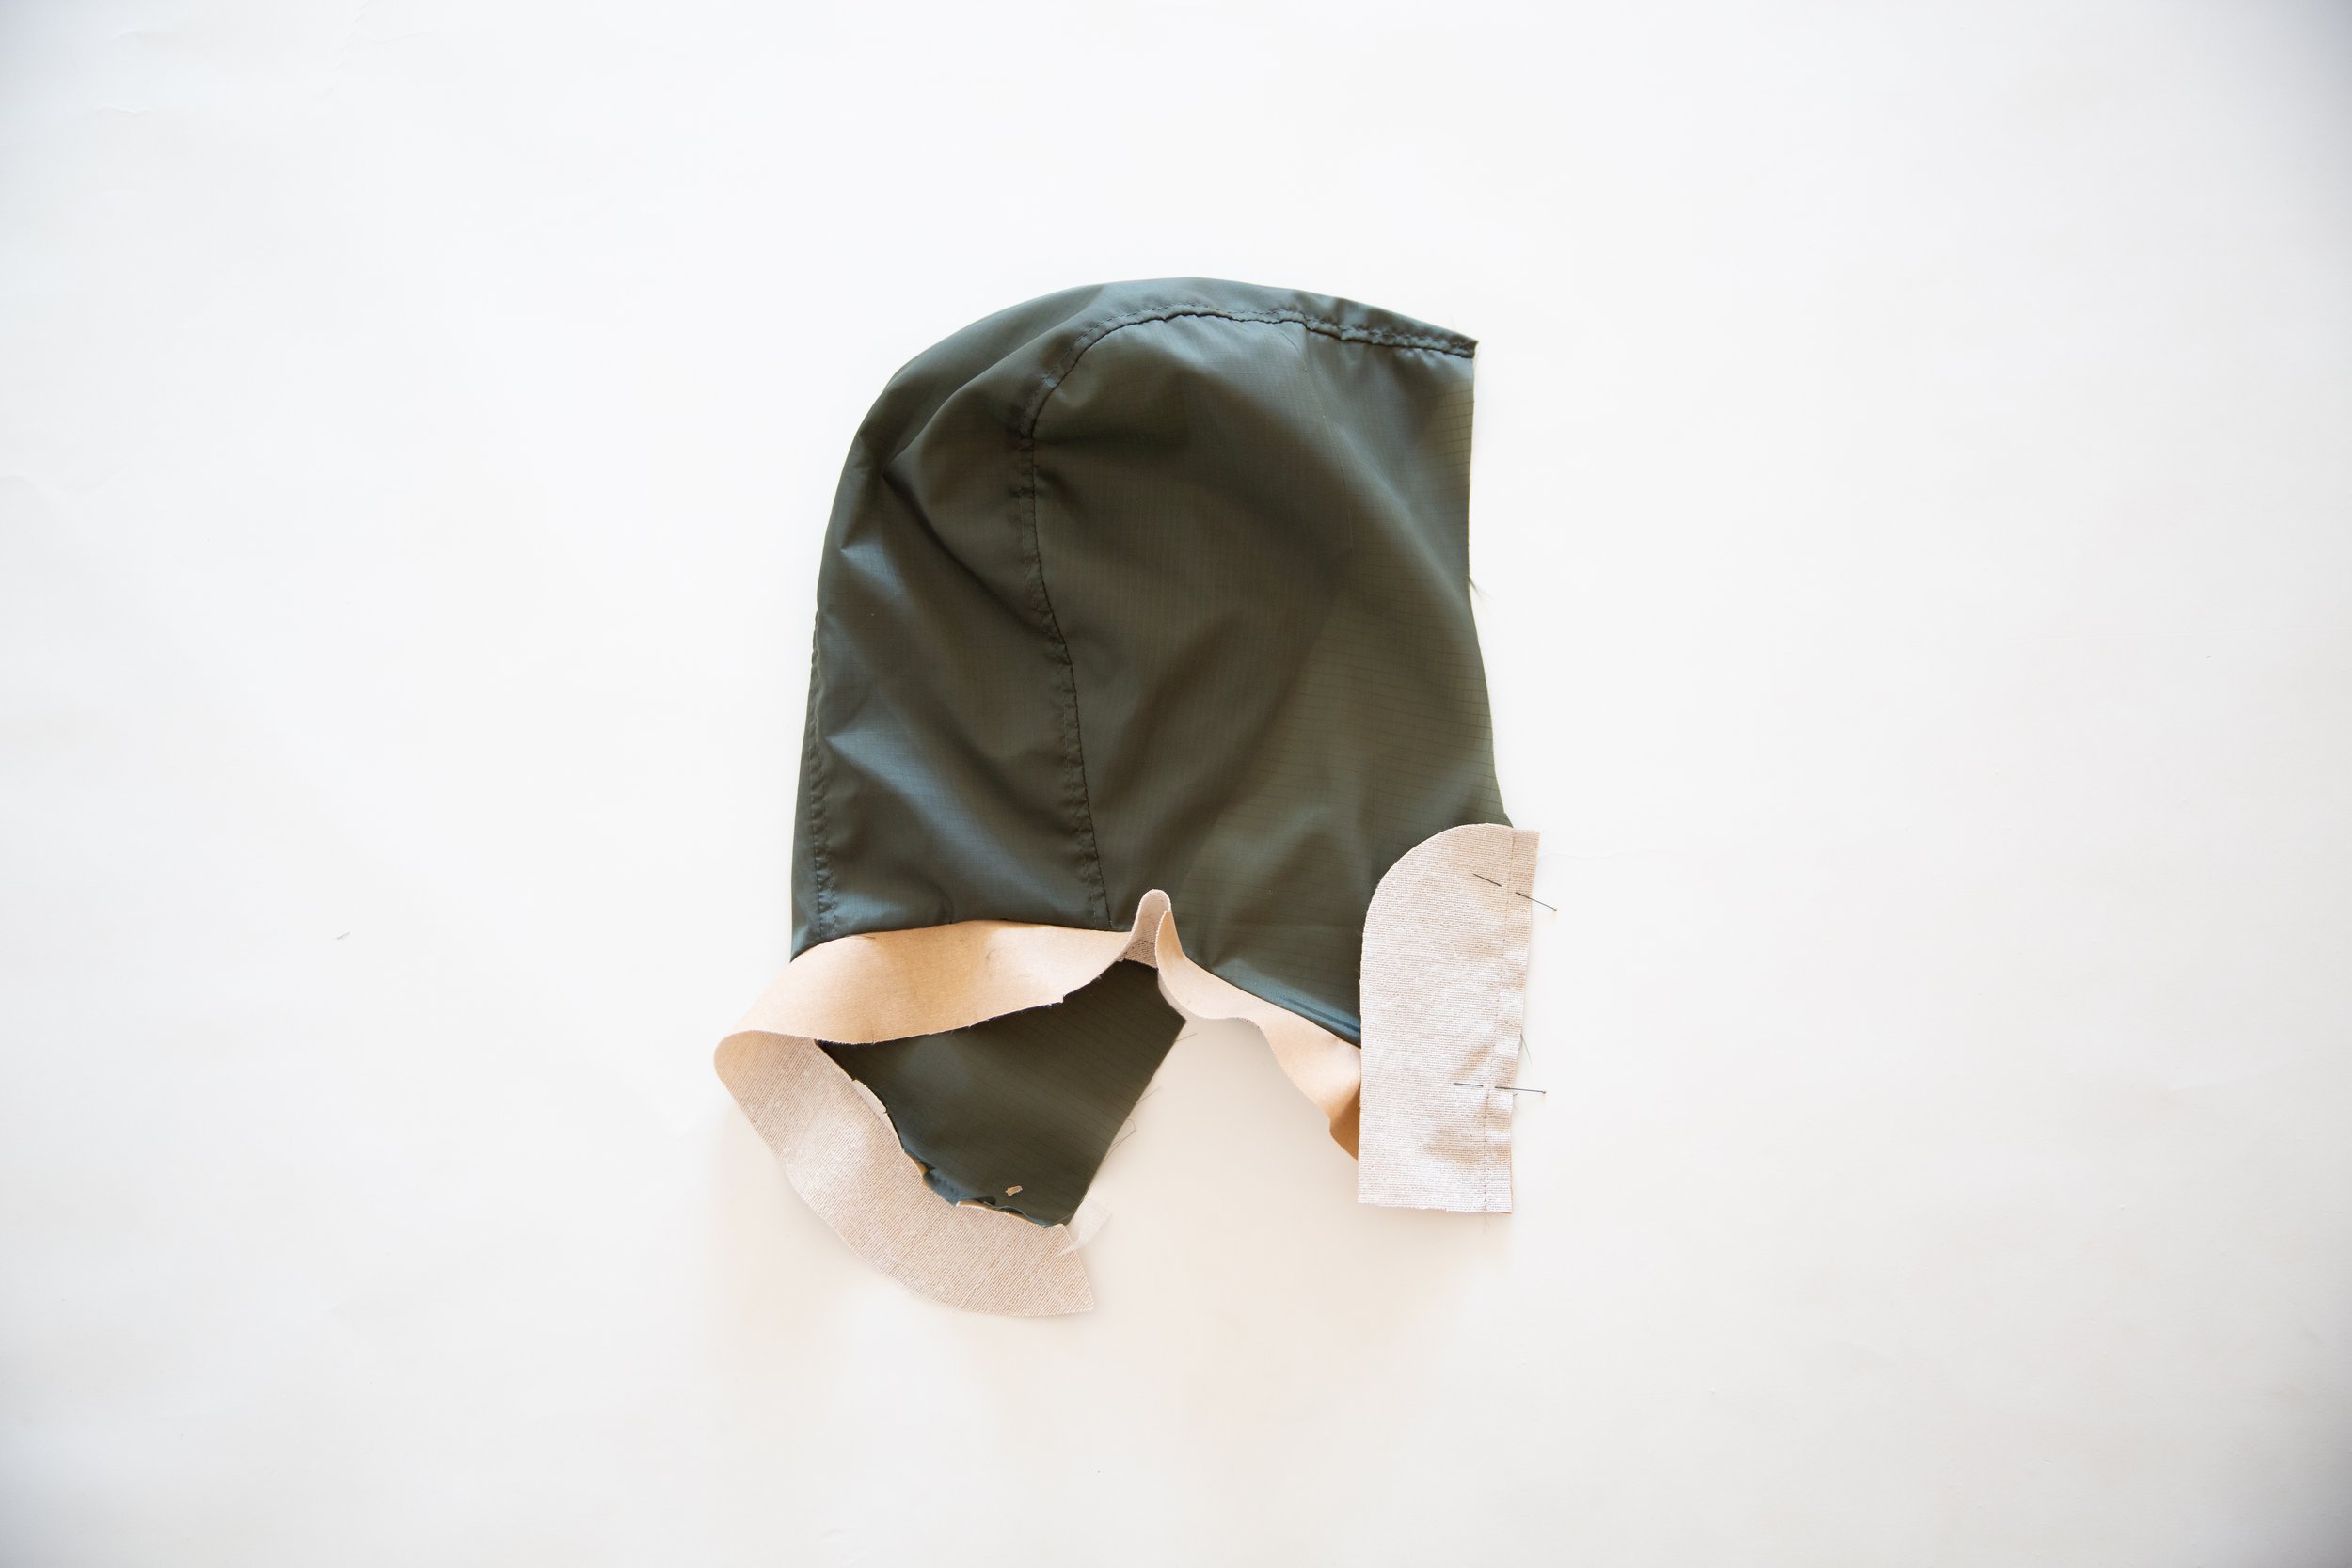
With right sides facing, pin the fused neck button stand to the front edge of hood and collar stand. Stitch together. Press seam allowance toward hood. Repeat for other side and also for reversible hood.
Step 4
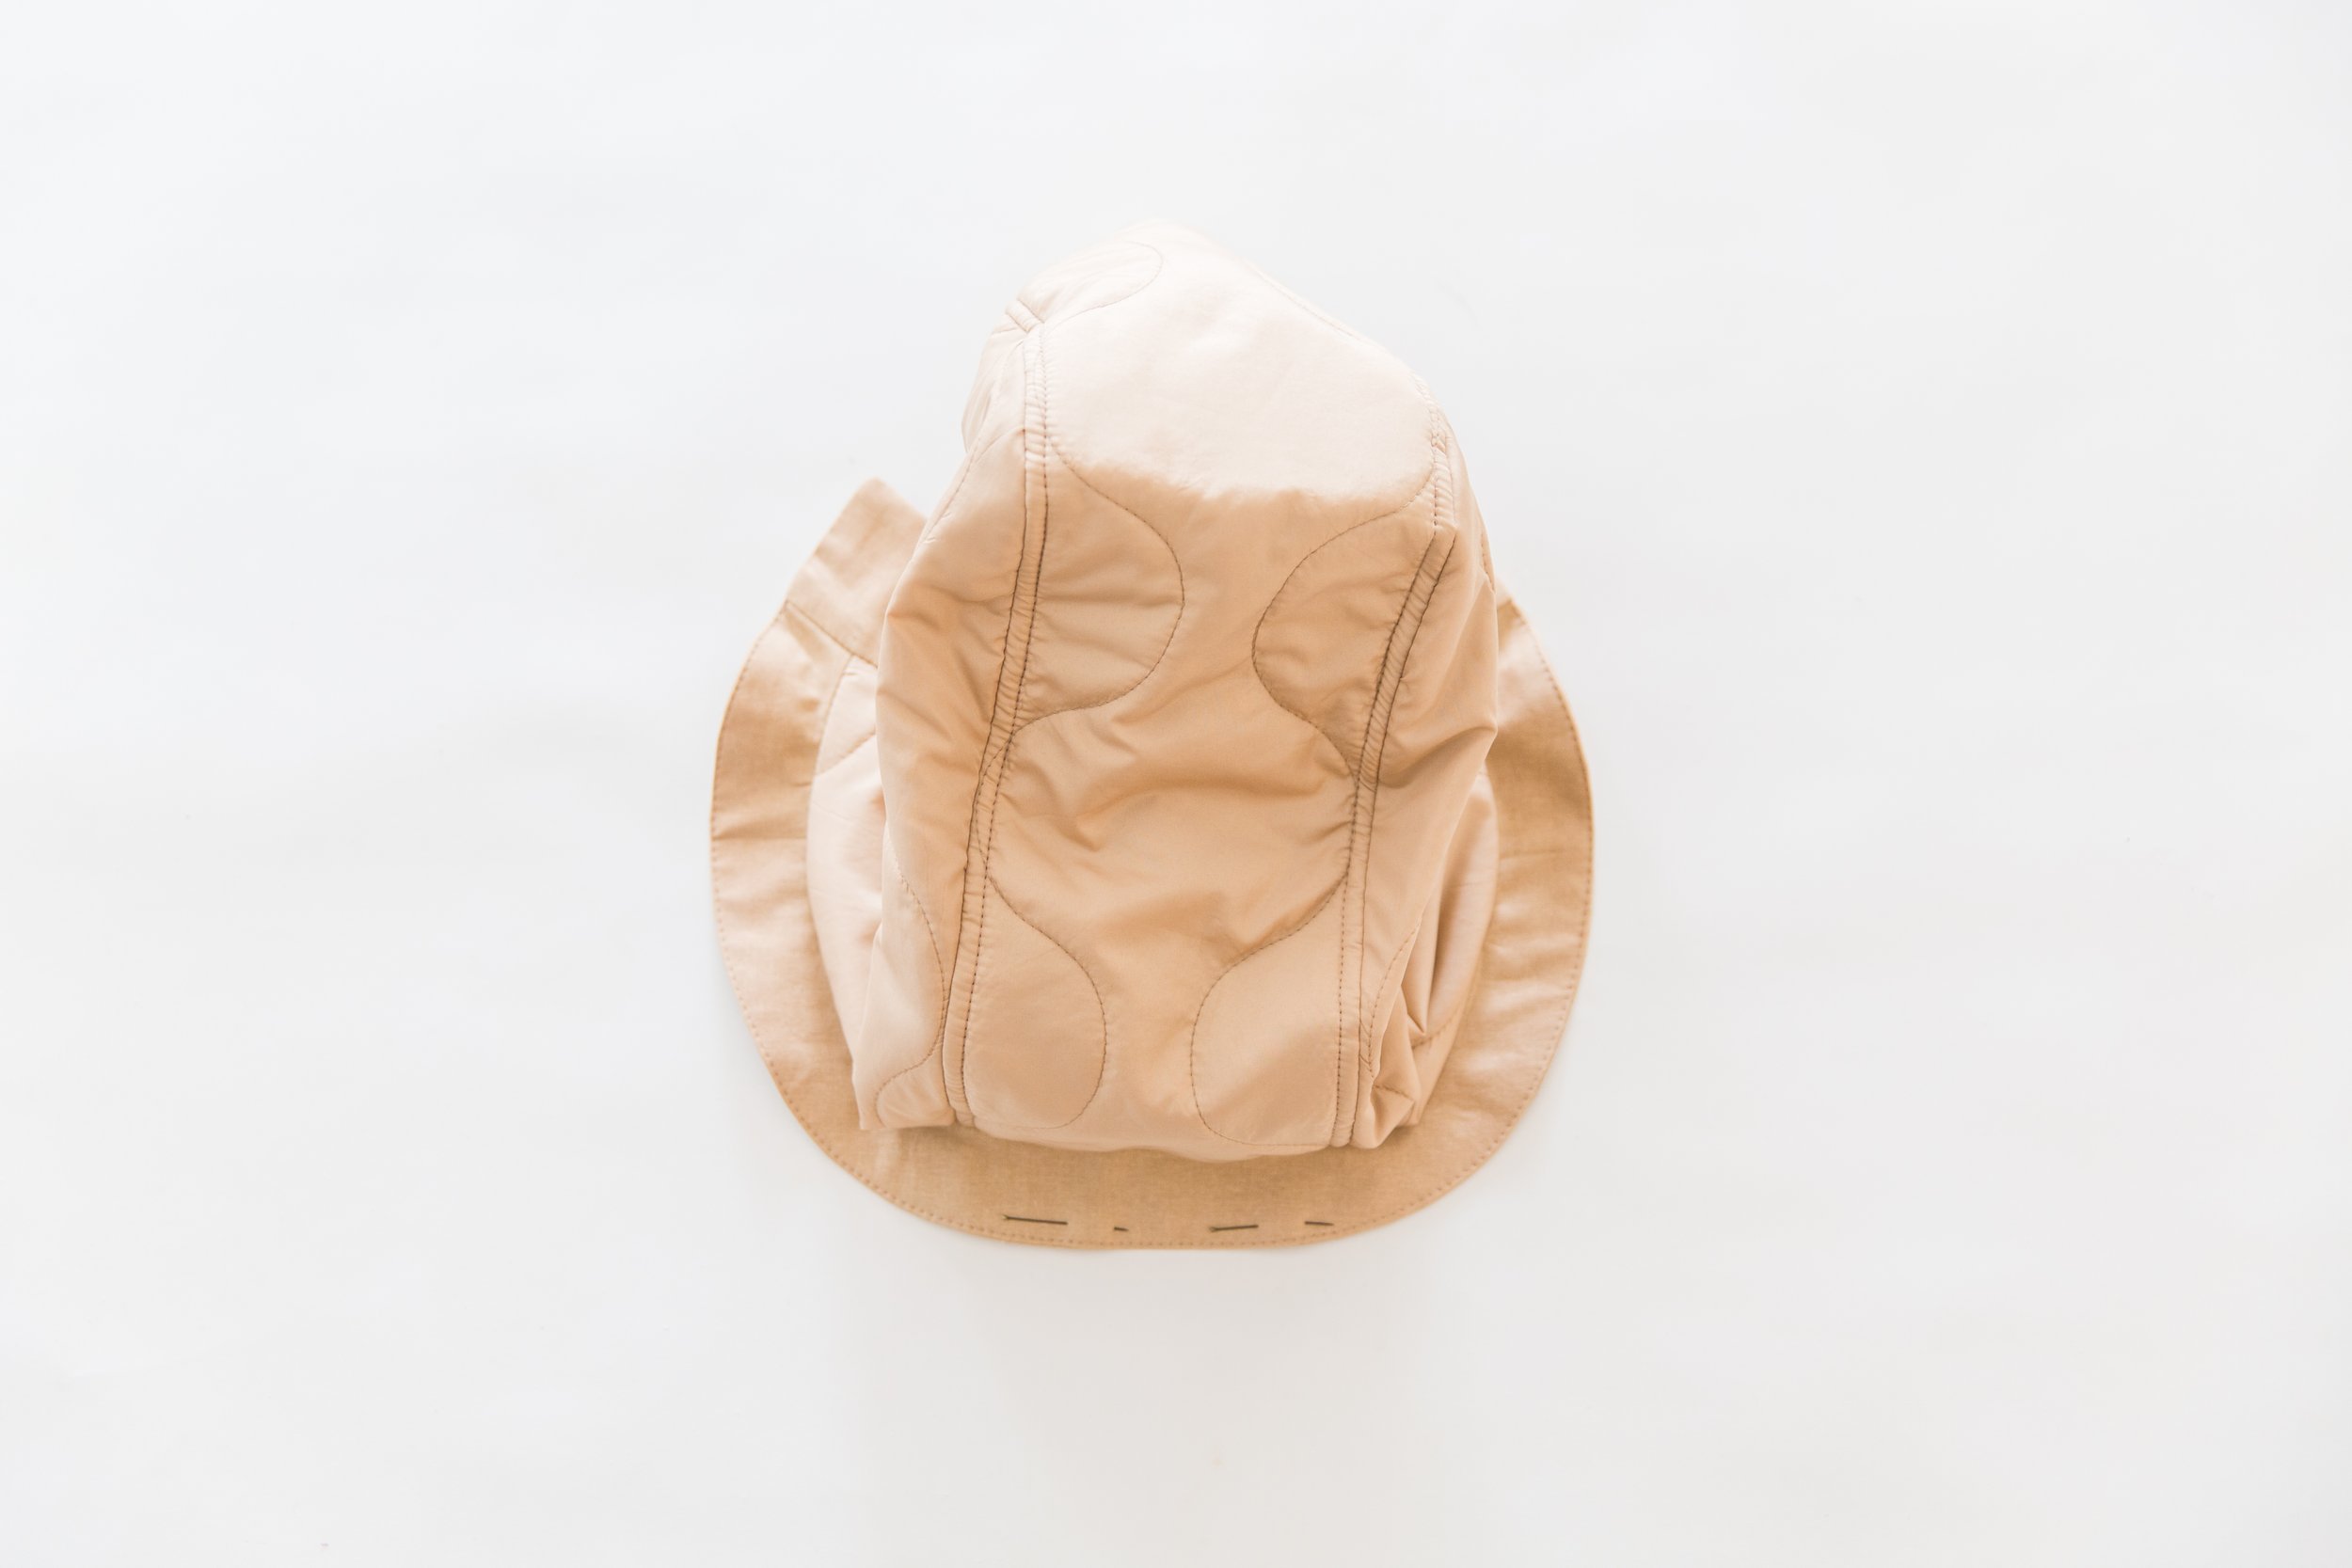
With right sides facing, pin your hood and reversible hood together all the way around the edge and around the edge of button stand and collar stand. Stitch together, leaving a gap about 10cm/4” at the centre back of collar stand. Trim seam allowance in half and clip around curves.
Step 5
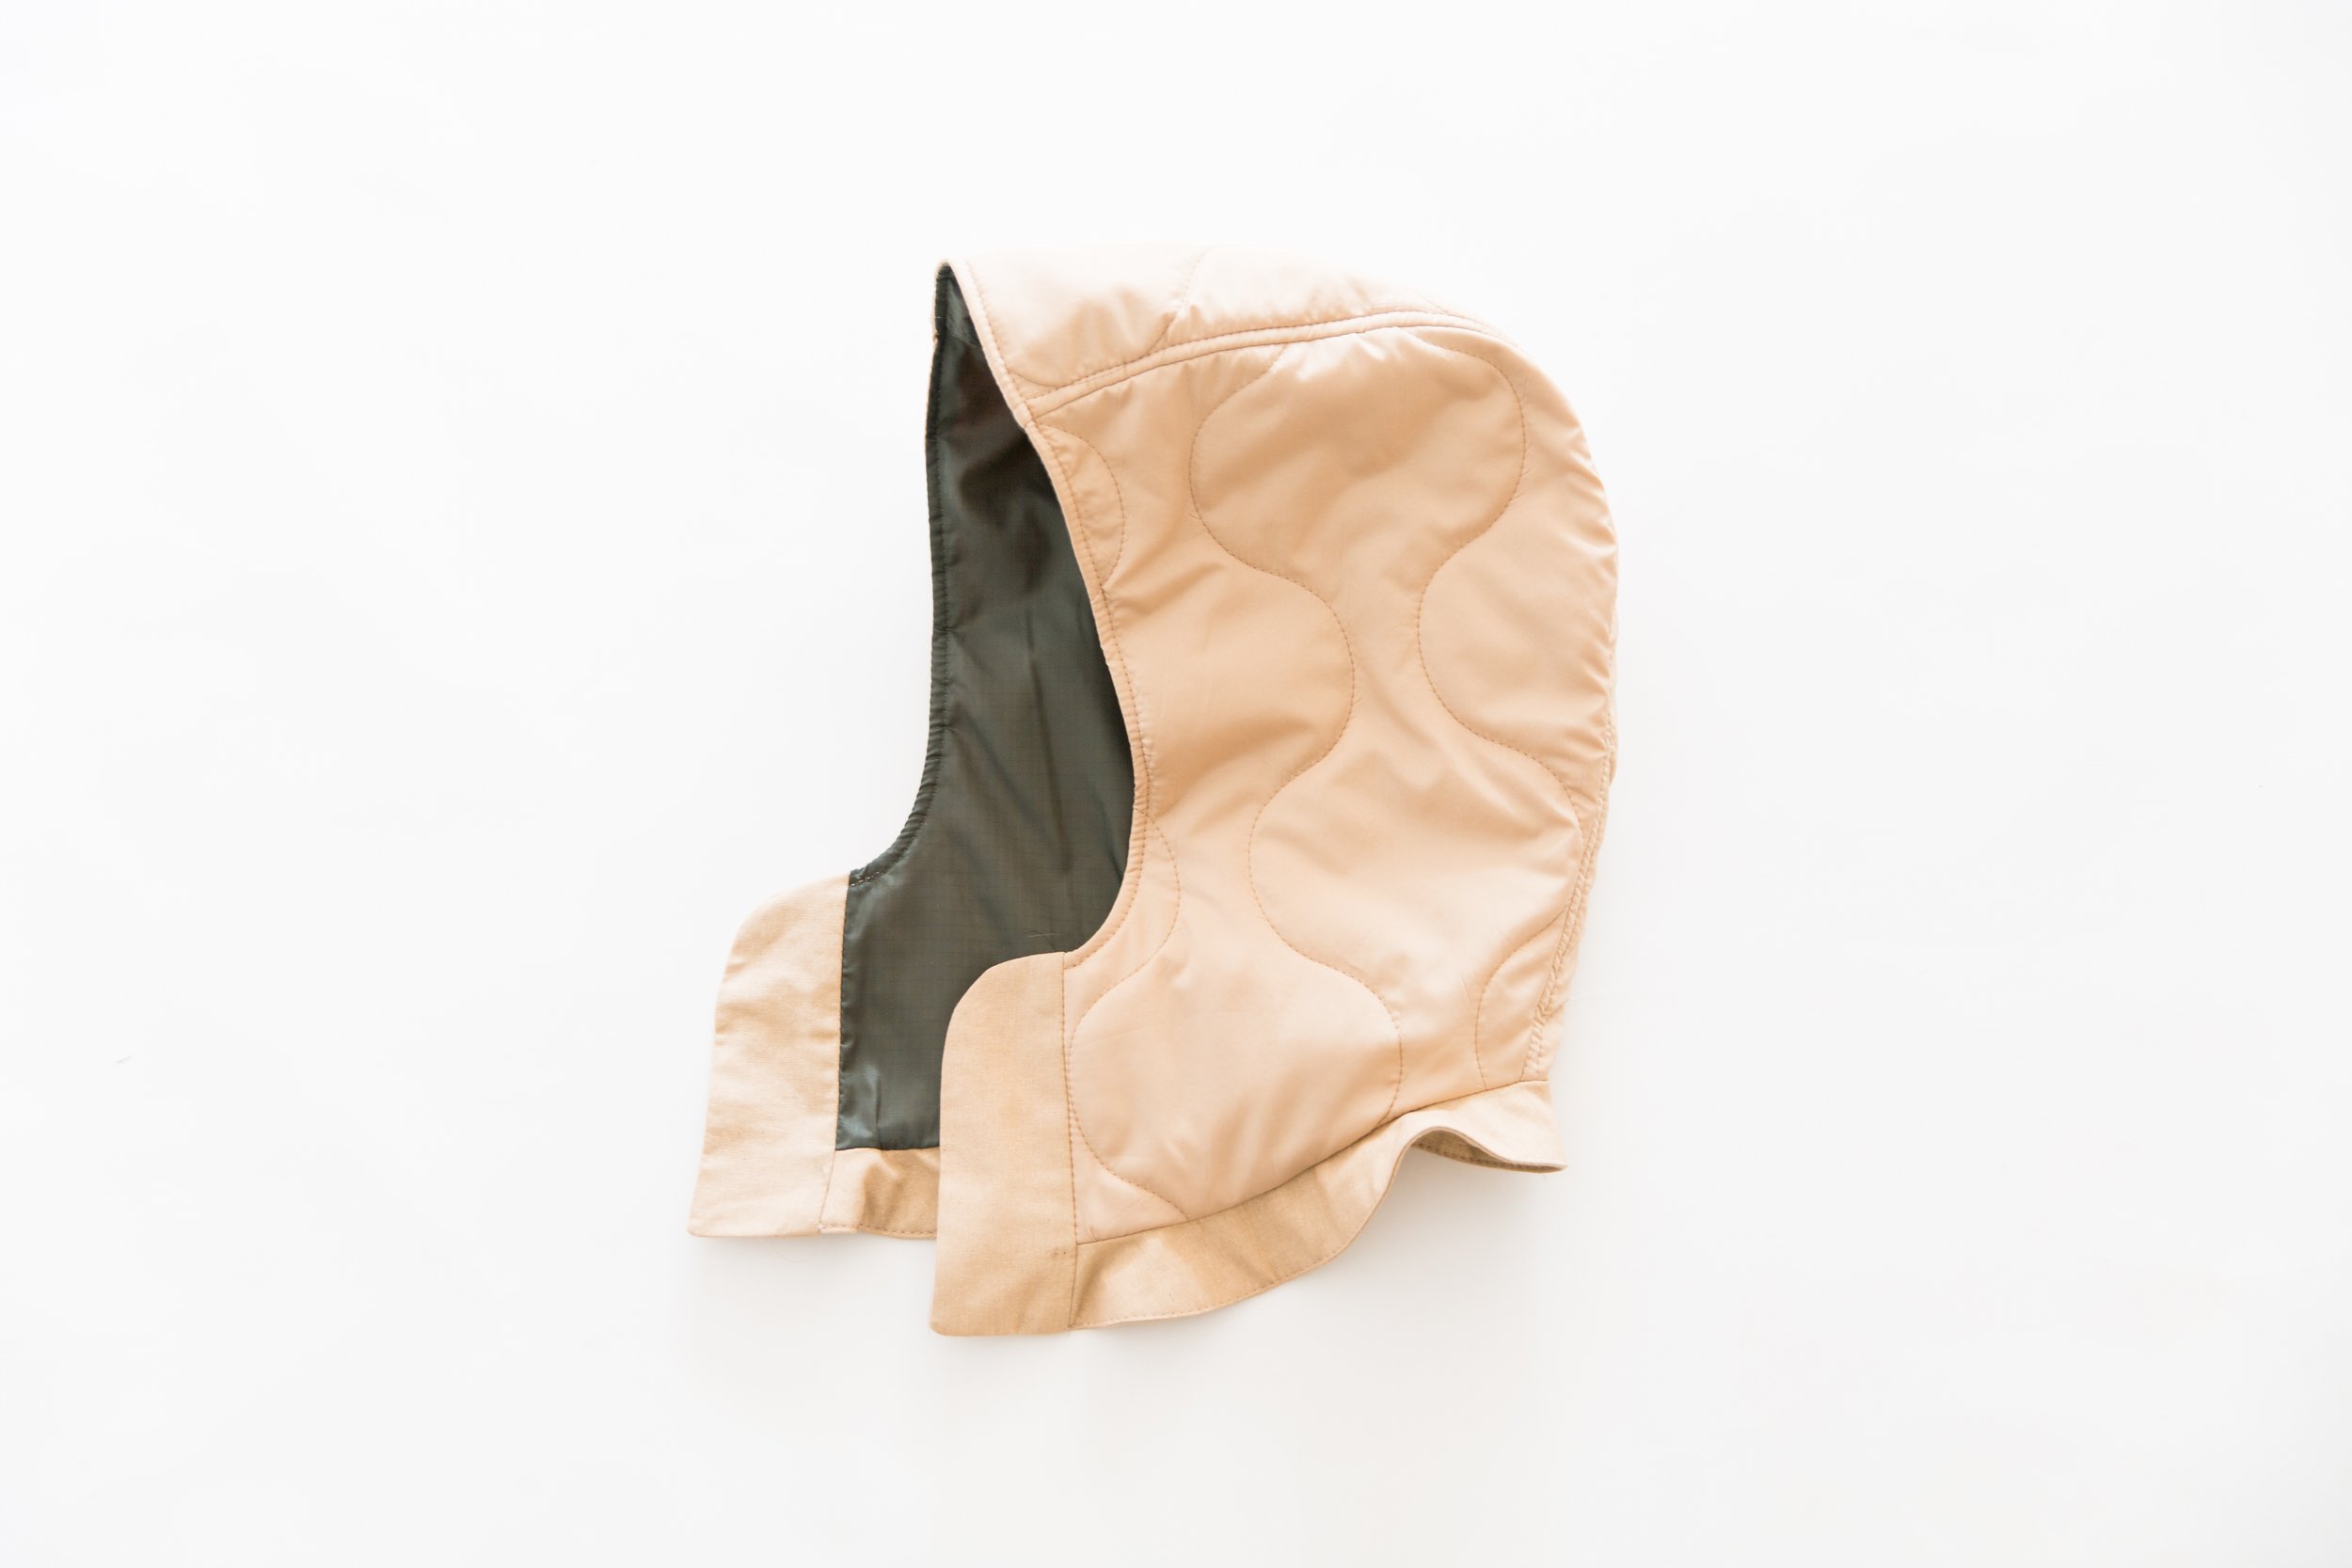
Pull hood through to the right side through the gap in collar stand
With the seam allowance pressed inwards, edgestitch the gap closed. Topstitch along top edge of hood through both layers to secure.
Step 6
Transfer button and buttonhole placement markings from your pattern piece onto the right side of collar and button stands. Construct buttonholes, making sure you’re putting them on the same side as your jacket. Stitch buttons in place using the reversible button method on page 22 on your instruction booklet.


