


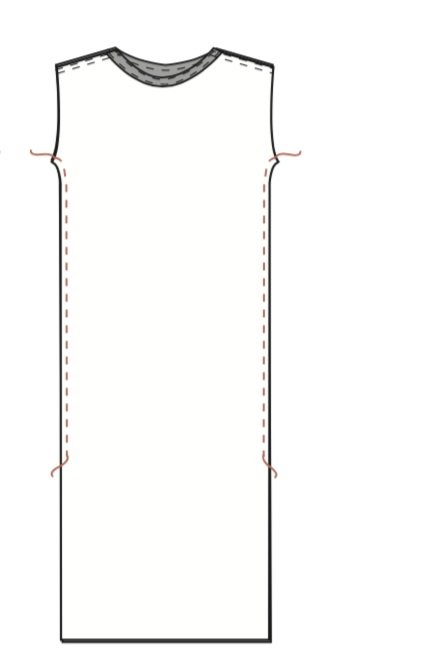
Pattern adjustments
Step 1 -
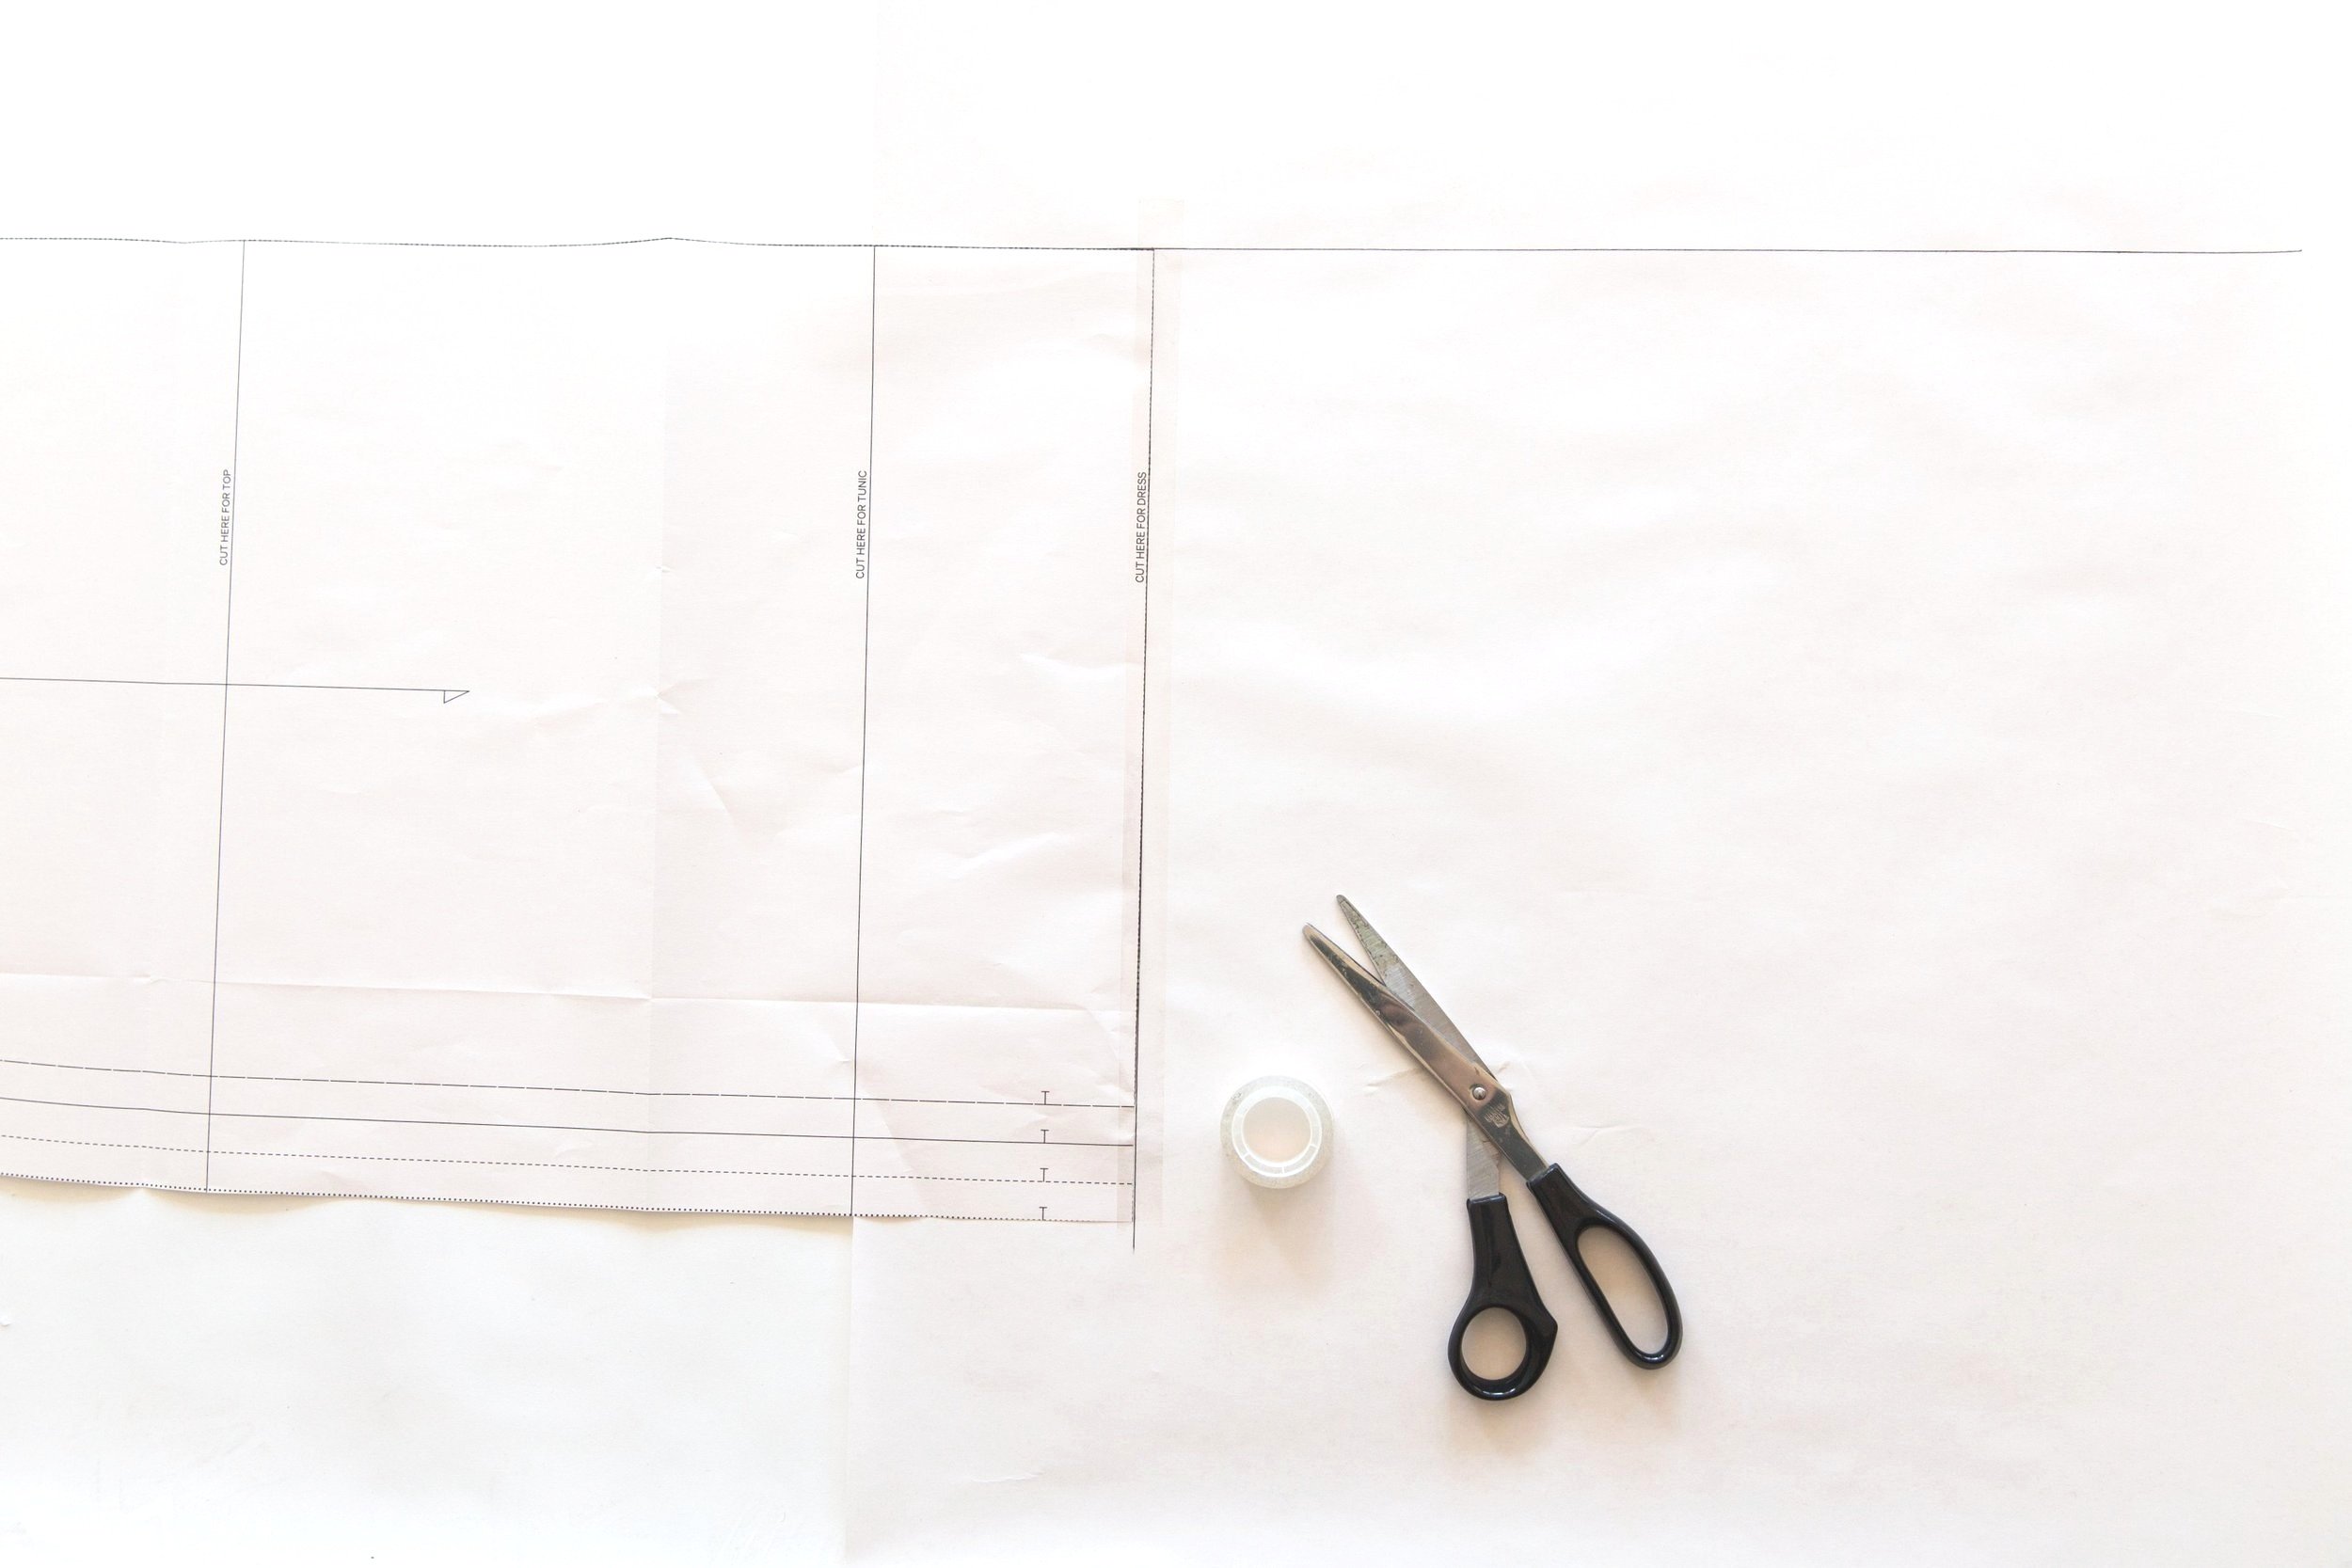
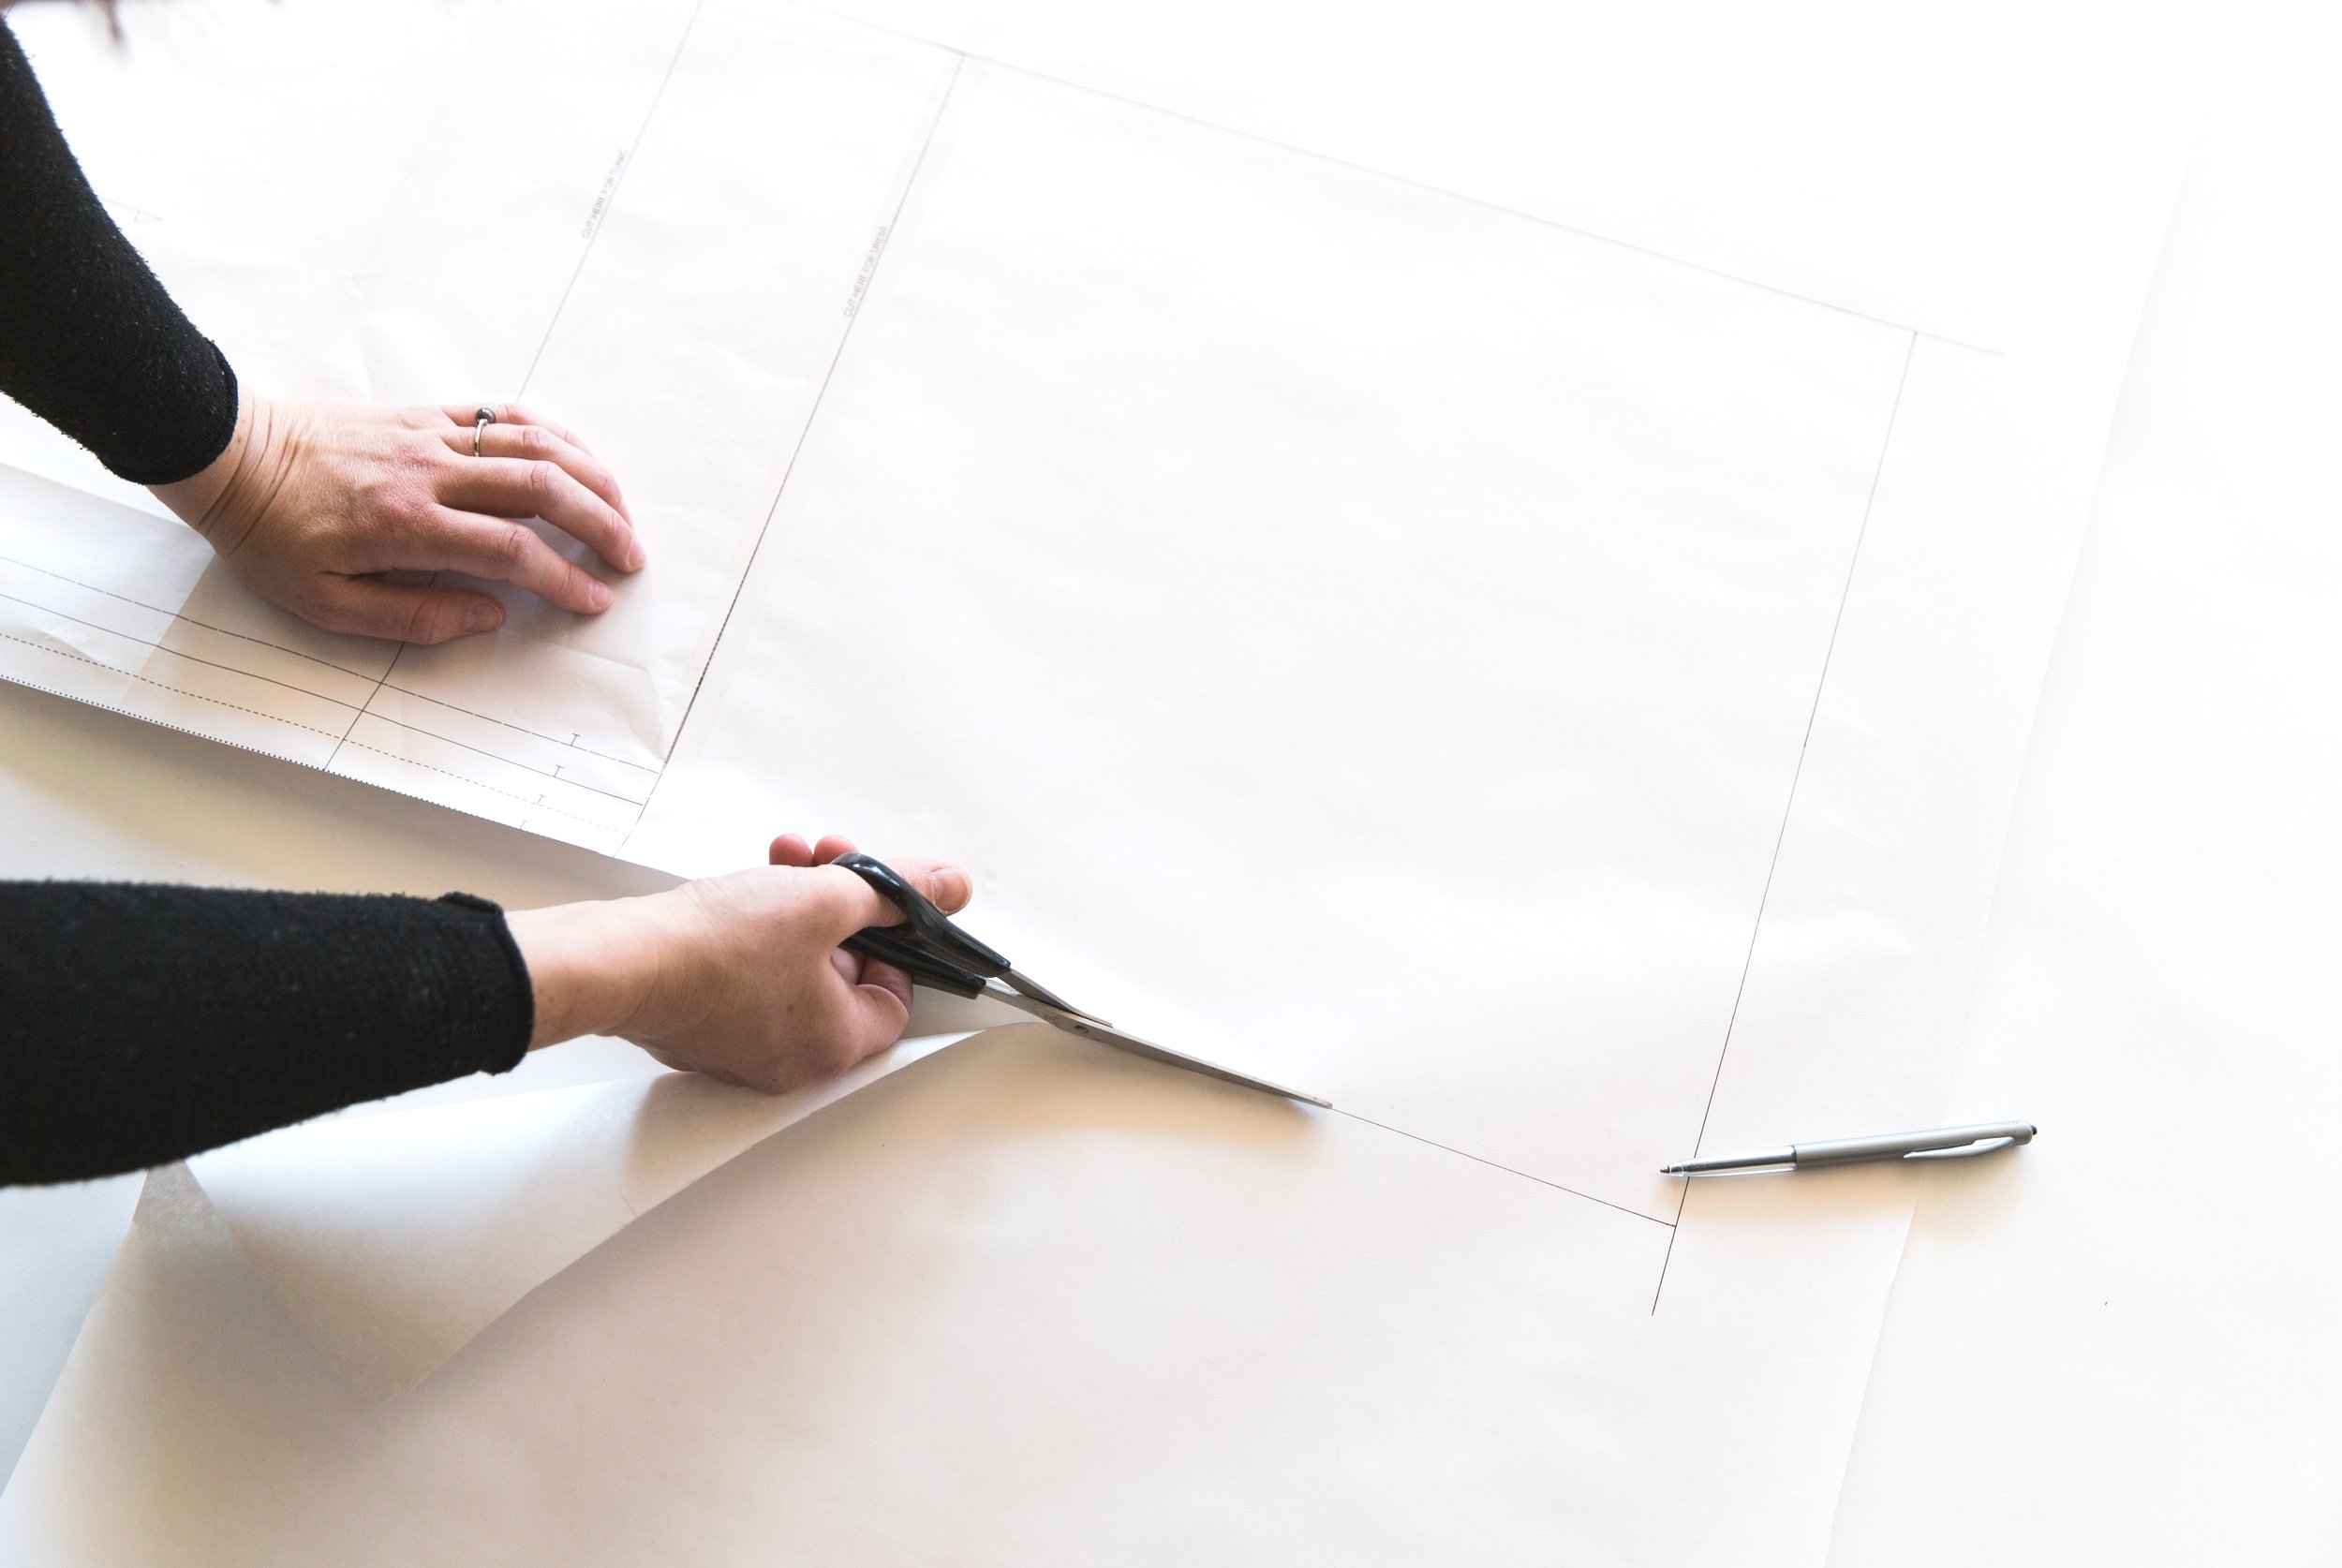
Starting with your front pattern piece, add the desired length to the hemline.
Attach a length of paper under the bottom of your pattern piece.
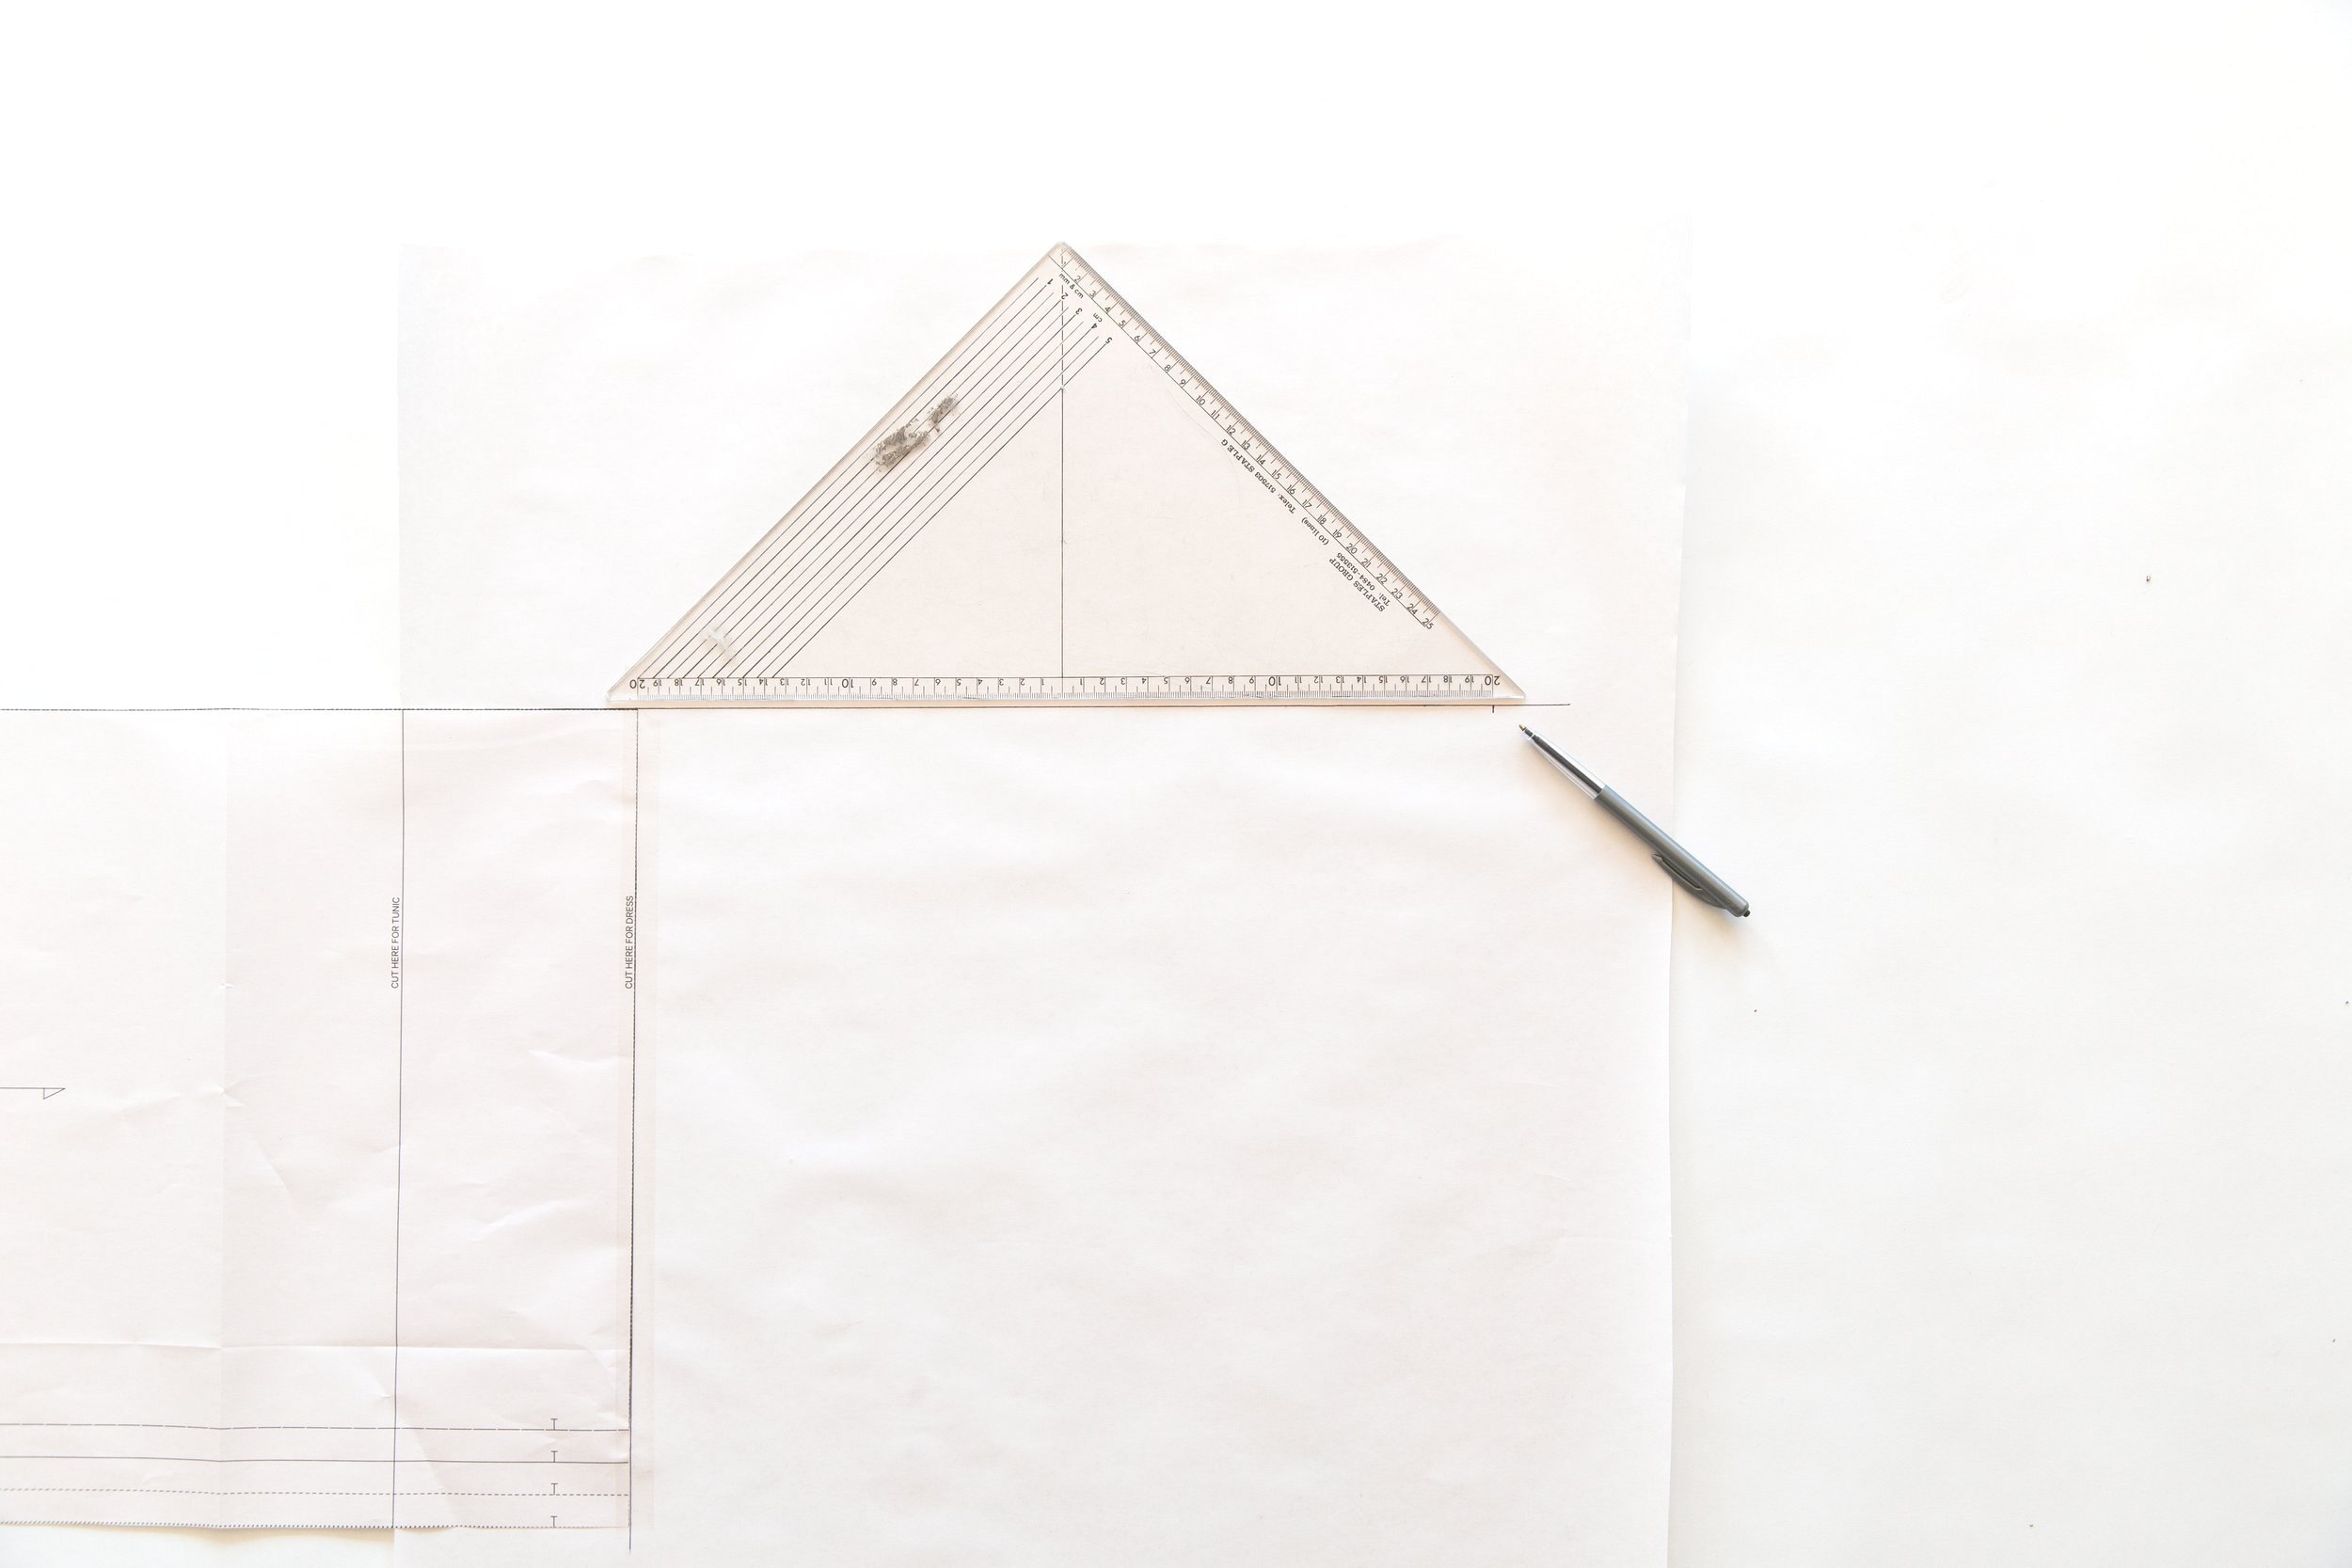
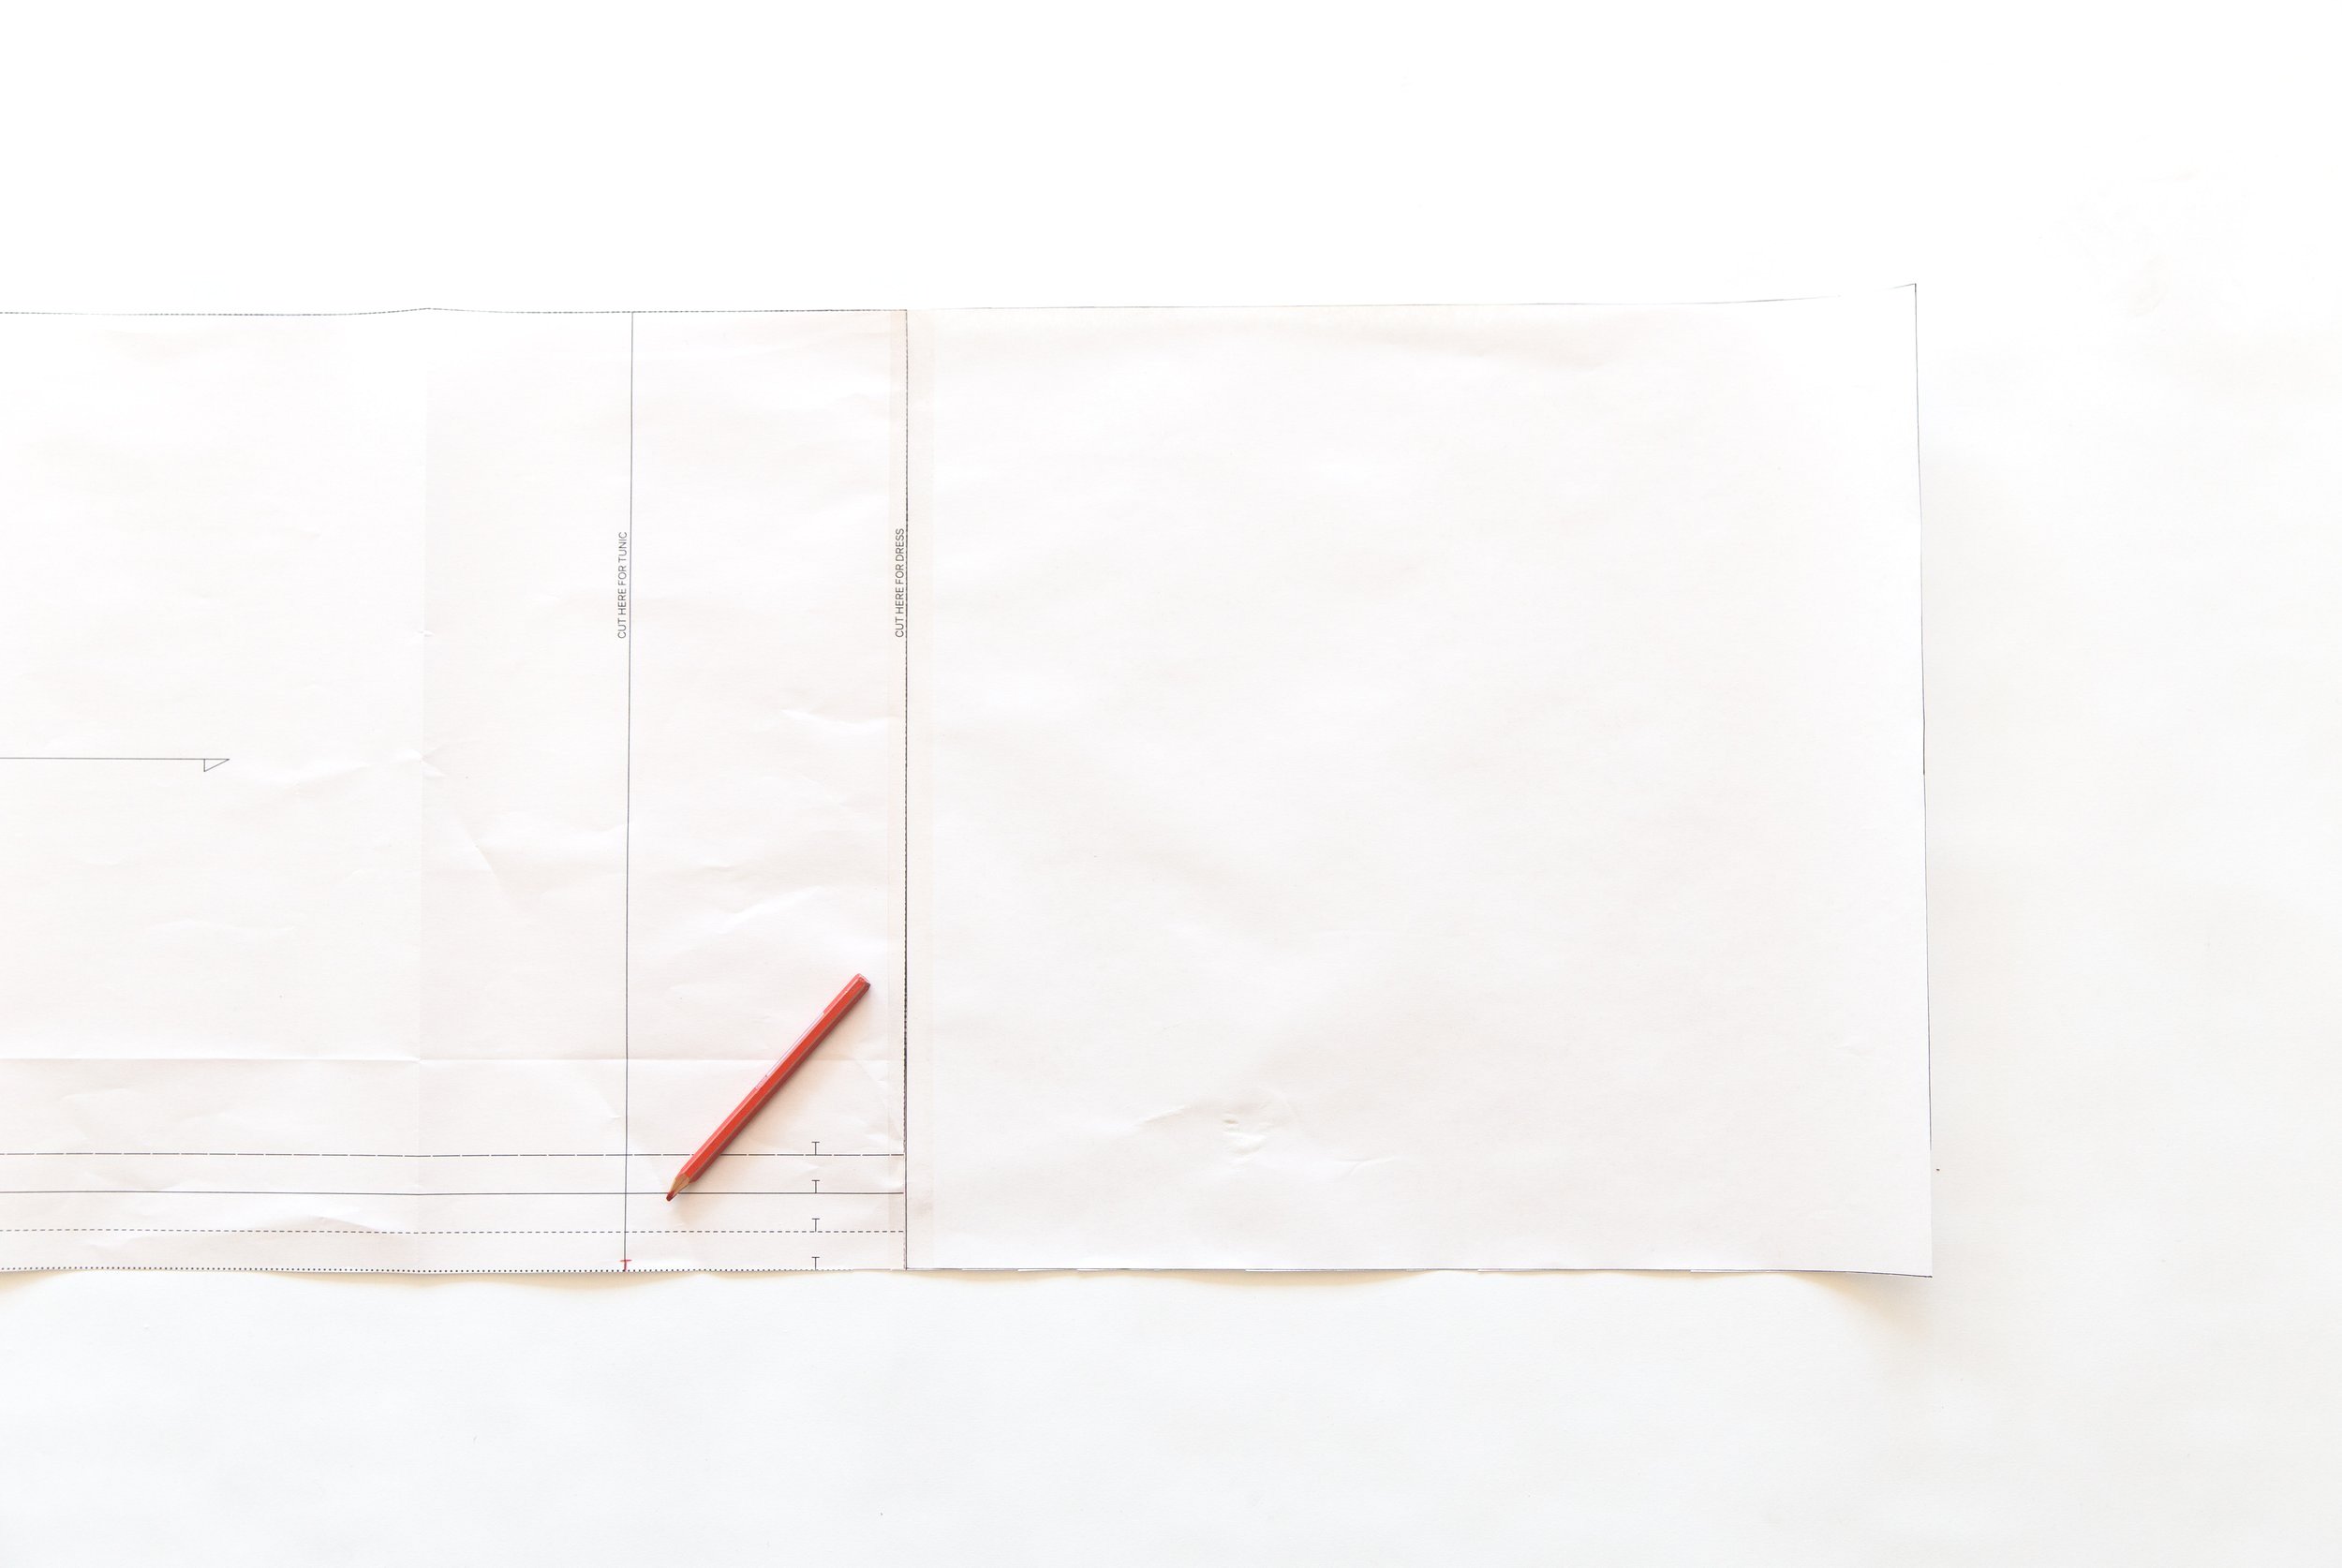
Draw a straight line down from current hemline to continue the centre front line.
Measuring down from current hemline, mark in the desired extra length along this line.
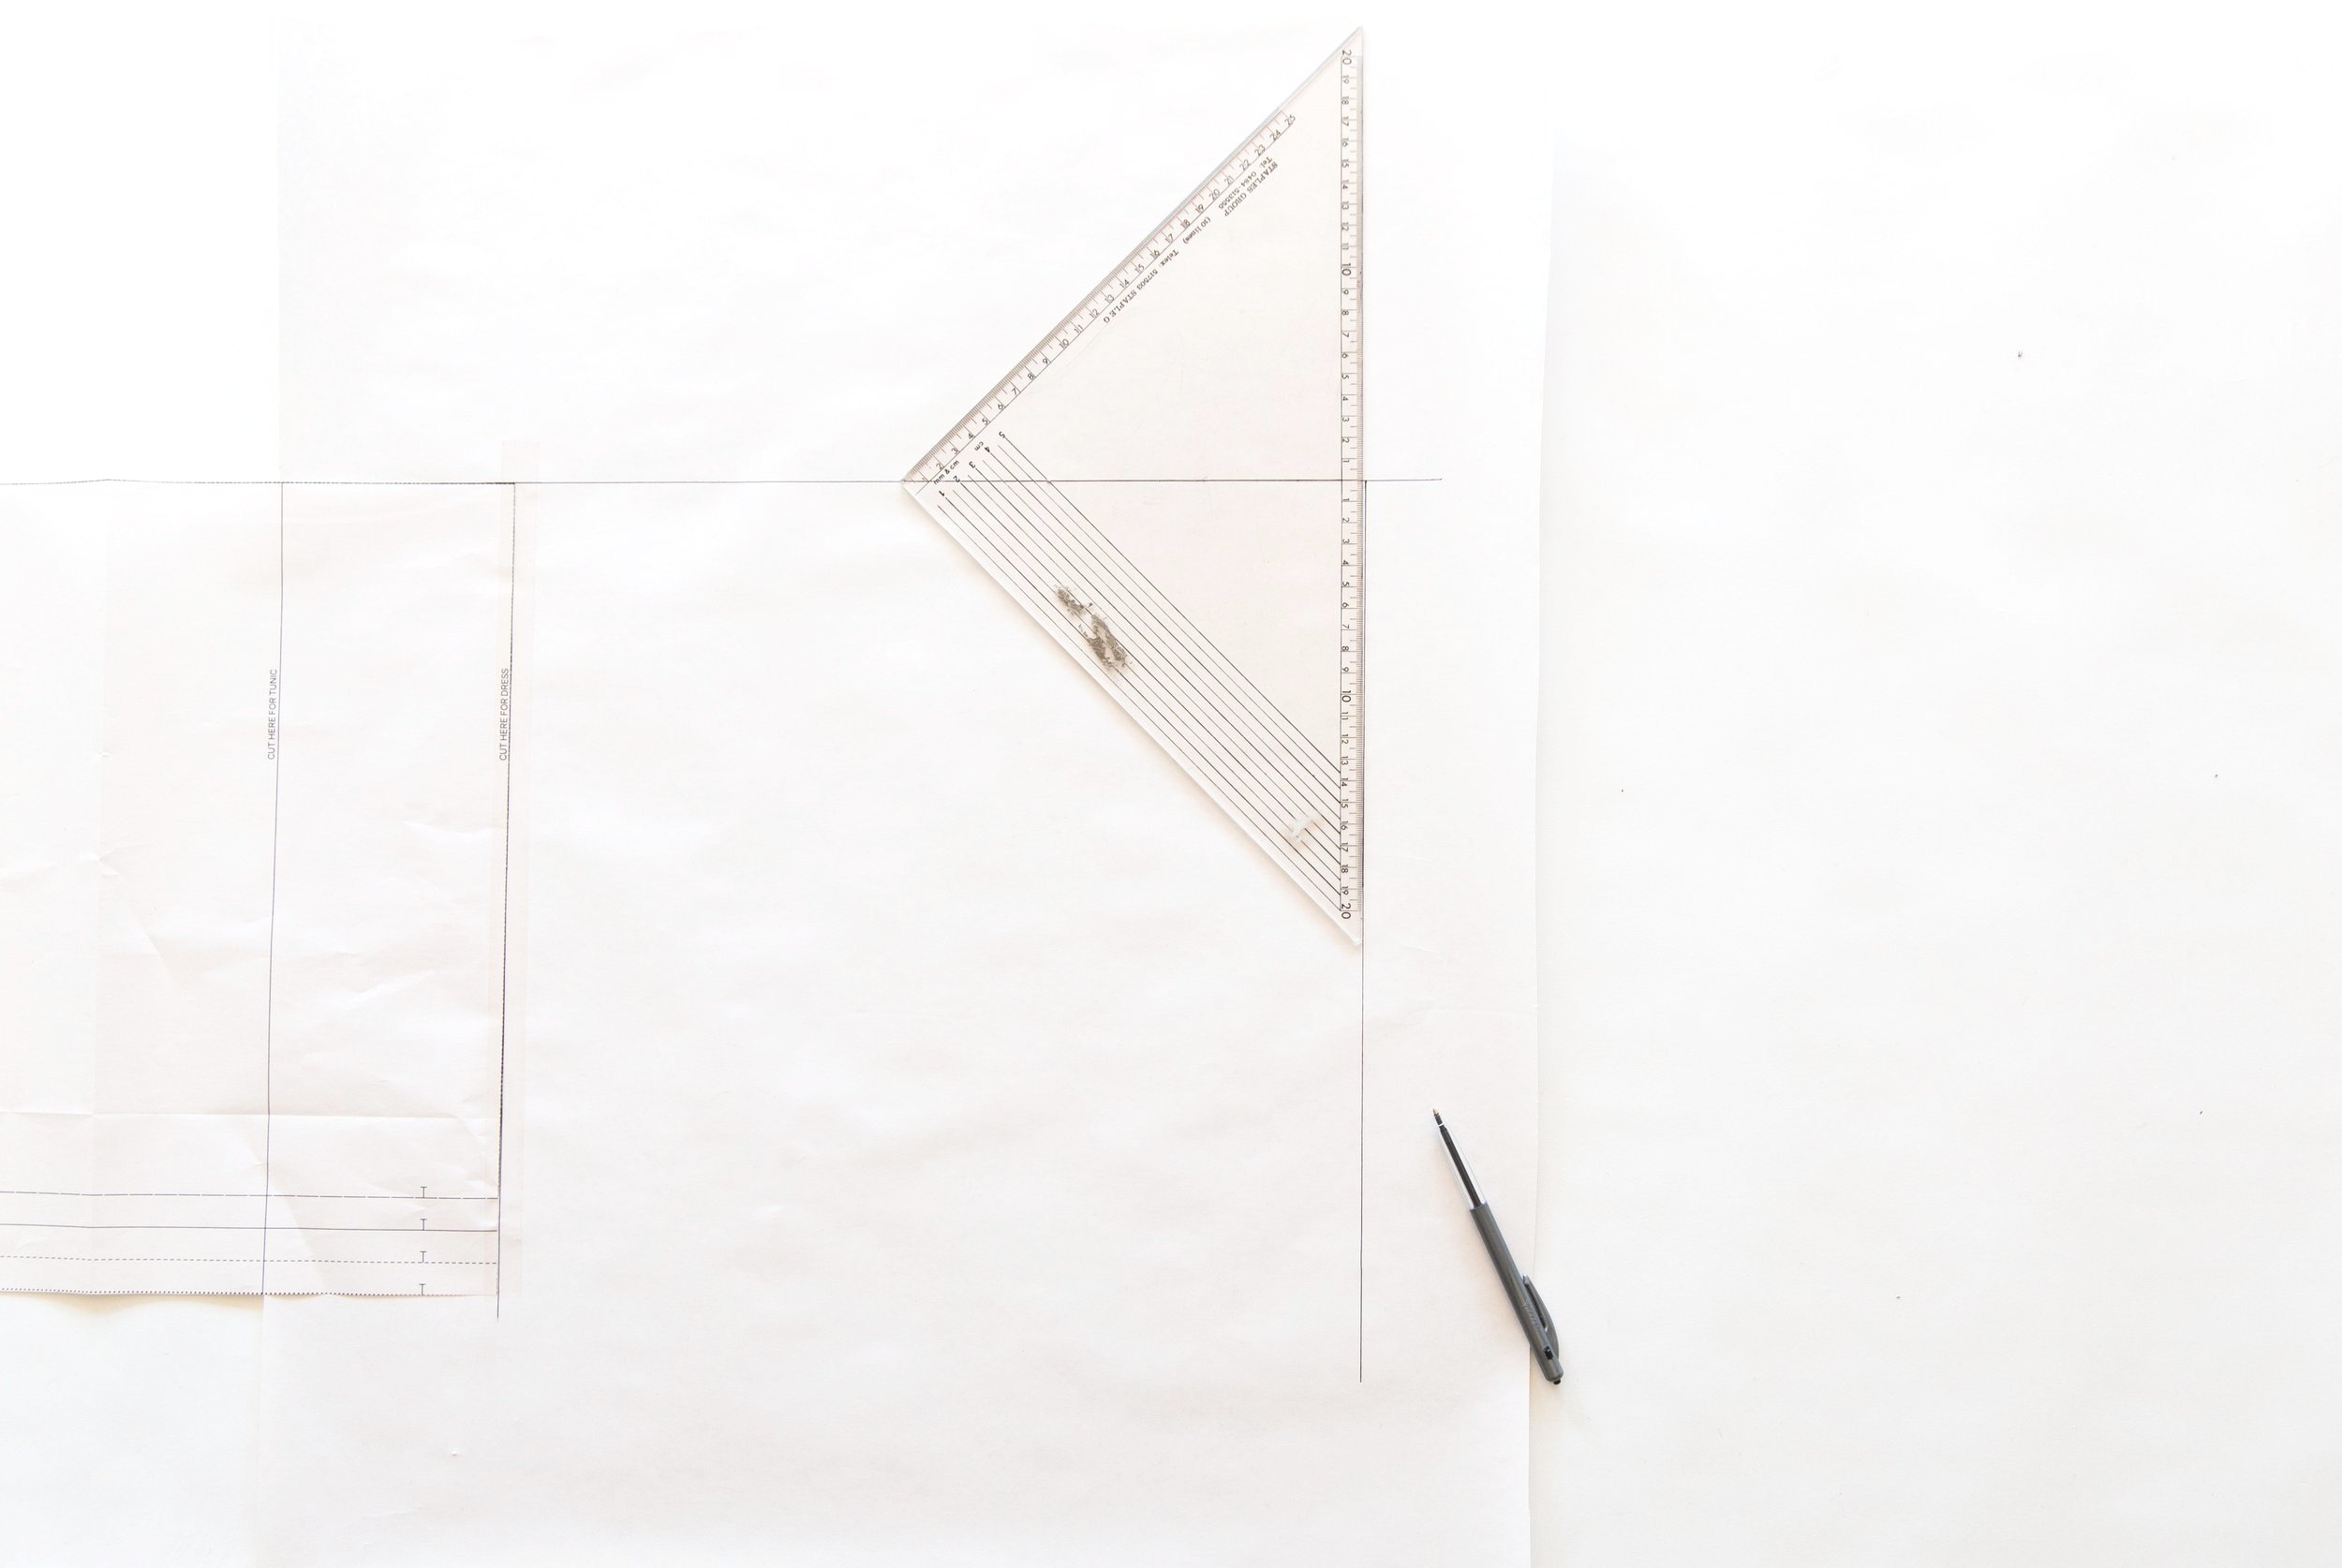
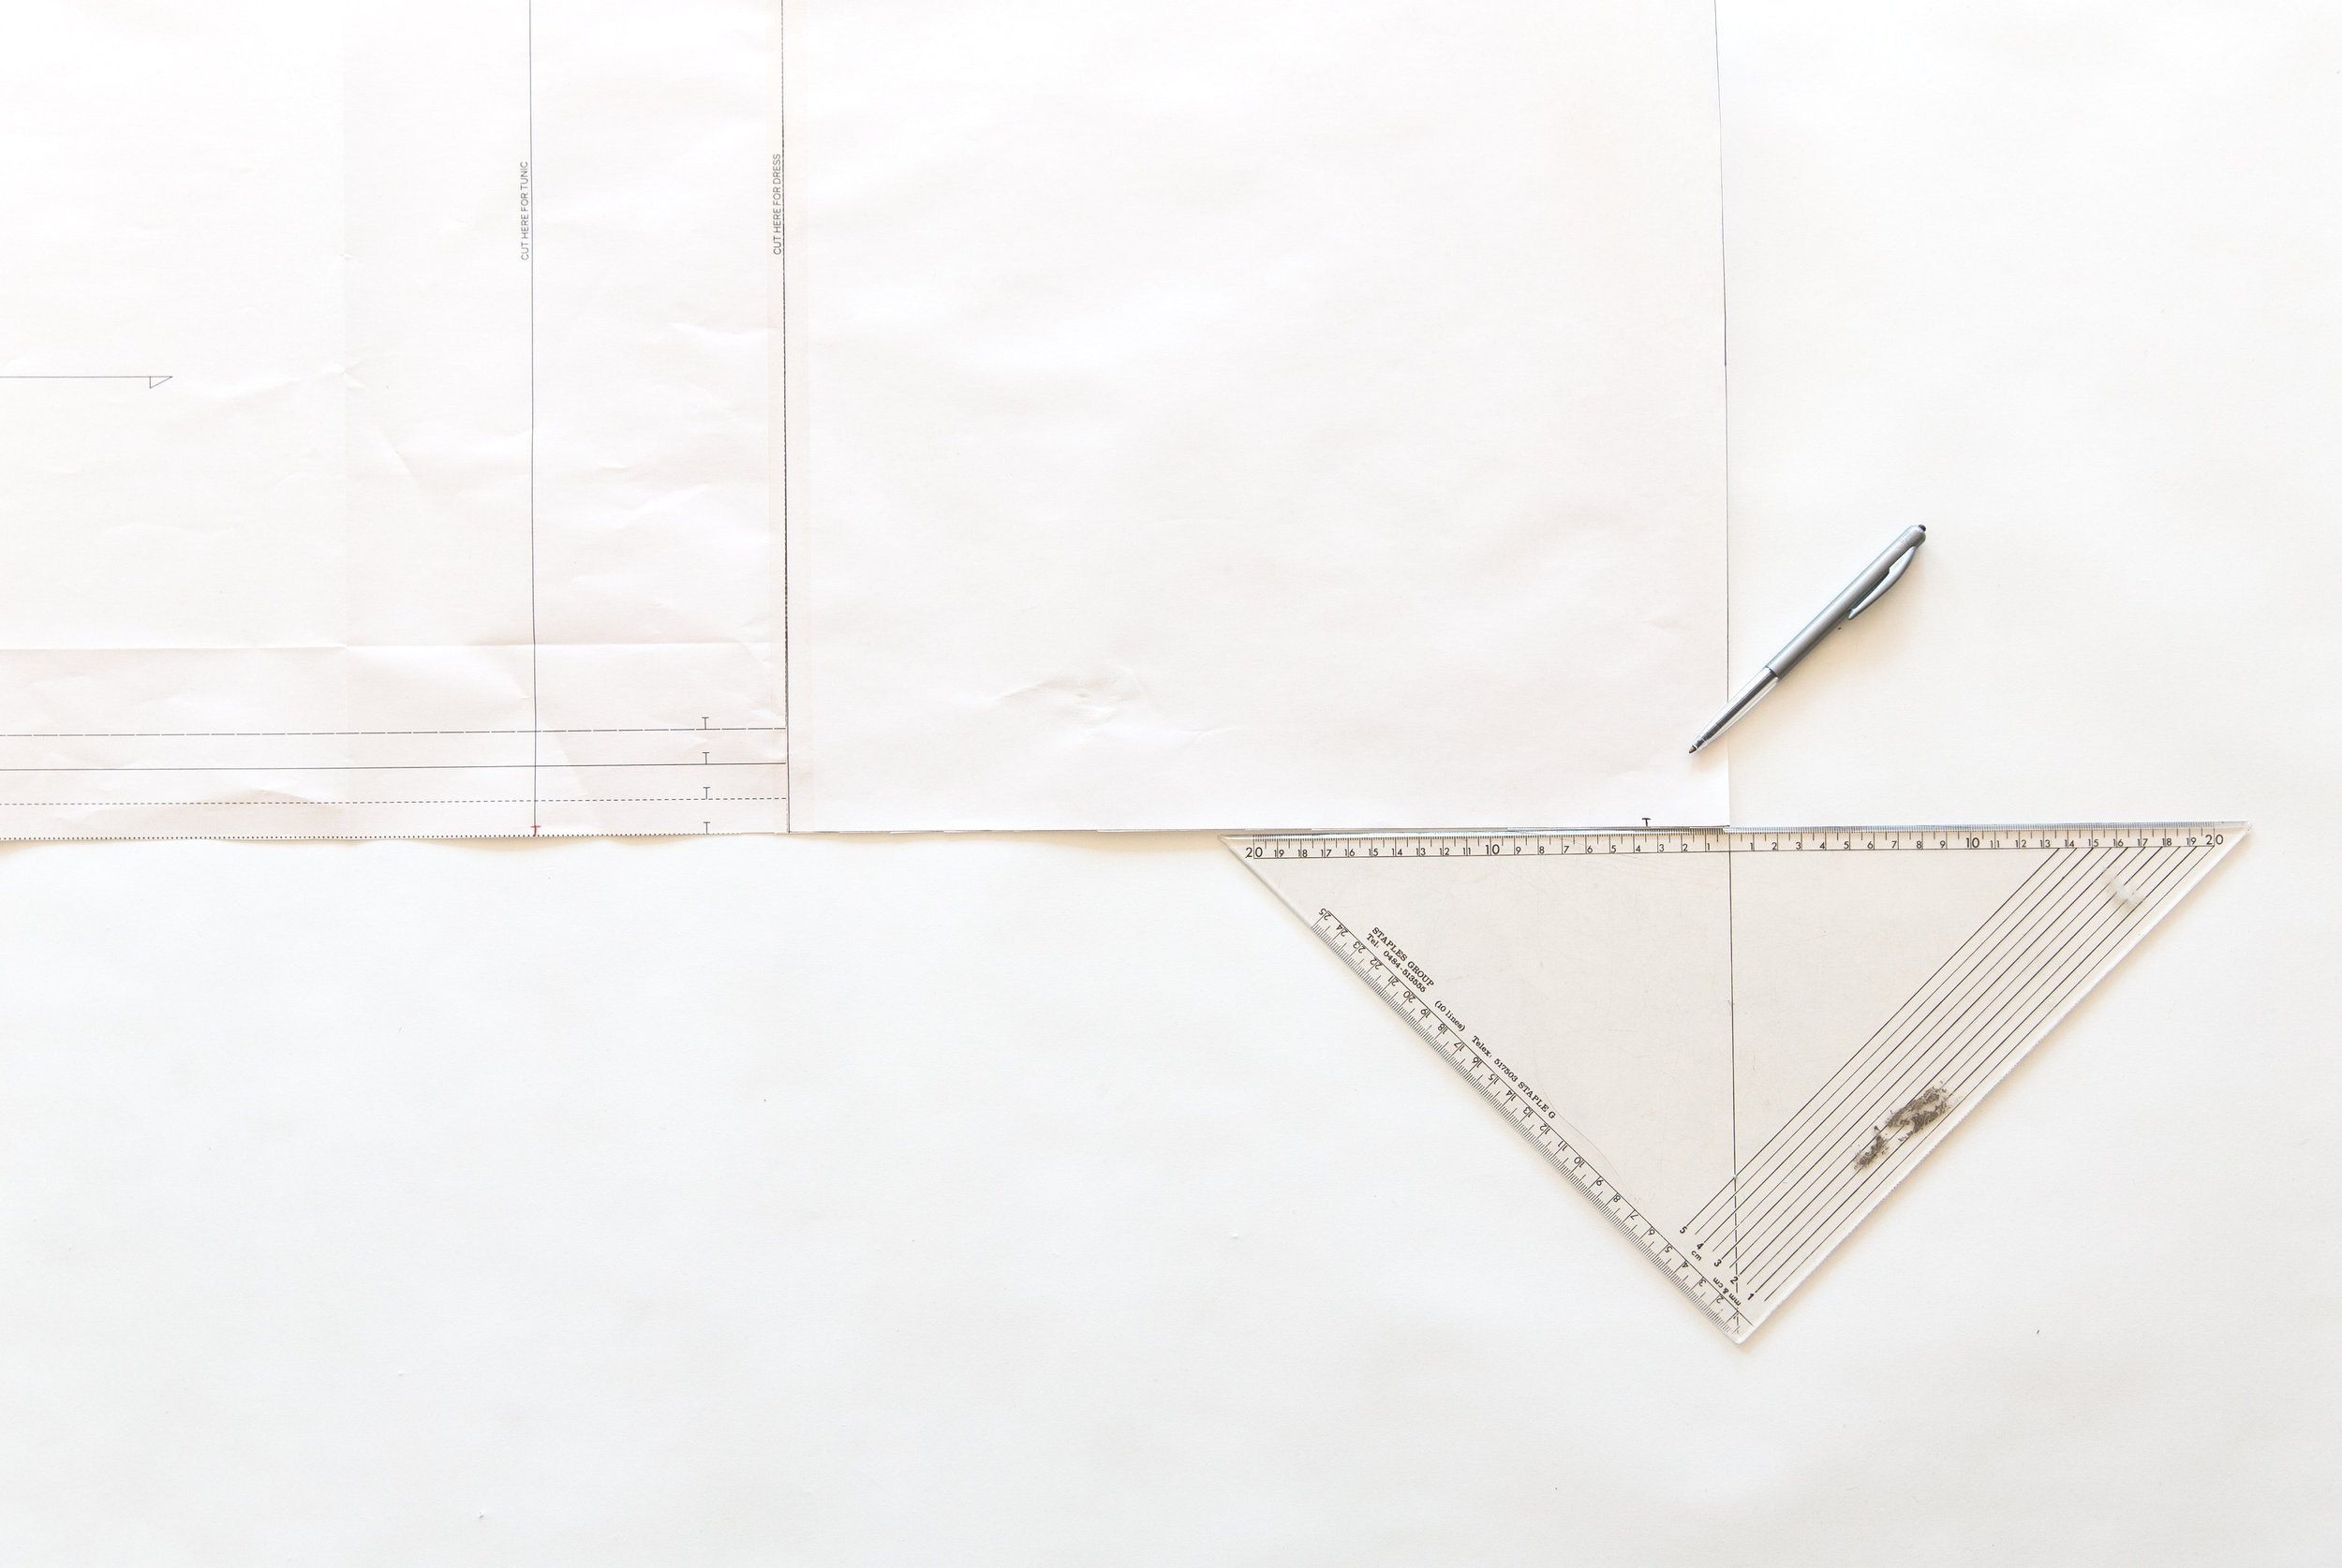
Square across from this point to create your new hemline.
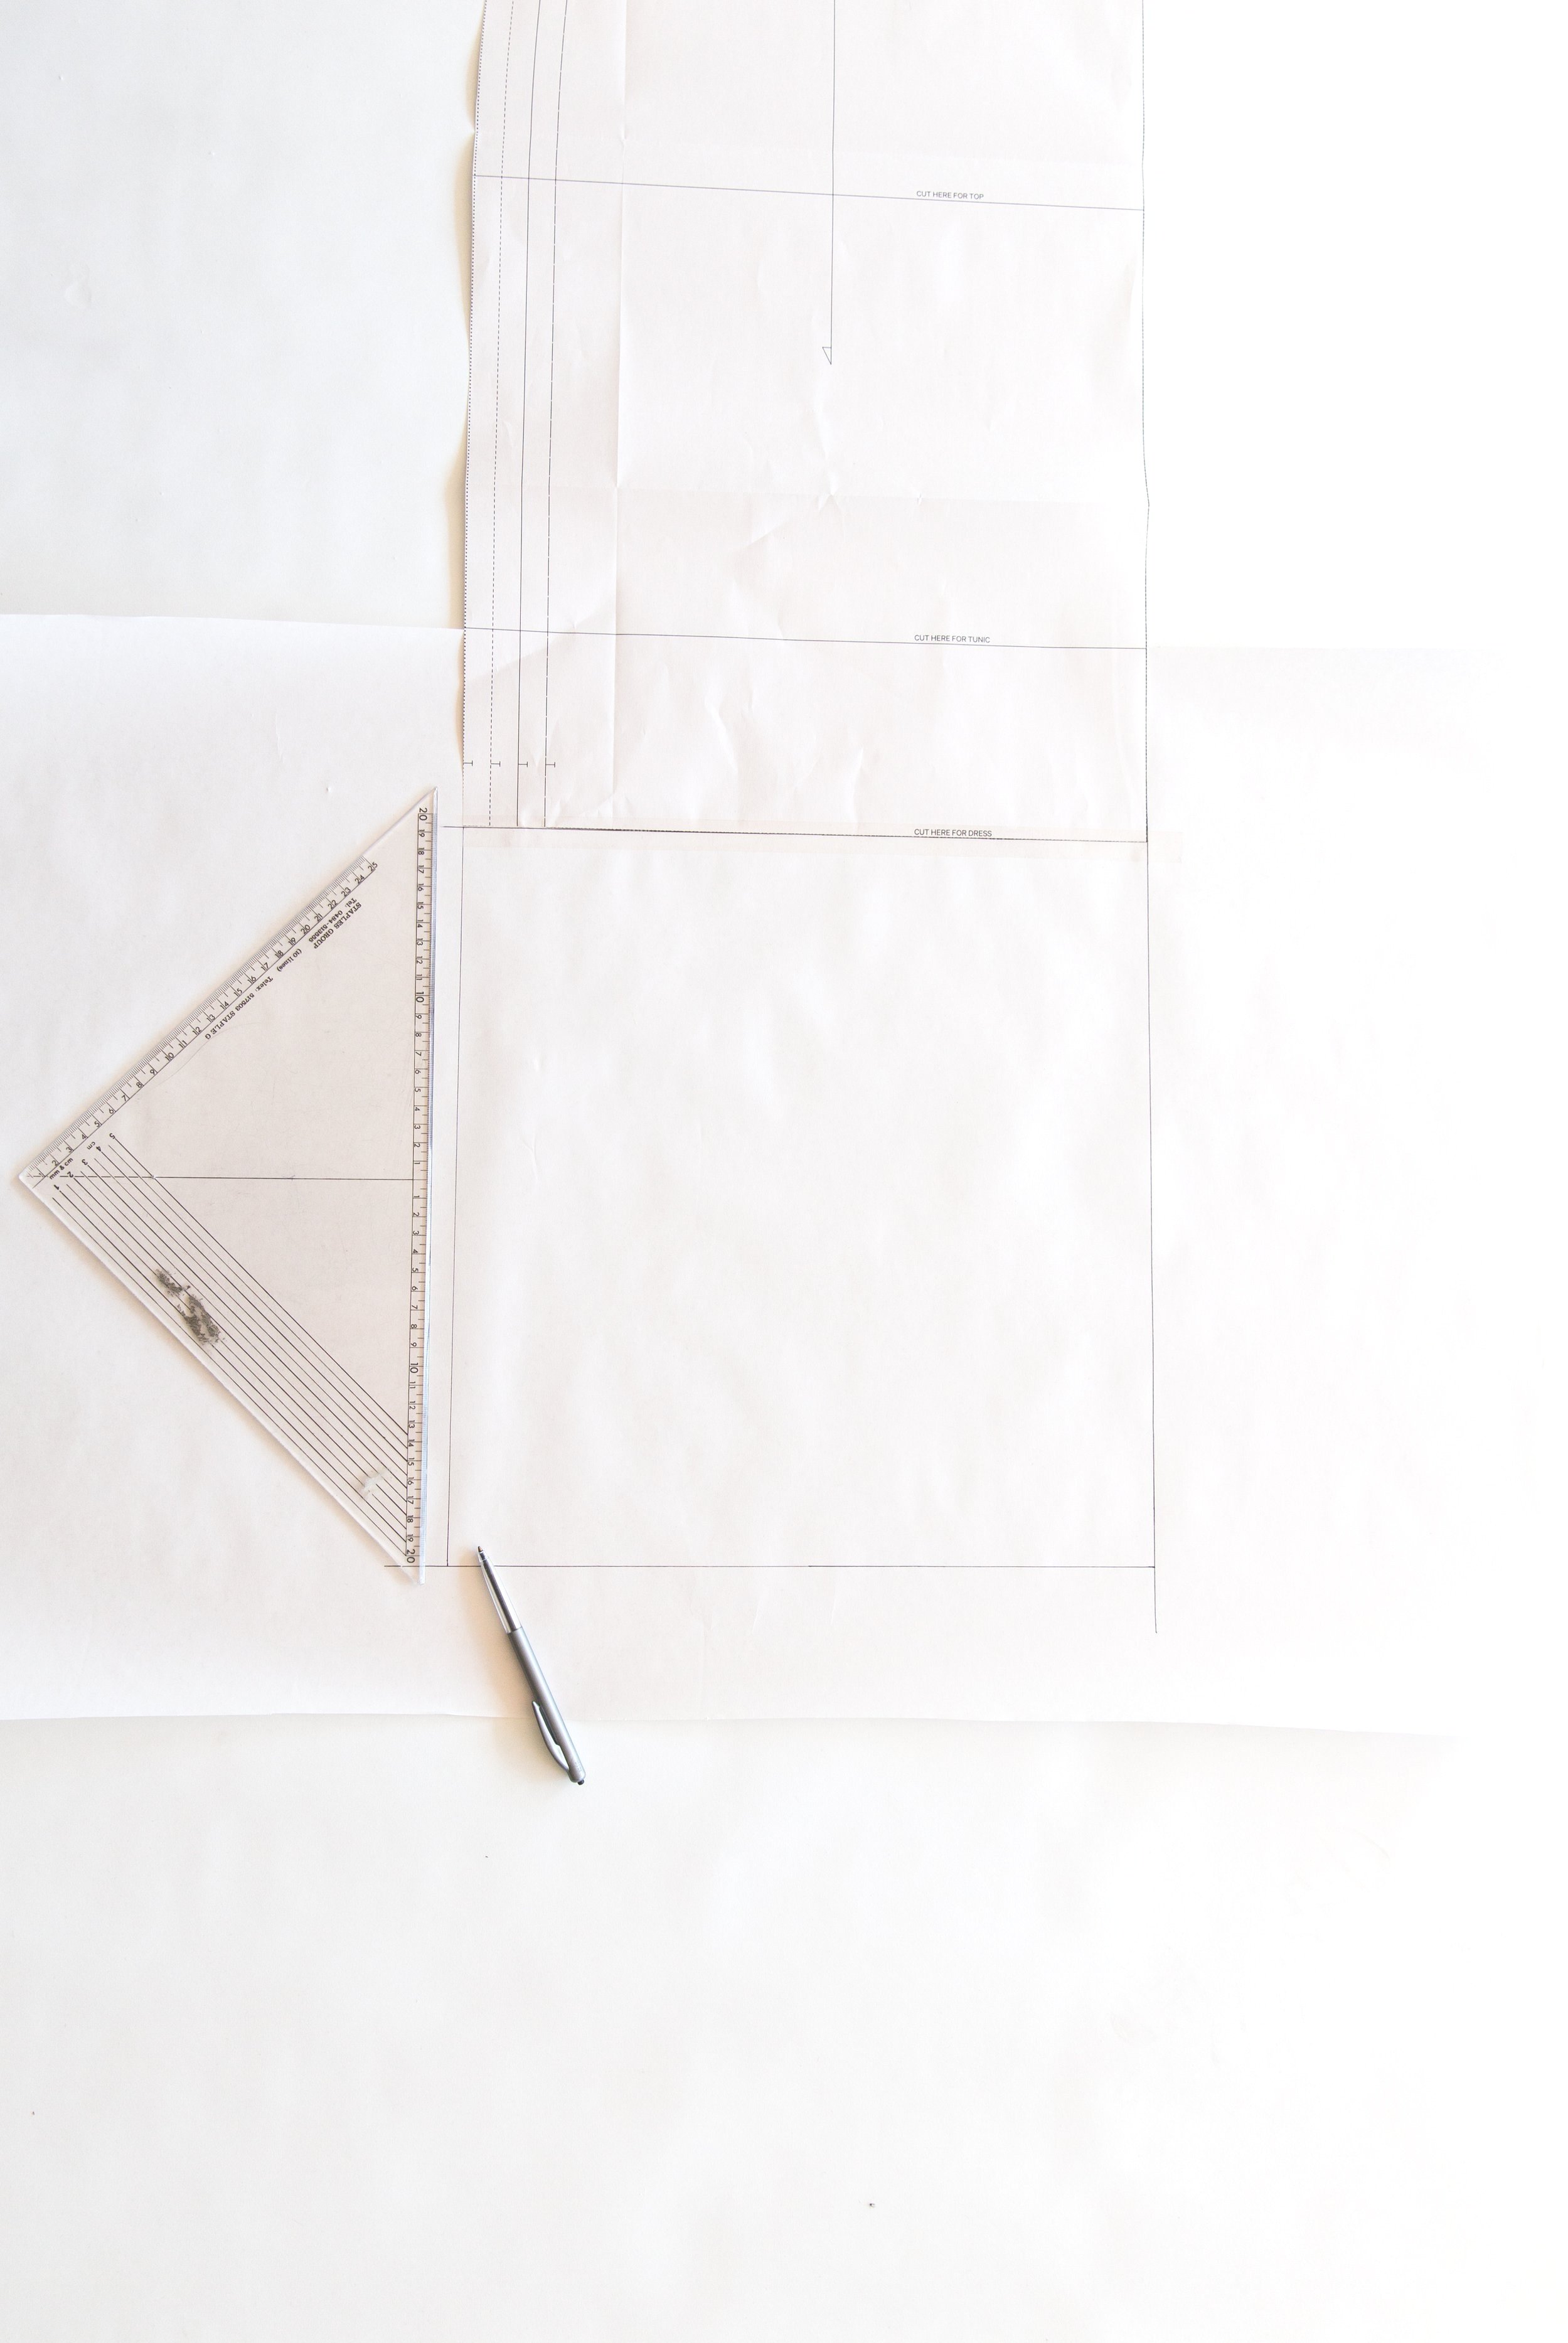
Now draw a straight line, continuing the side seam down to the new hemline.
Cut out new front pattern piece with the extra length added!
Repeat steps for back pattern piece.
Step 2
Mark a notch at your desired split length. Mark another notch for the new hem allowance (we usually do a 3cm hem allowance).
Sewing Steps
Most of the construction steps will be the same for the dress version, except..
Step 1
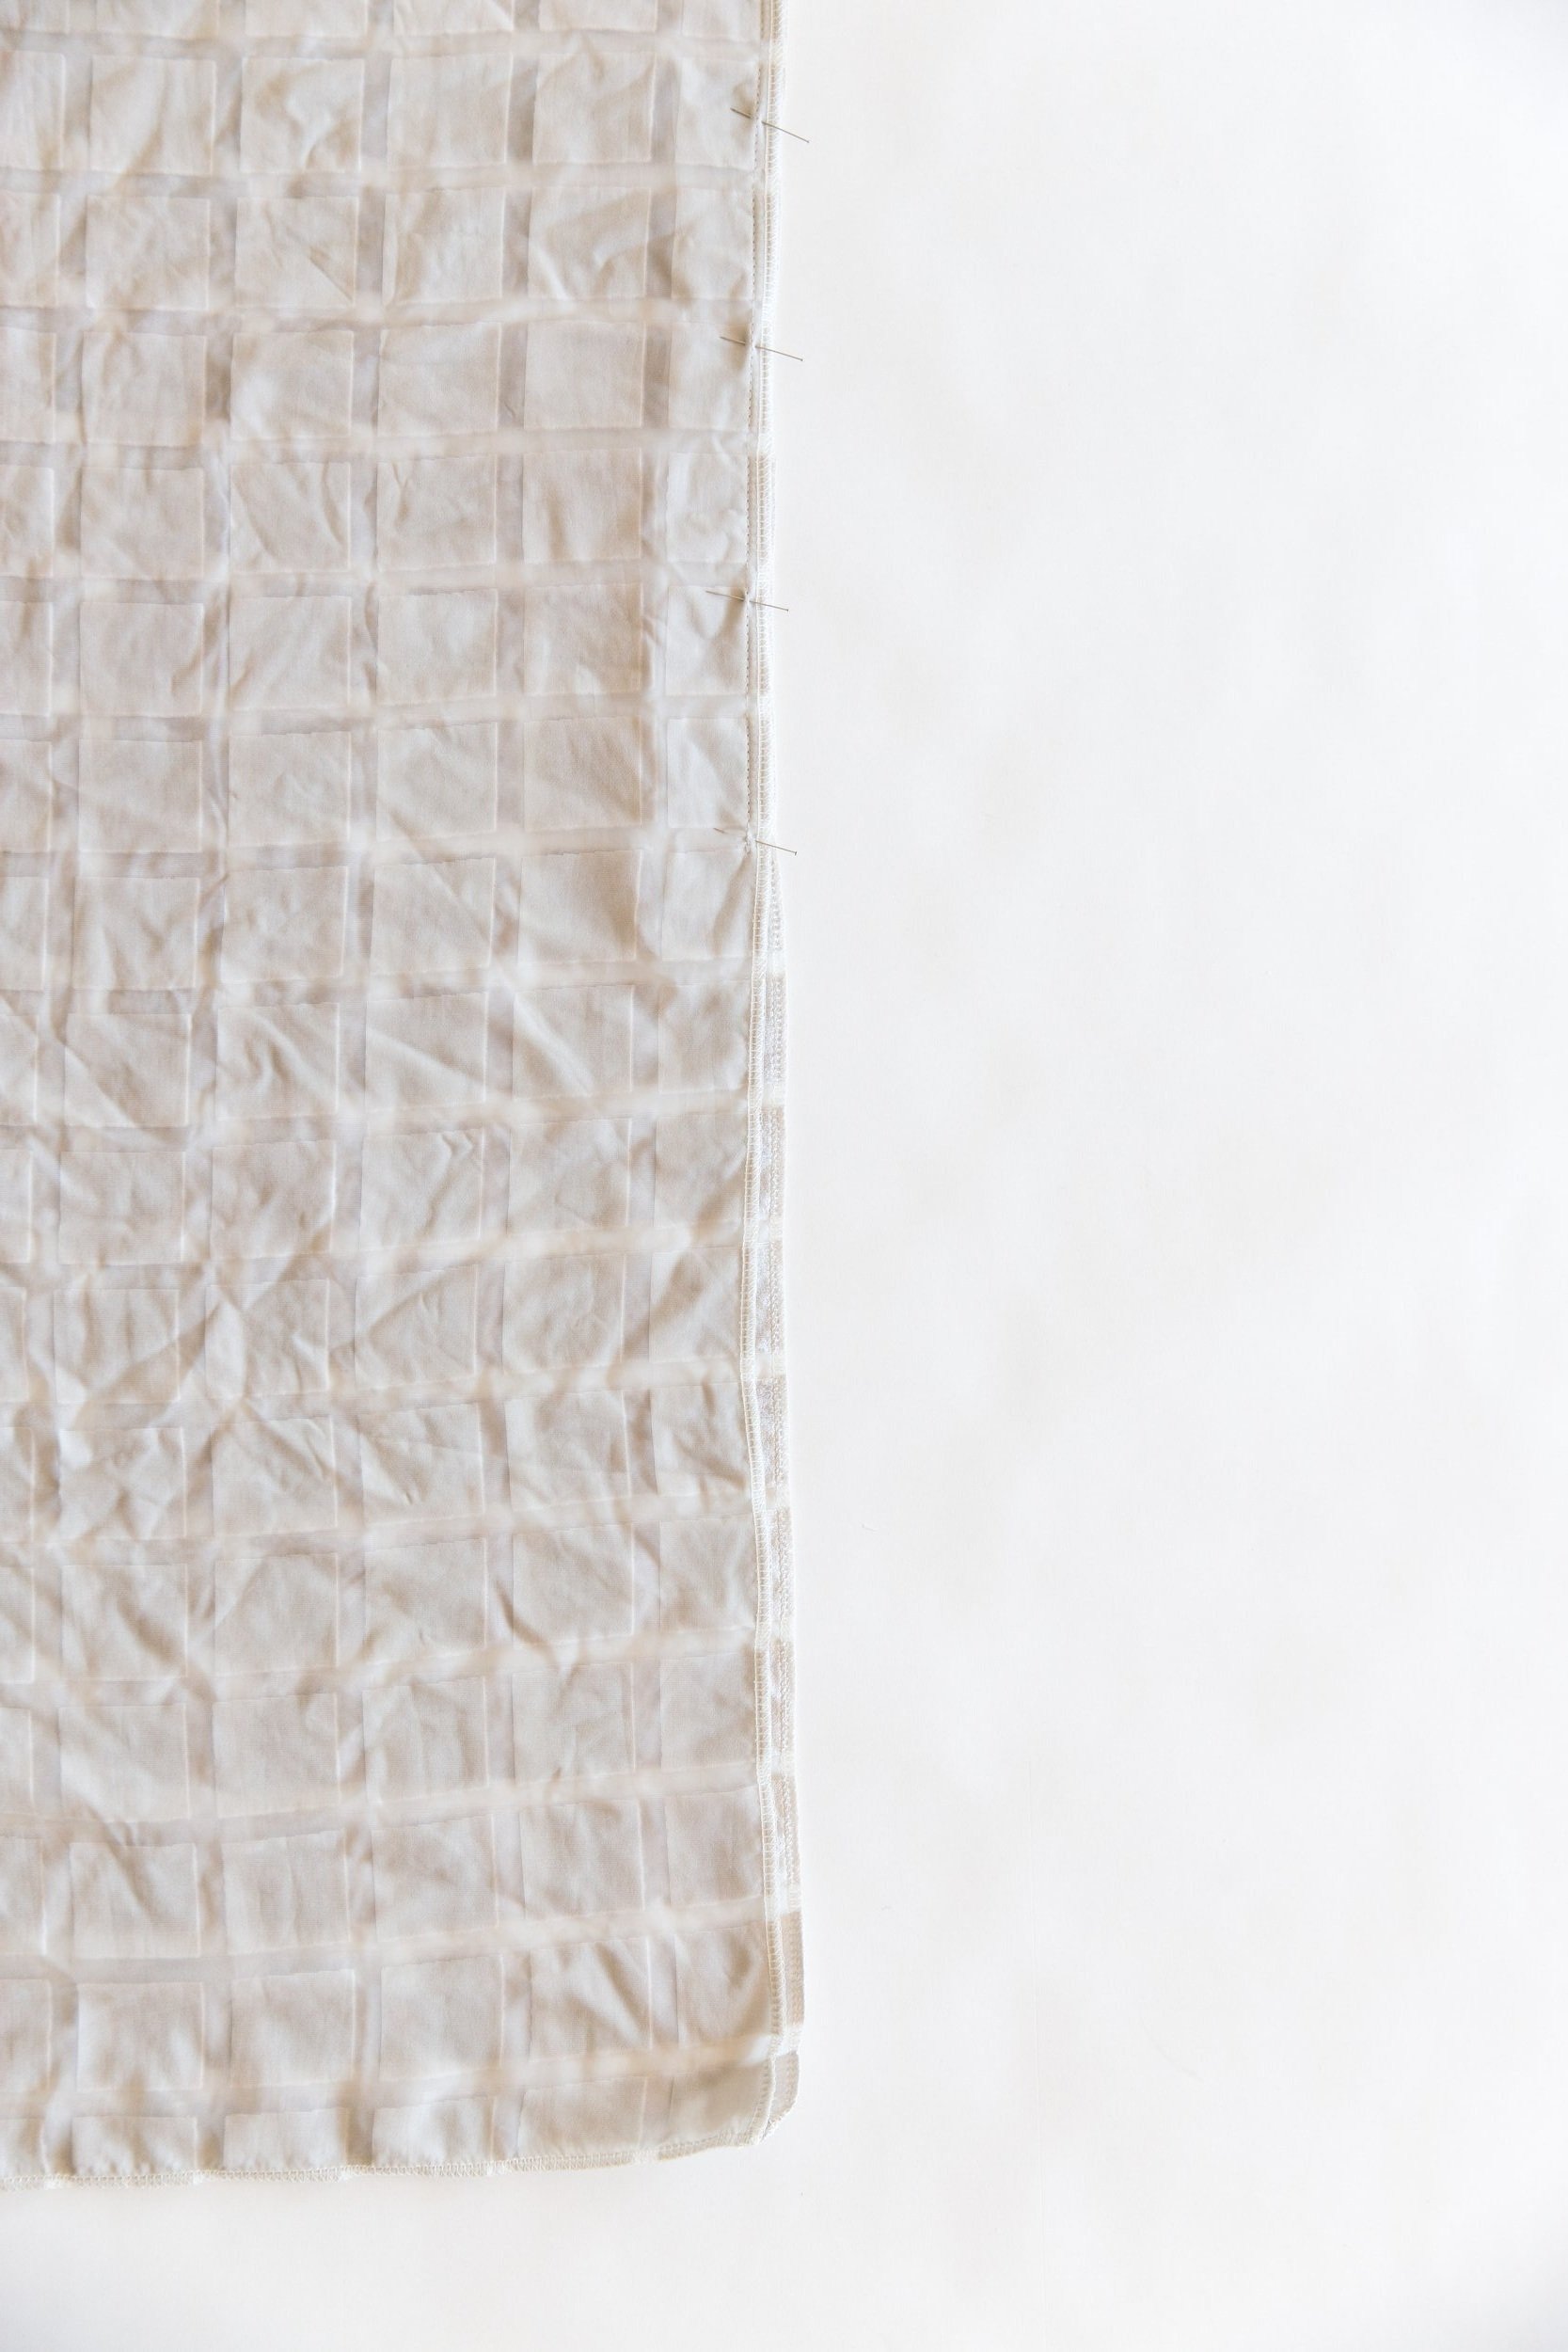
You need to neaten the side seams of the front and back body pieces first before sewing side seams.
Step 2
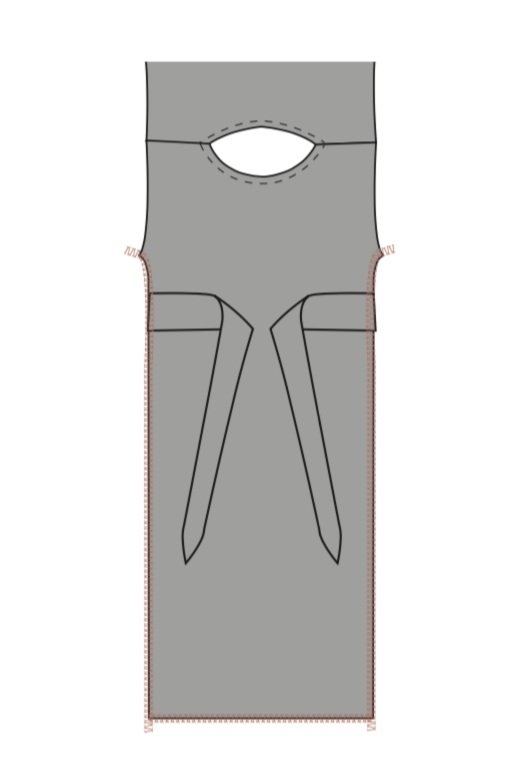
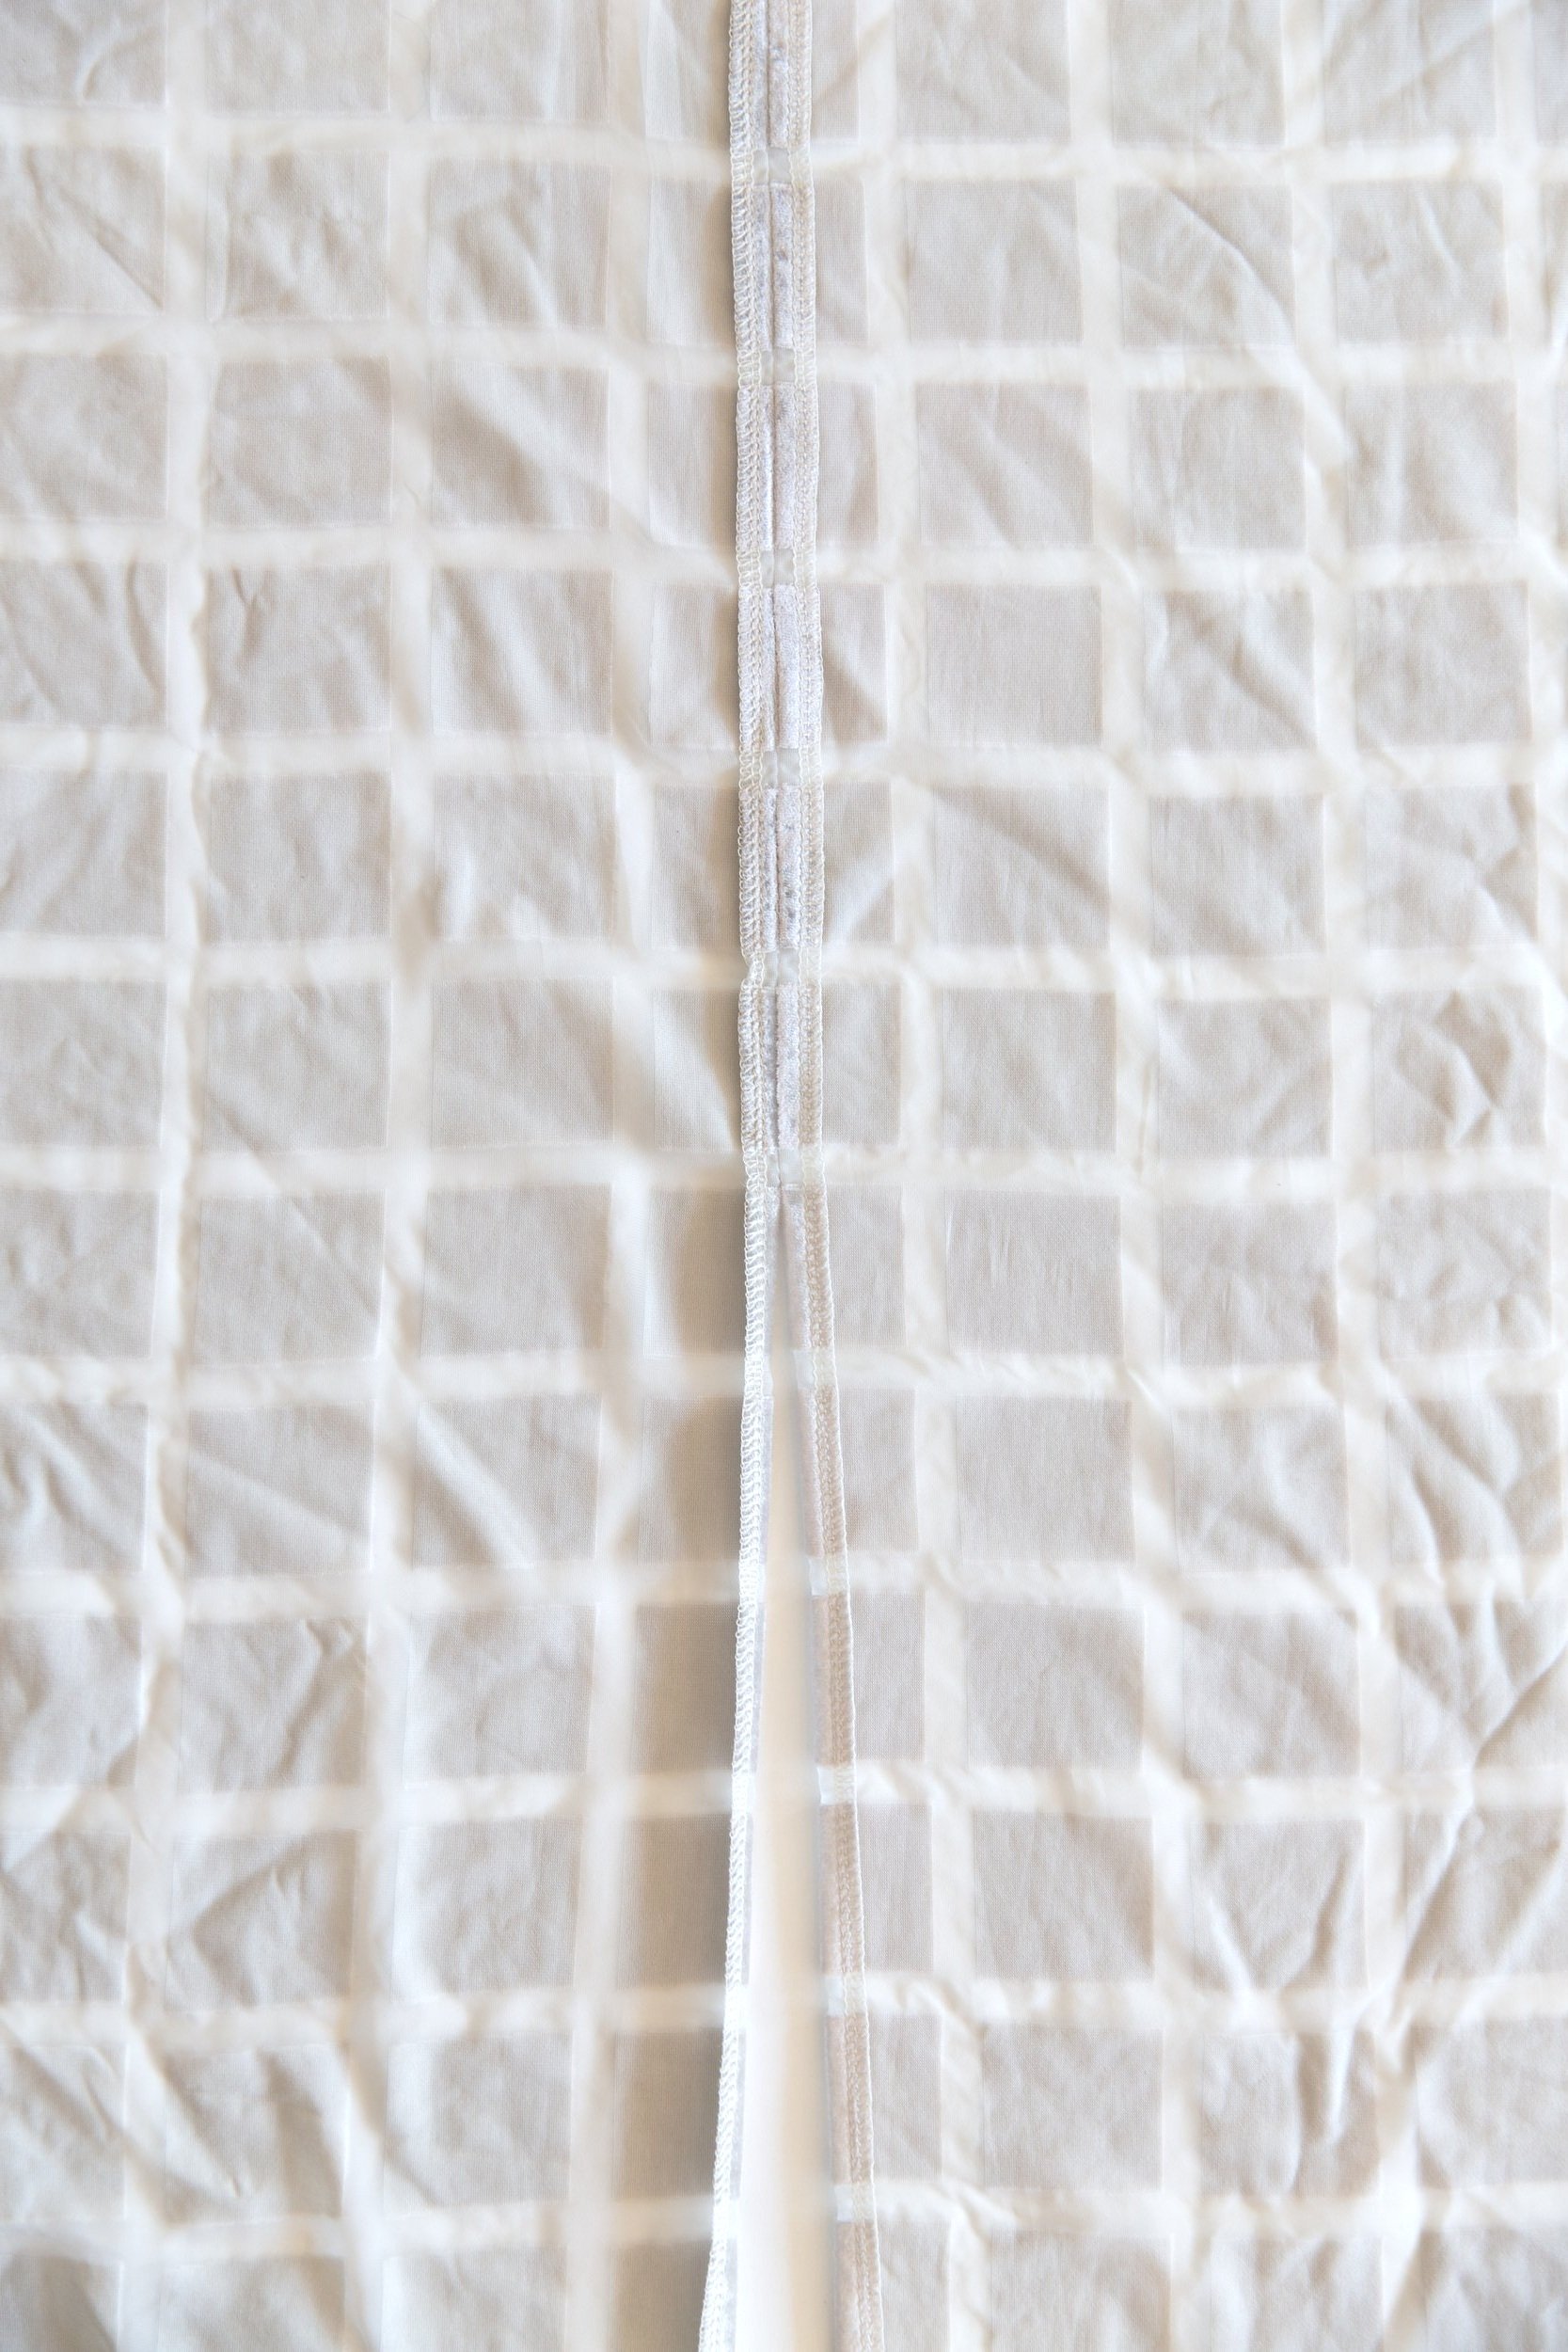
Stitch the side seams together from under arm to split notch, and press open.
Step 3
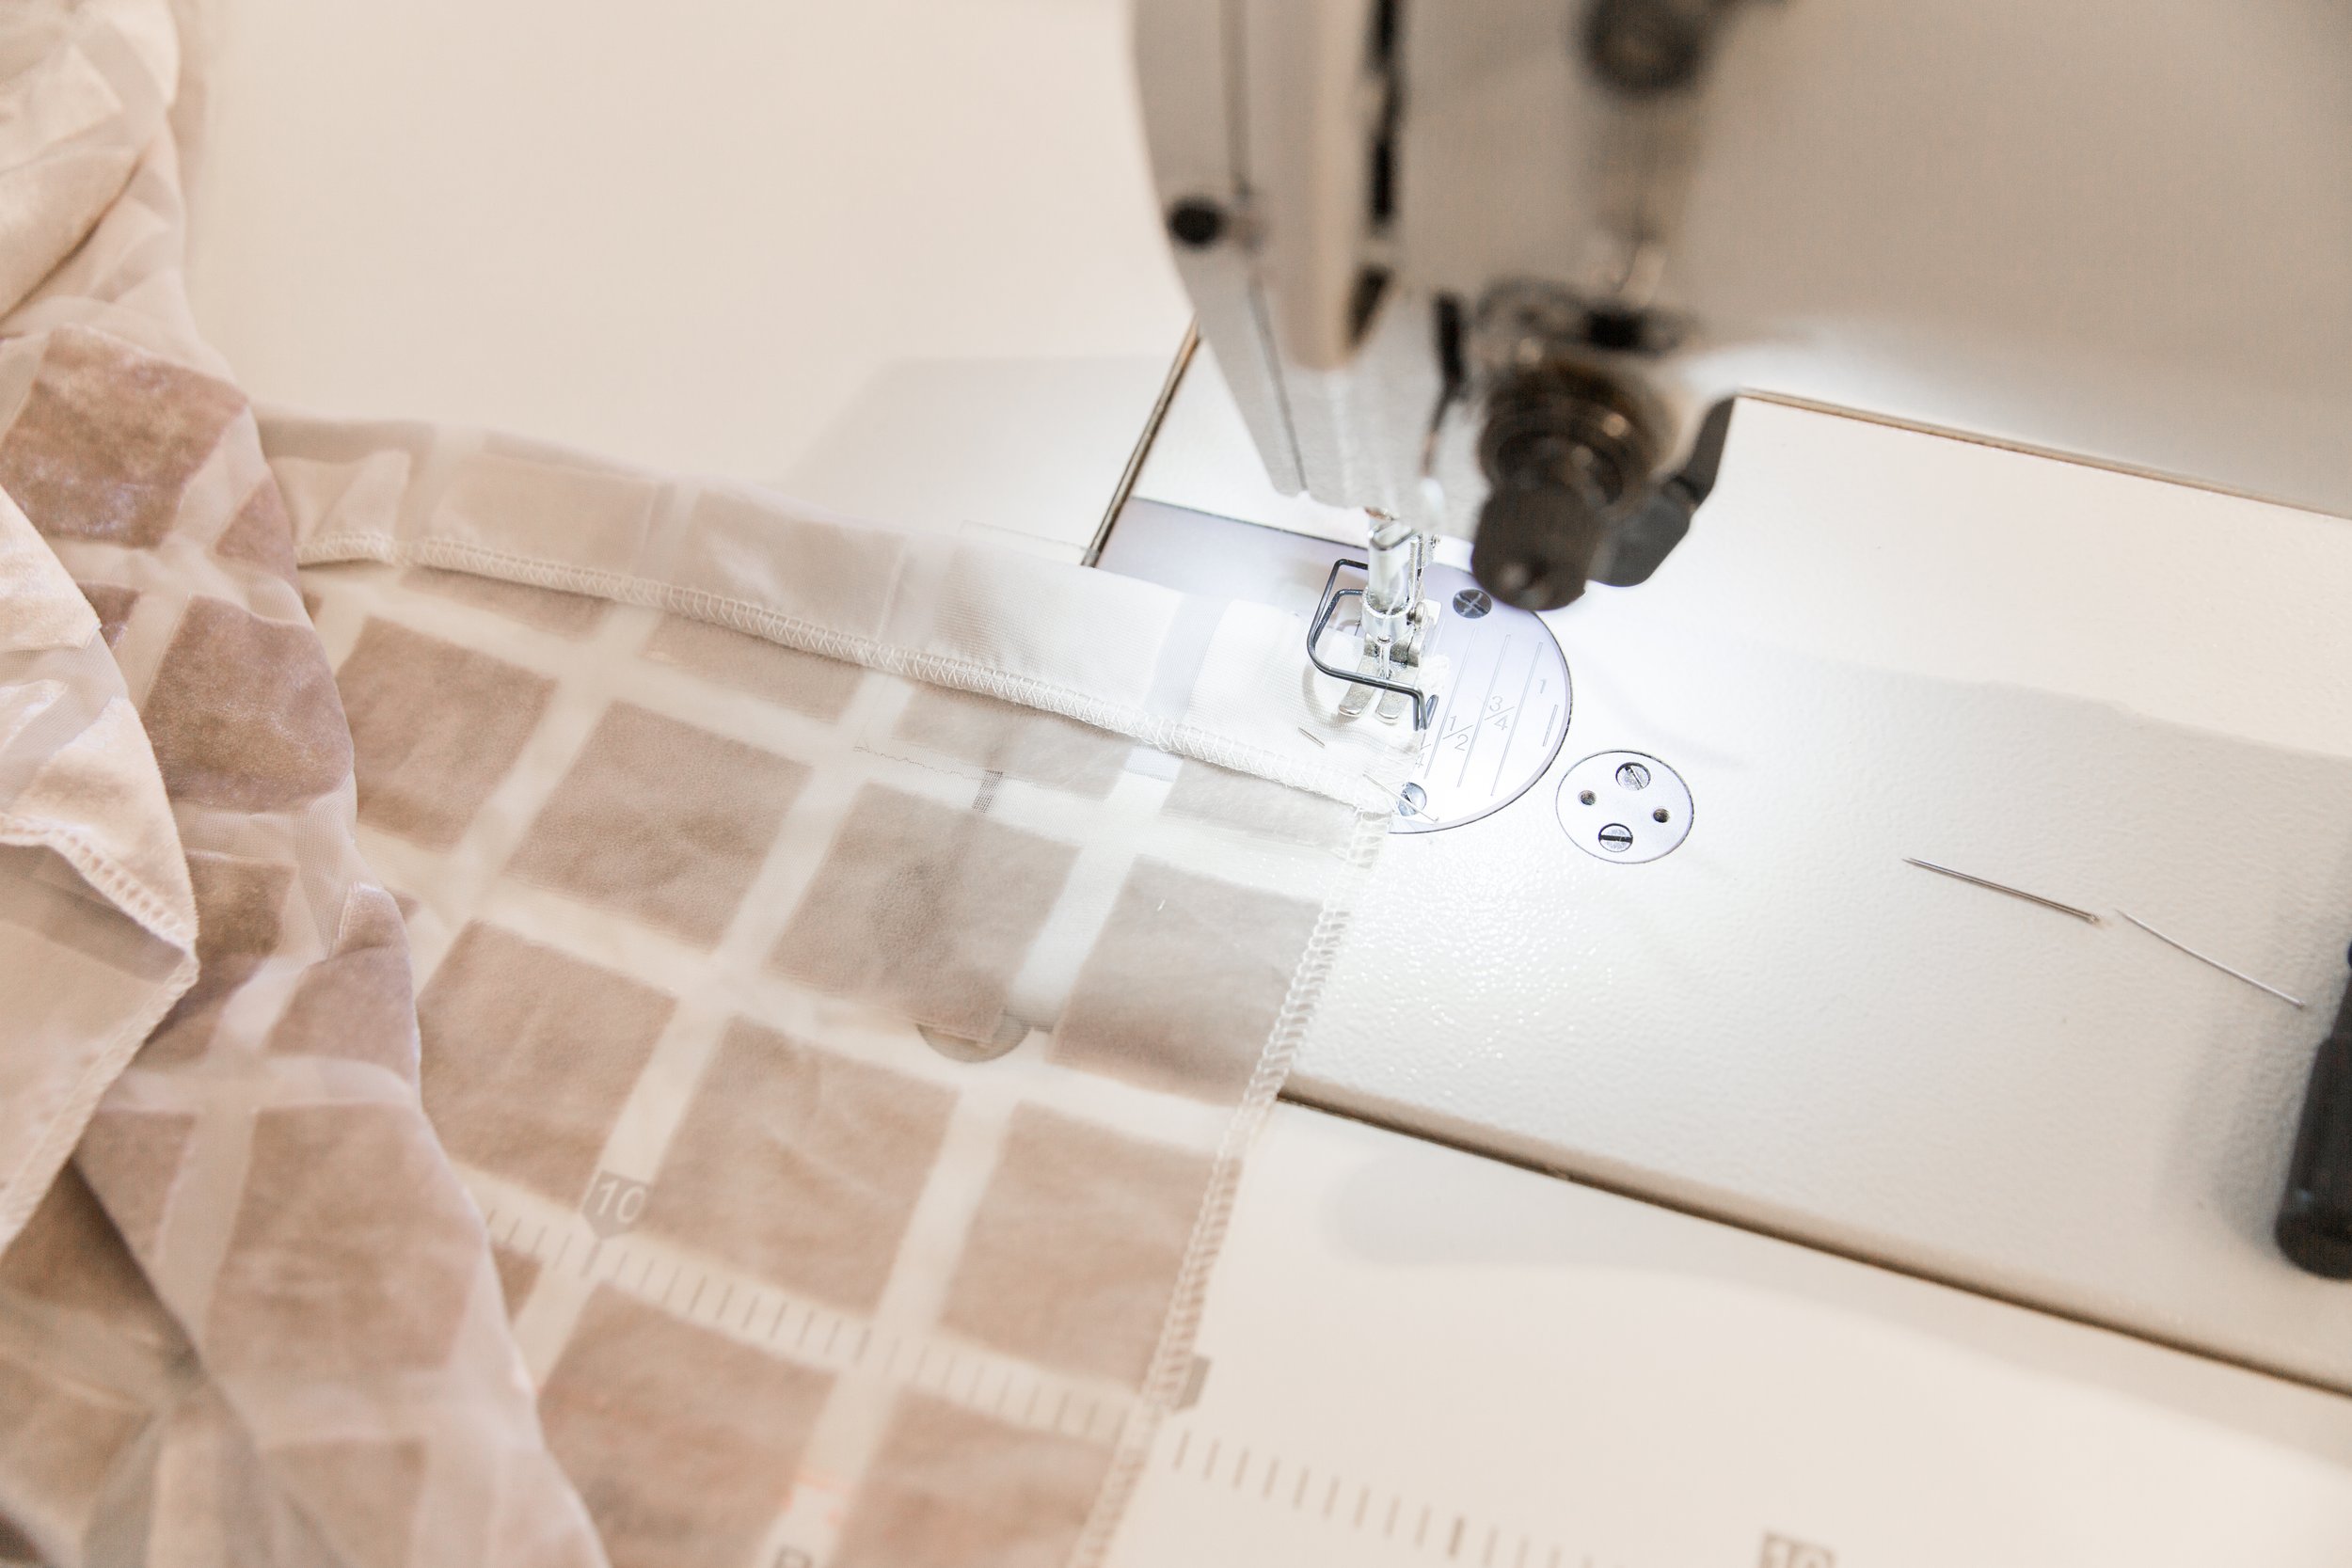
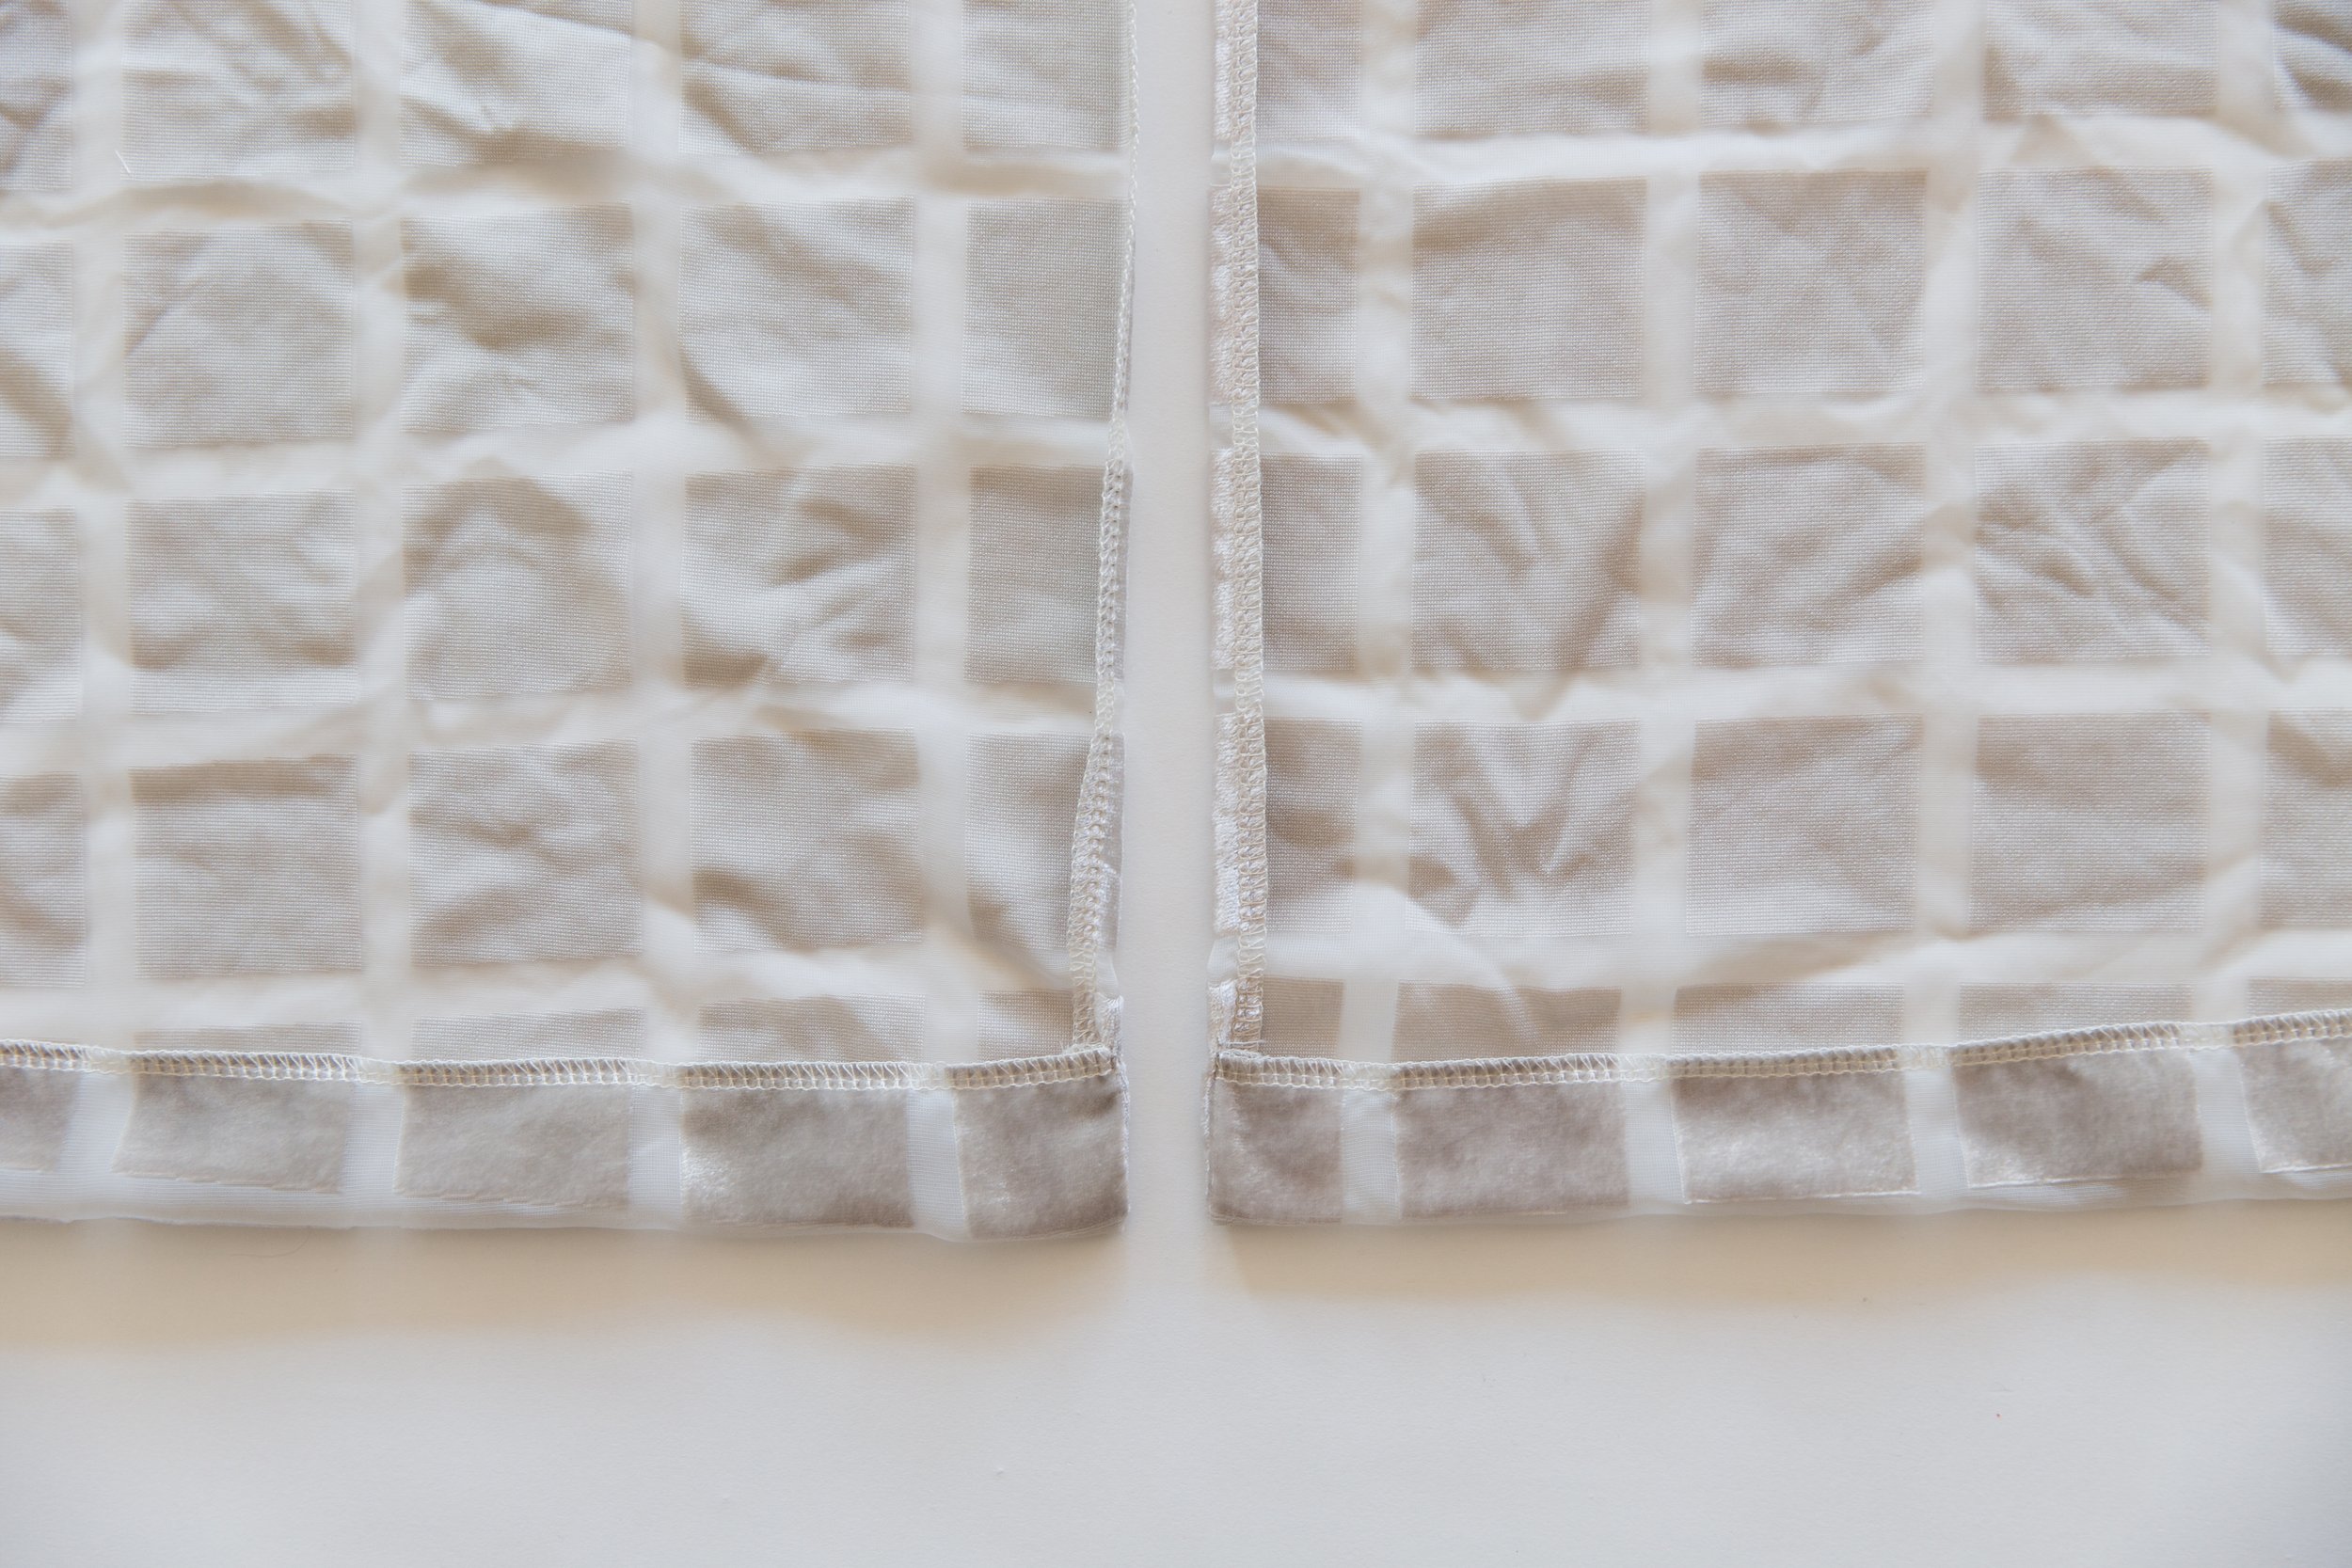
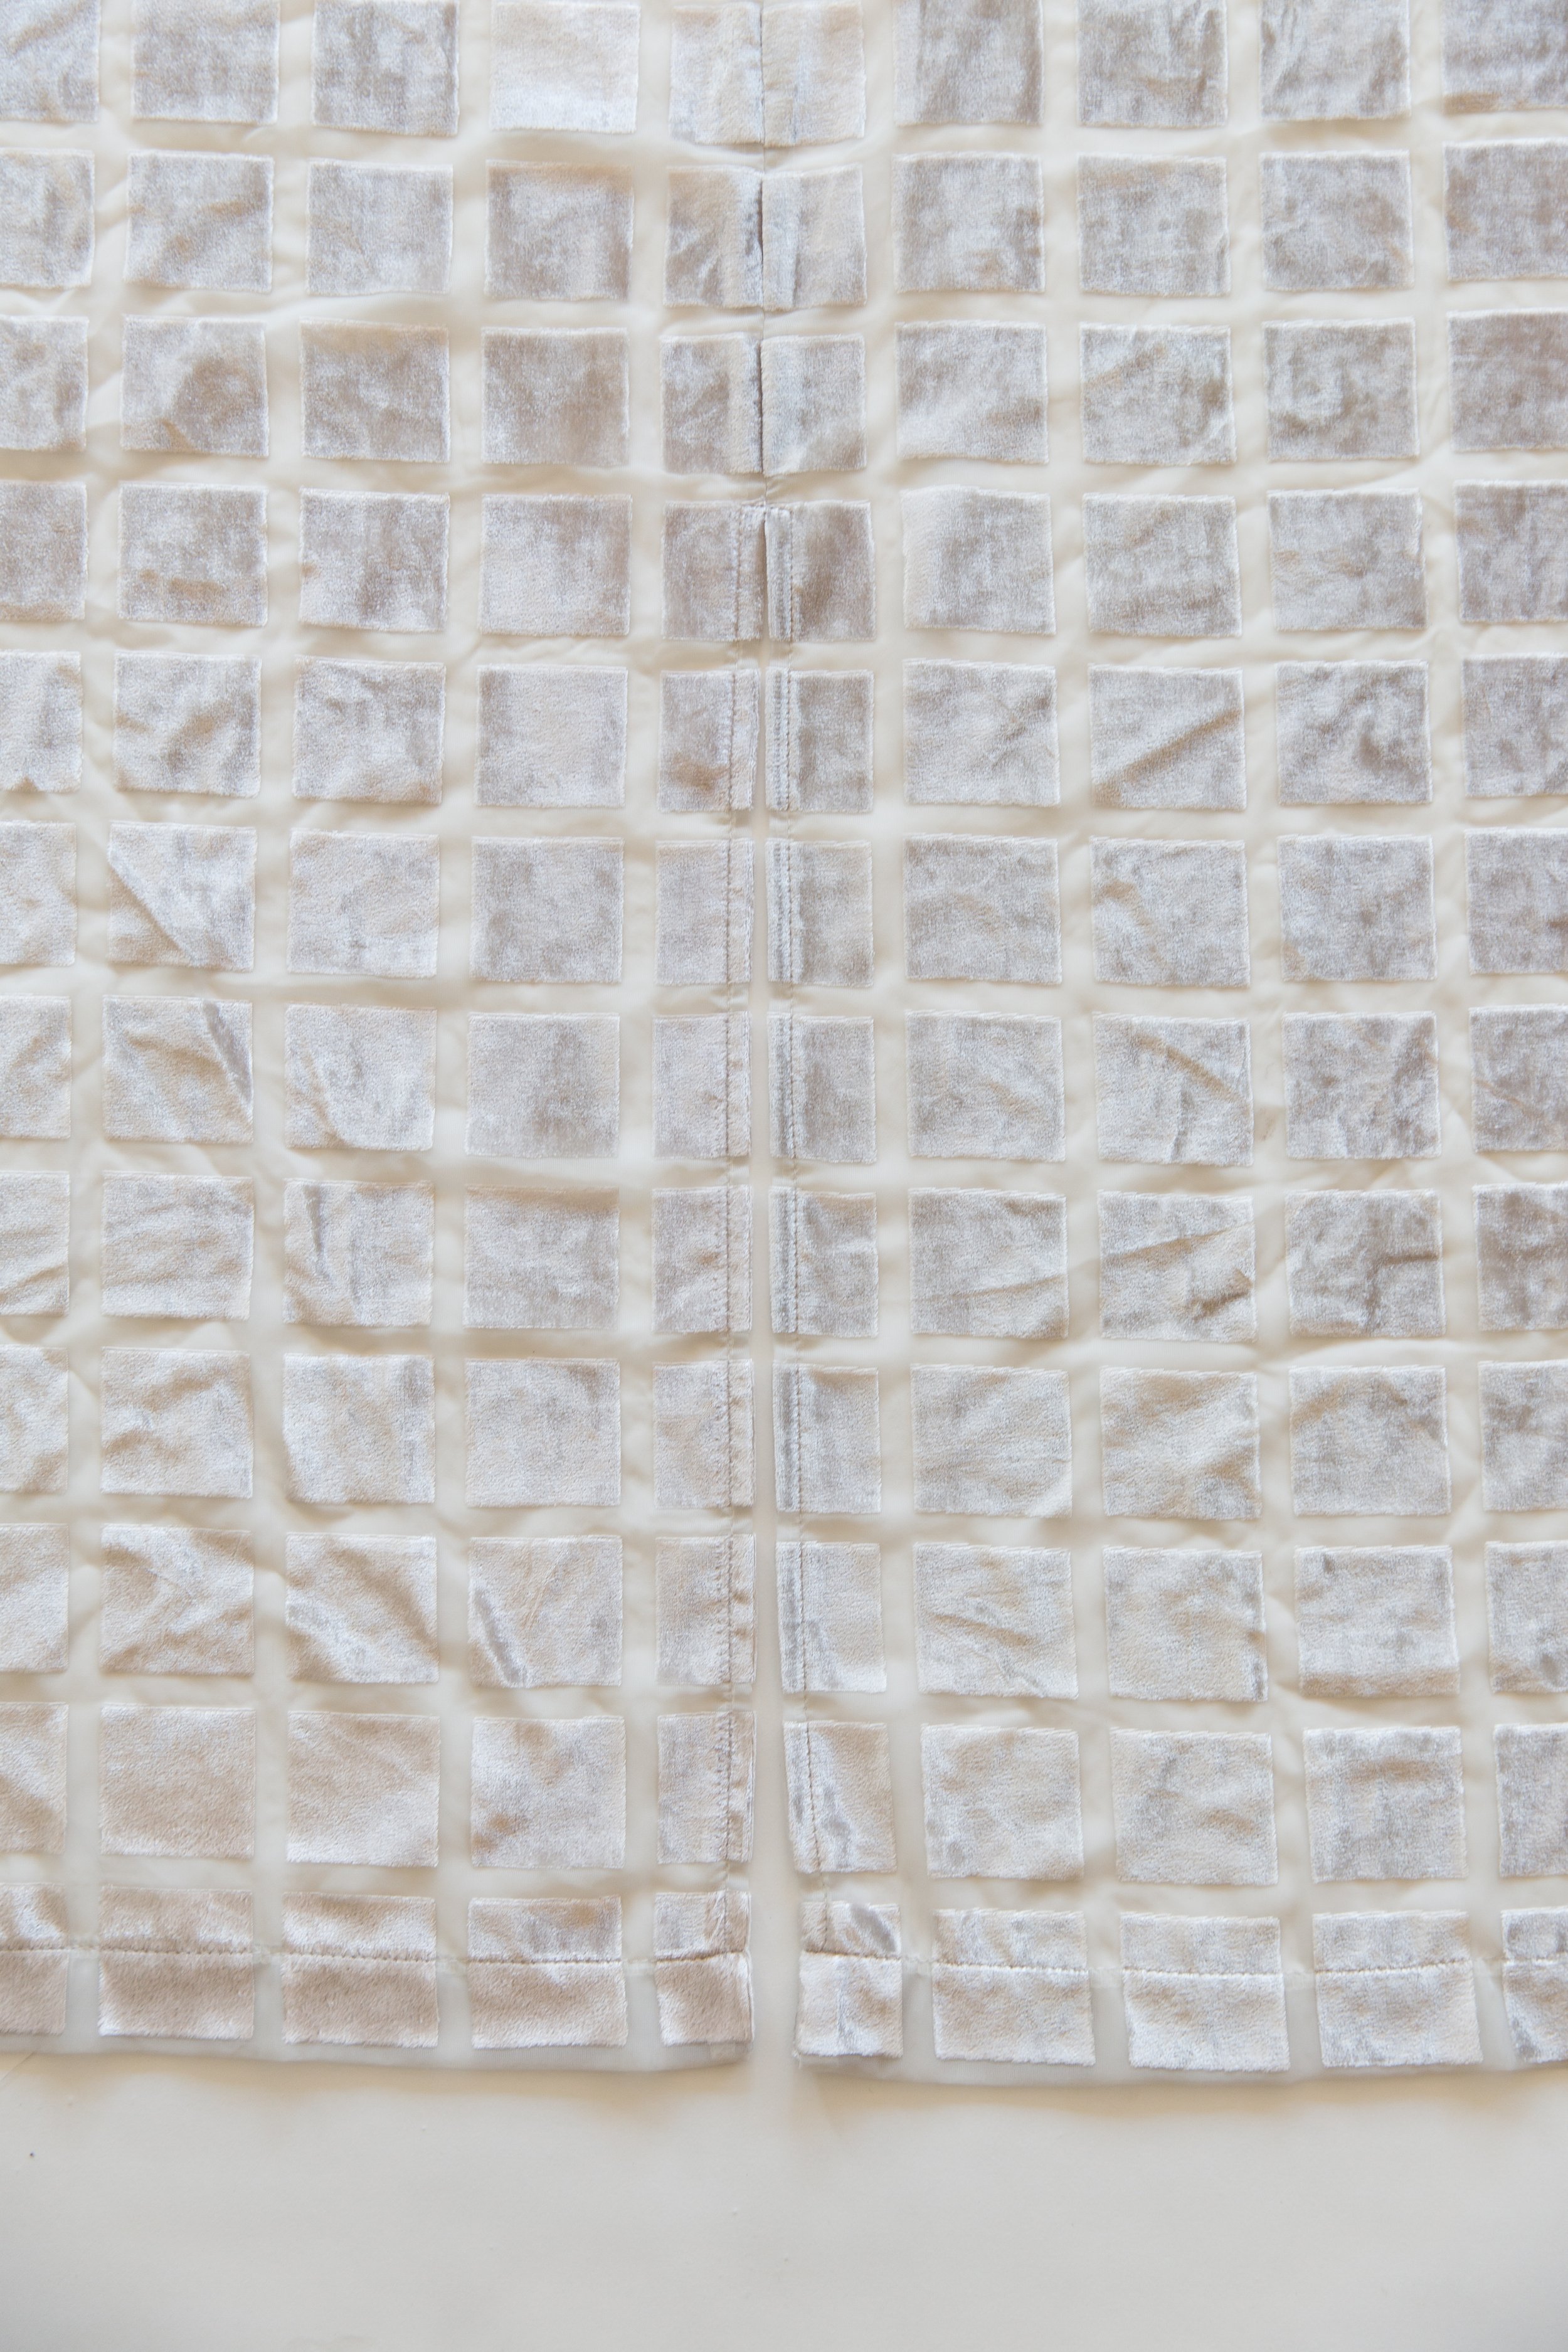
When stitching the split, fold the hems up at the hem notch toward the right side (wrong sides out) and stitch along the edge, clip the corners and turn through to the right side. Press. This bags out the split hem.
From inside the garment, pin hem edges up 3cm. Stitch front and back hems.

Step 4
Press the remainder of the side seam open and topstitch around the opening.

You did it! Enjoy wearing your beautifully long array!