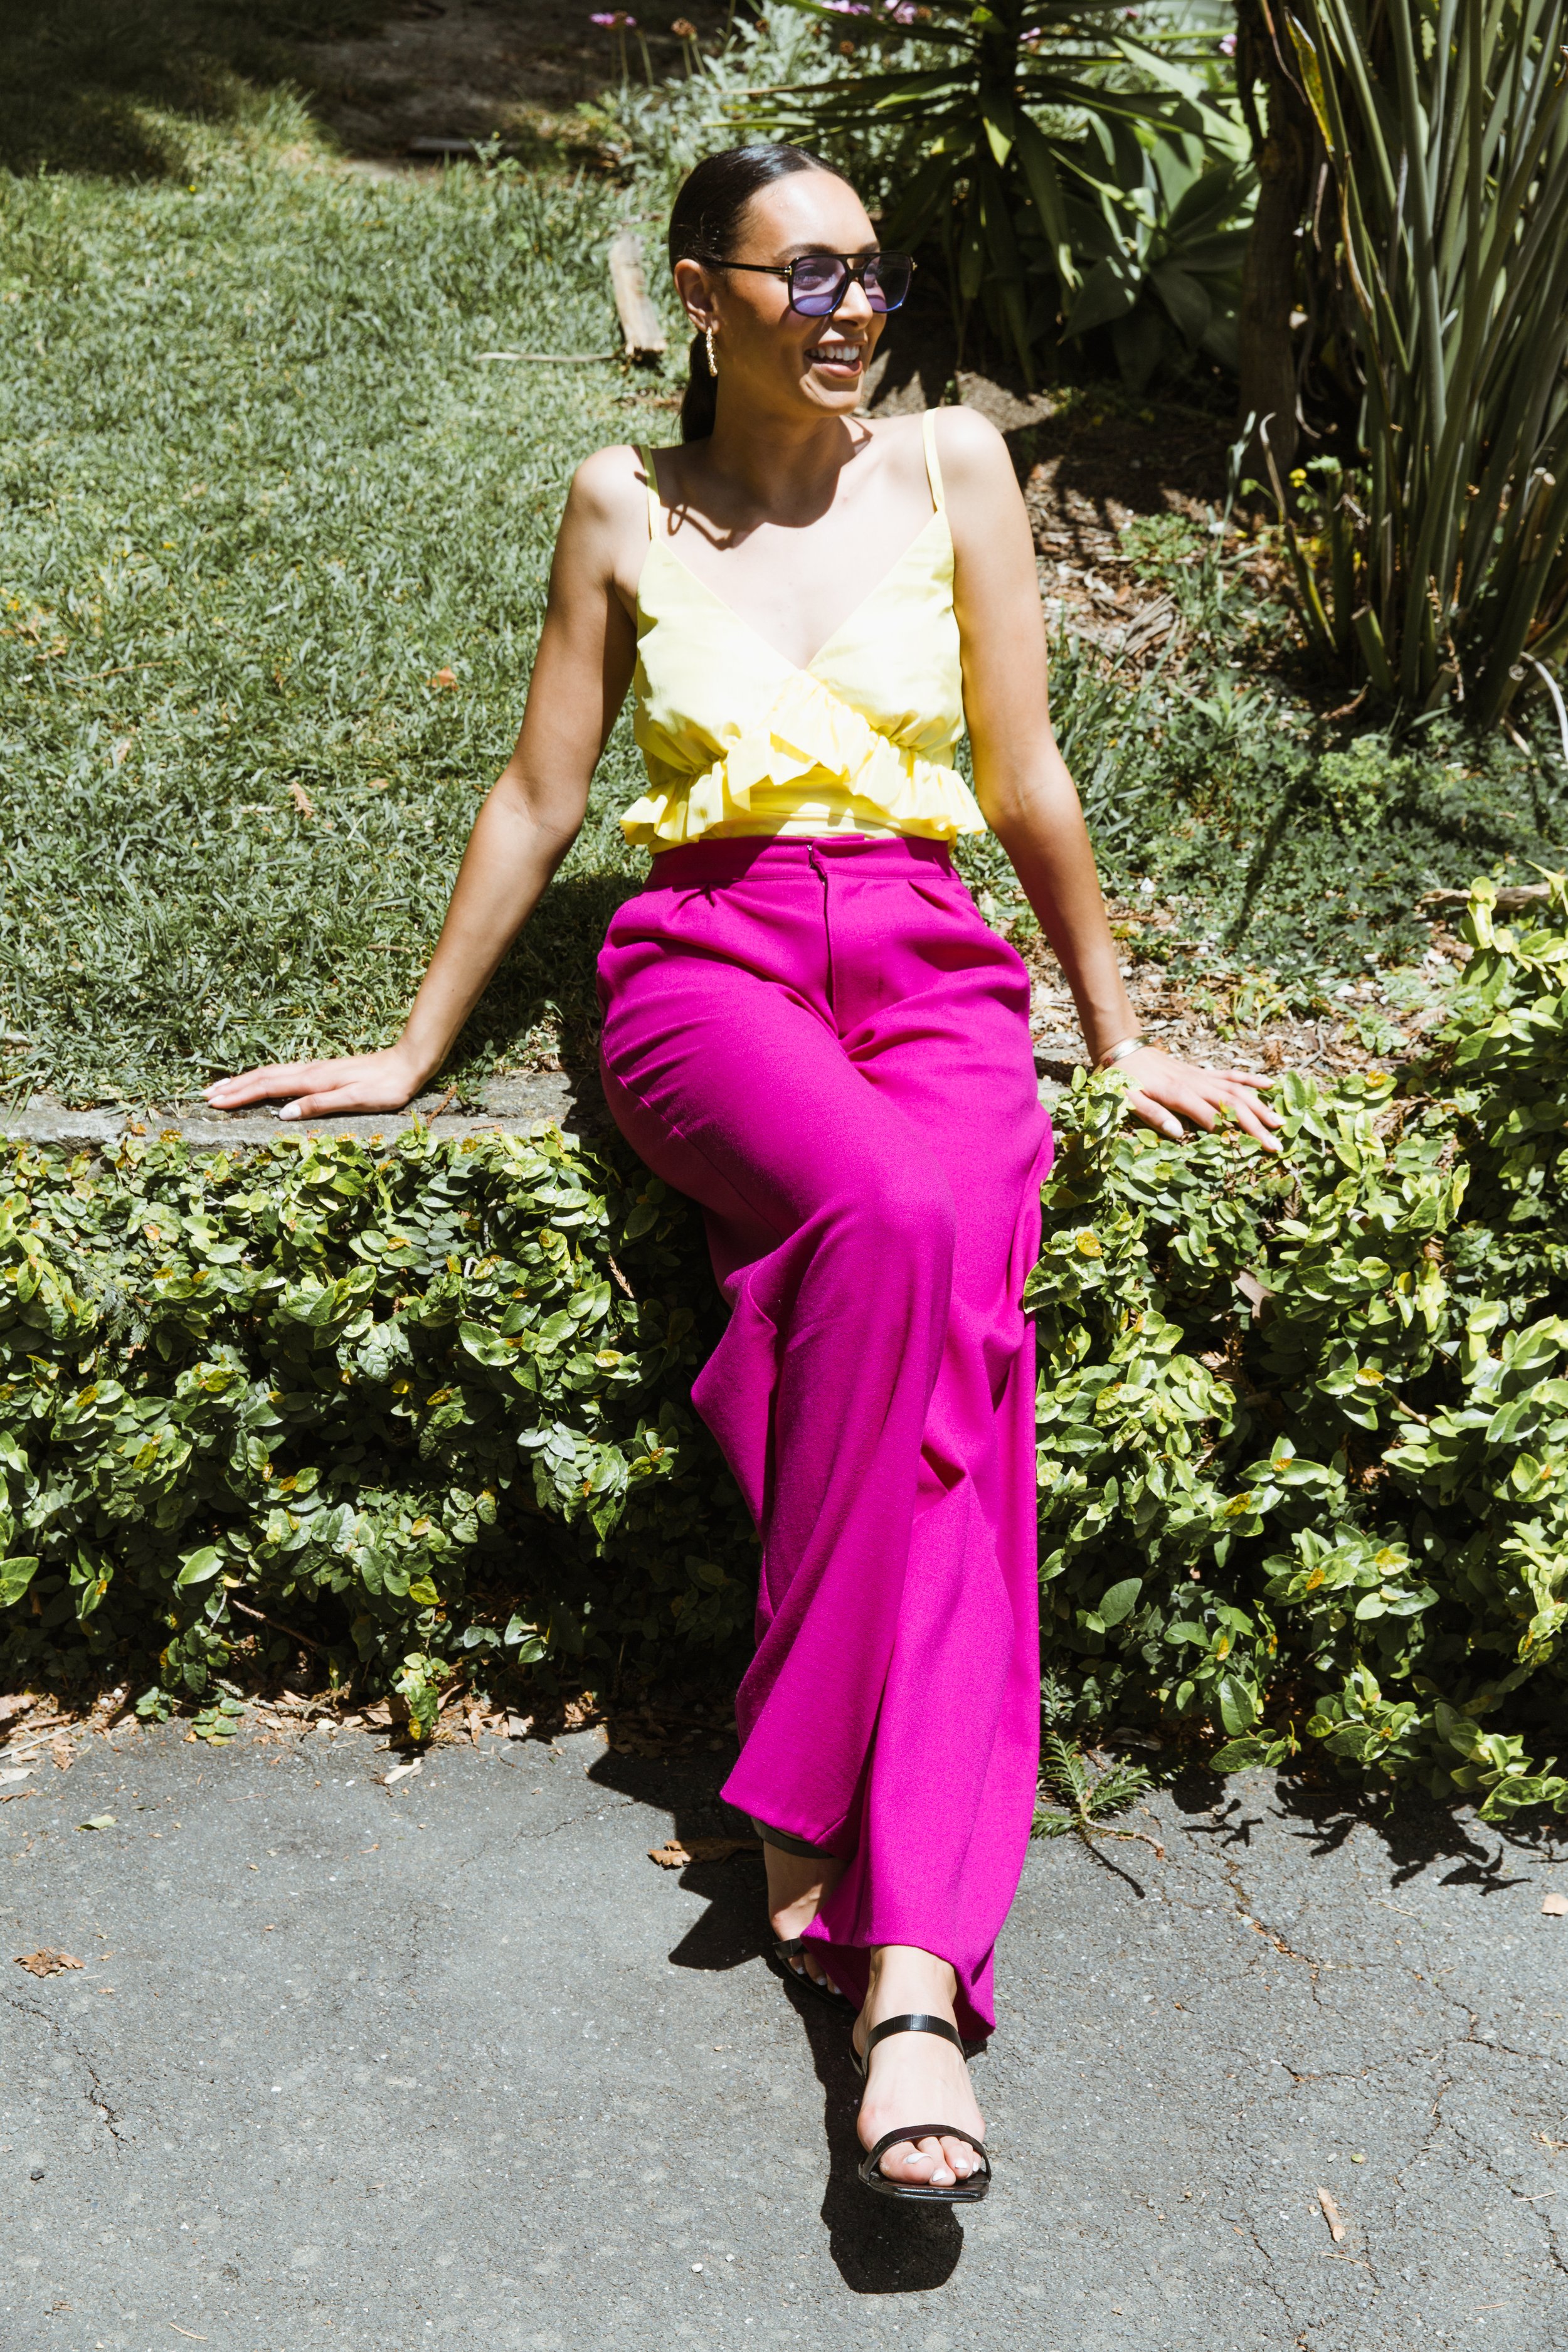
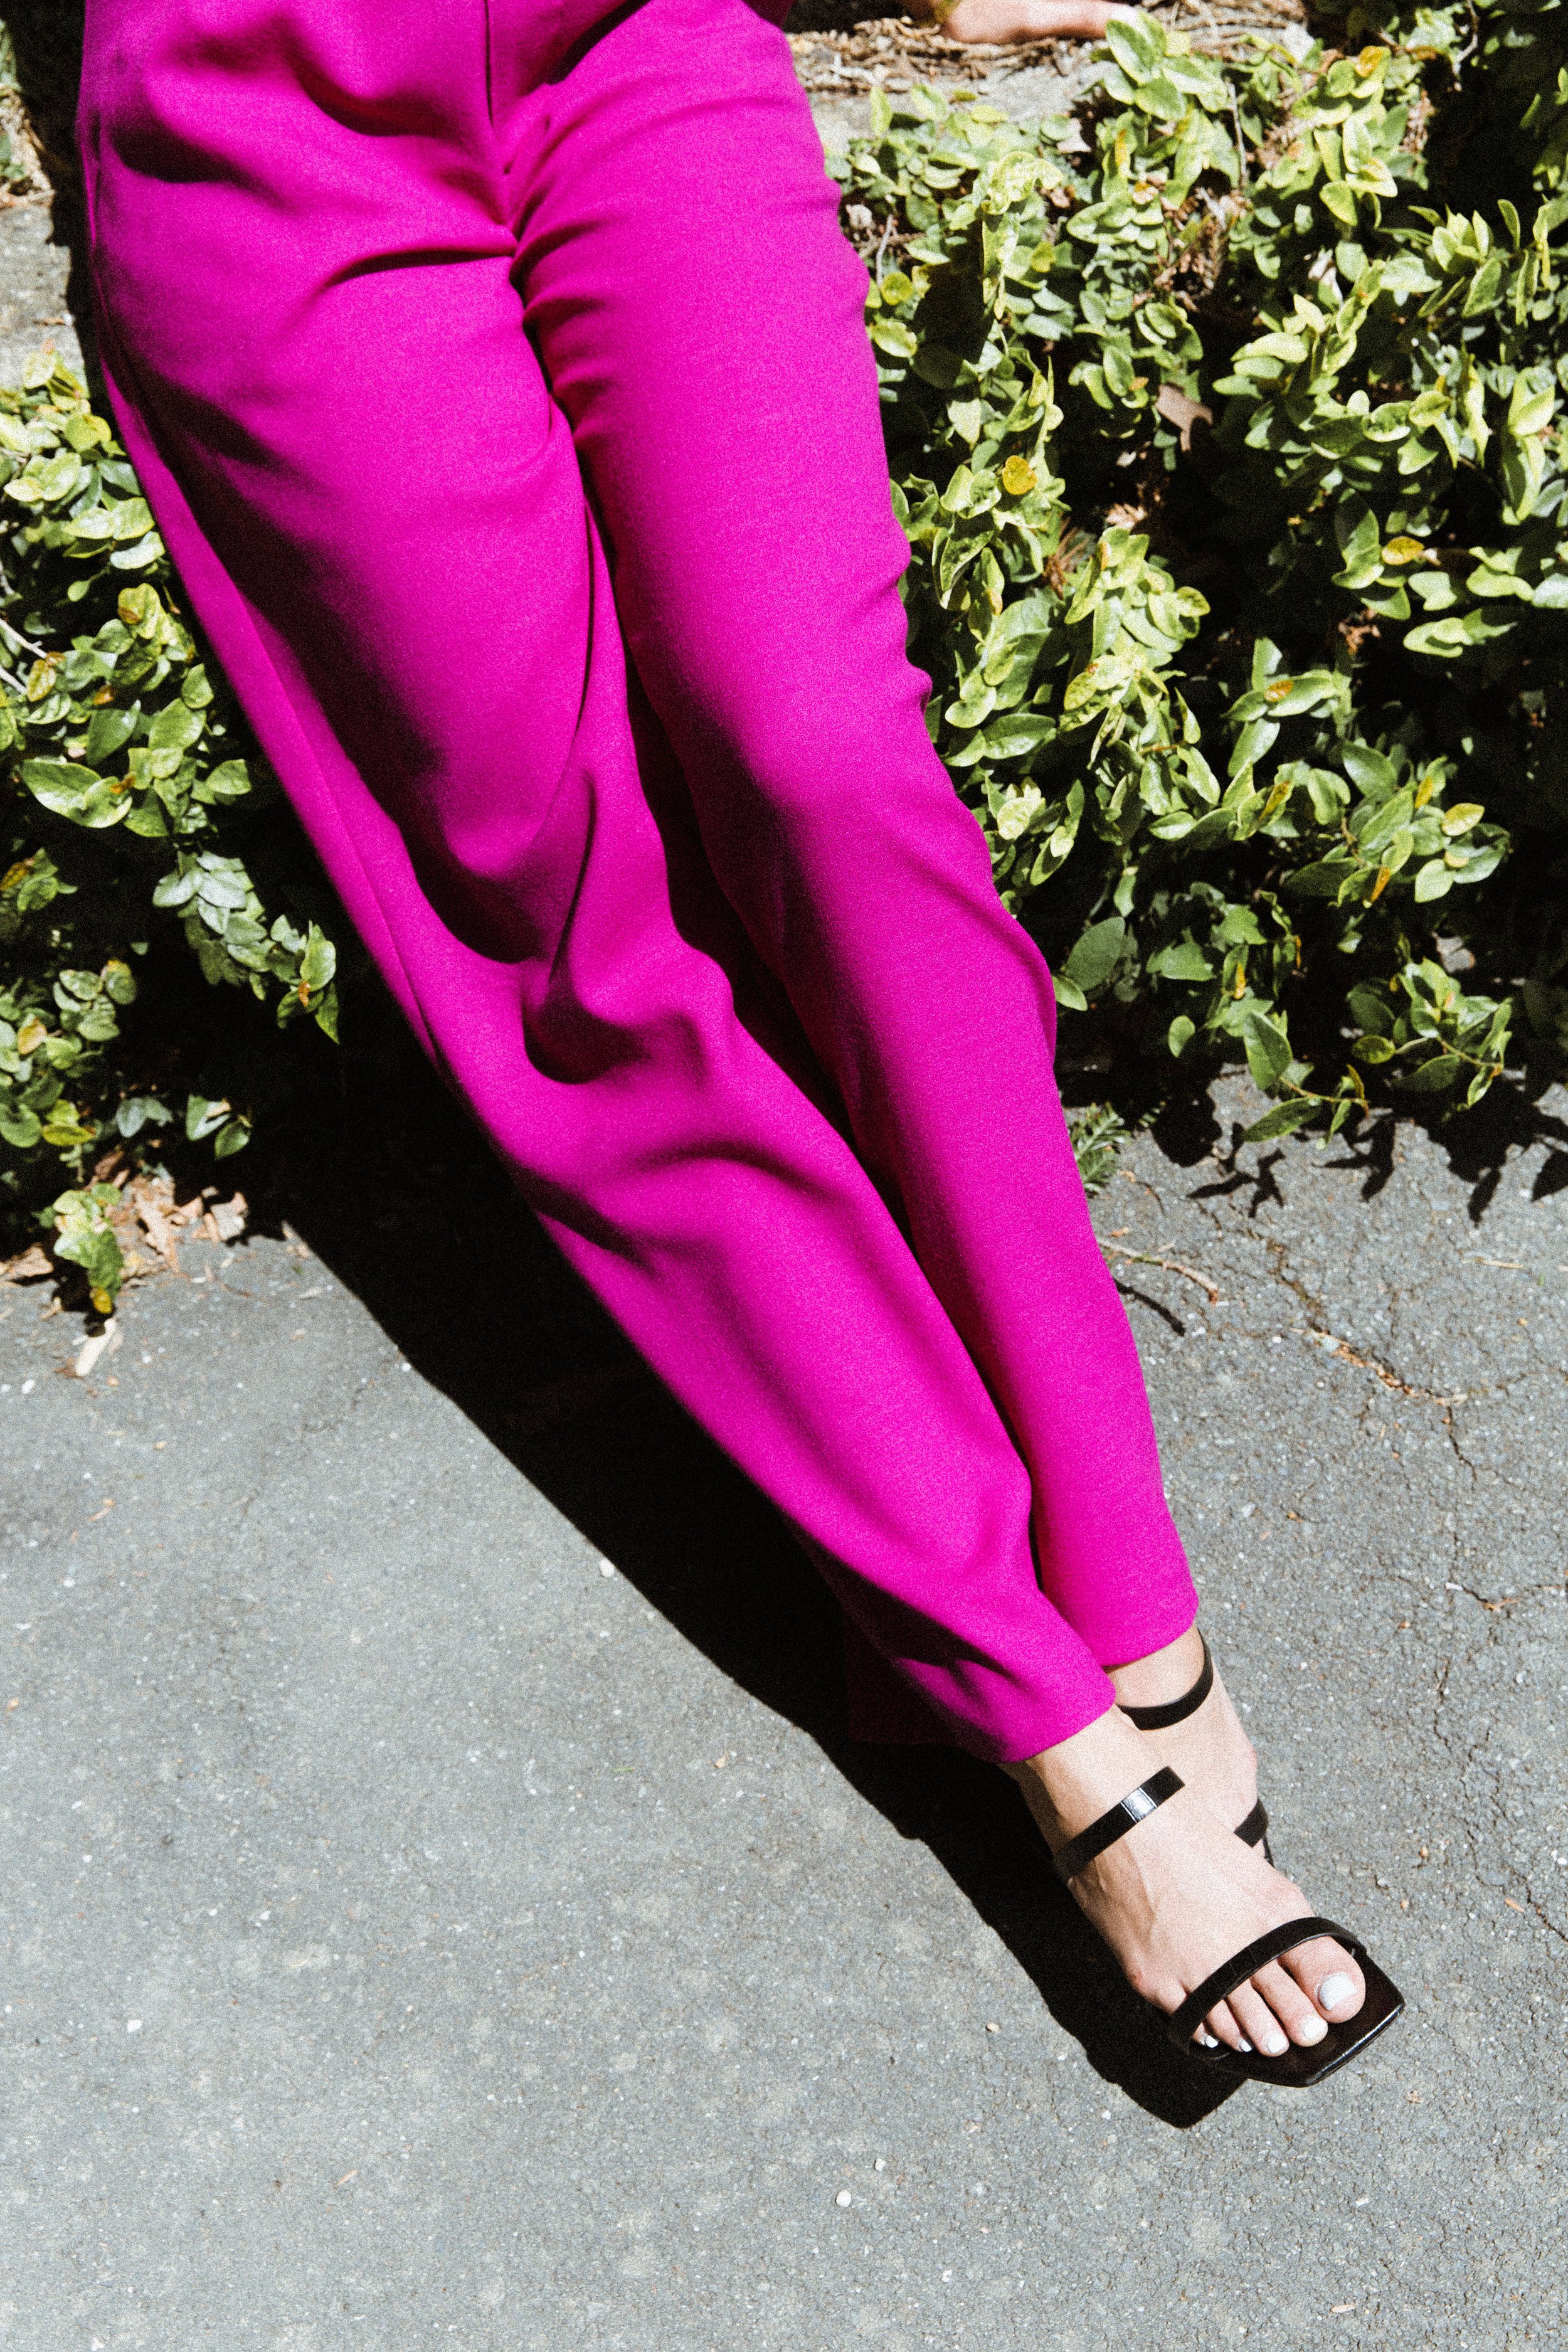
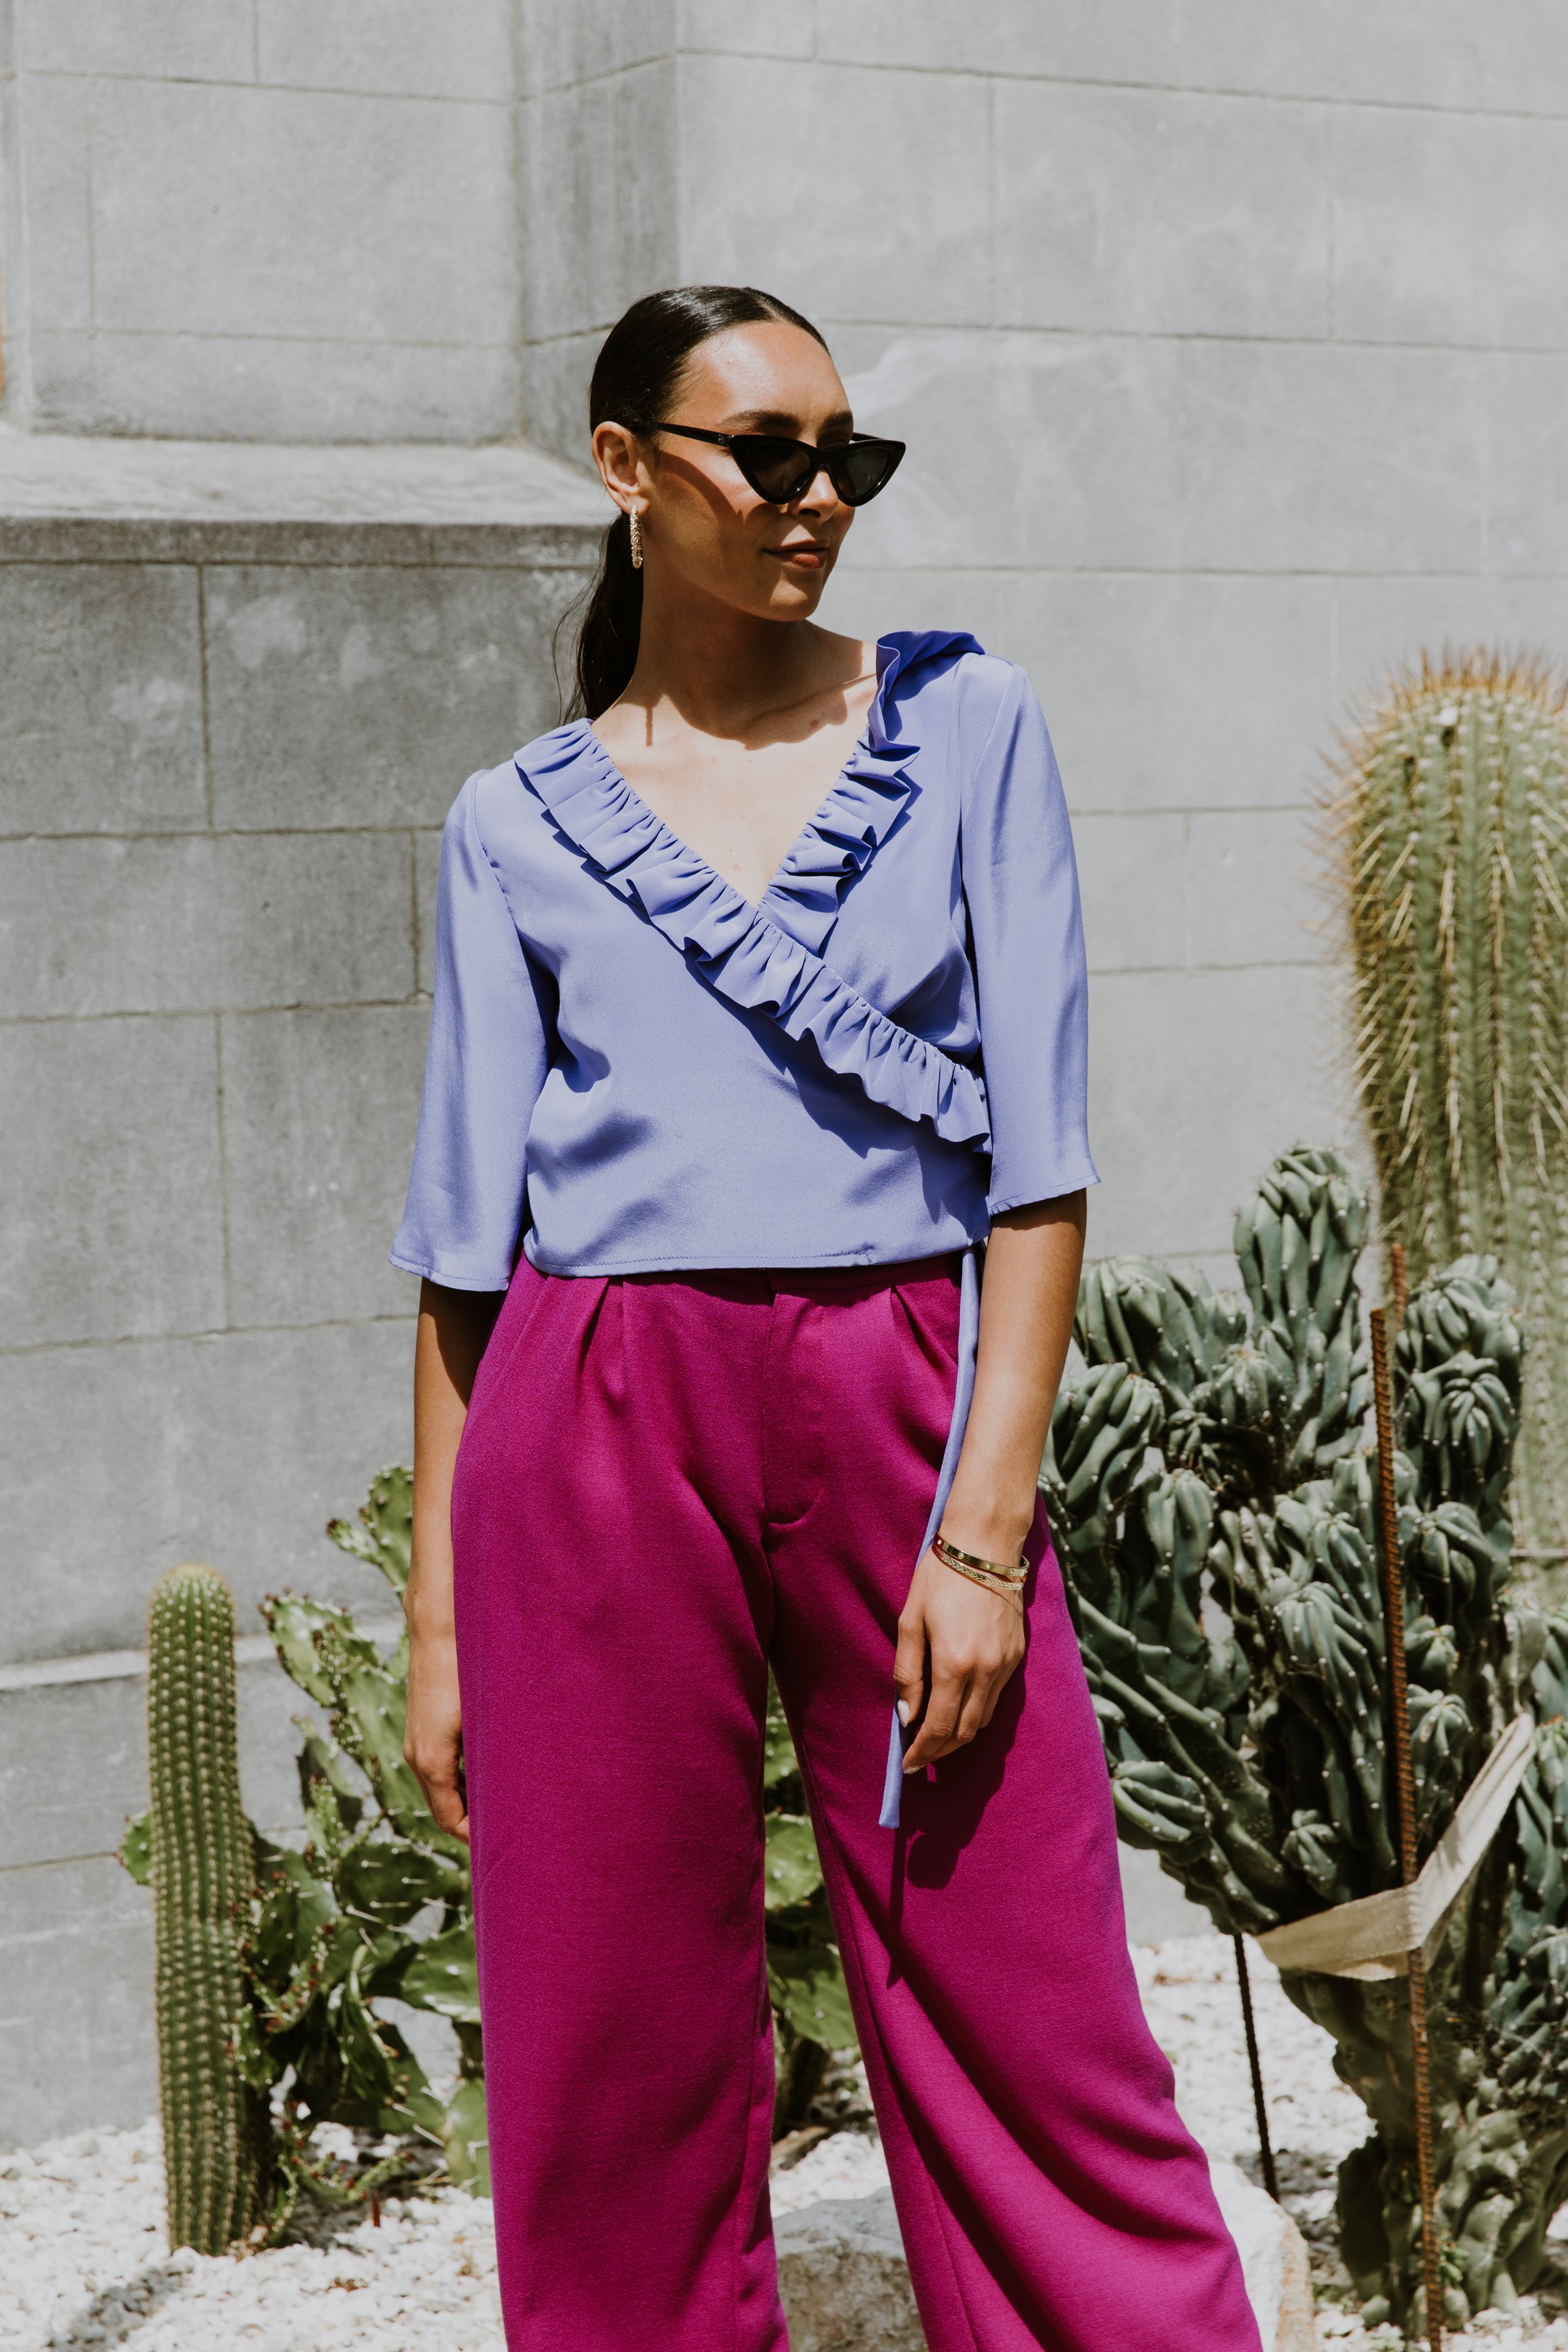
Pattern adjustments:
Step 1
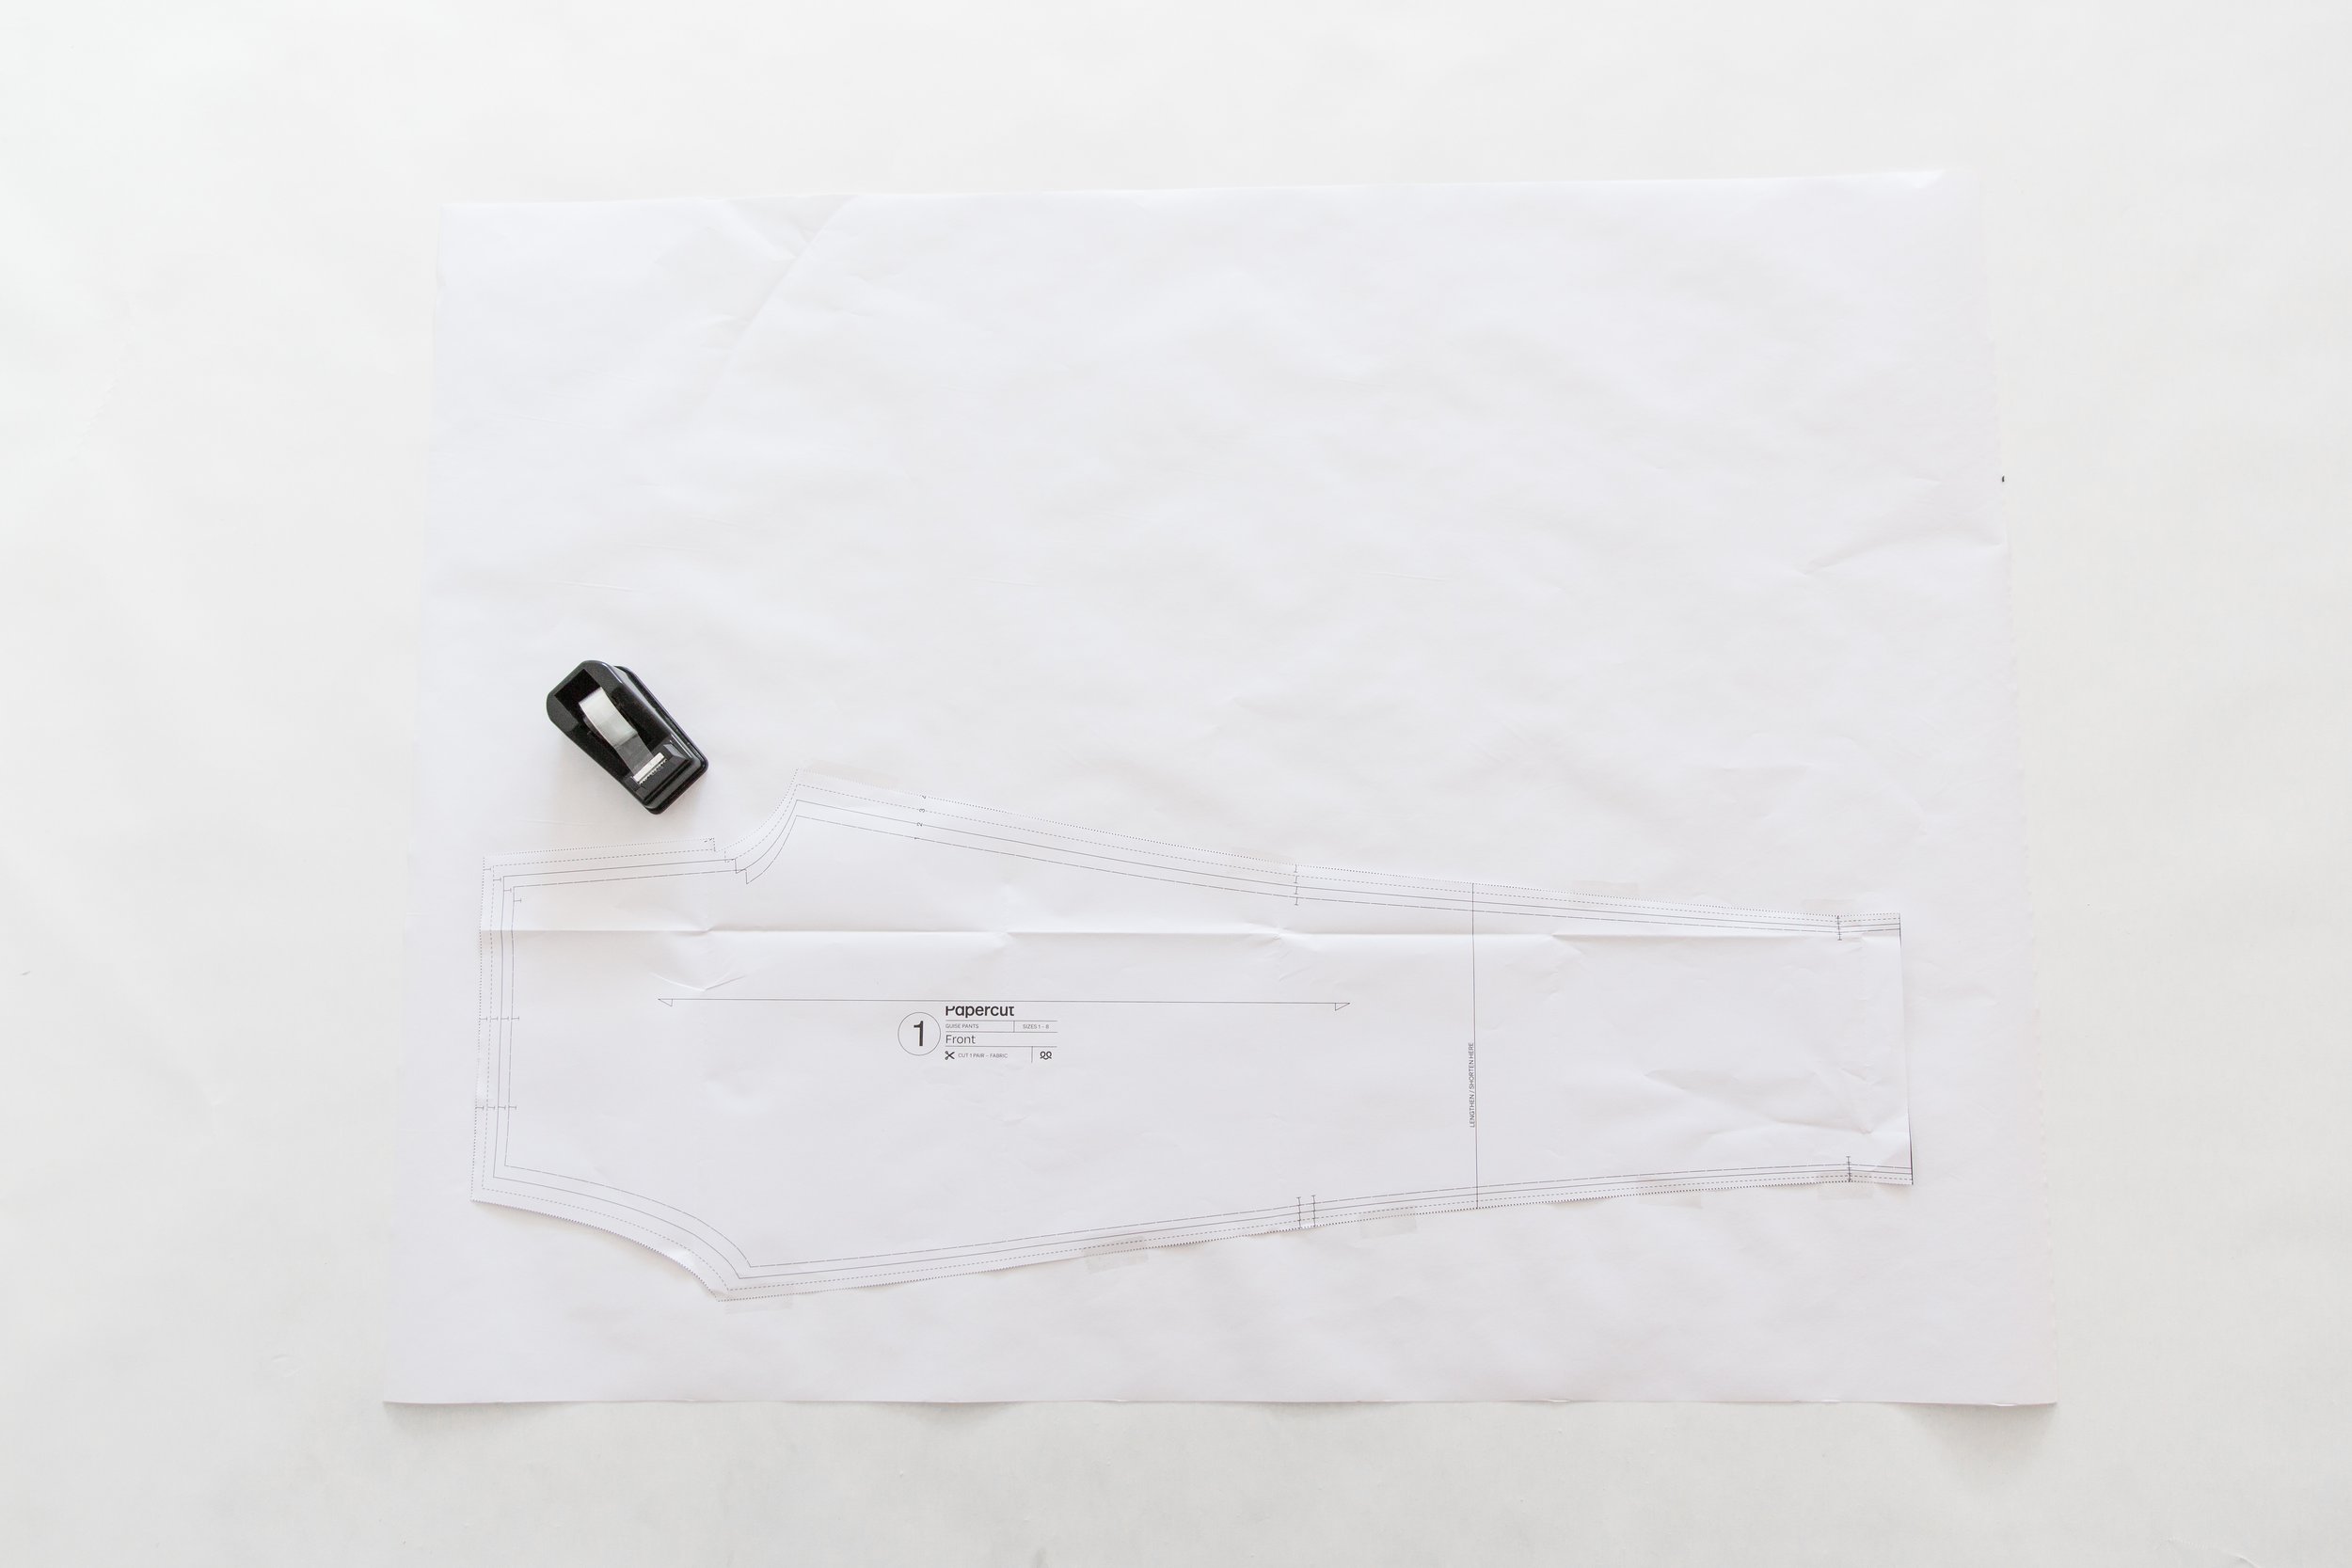
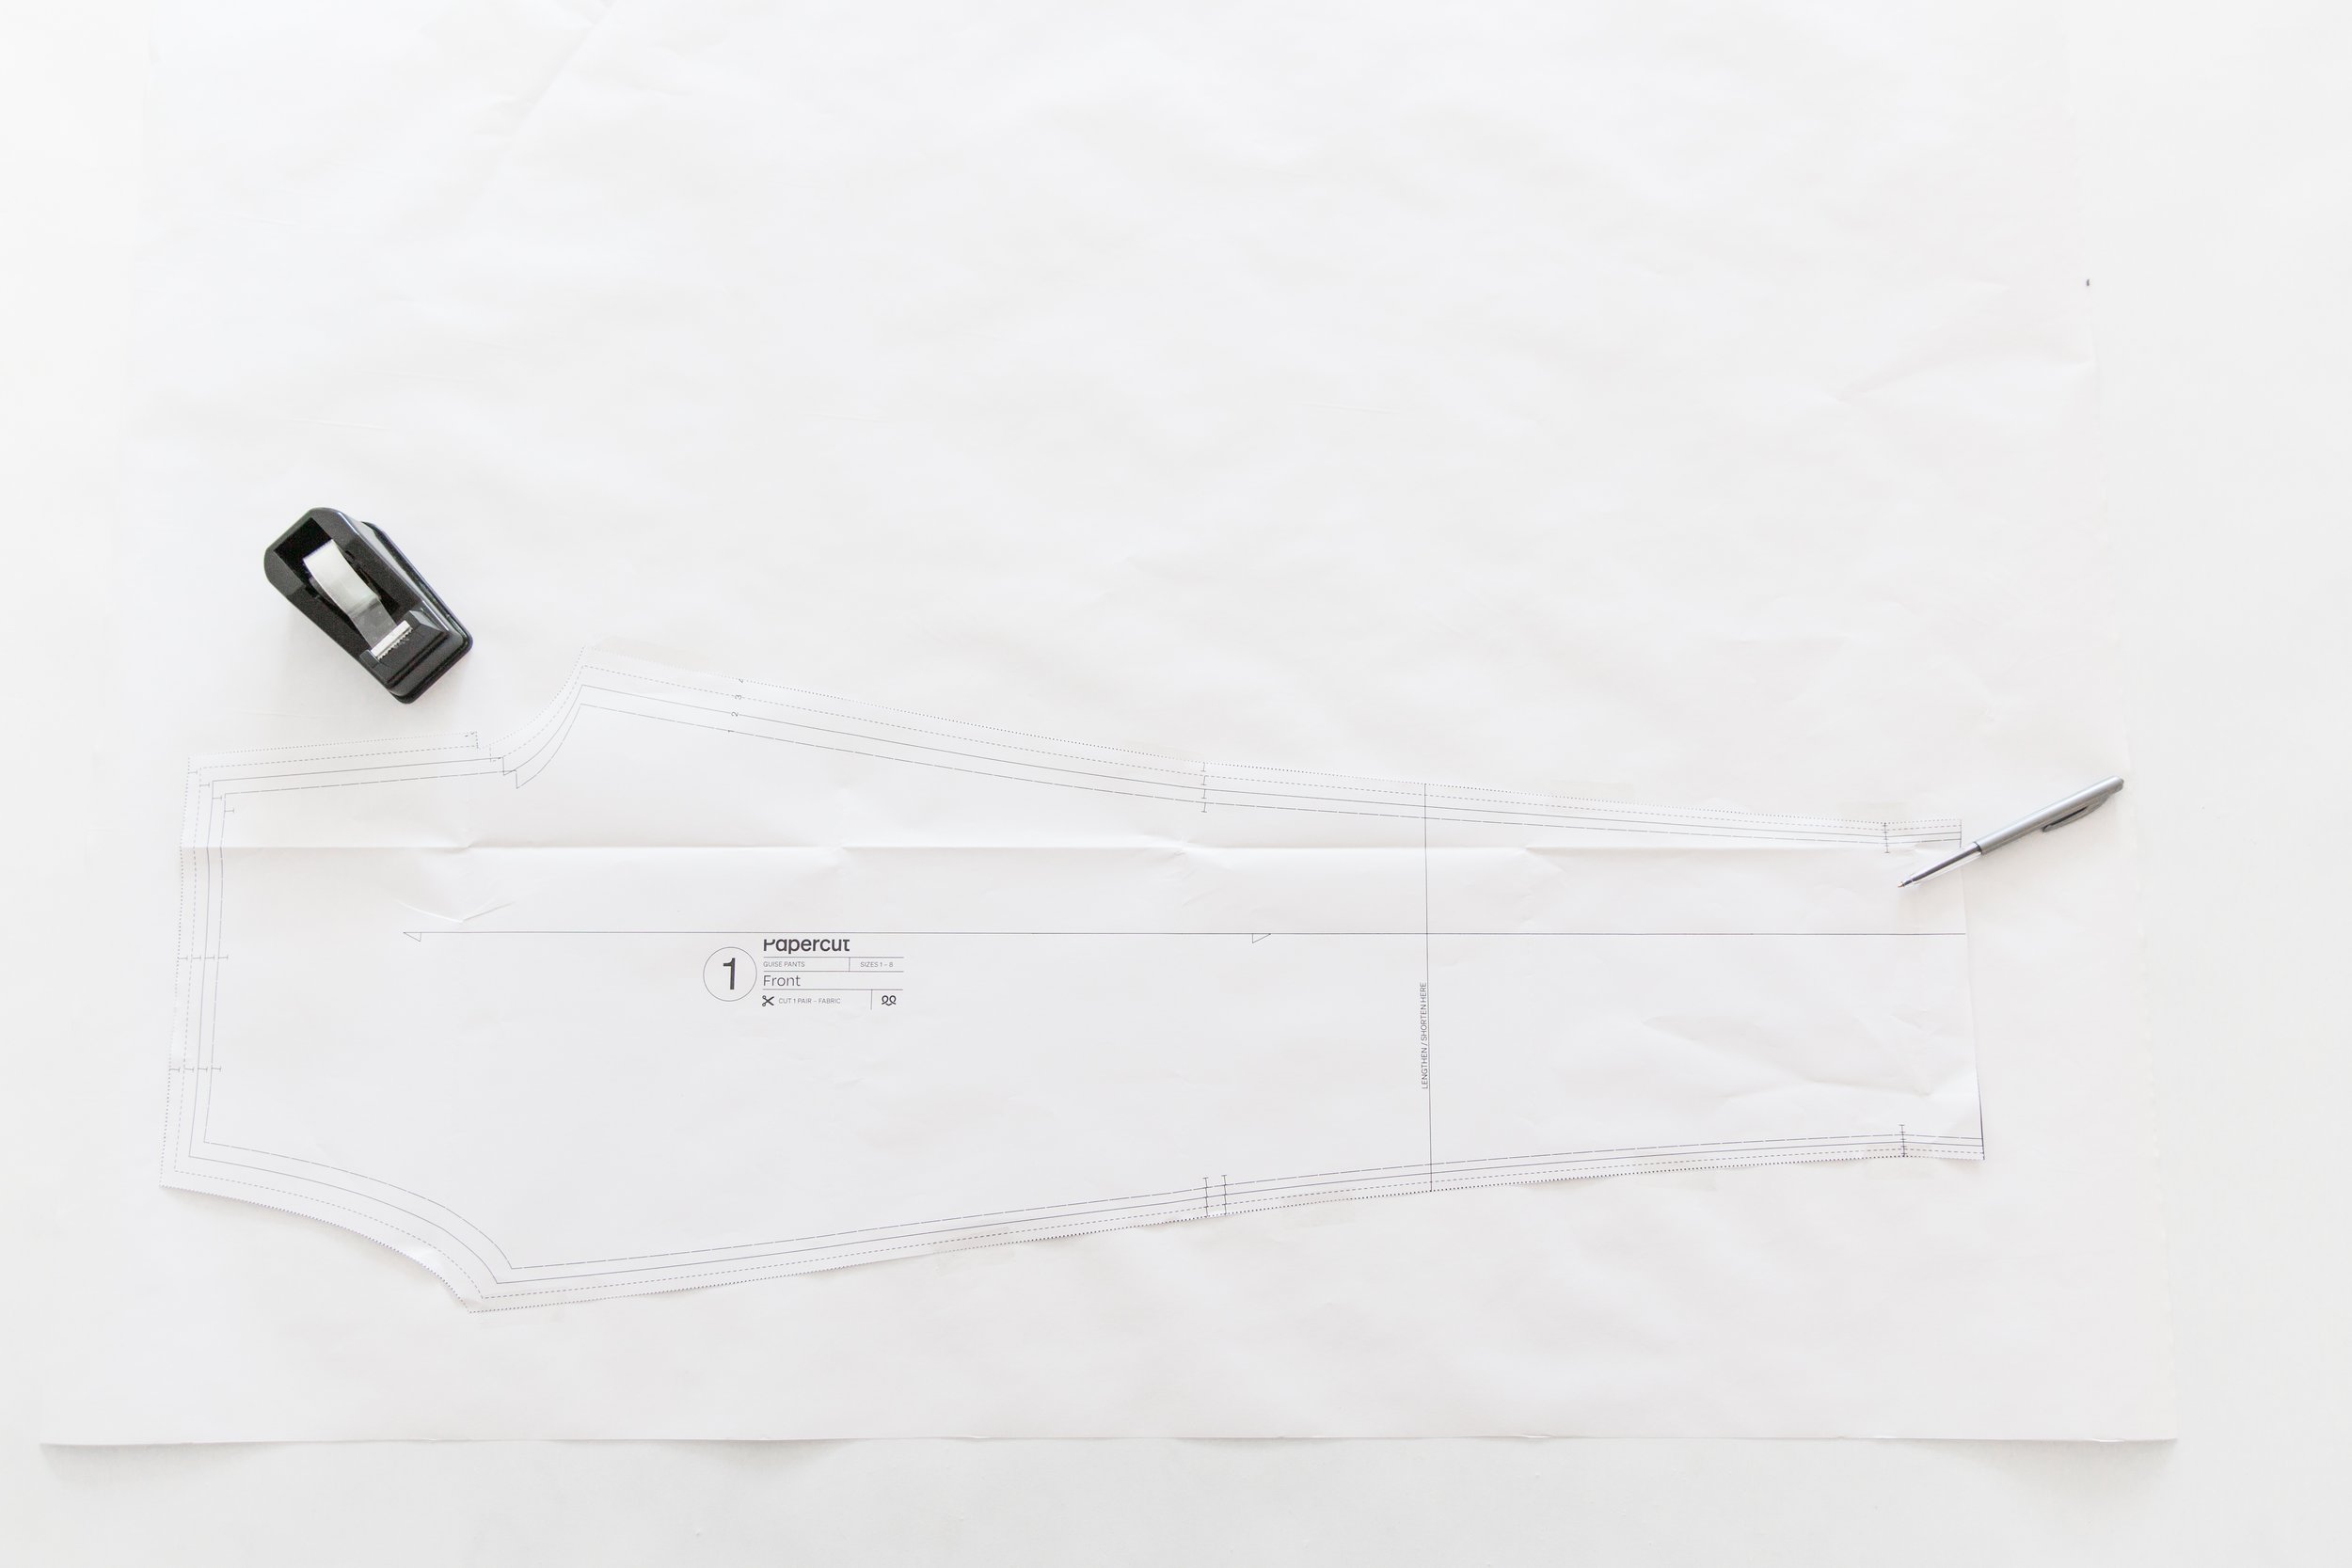
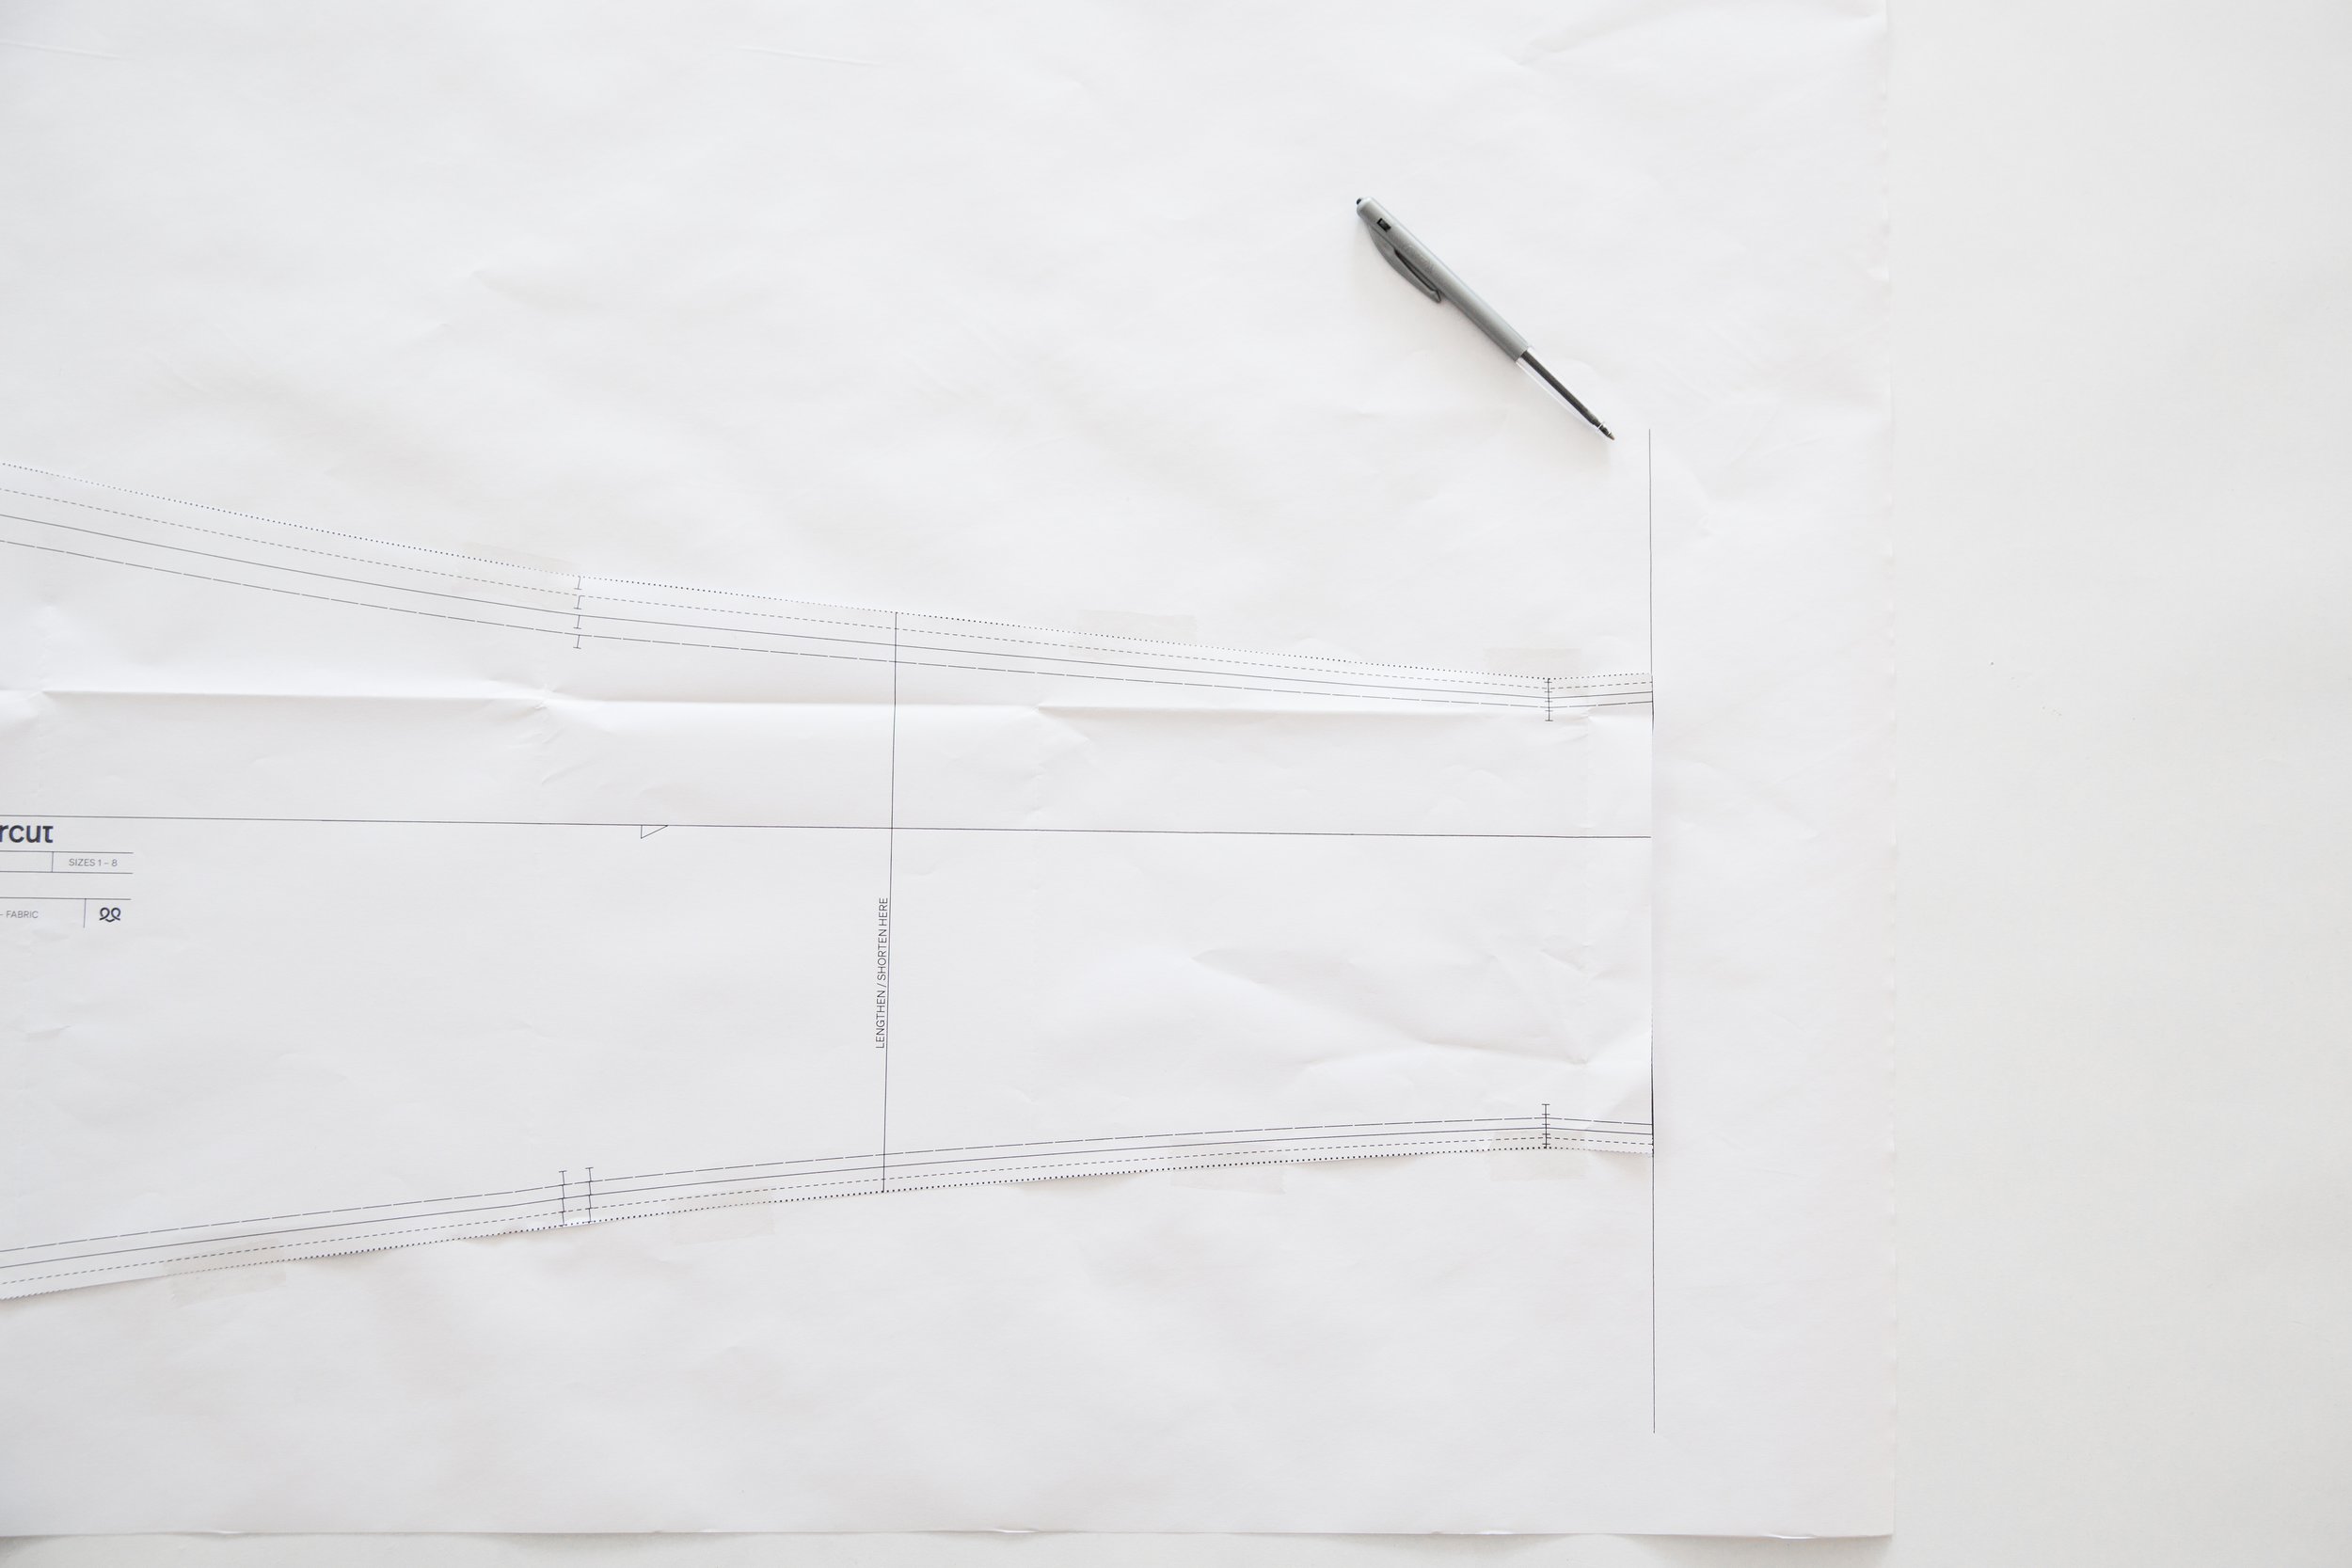
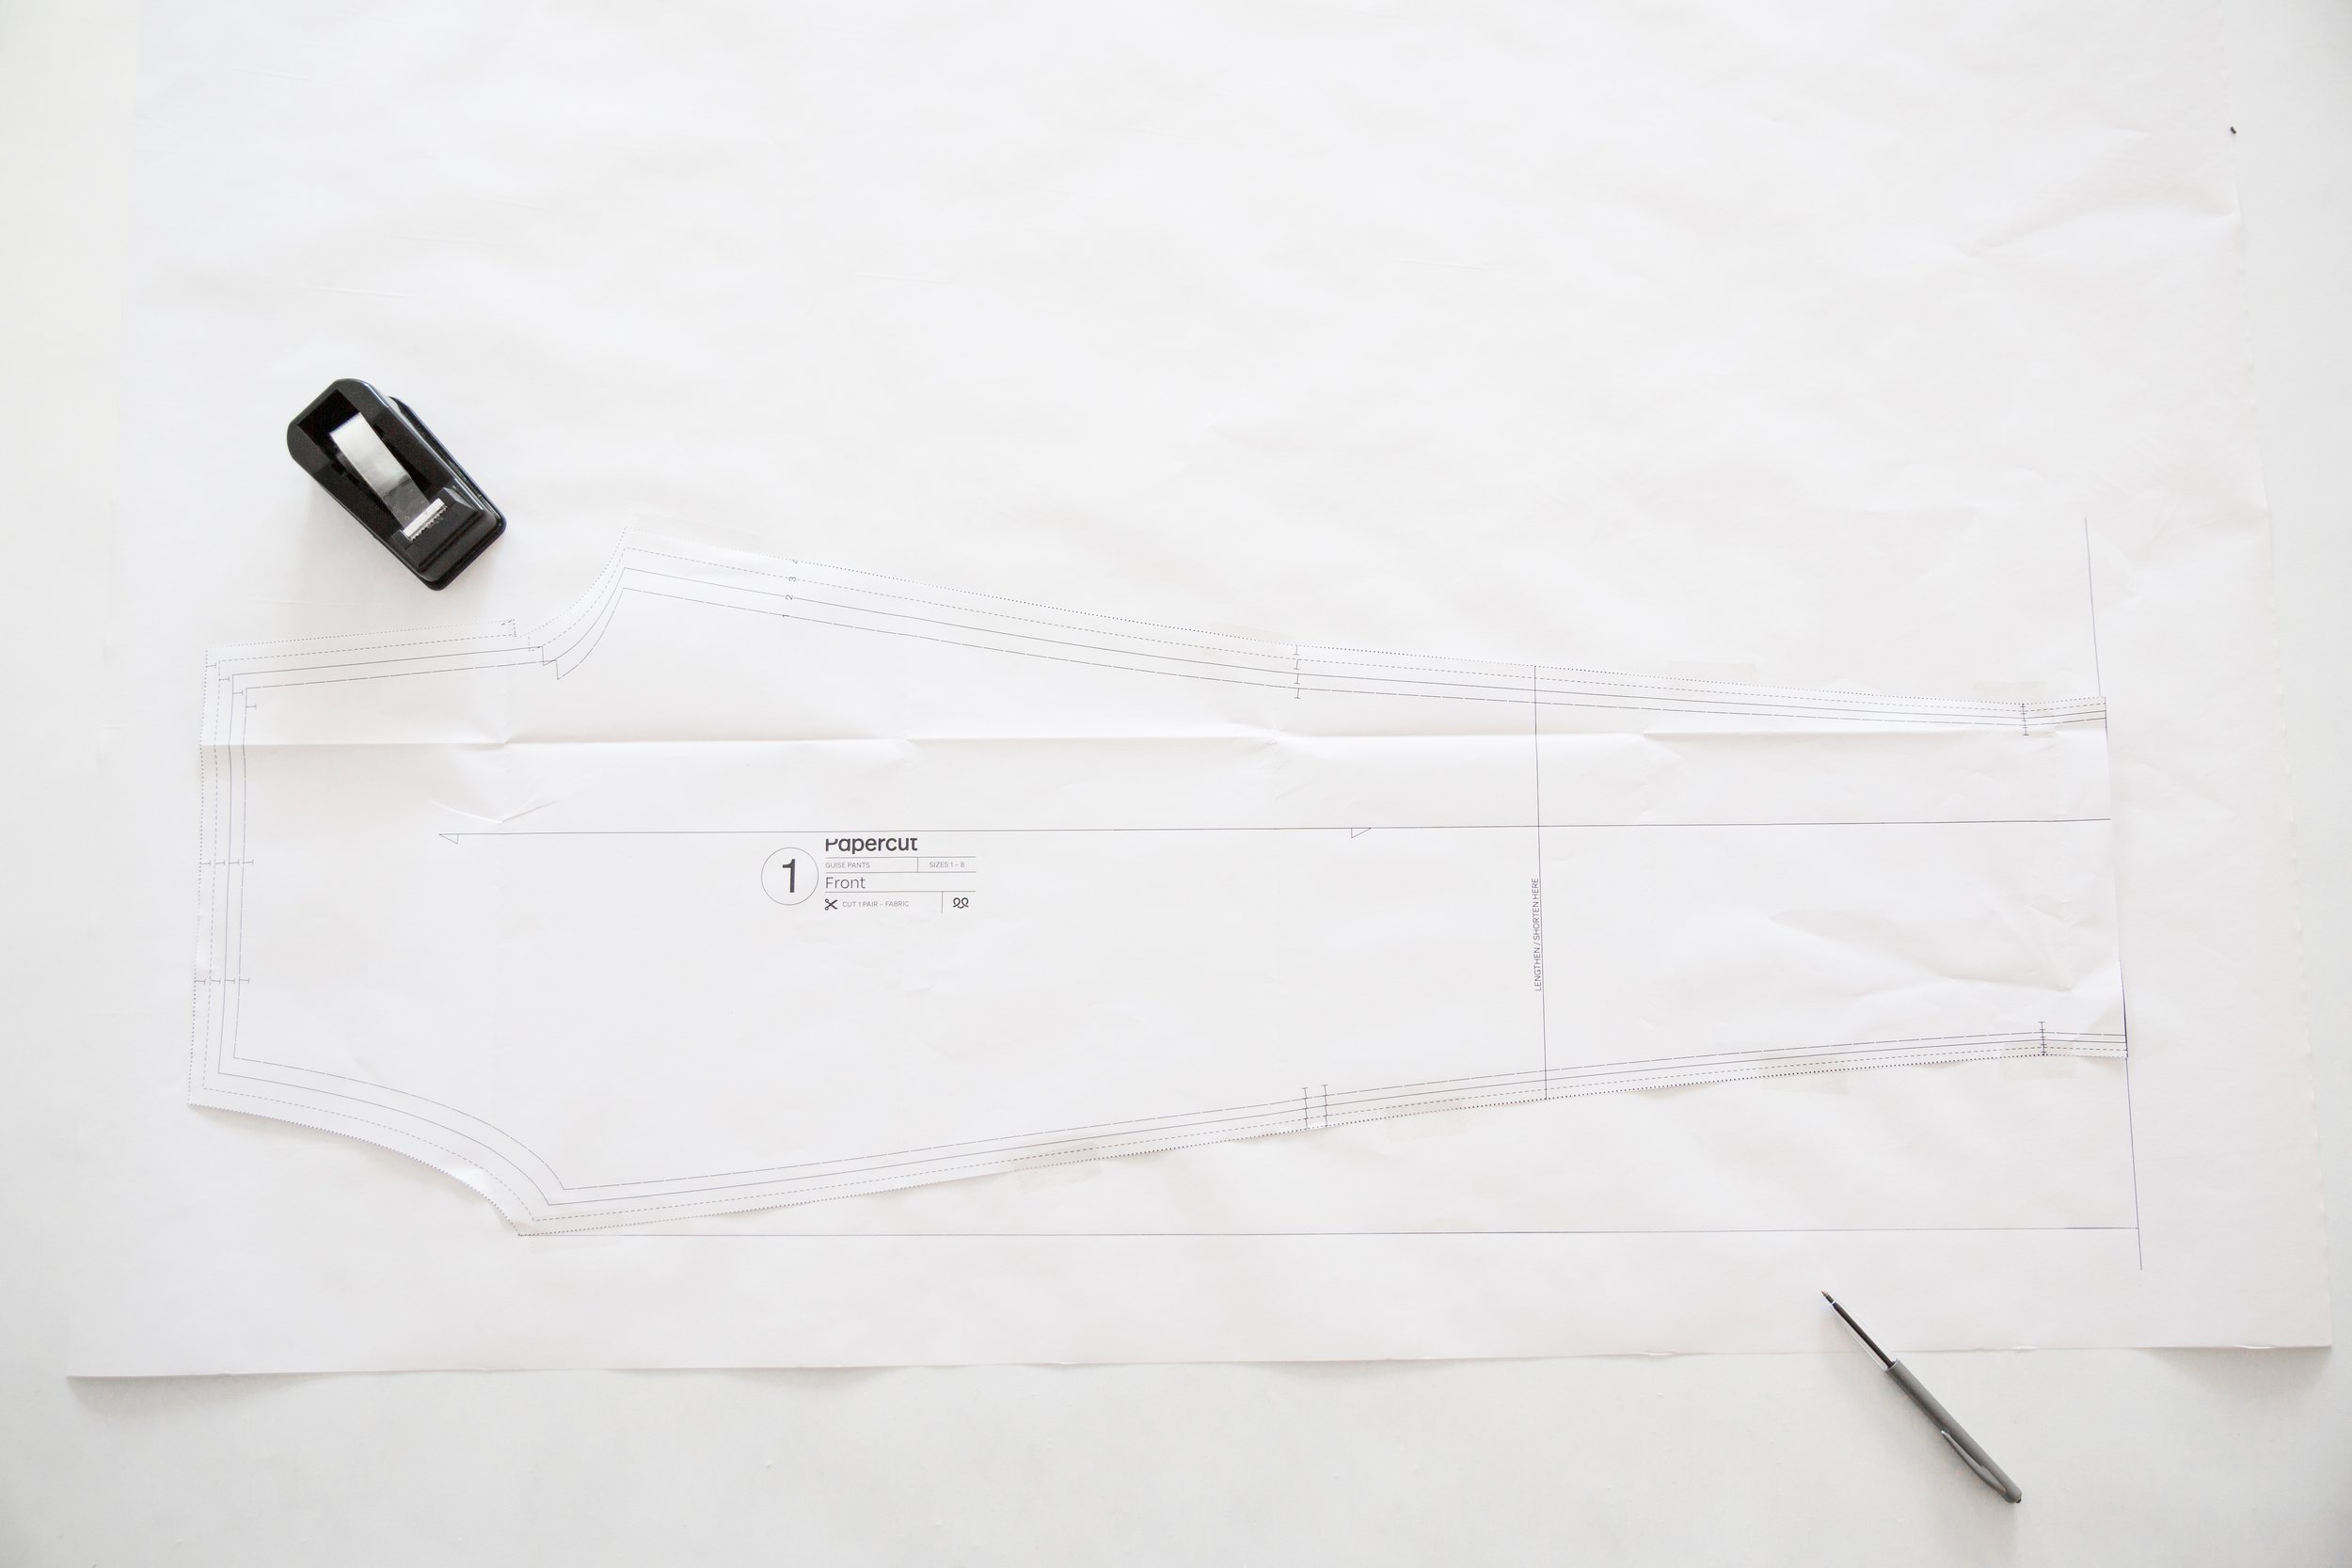
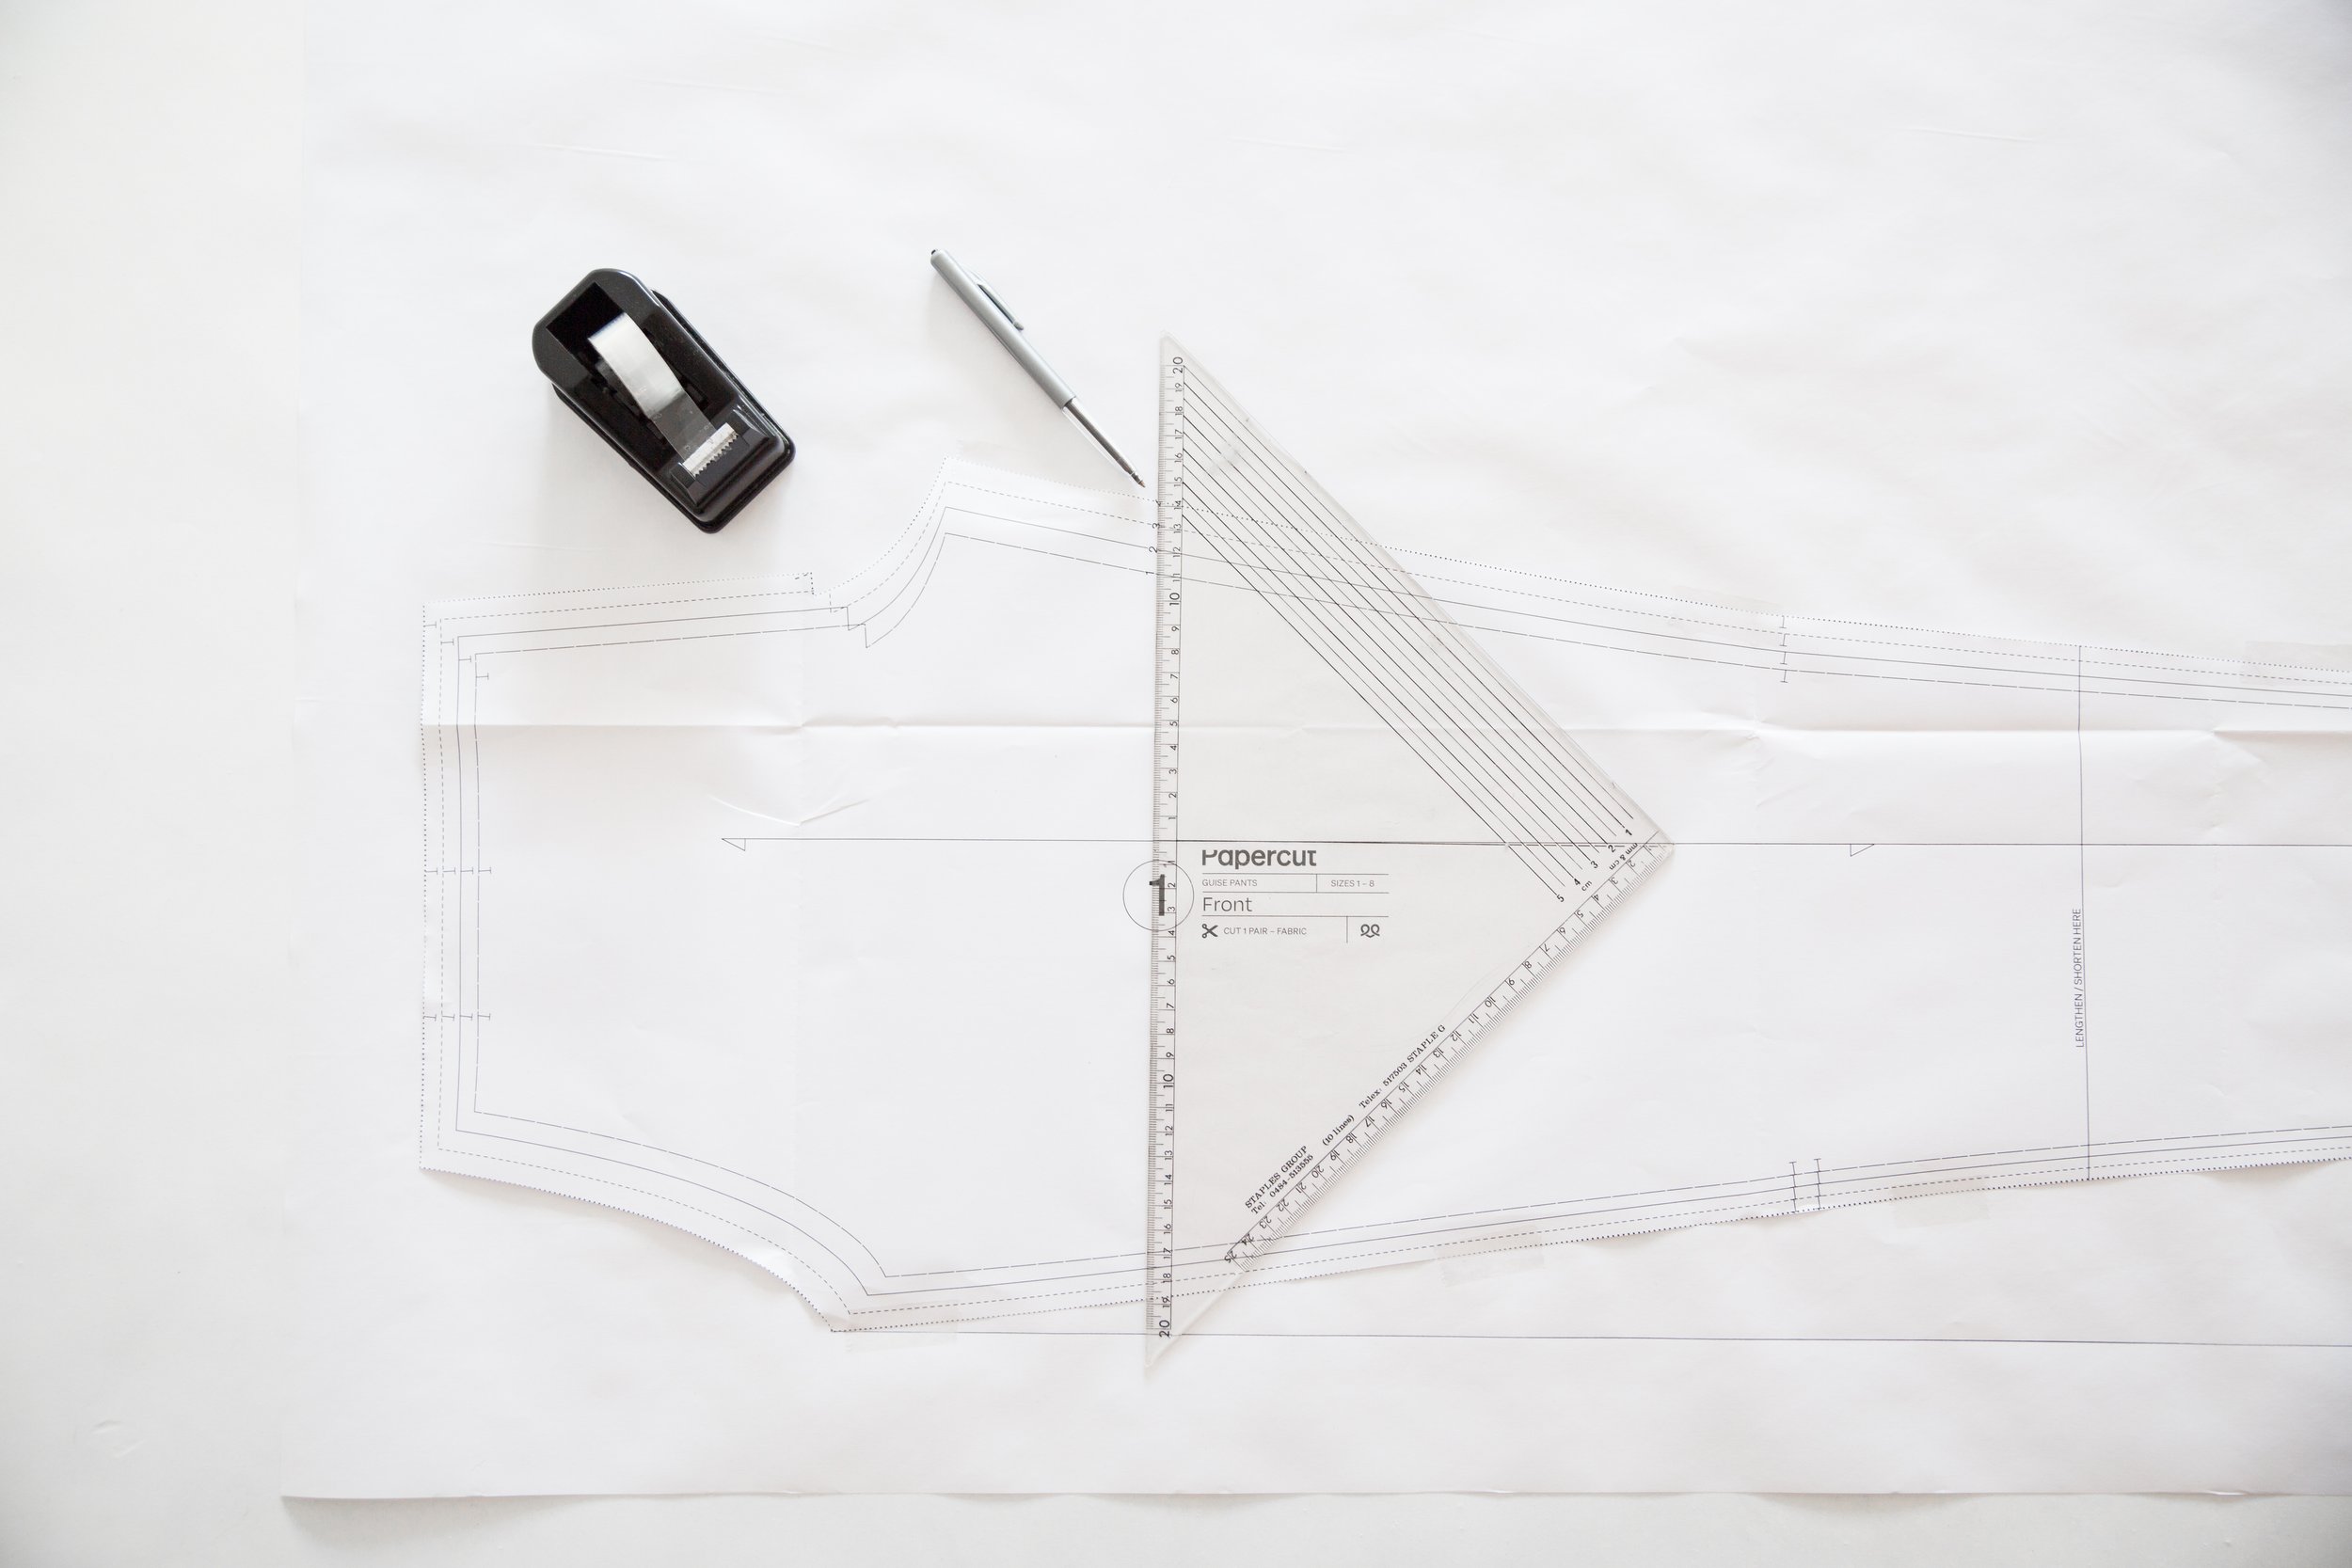
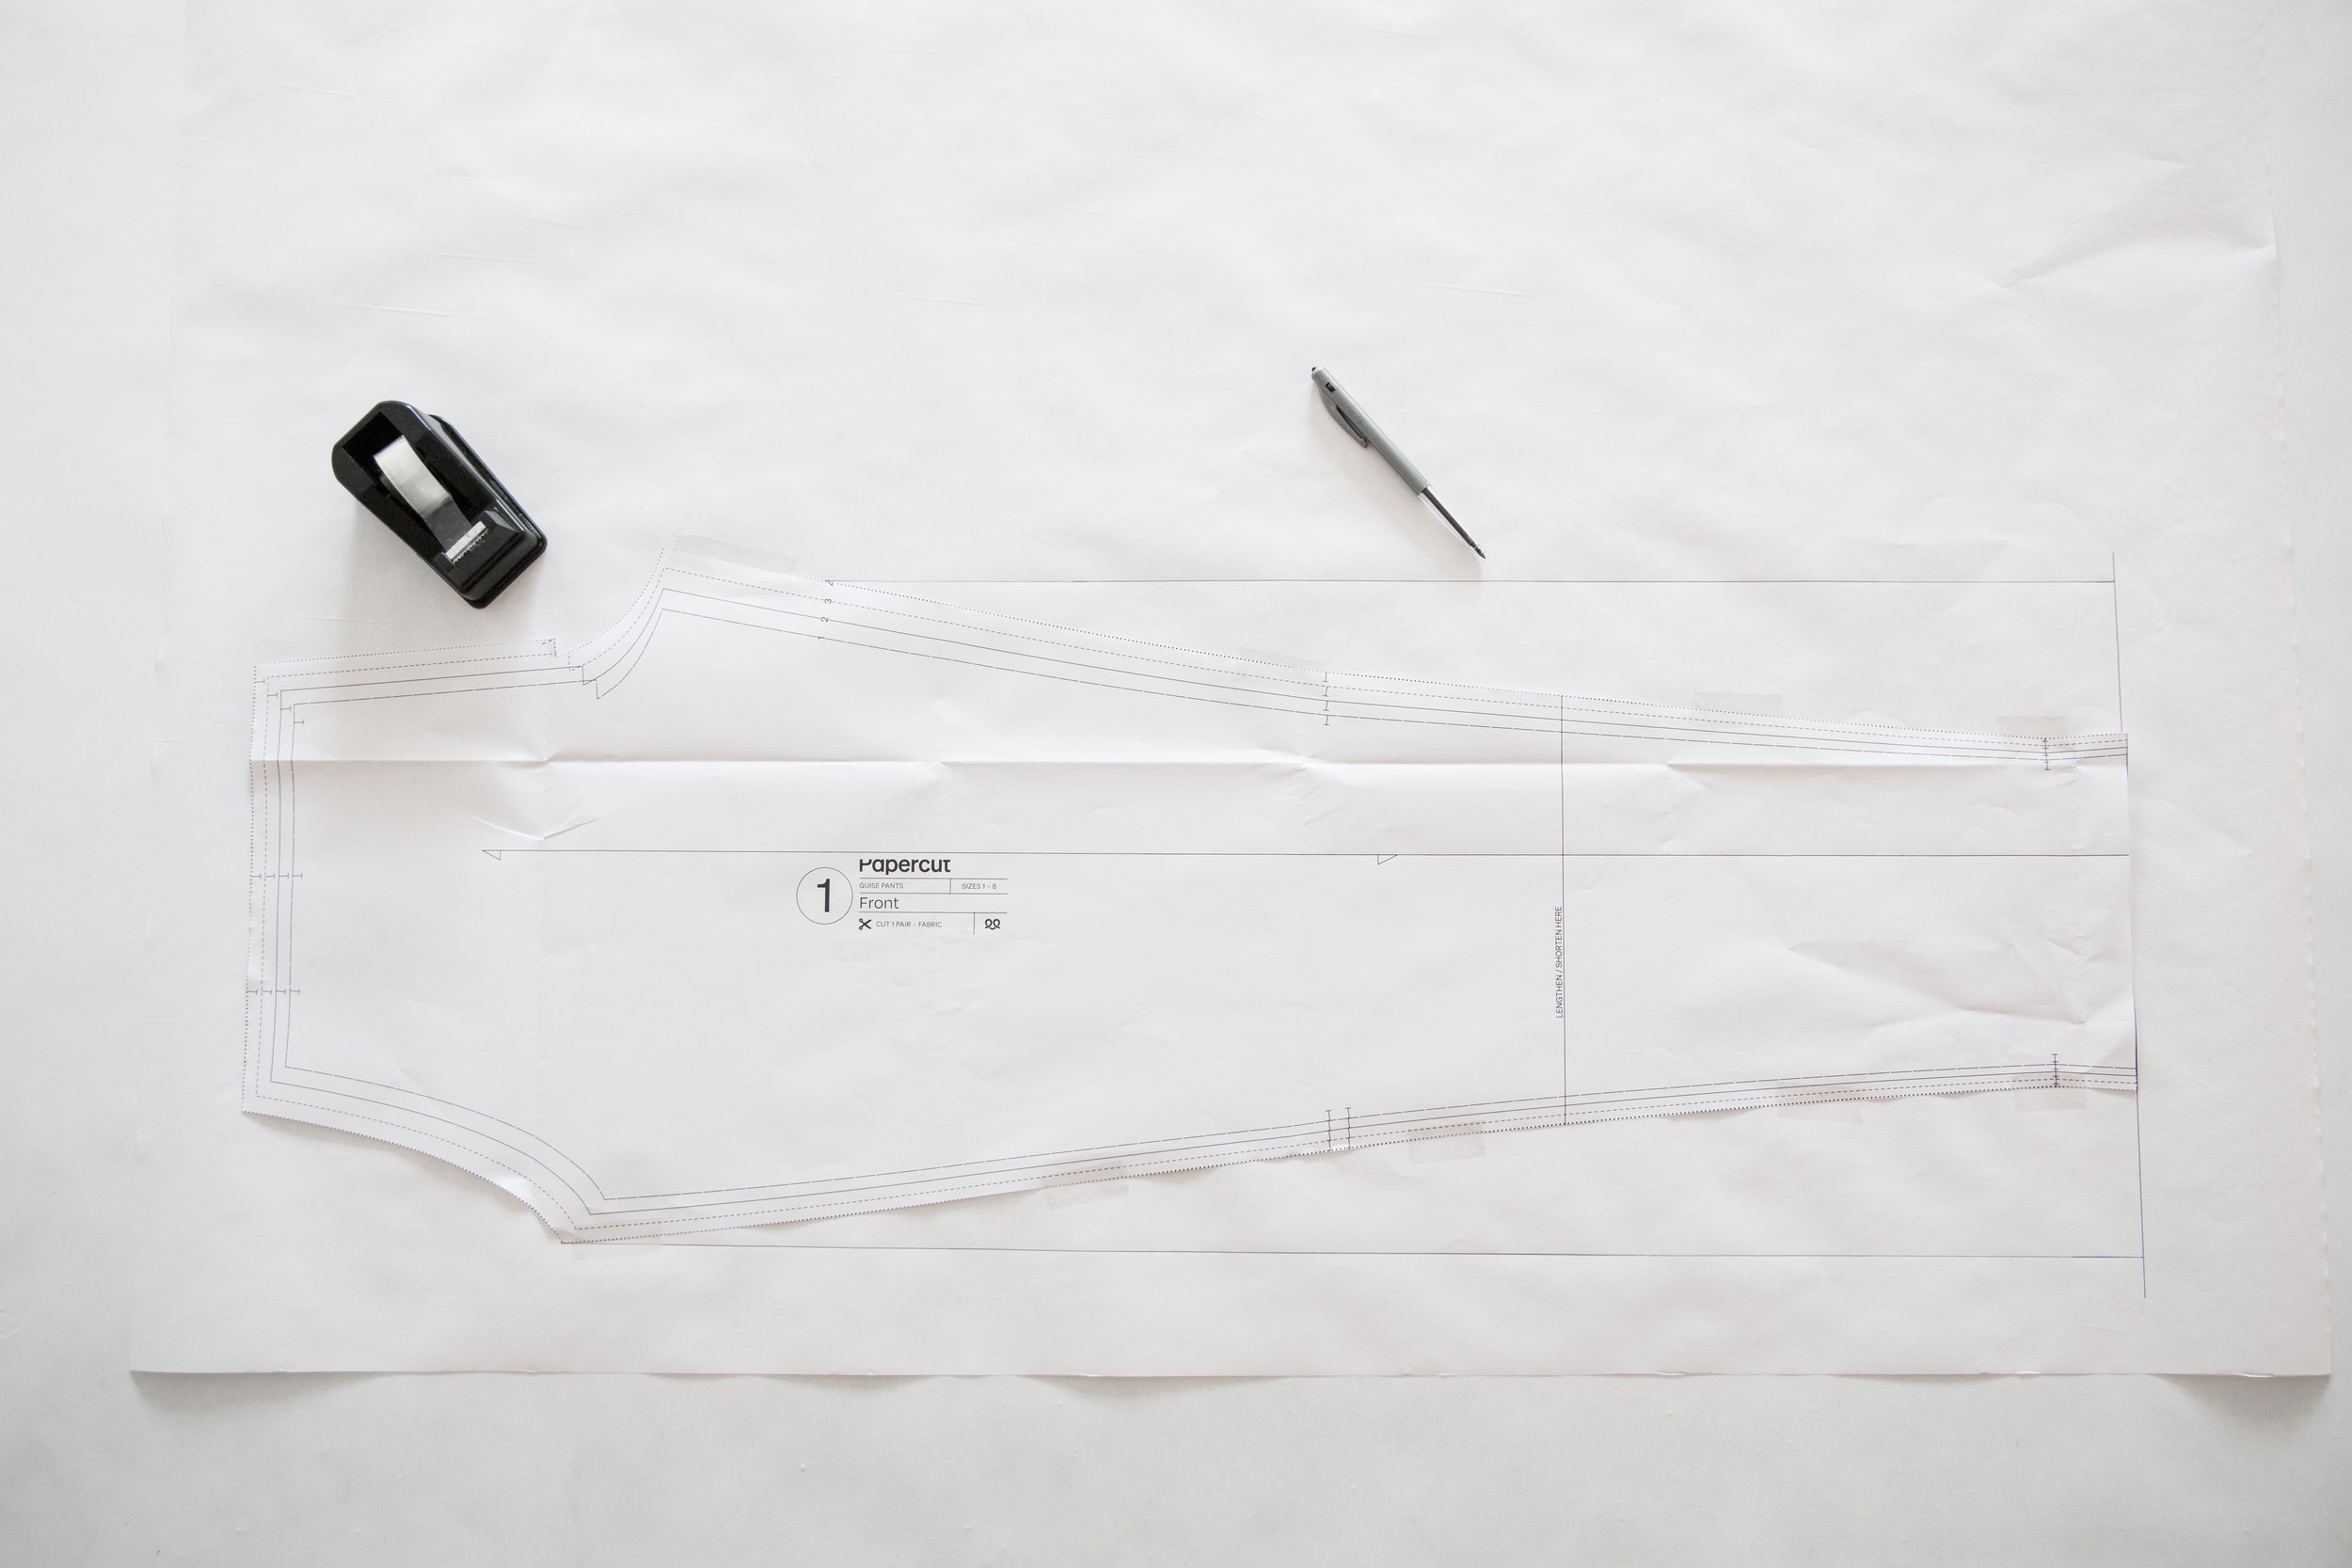
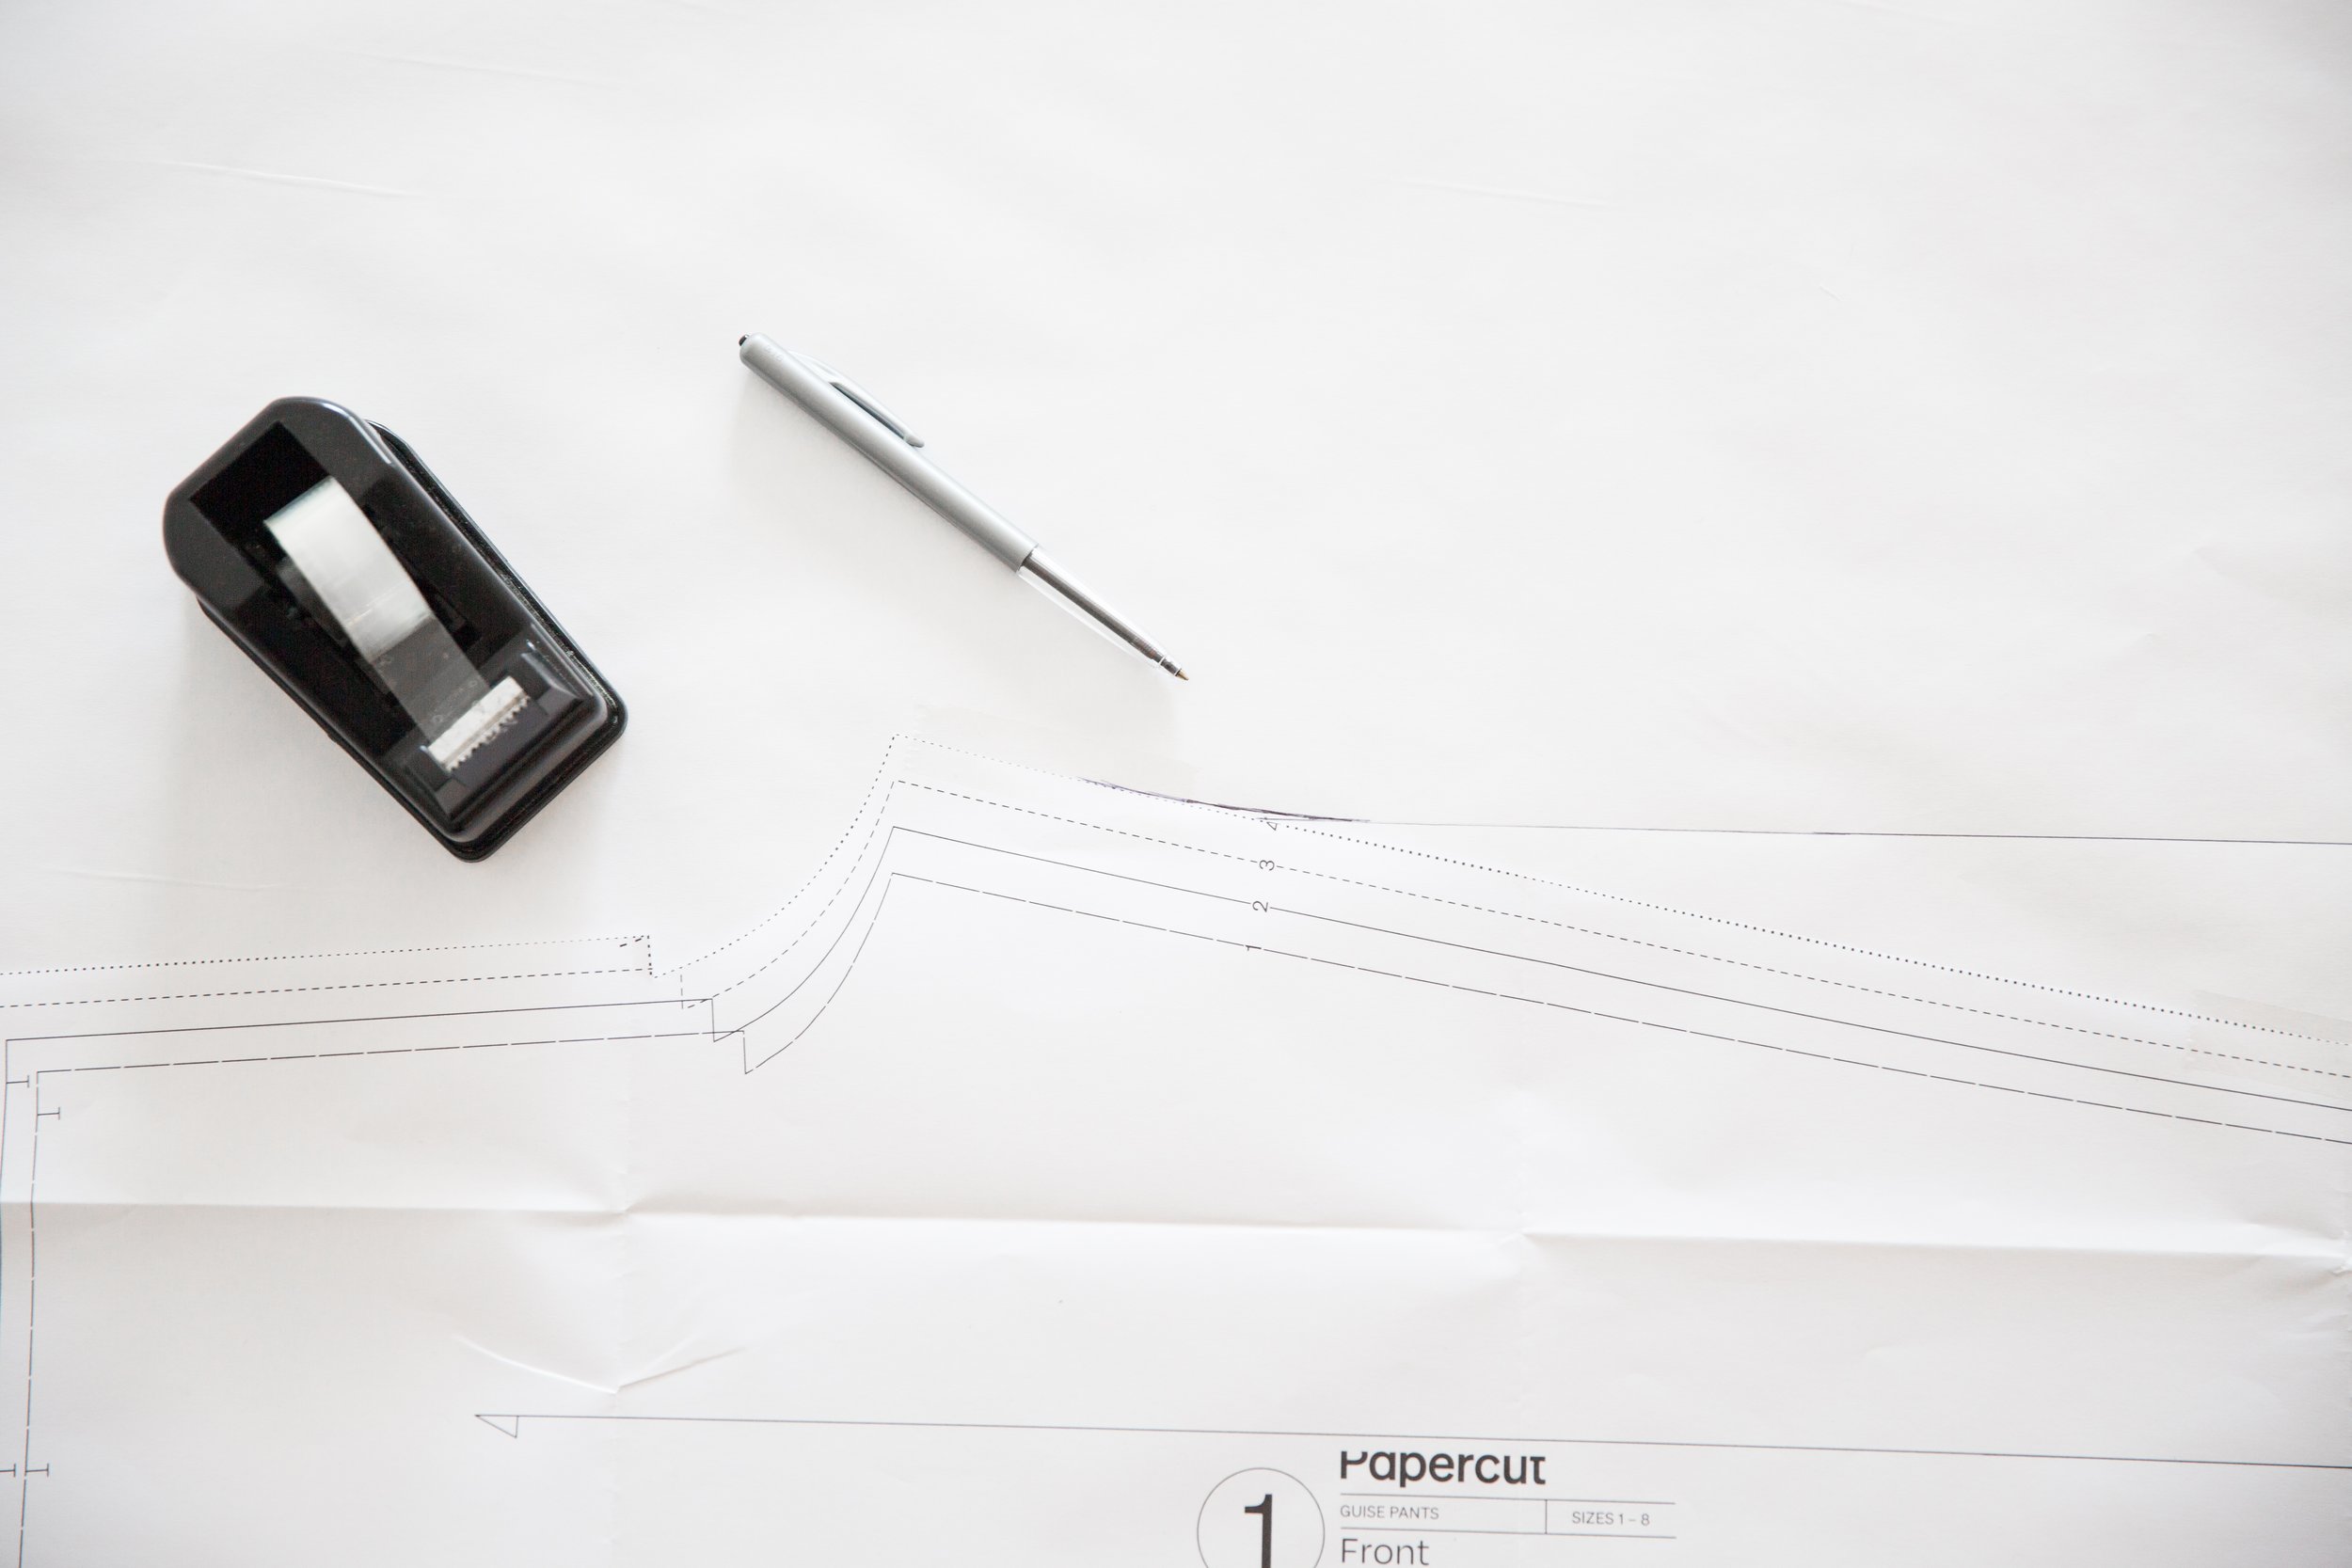
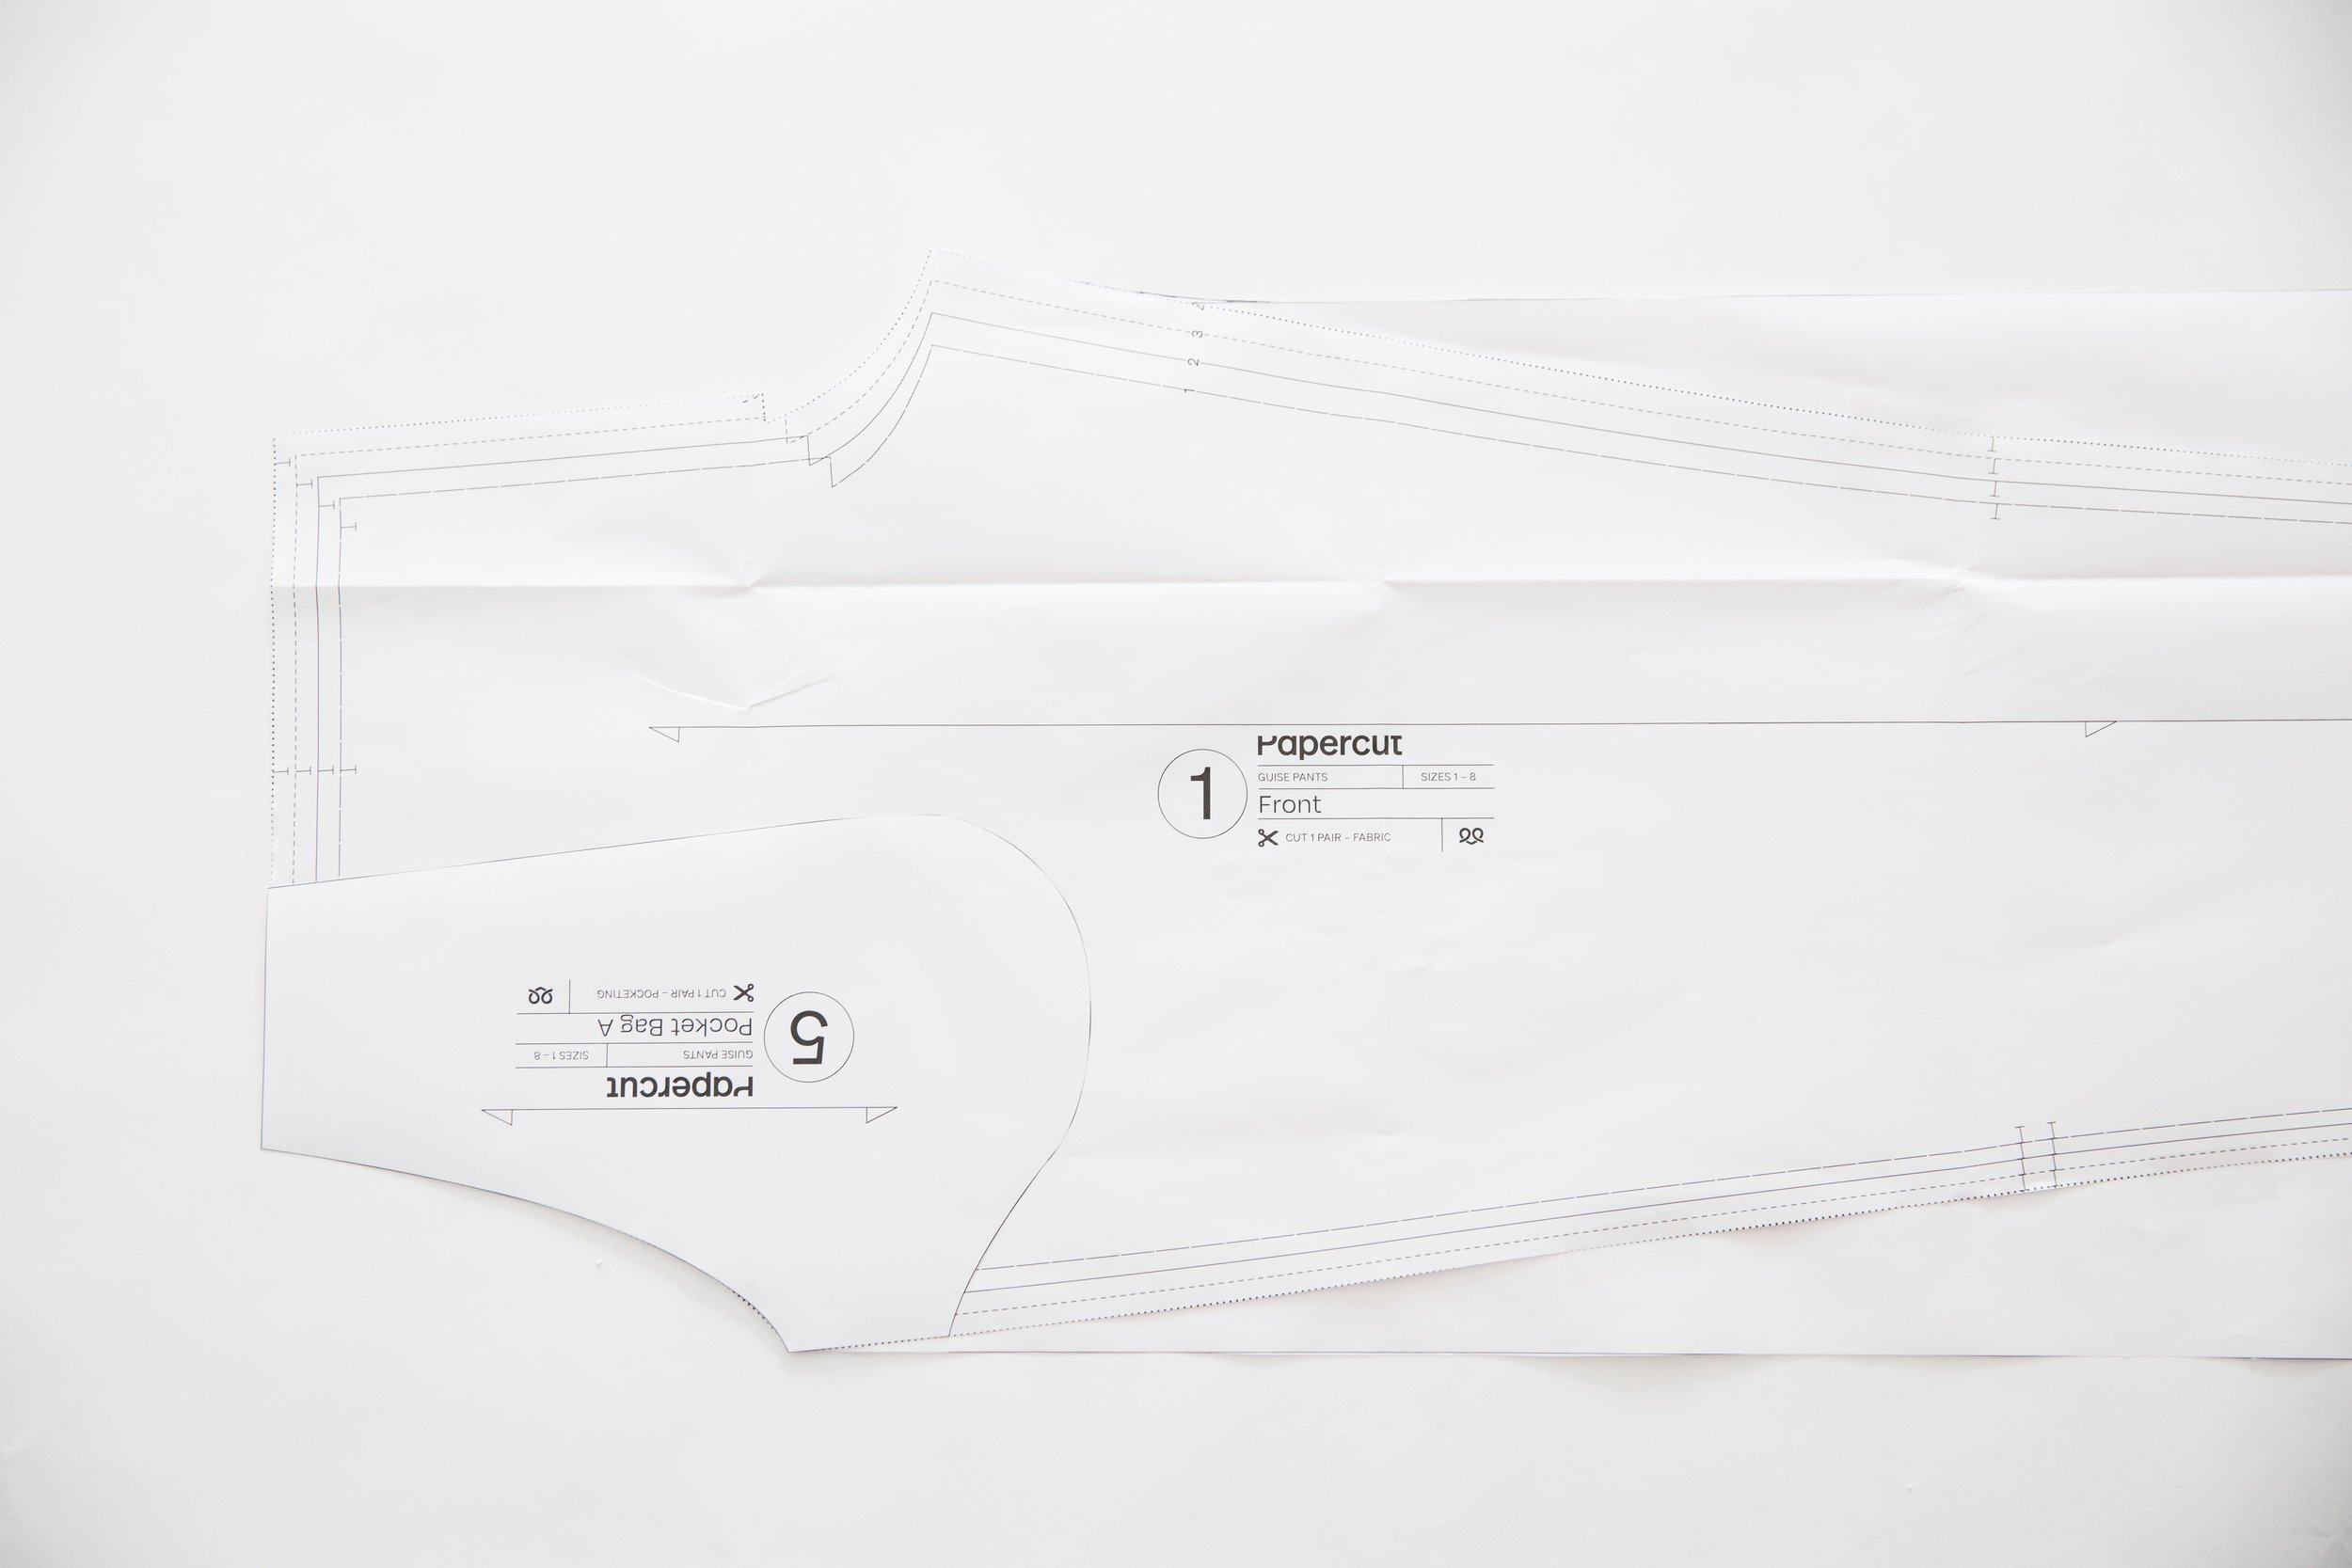
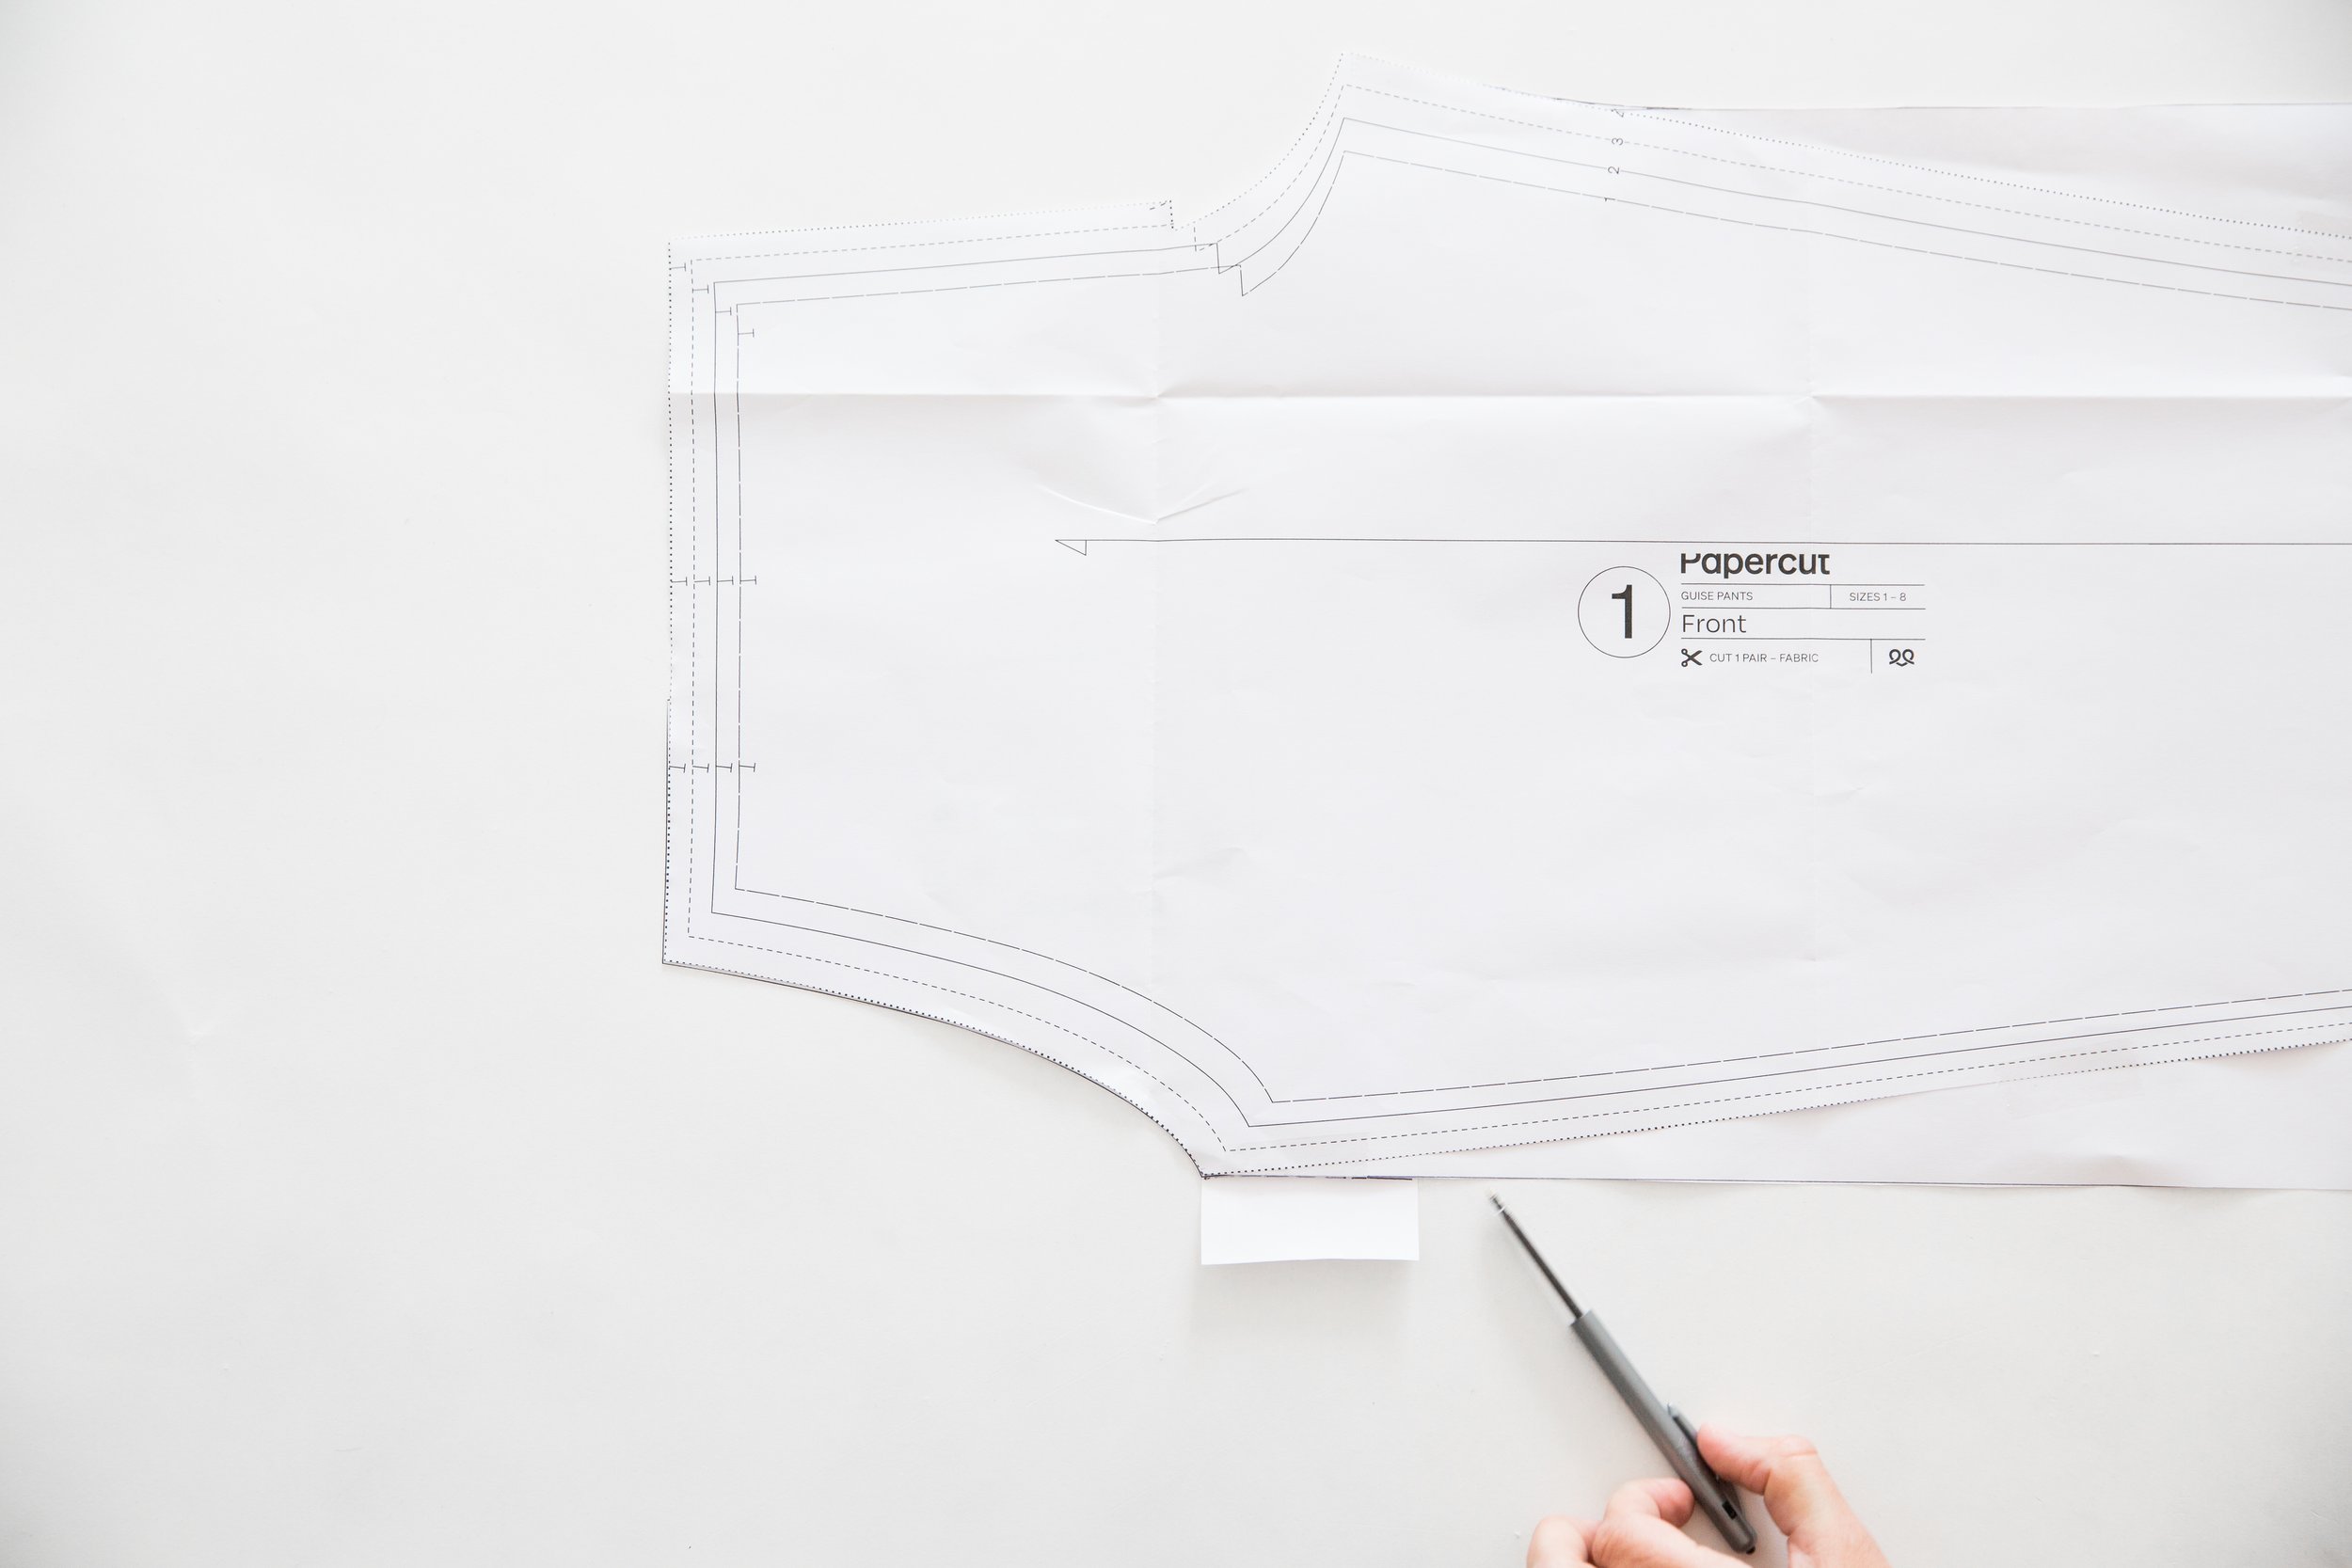
Place your front leg pattern piece on top of a piece of blank paper. Extend the length of your grainline to reach from the pant hem edge, to the waistline edge. Also draw a line extending the length of the hem edge line. As seen in pictures above.
Step 2
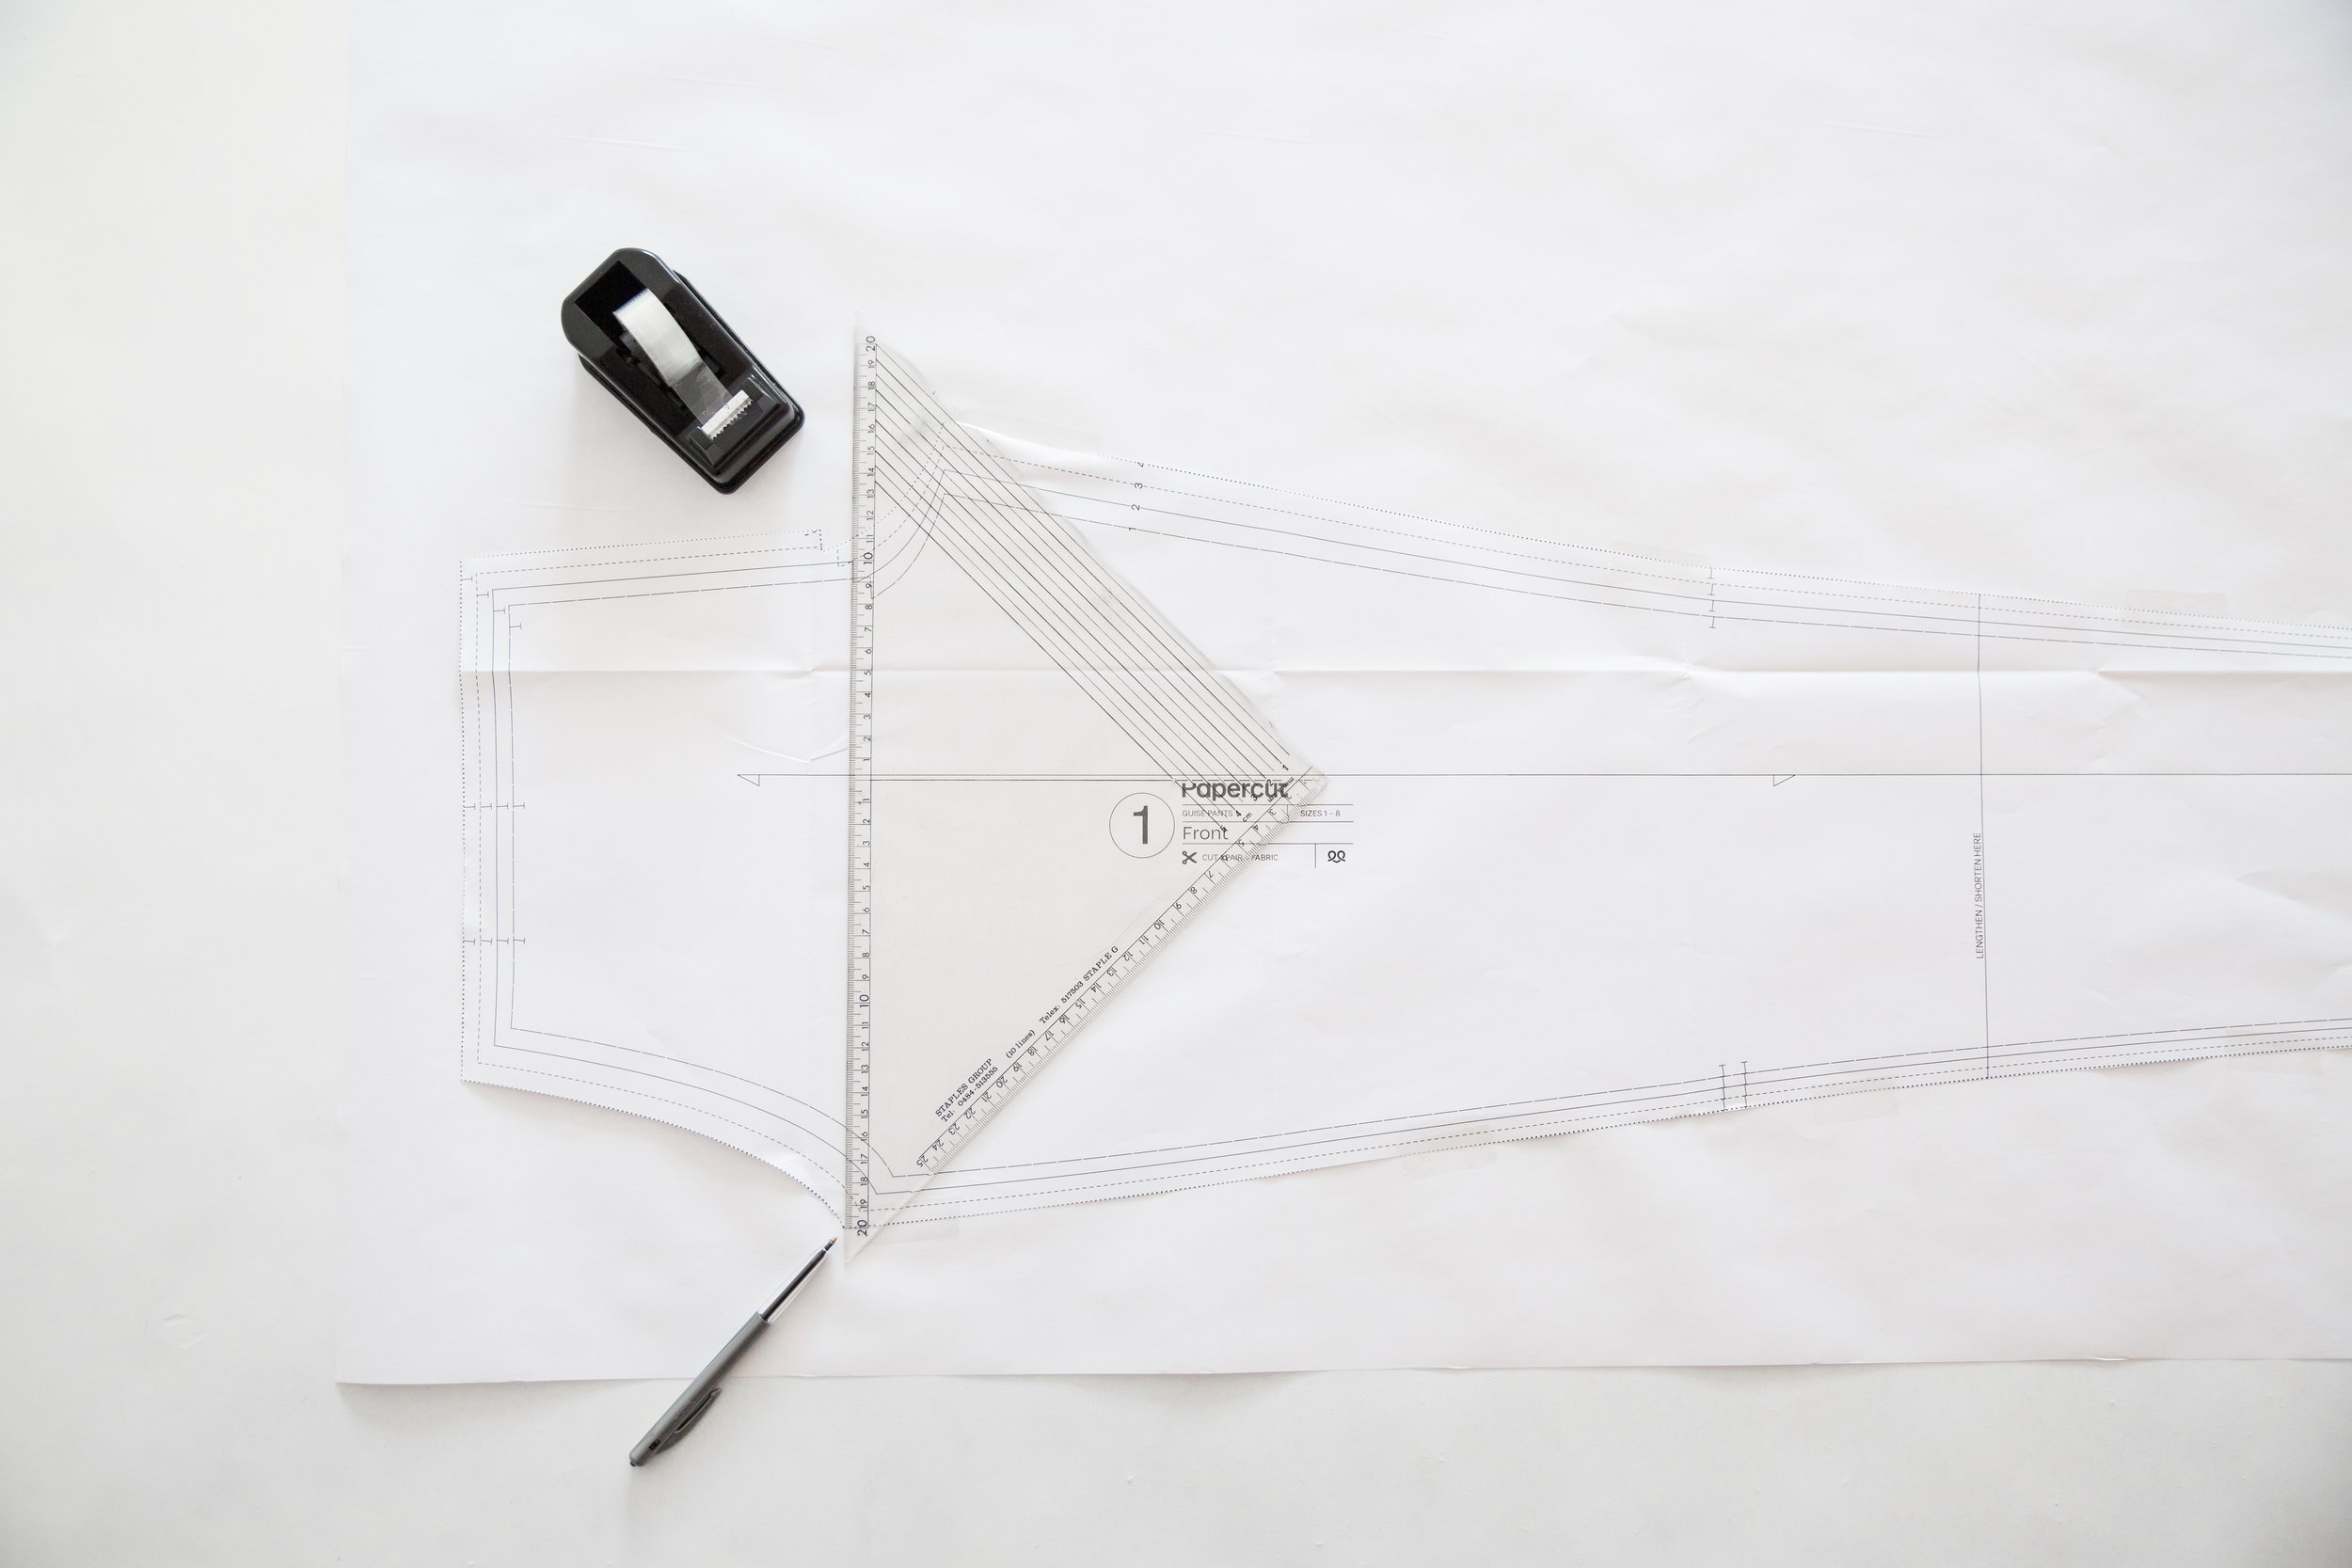
Measuring out from the grainline to the side seam, find the widest point. Draw a line from this point down to the extended hem line, parallel to the grainline.
Step 3
Choose a point on the inner leg to start your extra width from. Above, we choose to to start 9cm down from the crutch line (just so happens to be where the size numbers sits, if you want to follow that as a guideline!) From this point, measure the distance to the grainline. Draw a parallel line from this point down to the extended hemline. you can check you’ve drawn it straight by measuring from the grainline out to your new inside leg seam along the hemline and it should match to that at the upper inner leg.
Step 4
Cut out your new wide front leg pattern piece.
Step 5
Repeat the above steps 1-4 to your back leg pattern piece.
Make sure to put the front and back leg pattern pieces on top of each other to ensure the inner and outer leg seam lengths match!
Step 6
You will also need to add a little extra width to your pocket bag A & B pieces.
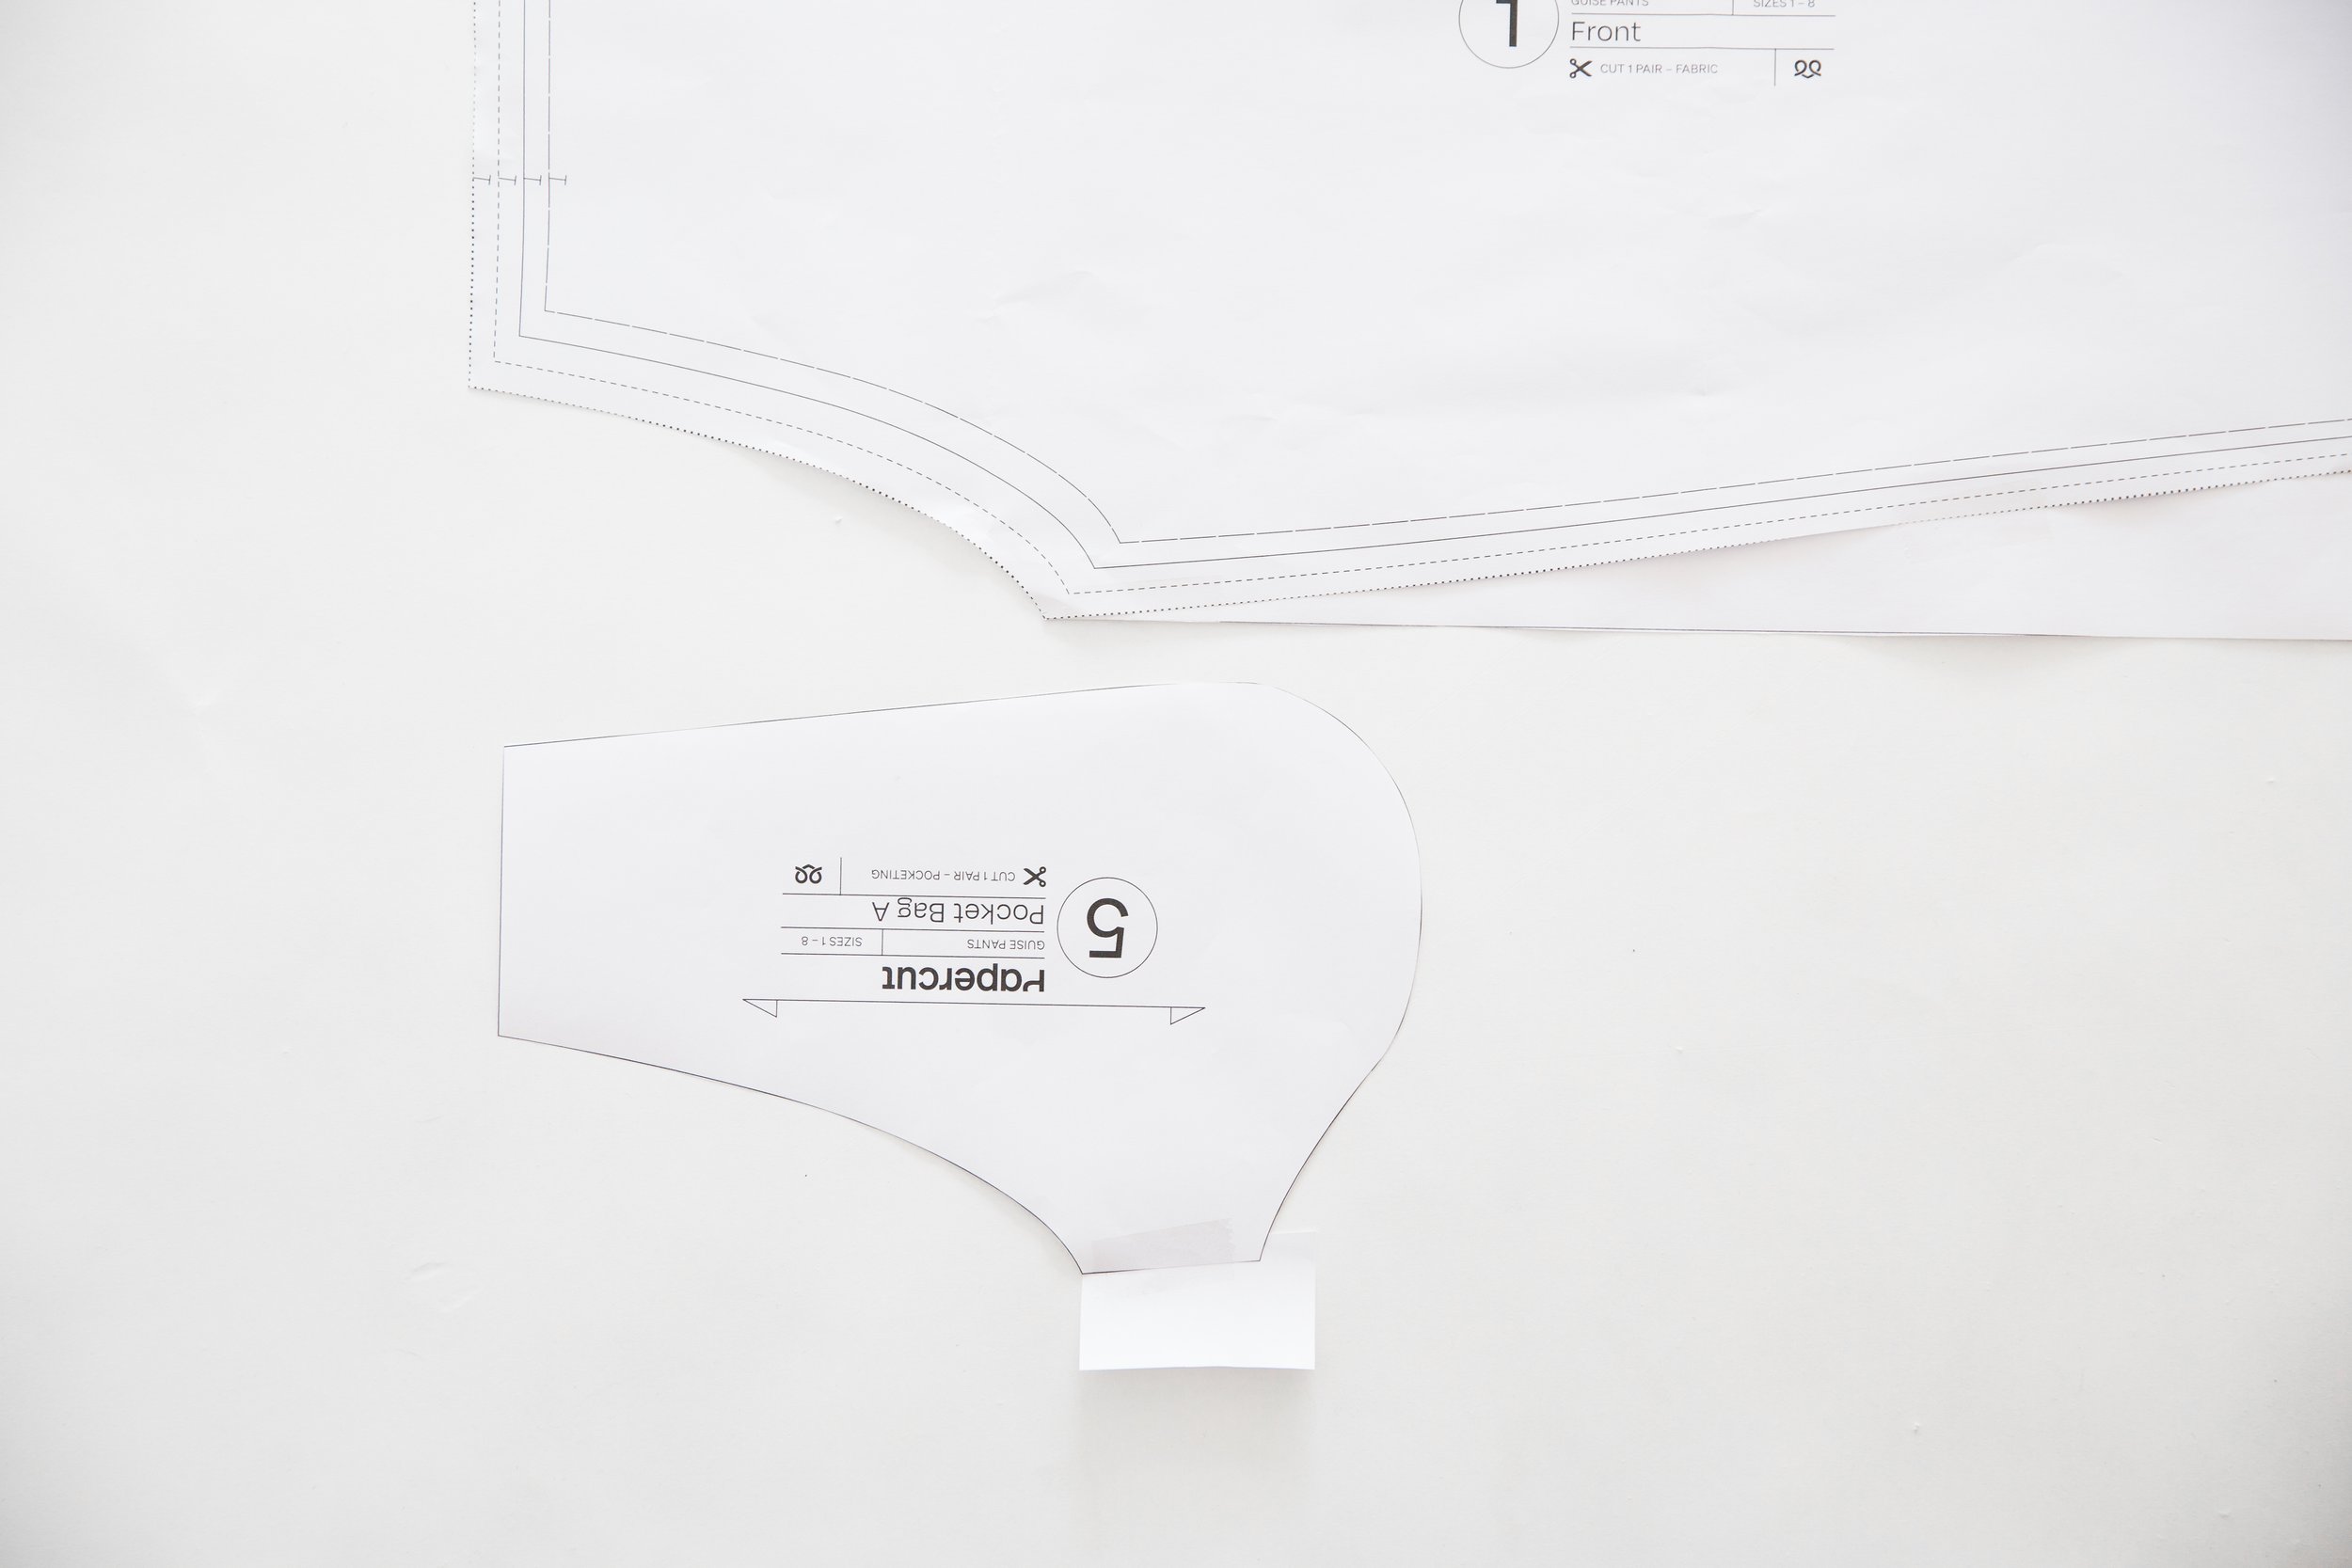
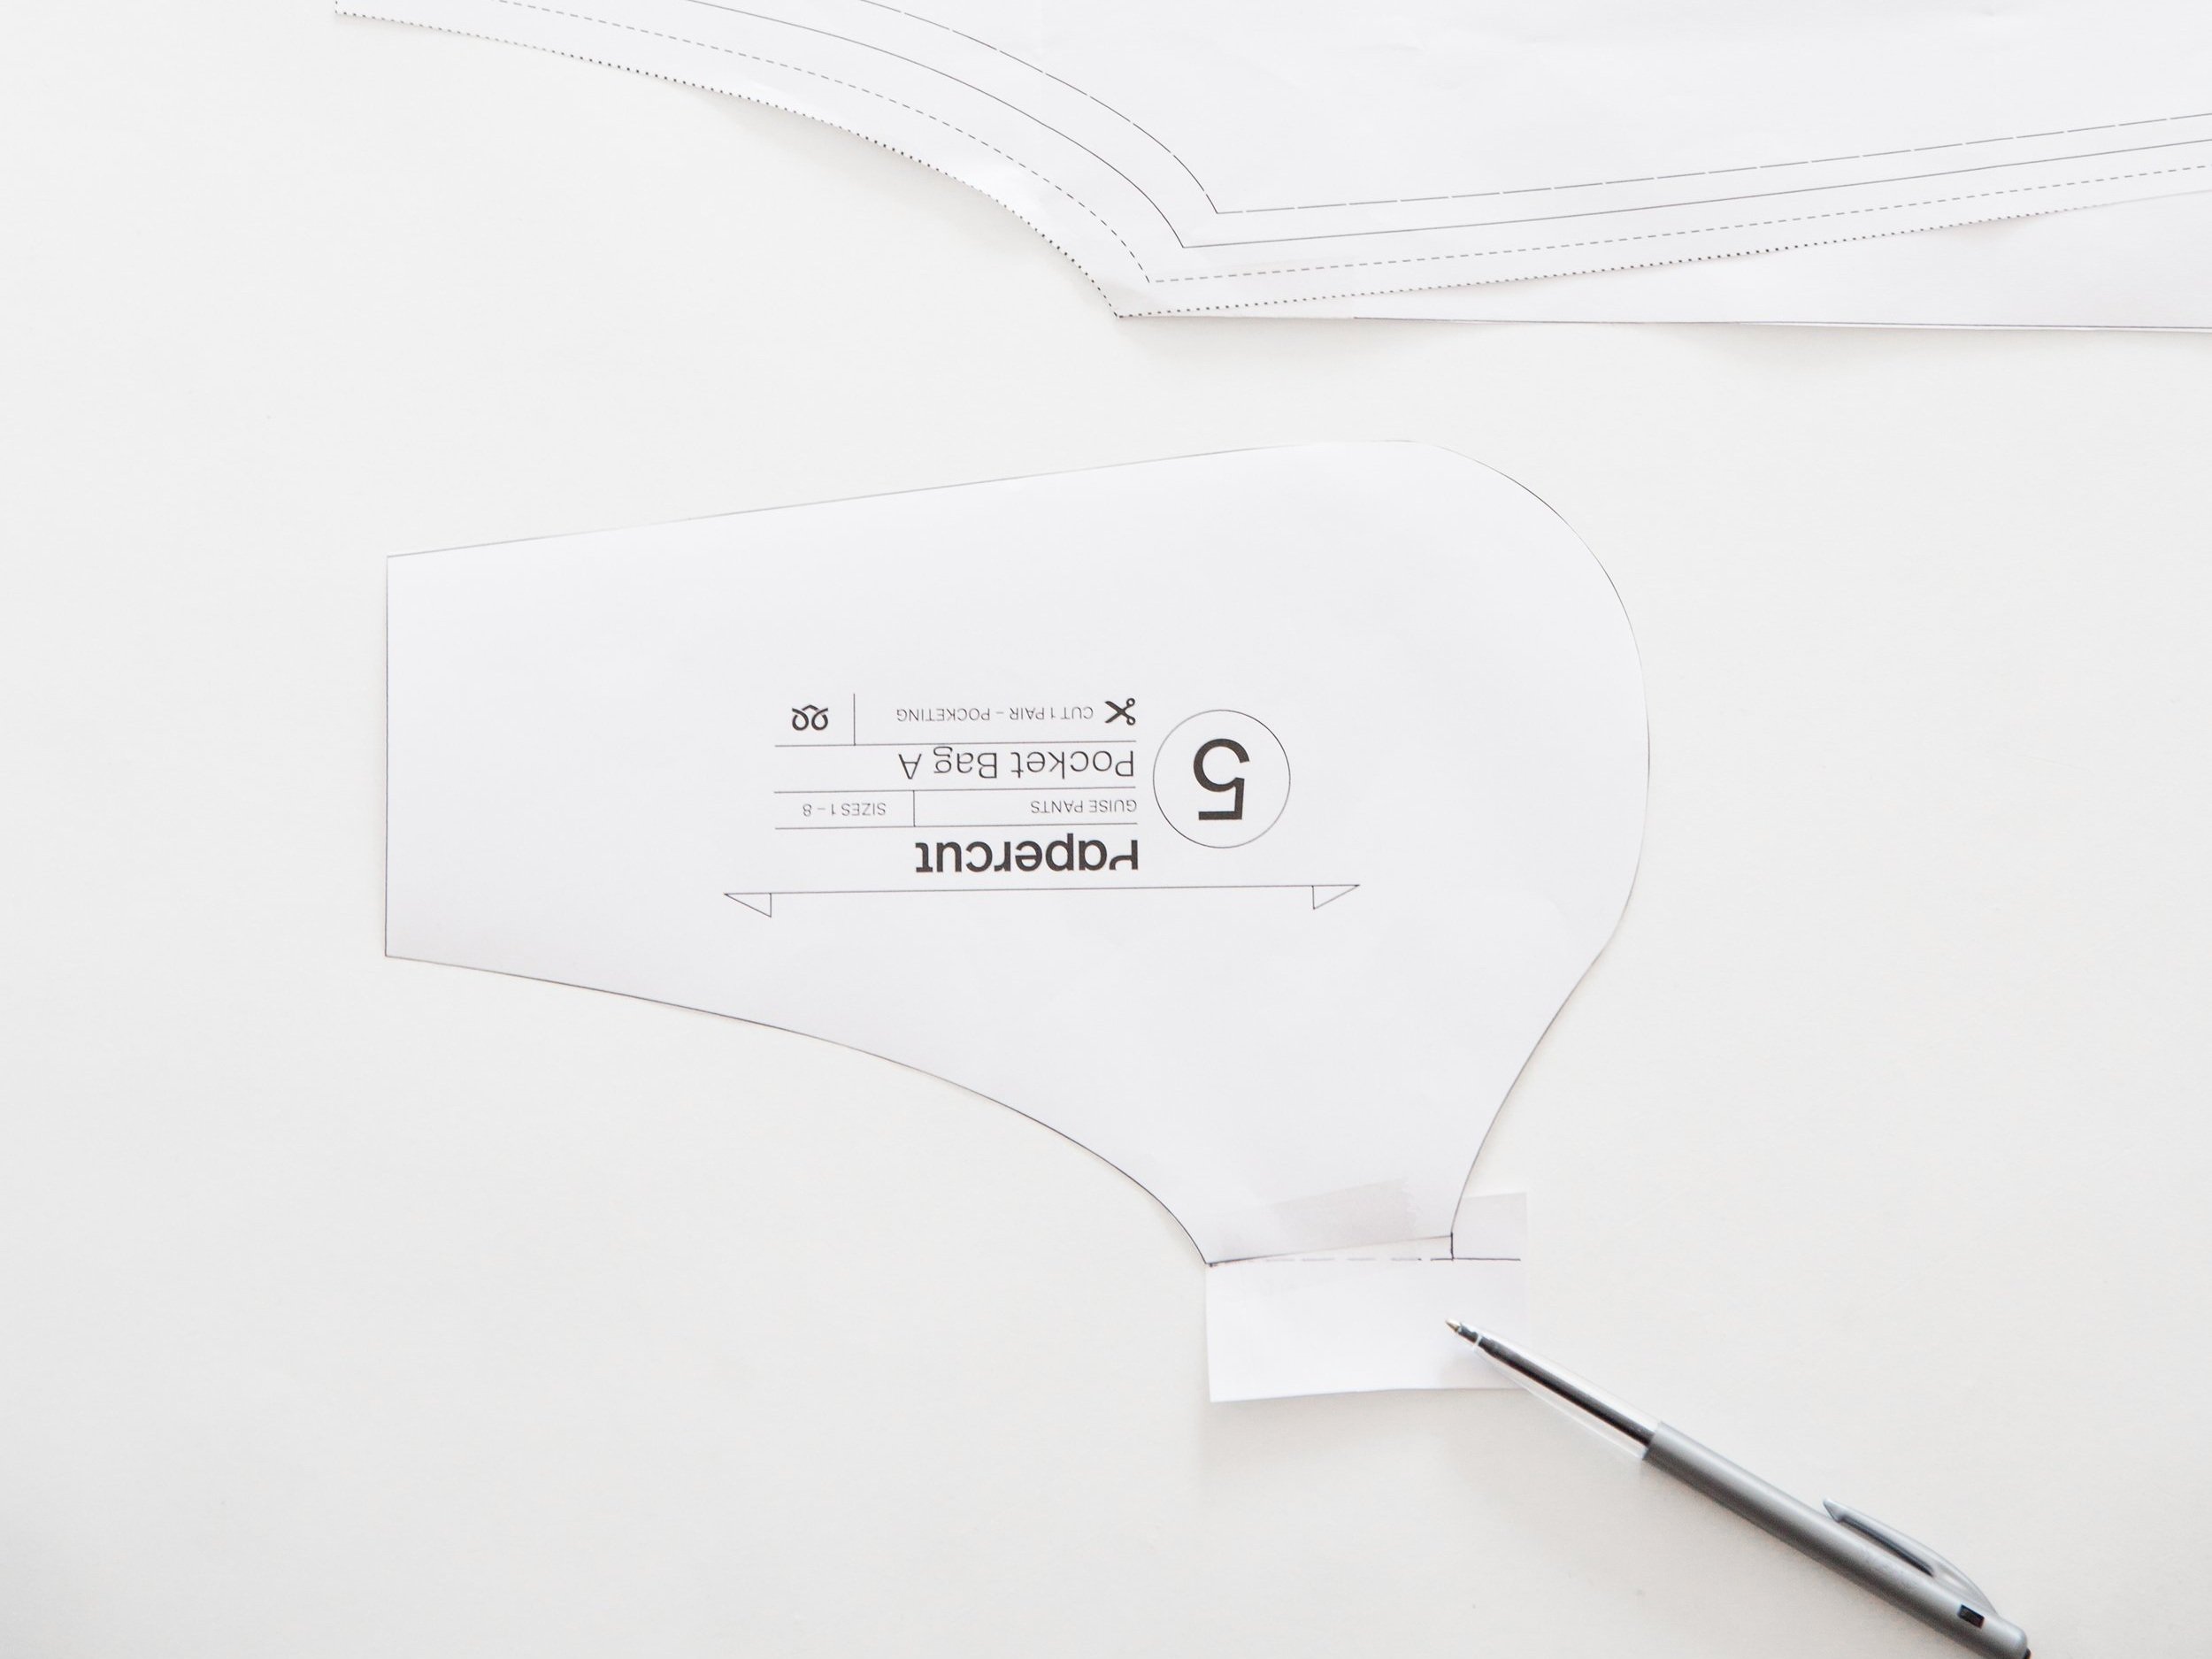
Lay your Pocket bag A on top of your new wide front leg, you will see where you need to add some width to the side seam.
Attach a small piece of paper under you pocket bag side seam, as pictured.
Lay you wide front leg pattern piece over your pocket bag, matching it up along the waist edge and pocket edge. Draw in the new side seam on your pocket bag.
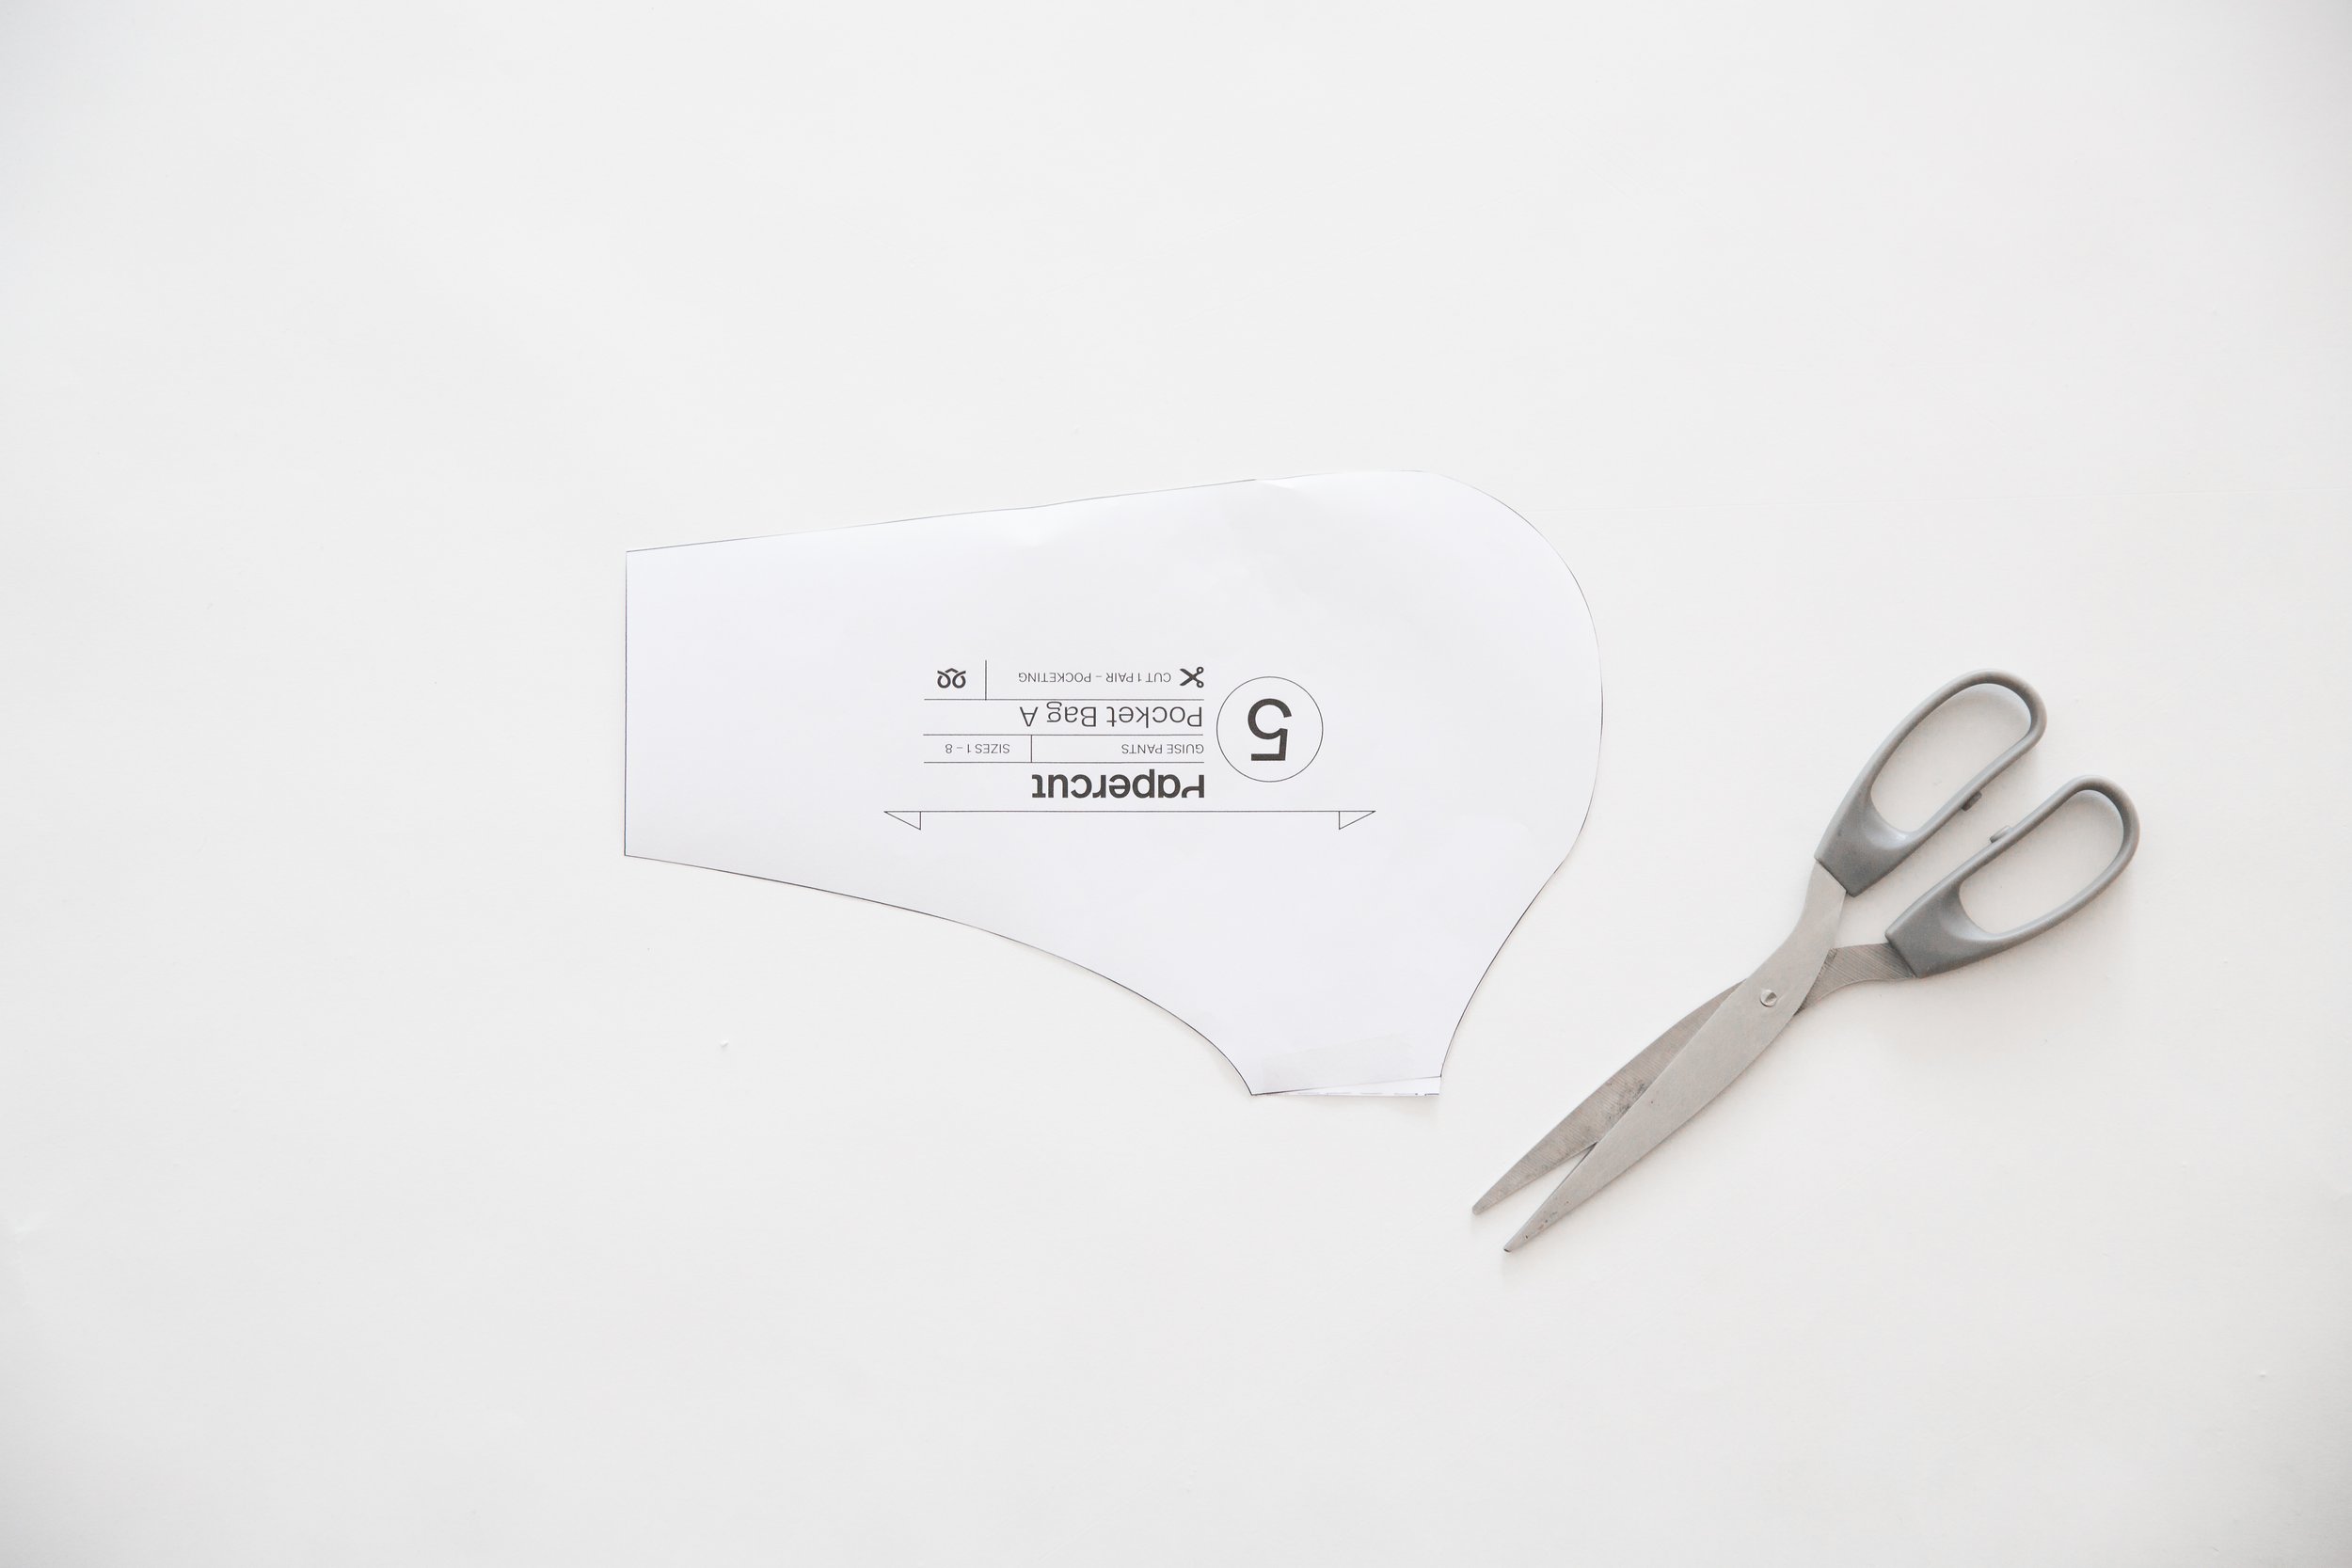
Trim new Pocket Bag A side seam.
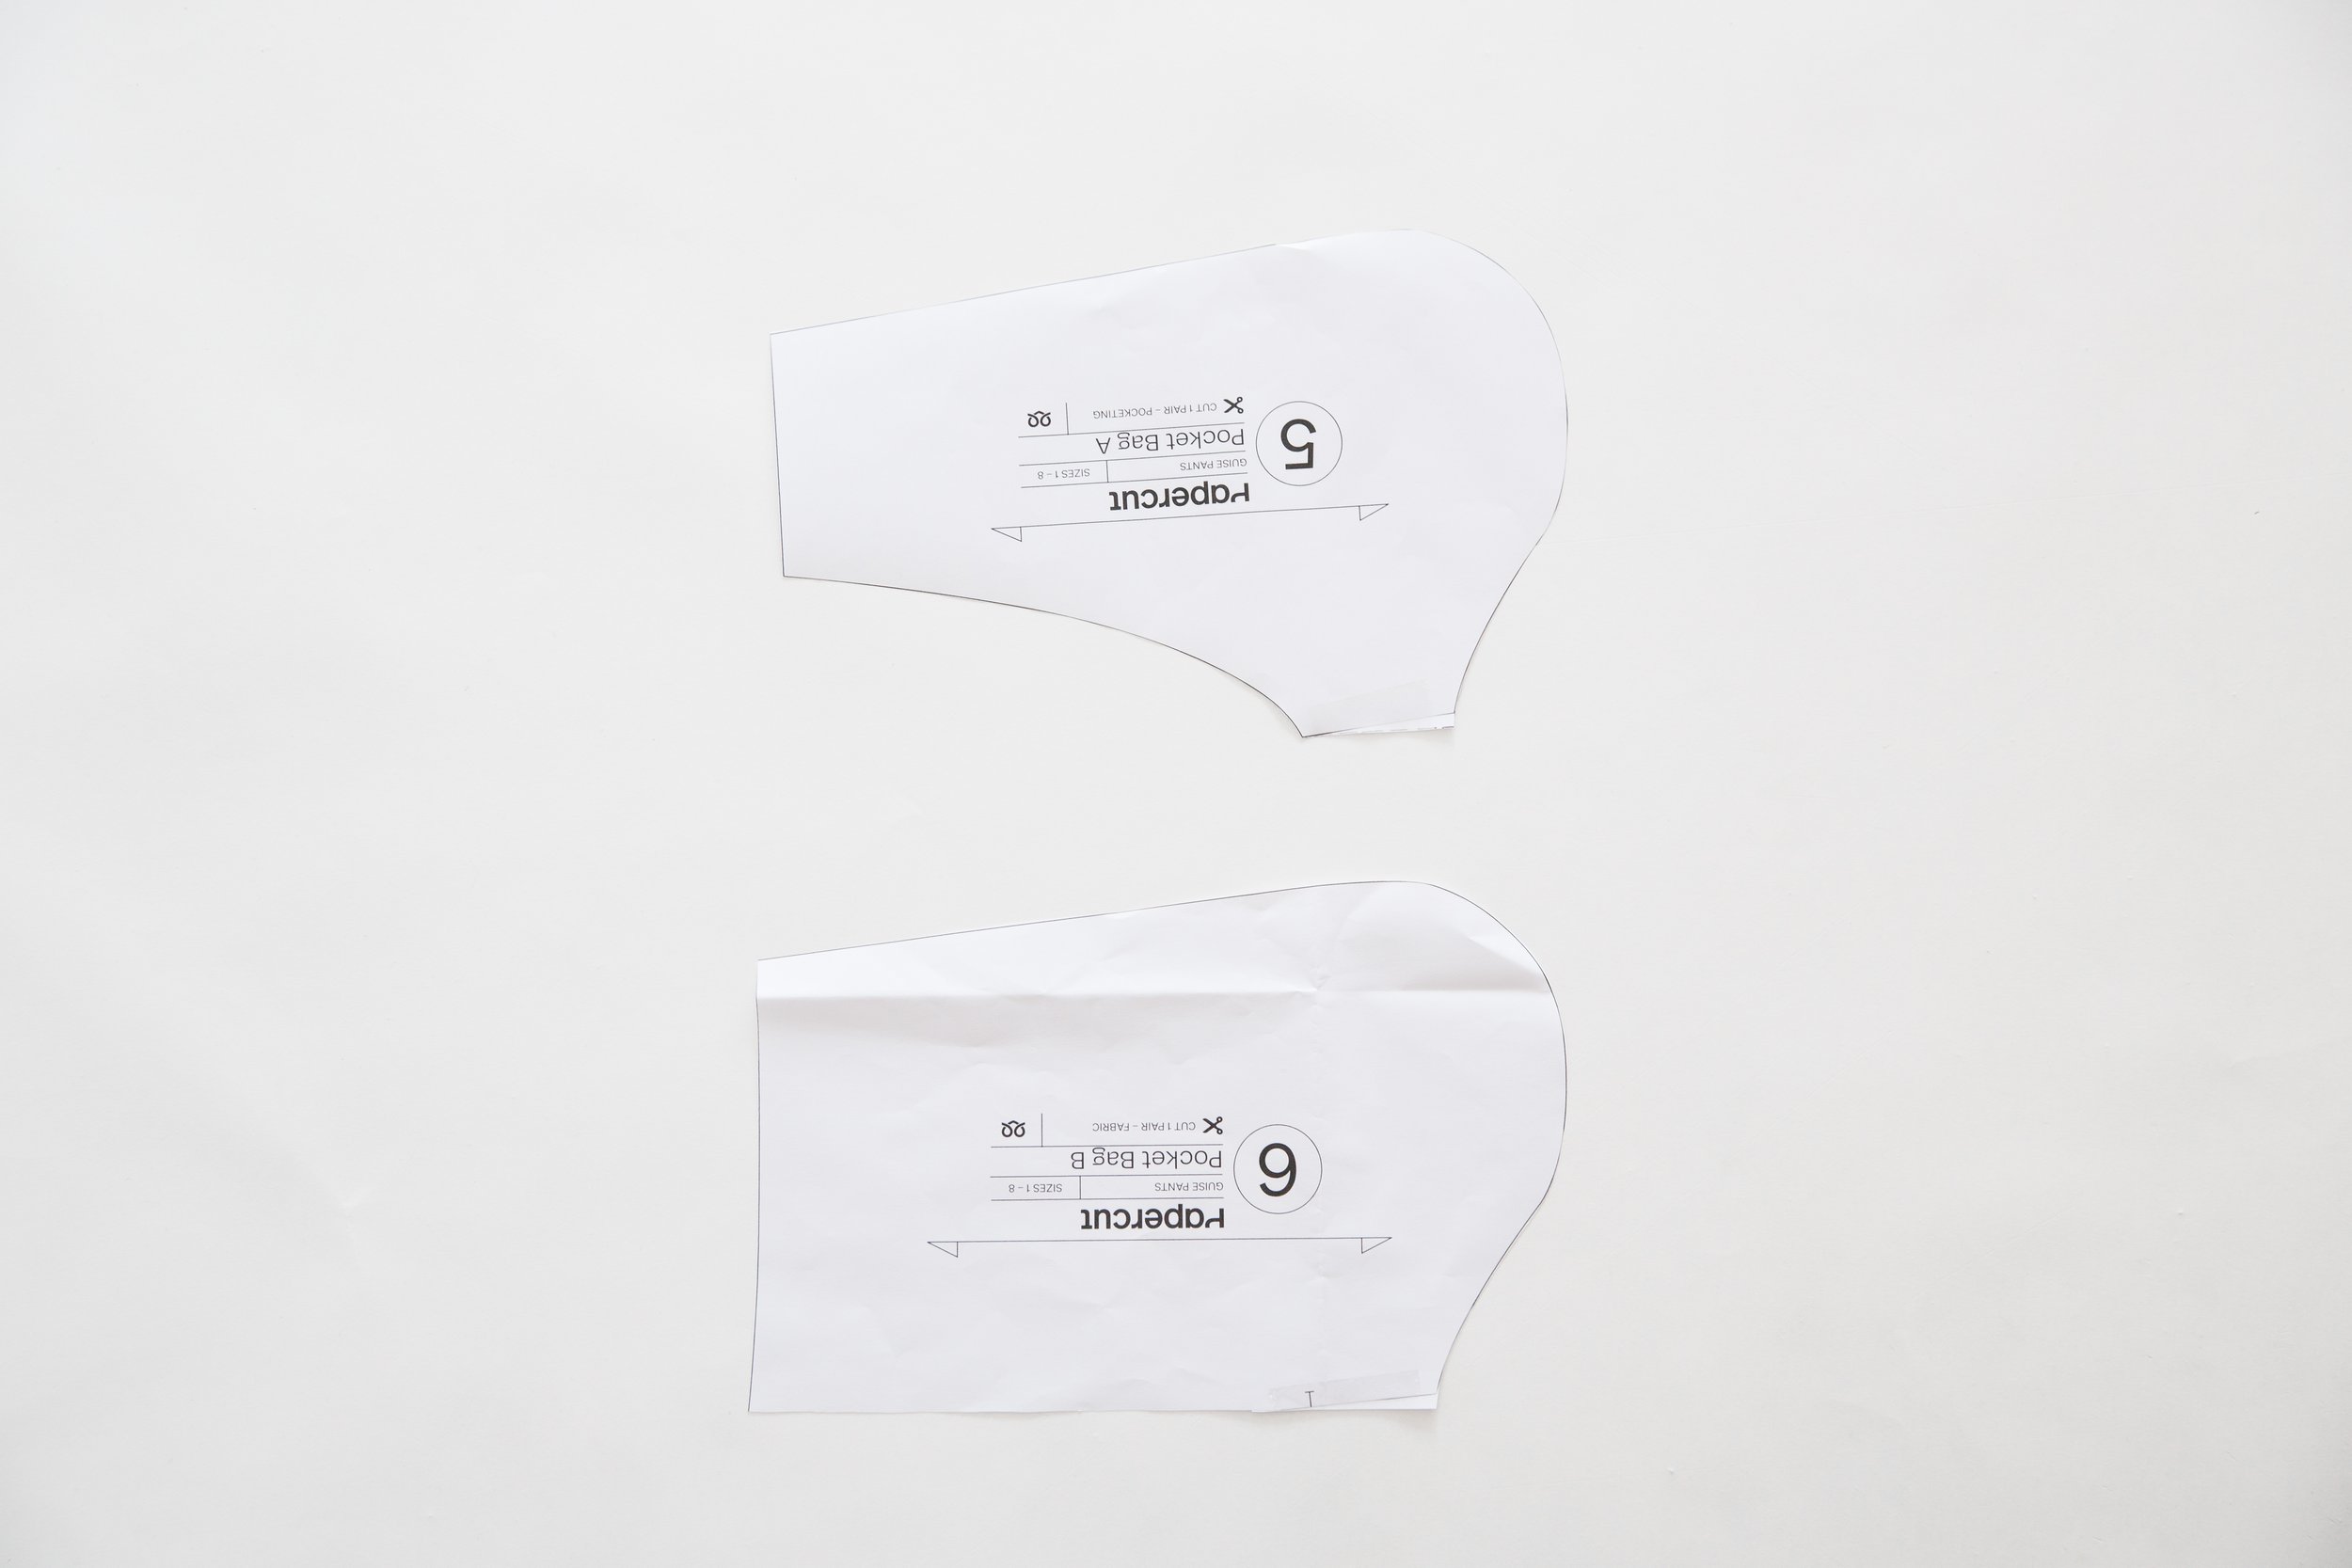
Make sure to add the same amount to your Pocket Bag B side seam. Do this following the steps above, but use your pocket bag A as the guide.
All the remaining pattern pieces do not need to be altered.
Sewing adjustments:
There are no sewing adjustments to make up your Wide Leg Guise Pants, just follow the Guise pant instruction booklet. You can find a helpful photographic tutorial for them here.


