Step 1
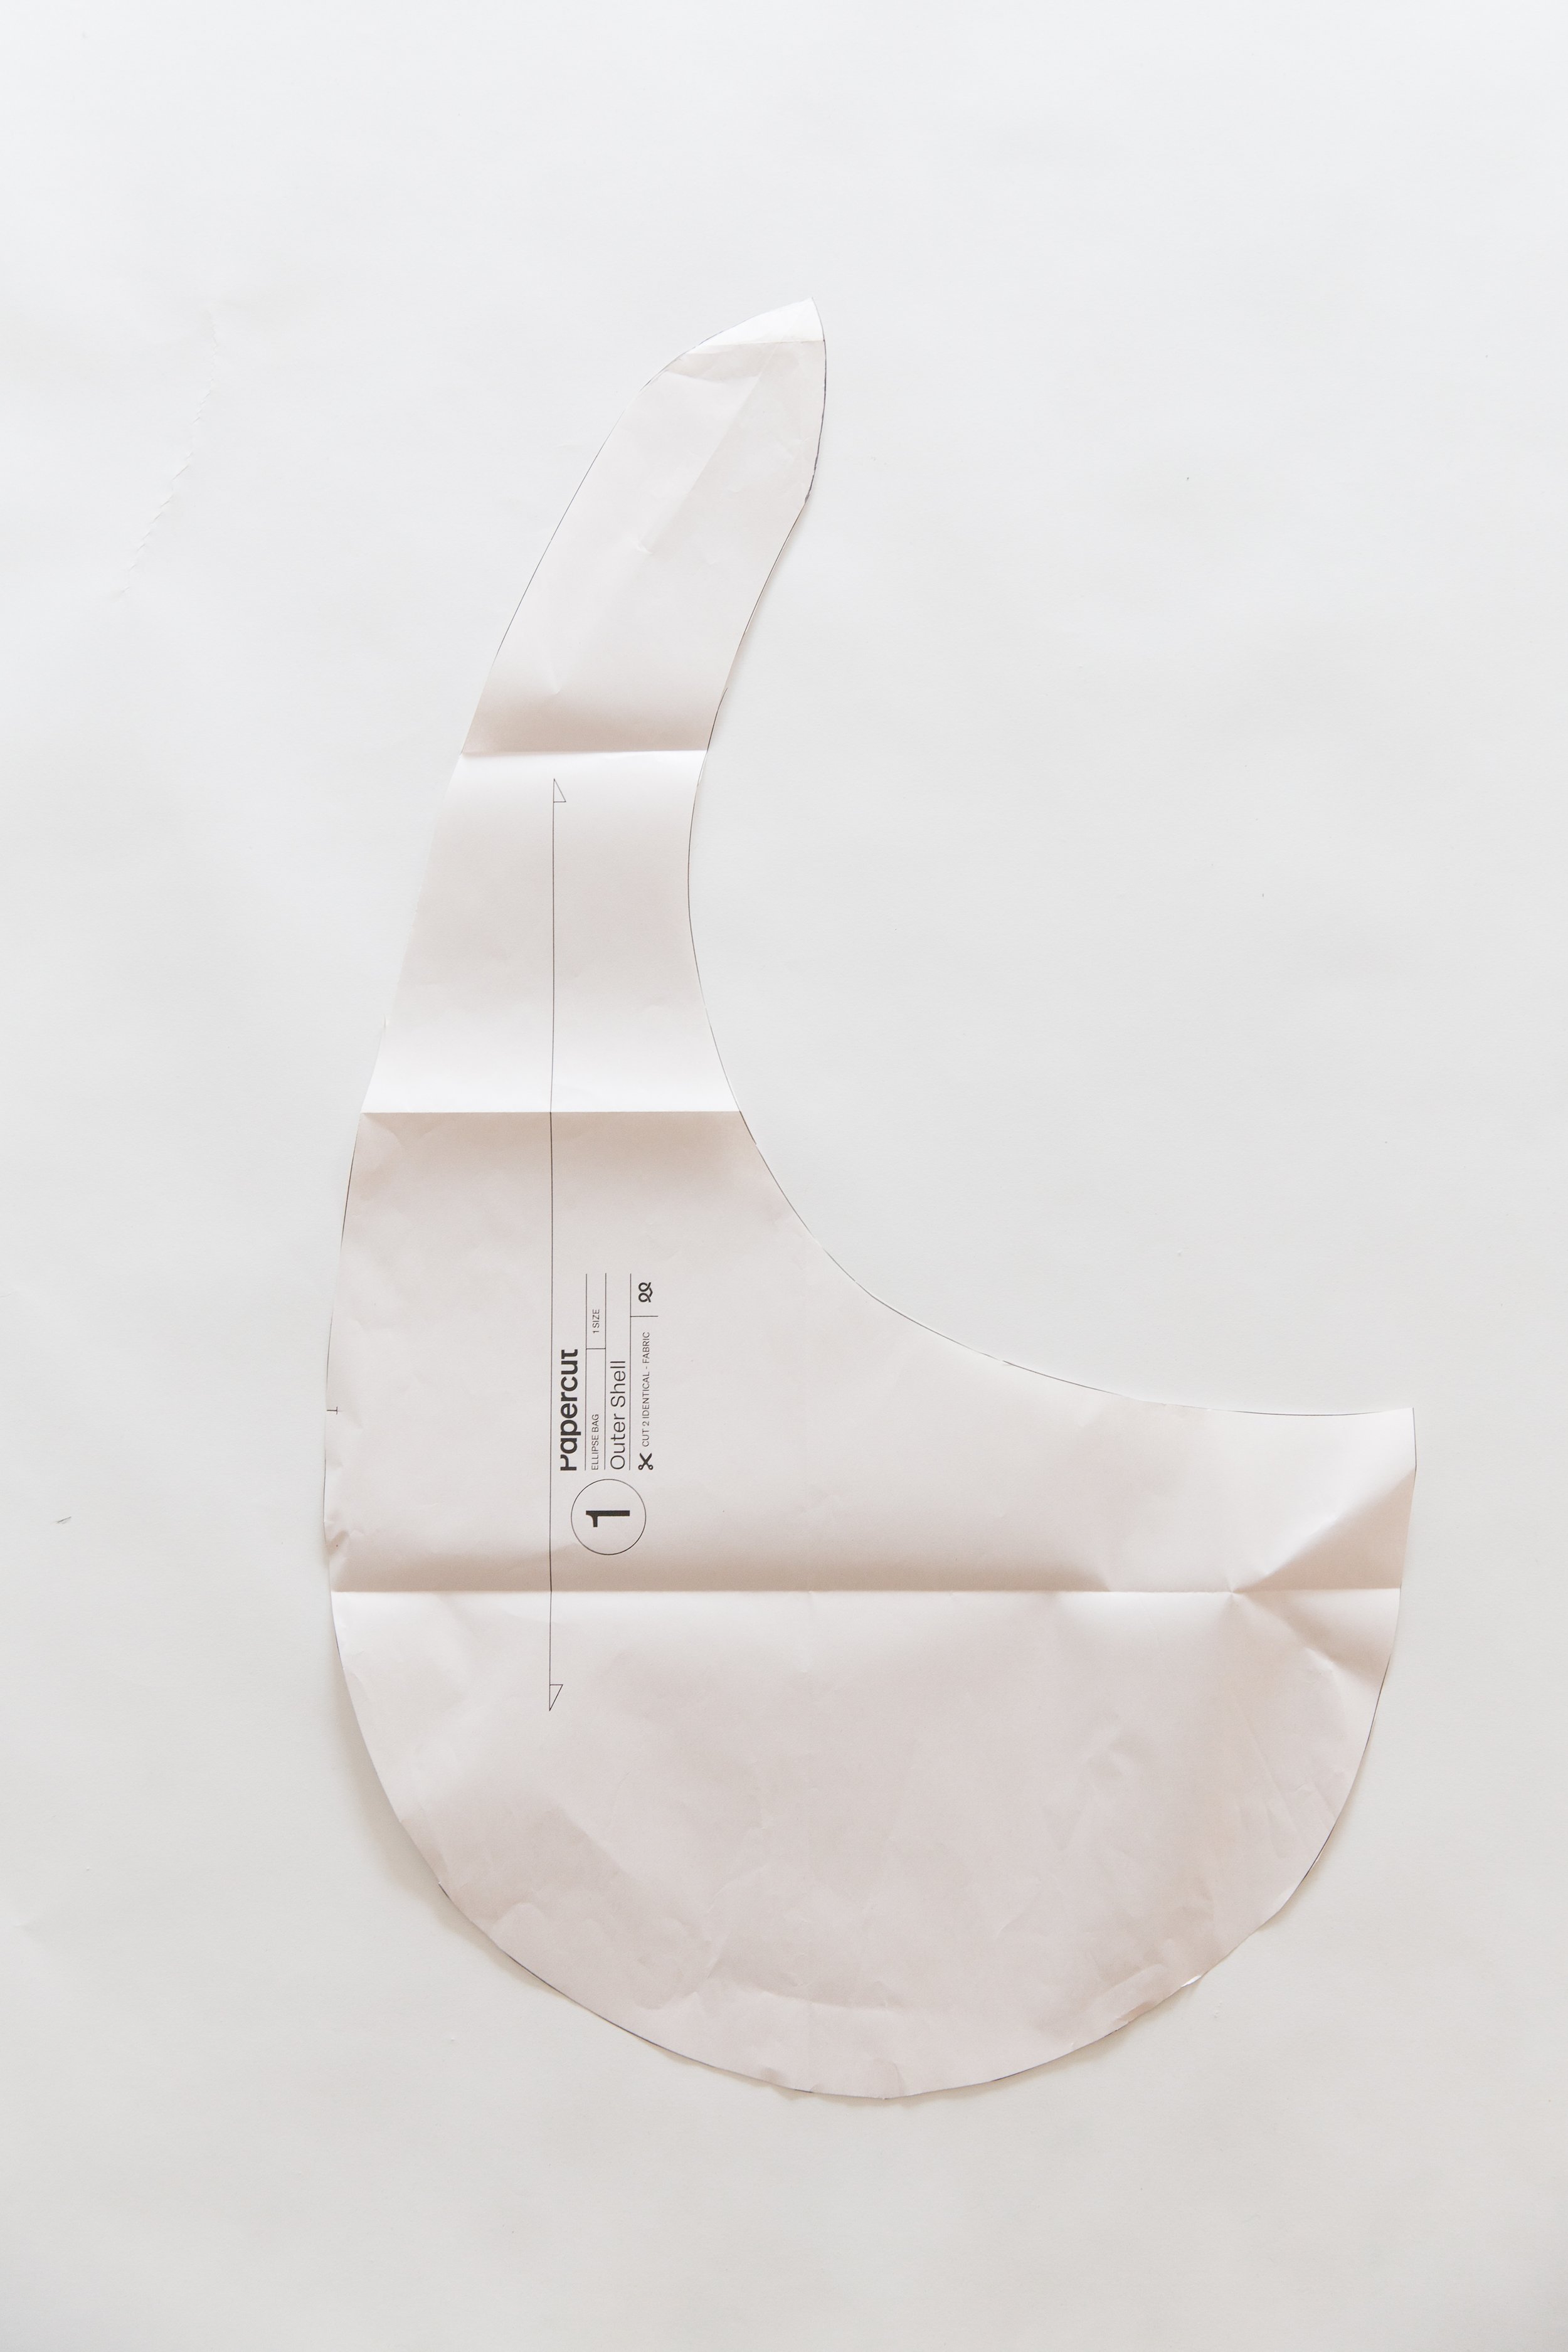
On your Outer Shell pattern piece, find halfway along the short straight edge. From this mid point curve a line down to your outer edge, and another curved line to your inner edge of pattern piece.
Step 2
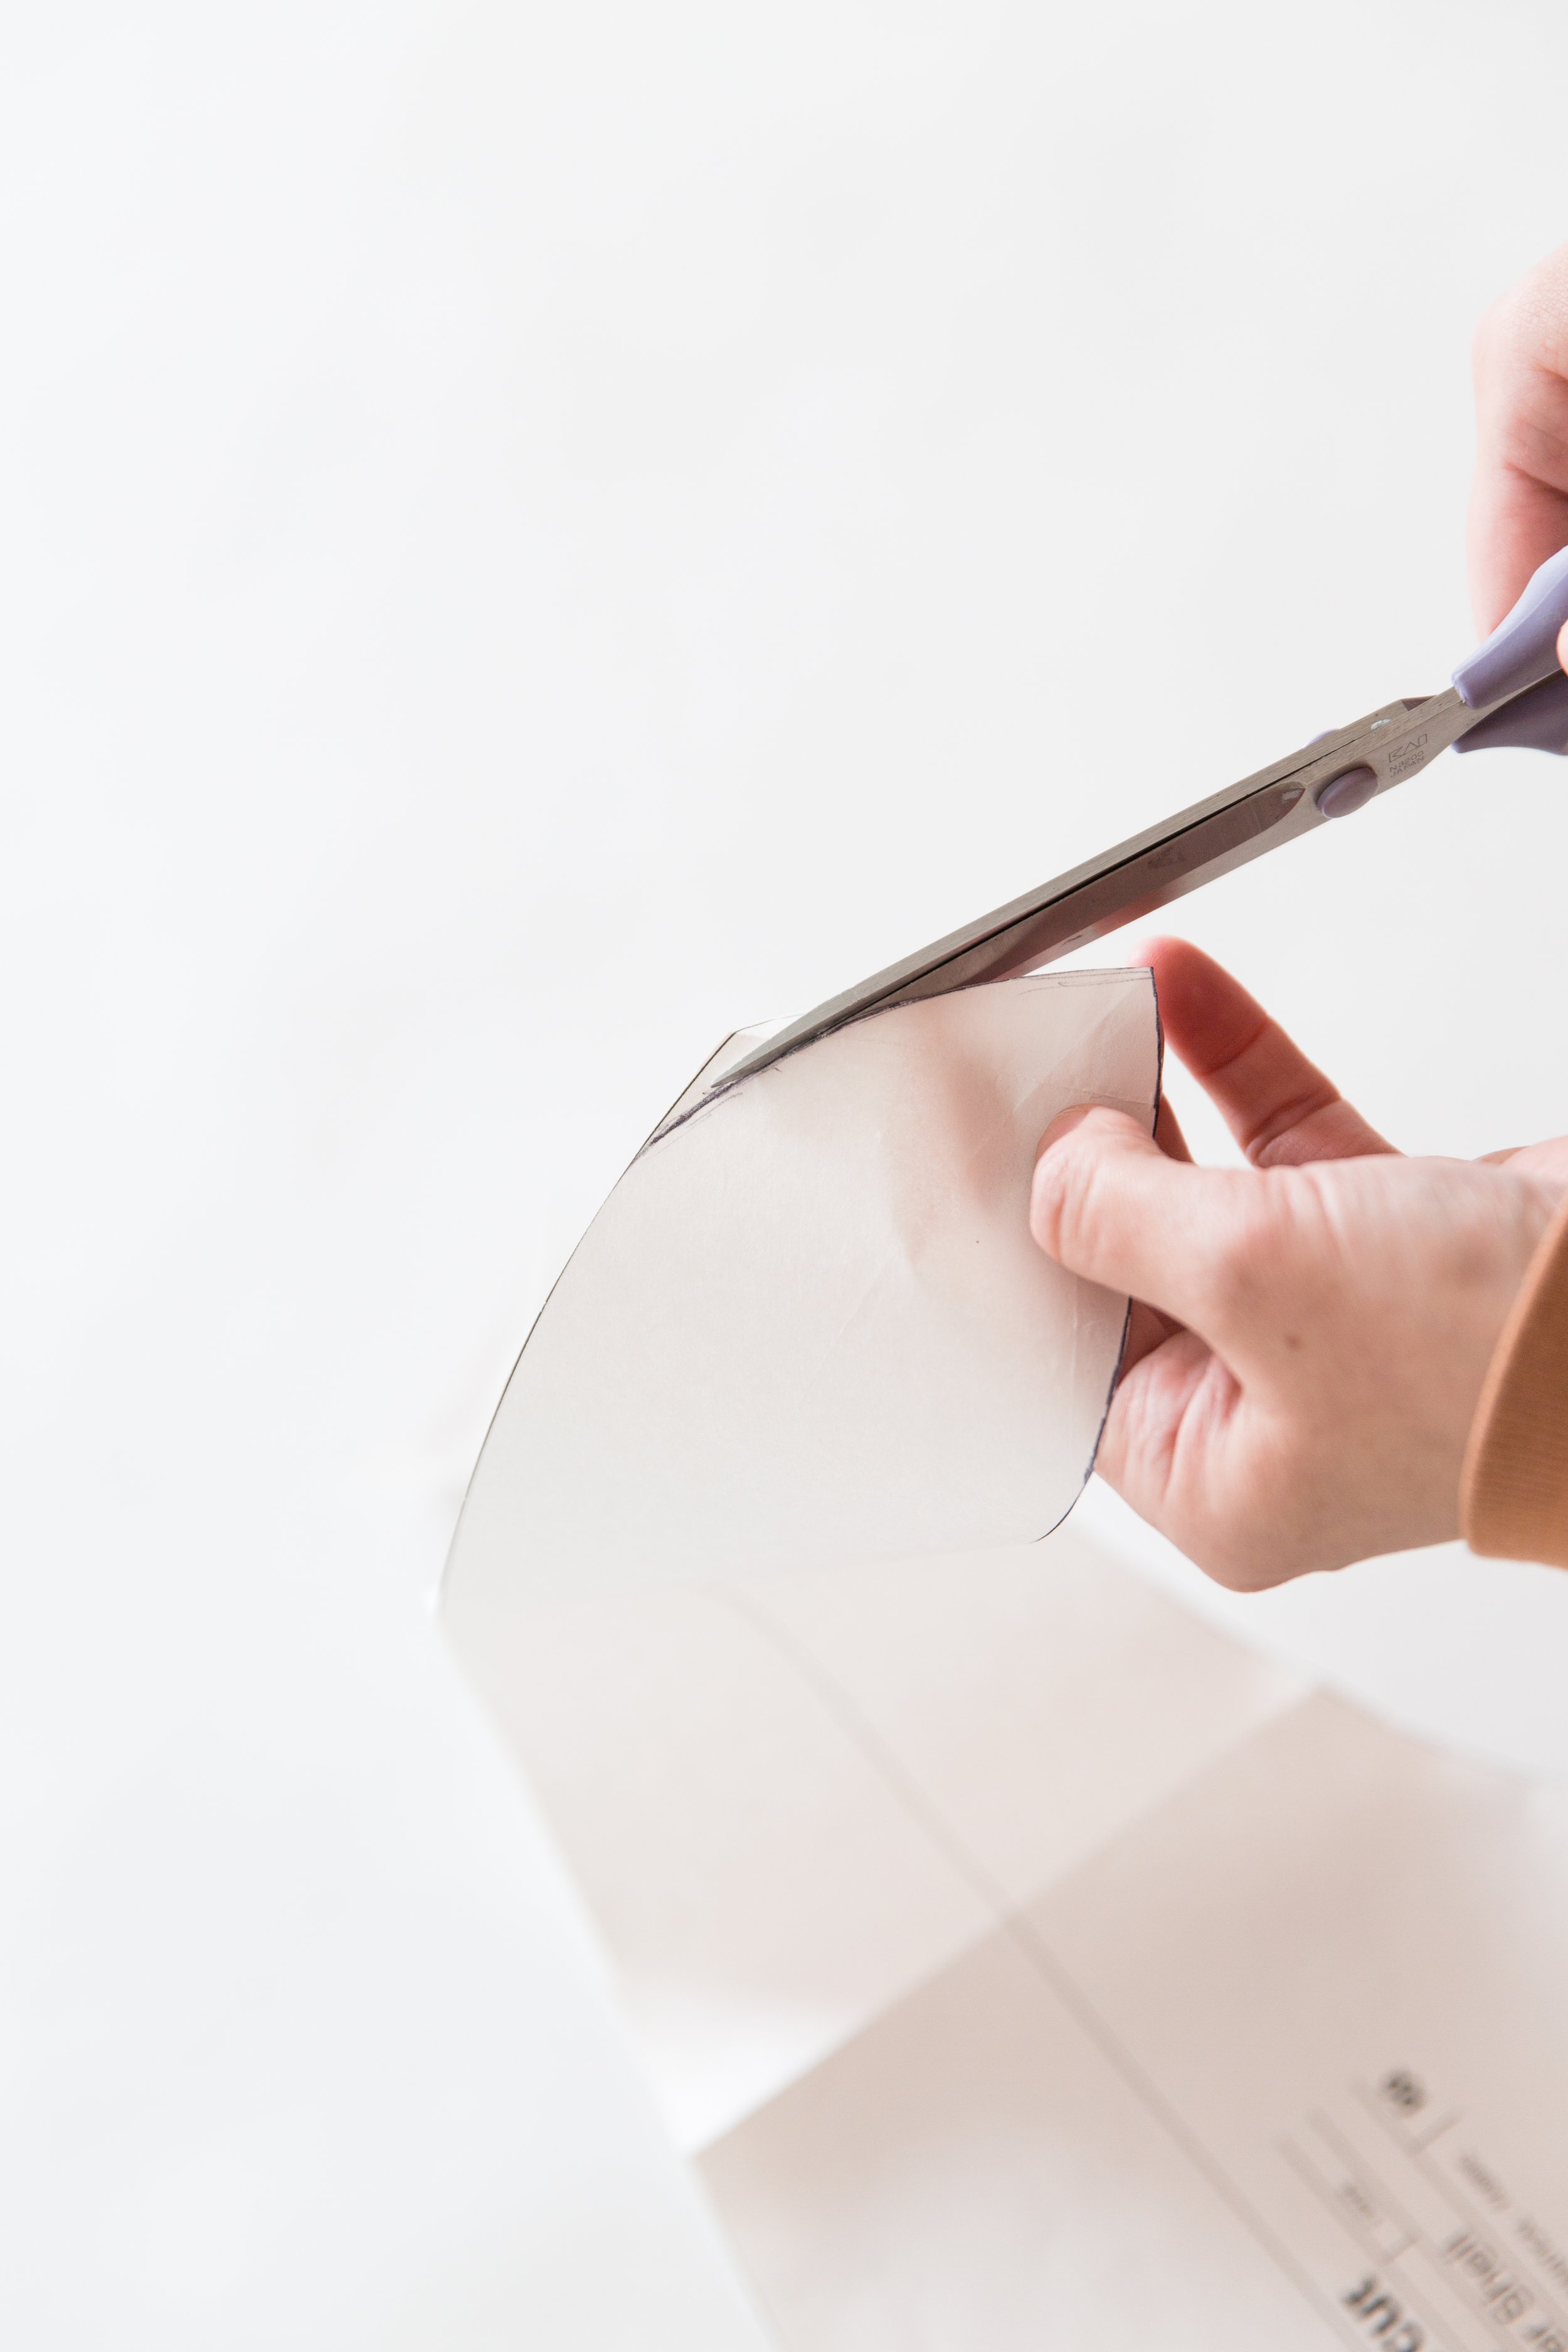
Cut along your curved lines, creating a point.
Repeat to your strap facing pattern piece.
Add a couple of inches to the length of your inside, and outside edge binding pieces.
Sewing Adjustments
We have chosen to quilt the outer shell of this bag to give it an extra fun look! You can choose to do the same, use an alternative texture like teddy fabric or pre quilted materials, or simply use your beautiful fabric as it is.
Follow steps 1-5 as instructed in your Ellipse Bag instruction booklet.
Ignore step 6, as we will not be joining the two sides together.
Continue to follow step 7, however your pieces will just look a little different as they have not been attached. They will need one lining piece placed over each outer (quilted) piece.
Continue with the rest of the steps in your instruction booklet, although Steps 8 and 12 can be skipped as we will not be joining the binding pieces together either.
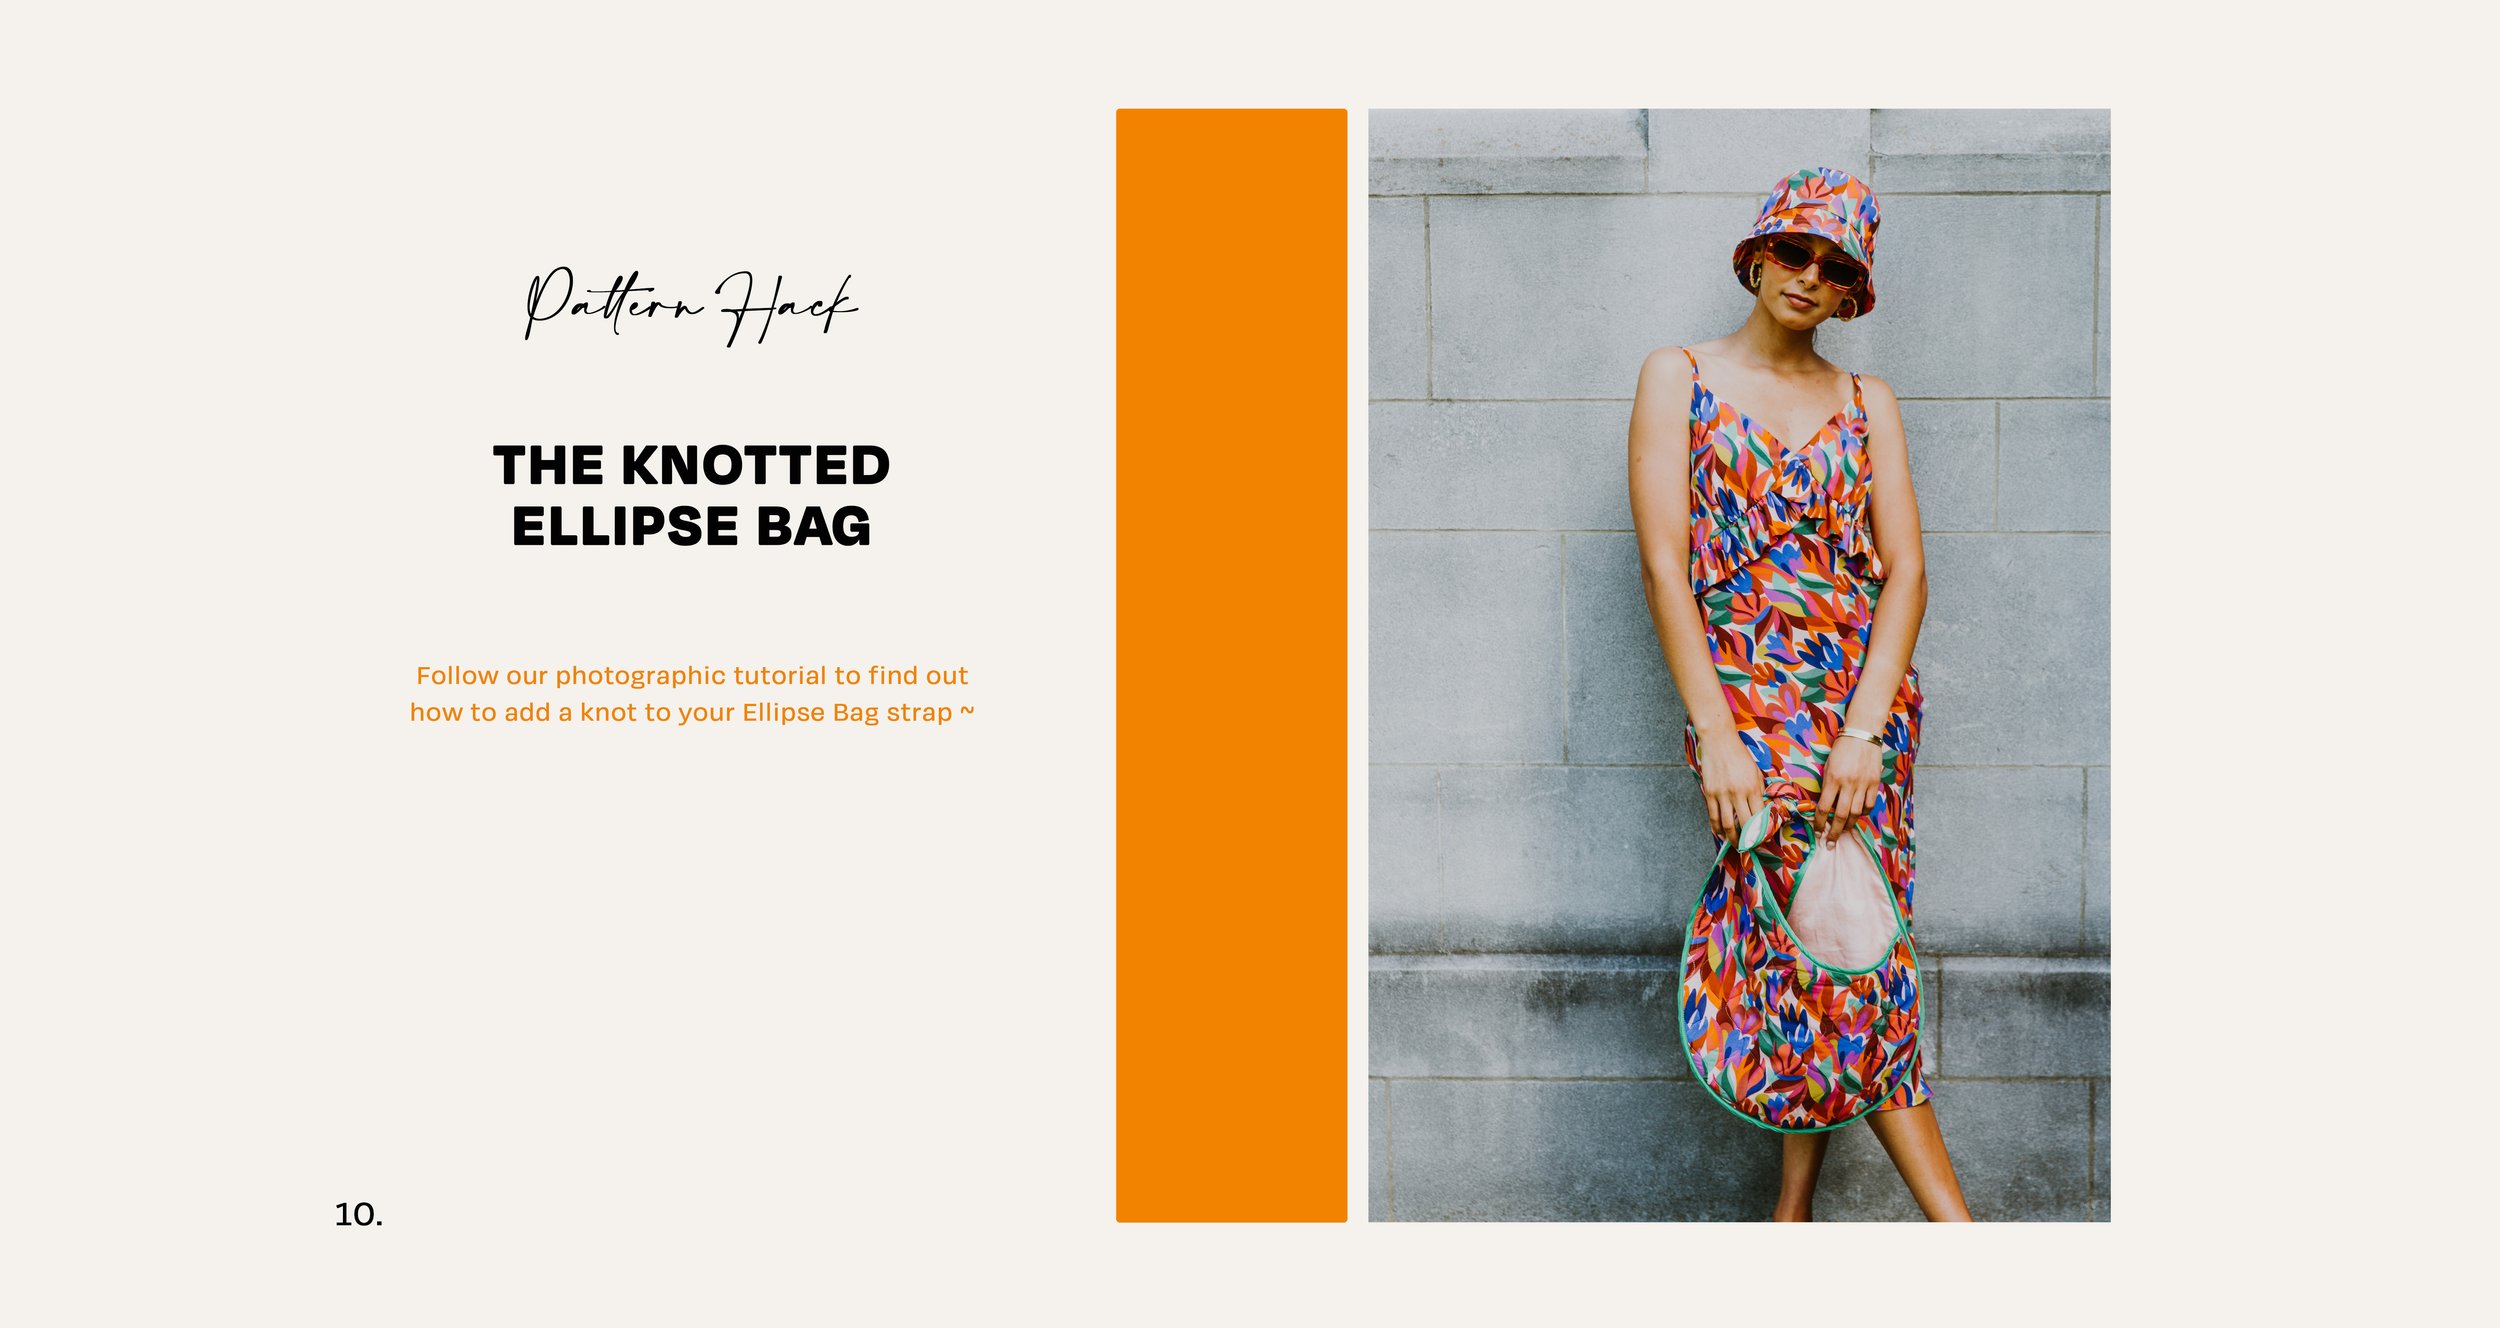
Once all the binding is on, simply tie the two sides together at the top of the strap! Enjoy your cute new bag!
You can find the photographic tutorial on the Ellipse Bag here.


