
The Kobe Dress/Top pattern was inspired by a mixture of clean minimalist lines and crisp origami, which could sound contradictory but they are perfect companions! We love this edgy combination of structured and casual and the resulting pattern is going to be in solid rotation here in the studio when summer rolls around.
The Kobe is designed to be used with a light-weight woven fabric like chiffon or rayon, so make sure you choose a fabric that will softly drape from the back pleat.
How To
This is a photographic tutorial designed to help guide you through the Kobe pattern alongside our standard instructions. While we don't do this for every pattern, we thought it might be particularly handy for anyone stuck with the formation of the back pleat, so it quickly became a full walk-through.
While I'm making the top version here, the techniques used will still apply for the dress version.
Alright. Let's start at the very beginning (a very good place to start).
With right sides out (wrong sides together), press the binding pieces in half lengthwise.

Open out the binding pieces again and pin the front binding to the wrong side (the side that will be against your skin) of the front neckline, matching the raw edges. Stitch with a 5mm seam allowance.

With wrong sides together, press 5mm of the opposite raw edge on binding towards the centre crease.

Pin that folded 5mm edge to the right side (the side that is going to be on the outside) of the neckline. Stitch in place along the folded edge, enclosing your raw edges inside and making sure you hide the existing stitching with your new stitches.

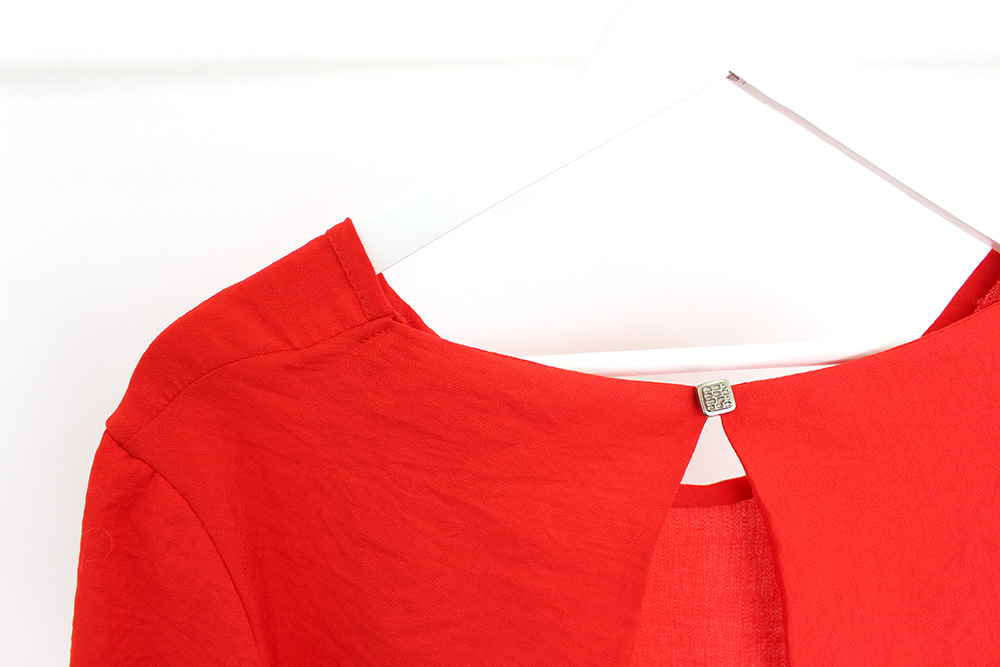
Repeat for the back neckline. The finished necklines should look something like this.
Back Pleat
Now we'll work on assembling the back pleat.

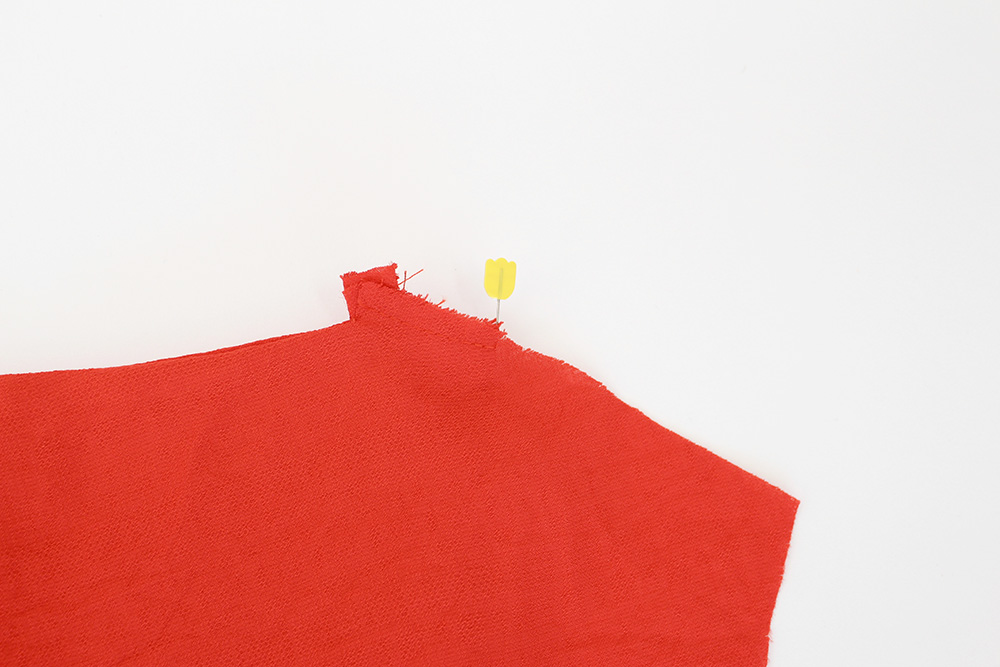
There are five notches along the back shoulders, which I've marked out here with pins for you. That centre notch is going to be your first fold point.

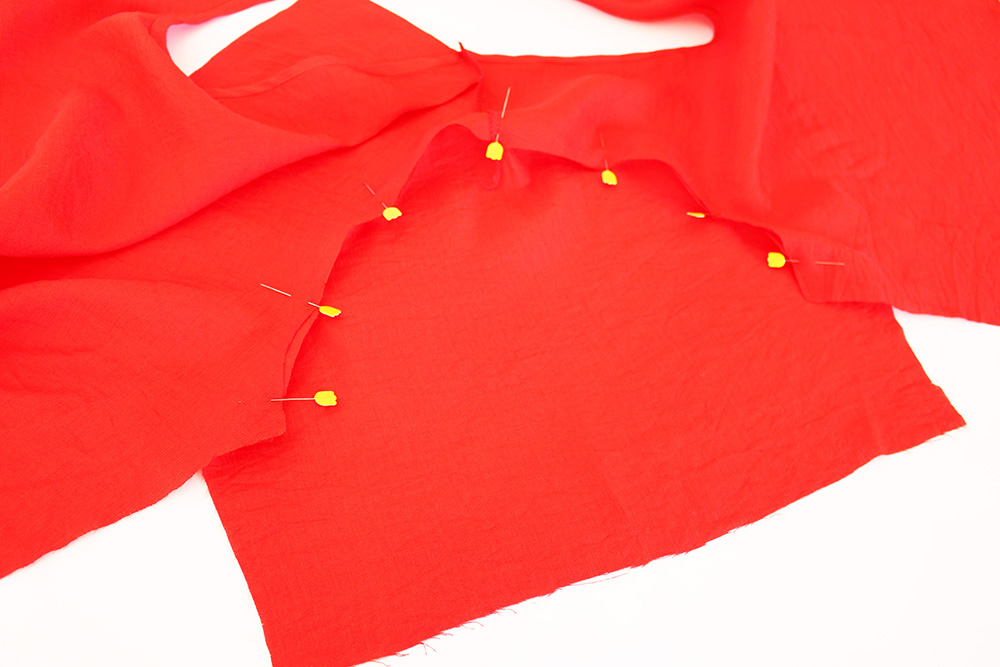
Fold at that centre notch with right sides together. Your other notches should line up, but don't worry if they don't. There are a few bias cut edges in here and they can sometimes warp with handling. It's not a problem though. Just work with an average between the two notches or whatever will give you the best finished result. The photos below will help you know what we are working towards.

Stitch from the folded edge and stop at the next notch. Clip into the seam allowance, but stop at the stitching.

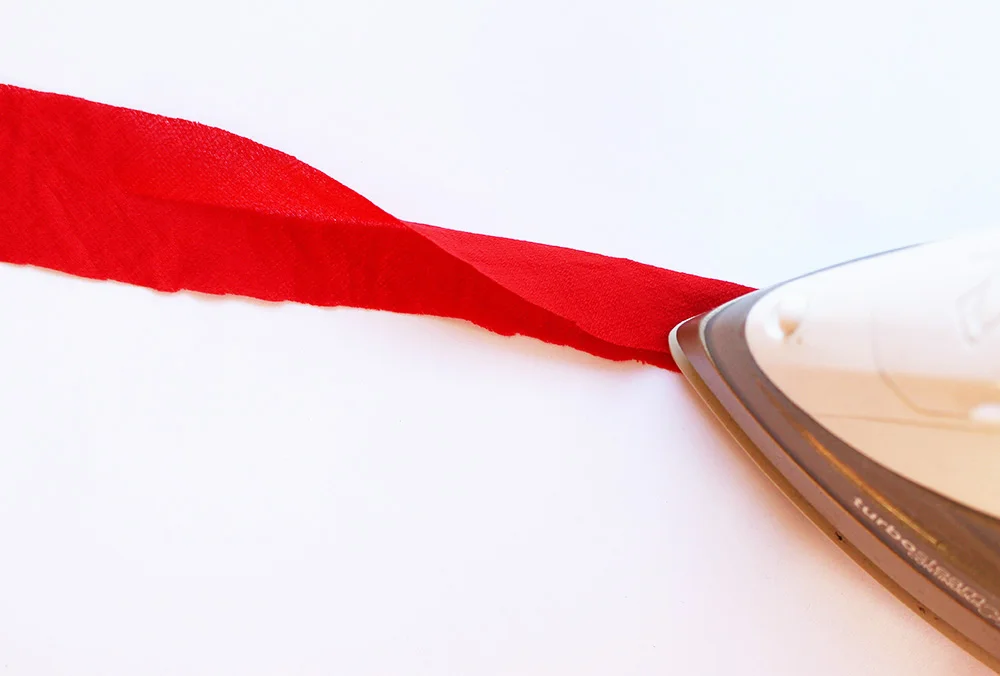
Turn your stitched portion right side out, taking care to get a crisp corner. Gently press the seam. If you are using a delicate fabric that can be prone to damage from the iron, place a handkerchief or cloth between your fabric and the iron. This will help protect your garment.
You have just created your first back 'pleat'. Repeat for the other side.

Fold the pleats toward the centre back. This may seem like a bit of a fiddle, so I've taken a few photos to show you what we mean. Above is the garment from underneath. The pleat is lying to the right and the back binding curves around towards it. At the shoulder, the pin marks the remaining notch where we folded the pleat inwards. I've edgestitched from that notch to the binding to hold everything in place.

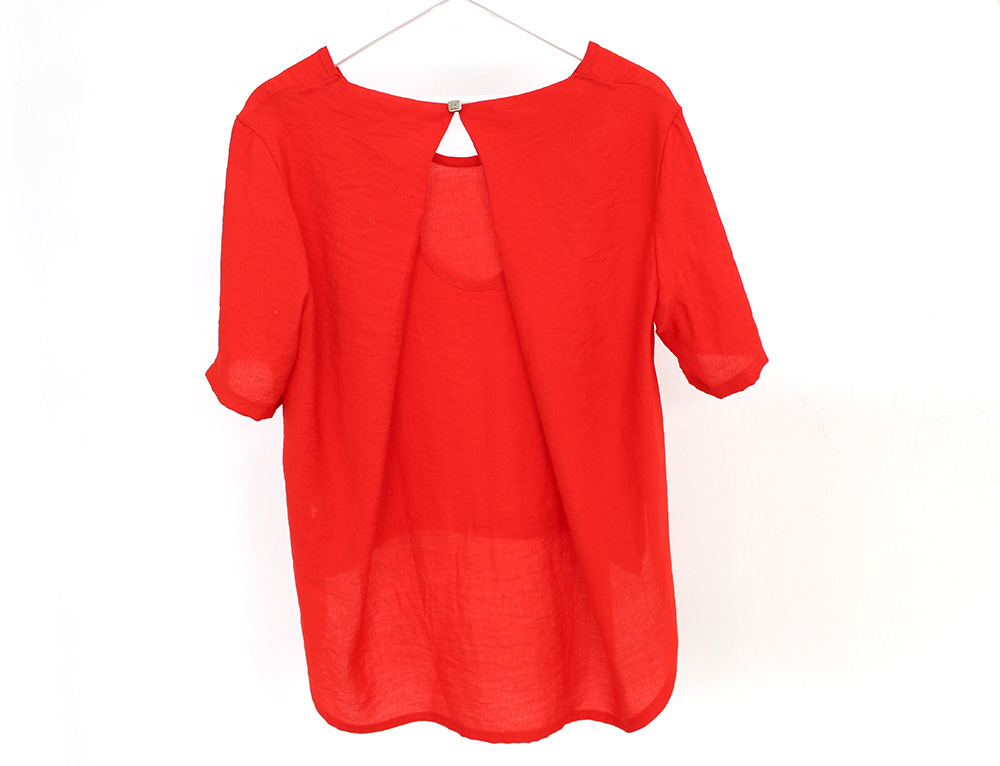
This is the back with both pleats folded towards the centre back.
You want to try and have the edge of your binding line up with the upper corner at the neckline of the shoulder. It's not a deal-breaker if you can't, but it does make for a nice finish.

Match your front and back pieces at the shoulder seams. Stitch and neaten the seams.
Now we add the sleeves. You're nearly finished! With right sides together, pin the top edge of the sleeve to the garment, matching the centre of the sleeve to the shoulder seam and using the tips given in step 6 of your instructions.

Before moving on to the next step, don't forget to neaten all remaining edges! It's so easy to miss this step, but it's very important for sewing your side seam splits later.

Match your underarm seams of the front and back pieces and stitch from sleeve hem down to the first side seam notch (marked by the top pin here). The second notch will be where you fold up the front hem (marked by the lower pin here).
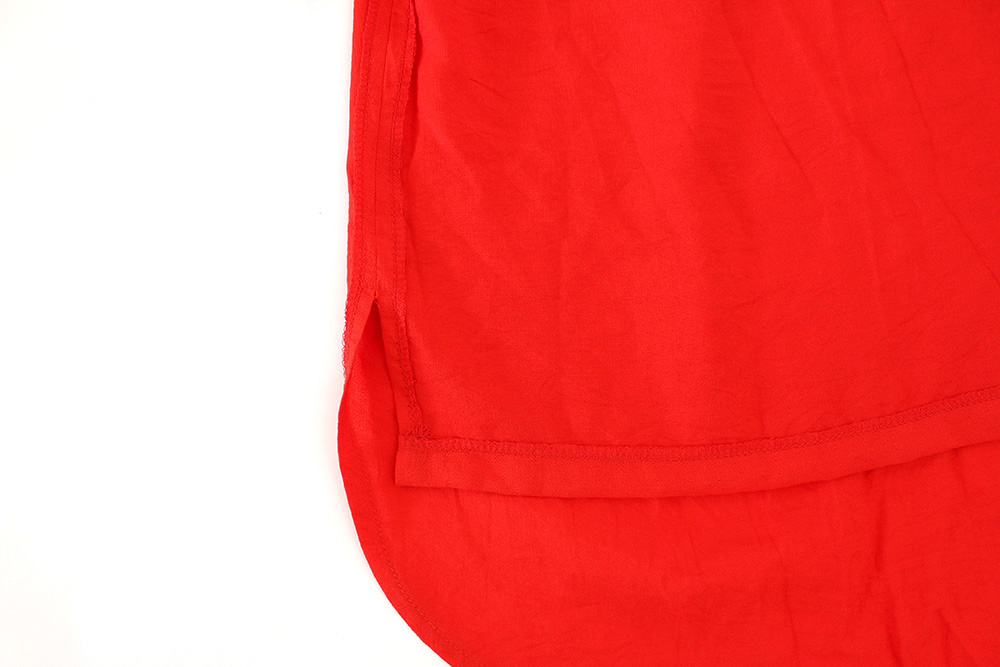
Fold your side seam allowances back and press. Fold up your hem edges and press. Top stitch around the slit and hems. You'll see here that I have made the top version of this pattern, but the same applies if you are making the dress. It's just you'll have a square hem on the back rather than this curved one that you see here.
Turn up your sleeve hem and press.
Slightly overlap the two back pleats and handstitch in place using a button over the top.
I've also added a couple of stitches at the back of the shoulder seam to help pull the seam allowance out of the way. It's not in the instructions, but I found it useful and thought you may too.
Voila! You've finished.

I hope you love your new Kobe Dress/Top! We have a tutorial coming soon to help you make a belt for your Kobe Dress, so stay tuned for that.
And don't forget to tag us on #papercutpatterns or #kobedress so that we can celebrate your projects with you!