Step 1
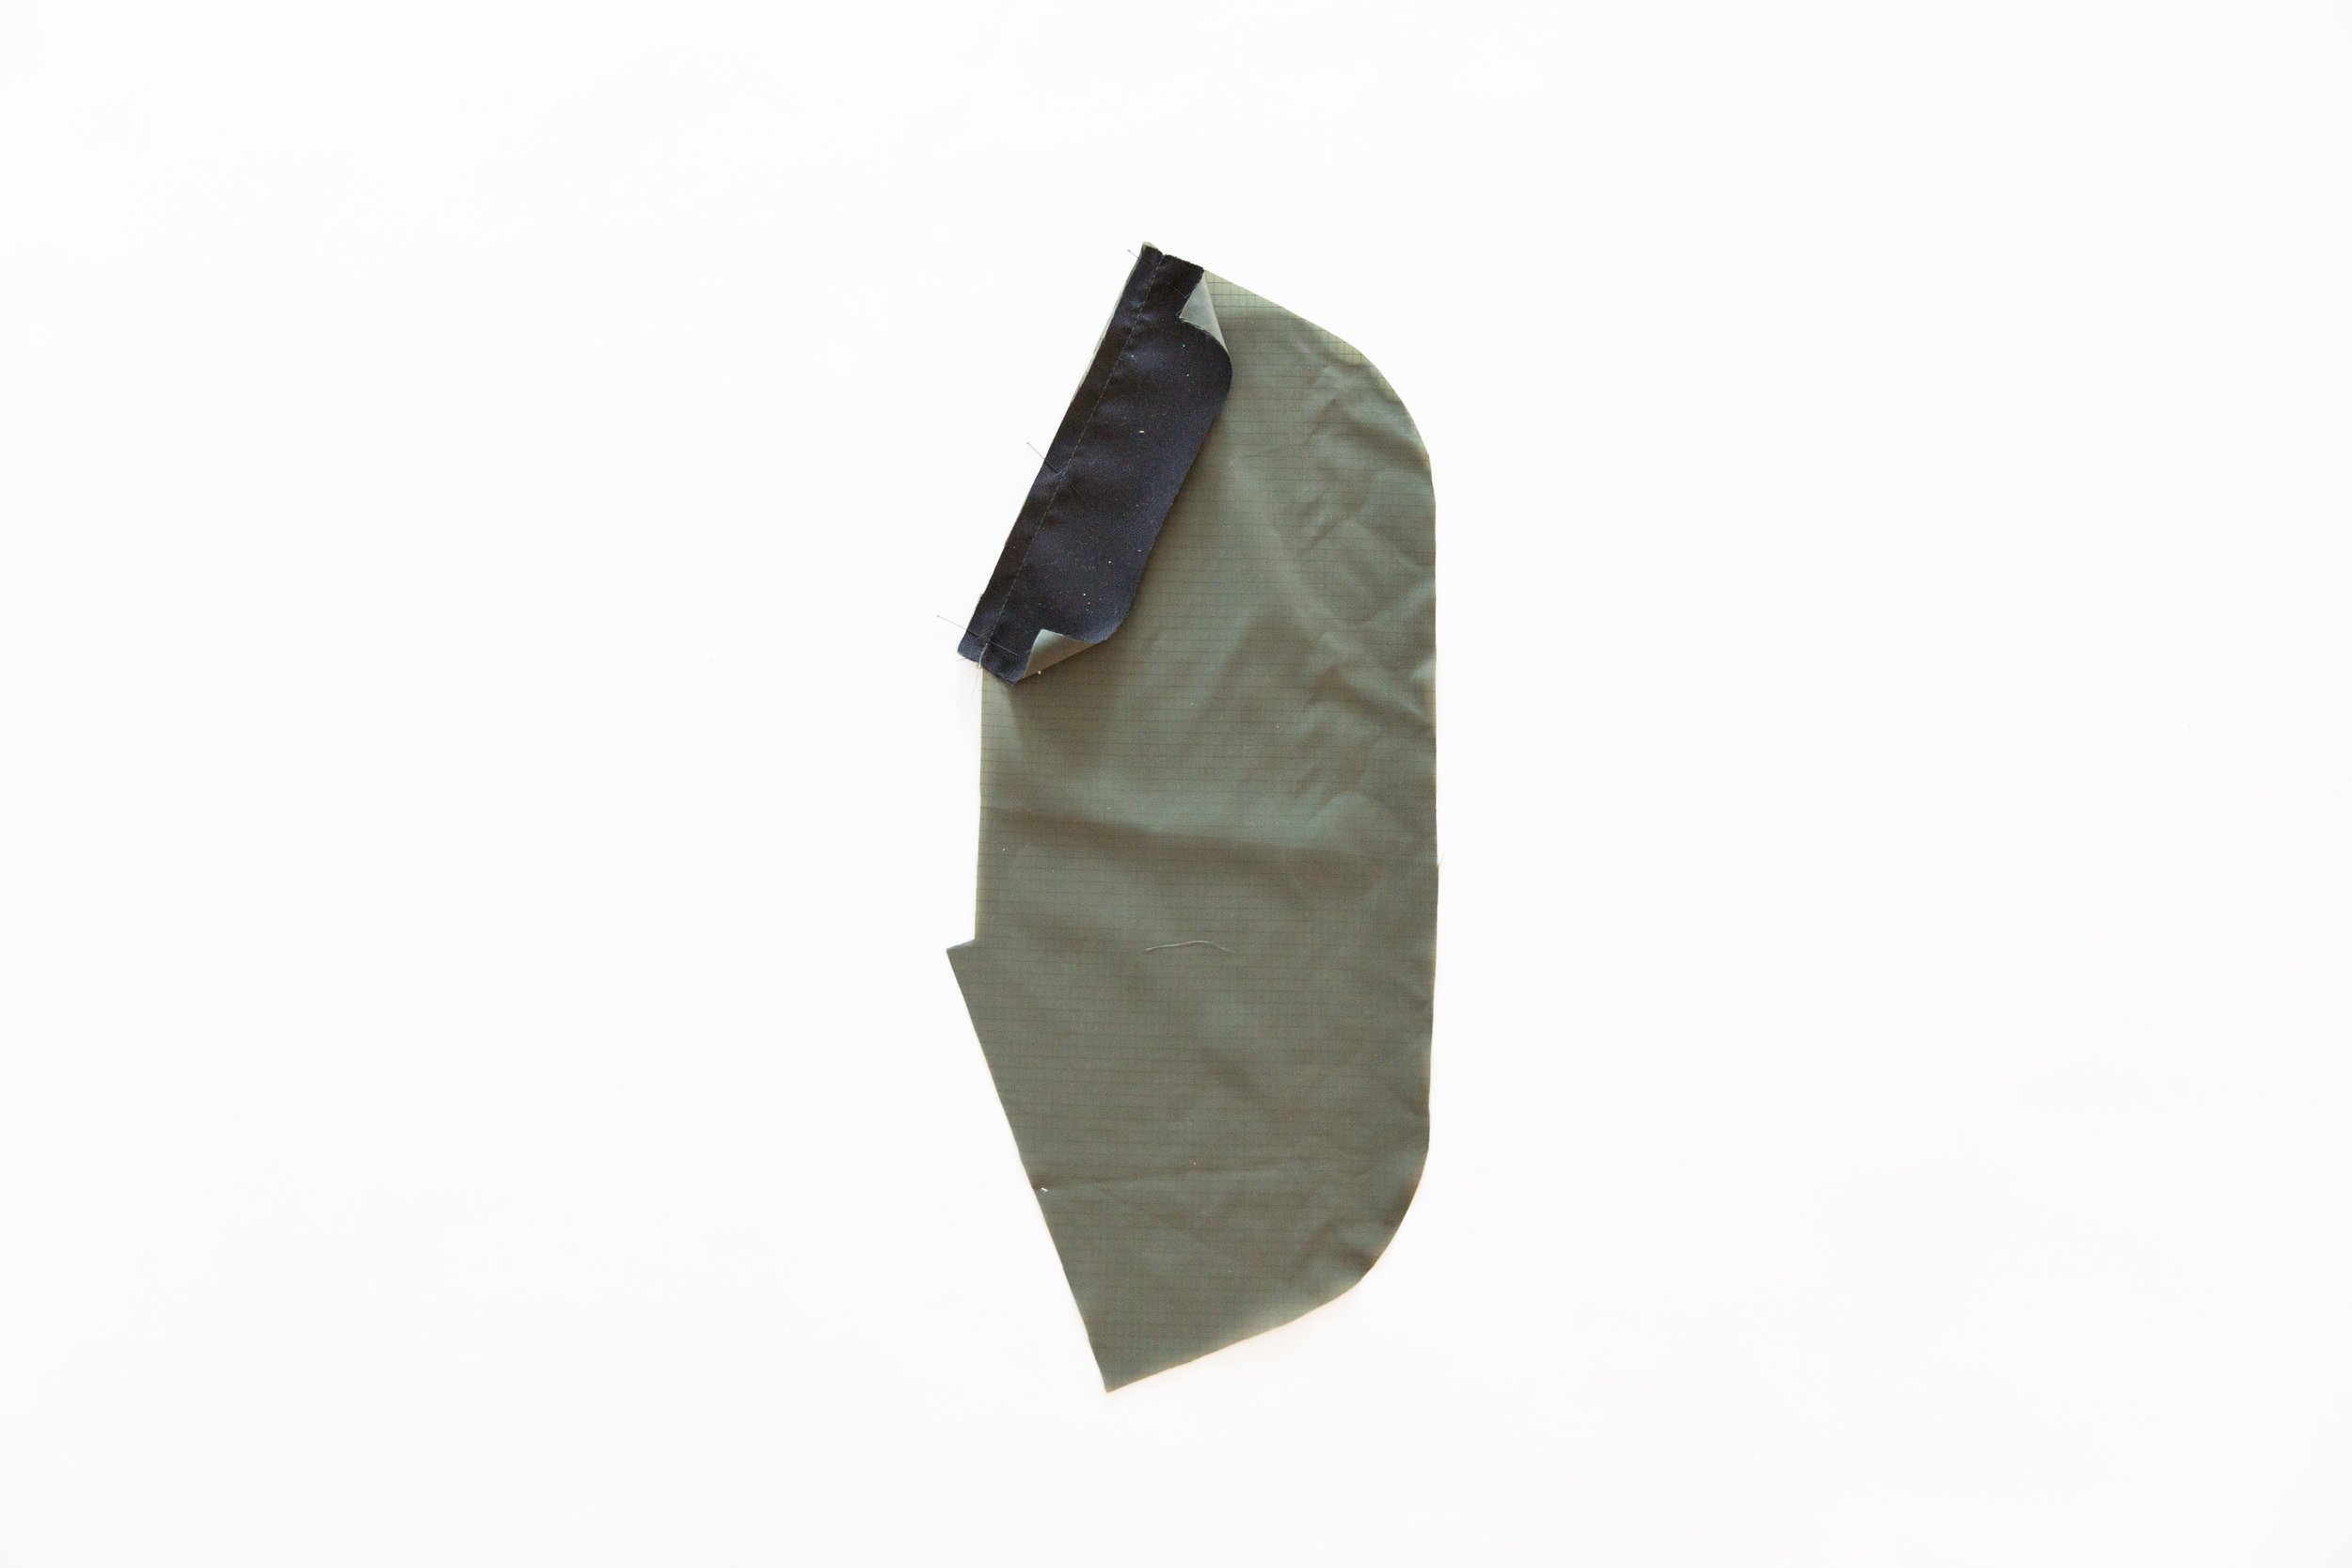
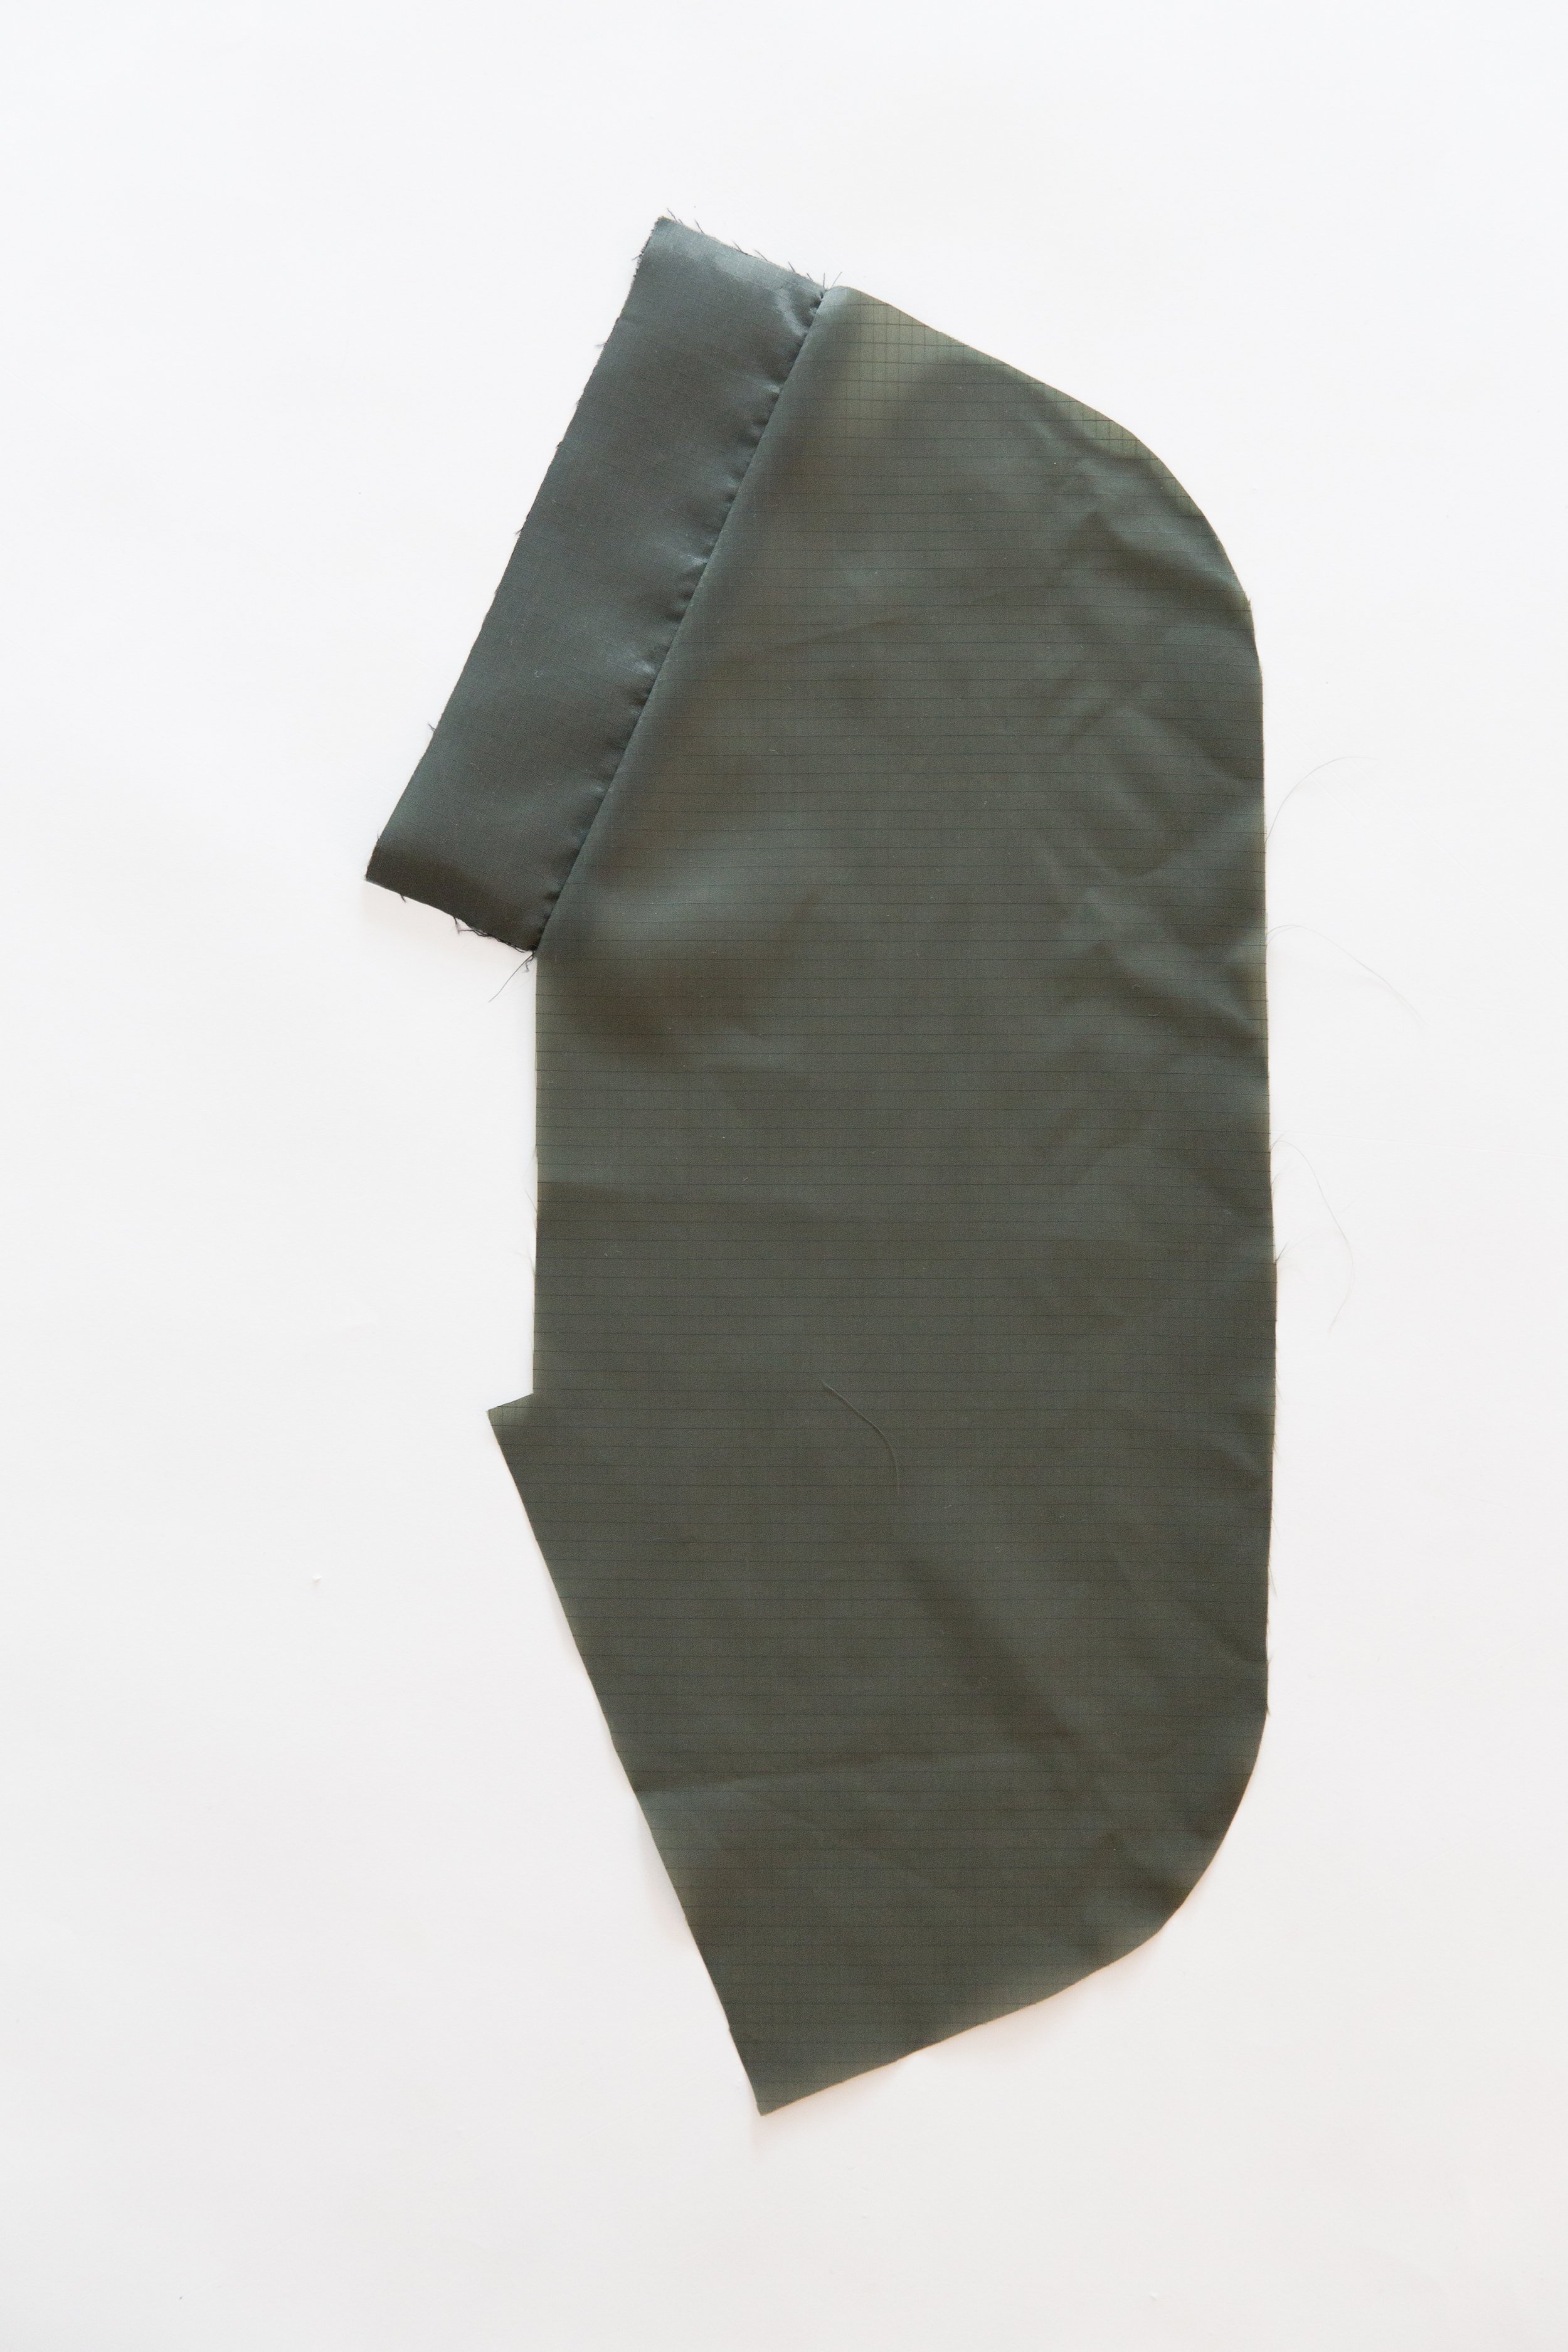
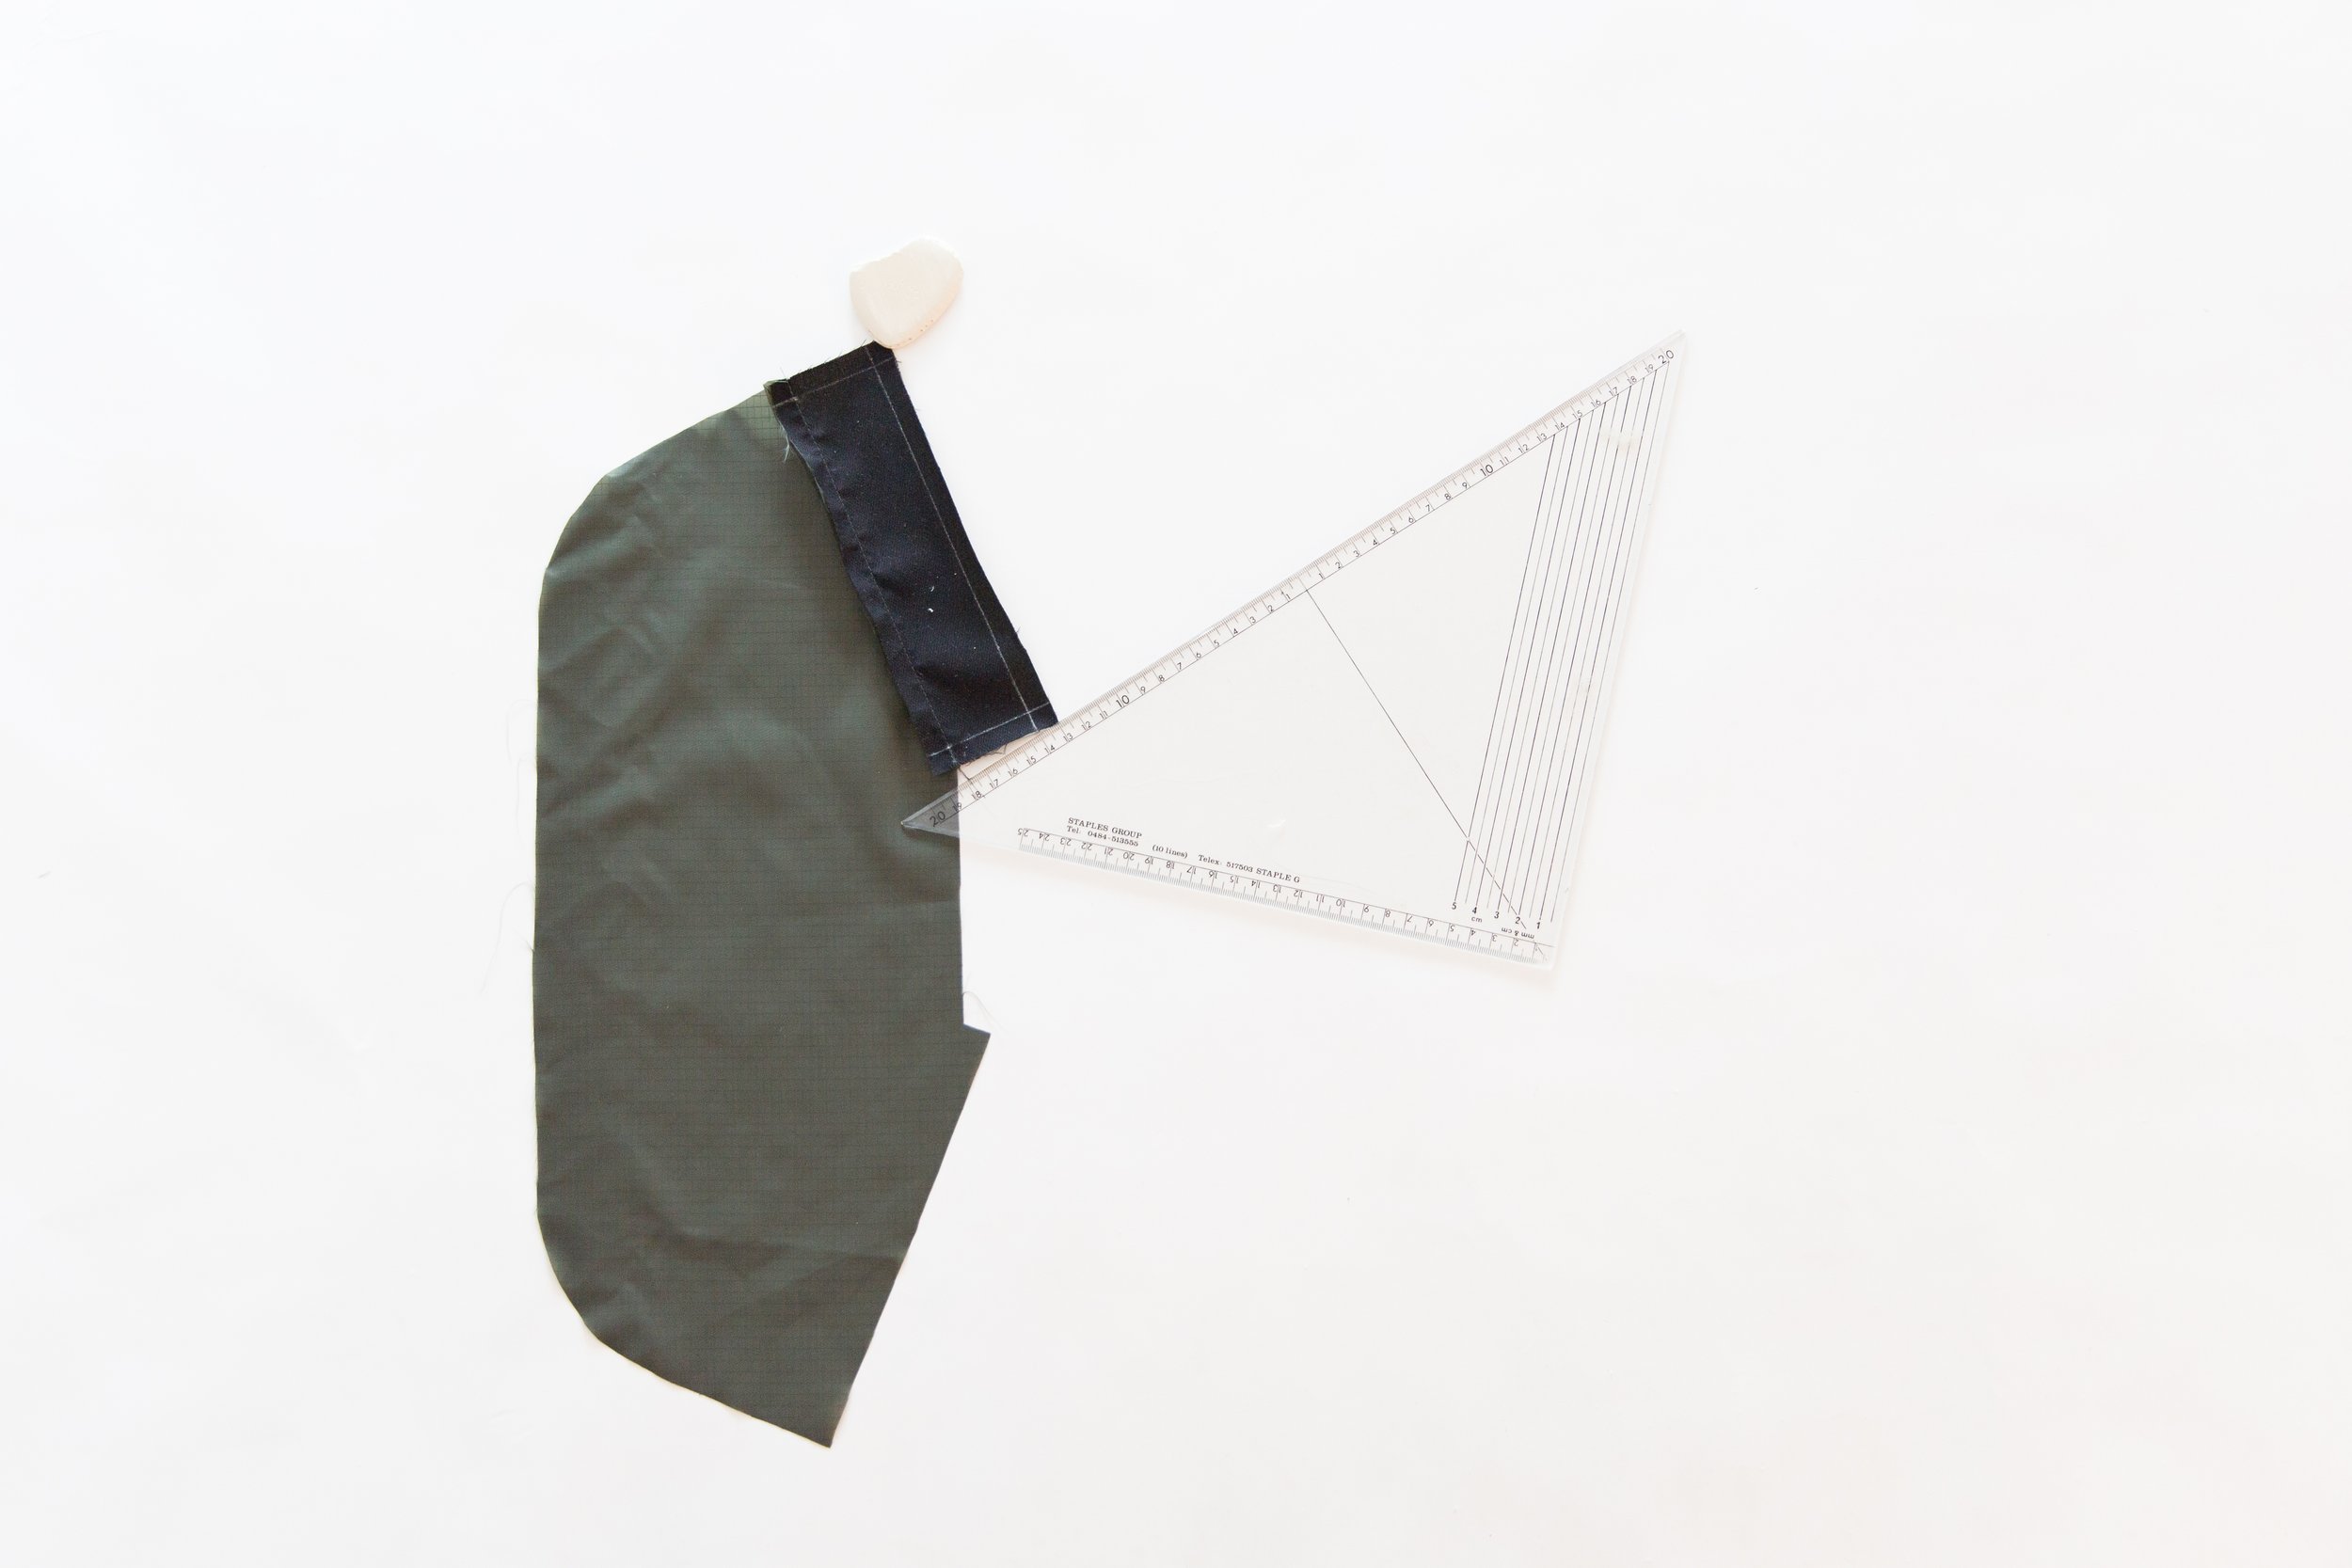
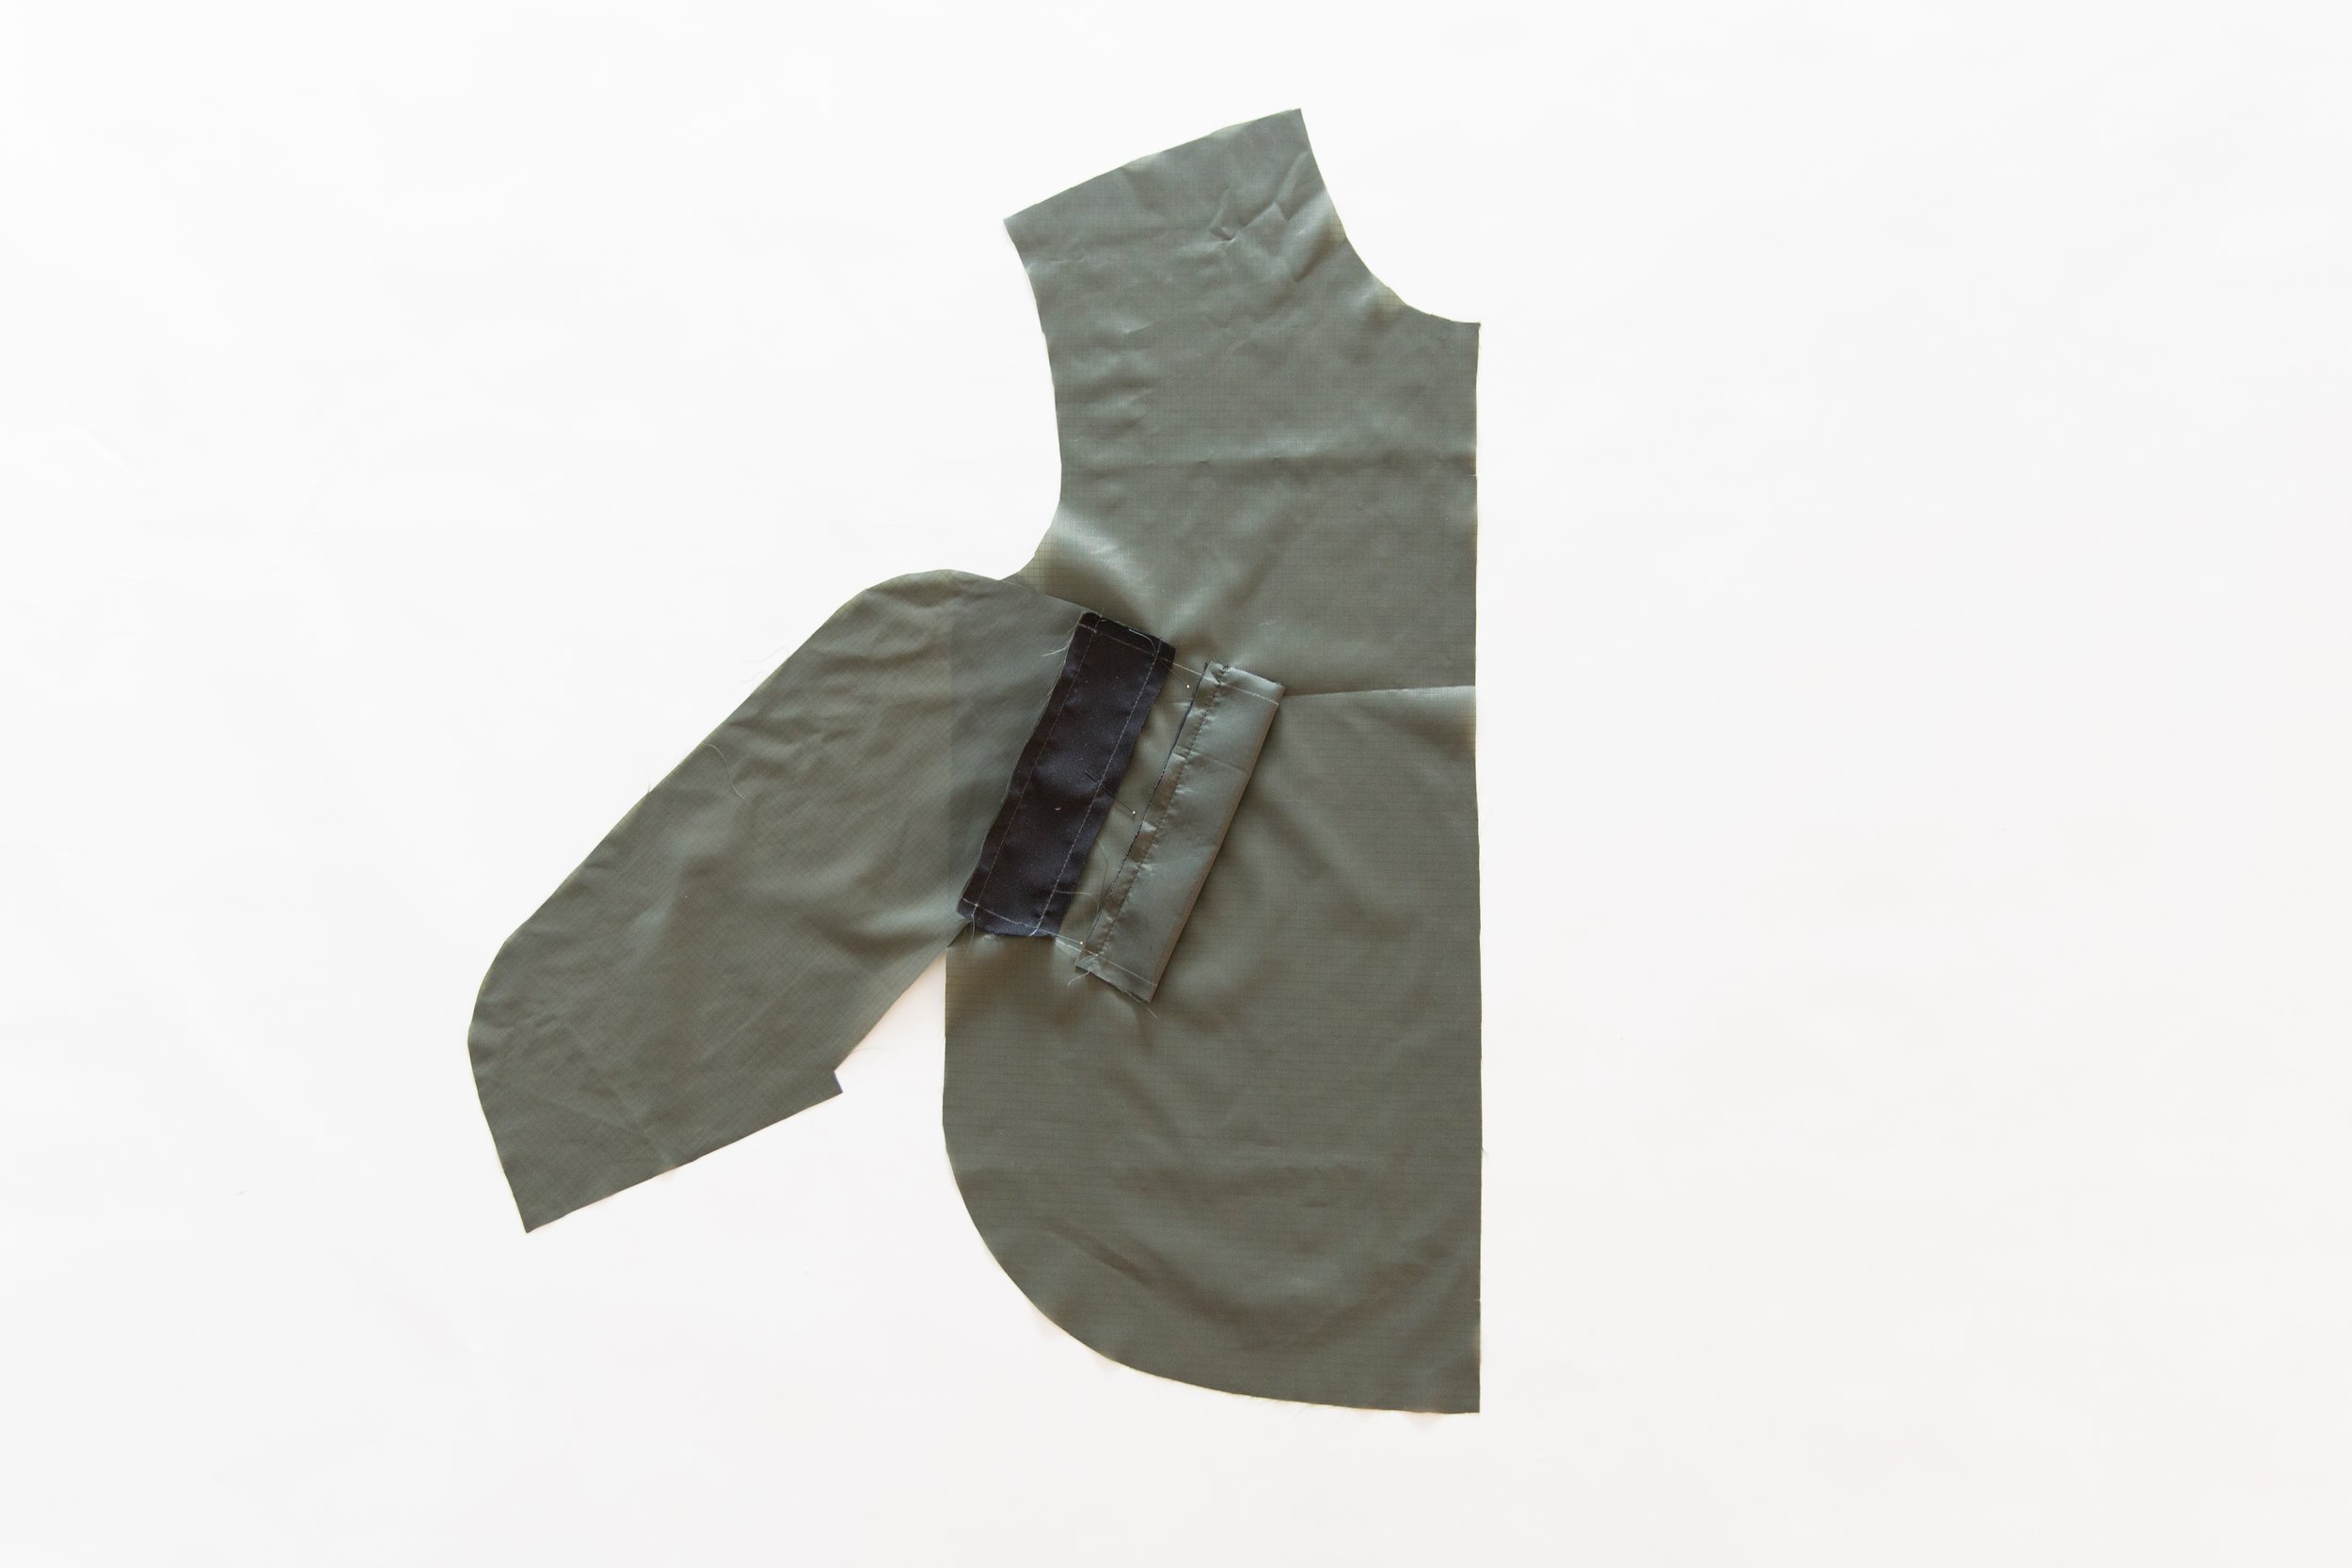
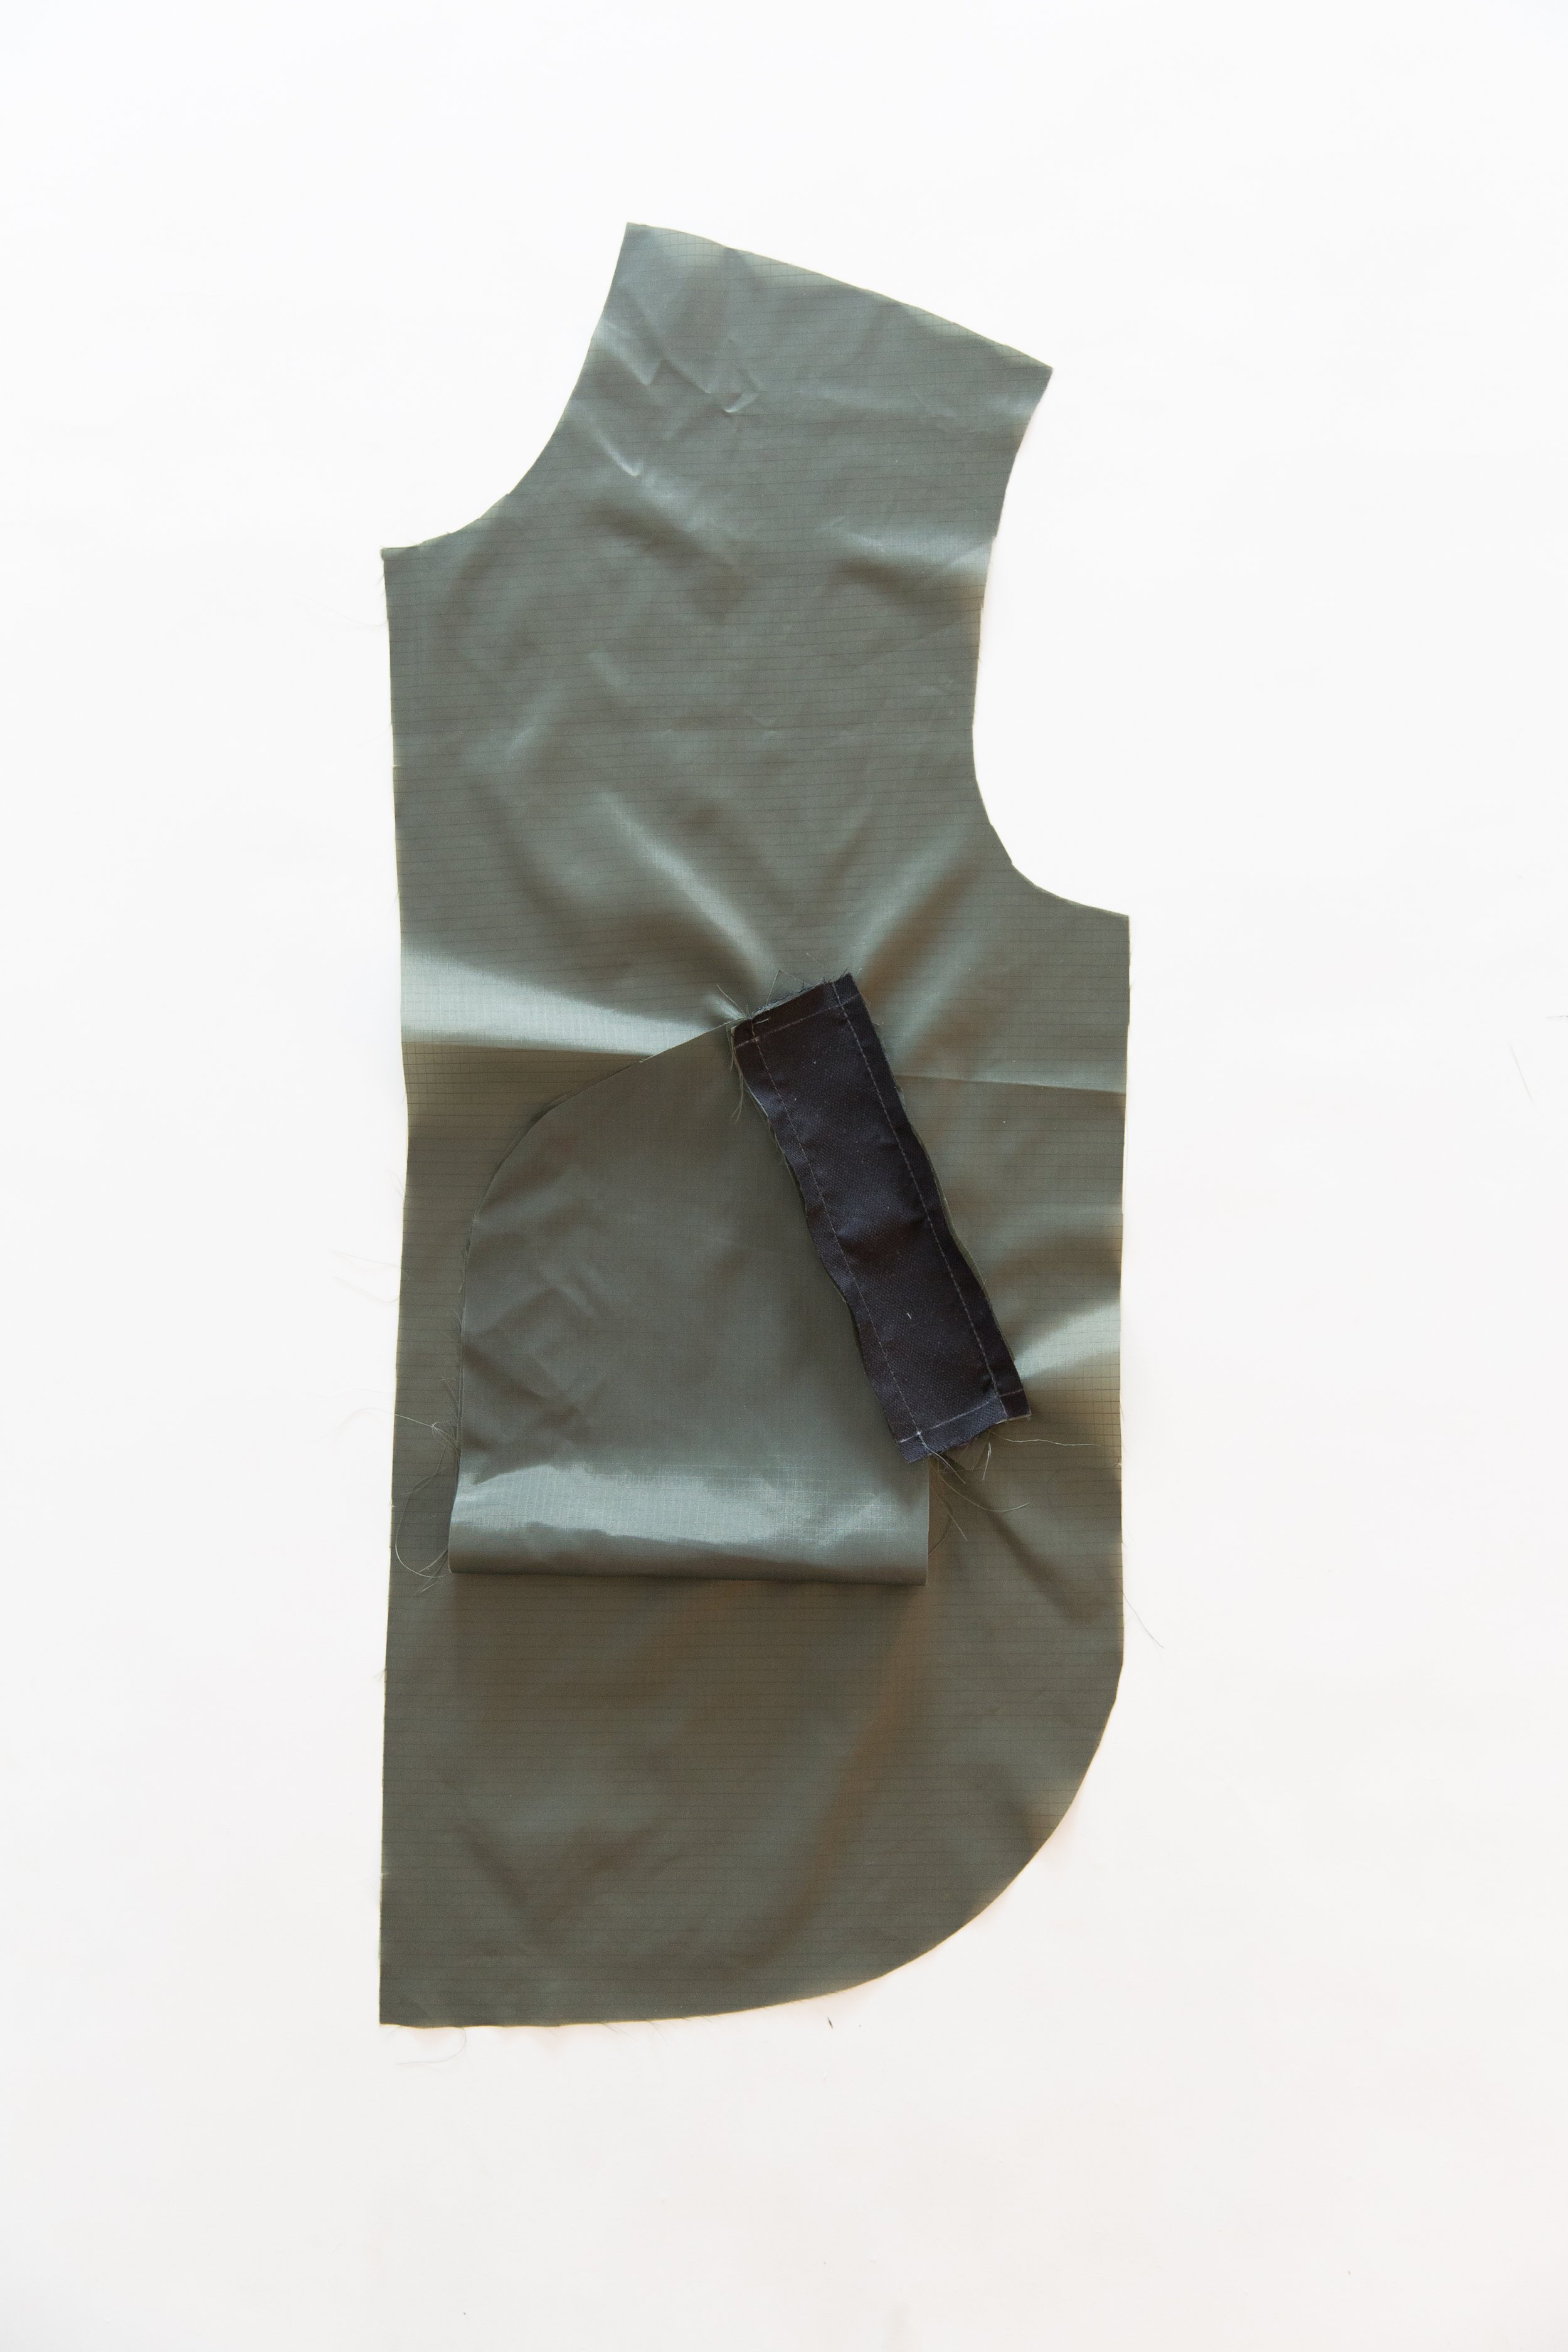
With right sides together, pin the fused welt facing to the welt pocket bag along top edge. Stitch together. Open out and press seam allowance toward pocket bag. Mark in 1cm/3/8” seam allowance around remaining three edges of welt facing on the wrong side with tailors chalk.
Repeat for other pocket bag, making sure it reflects the one you’ve just done.
Step 2
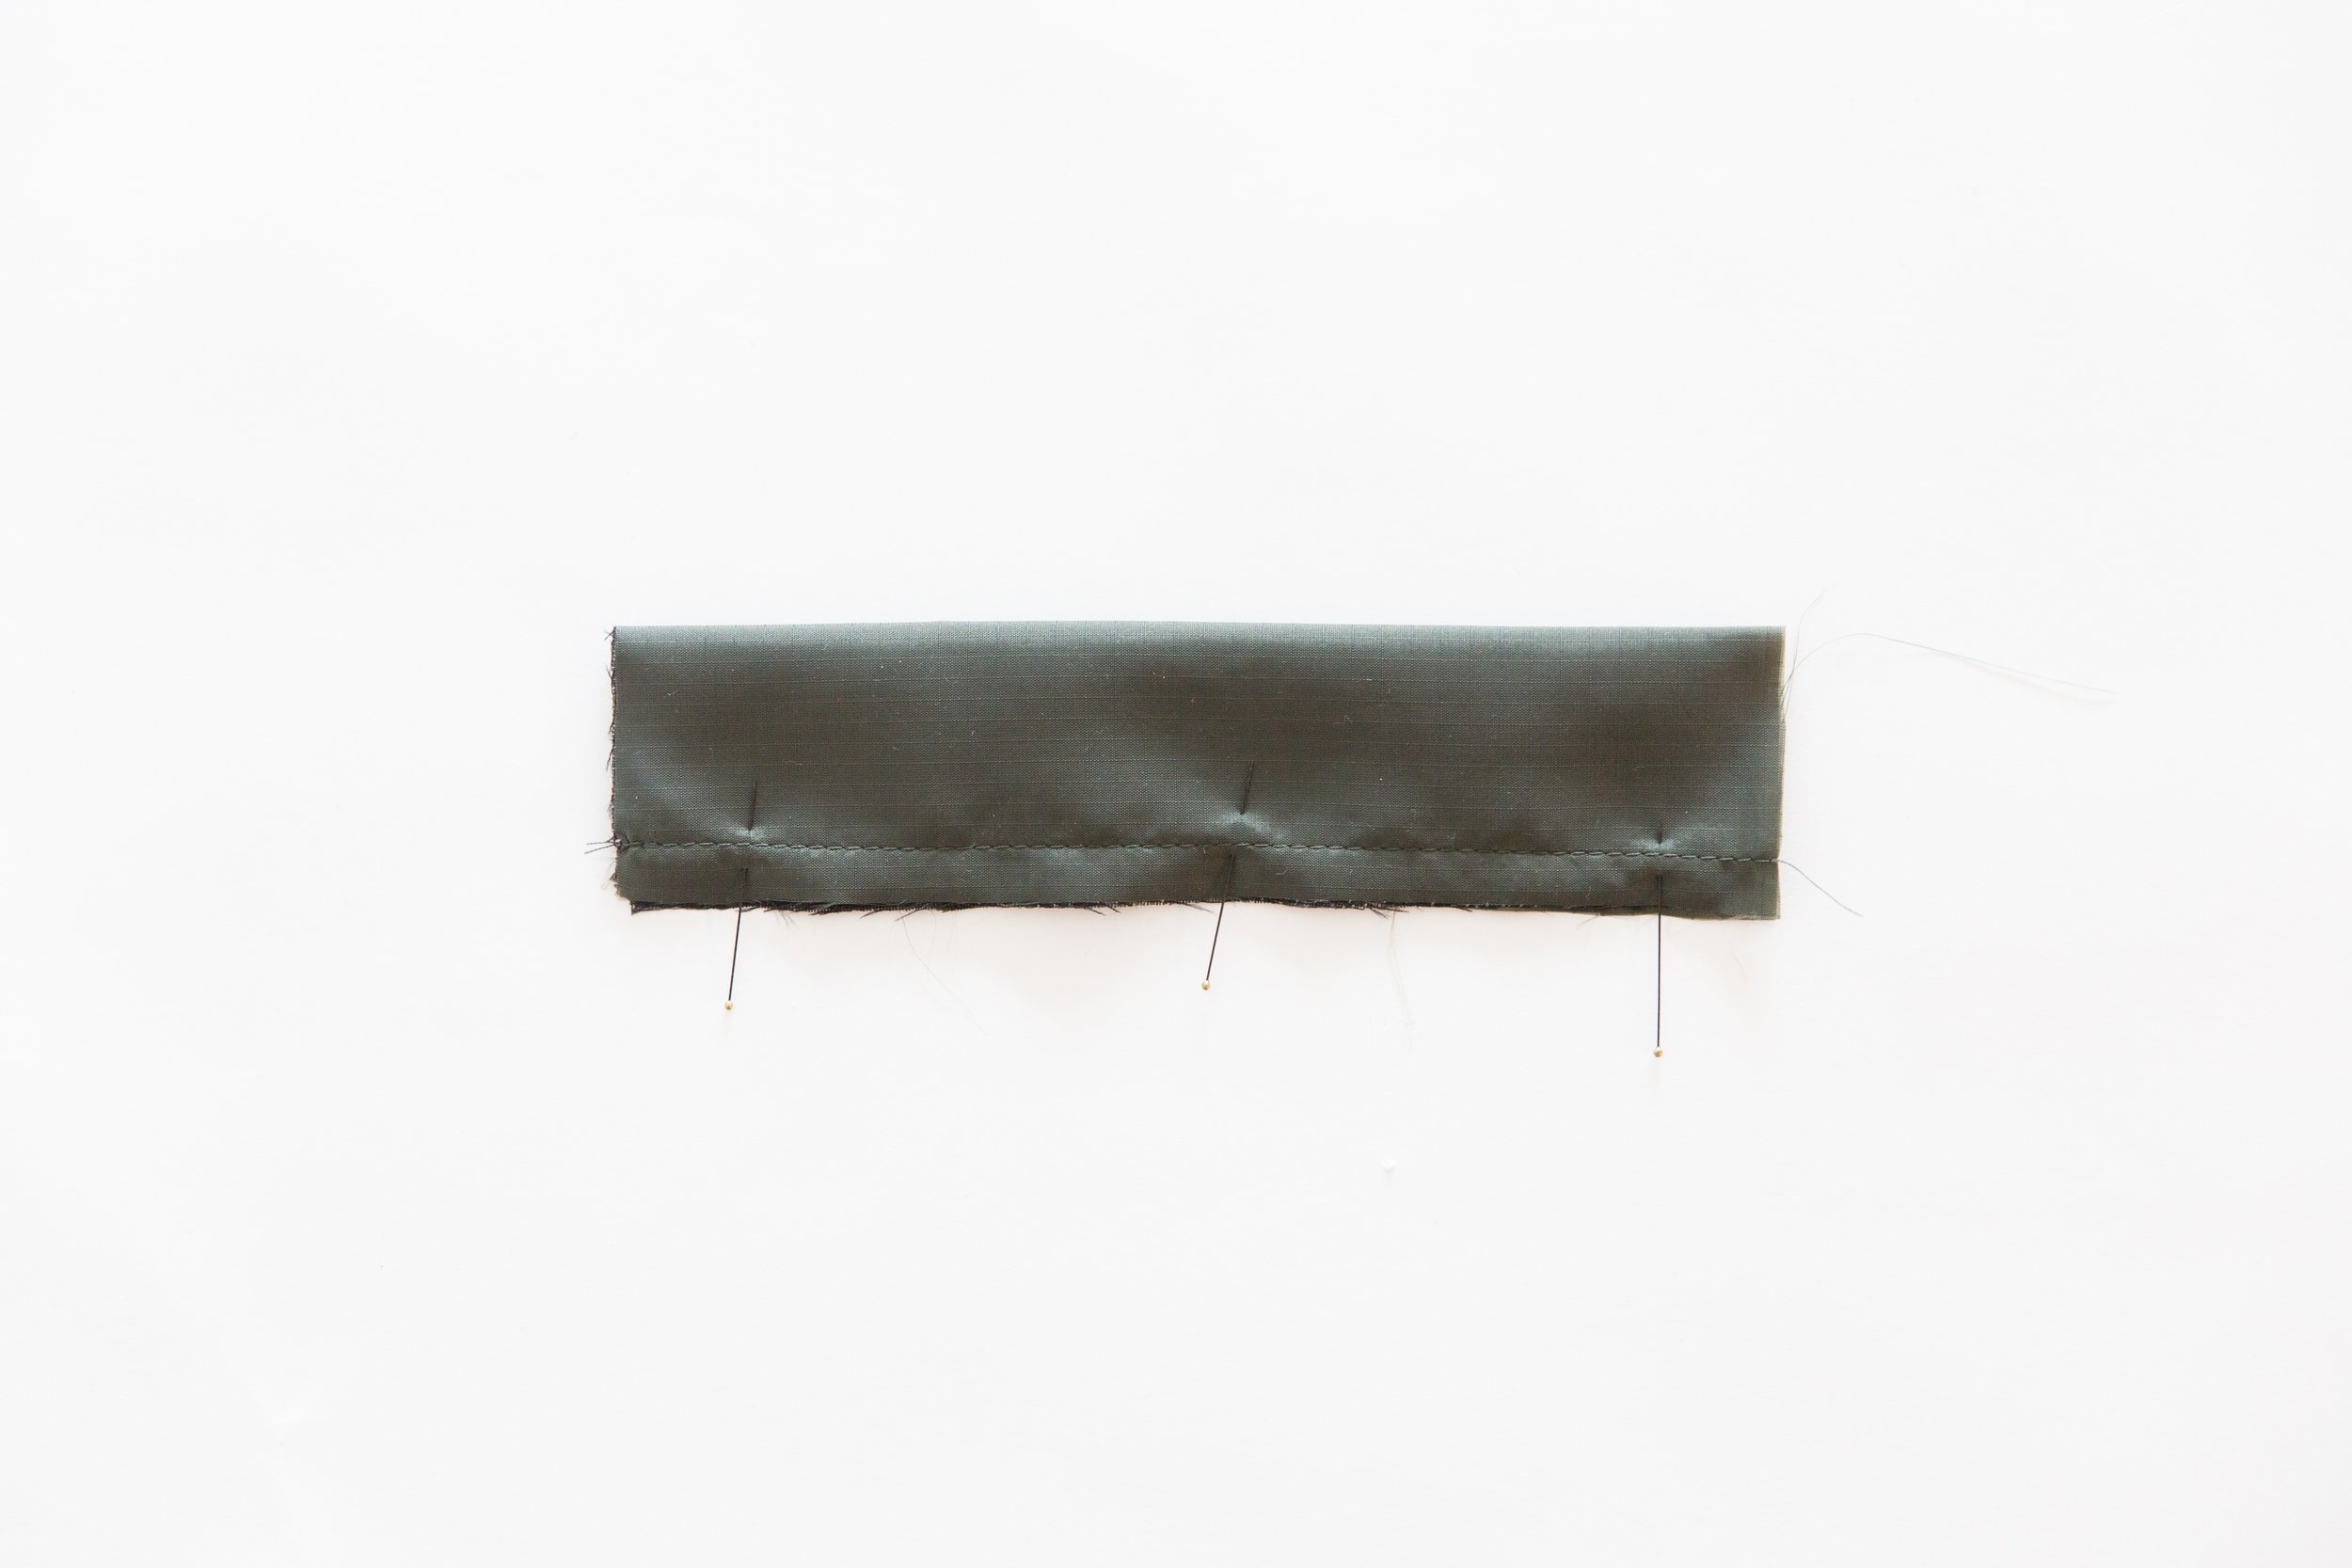
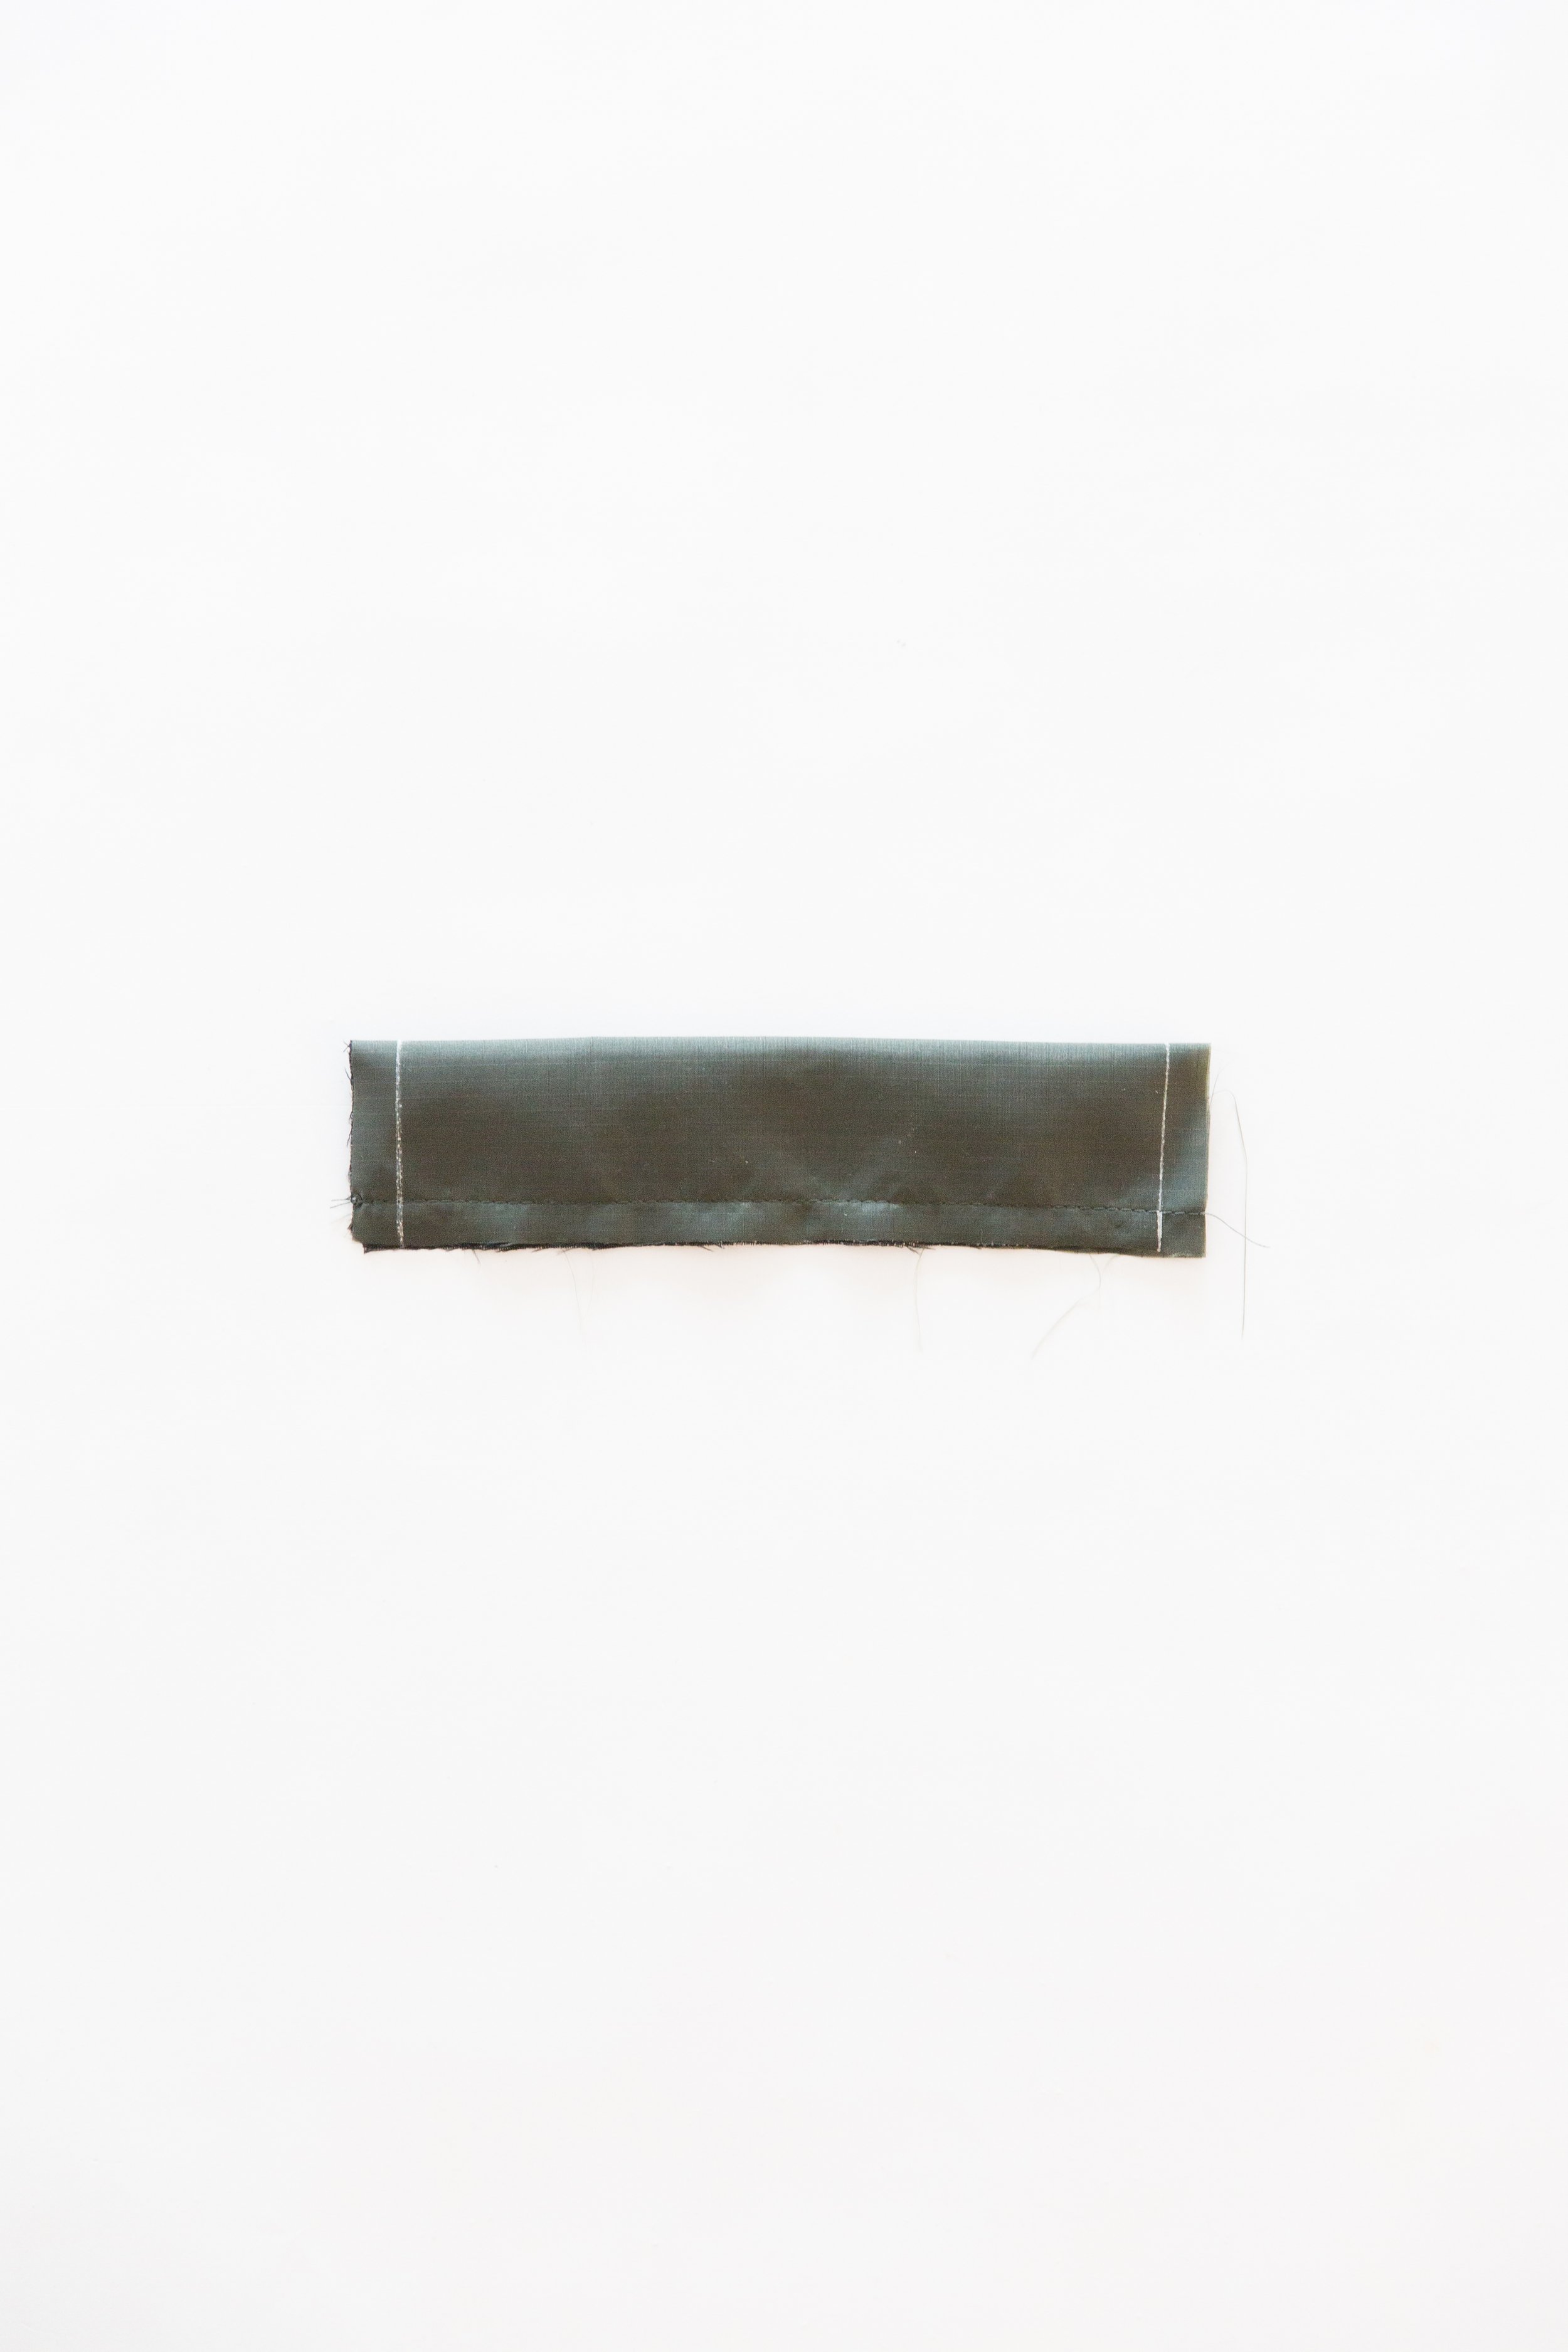
With wrong sides together, fold fused welt in half and stitch together 1cm/3/8” from bottom edge. Press. Mark in 1cm/3/8” seam allowance on the two short ends with tailors chalk. Repeat for other welt.
Step 3
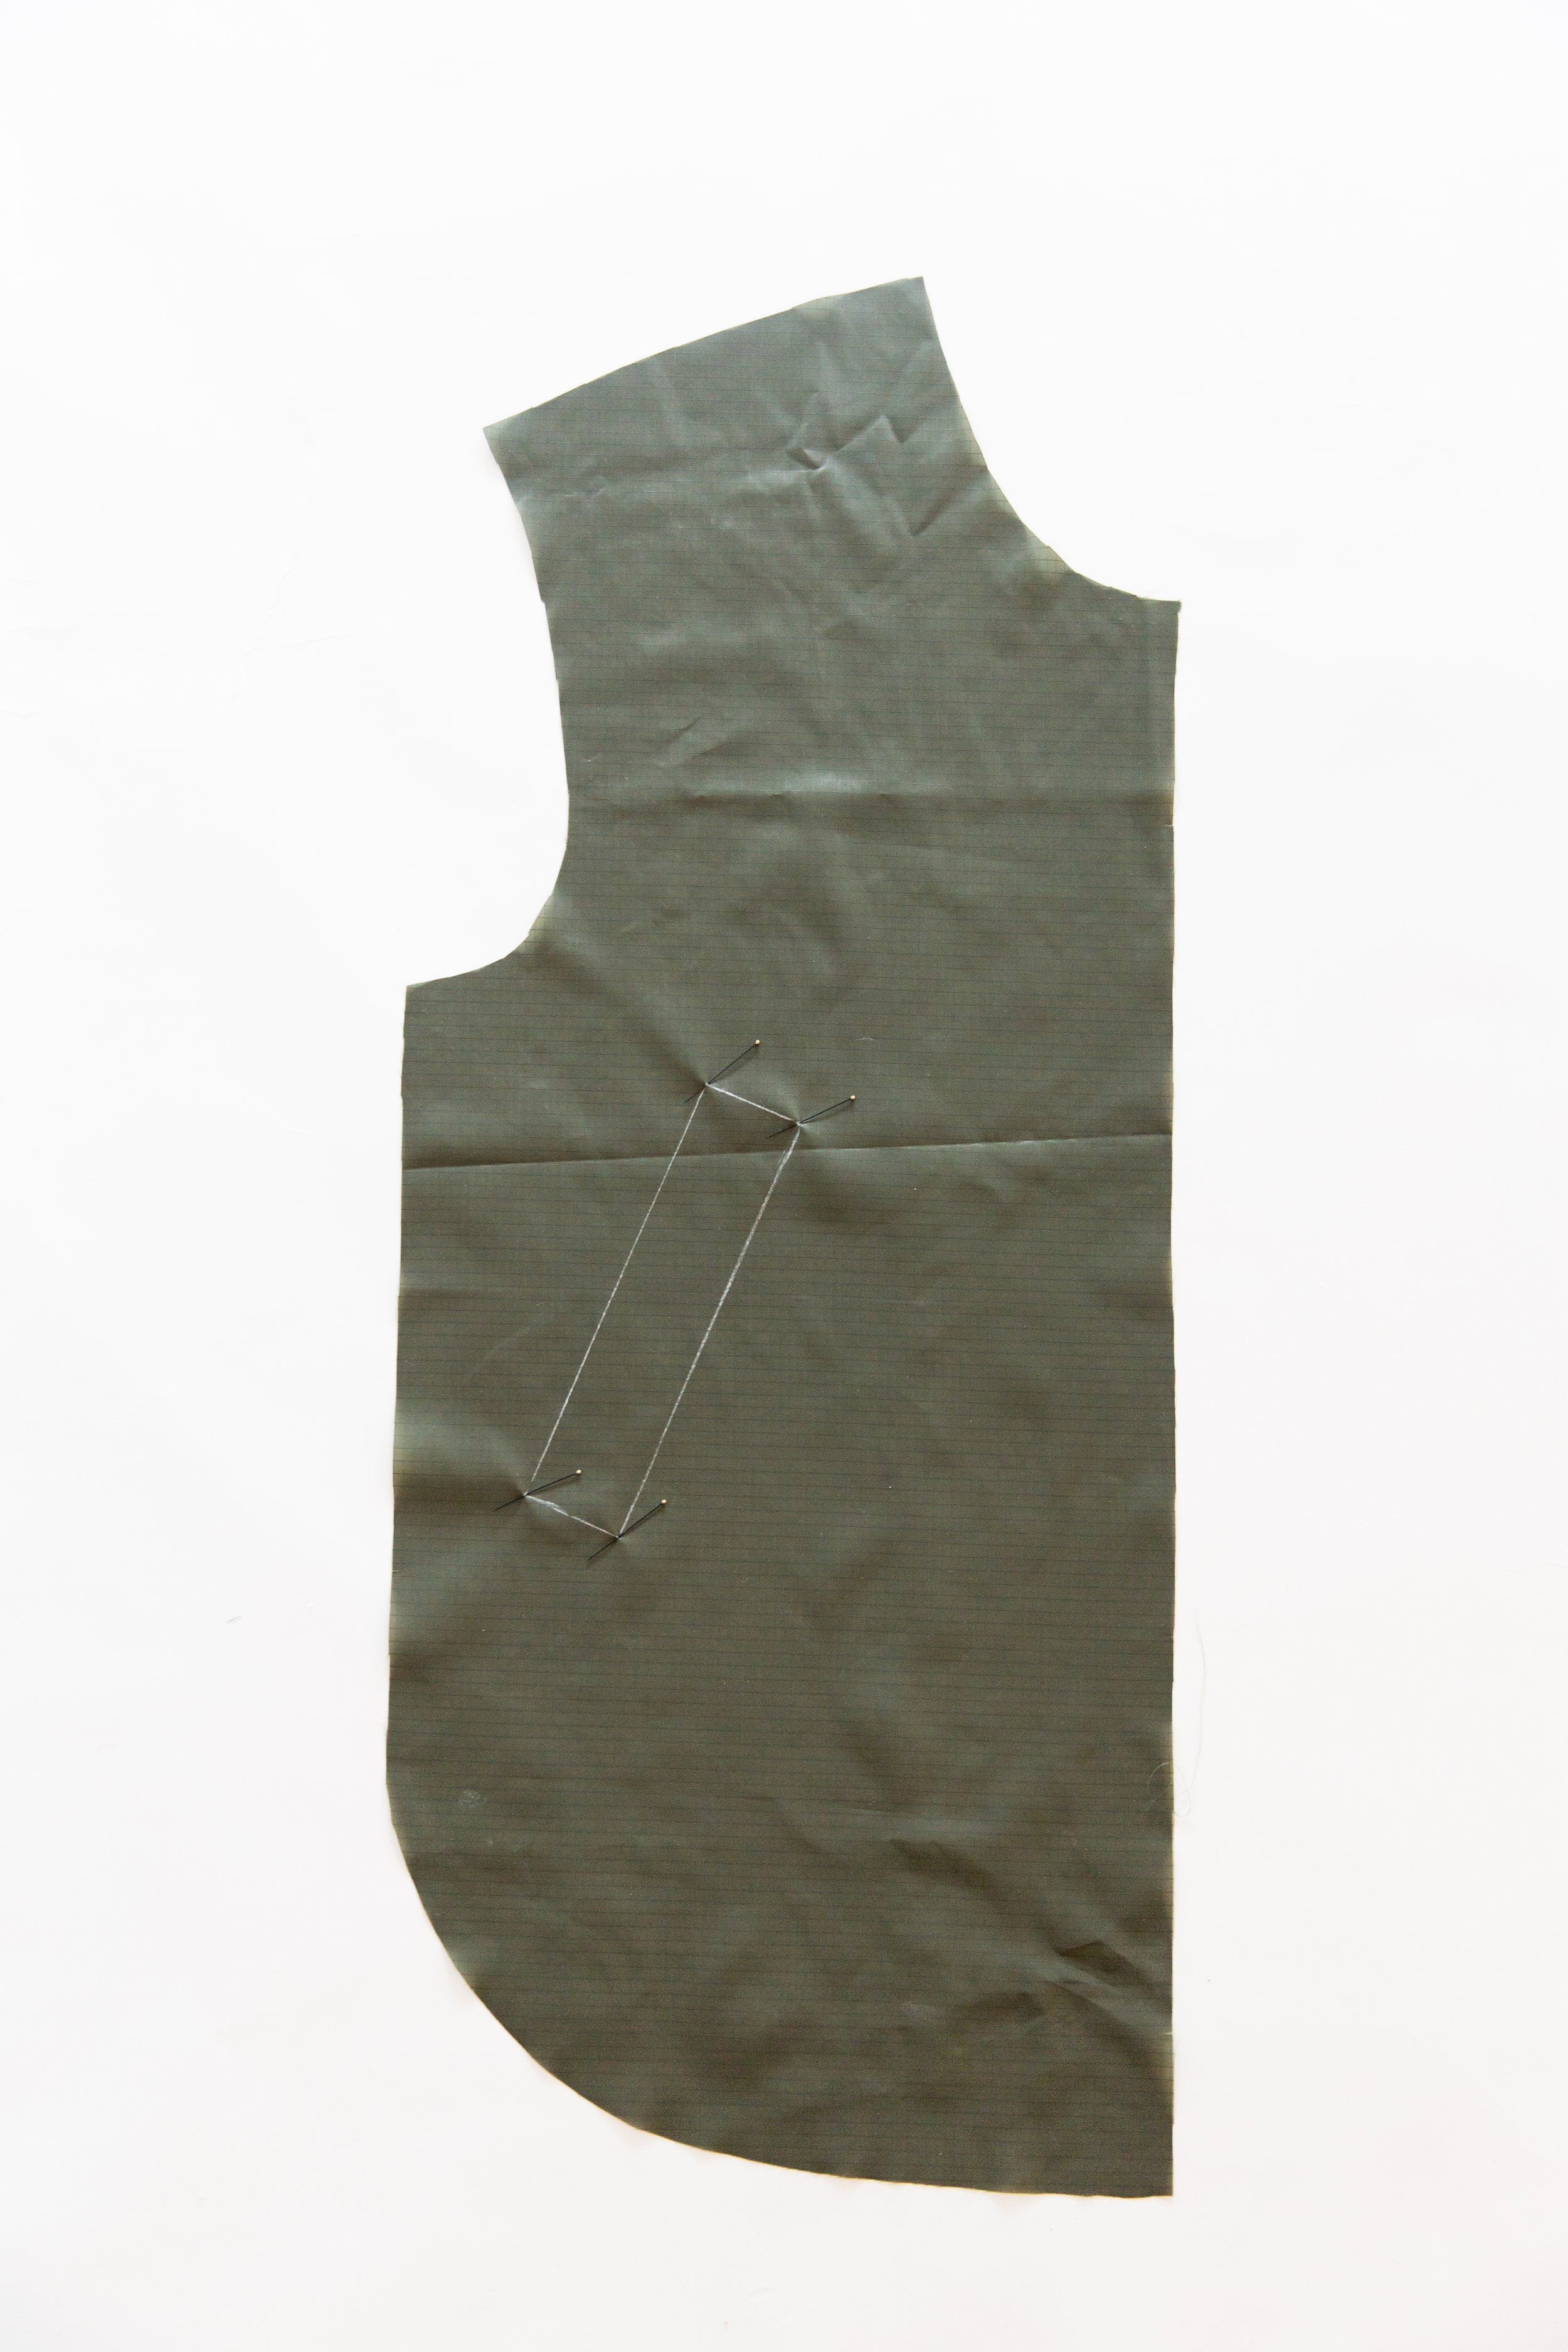
On the right side of your jacket front, mark in your welt pocket placement from your pattern piece.
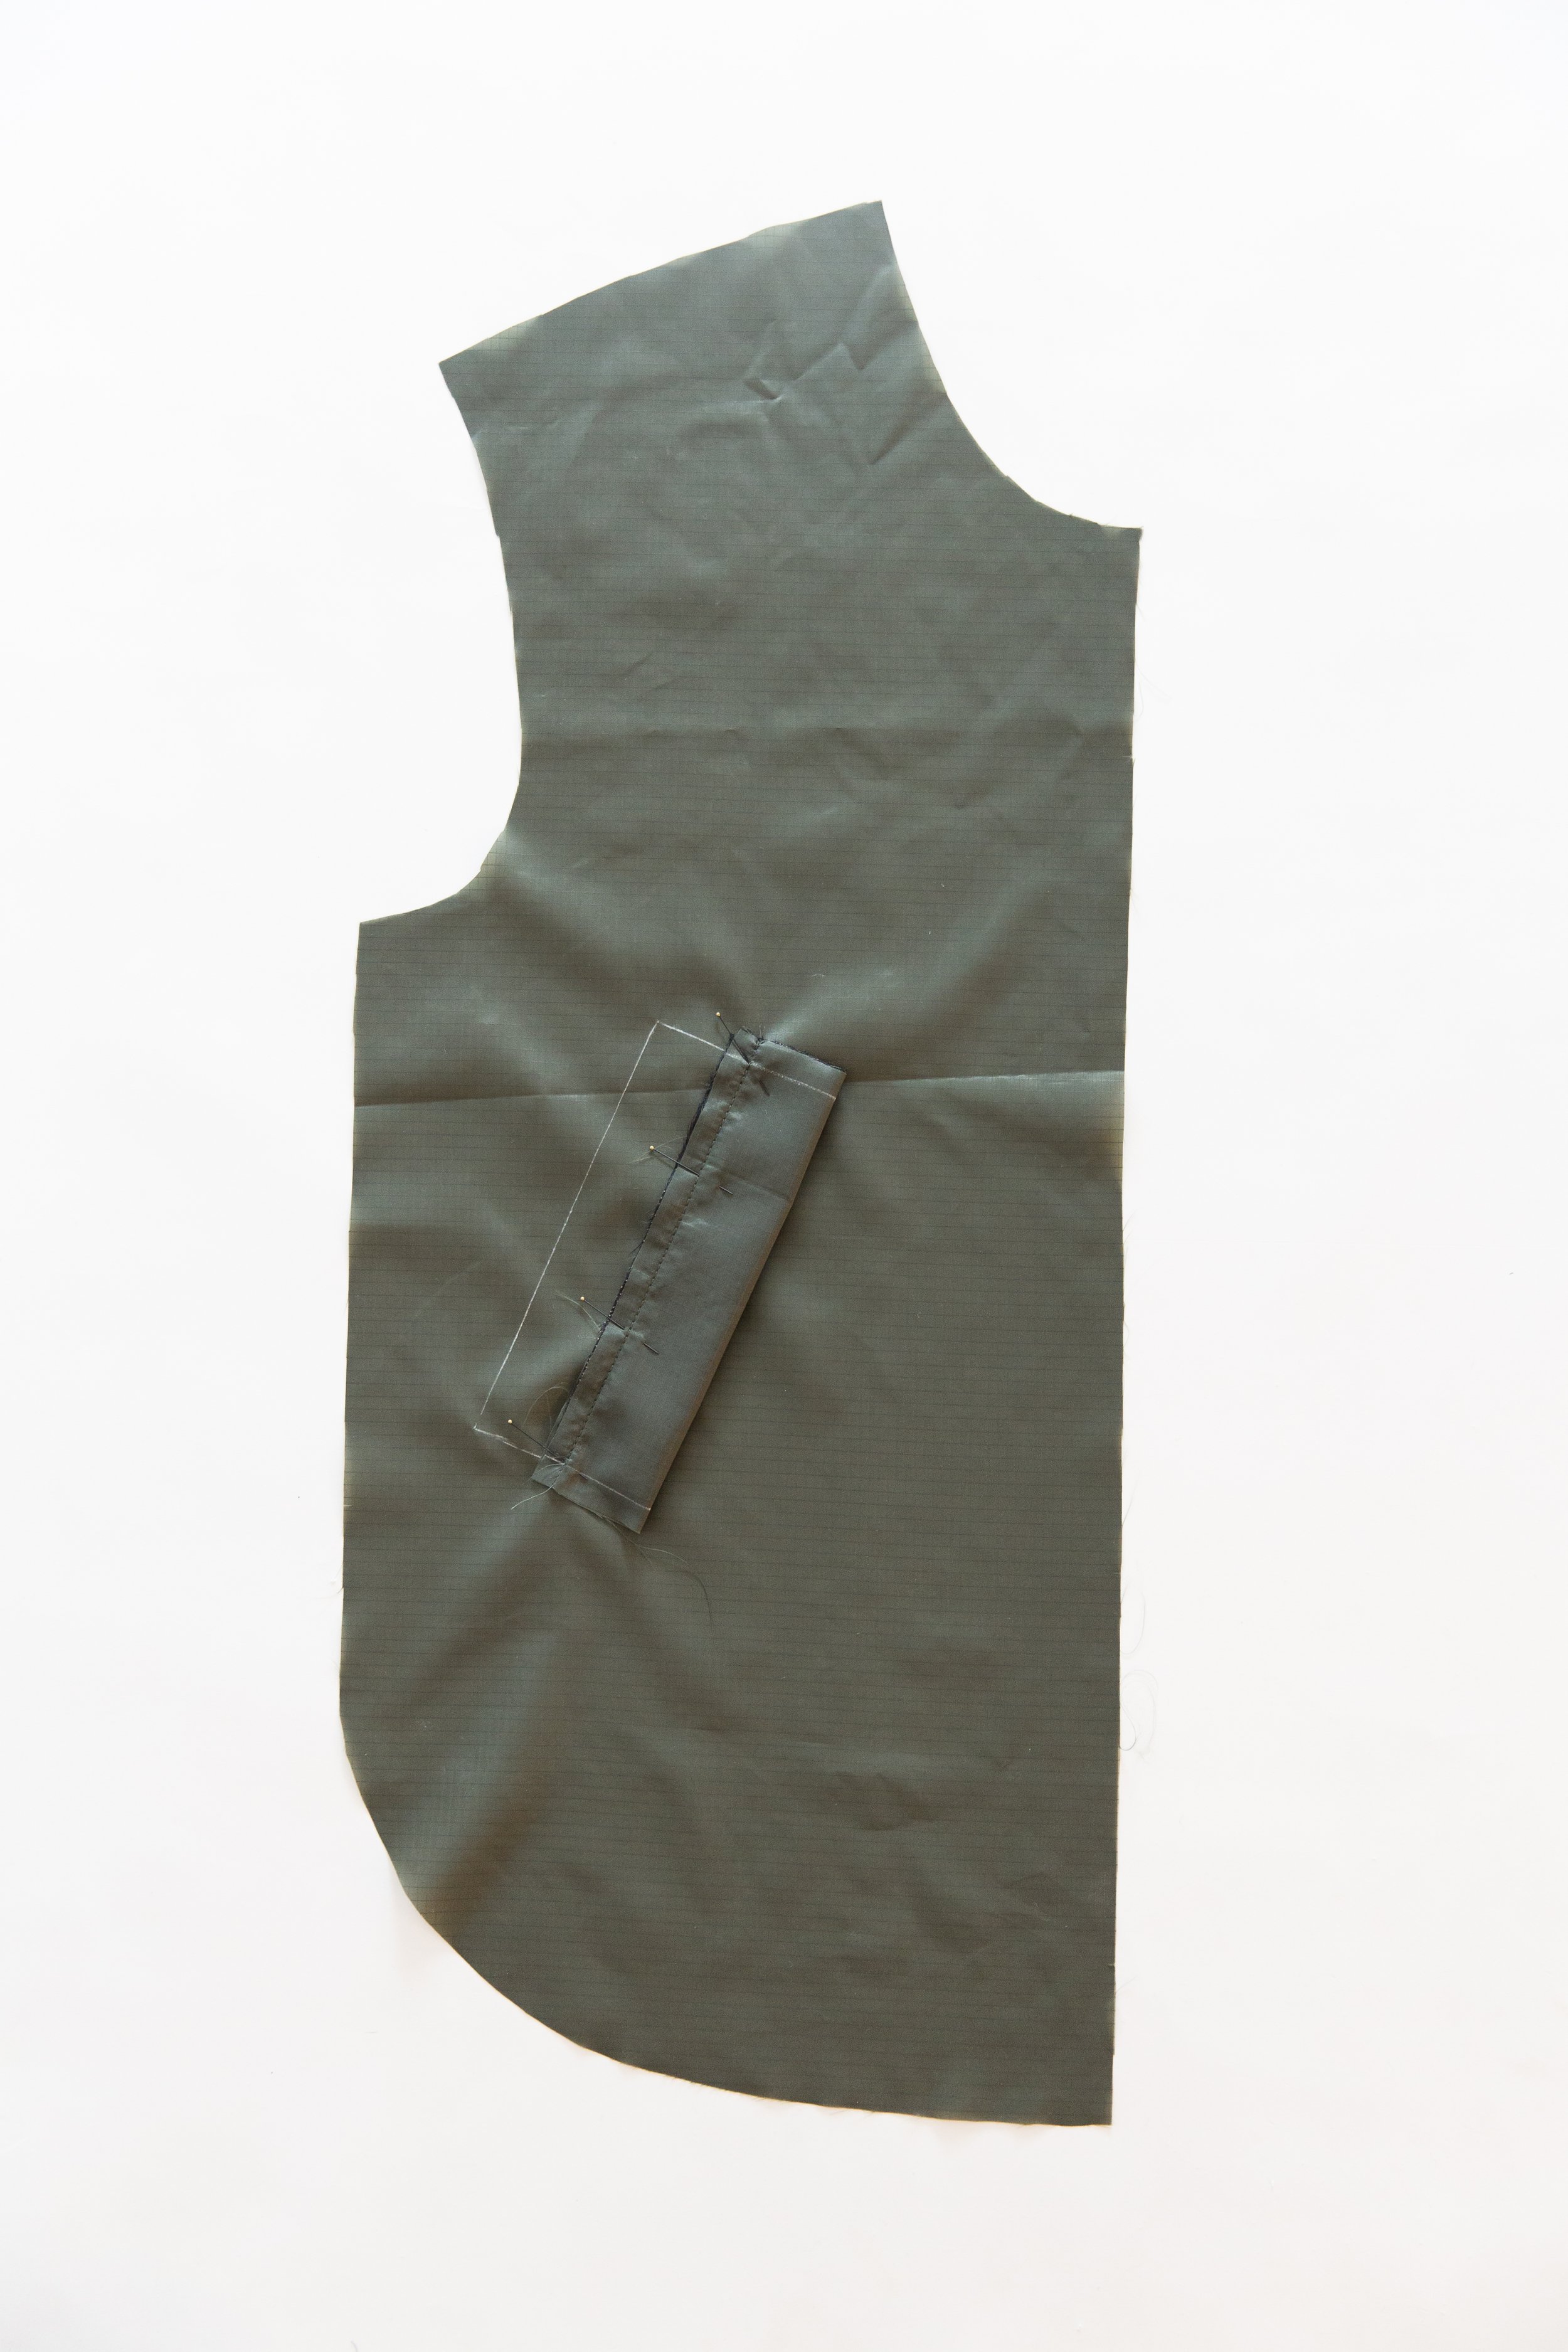
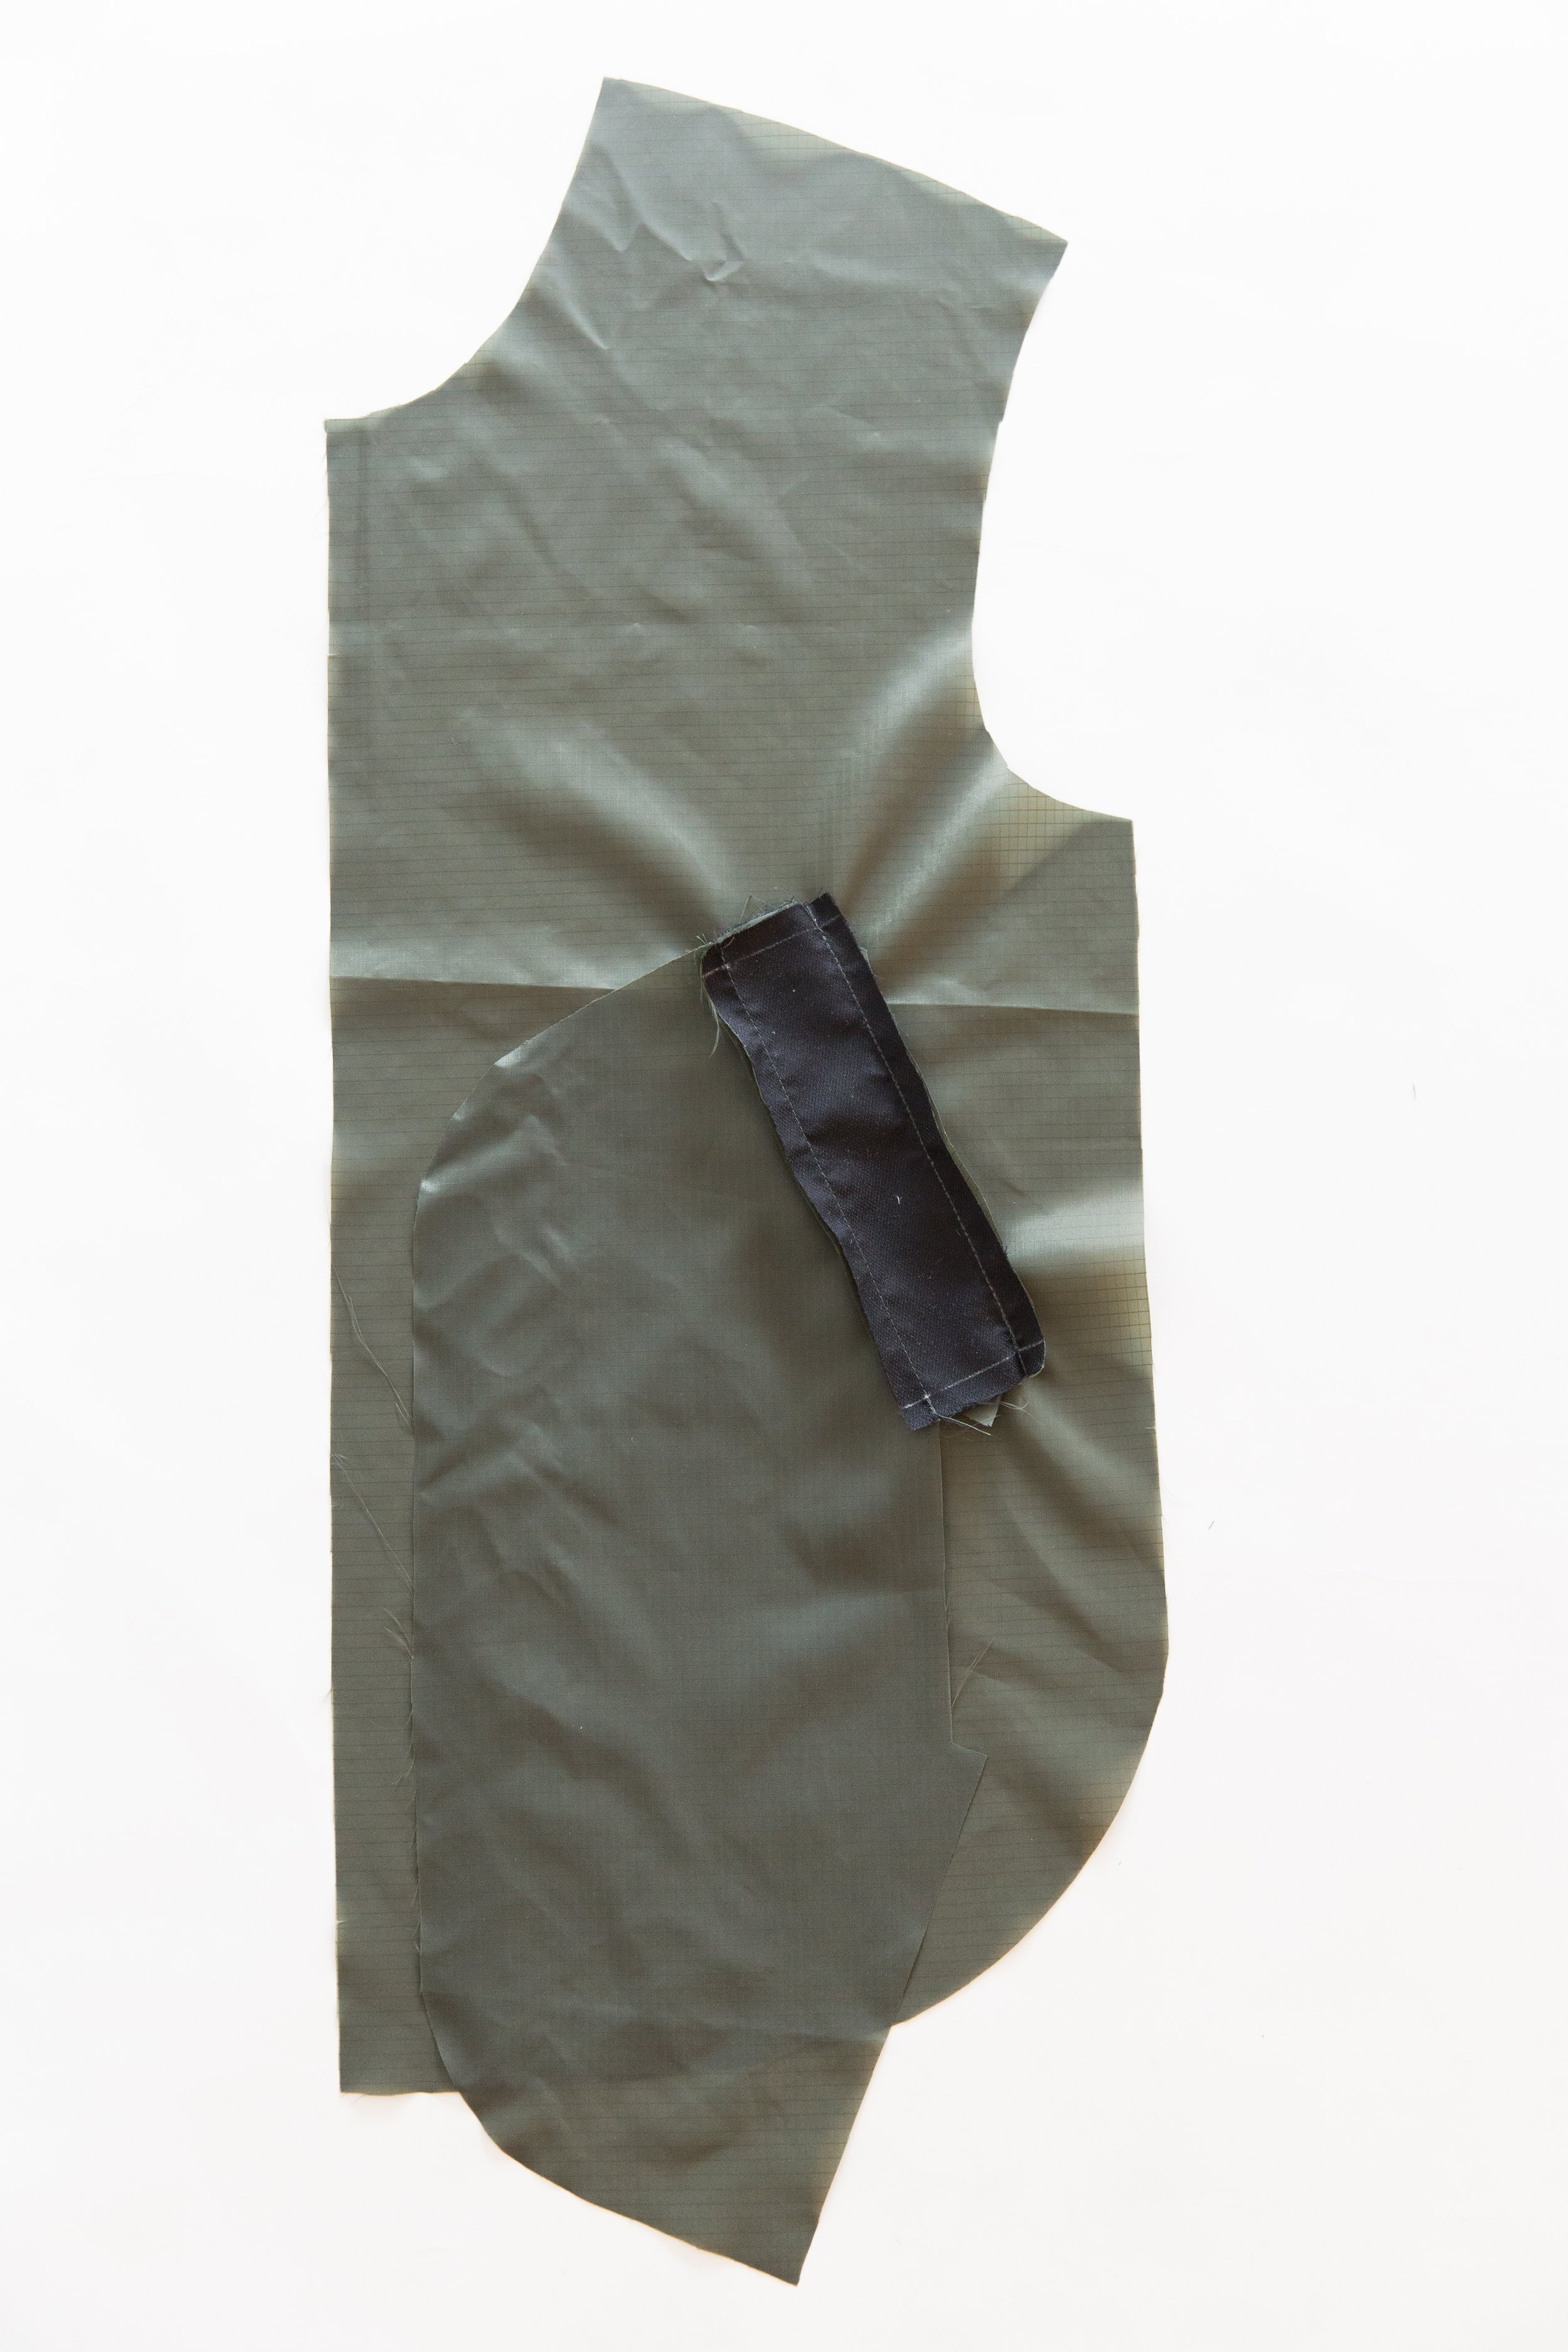
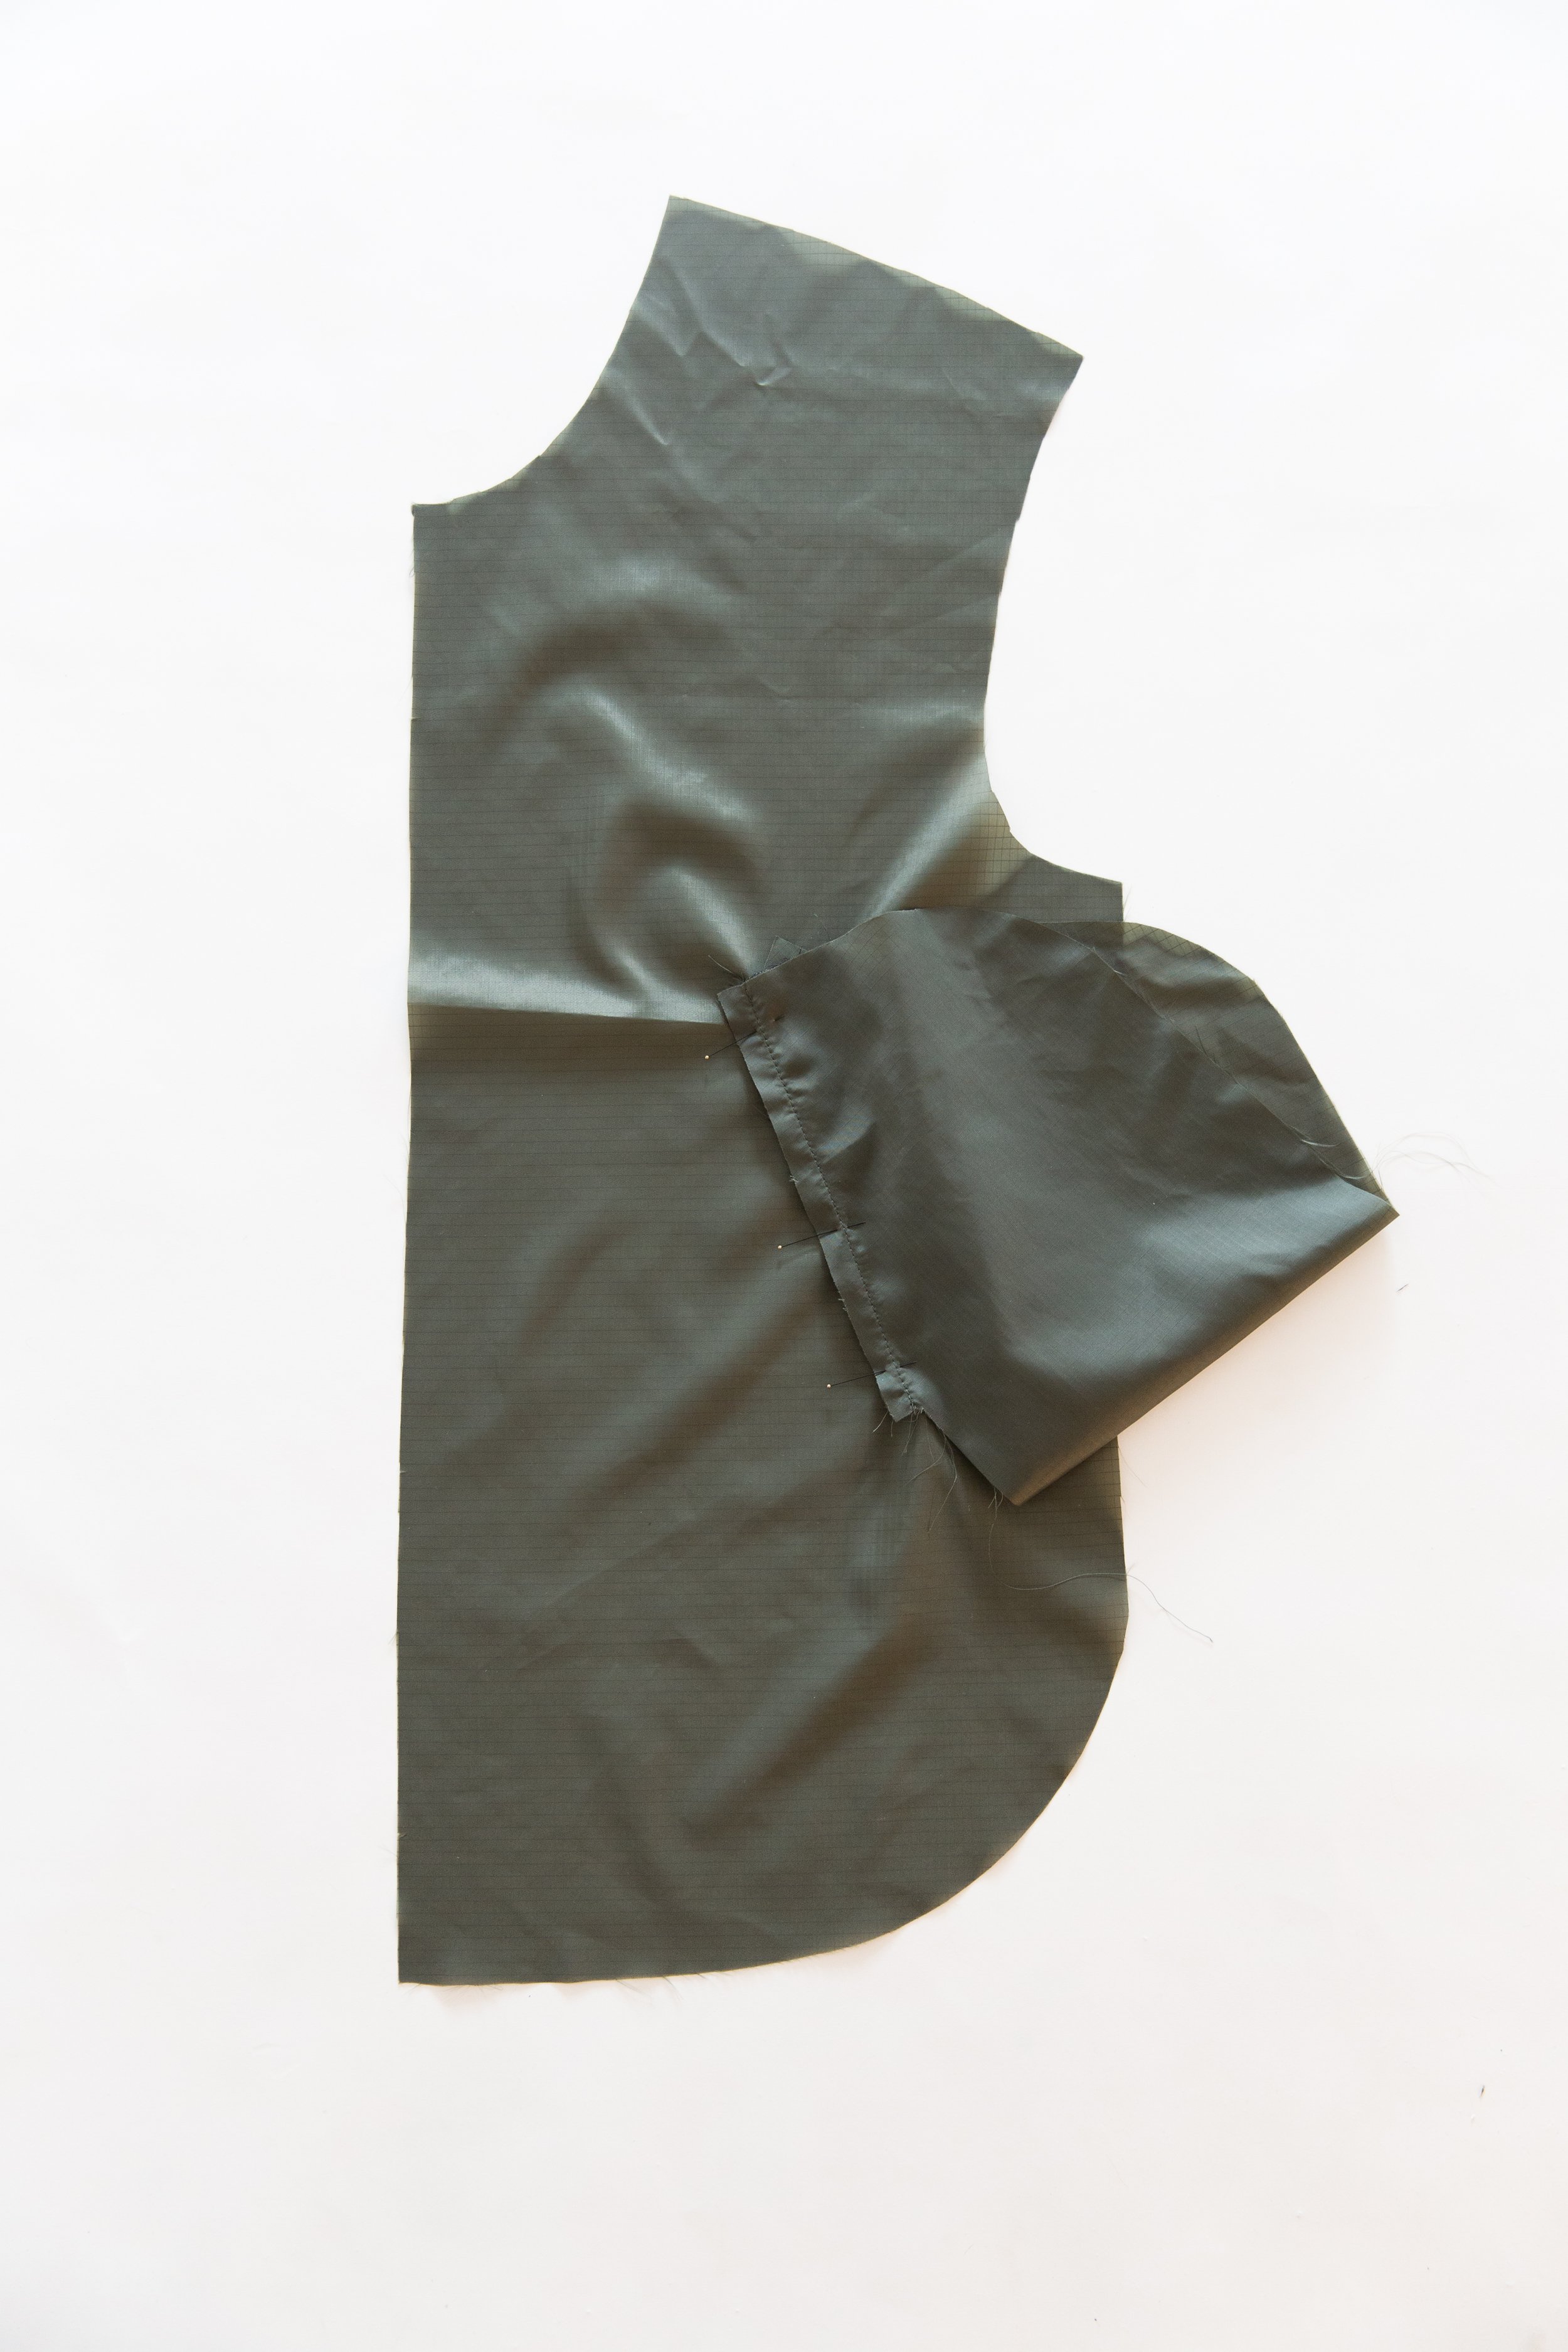
Place your welt onto the marking so that the stitch line on welt overlaps the bottom long edge of marking. Stitch in place directly over the stitching on welt, starting and stopping your stitchline at the side markings on welt.
Step 4
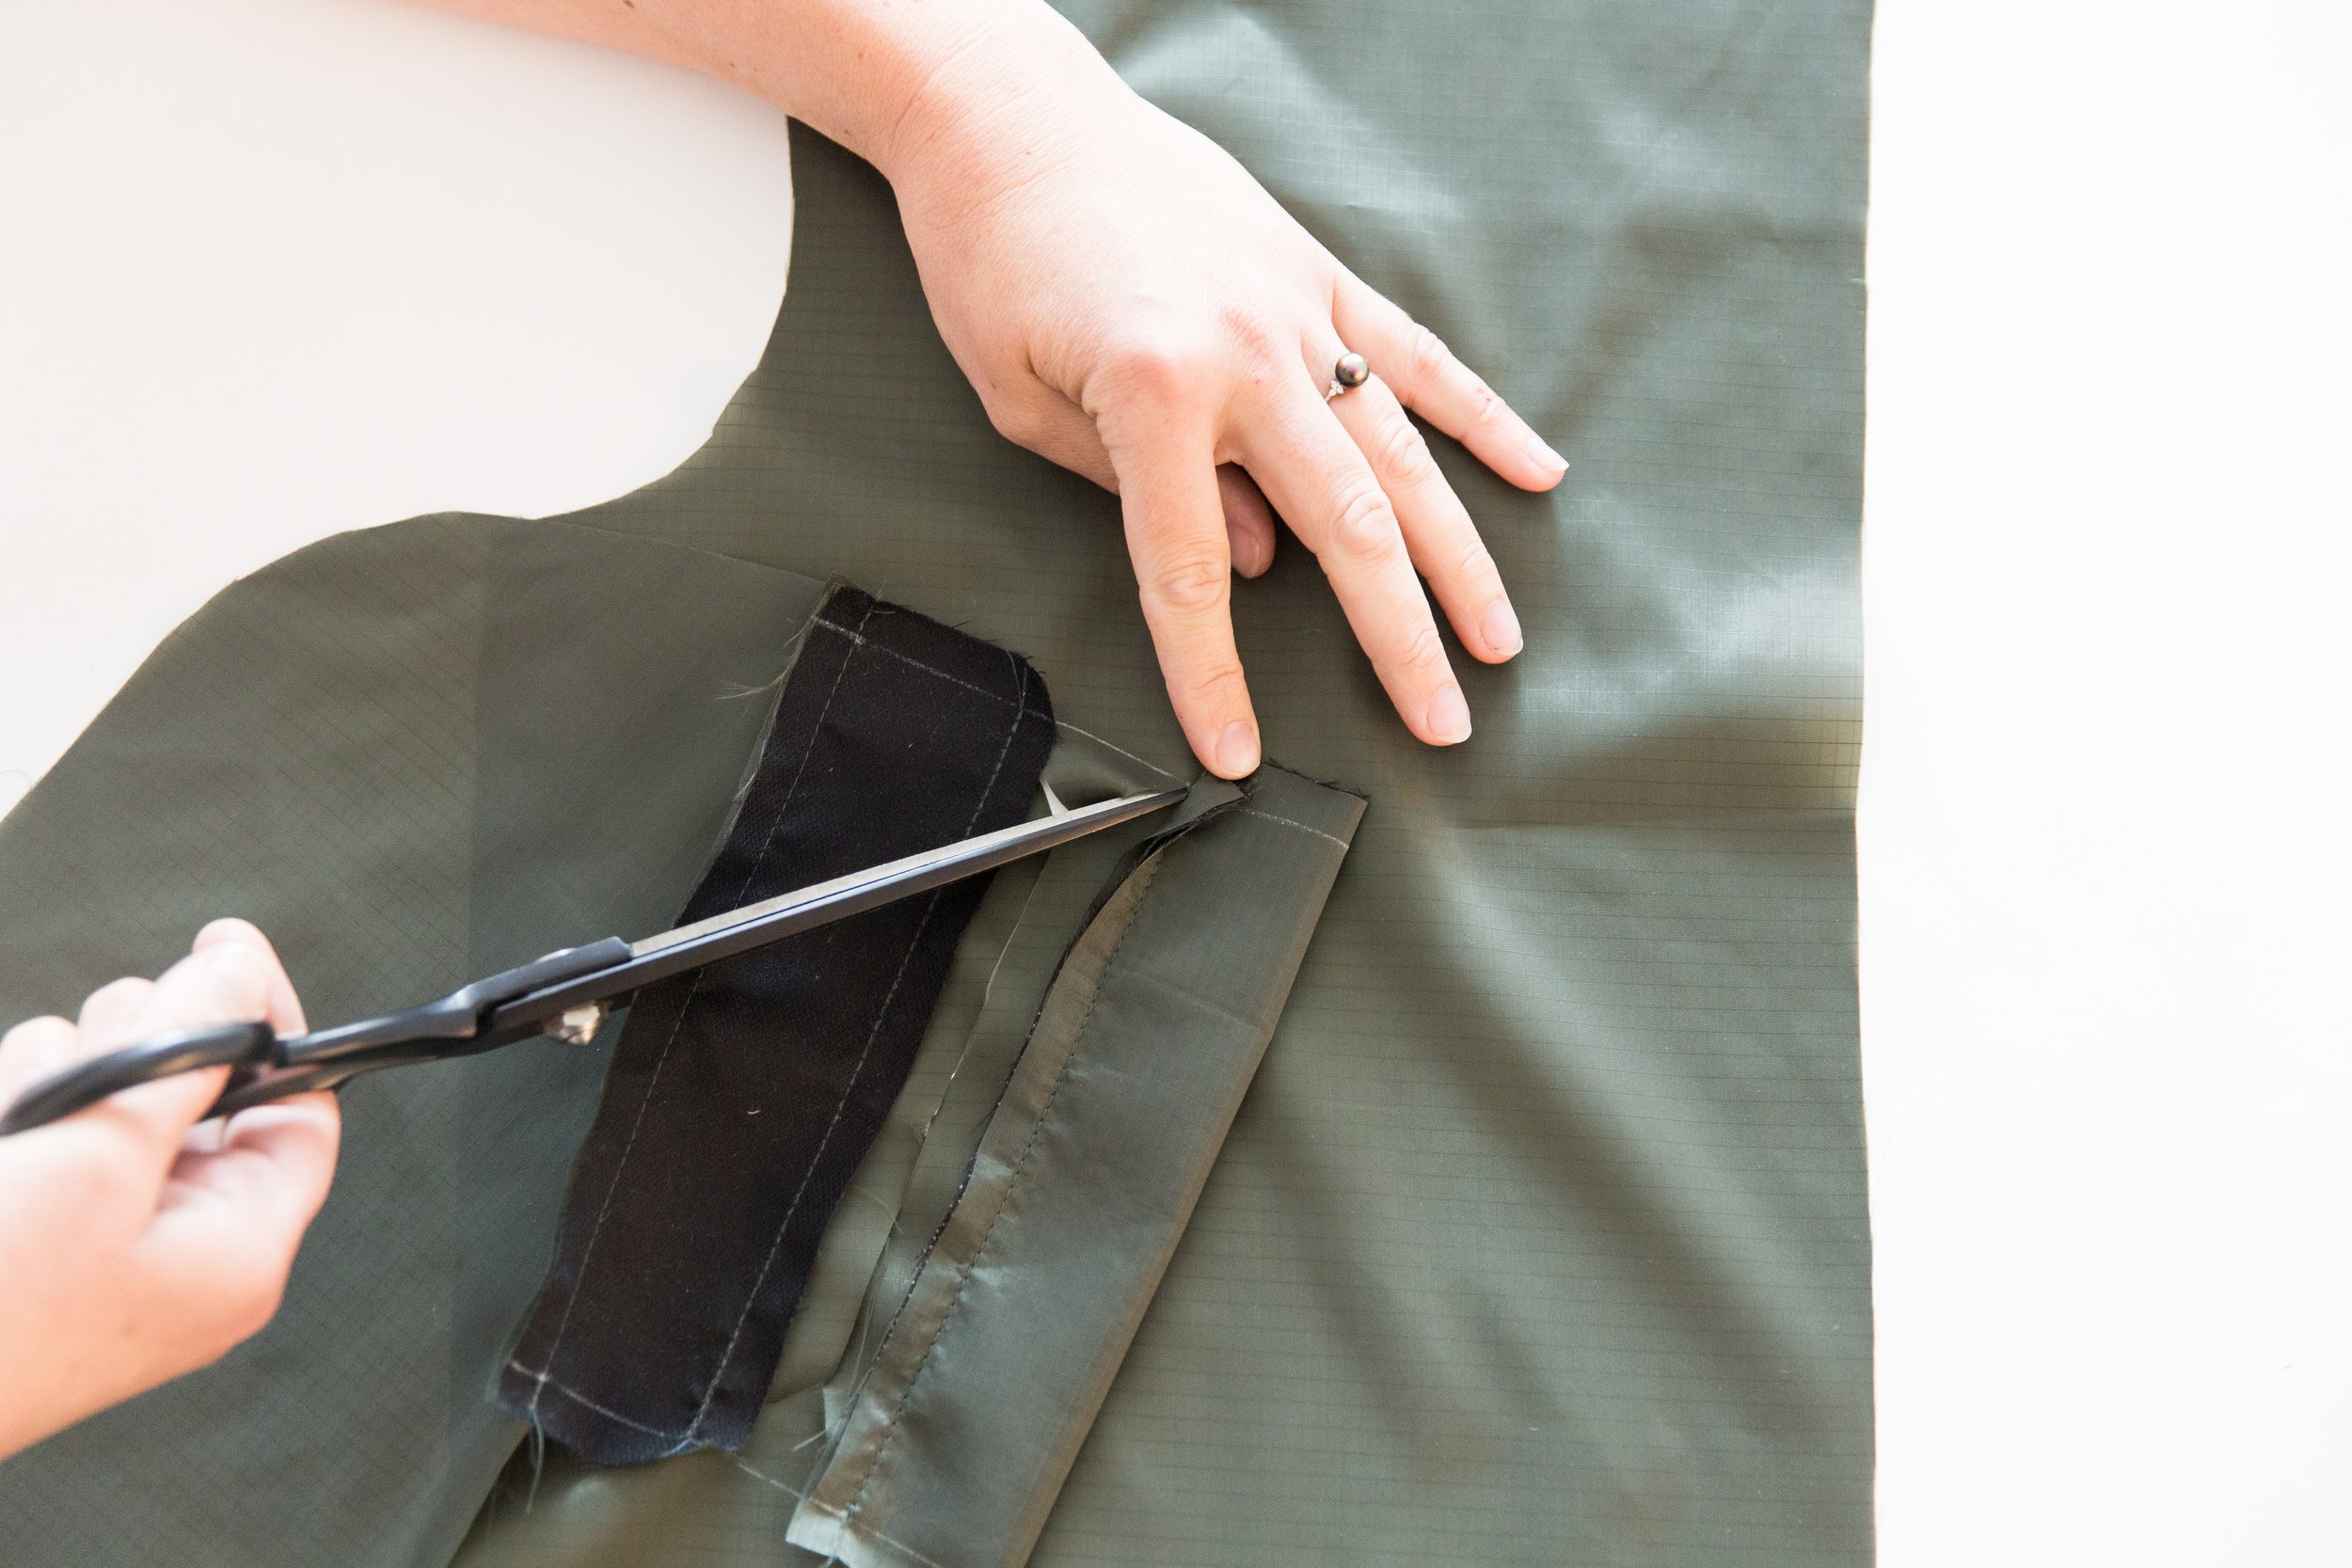
With right sides facing, pin the welt facing with attached pocket bag to the top long marking line. Stitch in place directly over the marking, starting and stopping your stitchline at the side markings on welt facing.
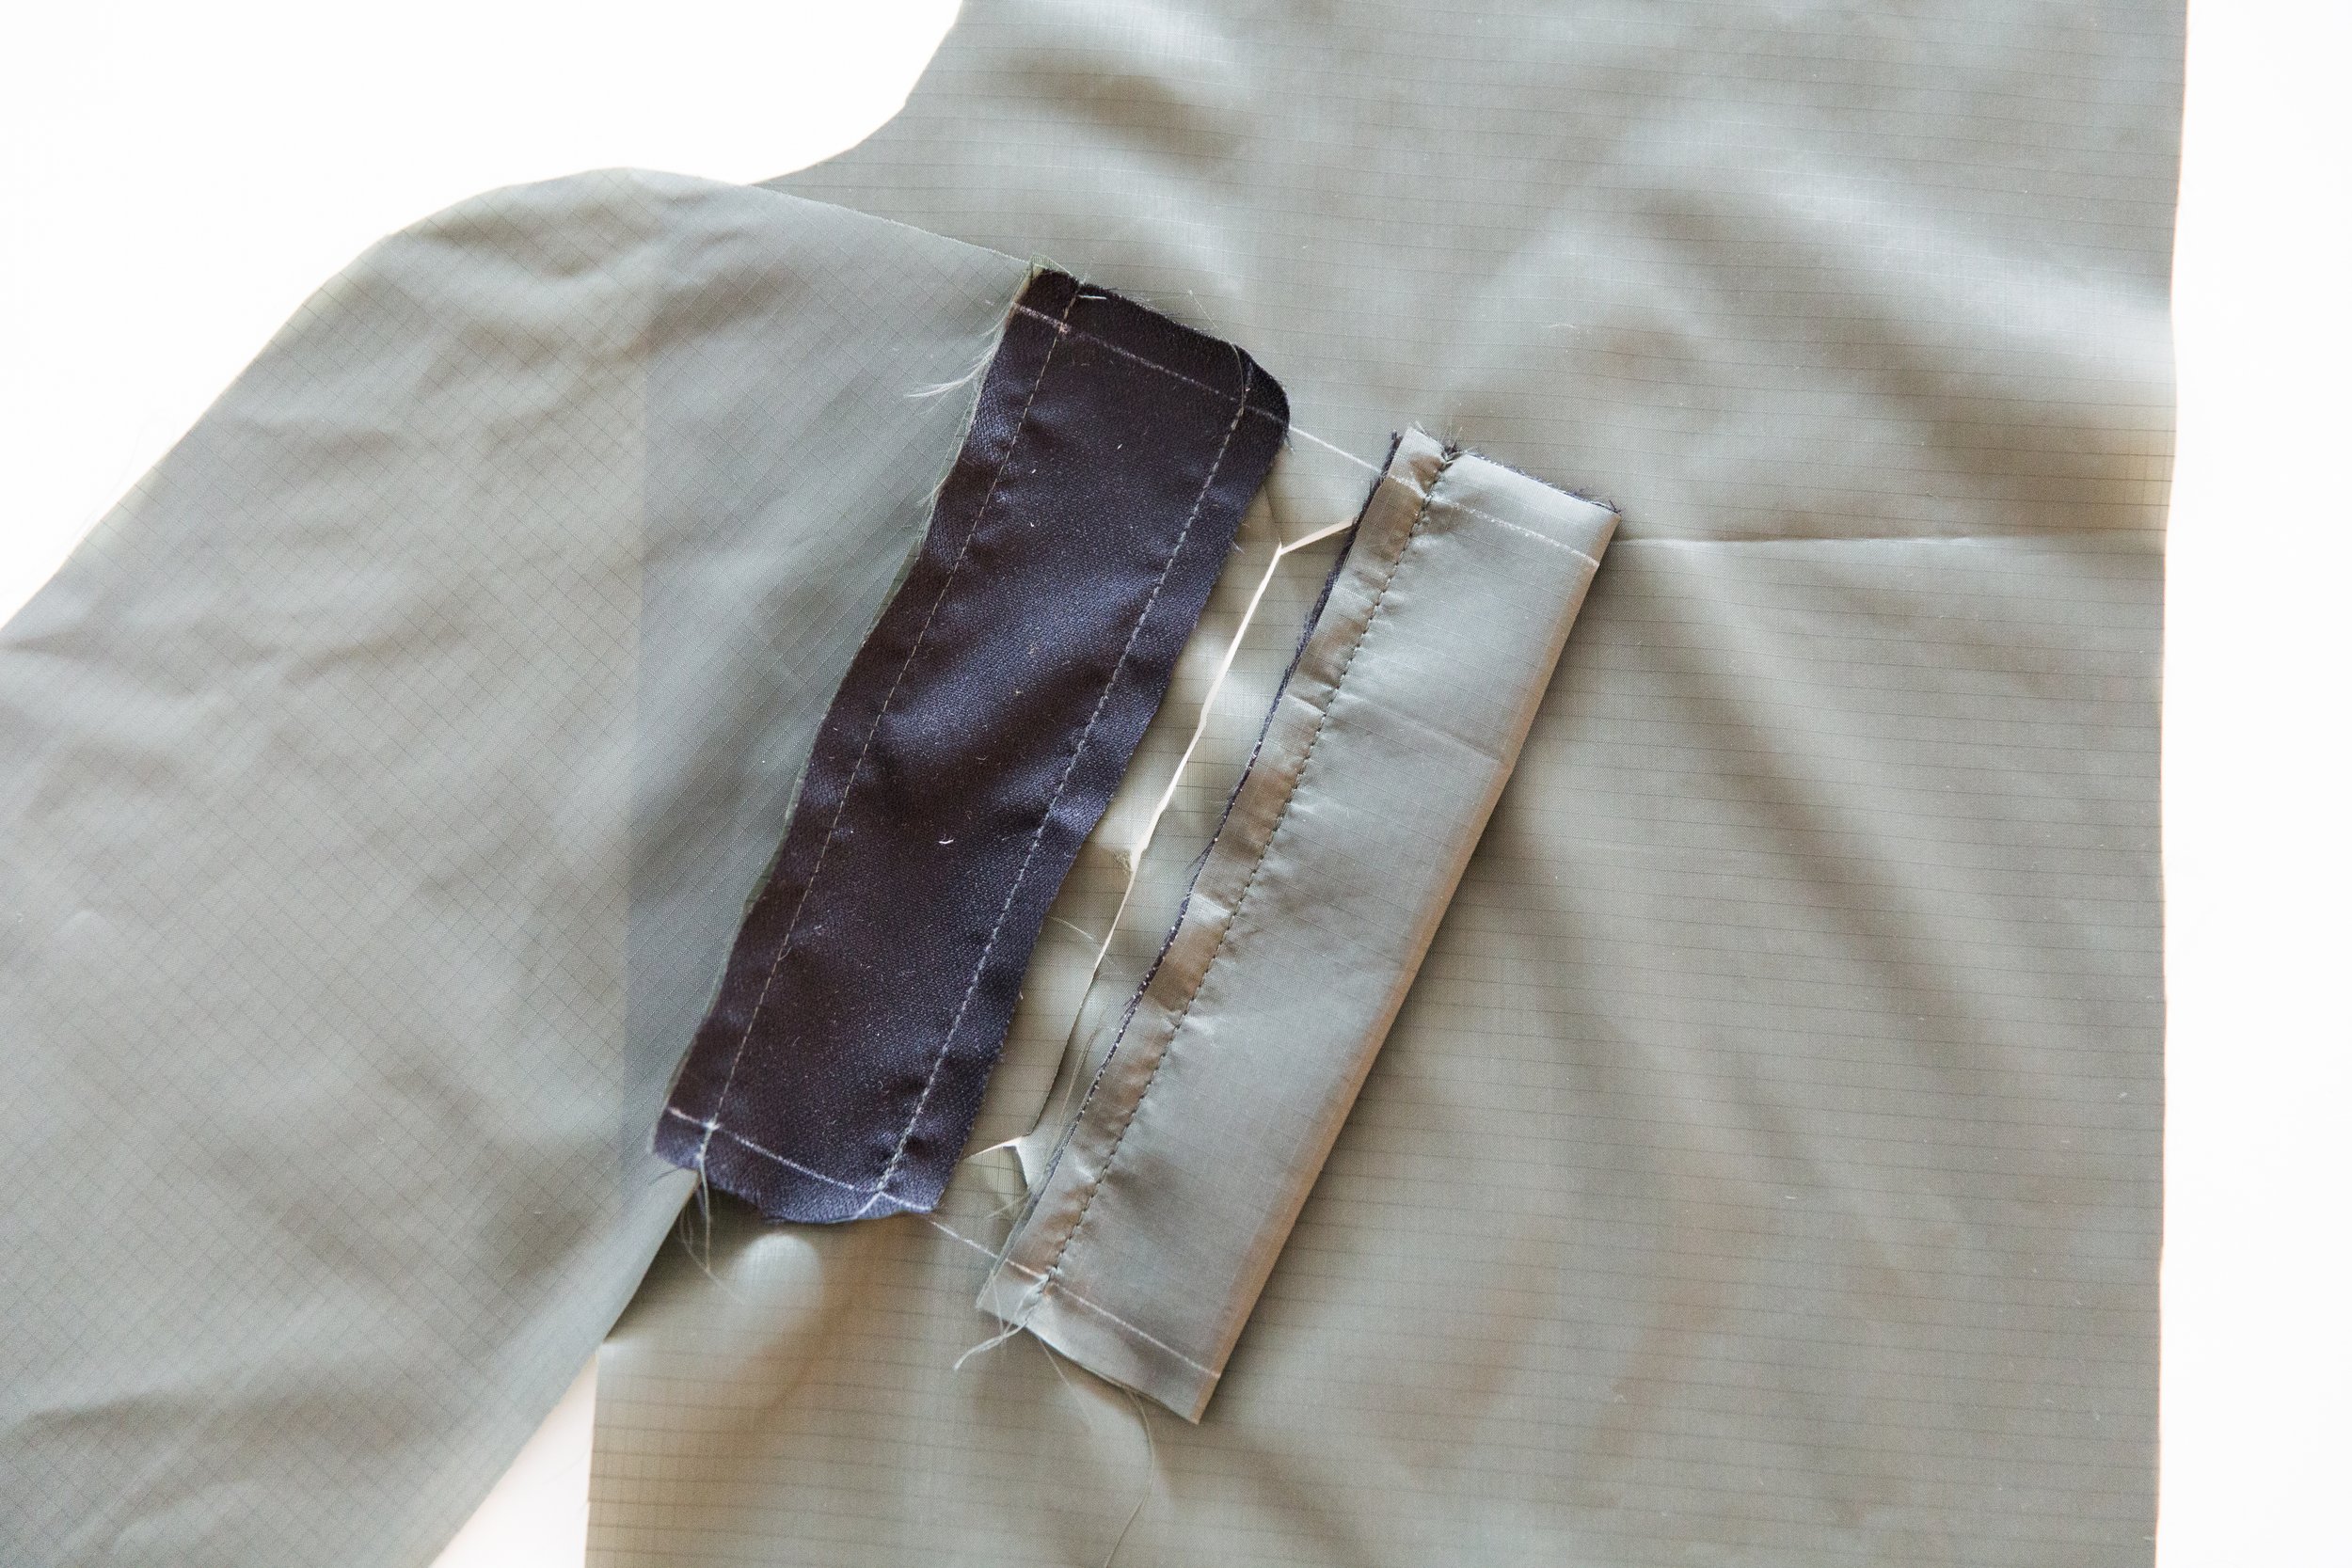
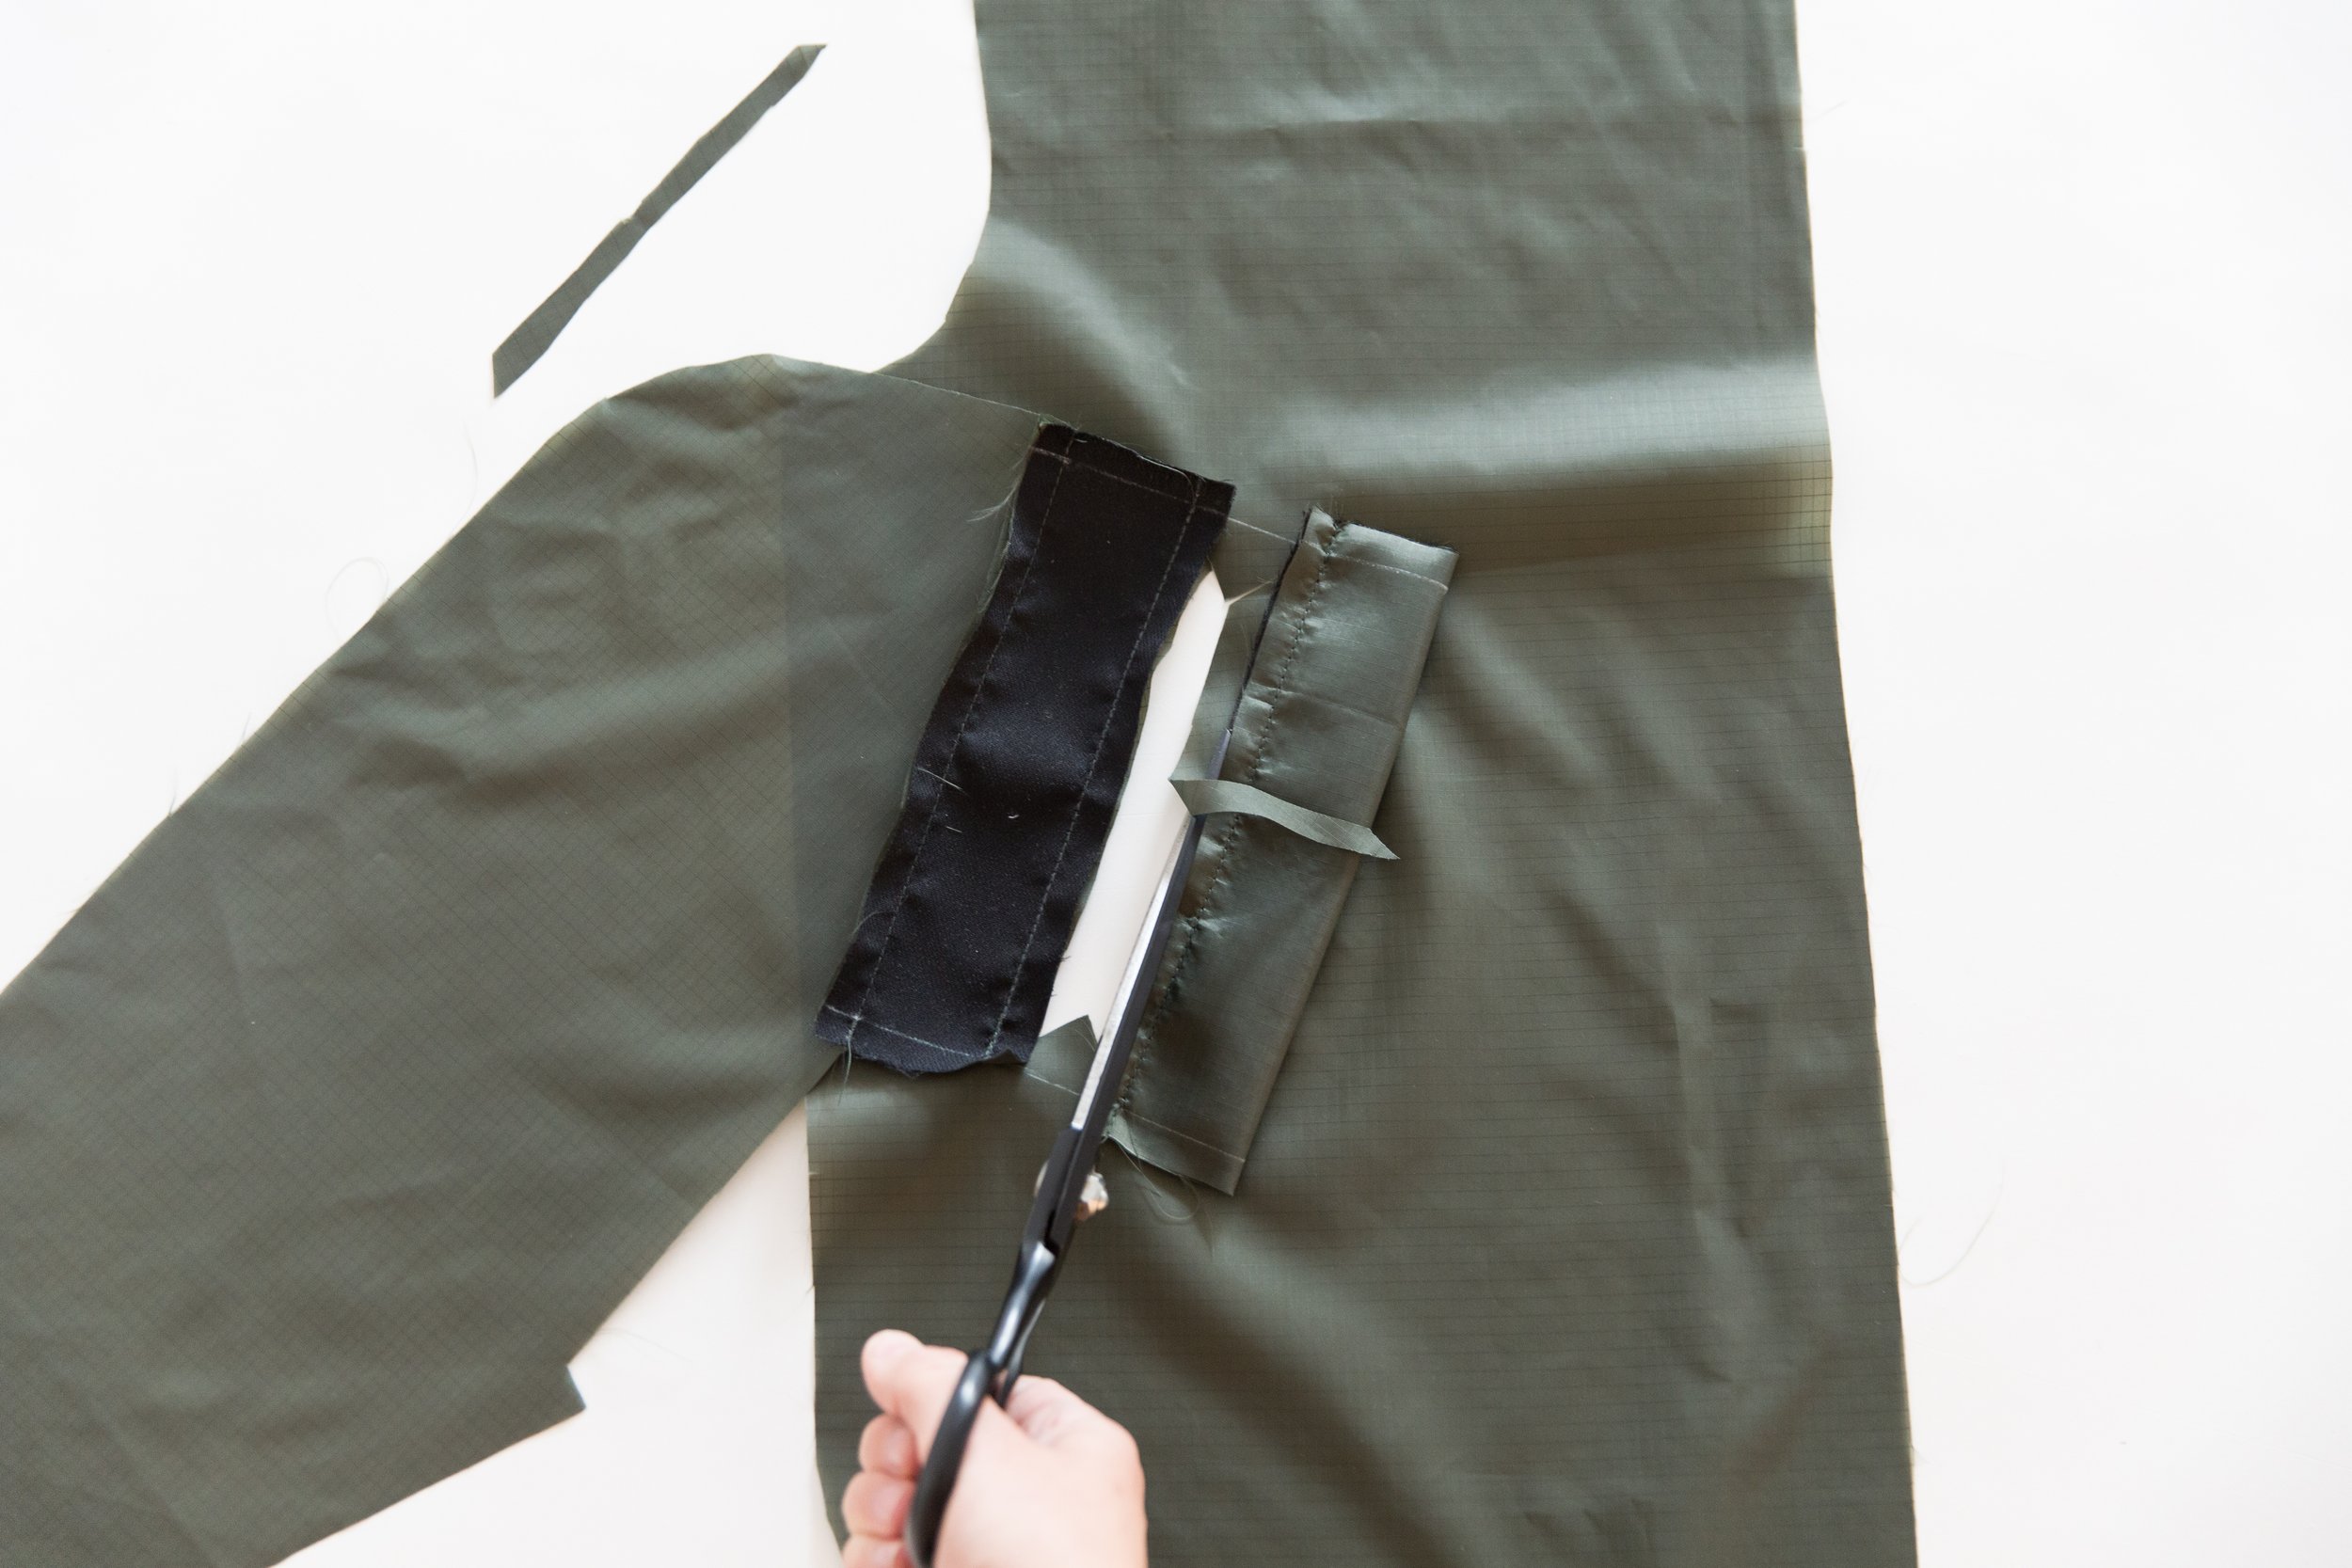
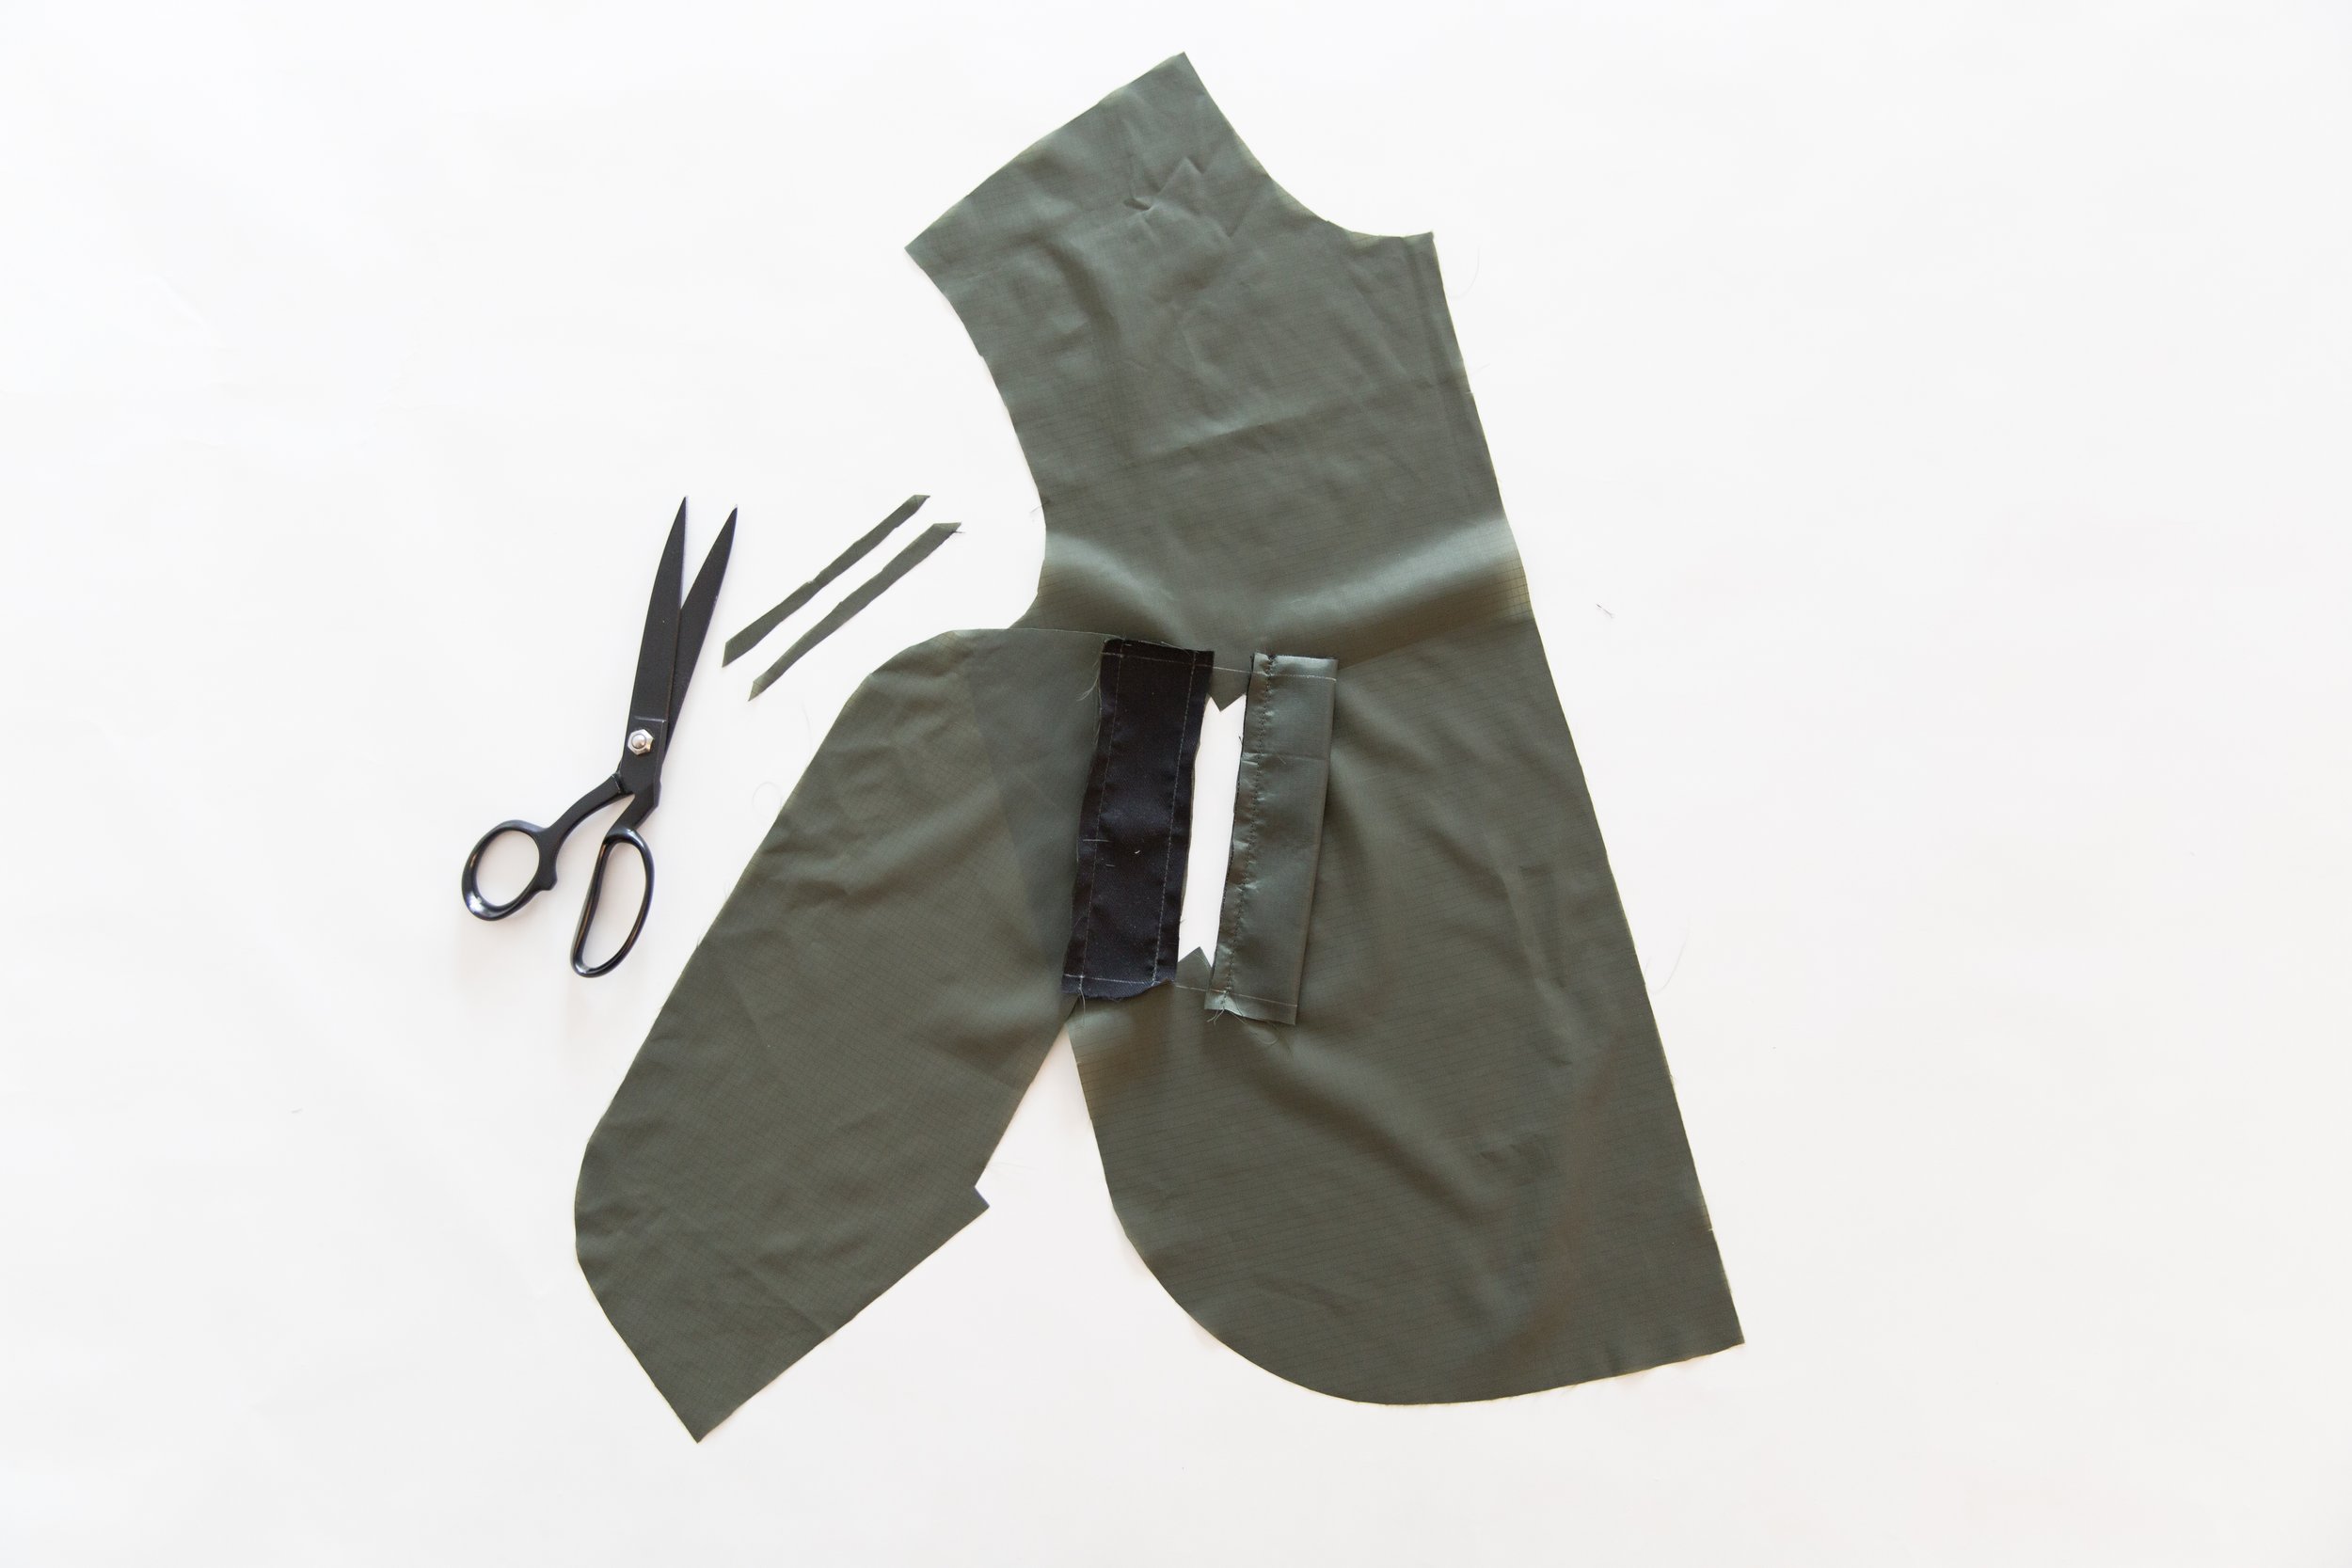
Cut the welt pocket open through the centre of the pocket opening, finishing 2cm before each end. Clip into each corner to create a ‘Y’ shape at each end. Be careful not to clip past or through your stitching.
Step 5
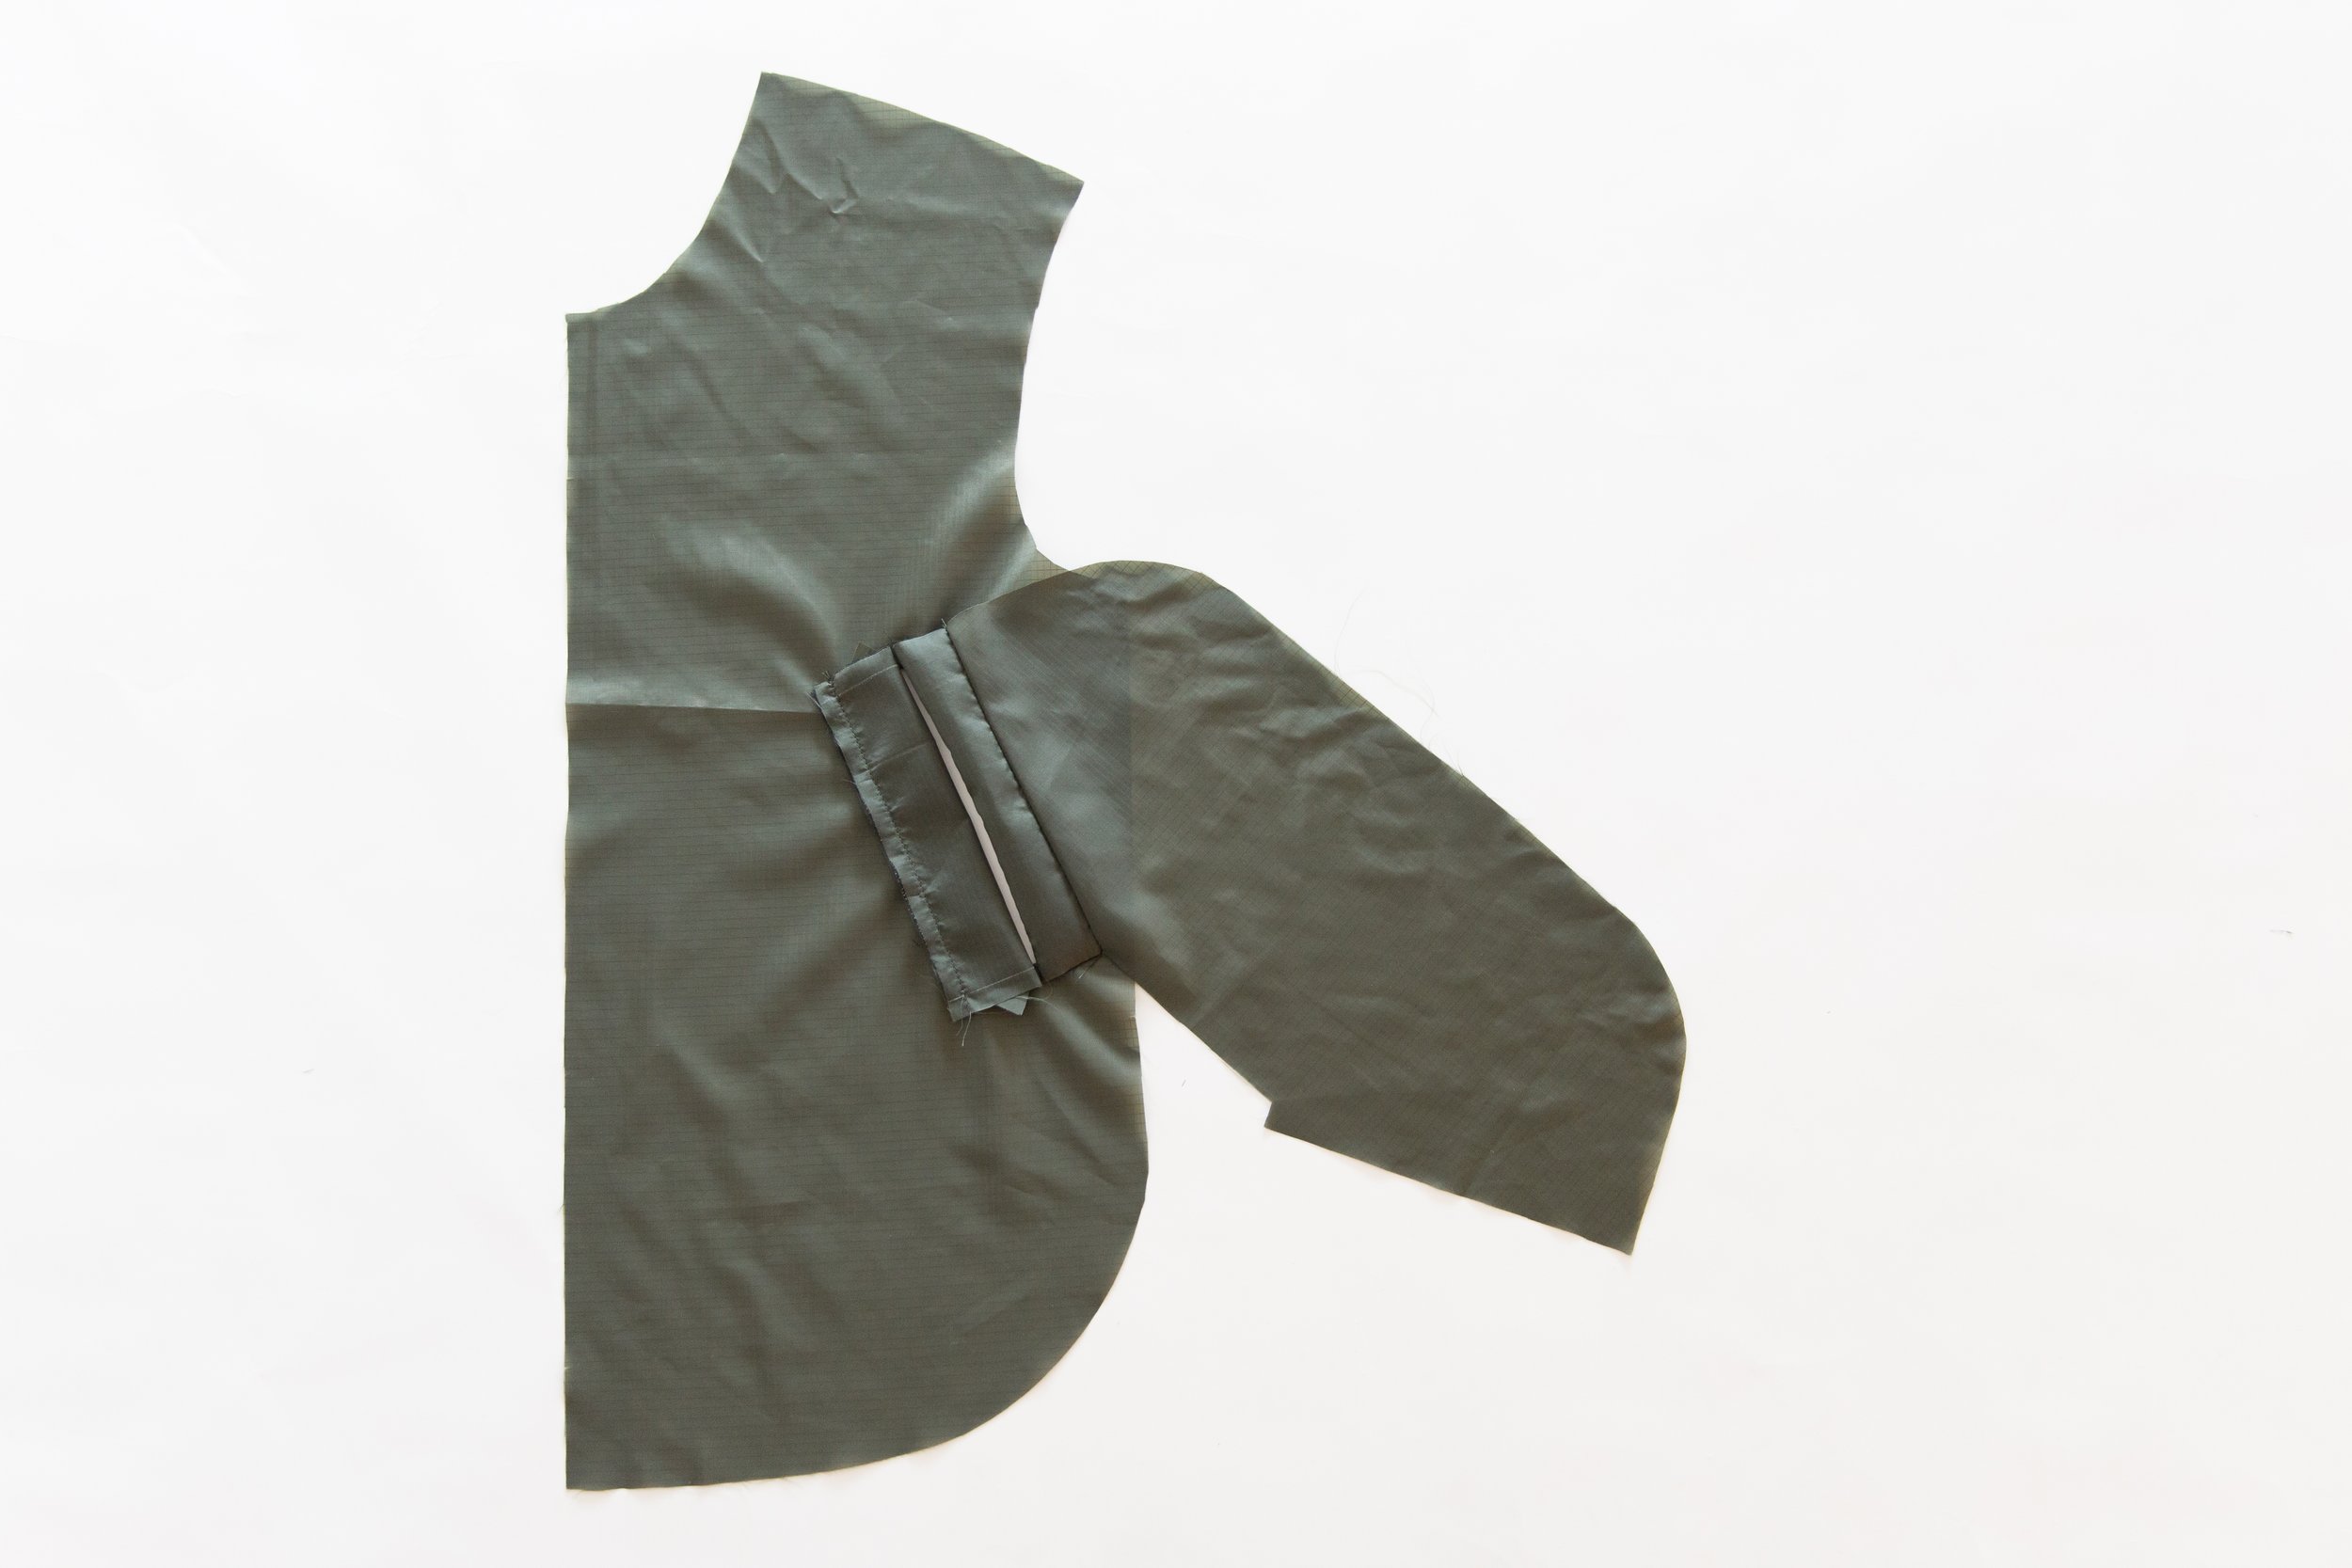
Pull the pocket bag/welt facing, small triangles and welt seam allowance through the slit so that it is on the wrong side. Press the little triangles back to create a nice square opening from the right side.
Step 6
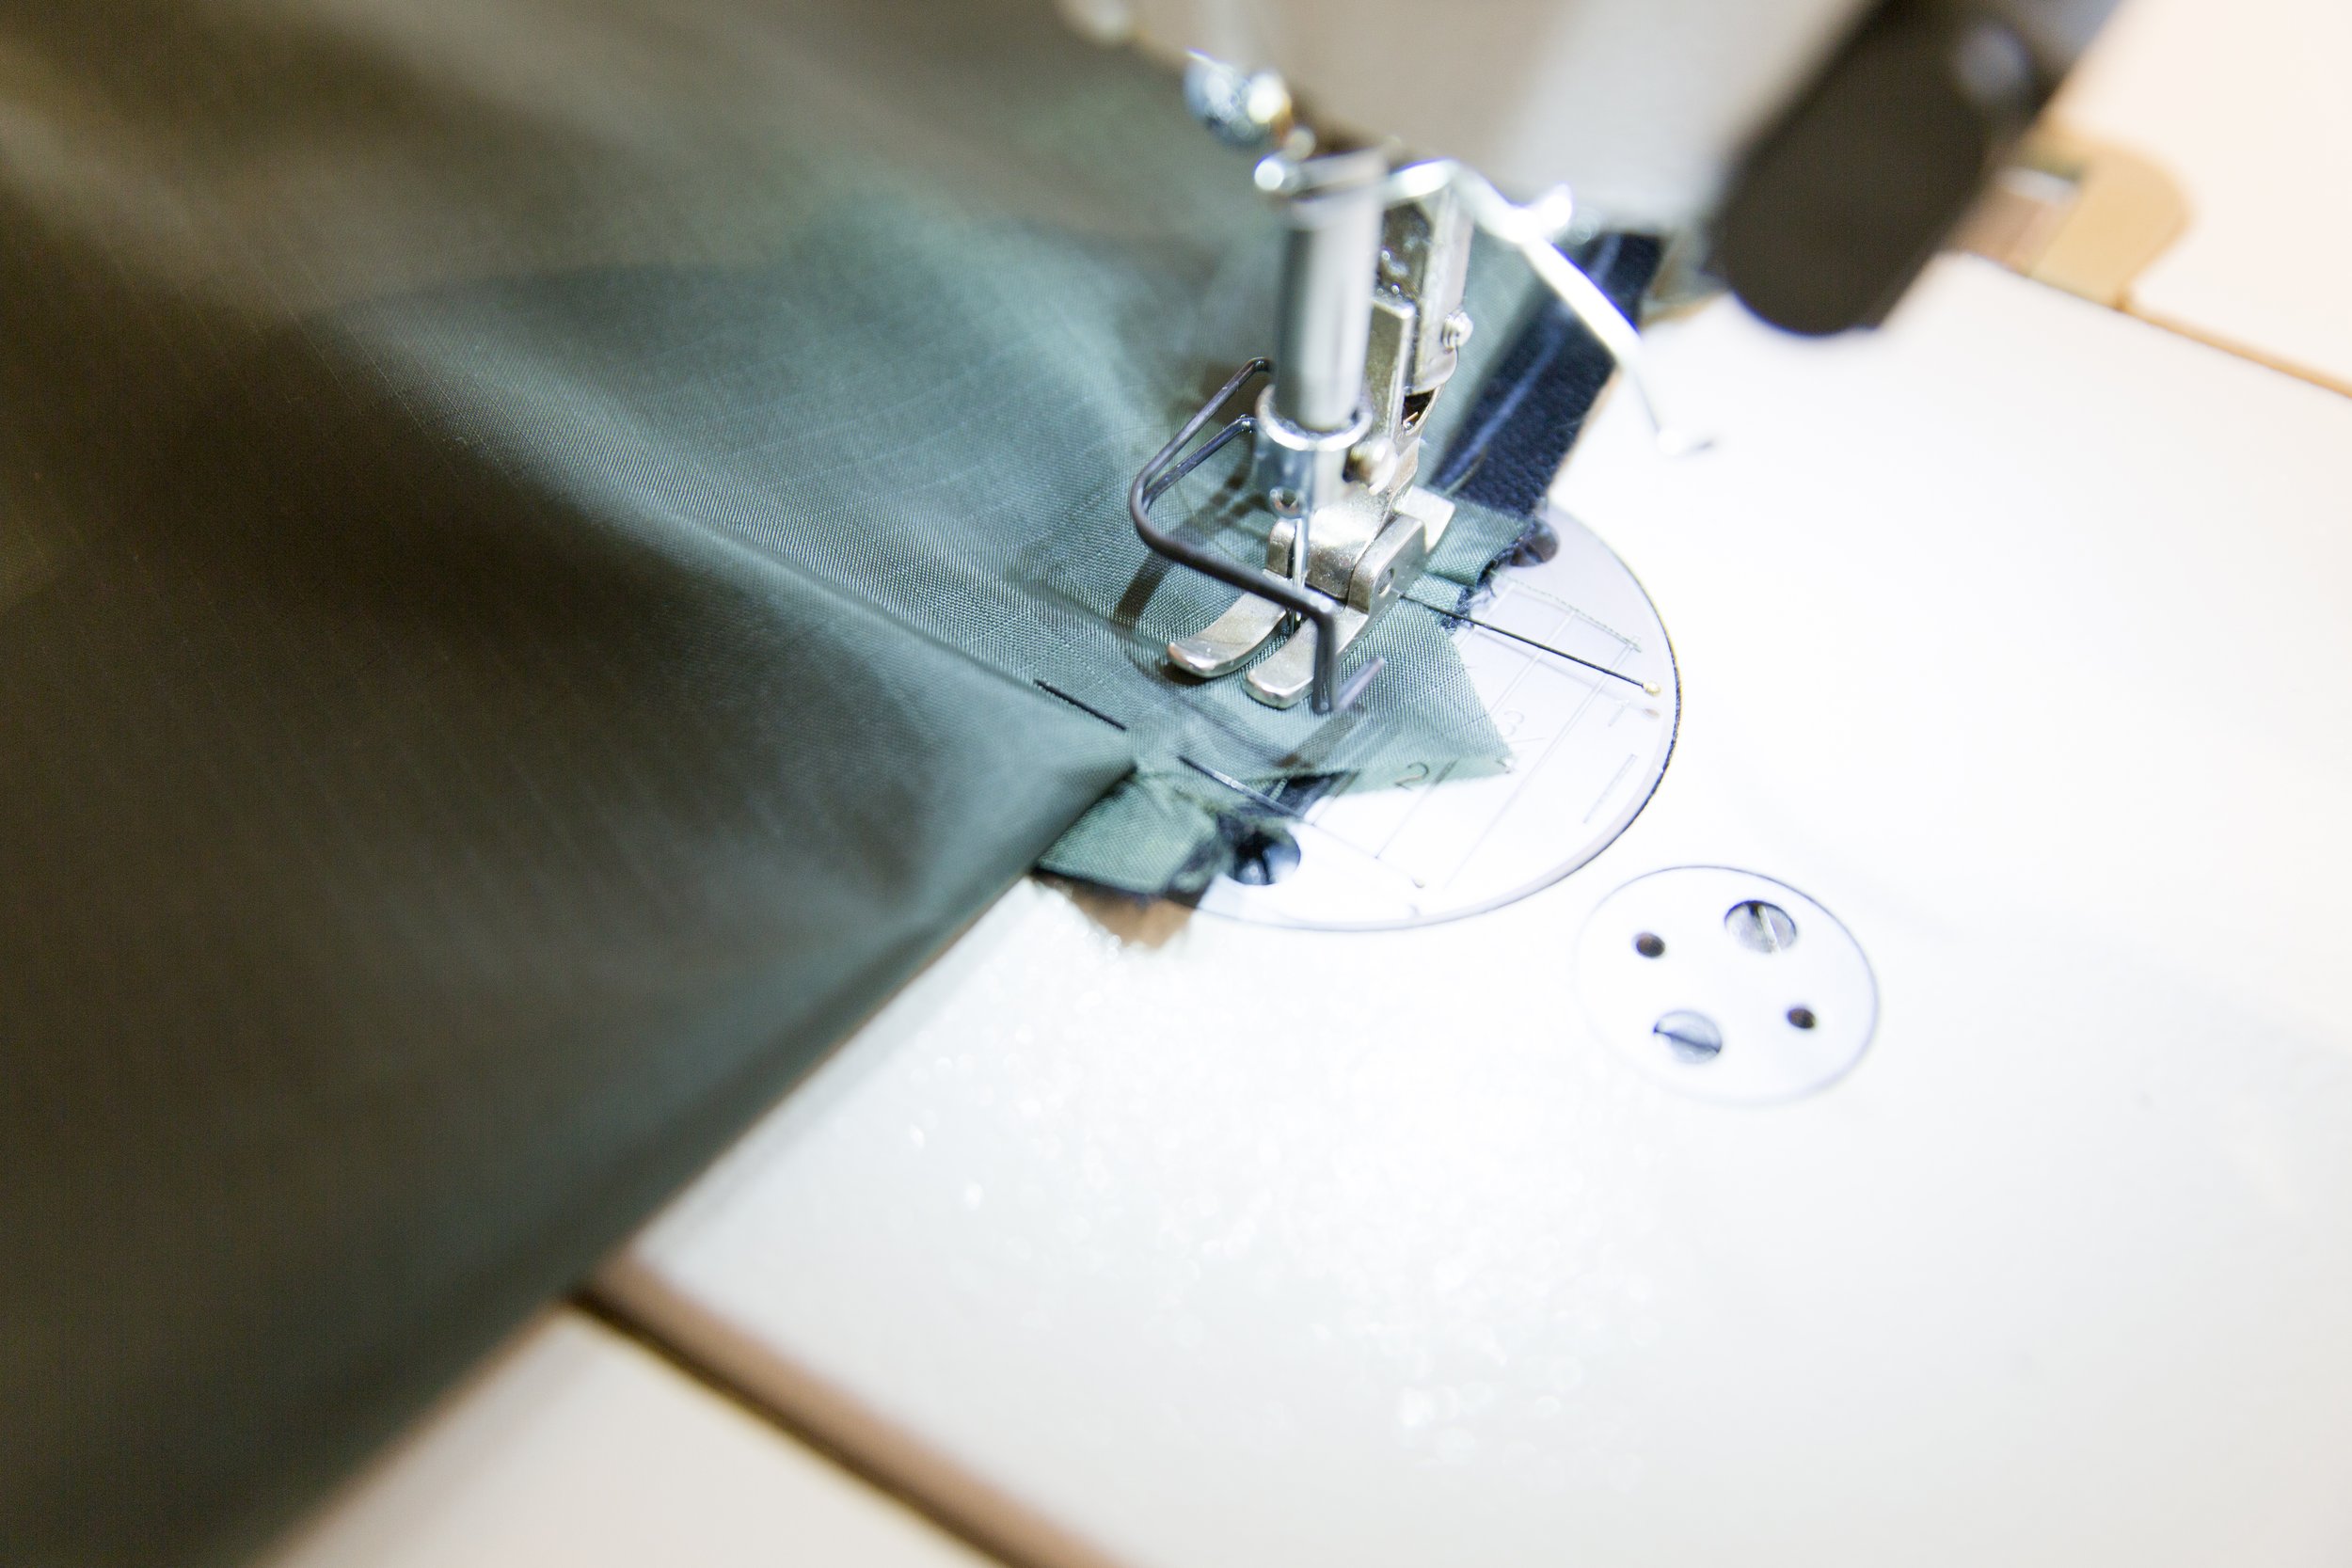
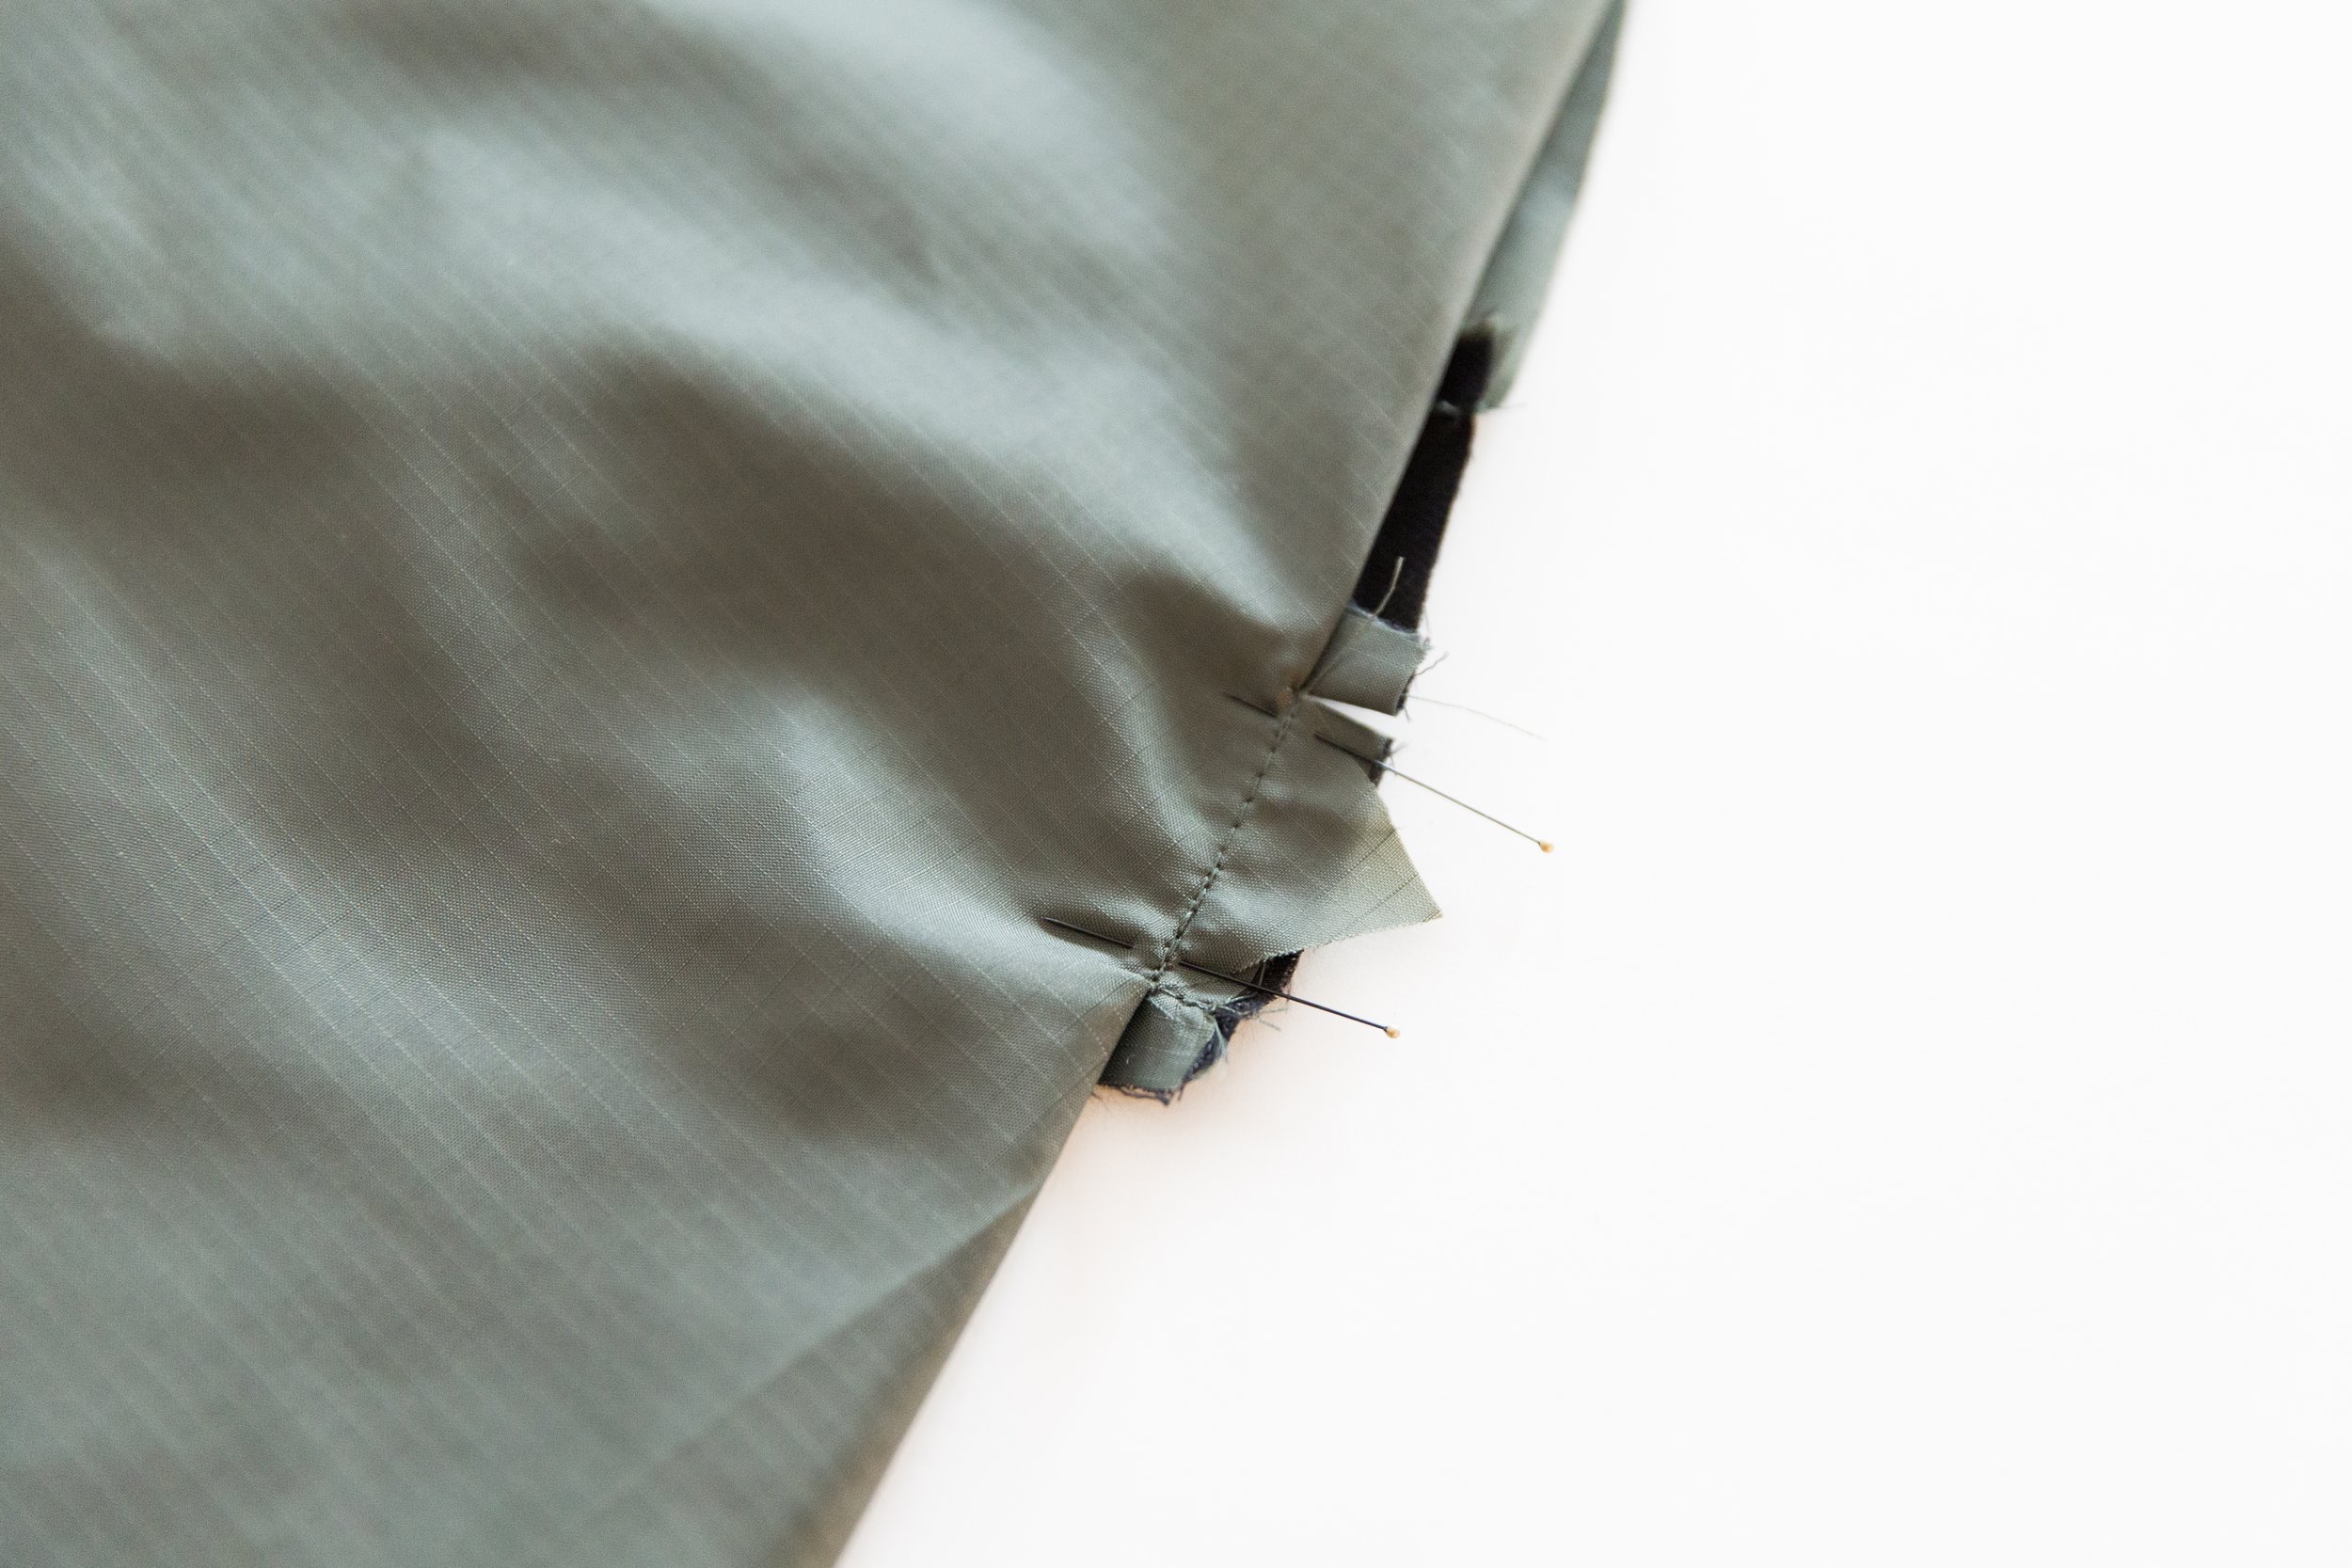
Holding the pocket bag/welt facing out of the way, stitch the little triangles to the edge of welt, through all layers at the 1cm/3/8” stitchline. Press. Repeat for opposite end of welt.
Step 7
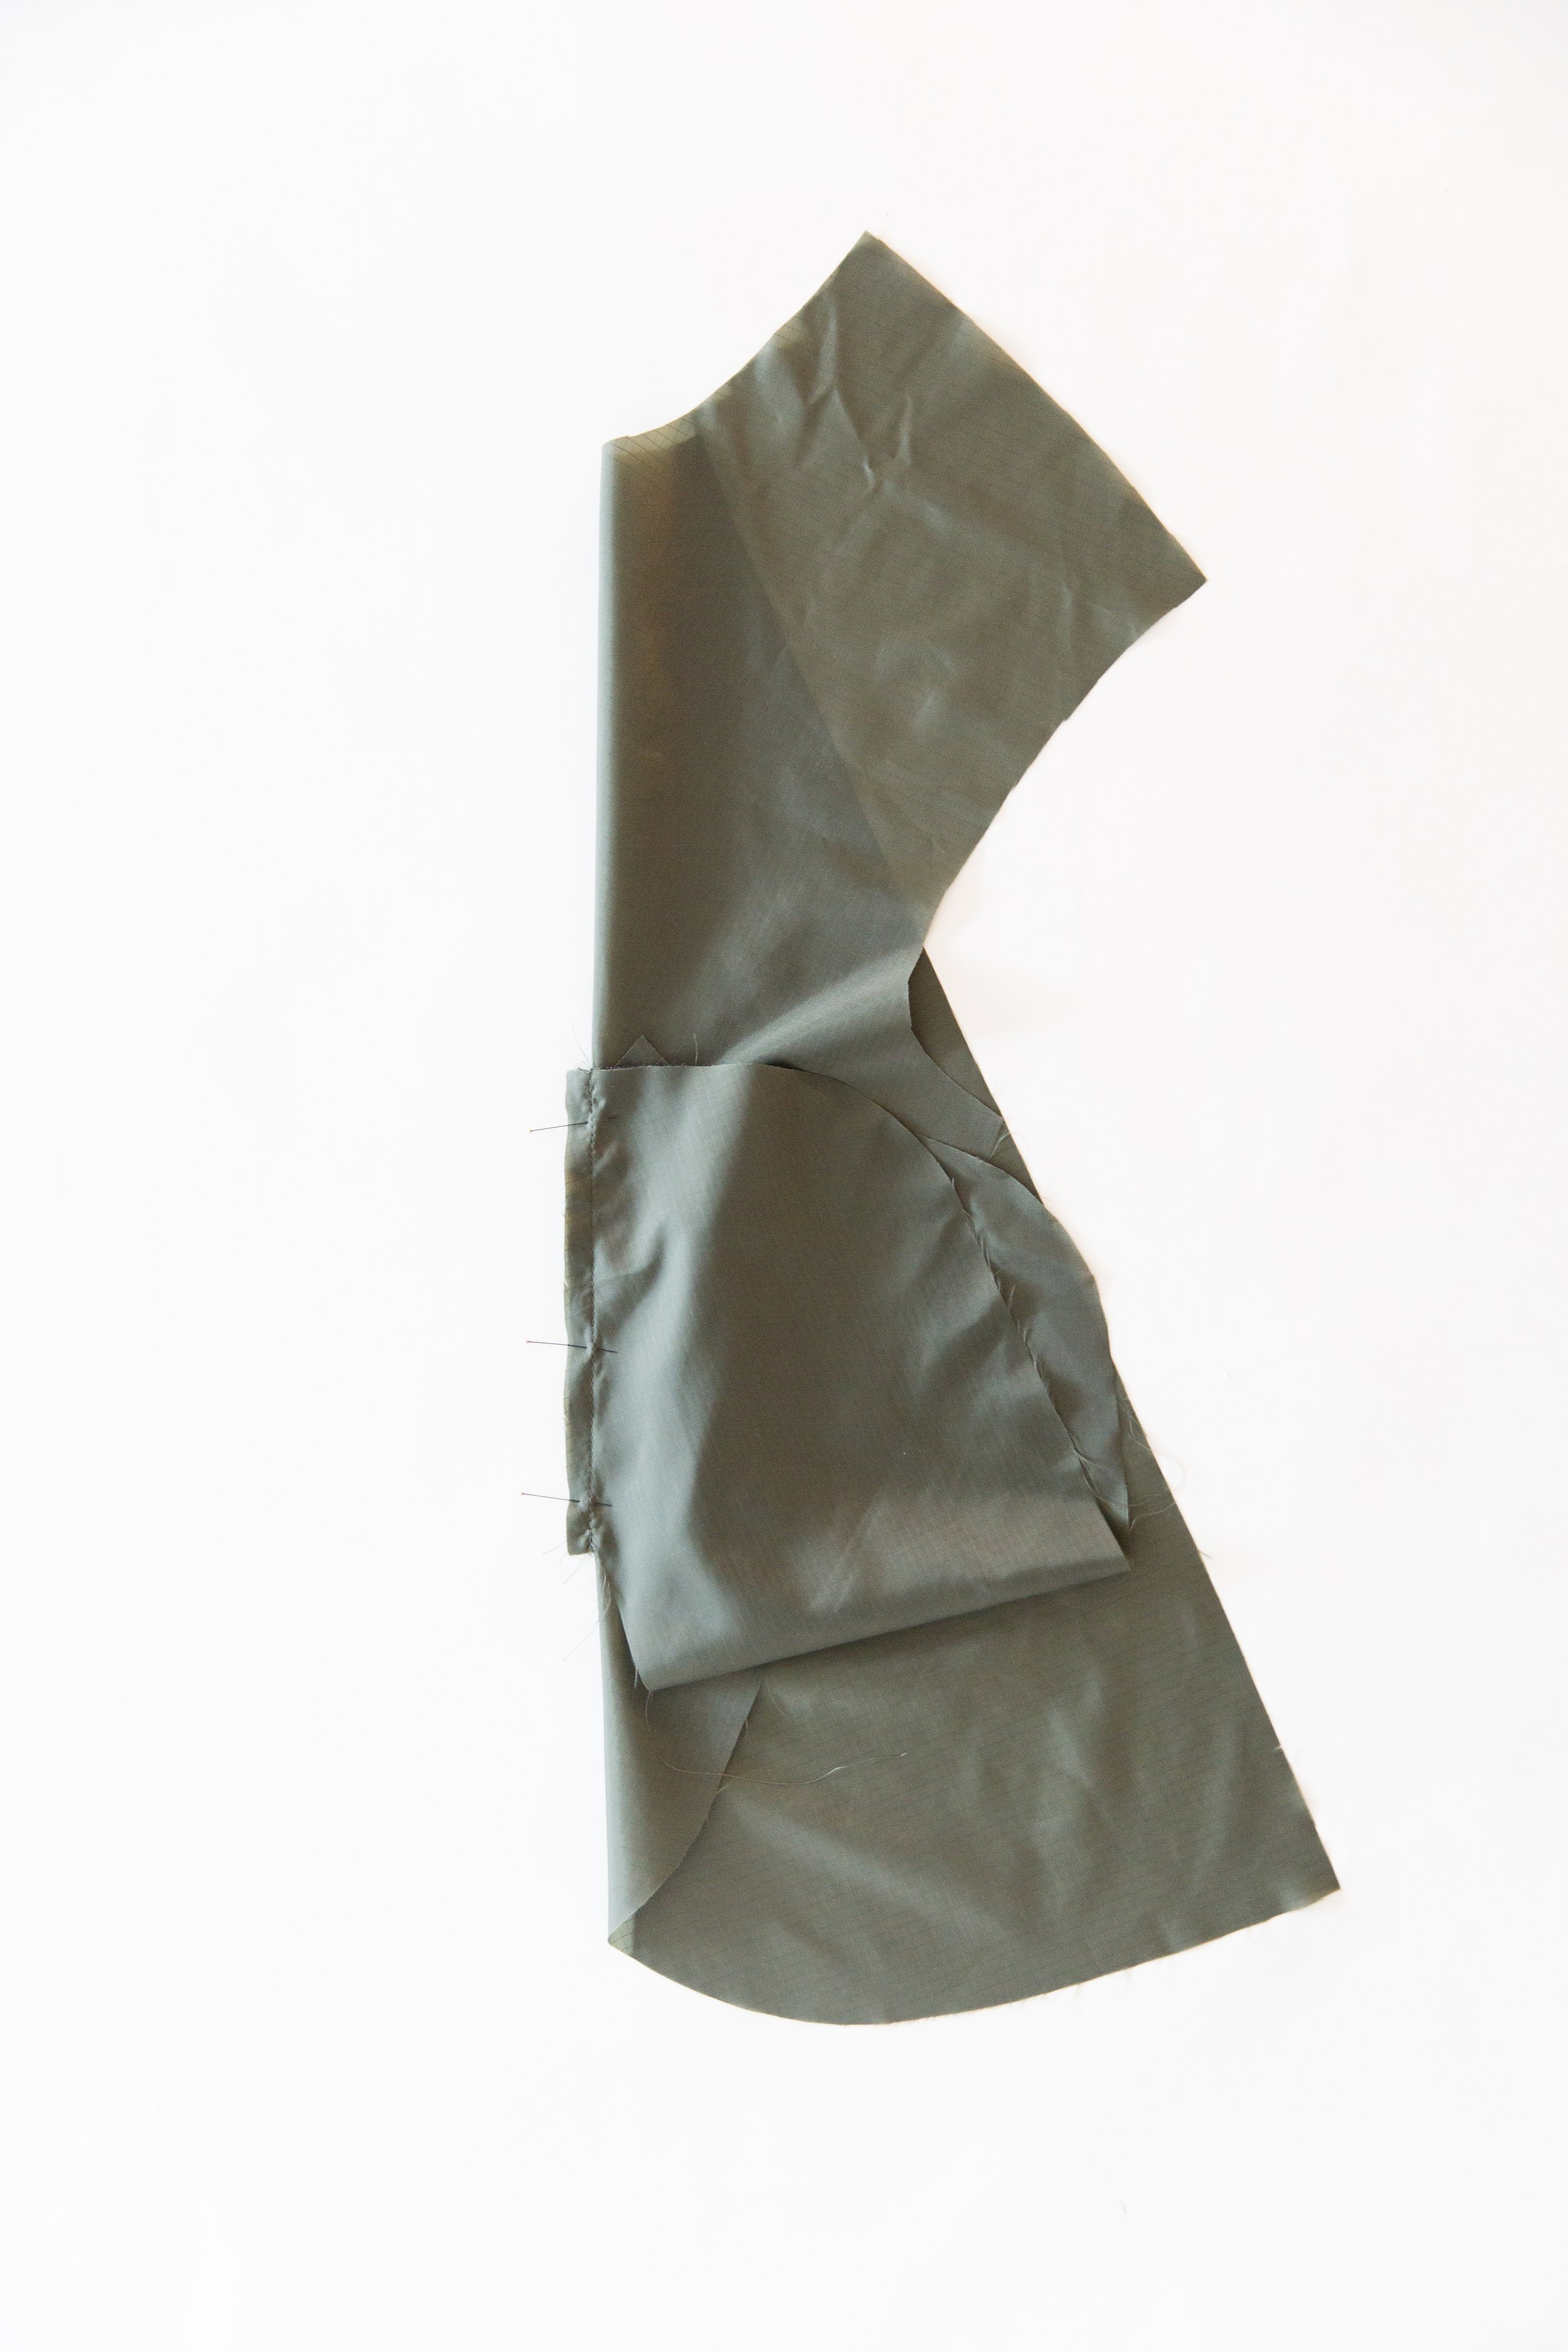
With right sides facing, pin the open edge of pocket bag to the bottom edge of welt. Stitch together.
Step 8
Pin the side seams of pocket bag together and stitch. Give your pocket a good press on both sides.
Repeat method for opposite welt pocket.

