The Solar Sweater
a step-by-step tutorial
A ruffle sleeve sweater or tee featuring beautiful drop shoulders, a relax fit, short or long sleeve options and hem/cuff bands for sweater versions.
Step 1
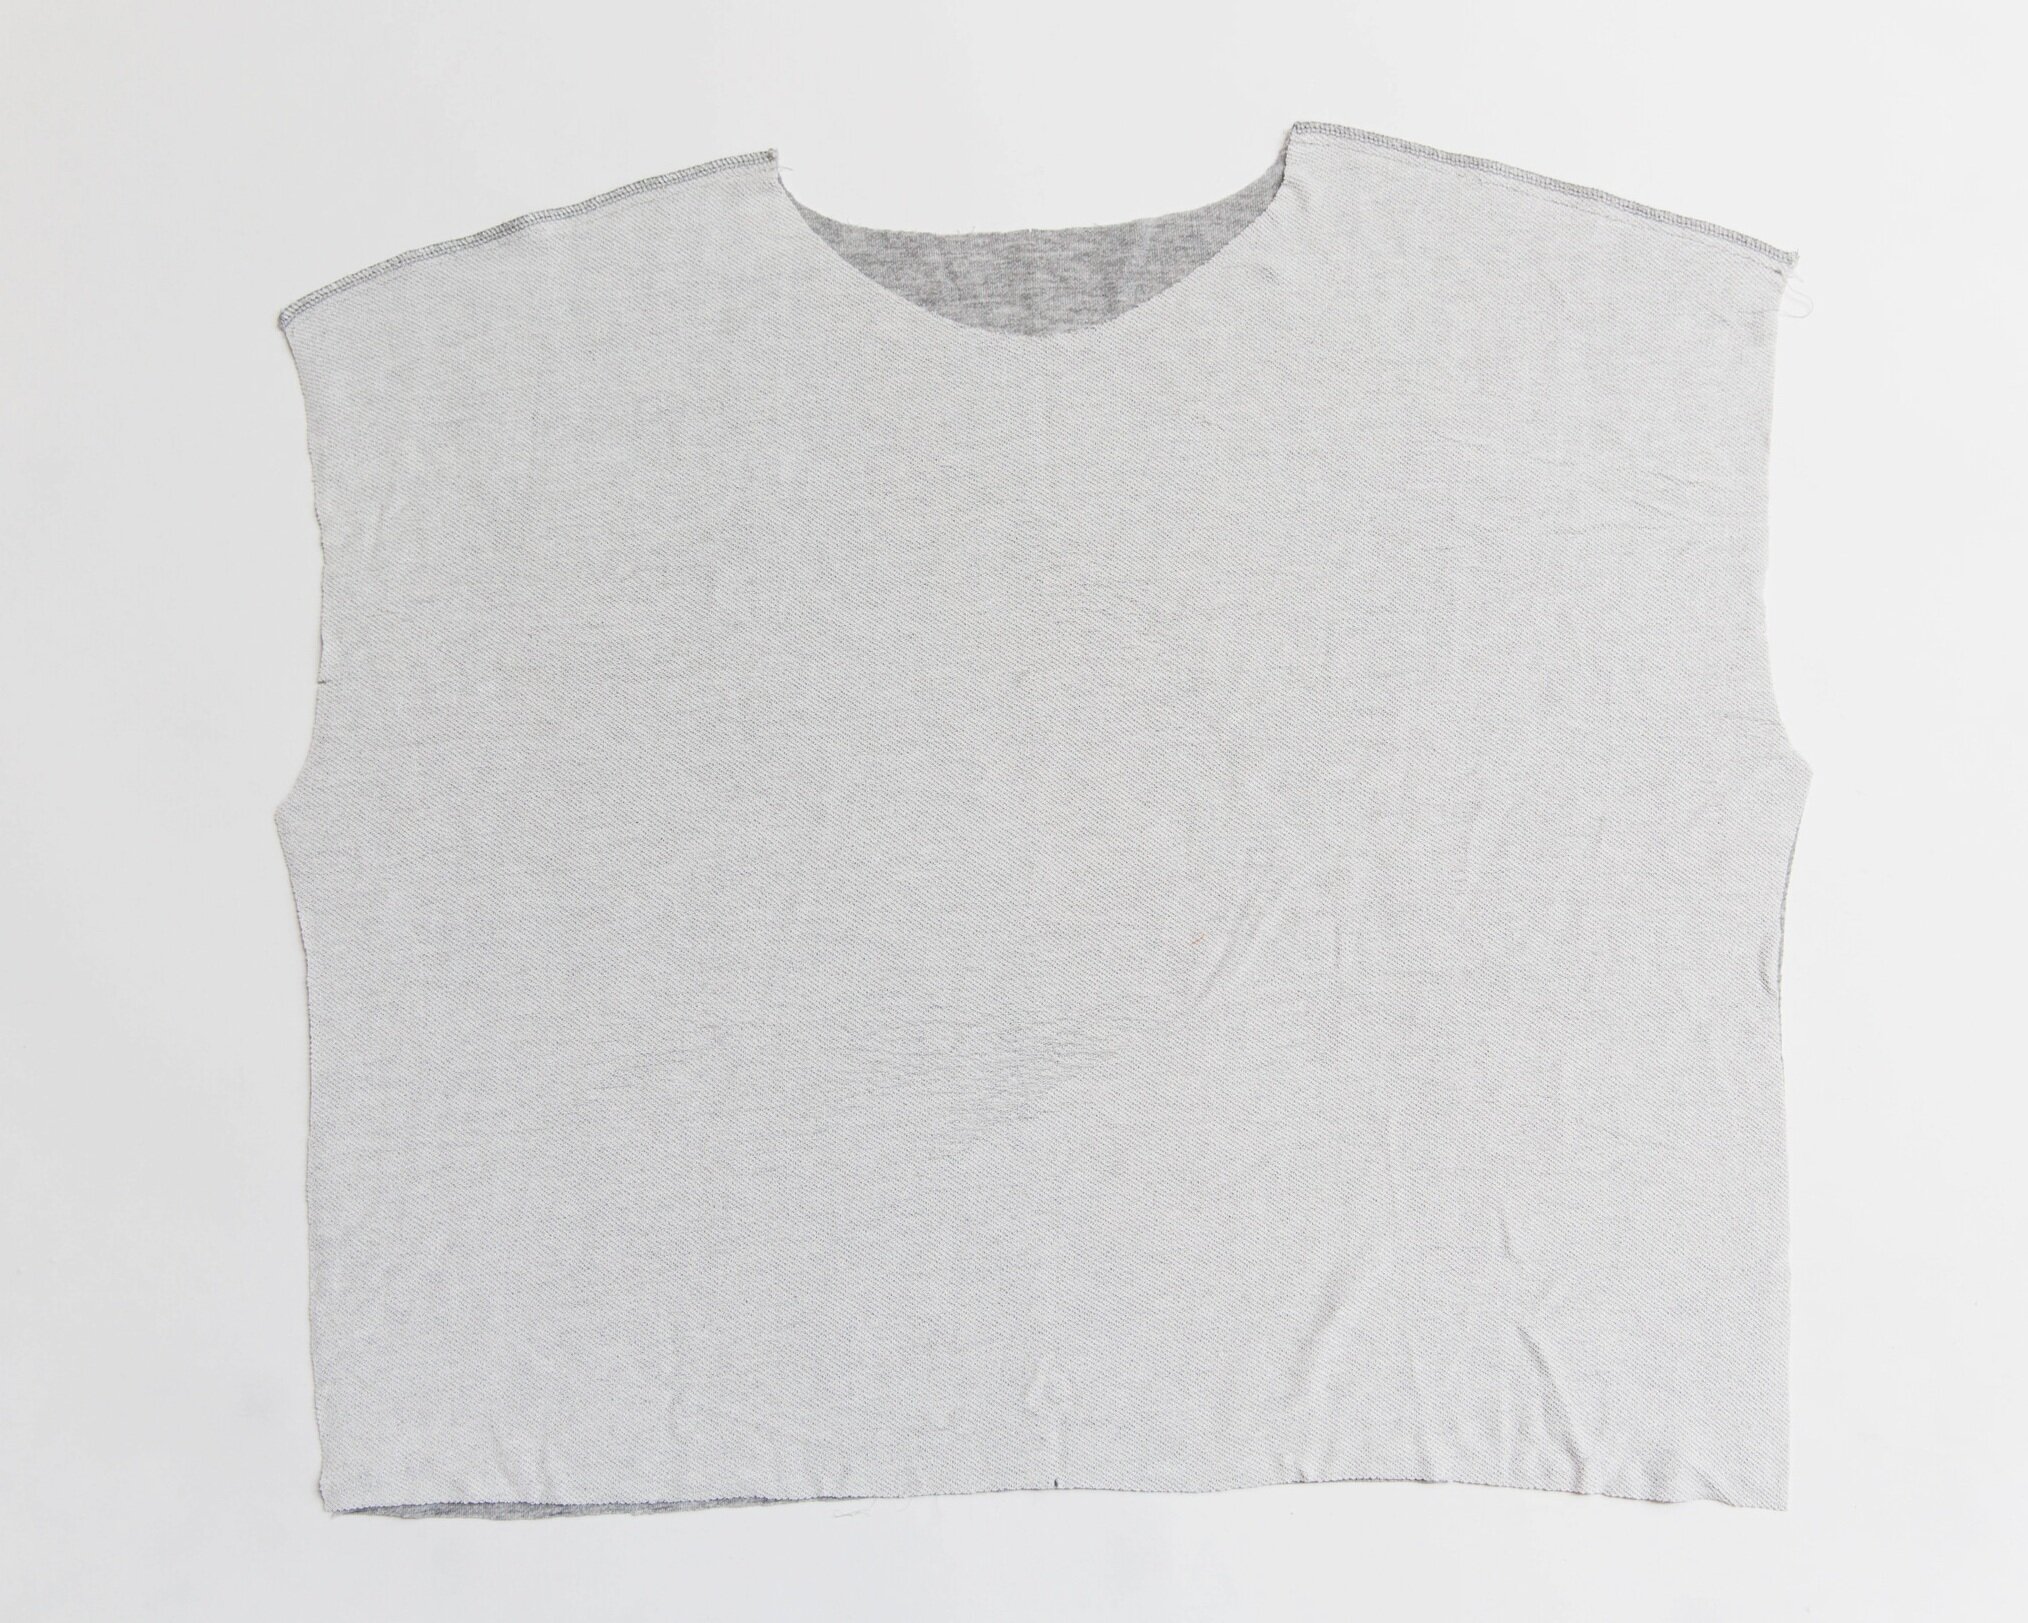
Pin front panel to back panel at shoulder seams with right sides facing. Stitch. Neaten seams then press seam allowance towards back.
Step 2
Fold neck binding in half lengthwise, pin together edges and stitch. Press seam open then fold binding in half the other way.
Step 3
Pin the centre back seam of neck binding to the centre back of neckline and match the clipped edge of binding at centre front.
You should have three layers of fabric, the neckline of the top and the two open edges of binding. Stretch binding onto neckline, pinning it in place. Stitch together then neaten seam edge.
Step 4
Give neck binding a good press, pressing seam allowance of binding toward tee to make it nice and flat. Topstitch seam allowance down.
Step 5
Neaten the straight edge of the frill and fold up by 0.5cm. Press and topstitch. Repeat on other piece.
Step 6
Create a gather by using a long stitch length to sew across the top edge, but don’t backstitch one end.
Step 7
With right sides up, place raw edge of frill along top edge of sleeve. Pin evenly in four places and pull gathering threads until frill fits sleeve with gathers evenly distributed. Line up the edges of frill to side edges of sleeve. Edge-stitch in place.
Step 8
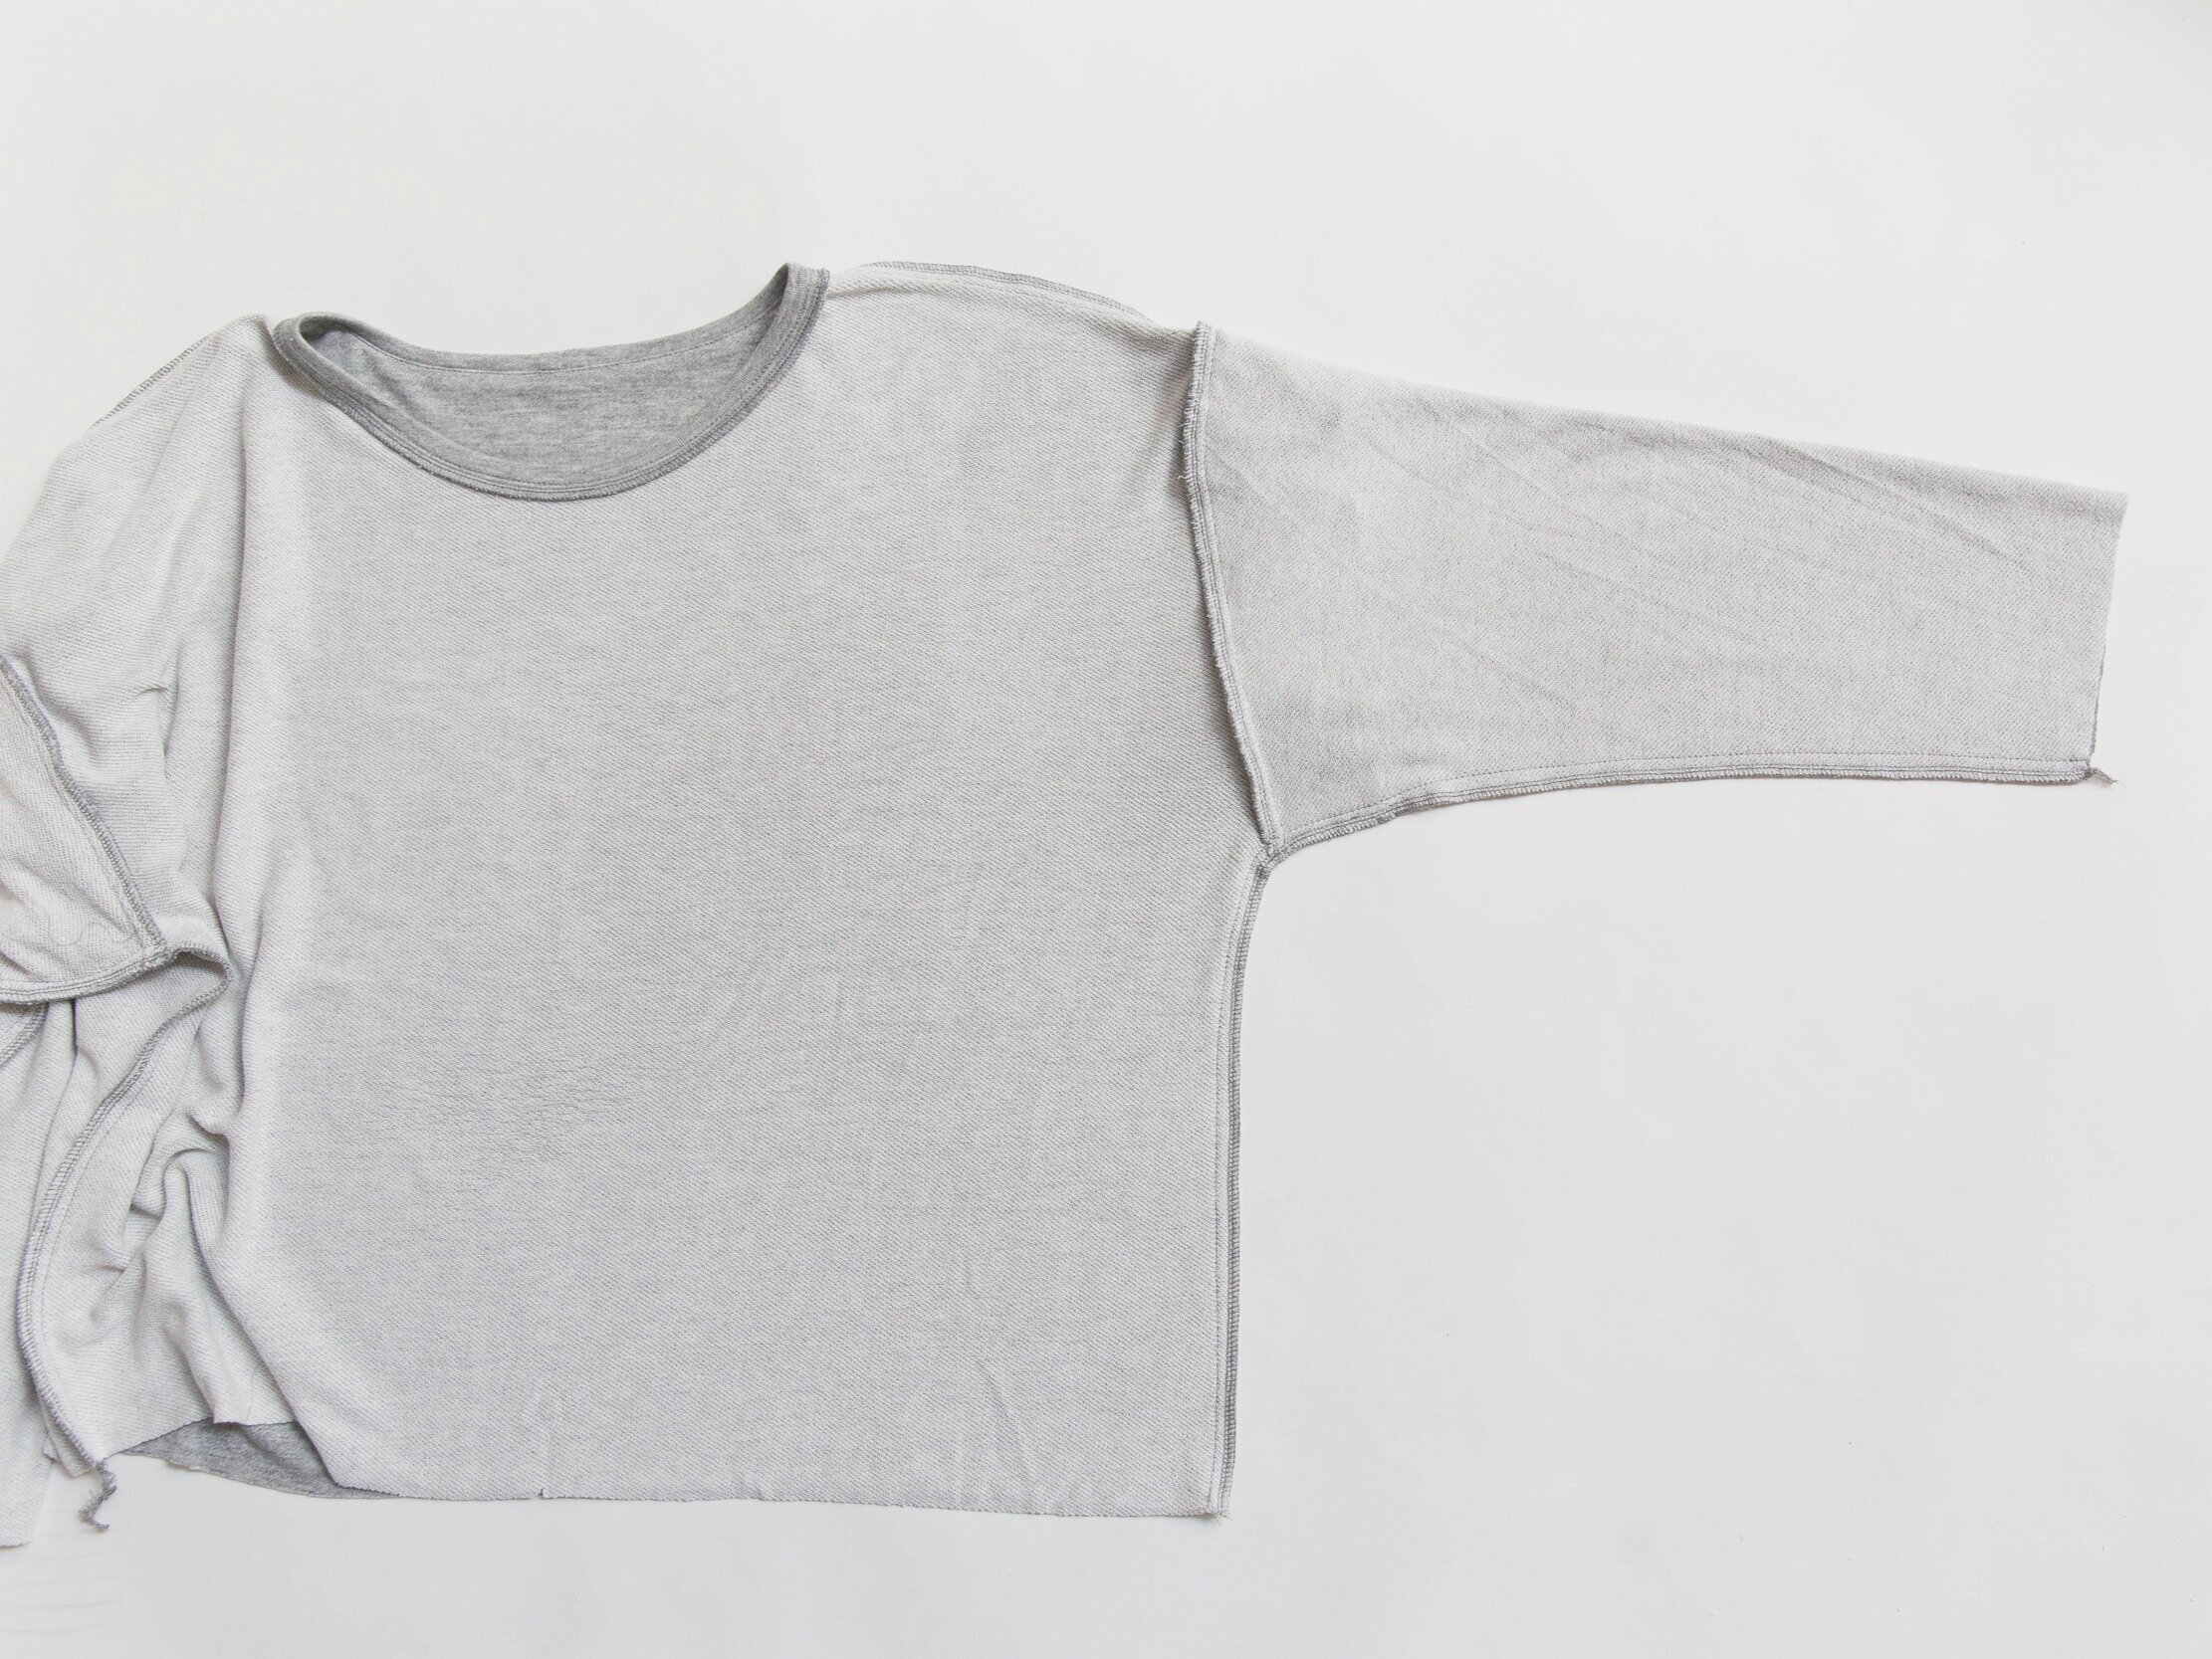
Lay shoulder seam of tee over sleeve piece with right sides together. Pin in place starting from bottom of armhole upwards on both front and back. Stitch in place. Neaten edge. Repeat for opposite sleeve.
Step 9
With right sides together, place a pin where front and back underarm seams meet up. Pin down to hemline and out to sleeve hem.
Stitch together catching the edges of ruffle between layers, then neaten seam. Repeat for opposite side.
Step 10
Take sleeve cuff piece and fold it in half width ways. Stitch edges together then open out seam allowance so that it sits flat. Pull the bottom of the seam allowance up to meet the top of the seam allowance and thread the rest of the tube over itself so that all the seams are in the inside.
Now that your cuff is complete, you need to attach it to the bottom of your sleeve.
With right sides together put the cuff around the circumference of the sleeve opening with the raw edges together. Pin then stitch together. Neaten edges.
Step 11
Fold hem cuff piece in half with right sides facing, stitch edges together then press seam open. Fold it in half the other way so that the seams are on the inside.
Step 12
Place hem cuff over hem edge. Line up the seam of cuff with one of the side seams of tee. Evenly pin remaining hem band around the edge then stitch on. Neaten edges.
Voilà!


